Project introduction
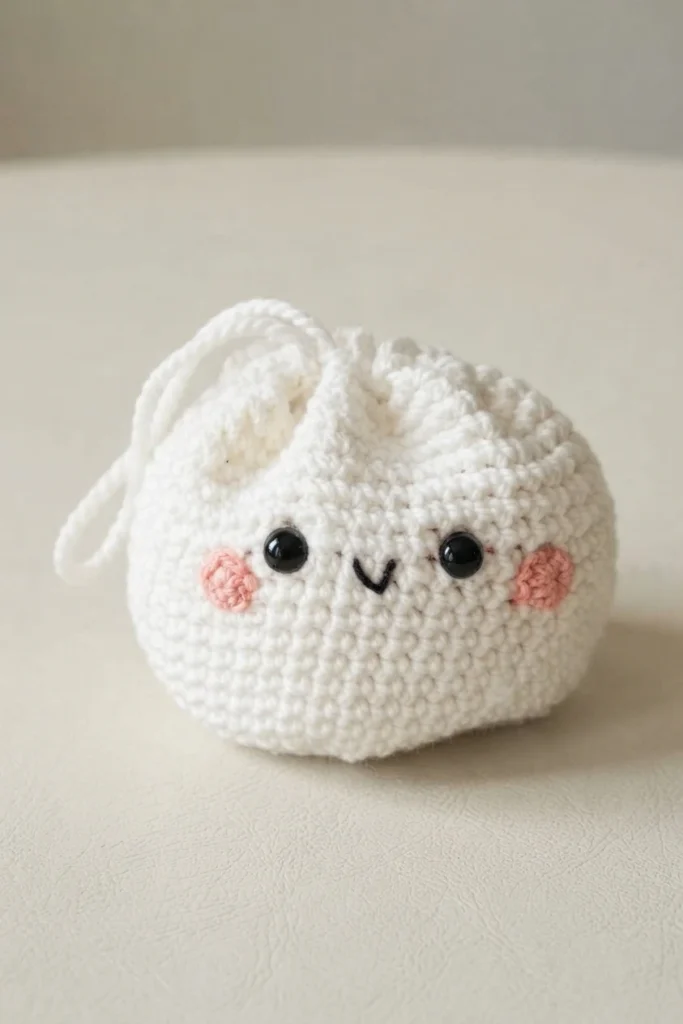
This pattern overview introduces the Crochet Dumpling Bag, and it is not a full step by step tutorial. This playful purse is shaped like a soft dumpling and sized for everyday essentials such as a phone and a small wallet. The original design is by Kimberly Arenas of The Caffeinated Snail. For the complete free instructions, visit the Original designer’s pattern and instructions.
The idea grew from a long car ride conversation about how dumplings appear in many food cultures as small, flavorful parcels. That concept translated neatly into a bag, where the purse itself acts as the wrapper and your personal items become the filling. The result is a cute, beginner friendly project with a sweet face that makes a fun statement for food lovers.
✏️ Things To Note
Yarn weight changes the finished size more than any other choice. The source uses chunky yarn for a soft, plump look, but worsted weight will give you a smaller bag and super chunky yarn will make a larger one. Any fiber type can work, so choose what feels good in your hands. Keep in mind this is meant for a phone and a few small items, not as a roomy everyday tote.
If you prefer a firmer fabric that stretches less and keeps its rounded shape, try going down a hook size from what the source suggests. This small change can help the bag hold its plump form through regular use, while still keeping the soft handmade look that makes the design charming.
🪡 Materials Needed
Gather these supplies before you start. The source keeps the list short, with the main yarn plus small amounts for the face and two hook sizes for different parts.
- Size 5 chunky yarn in white for the main bag
- Light pink yarn for the cheeks
- Black yarn for the embroidered mouth
- 12mm safety eyes
- 7mm crochet hook for the bag body
- 5mm crochet hook for the drawstring and cheeks
- Tapestry needle for sewing and weaving ends
💭Abbreviations to Remember (US terms)
The overview uses US crochet terminology, and you only need three abbreviations to follow the source. Keeping these in mind will make the construction summary easier to picture, even though this article does not rewrite the full stitch pattern.
- mr = magic ring
- ch = chain
- sc = single crochet
🧋Variations
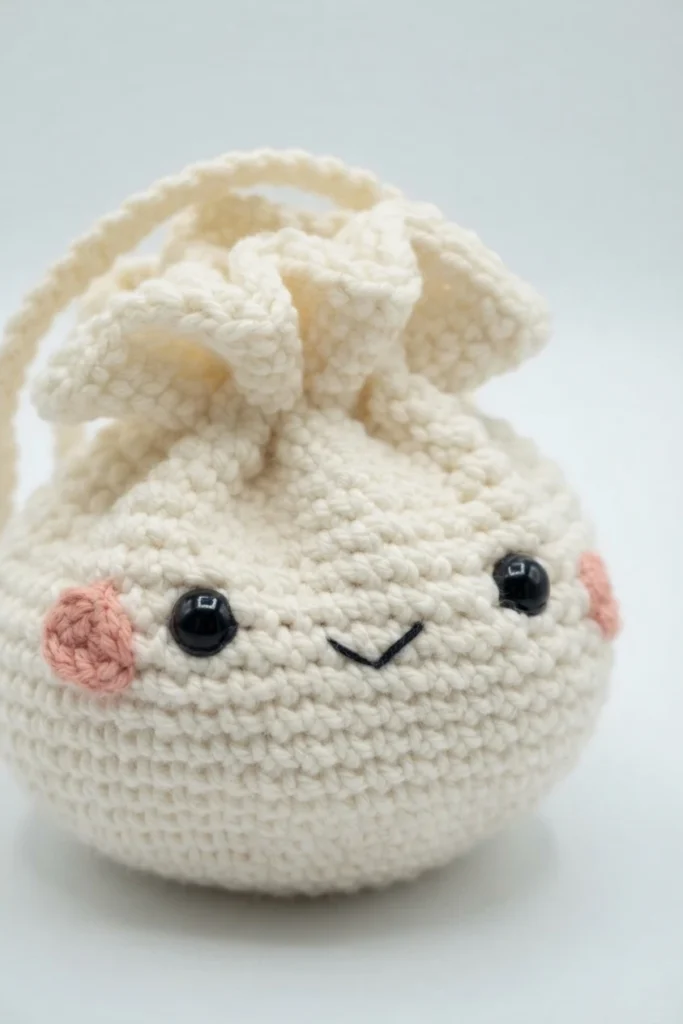
If you like a soup dumpling look, the source offers a simple frilly edge option. After you finish the eyelet round near the top, work three single crochet stitches into each chain gap for the following round, then return to working one stitch in each stitch as normal. This creates a soft ruffle that suggests a pleated dumpling top.
🍵Construction Overview for Crochet Dumpling Bag Pattern Overview
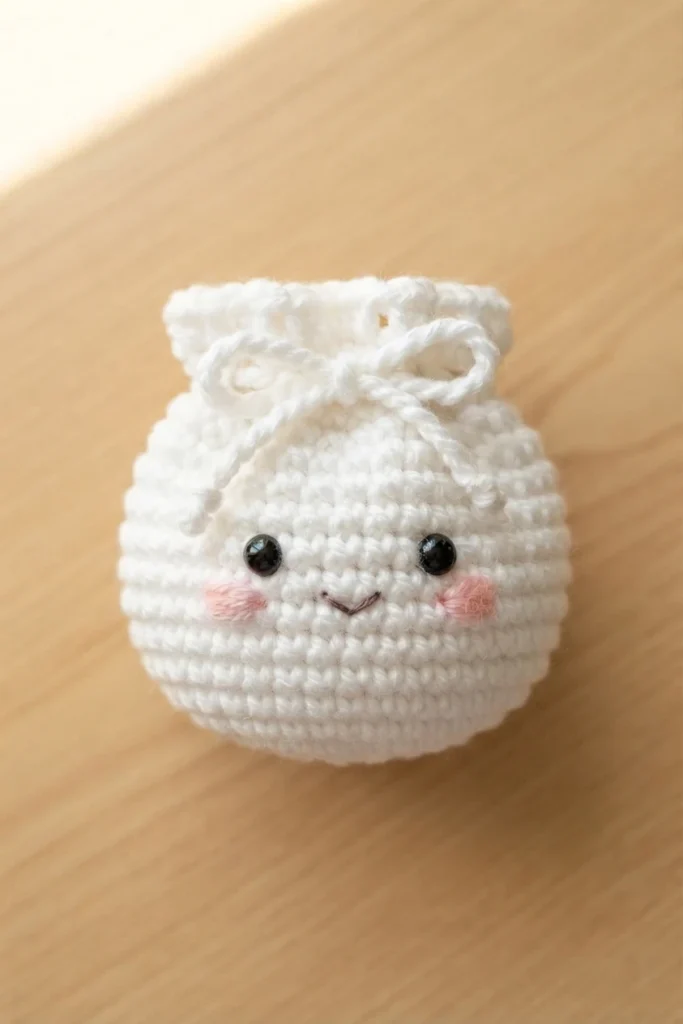
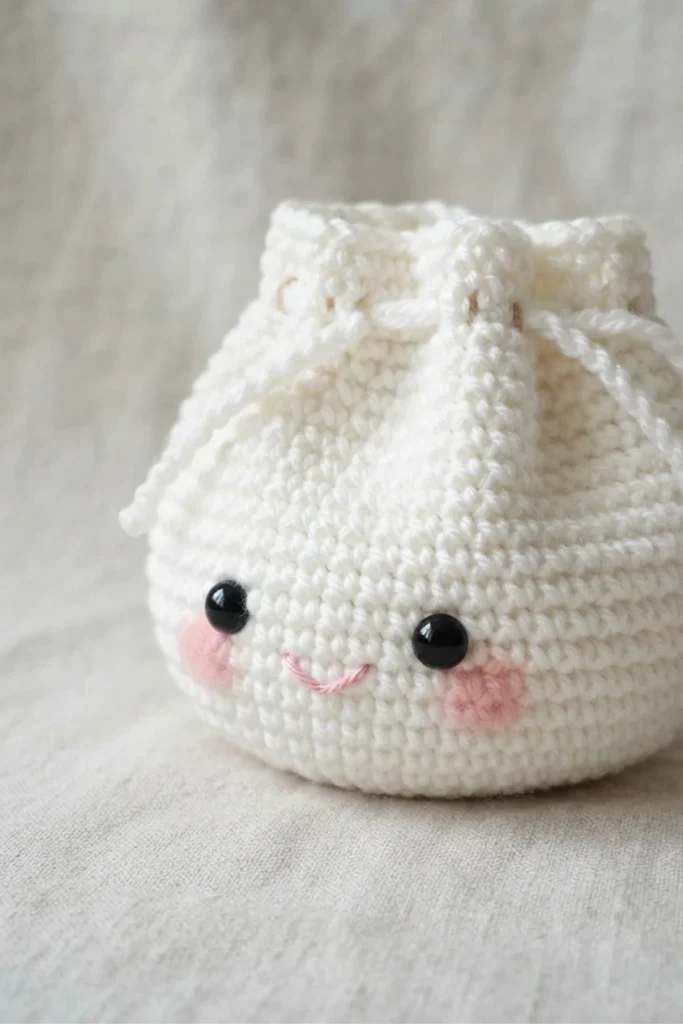
The bag is worked in rounds from the bottom up, starting with a small circle that grows through steady increases into a round base. Once the base is wide enough, the sides are built straight upward to form a soft pouch with plenty of curve. Near the top, an openwork round creates evenly spaced gaps that later become the channel for the drawstring.
This approach gives the dumpling its plump, gathered look when the drawstring is pulled closed. The face is added separately after the main shape is complete, which lets you position the features just where you like them. Because this is an overview, refer to the original pattern for exact stitch guidance rather than following these summaries as instructions.
Drawstring
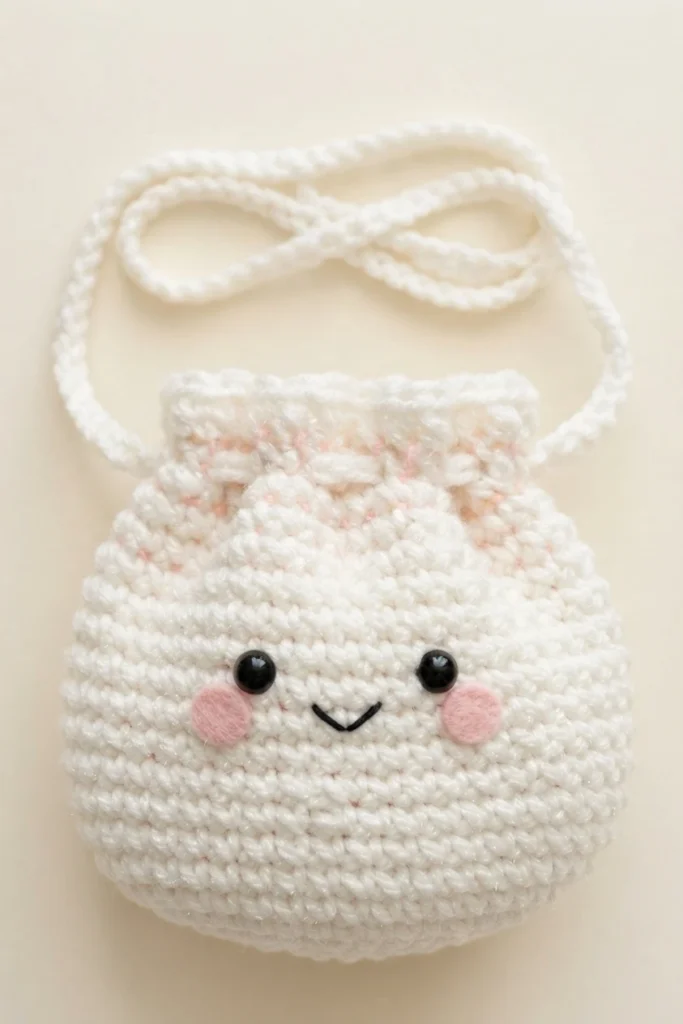
The drawstring is made separately with the smaller hook as a long simple chain. The source suggests a chain in the 170-200 range, so you can choose a shorter or longer tie depending on how you want the bag to hang and gather. Once made, it is woven in and out of the eyelet gaps near the top, then the ends are sewn together to form a continuous loop.
Cheeks
The cheeks are tiny round appliques made with light pink yarn and the smaller hook. They are quick to crochet and finished with a long tail left for sewing, which makes attachment simple and secure. Placed low on the face, they add a sweet blush that balances the dark safety eyes and embroidered mouth.
Finishing
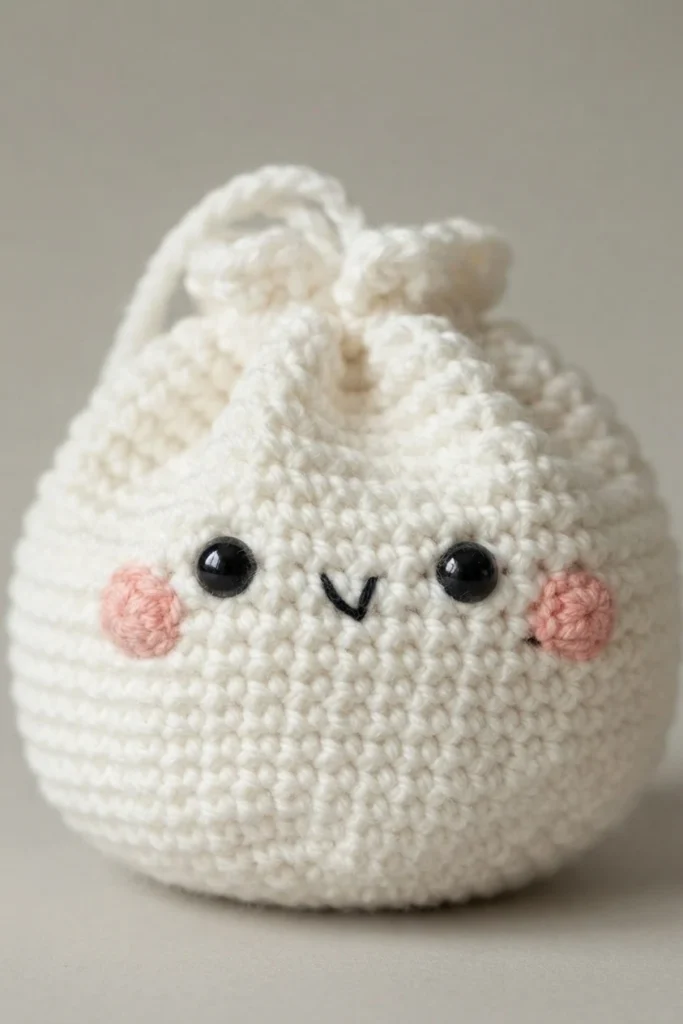
For the face, the source suggests placing the safety eyes somewhere between rounds 18-20, spaced roughly 5-7 stitches apart, but you can adjust to suit your taste. The pink cheeks are sewn on next, and the mouth is embroidered with black yarn. Weave in all loose ends neatly, and consider adding an optional fabric lining if you want extra stability for daily use.
🐌Expert Tips
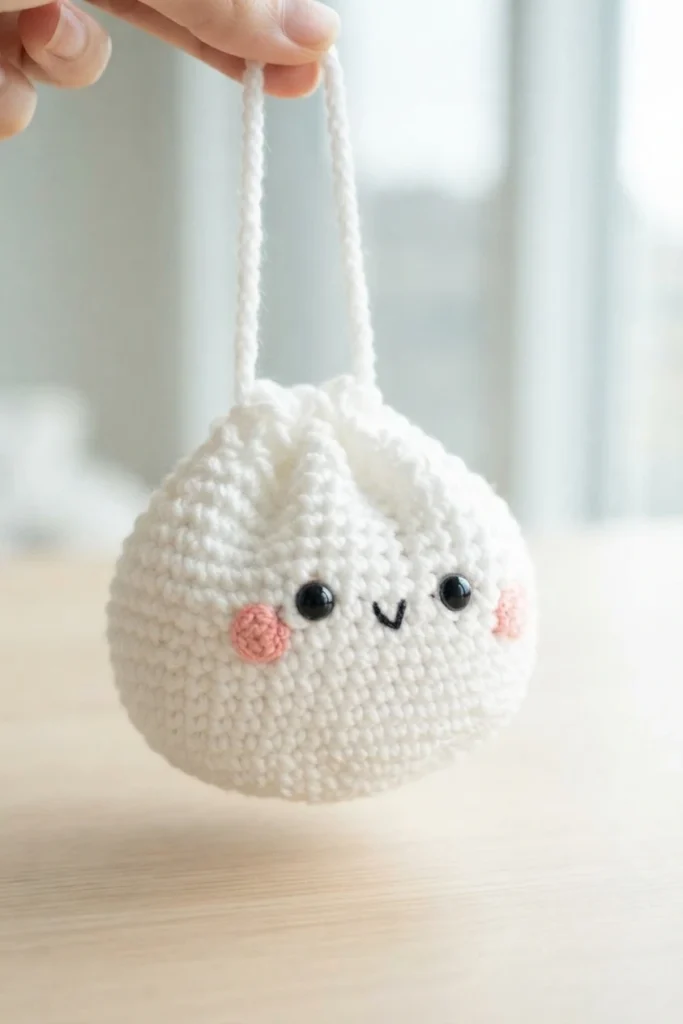
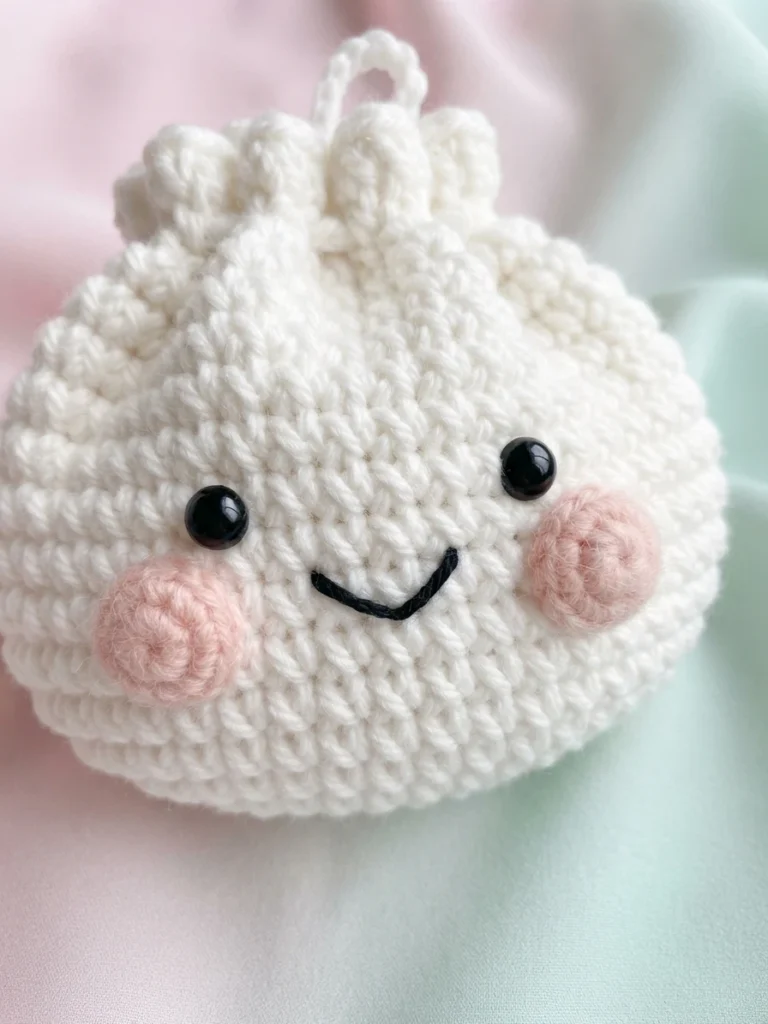
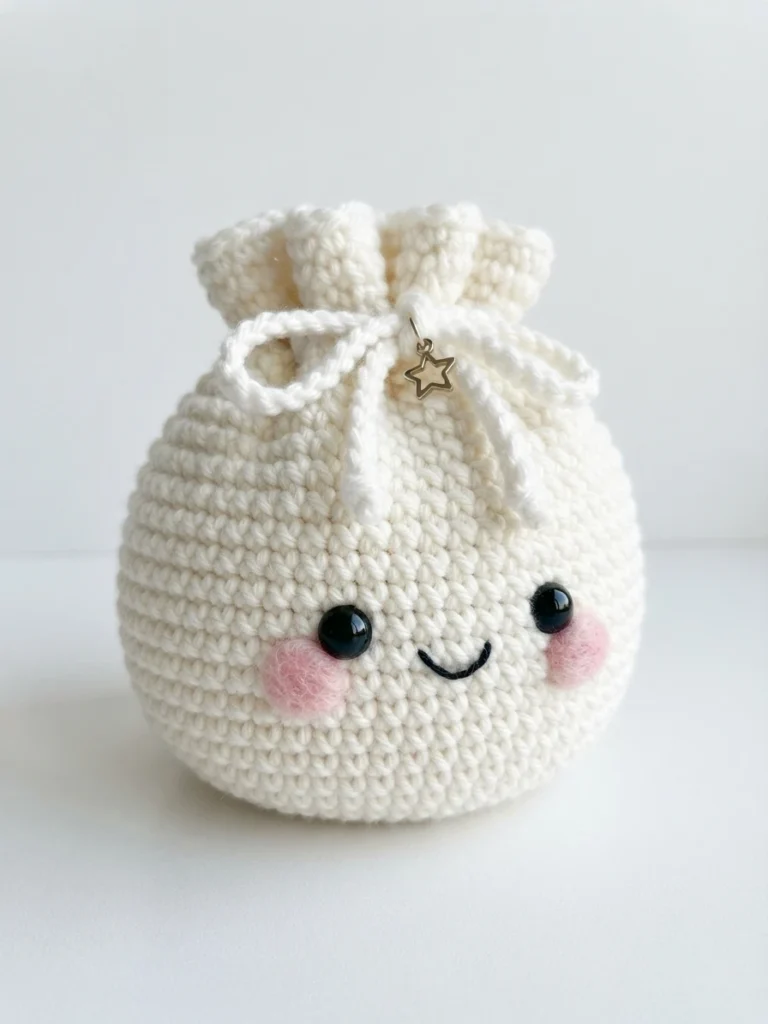
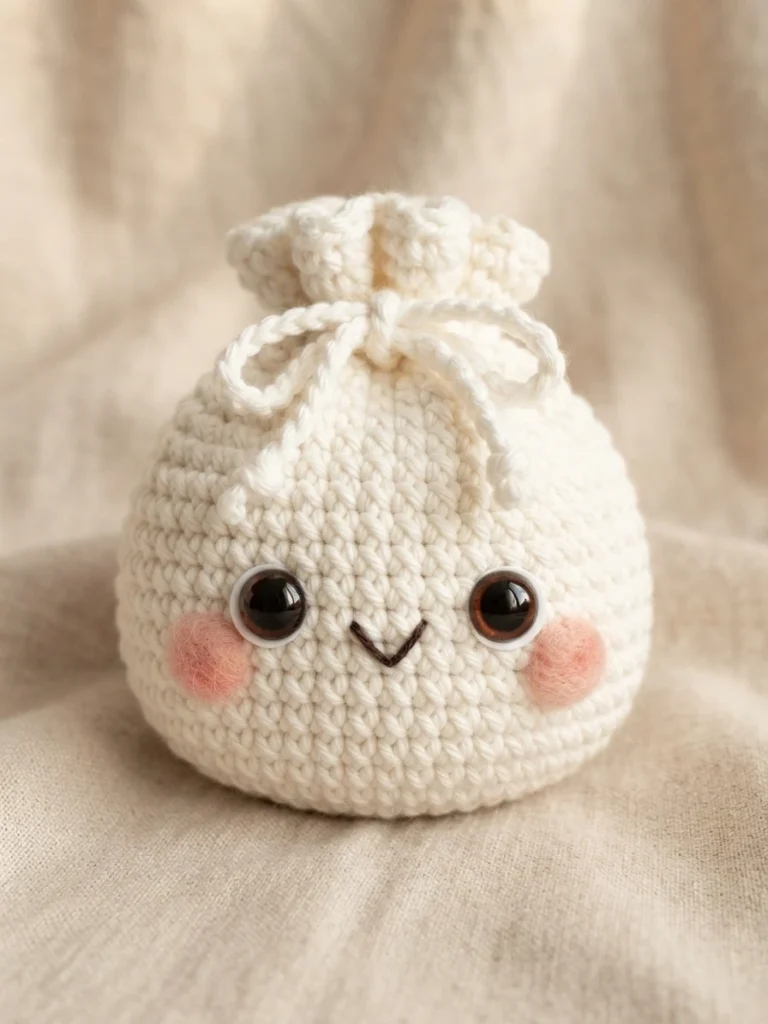
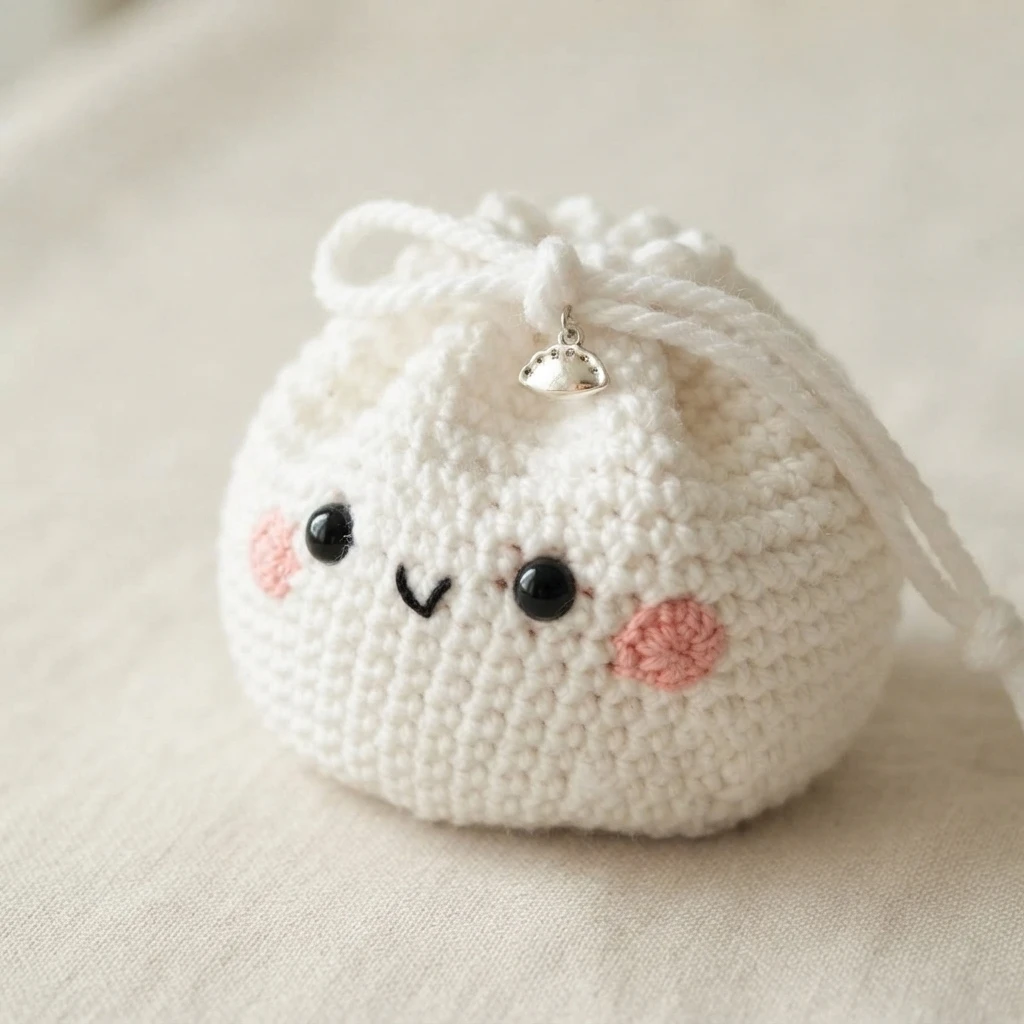
Test the drawstring before you finish it off. Thread it through the eyelets and try the bag on yourself, even if it is a gift, to check where it sits and how the gathers fall. Trying different cheek or mouth colors can give your dumpling its own personality, and small charms on the tie add a personal touch without much extra work.
Crochet Dumpling Bag Pattern Overview
This overview summarizes a cute food inspired purse by Kimberly Arenas, designed to be simple enough for confident beginners while still enjoyable for more experienced makers. Use it to decide on yarn, hooks, and custom details before you open the full pattern. For stitch level guidance, always rely on the original designer instructions rather than this summary.
Materials
All of the supplies from the source are grouped in the Materials Needed checklist earlier in this article, so you can prepare everything at once. That section reflects the exact yarns, notions, and hook sizes the designer lists, without adding extras. Checking it before you start helps you avoid mid project trips for missing tools.
Abbreviations (US terms)
The three US terms used in this project are explained under Abbreviations to Remember earlier in the overview. Referring back to that short glossary will keep your reading consistent as you review the construction summary. No other special stitches are introduced in the source material for this design.
Notes
Key practical notes about yarn weight options, the small carry size, and ways to get a firmer fabric are covered in Things To Note near the start of this guide. Those points reflect the designer cautions about size and structure. Reviewing them before choosing yarn will help you get the look and function you want.
Construction Overview
The following sections break the project into its main parts in the order the source presents them. Each part builds on the last, from the pouch itself through the tie, facial details, and final assembly. Use these summaries to understand the workflow before consulting the full pattern.
Dumpling Bag
The main pouch forms the dumpling body and gives the project its soft volume. It begins as a flat circle and grows outward, then continues upward to create depth for your items. The upper edge includes the eyelet spacing that later holds the drawstring, which is what creates the gathered dumpling silhouette when closed.
Drawstring
This tie controls how the bag opens and closes while adding to the cute gathered effect. Made with the smaller hook for a neat cord, it threads through the top eyelets and joins into a loop. Testing the length on yourself helps you find a comfortable drop before securing the ends.
Cheeks
These small pink circles bring the face to life and are among the quickest parts to make. Worked separately and sewn on by hand, they sit below the eyes to suggest a blushing expression. Leaving a generous tail for sewing, as the source advises, keeps this step simple and tidy.
Finishing
Final assembly is where the personality comes together. After positioning the safety eyes and attaching the cheeks, the mouth is embroidered to complete the sweet expression. Take time to weave in ends neatly so the inside looks clean. The result is a finished dumpling purse ready to carry your essentials.