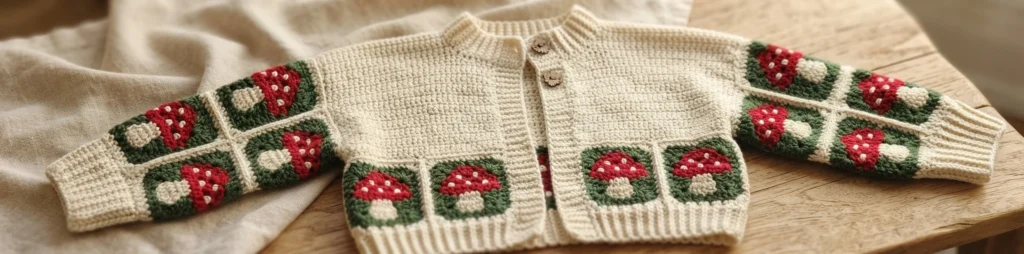
Project introduction
This is an overview of a freehand cardigan project, not a complete or graded pattern. It introduces the choices and construction ideas behind Monica Fox’s mushroom granny square cardigan. Use it to plan a similar garment or a different design, and consult Fox Creations’ original tutorial for the creator’s detailed project notes.
How to Crochet Your Own Mushroom Cardigan
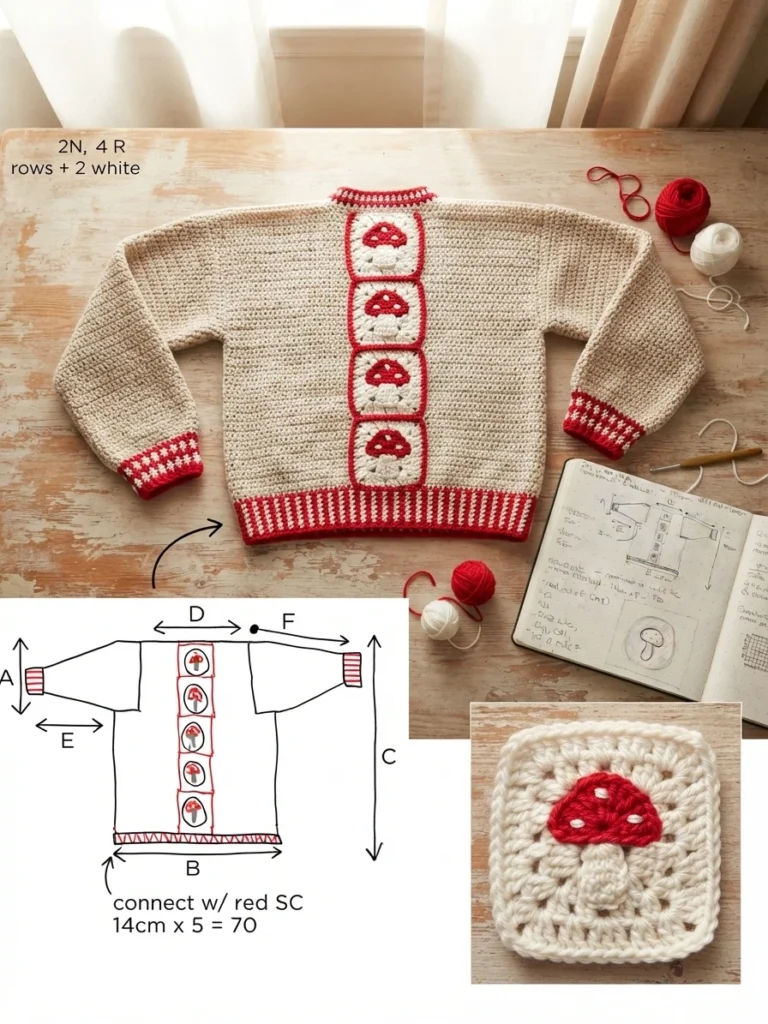
Monica Fox of Fox Creations made a custom cardigan with mushroom granny squares. Its design brings together joined squares, crocheted panels, shaped sleeves, neckline and hem trim, and square pockets. Fox describes the source as a tutorial for freehanding a cardigan, rather than a pattern. The sample figures below belong to this one project, so they are not universal sizing guidance.
Read Fox Creations’ freehand cardigan tutorial for the creator’s full account and stitch abbreviations. This overview summarizes design choices and sample details, but it does not replace the source or provide a complete set of directions.
Materials and tools mentioned for the sample:
- KnitPicks Brava 500 Worsted yarn is named for the sample square. Red is used to join the squares and in the sample panels; white, green, and grey appear in the trim. The source does not give a total yarn quantity.
- A 5.5 mm hook was used for the sample square. The source changes to a 5 mm hook for the remaining trim and the bottom and cuff ribbing.
- Stitch markers are suggested for tracking row edges and pocket placement. Sewing pins can help hold the pocket squares in position during attachment.
This is a list of materials and tools mentioned in the source, not a complete shopping list or a supply estimate.
Sketch Your Design and Measurements
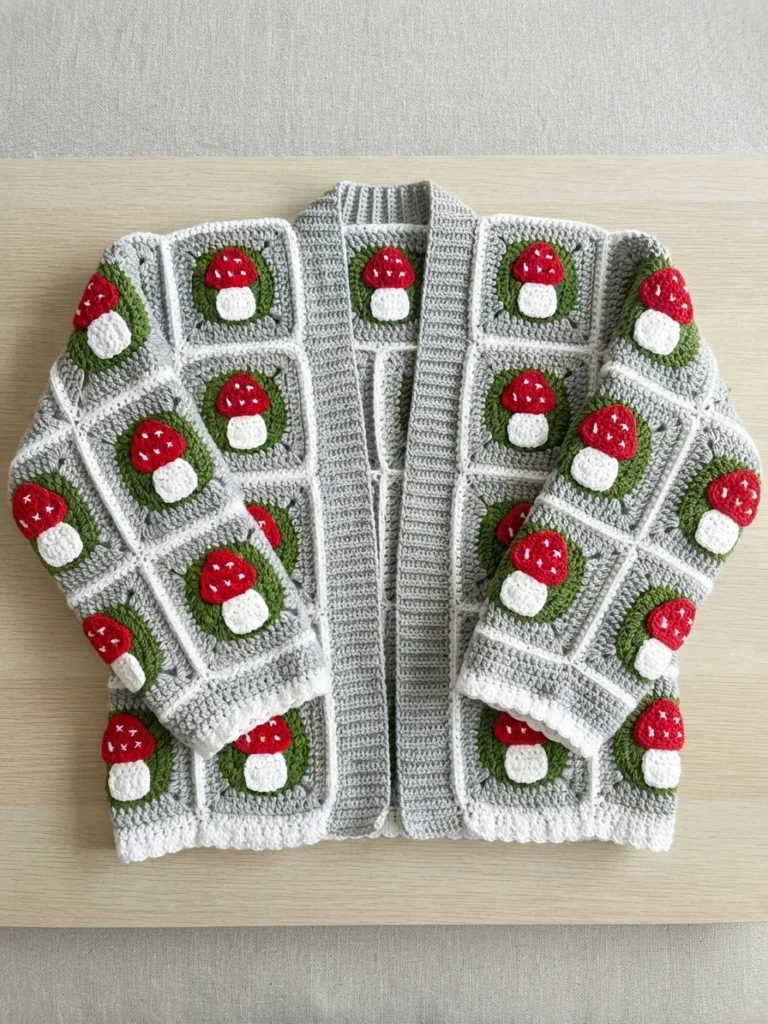
Start with a rough sketch to establish the garment’s shape and the placement of any decorative squares. Fox’s concept puts mushroom granny squares down the back. She chose a modified drop sleeve to reduce bulk at the shoulders and suggests a regular drop sleeve as an alternative for people new to garment making. Dora Does has an article about crochet garment construction that may help when considering a shape.
Use a well-fitting garment as a measurement reference, or consult the Craft Yarn Council standard sizes. Record the measurements on your sketch so they are handy as the project develops. Fox’s sample lists A as 25 cm, B as 65 cm, C as 70 cm, D as not determined, E as 40 cm, F as 53.5 cm, and the drop-shoulder indent as 6 cm. Treat those numbers as the creator’s sample notes, not a fit recommendation.
Granny Squares
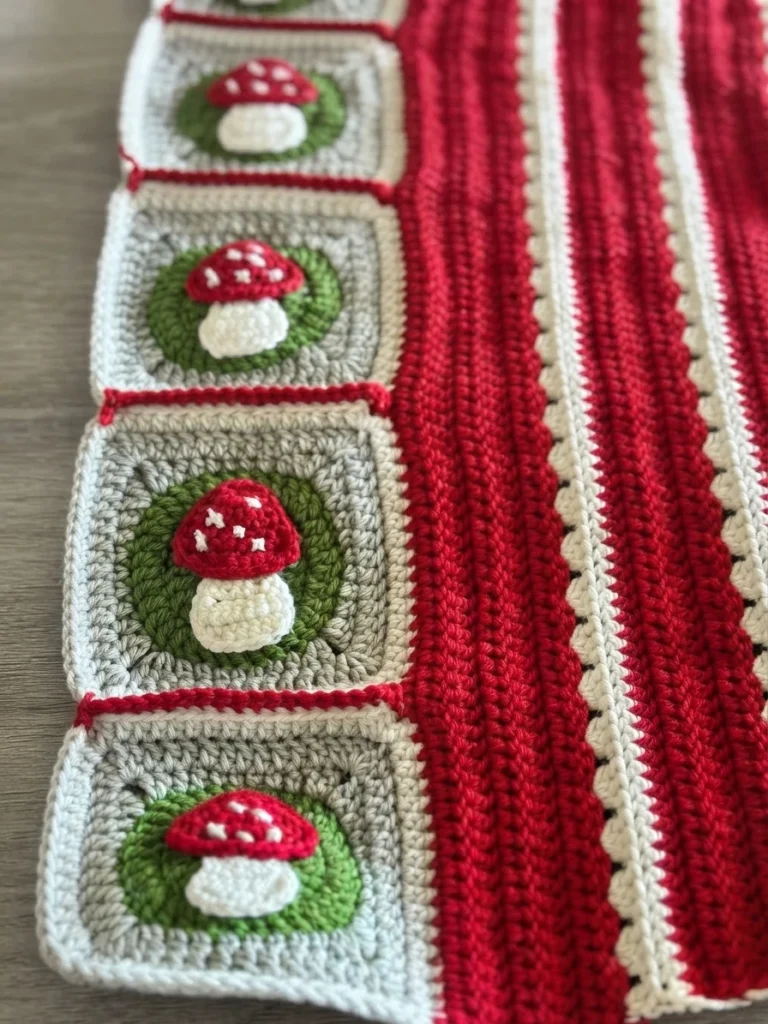
If your design uses squares, make a sample with the yarn and hook you plan to use and check how the fabric drapes. A square that is too stiff may not work well in a garment. Fox created the Mushroom Granny Square for this cardigan. In the sample, KnitPicks Brava 500 Worsted and a 5.5 mm hook made an unblocked square about 14 cm across.
Fox used five squares to make a 70 cm back length and two additional squares for pockets, seven squares altogether. Account for the planned bottom trim when considering the garment’s length. Blocking can give a more accurate square measurement, though Fox notes that a slightly larger square was acceptable for this project. The squares were joined with red single crochet.
Back Panel
Fox worked the back panel side to side across the joined squares. A stacked single crochet replaces the usual beginning chain or stitch in the sample, helping keep the row edges neat. The panel begins with single crochet along the squares and has 95 stitches in the sample. Fox used red and white sections for the striped effect, beginning the sleeve shaping at row 21.
The shoulder openings are shaped by cutting and reattaching the yarn. For the sample, the opening is based on half of measurement A; Fox counted 40 stitches before continuing across the remaining section. The other side follows the same construction in reverse. These details explain the sample’s landmarks, not a graded recipe: adapt measurements to your sketch and use Fox’s tutorial for the source’s row-by-row notes.
Front Panels
The front panels echo the back’s fabric and color approach, with the neckline width or ribbing allowance included in the layout. Fox placed a marker at the top of the back panel to identify the neck area, then recreated the corresponding section for the fronts. Each sample front begins with 95 foundation double crochet stitches in red and another double crochet row, followed by the back panel’s general pattern and sleeve shaping.
At the shoulders, match the fronts to the back with right sides together and the wrong side facing outward. Fox sewed the shoulder seams with red yarn and mattress stitch. Compare the neckline and panel proportions with your own sketch rather than assuming the sample numbers will suit every wearer.
Sleeves
Fox chose tapered sleeves and worked them directly onto the cardigan body between the indents formed by the front and back panels. The sample opening provided 76 double crochets. For help considering sleeve shape, the source points to Dora Does’ separate article on sleeve shaping for crochet garments.
The example sleeves finish with 30 stitches at the wrist and 39 rows in total. Decreases are placed in red rows, with more decreases in the final four red rows. These counts describe Fox’s cardigan, not a standard sleeve formula. Decide on the wrist circumference and sleeve length for your own garment before working out the shaping. Once the sleeves are complete, Fox slip stitched the cardigan sides together with right sides facing, then sewed the sleeve undersides using mattress stitch. Refer to the original tutorial for the complete sequence.
Neck Trim & Pockets
Neckline treatments can include ribbing in the main or a contrasting color, granny stripes, or chevrons. Fox used red, green, grey, and white to echo the square colors, combining single crochet and half double crochet with front-loop and back-loop work. The sample starts with red single crochet around the neckline, including a decrease at each shoulder seam to round the trim. Green and grey rows follow, then the white rows from the front and back panels, and two red finishing rows.
The hook changes to 5 mm for the remaining trim and the bottom and cuff ribbing. After the neckline is finished, attach the extra mushroom squares to the cardigan fronts as pockets. Mark the intended positions and use sewing pins to hold the squares while attaching them. This can help prevent the pockets from shifting or sitting unevenly.
Bottom Trim and Cuffs
The sample uses understated red ribbing so the mushrooms and white stripes remain prominent; a contrasting color is another option mentioned by Fox. For the bottom edge, single crochet into the edges of the front and back panel stitches. The sample uses six stitches for each red stripe and two for each white stripe, but Fox advises adjusting the spacing if needed to make the trim sit well.
The source describes a five-row bottom trim where the fifth row consists of single crochet in each stitch. The cuffs use the same general ribbed look in rounds, joined with slip stitches and worked without turning. The sample cuff begins with 30 single crochet stitches and finishes with an invisible fasten off. These details describe the sample construction, so consult the original tutorial before attempting to match its exact sequence.
The source uses US crochet terms: sc means single crochet, dc means double crochet, flo means front loop only, blo means back loop only, fpdc means front post double crochet, and bpdc means back post double crochet. Asterisks indicate stitches to repeat, square brackets group stitches worked in the same stitch, and parentheses show stitch counts.
Extra Trips
Freehand garment making can involve undoing and reworking sections as you compare them with your plan. If row edges become uneven, place a stitch marker in the first and last stitch of each row. Markers make the row boundaries easier to track and can help reveal a skipped or added stitch.
For care and blocking, follow the washing instructions for your yarn. Fox usually washes and dries garments on low, but recommends testing the same treatment on a swatch of the stitches used before applying it to the finished garment. The source cautions that heat can loosen acrylic stitches, so test carefully before exposing the project to heat. Keep your measurements and swatch nearby as you make choices about fit, fabric, and care.