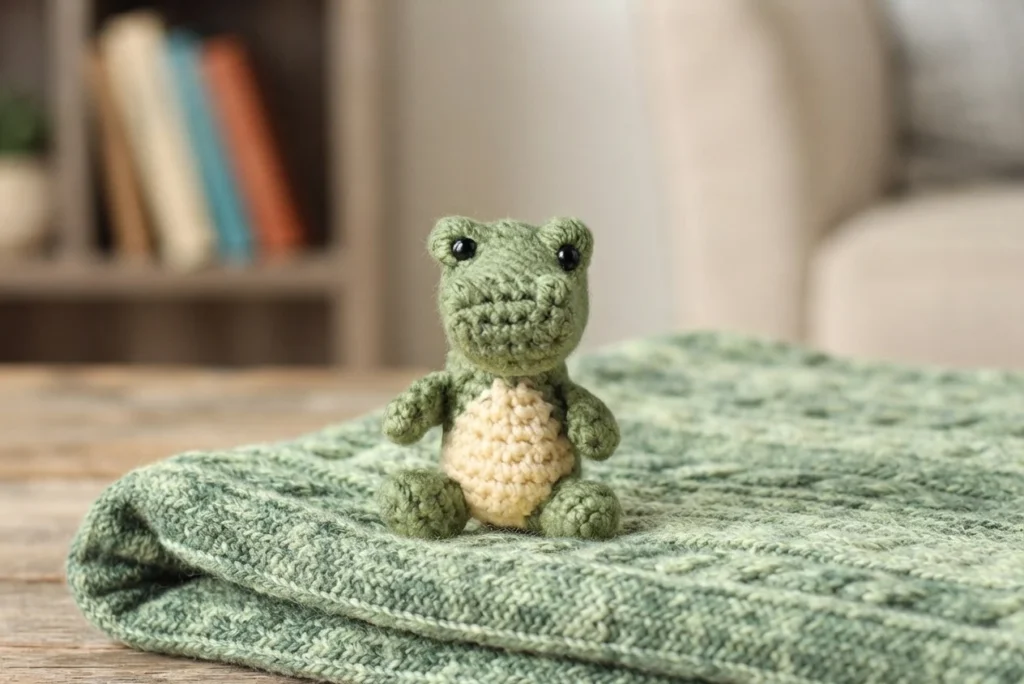
Project introduction

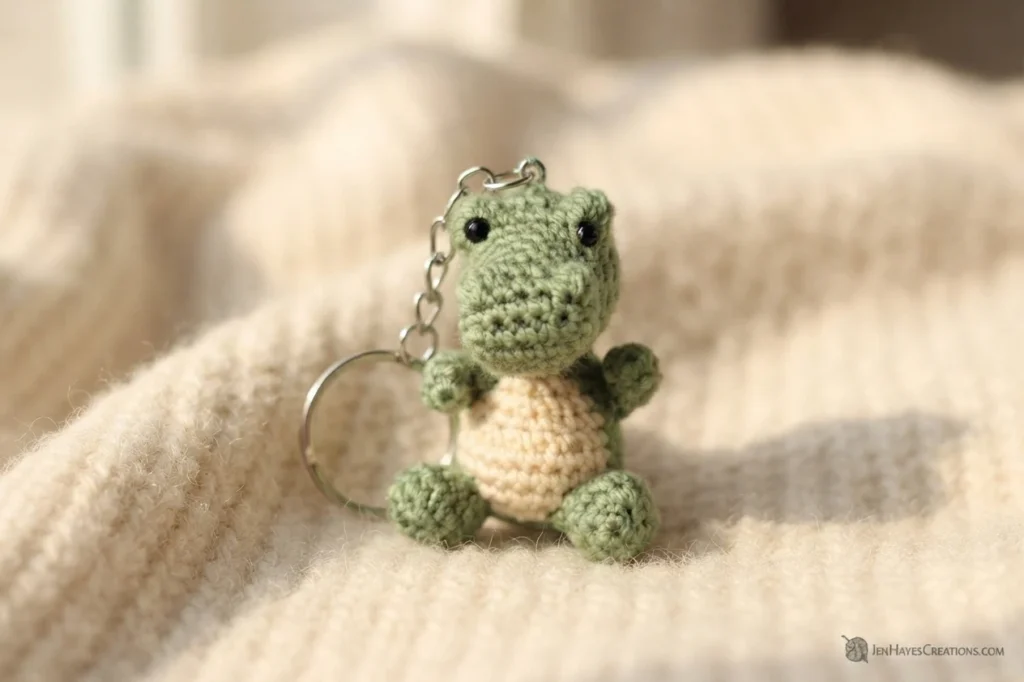
This overview introduces a compact amigurumi alligator by Jen Hayes Creations, a small project with a playful shape and an optional contrasting belly. Work it in one shade for a simple look, or add a second shade for a two-tone finish. The size keeps yarn needs low and suits a short session, a tiny plush, a gift, a craft-fair item, or a charm. The level is Advanced Beginner, with mostly single crochet plus optional color changes, surface stitching, bobbles, and shaping around both sides of a starting chain. For the full directions, see the Original designer’s pattern and instructions.
Already Have Something on Your Hook?
If another project is already on your hook, save this overview and return later. Keep it in a bookmark folder for future amigurumi ideas. When your current work is done, you can revisit the supply list, pick body and belly colors, and start fresh.
Prefer a Printable, Ad-Free PDF?
If you like paper, the designer also offers a printable, ad-free PDF version of this pattern. That format sits well beside your yarn basket, without screen glare or scrolling. The web version described here is free to read on the designer page, while the printable PDF is a separate format. Check the original page for current format details.
The Inspiration
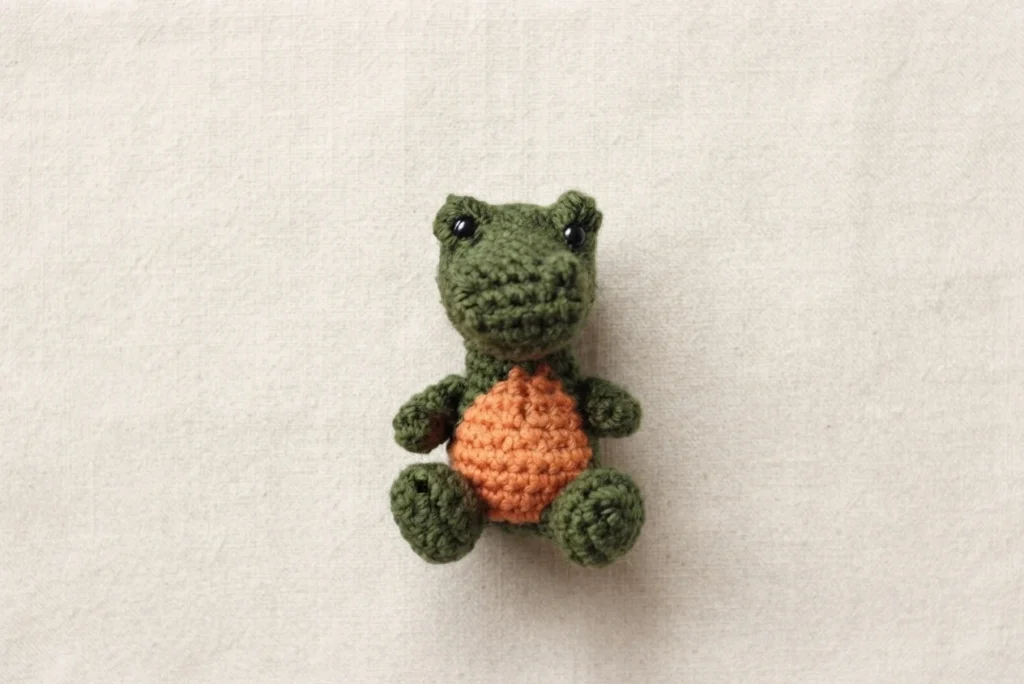
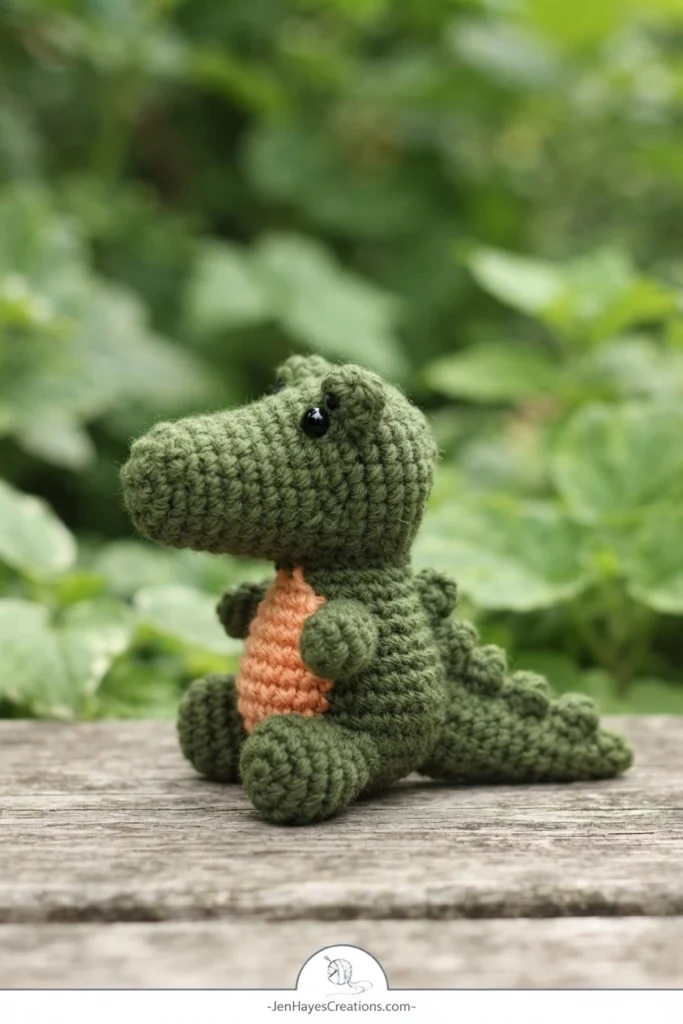
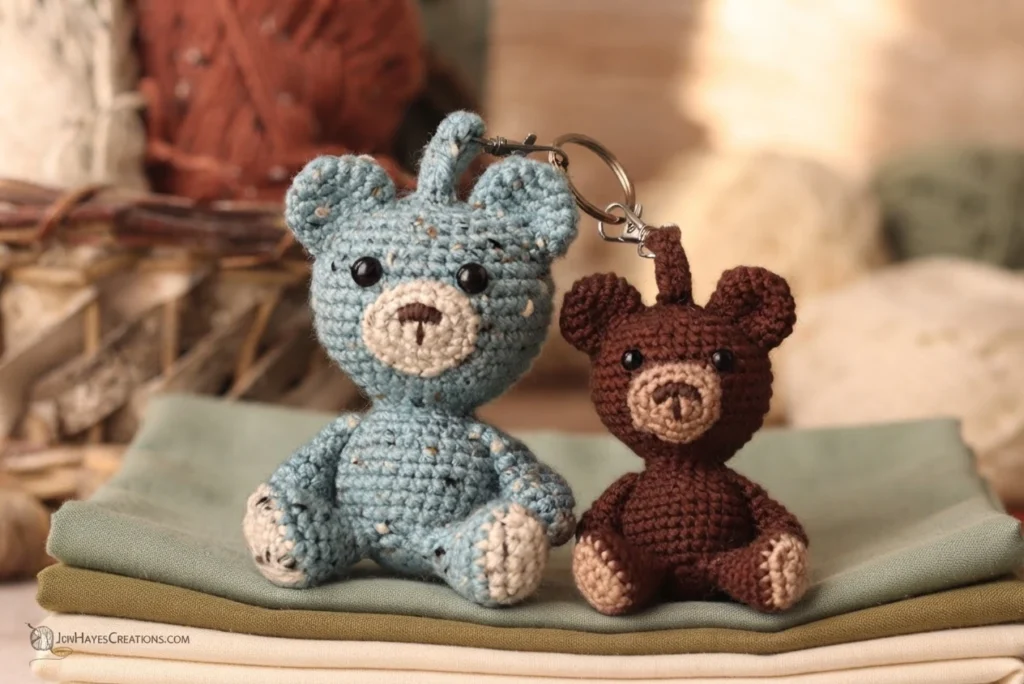
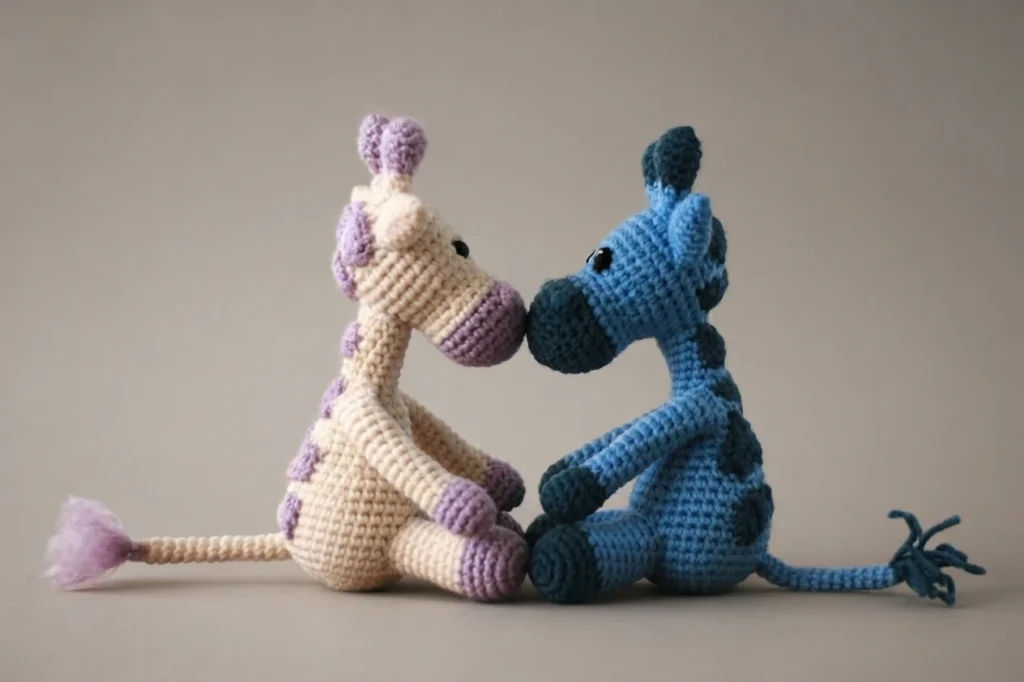
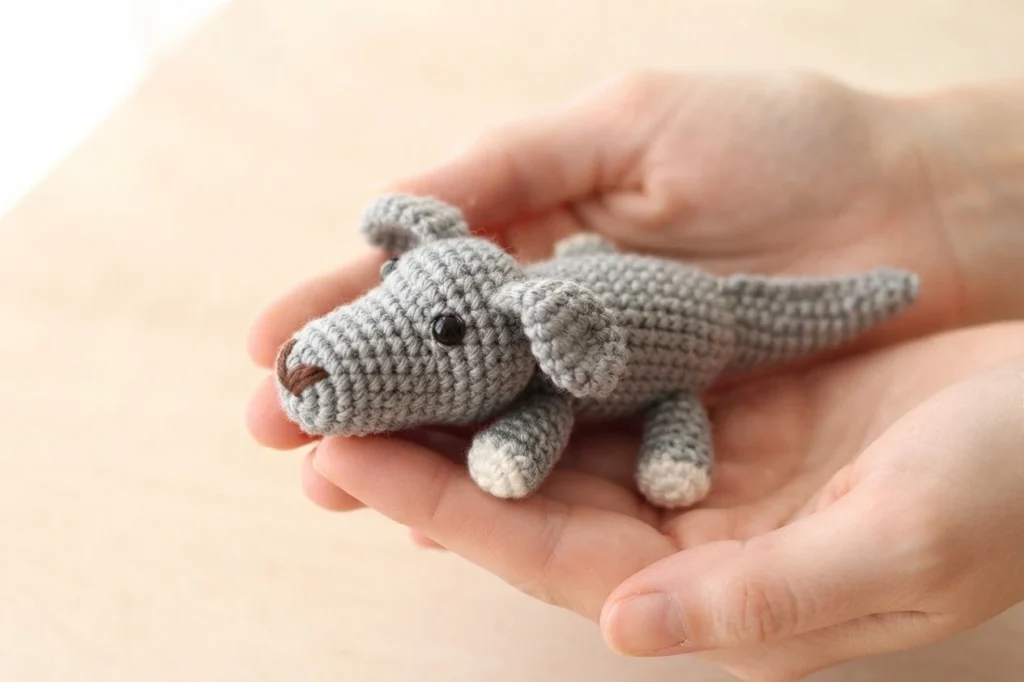
This alligator began as part of a wider plan to add more dolls and animals to the designer blog. Readers had asked for small, quick projects, so miniature worsted-weight versions were planned alongside the animal ideas. The animals were set to begin with A and move through the alphabet, with later choices shaped by personal ideas and reader suggestions. An alligator came first because one of the designer’s children loves alligators. Larger alligator designs were planned for later.
The Yarn
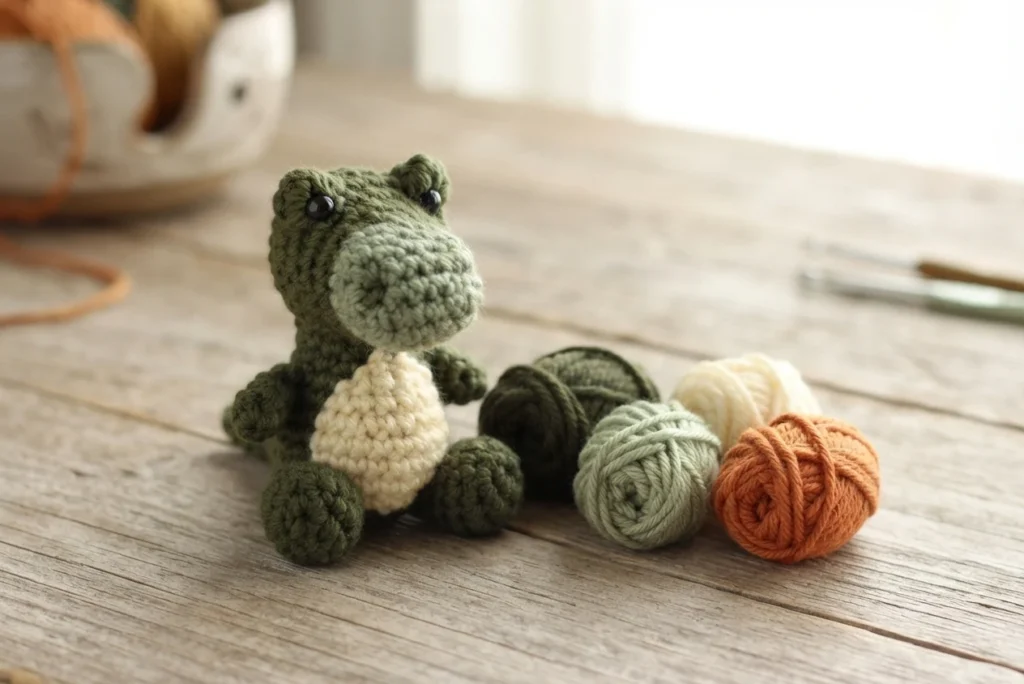
The sample uses Hobby Lobby I Love This Yarn, a softer acrylic in worsted weight, size 4, offered in many colors and styles. It can be bought at Hobby Lobby in-store or online, and at the time of writing, on Amazon. Light Sage and Dark Olive provide the green choices, while Cream, a soft yellow, and Desert Glaze, an orange, provide the belly choices. Each alligator needs only a small amount, so any leftover green and almost any belly shade can work.
For dye lots, buy all yarn at once for a larger project, since colors can look consistent yet not match exactly.
Substitutions
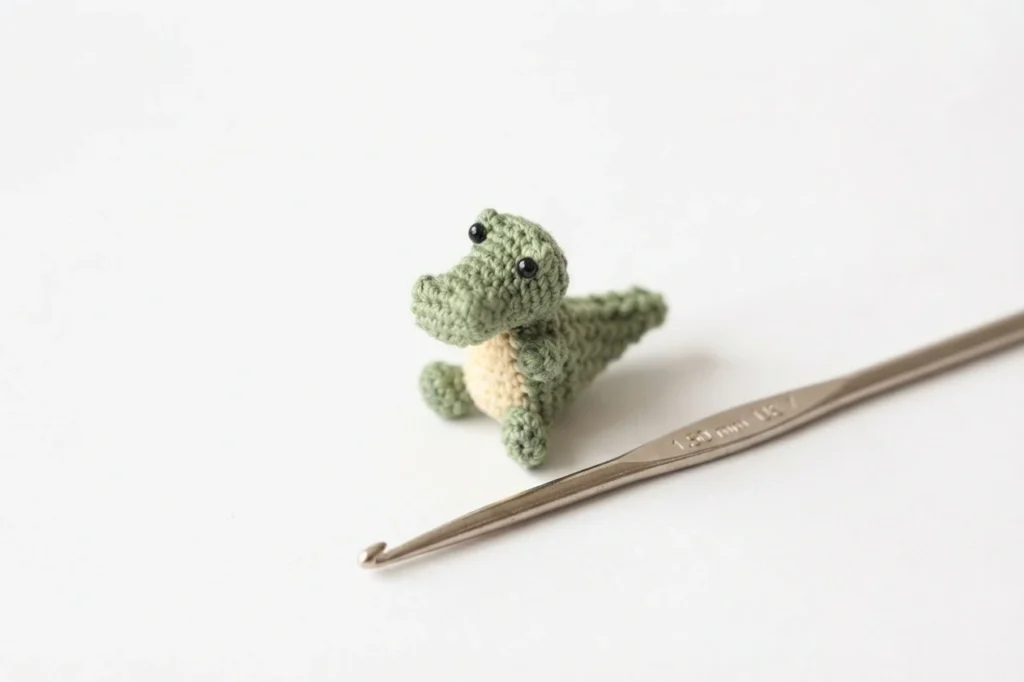
If you prefer another brand, any worsted-weight acrylic of similar thickness should work, though finished size may shift a little by brand. When mixing brands in one piece, keep thickness matched so stitching stays even. Cotton yarn should also work. The same design can become a tiny thread version with a 1.50 mm hook and size 10 cotton crochet thread.
The Pattern Overview
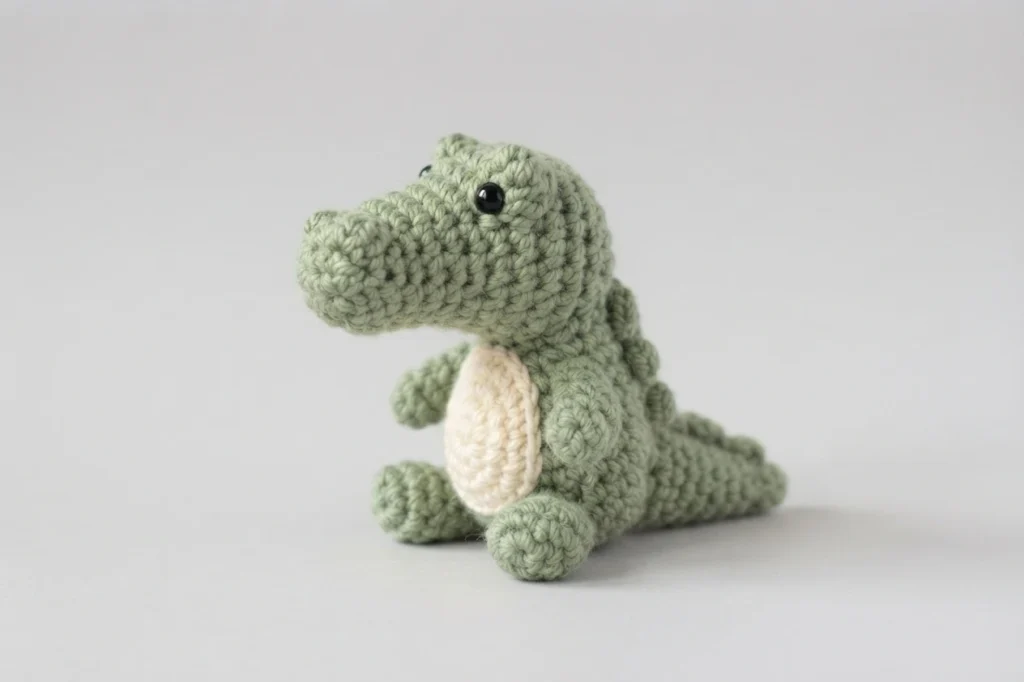
This section gathers the practical facts you need before you begin. It covers skill level, supplies, gauge, finished size, design notes, abbreviations, and special stitches. Later sections outline the separate pieces, from arms and legs to head, body, tail, assembly, and an optional keychain finish. Use it as a checklist, then follow the designer page for complete directions.
Difficulty
The level for this pattern is Advanced Beginner. You should feel steady with single crochet, simple increases, and simple decreases before you start. The project then offers room to practice optional color changes, surface stitching, bobbles, and shaping around both sides of a starting chain.
Materials

Gather the items below before you begin. The first group covers the standard worsted version, and the last group covers the tiny thread version.
- Standard yarn: Hobby Lobby I Love This Yarn, worsted 4-Medium, 100% acrylic, 355 yds/325 m, 7 oz/199 g. Color A is Light Sage or Dark Olive, approx. 35 yds/32 m used. Color B is Cream or Desert Glaze, approx. 9 yds/8 m used.
- Standard hook, eyes, and tools: E/4 hook, 3.5 mm, 6 mm safety eyes, tapestry needle, pins, scissors, stitch markers, and stuffing.
- Optional helpers: keychain, Dritz Disc Needle Pullers, and a chopstick, dowel, tweezers, or similar slim tool for filling small parts.
- Miniature version: 1.50 mm hook, size 10 crochet thread, Hobby Lobby Artiste #10 thread in Snow Pea for Color A and Lemon for Color B, plus 3 mm safety eyes or embroidered eyes, using the same design with one small change.
Gauge
Gauge is checked on the body opening. For the worsted version, use an E/4 hook at 3.5 mm and measure the first three rounds of the body, which should span approx. 1 1/8 inches (2.9 cm) across. For the thread version, use a 1.5 mm hook and size 10 thread, and the same three rounds should span approx. 0.5 inch (1.3 cm) across.
Finished Measurements
Finished height shows the scale. The worsted version, with an E/4 hook at 3.5 mm, measures approx. 3.25 inches (8.25 cm) tall. The miniature thread version, with a 1.50 mm hook and size 10 thread, measures approx. 1.5 inches (3.5 cm) tall. Both heights are approximations from the designer samples.
Design Notes
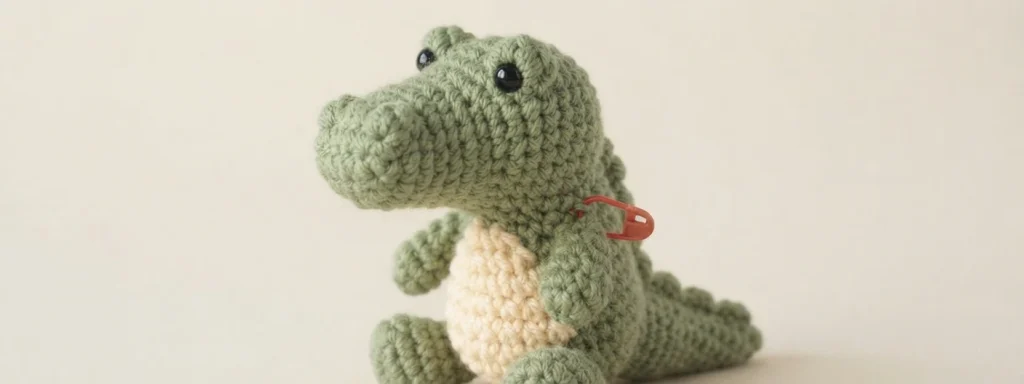
The designer pattern uses English and US crochet terms. Most work proceeds in continuous rounds, so keep a marker in the first stitch of each round and move it upward as you go. A stitch total in parentheses closes each round in the original directions. Change colors during the final step of the stitch, which keeps the new shade clean. Extra tips through the pattern support shaping and joining.
Safety note: safety eyes are not advised for children under three or for anyone likely to mouth the toy, since they can pose a choking hazard. Crocheted or hand-embroidered eyes make a good alternative.
Abbreviations/Stitches Used
This key explains the short forms used in the original directions. Keep it nearby while you work, since the same marks appear through the construction notes.
- sc: single crochet
- ch(s): chain(s)
- sl st: slip stitch
- MR: magic ring, also called magic circle or adjustable ring
- sc2tog: single crochet 2 stitches together, worked as an invisible decrease
- bo: bobble, explained under special stitches
- st(s): stitch(es)
- tog.: together
- approx.: approximately
- back bar of the ch / back ridge: horizontal bar on the backside of a chain
- [ ] / ( ): work the enclosed directions as many times as directed
- *: repeat the directions after the single asterisk as directed
Special Stitches
Two bobble sizes give this alligator its raised texture. The smaller one, called 3dcbo, joins three double crochet legs in the same stitch and closes them together. The larger one, called 6dcbo, joins six double crochet legs in the same stitch and closes them together. The larger bobble sits prouder, so watch the next stitch. Follow the designer page for the exact working method.
Prefer a Printable, Ad-Free PDF?
A printed copy can also help once you start crocheting. With an ad-free PDF, you can mark your place, keep notes in the margins, and avoid touching a screen with yarn-covered hands. The web version stays free to read, while the printable PDF remains a separate format. If you choose print, check current format details on the designer page.
Visit My Shops!
The designer also maintains shops where printable patterns and other designs are offered. Browsing those shops can help you find a format that fits how you like to work, or discover a related project for later. This overview stays focused on the free web version of the alligator, so use the original designer page as your main reference.
Save This Pattern for Later!
Once you have reviewed the overview, save it so the details stay easy to find. A saved link keeps the supply list, gauge, size, and construction notes together until you are ready to start. You can return after choosing yarn, compare the standard and miniature sizes, and begin with the pieces in the order that suits you.
Let’s Make Our Small Crochet Alligator!
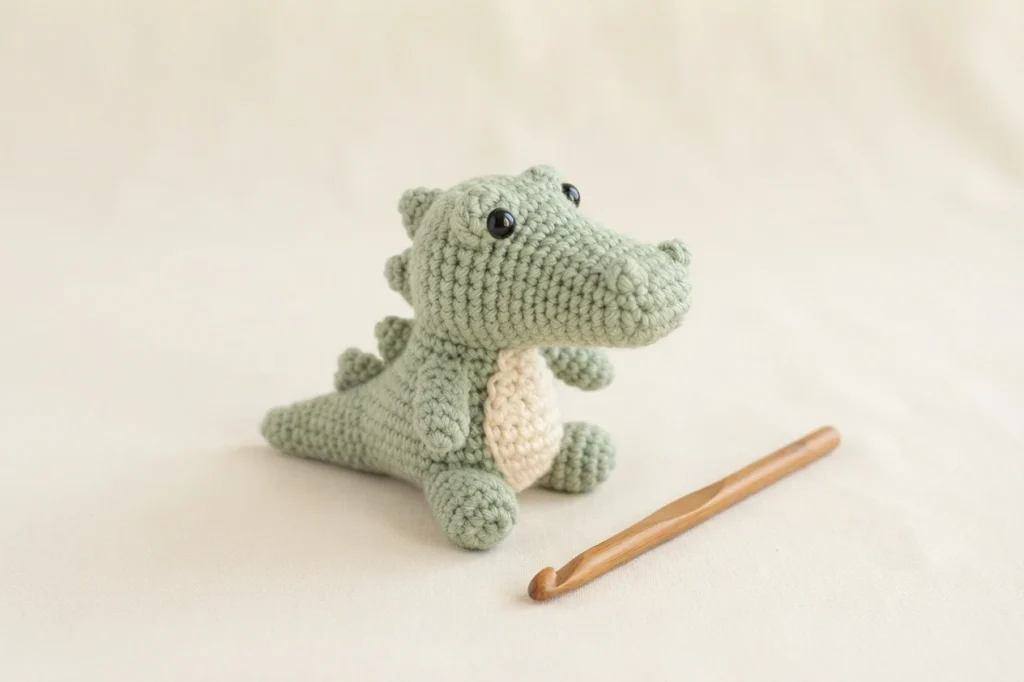
The alligator is built from separate pieces that are shaped, stuffed, and joined. You will make arms, legs, a head, a body, and a tail, then bring them together in assembly. An optional keychain finish turns the plush into a portable charm. The sections below outline each part in general terms, without repeating the designer row-by-row directions.
Arms
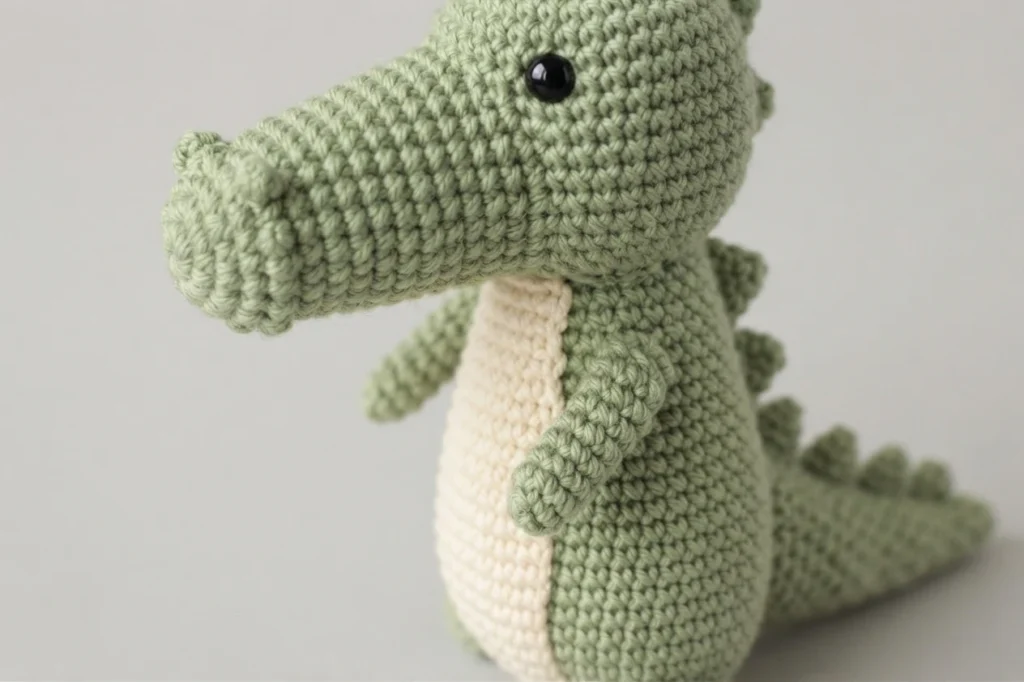
Make two arms in Color A. Each arm starts with a magic ring, with a chain start offered as an alternative in the original directions. The piece is worked in continuous rounds and stays unstuffed, apart from the starting tail tucked inside. At the top, the edges are pressed together and joined, then the piece is fastened off with a long tail for sewing.
Legs
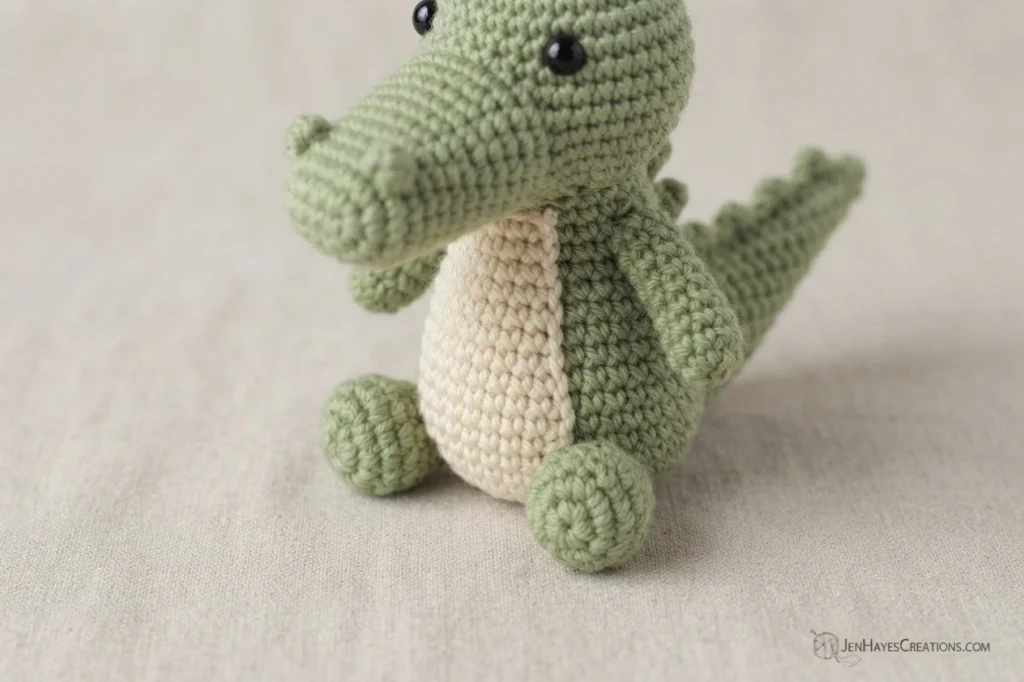
Make two legs in Color A. Each leg begins by working around both sides of a foundation chain, which creates a small oval base. Later rounds shape the leg into a compact form. The piece is fastened off with a long tail for sewing it to the body. Fill it firmly and shape it gently, so it holds its form beside the belly once joined.
Head
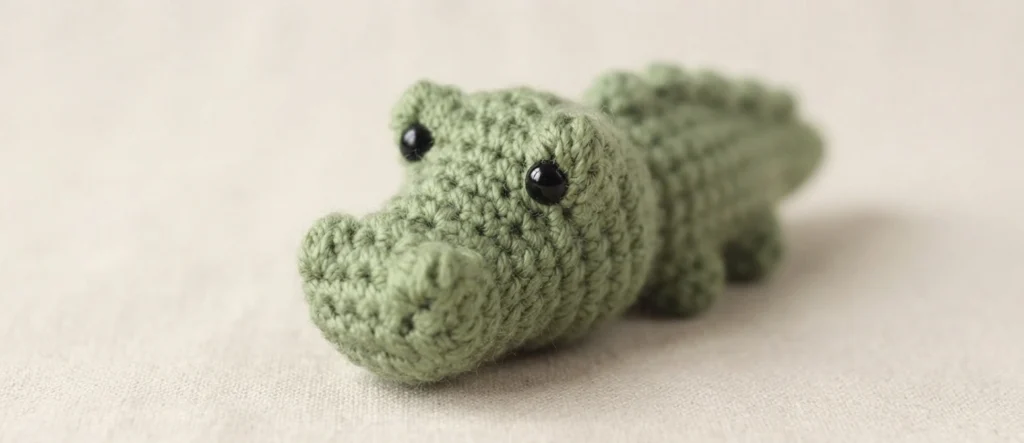
The head is worked in Color A, beginning with the snout. That snout is shaped by working around both sides of a foundation chain, then rounds build the head with shaping for a rounded form. Bobbles add raised detail, and the safety eyes sit at the front base of the larger bobbles, between rounds 9 and 10. Stuff and shape the head firmly as you go. Finish with a long tail, then close the opening through the front loops with a tapestry needle.
Body
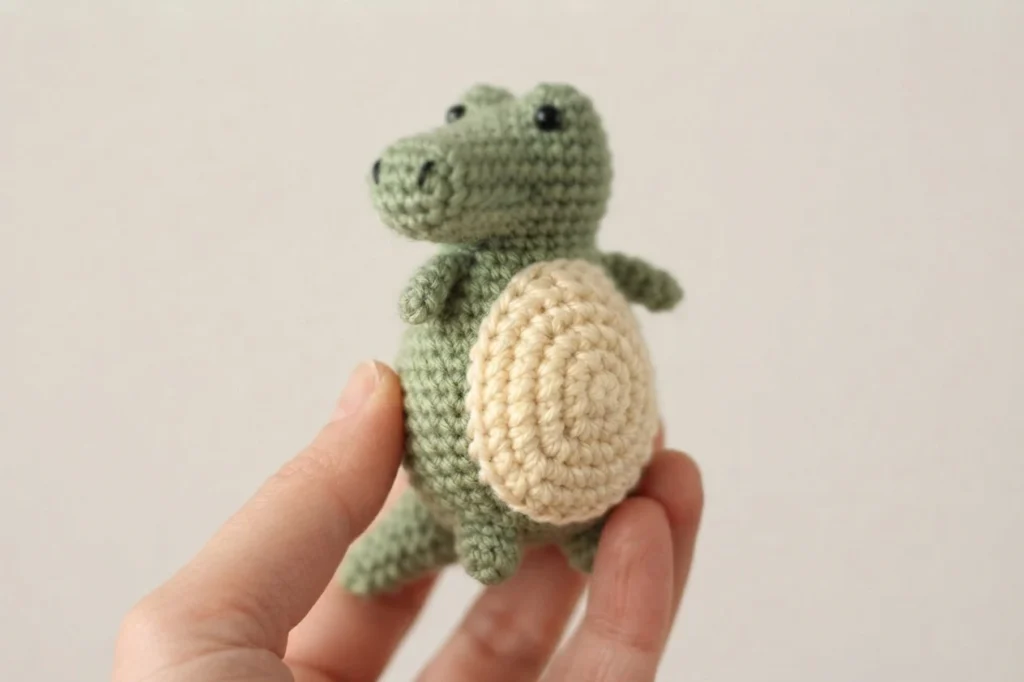
The body is worked in continuous rounds and carries the two-tone belly, with Color A for the back and sides and Color B for the belly. If you prefer one shade, the original offers an option to omit the changes and work all stitches in Color A. For changes, the designer notes two approaches: carrying long floats, or cutting and restarting each shade. The designer cuts and knots the tails. A slight skew can appear, yet the joined pieces balance the look. Fasten off, then stuff the body firmly.
Tail
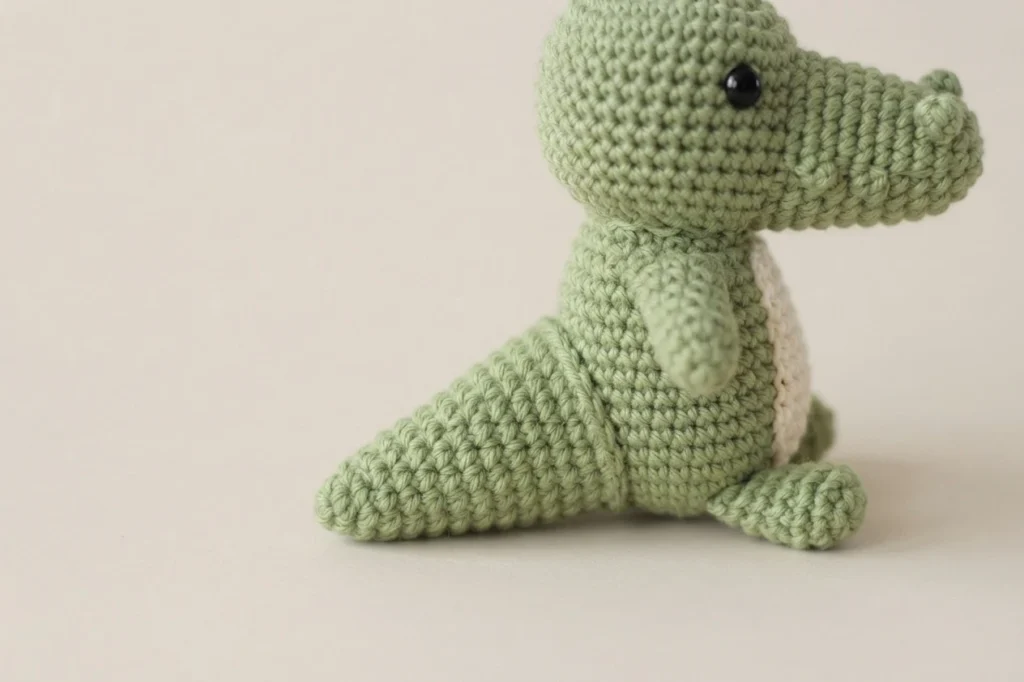
The tail is worked in Color A in continuous rounds. It starts with a magic ring, with a chain start offered as an alternative in the original directions. Rounds widen and then hold their shape to form a tapered piece. Fasten off with a long tail for sewing the tail to the body. Fill it firmly and shape it gently before joining.
Assembly
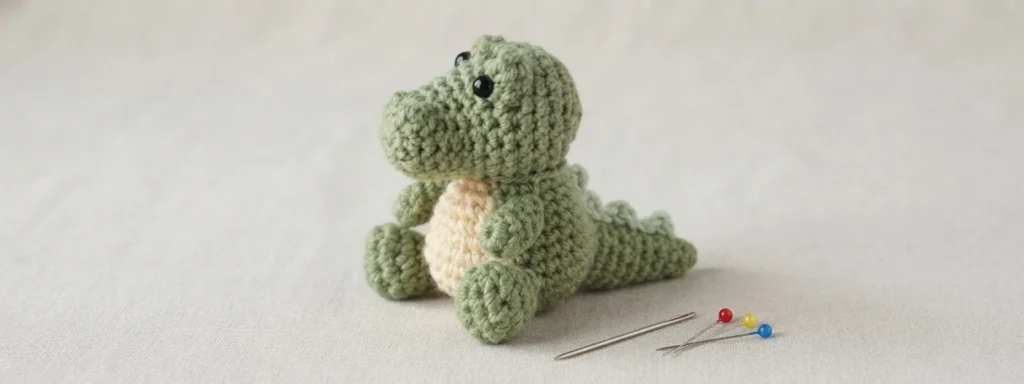
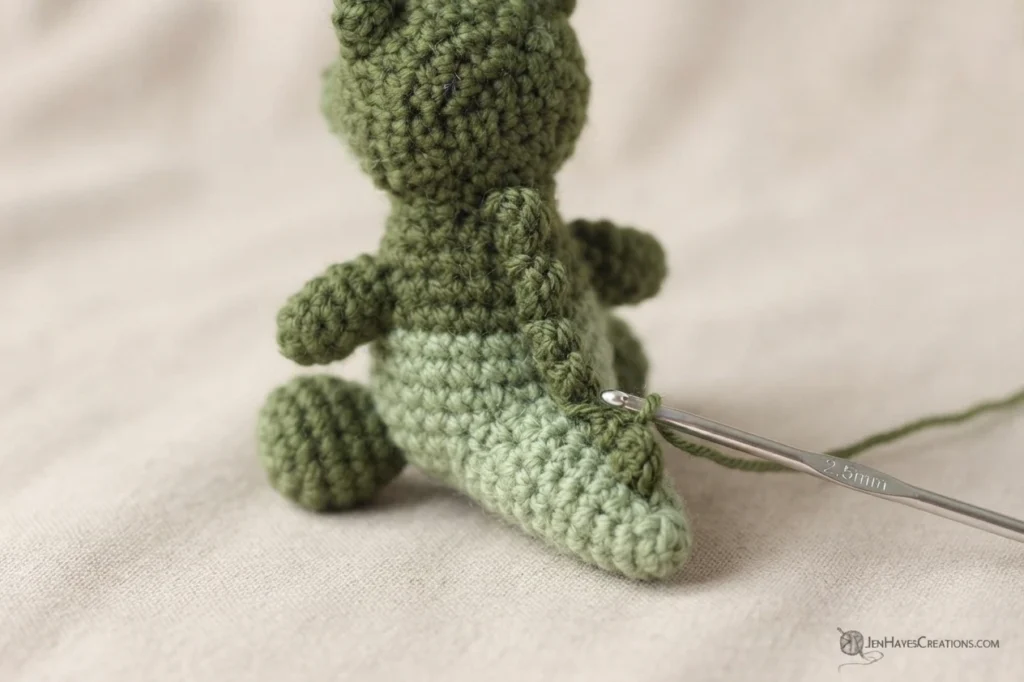
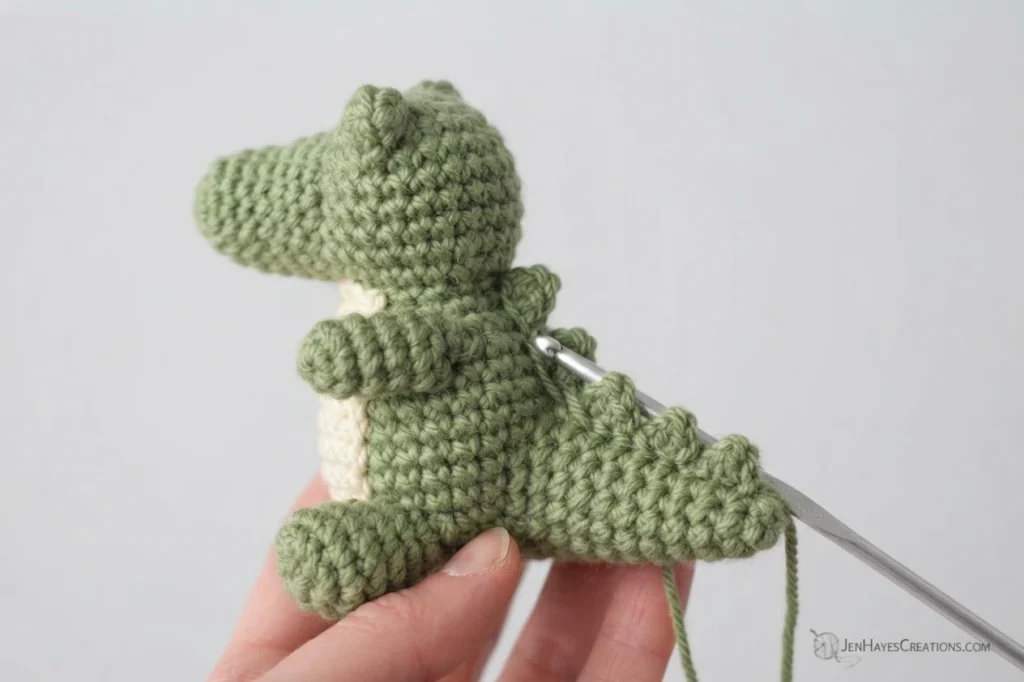
Pin every piece in place before you sew, so you can check the balance from all sides. Stitch each join securely, adding extra stuffing before closing the joins where the head, tail, and legs meet the body to fill small gaps. Center the head over the body with the tummy aligned, and set the back of the neck at the back of the head.
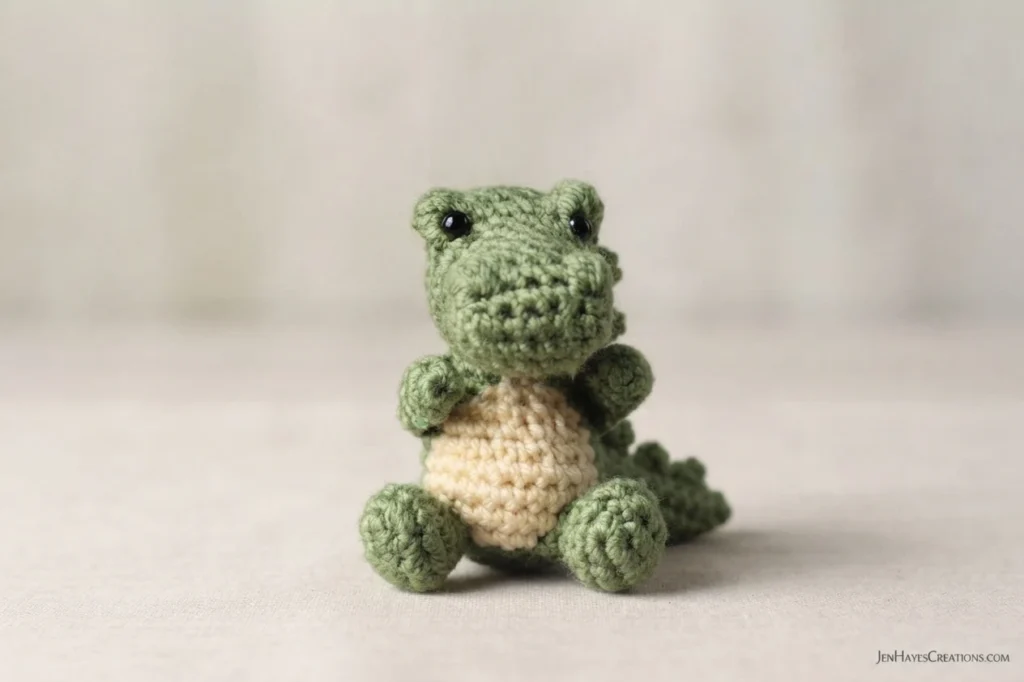
Place the tail at the back of the body, over about rounds 2 to 7. Set the legs at the base of the tummy, one on each side, with the bottom near about round 3 and the piece overlapping the contrast portion by about 2 to 3 stitches, keeping the outer and bottom edges at the edge of the contrast color. The arms can sit in several spots. Pictured, they rest at the sides over about rounds 8 to 10, about 2 stitches from the contrasting belly portion, angled slightly downward.
For optional spikes, fasten Color A with a slip stitch at the lower center of the tail, near about round 2. Work a chain 2 and slip stitch sequence upward along the center of the tail and onto the back, ending at the neck. For three rows, repeat the same path up the left and right sides, leaving about 1 stitch between rows.
Adding a Keychain
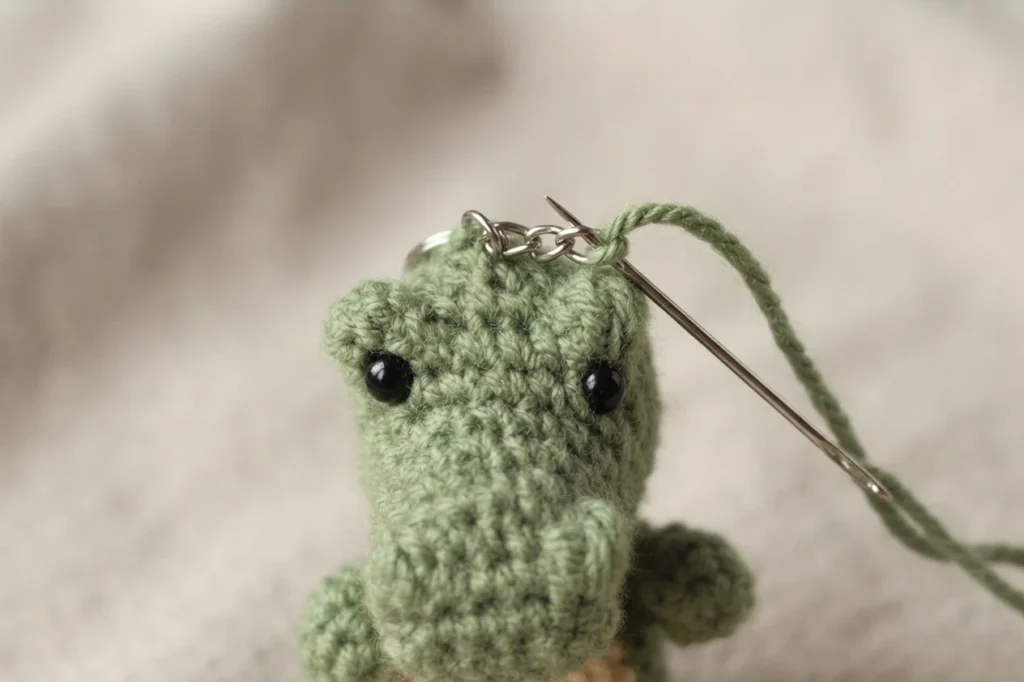
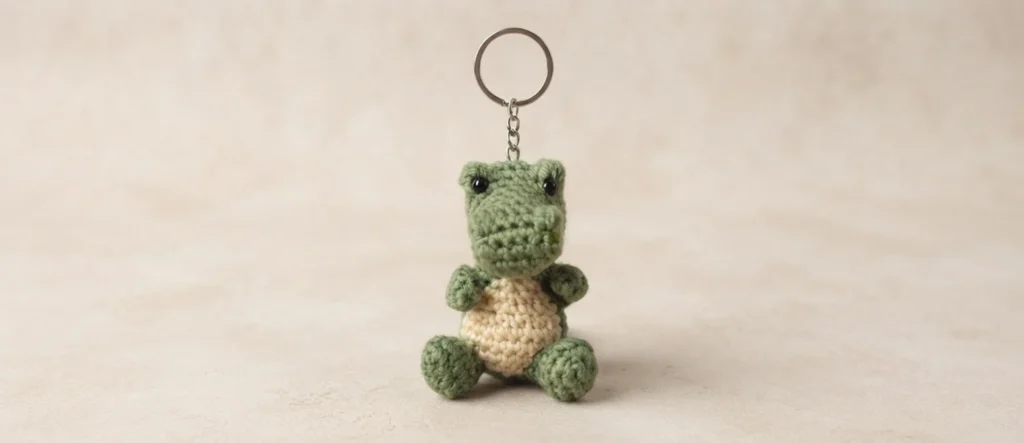
Adding a keychain is optional. Use a length of yarn and a tapestry needle to whipstitch a chain with a keyring, or another clasp of your choice, to the head. Keep the stitches neat and secure, since the charm will be handled often. Check that the join feels firm before you carry the finished alligator on keys or a bag.
Reach Out, Share, and Follow Along!
When your alligator is finished, the designer invites makers to share photos on Pinterest, Facebook, and Instagram, tagging @jenhayescreations and using #jenhayescreations for a chance to be featured. A newsletter is described as the best way to stay informed about new patterns, techniques, tutorials, and giveaways. The pattern and photos belong to Jennifer Hayes, known as Jen Hayes Creations, for personal, non-commercial use. Do not copy, sell, republish, distribute, or translate the pattern, photos, or tutorials, in whole or in part.
You may share this pattern through sharing buttons or a link to the pattern. Finished items made from the pattern may be sold, with credit to Jen Hayes Creations as the designer and a link to the pattern listing for online sales.
Related reading: Zeena the Small Crochet Witch Doll: Pattern Overview