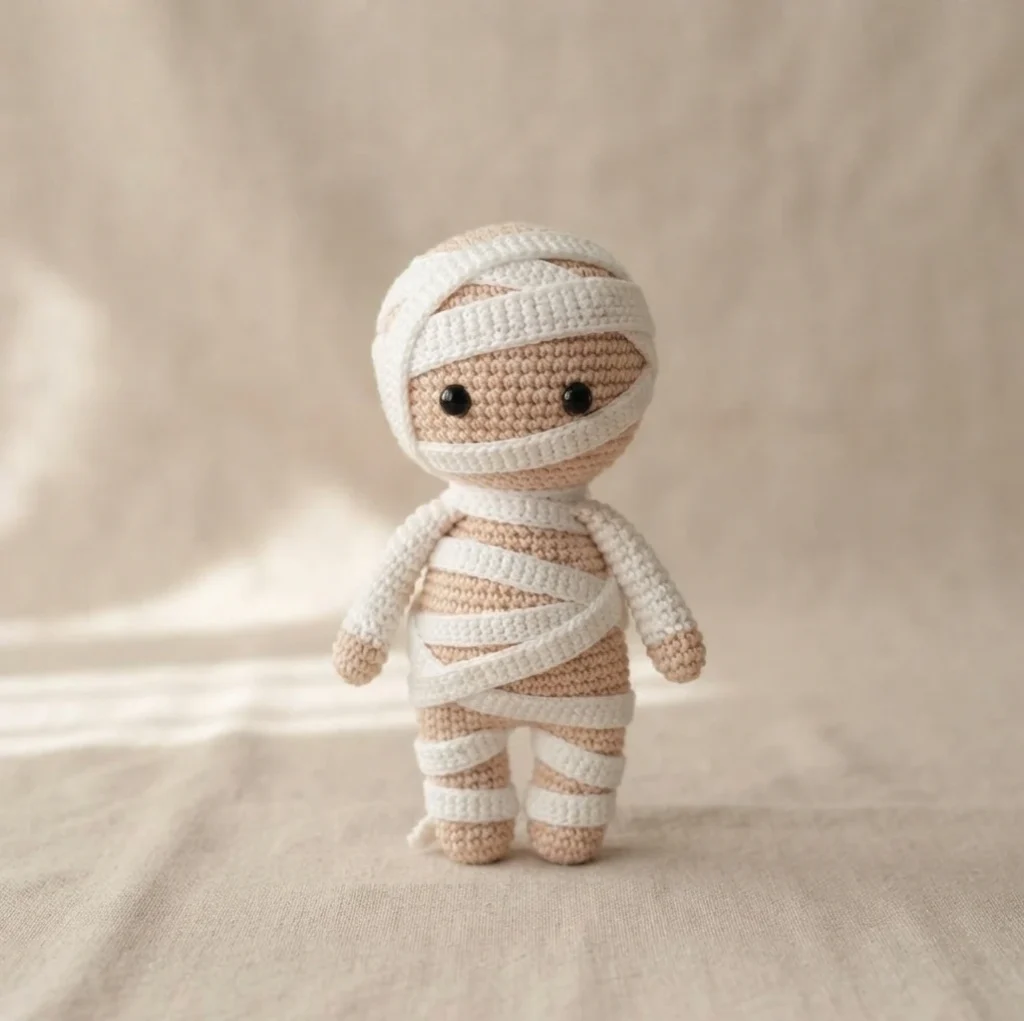
Project introduction
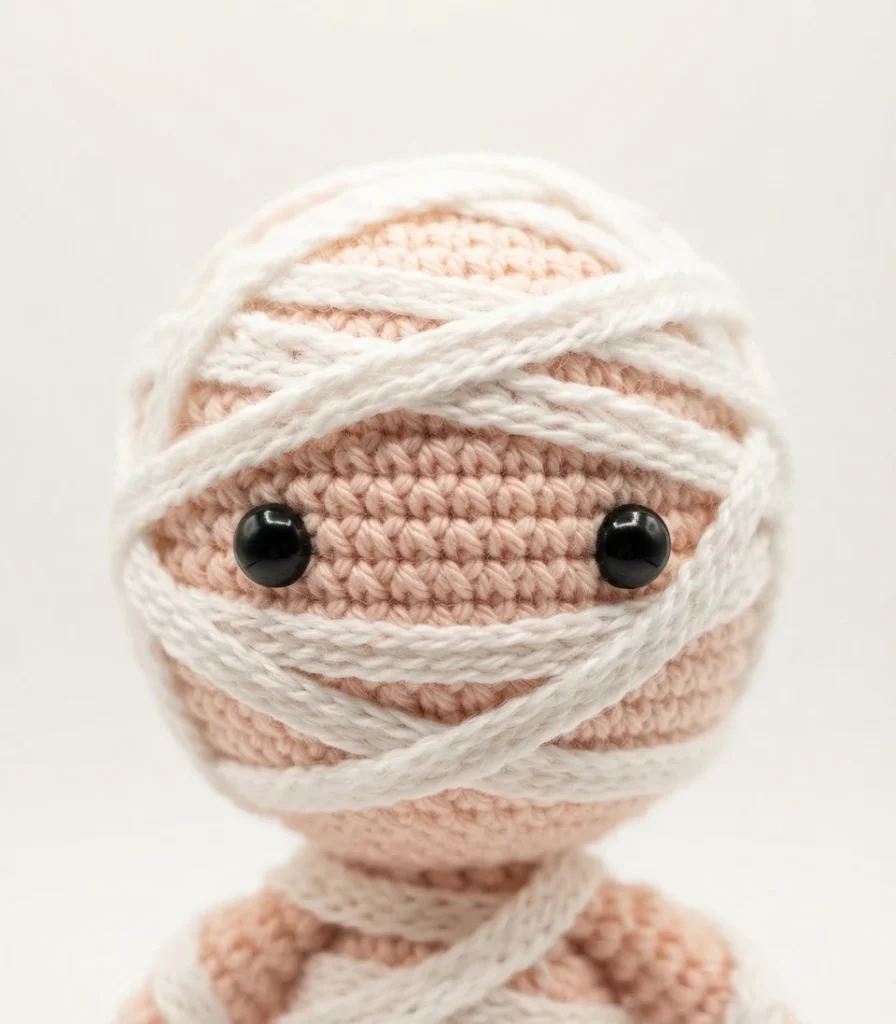
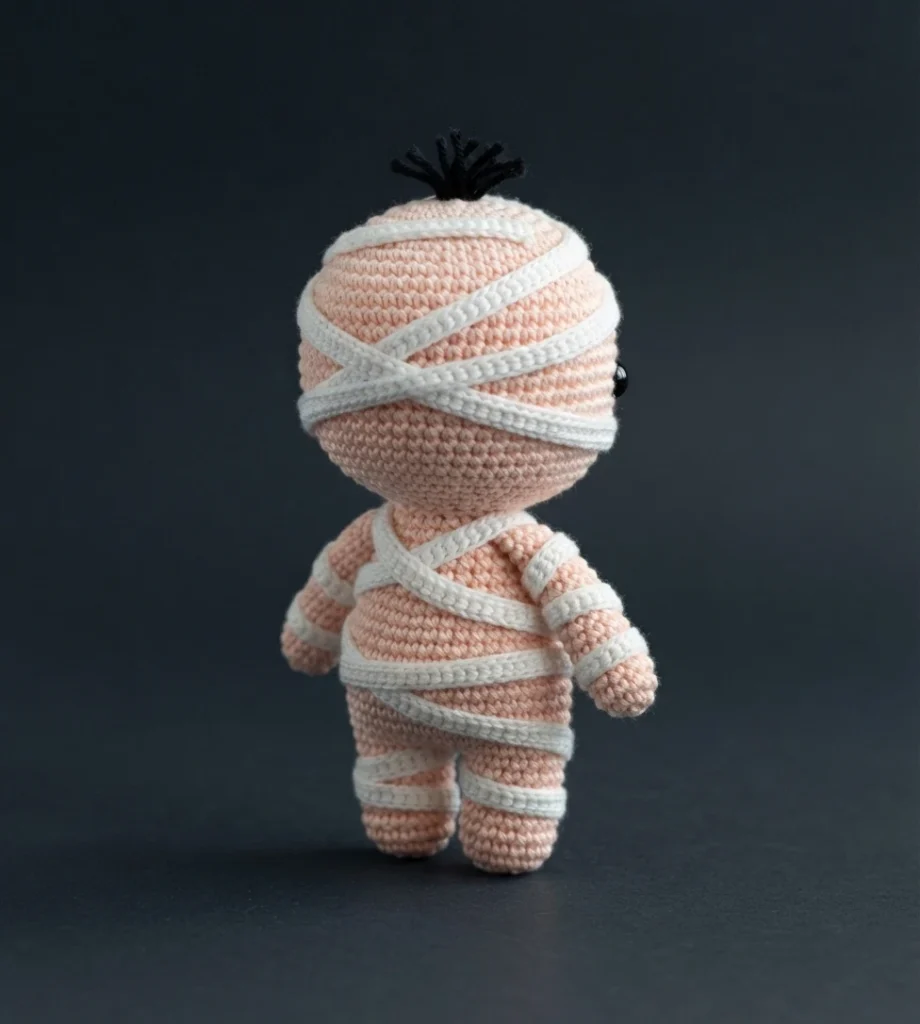
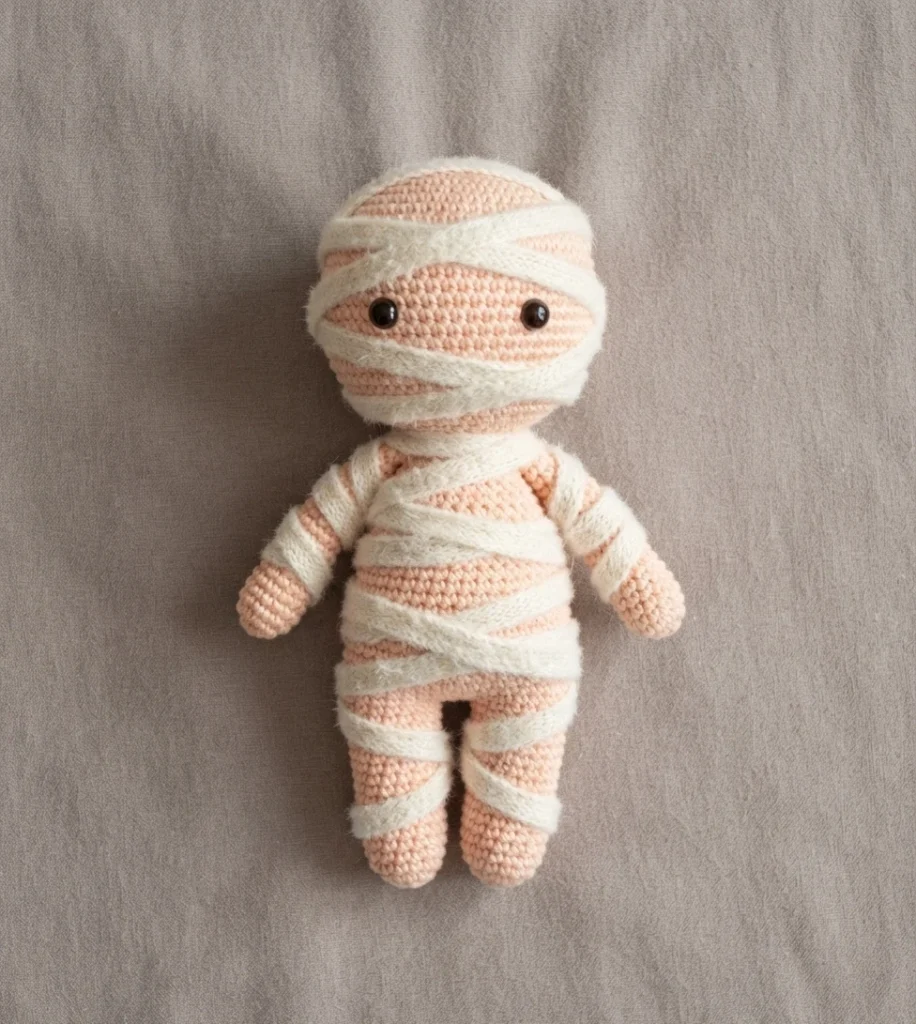
This overview covers the Freaky Mummy, a free amigurumi crochet pattern by Stringy Dingding. The designer calls the character a freaky fella and admits she was not sure how to make his clothing wrap look cute, though she tried her best. The project belongs to a larger Halloween bundle of ten free patterns, and three of those designs are grouped as Freaky Friends.
Anyone who wants to follow the weekly release schedule can check the original source, where a linked picture leads to a post listing each upcoming pattern and its release date. The sections below summarize the supplies, construction order, and finishing steps that the creator documents, without repeating the row-by-row instructions.
This is just 1 out of 10 patterns included in the Spooky Halloween Amigurumi Bundle! Every week 1 or more Halloween themed amigurumis will be released.

This mummy is one entry in the Spooky Halloween Amigurumi Bundle, which releases at least one Halloween themed amigurumi each week. The web version of the pattern is free, while a separate paid printable PDF is available for purchase. Additionally, a membership option unlocks each PDF as it is released.
For the sample, the designer used Yarnart Jeans, a 2 weight yarn. She notes that this brand is not available in the United States but can be purchased from Etsy sellers at an affordable cost. The small yarn paired with a 2mm hook was chosen to give the amigurumi a clean look, and the yarn under method was used to create x stitches, with a tutorial included on the last page.
A regular 4 Medium weight yarn with a 4mm hook is given as an alternative, though the finished doll will come out much larger. Difficulty is listed as Intermediate.
- Yarn: 2 weight in white and skin color, or 4 Medium weight for a larger result
- Hook: 2mm, or 4mm when using medium weight yarn
- Tools: tapestry needle, scissors, sewing pins
- Filling: stuffing
- Eyes: 8mm safety eyes
Let’s get started!
The build begins with the legs. Both legs are made first and then joined, and from that join the work continues upward into the body and finally the head, so the legs, body, and head form one continuous piece. After the main torso is complete, the arms are made, followed by the clothing wrap.
One note about the photos: the instructional images show green yarn because black yarn was too dark to see clearly. The designer asks crocheters to use black yarn for this section when following along.
In Skin Color
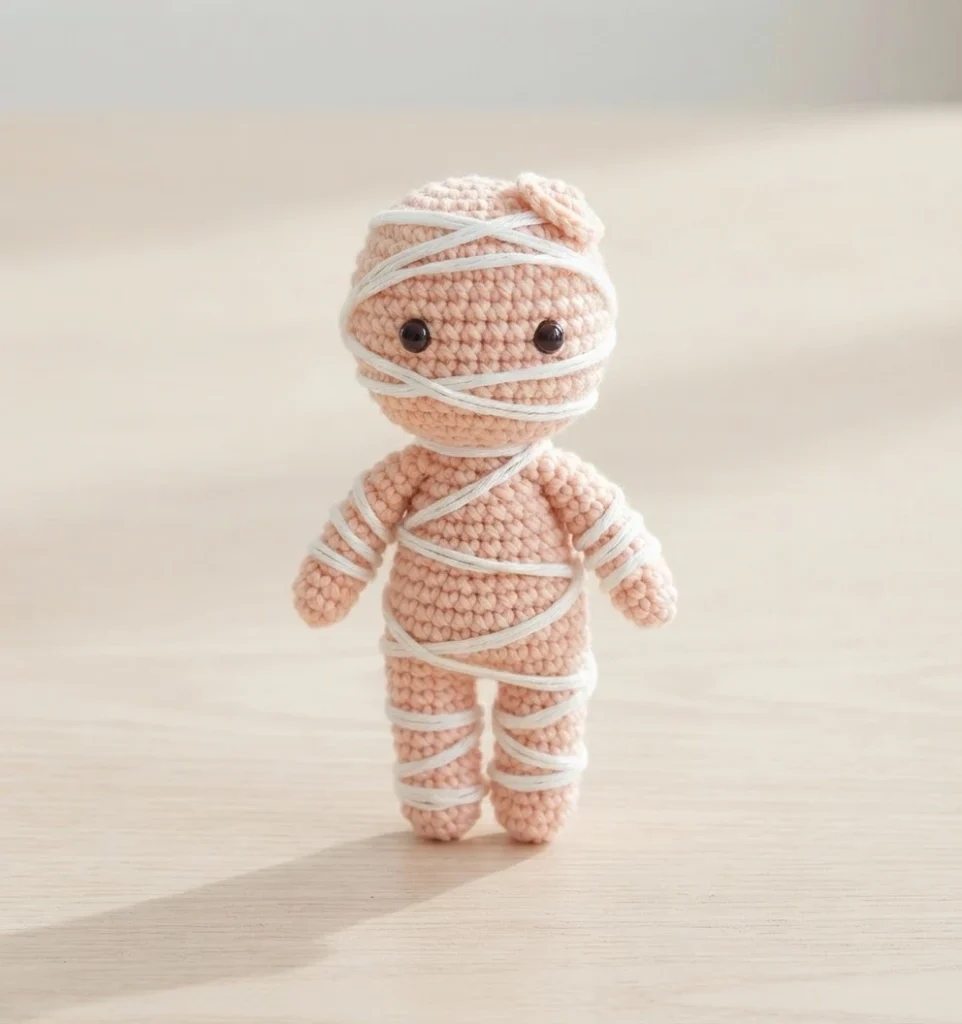
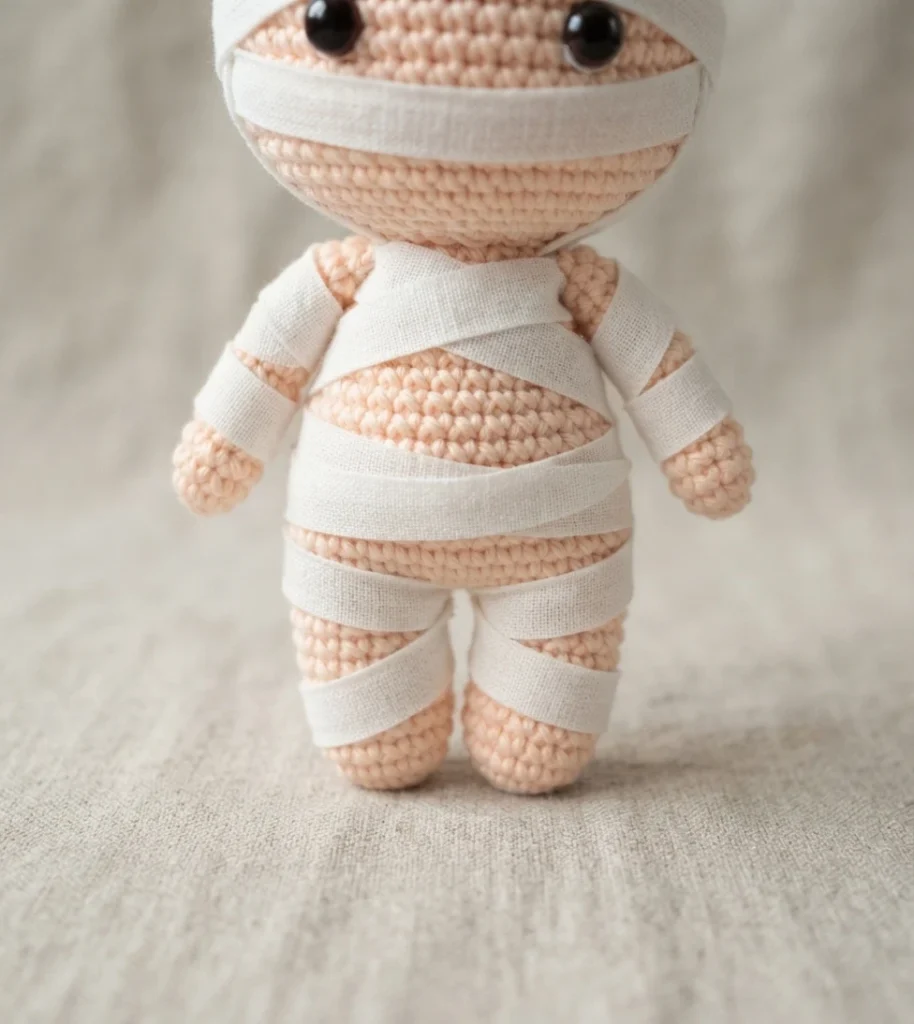
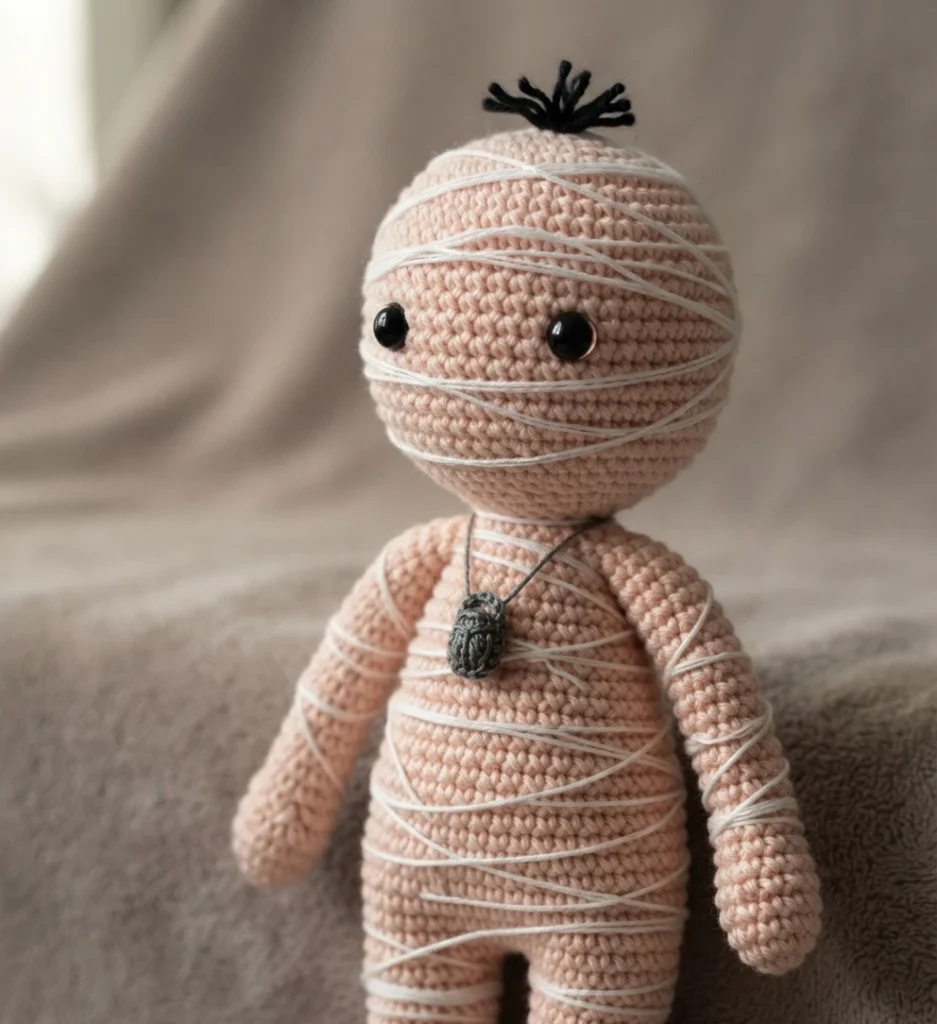
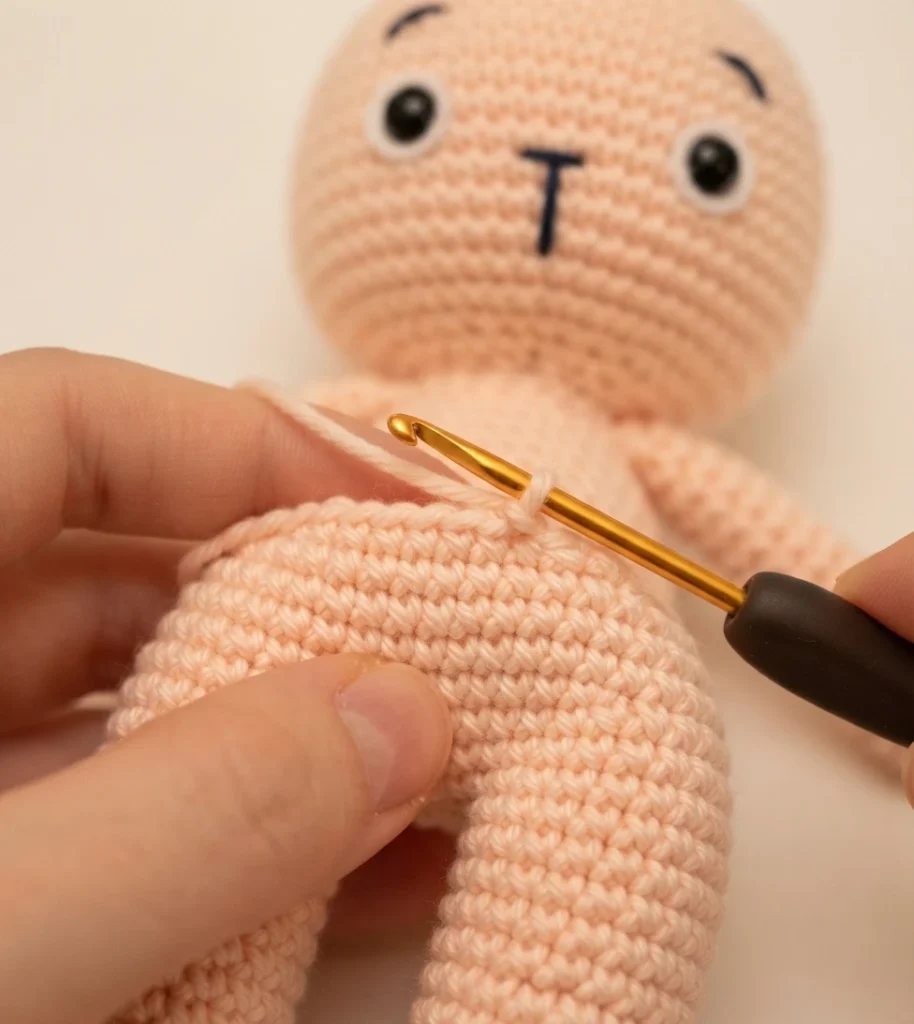
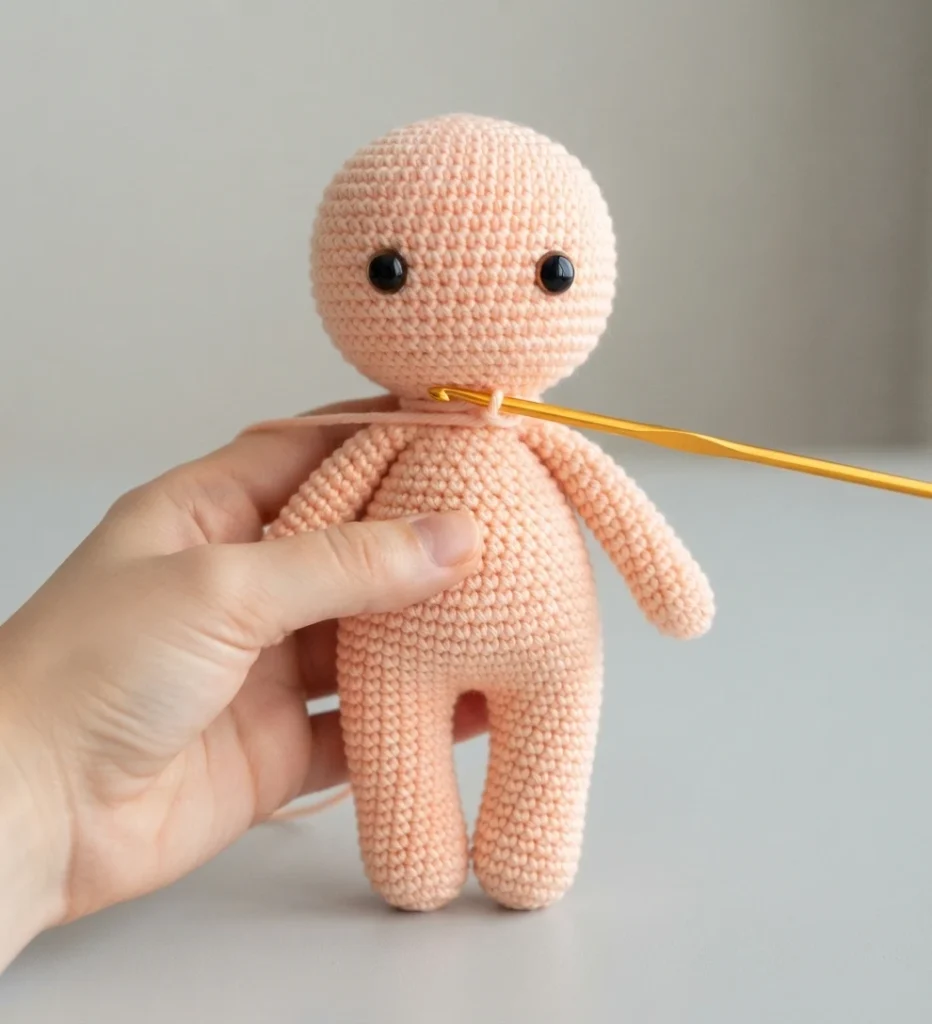
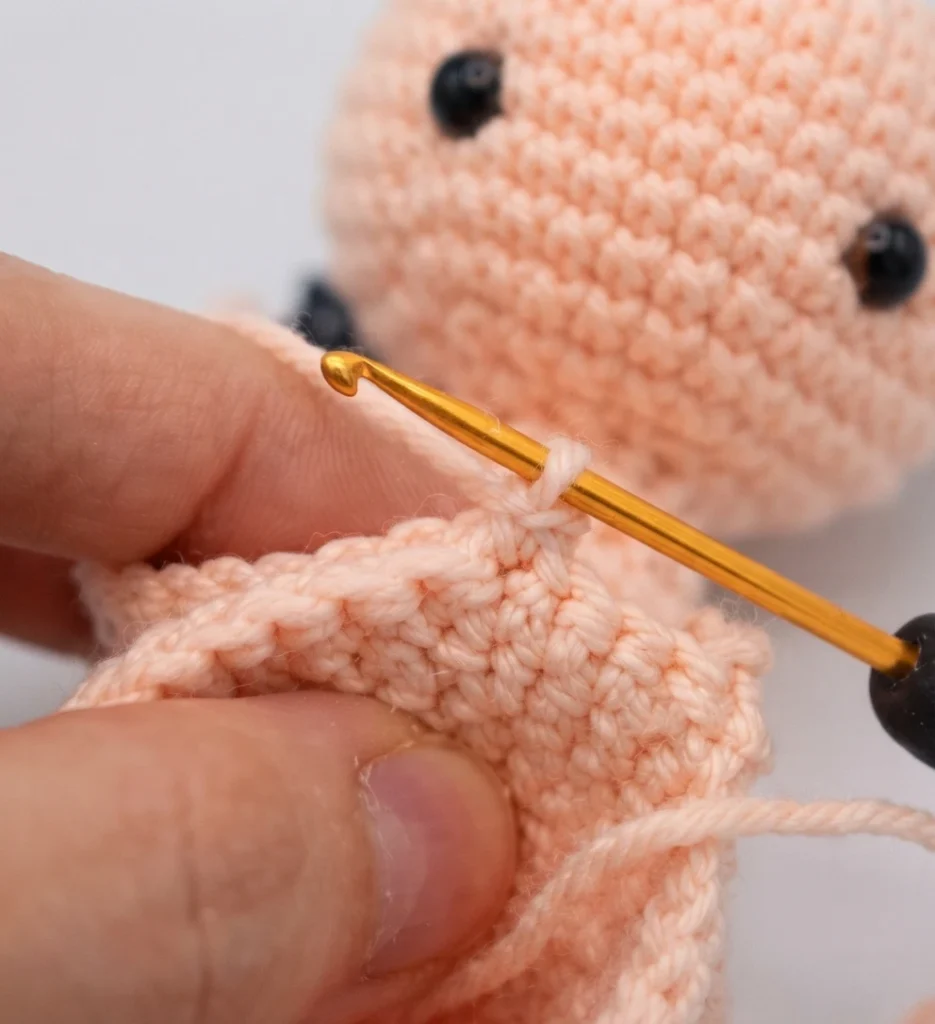
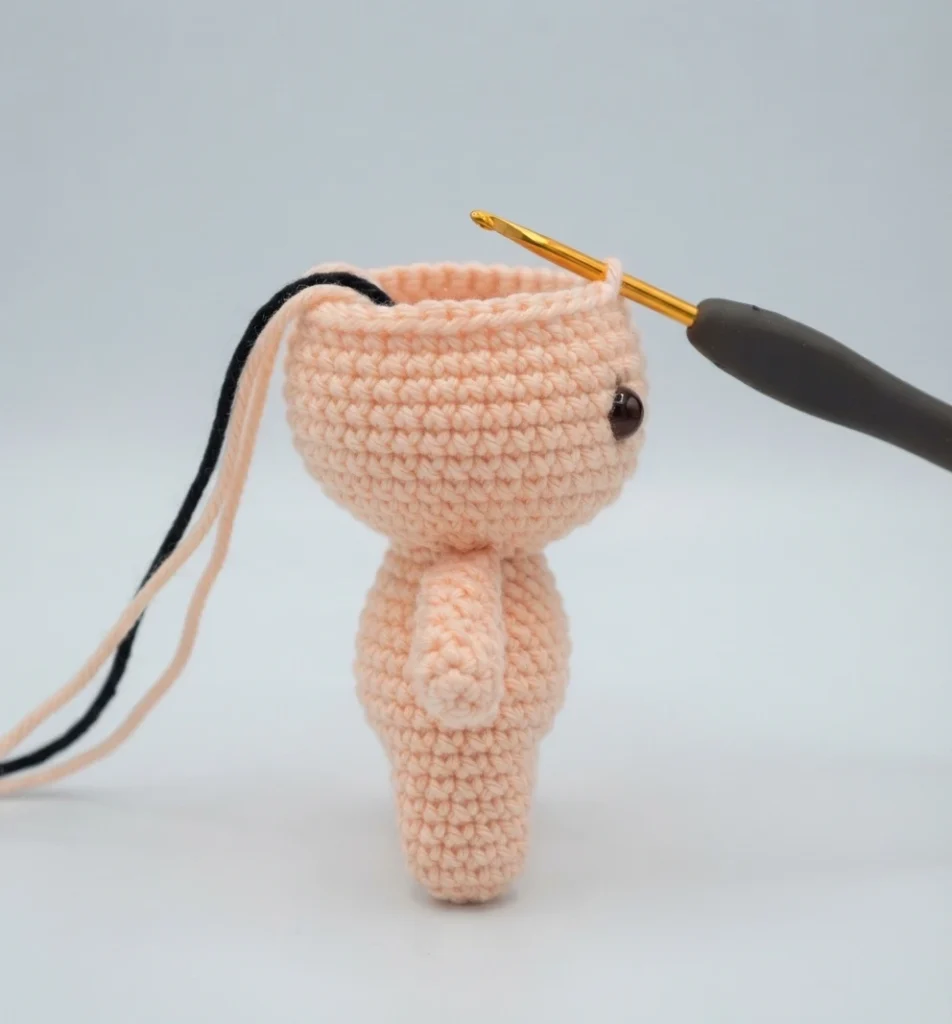
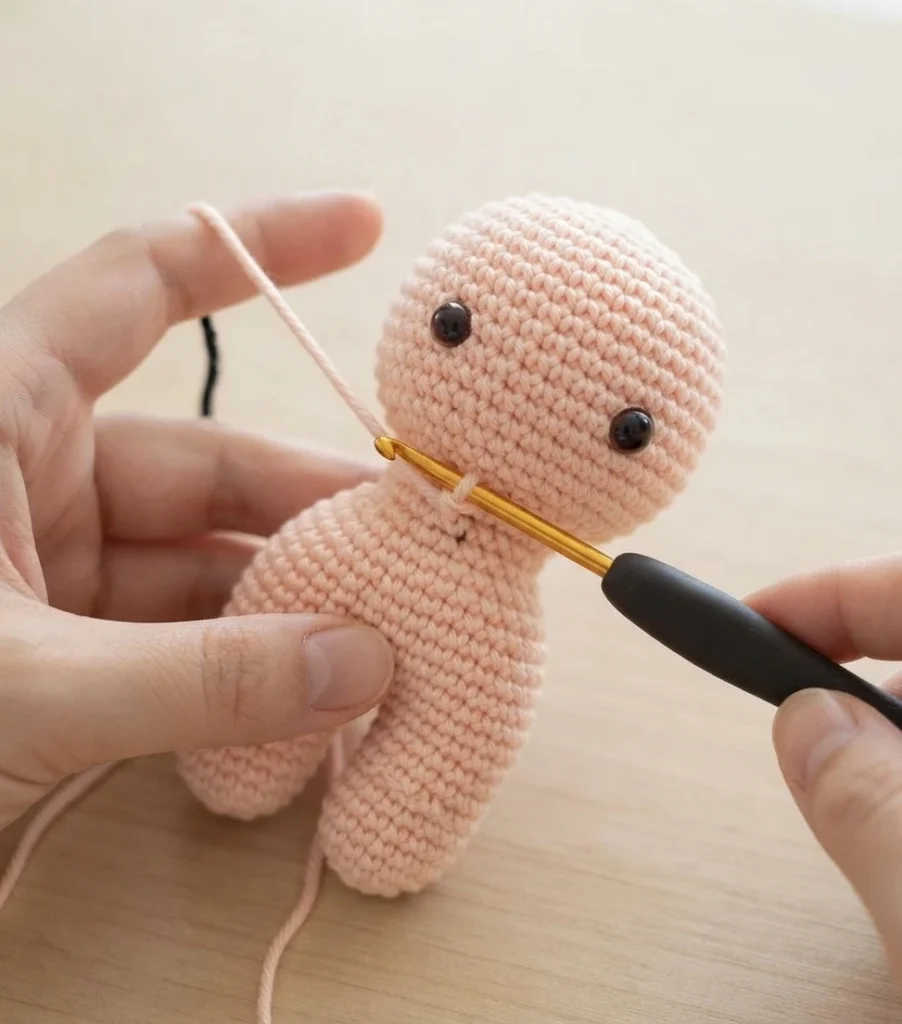
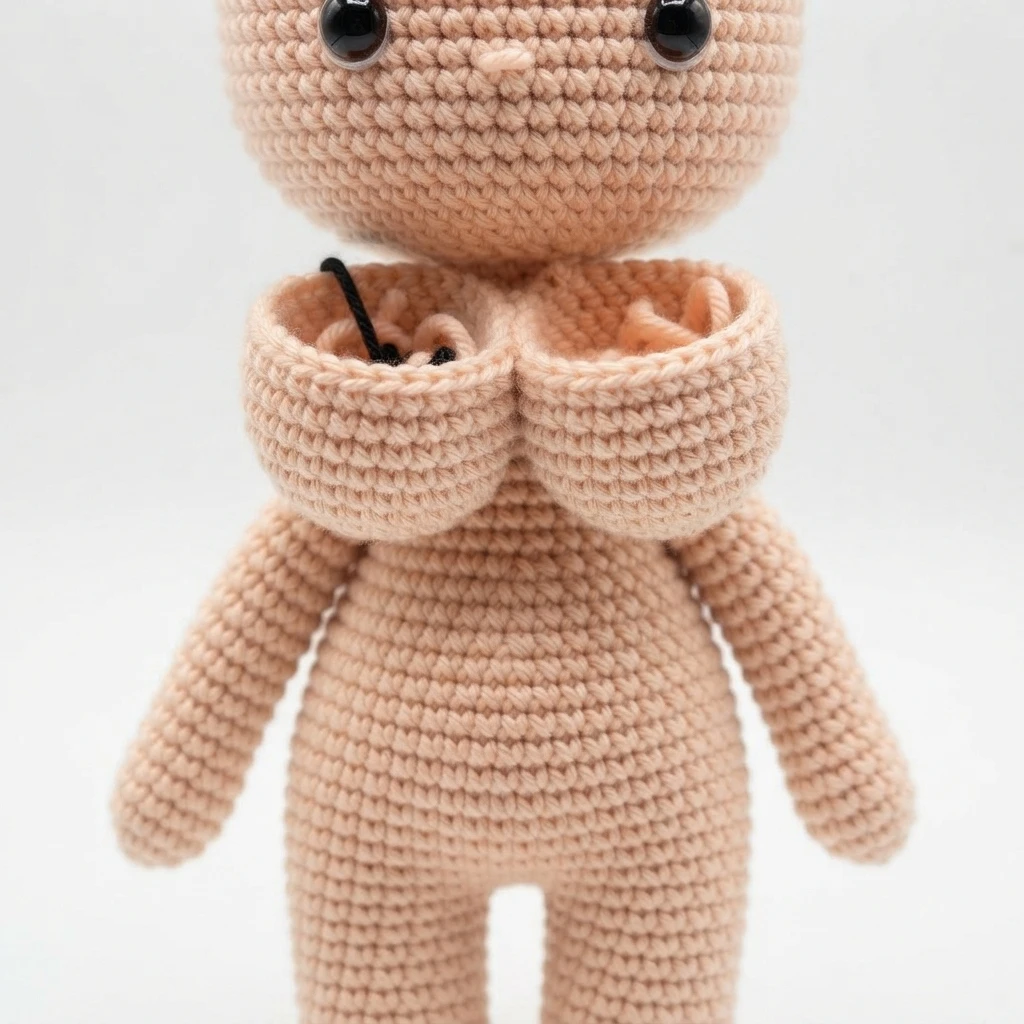
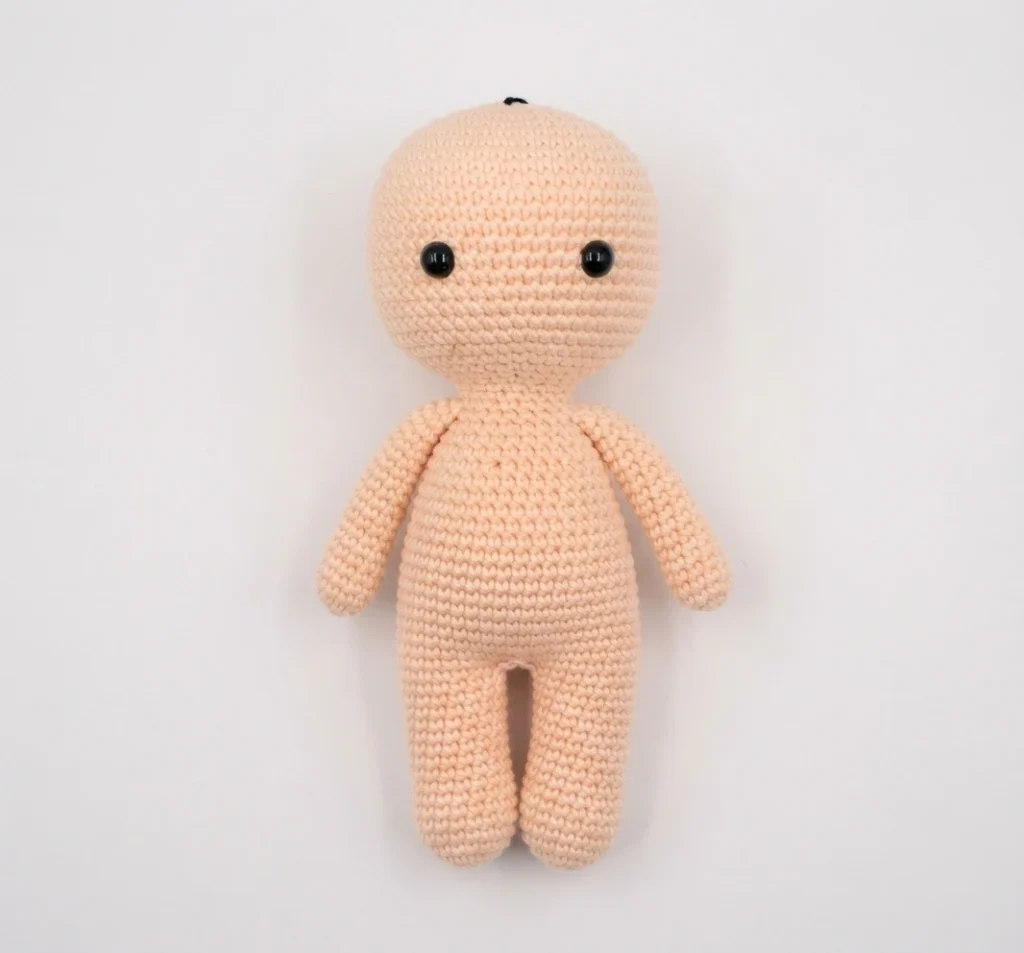
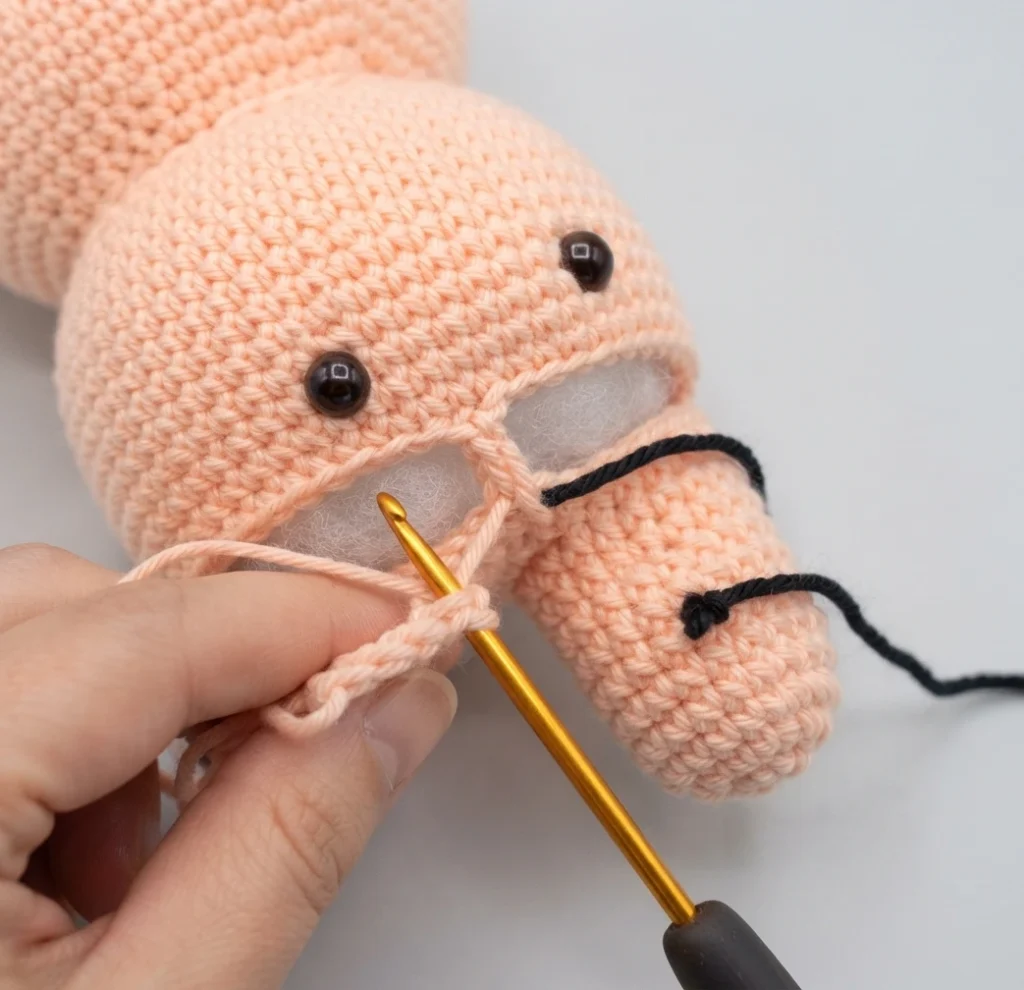
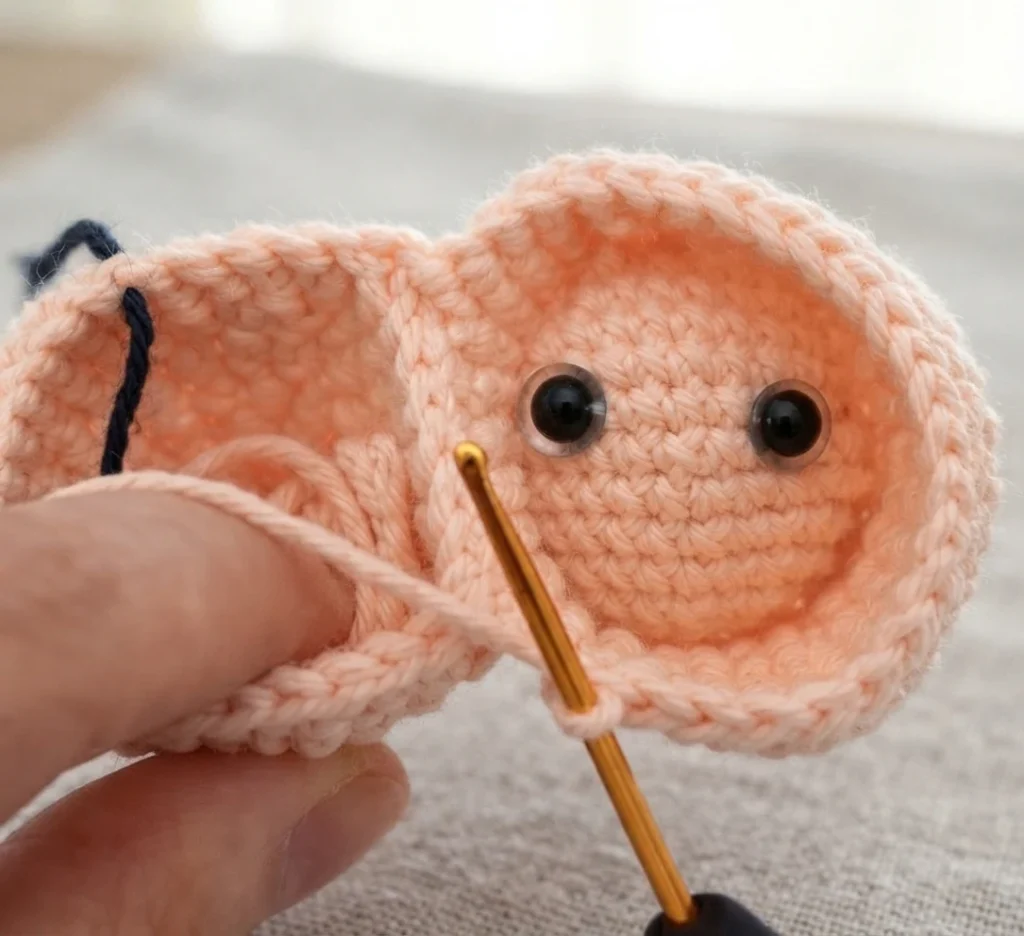
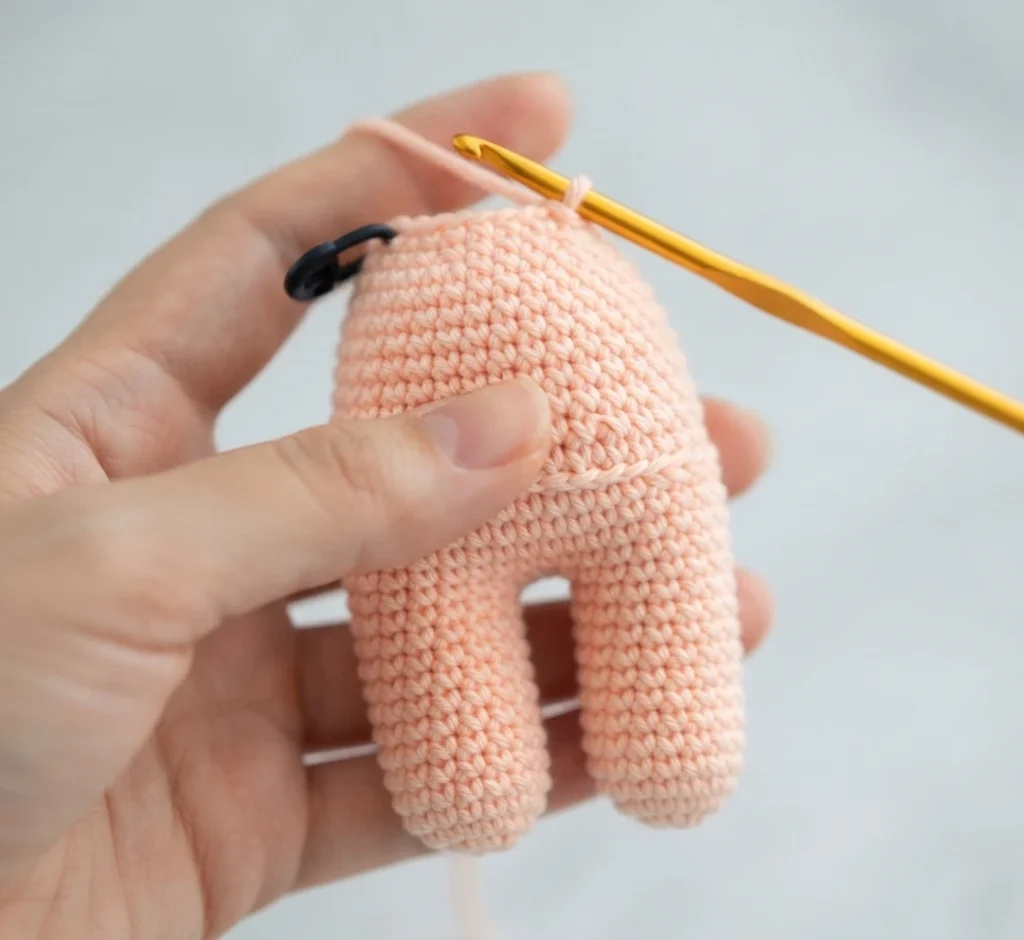
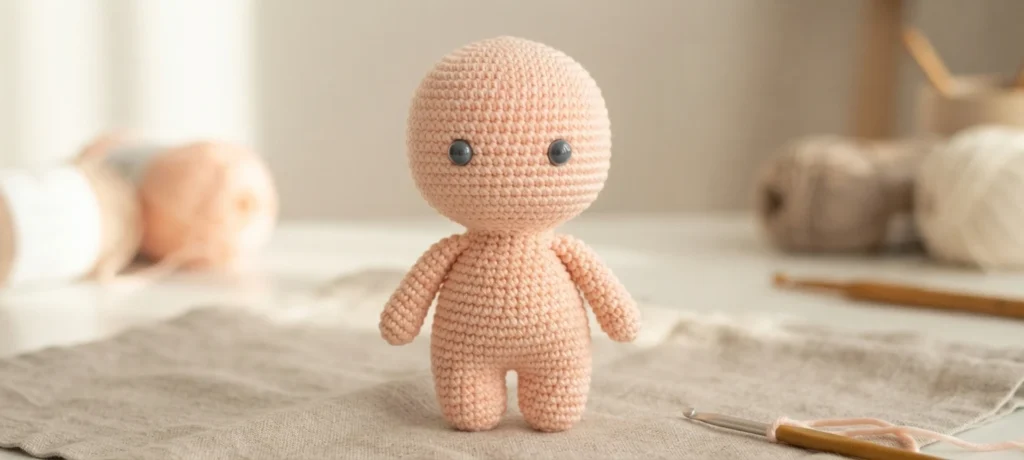
The legs are worked in skin color and begin with a magic ring of six single crochet stitches. Increase rounds shape each leg until it reaches thirty stitches. The first leg is finished off after round eleven, while the second leg follows the same shaping but stays open so it can be joined.
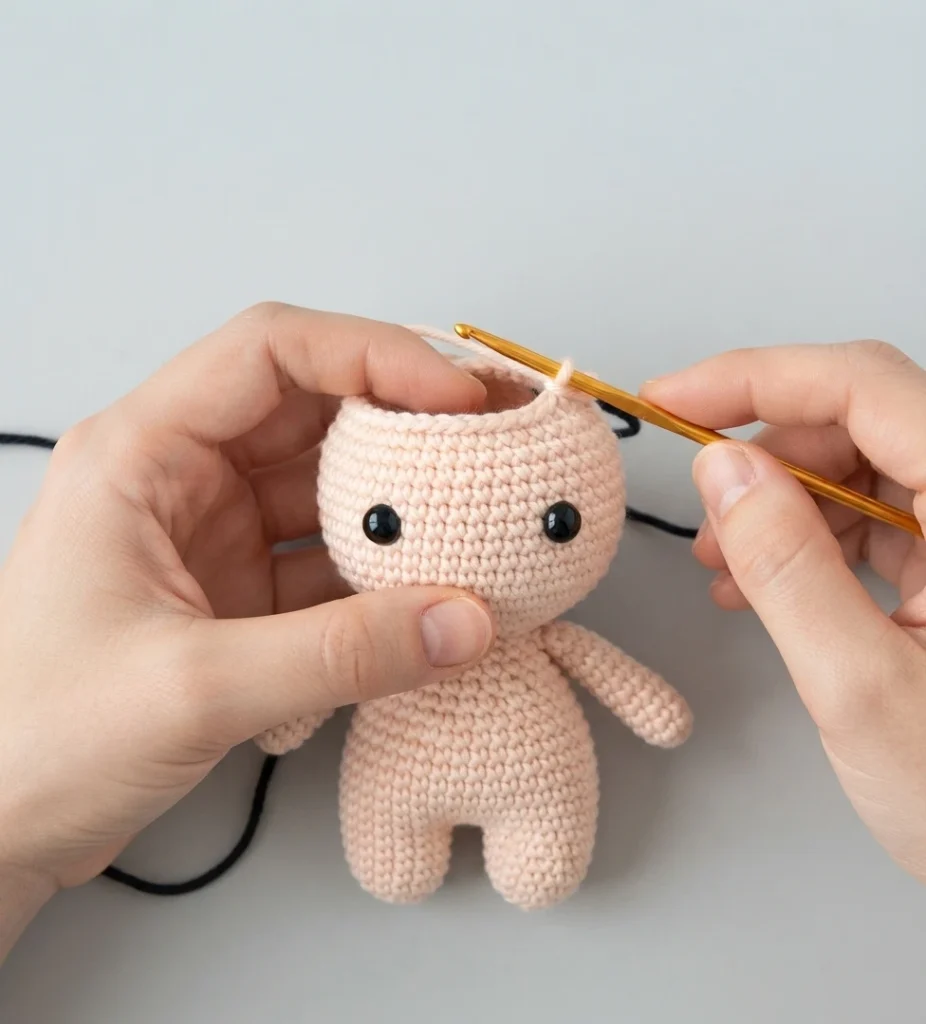
To join the legs, single crochet stitches are worked through both pieces at once, creating a bridge of six connecting stitches and leaving twenty-four stitches on each leg. From there the work continues up through the body and head, with rounds that increase, hold steady, and decrease to shape the torso. The safety eyes go in between rounds forty and forty-one, spaced six stitches apart and kept centered on the body. The legs and body are stuffed firmly before the head shaping begins, and the head is eventually decreased closed with the ends woven in.
In Skin Color
The arms are made separately in skin color, starting from a magic ring and increasing to twelve stitches. The yarn changes to white for the upper portion of each arm. Both arms are finished off with long tails for sewing. A small amount of stuffing goes into the hand area only, leaving the top of the arm unstuffed. Set the arms aside to pin onto the body later.
The clothing wrap is made as two separate pieces, one for the body and one for the head. Each one starts as a very long chain that gets wrapped around the doll.
In White
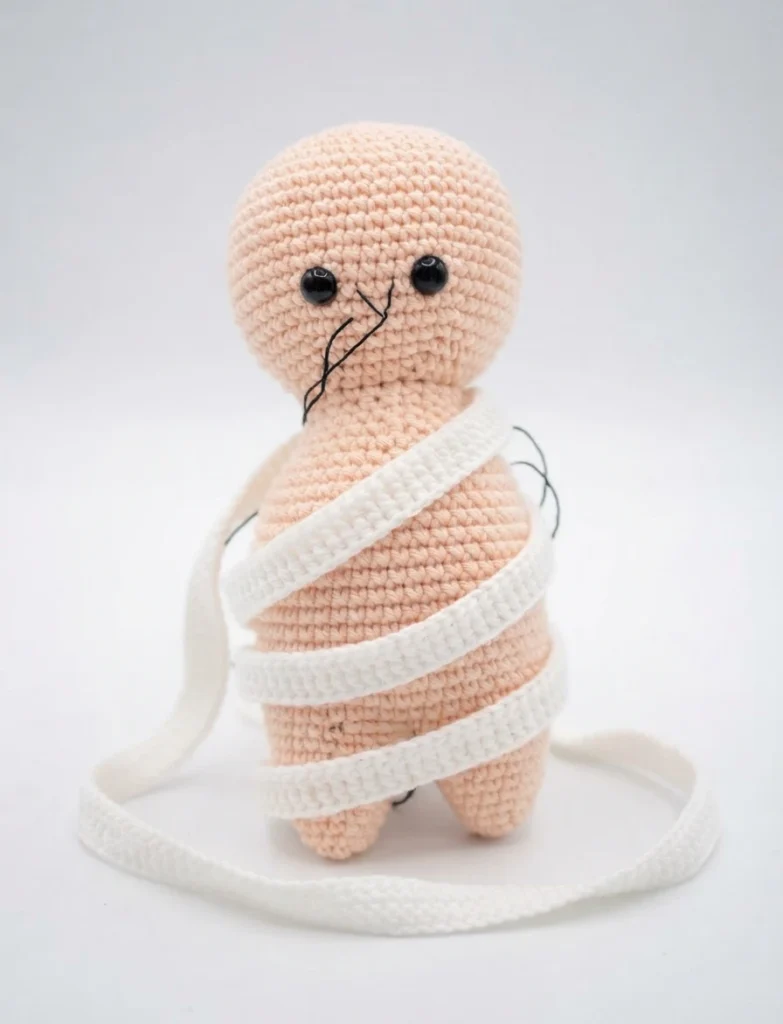
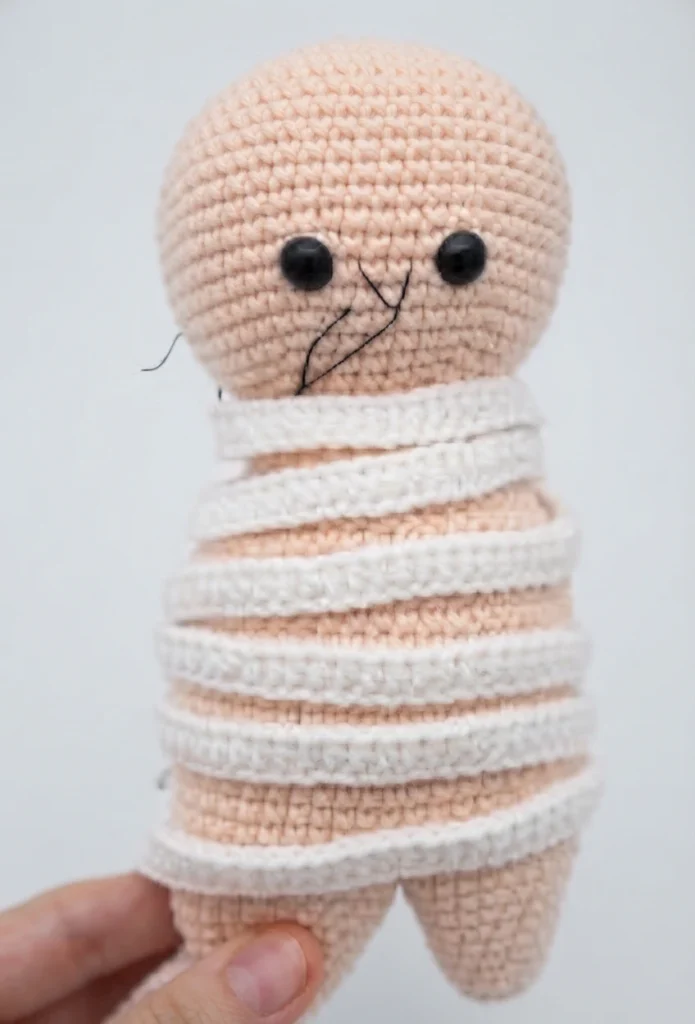
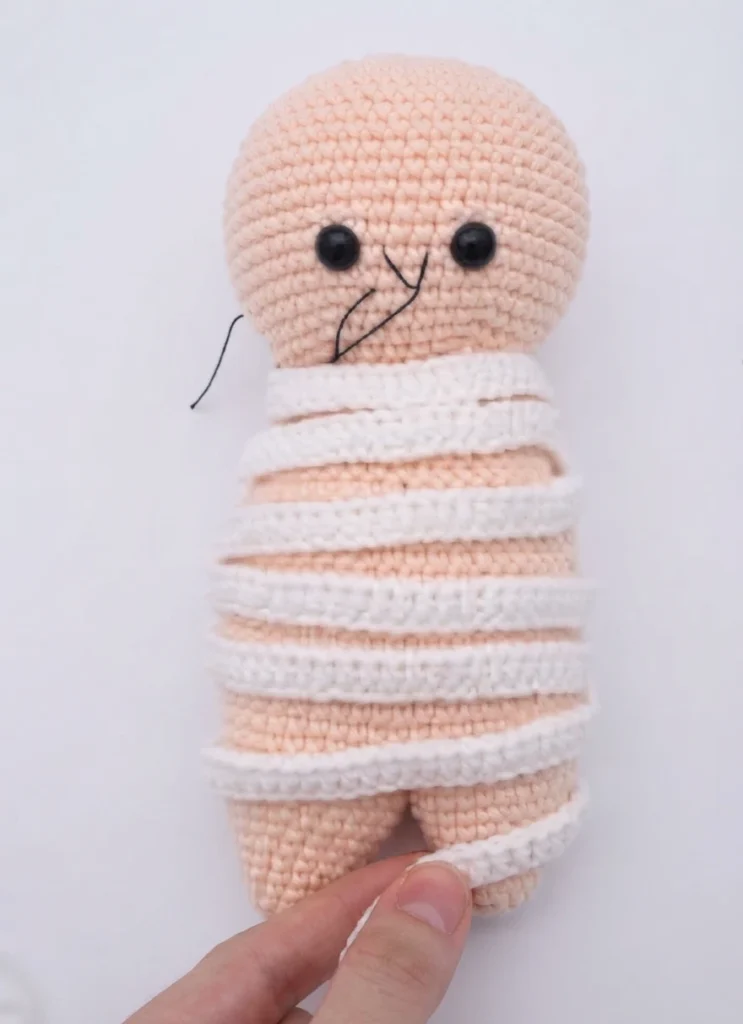
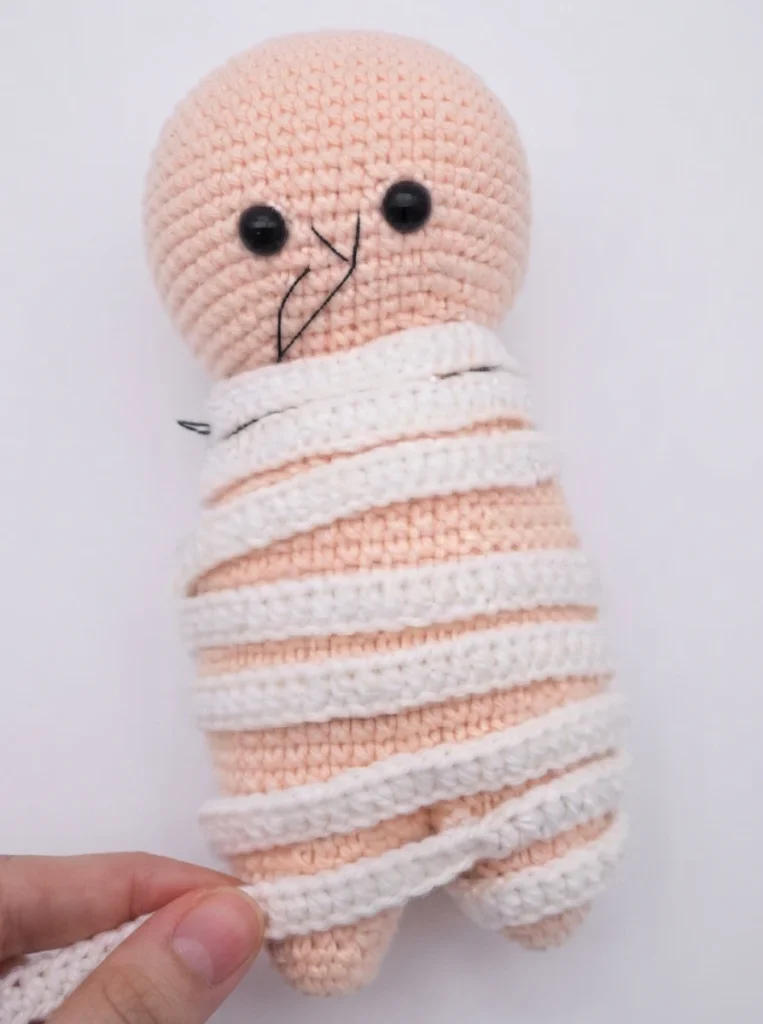
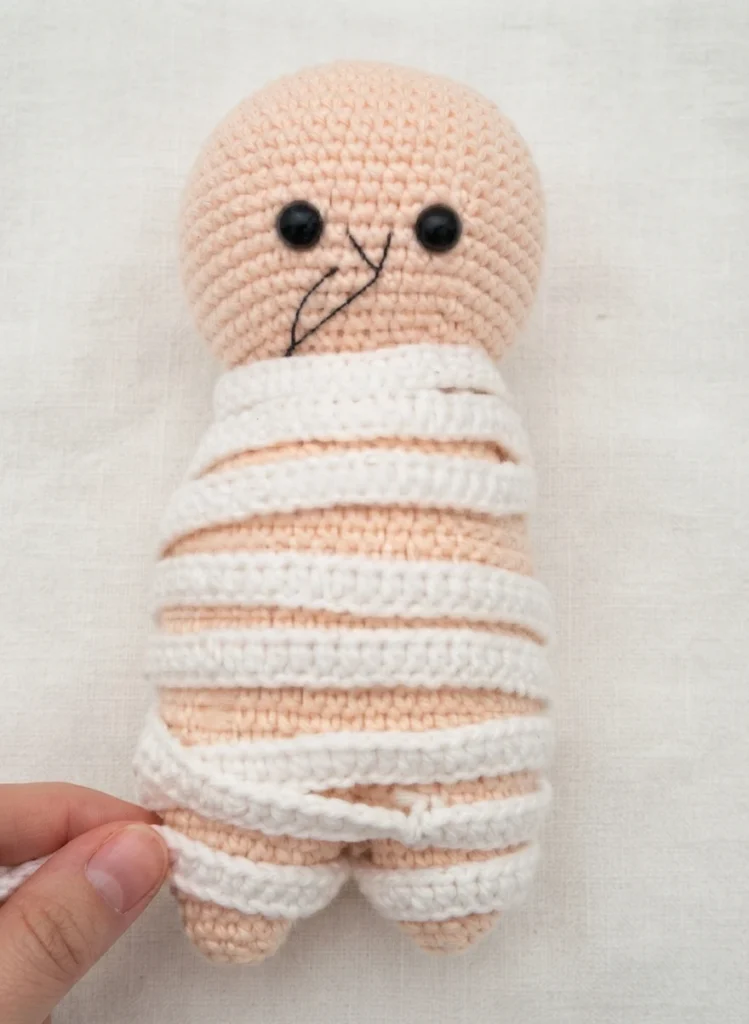
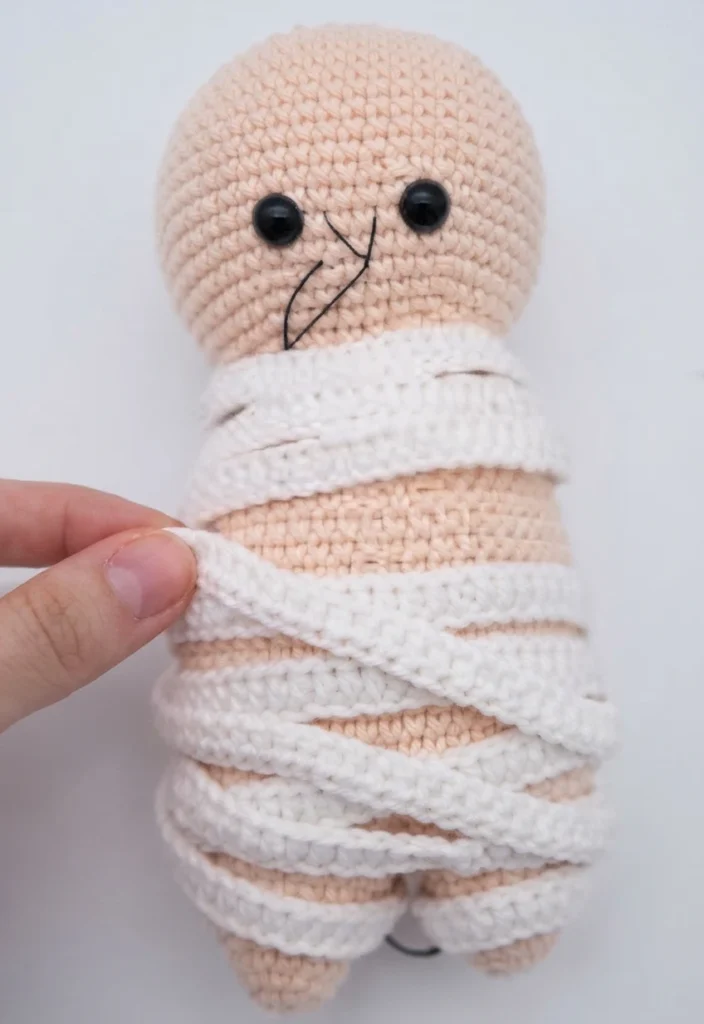
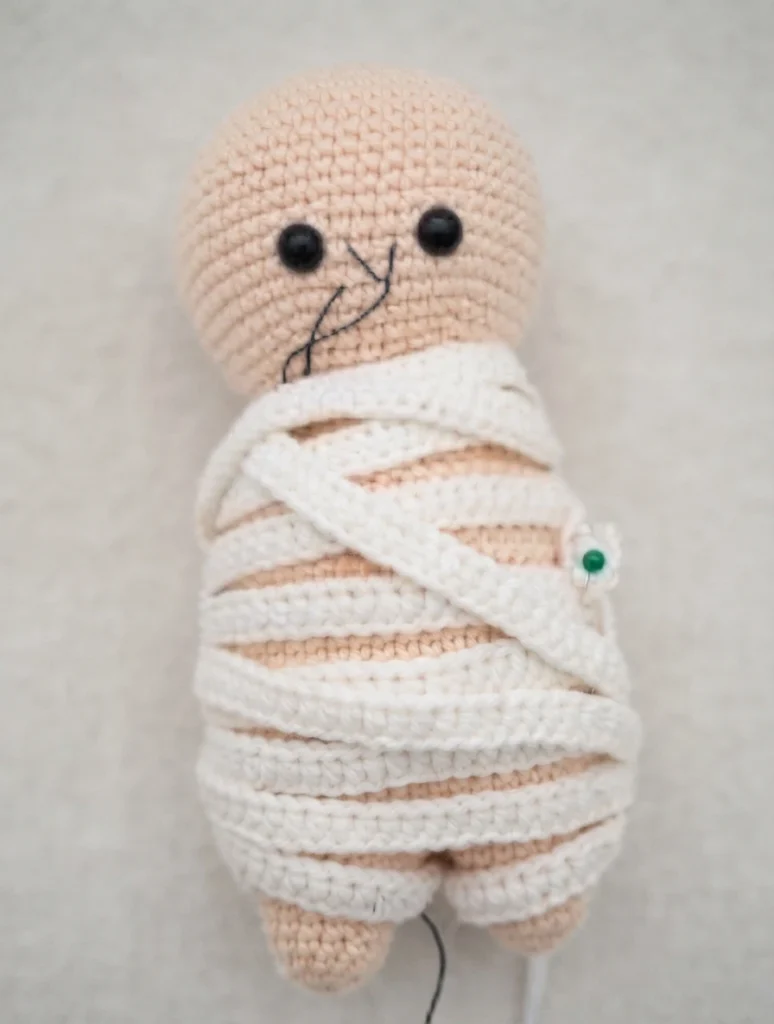
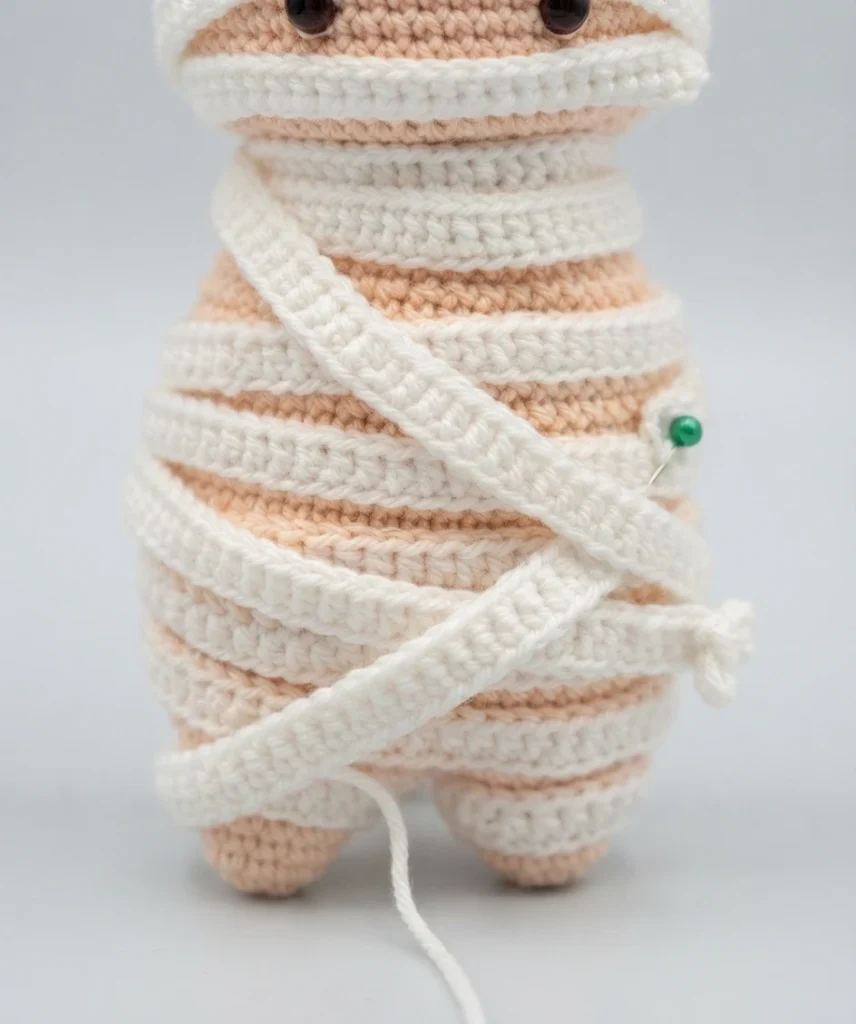
For the body wrapping, the chain begins with seven hundred fifty stitches. The first half double crochet goes into the second chain from the hook, then half double crochet is worked into the remaining seven hundred forty-eight chains. Finish off leaving a very long tail for sewing.
Wrapping starts at the neck and works downward. When the leg area is reached, the cloth goes once around one leg, then over to the other leg, and continues diagonally across the body. Secure the position with sewing pins, but do not sew it down yet.
Head Wrapping Assembly
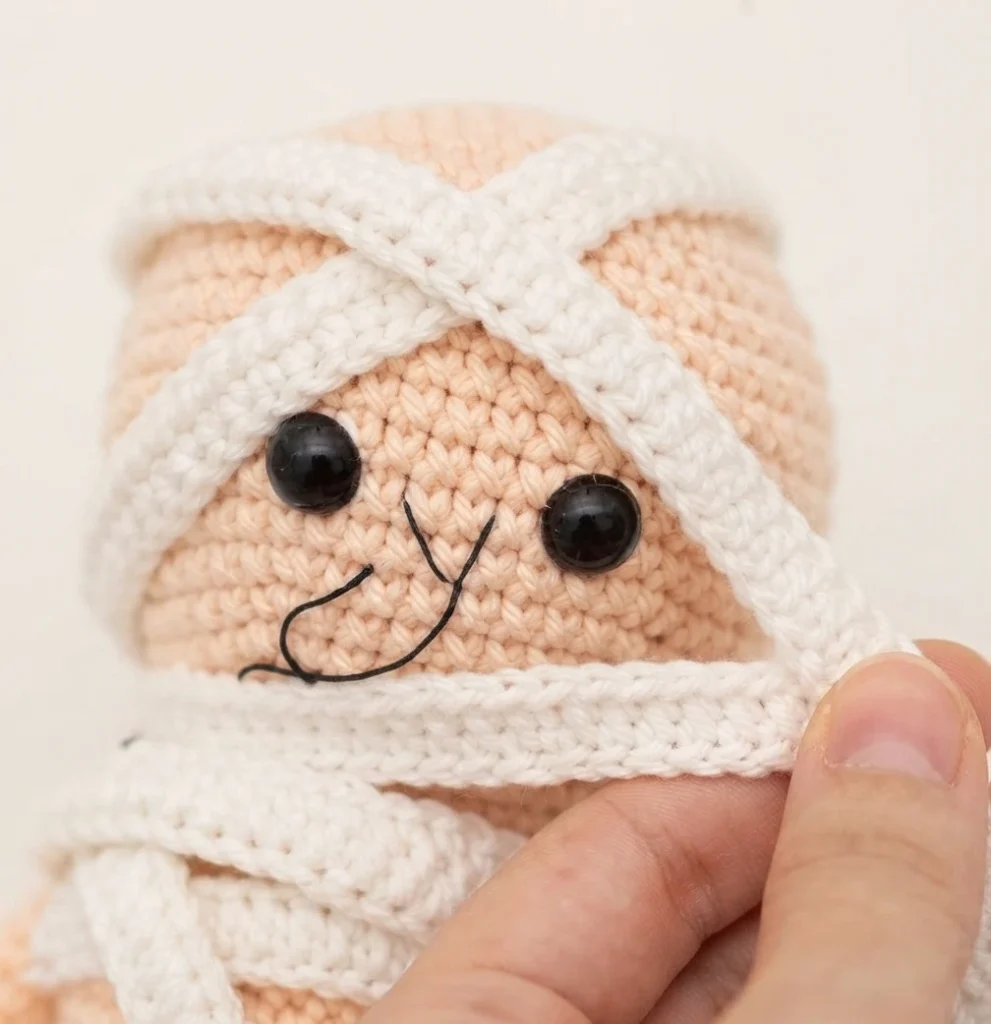
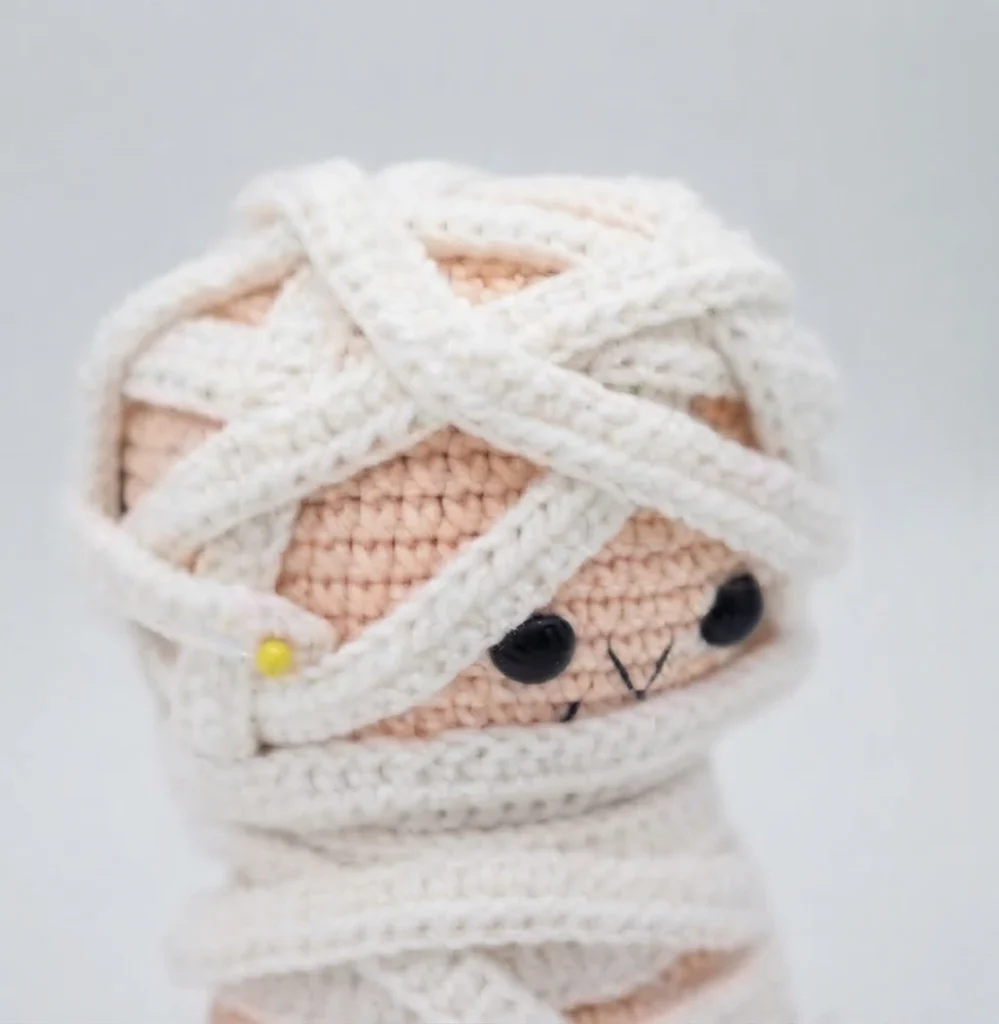

The second piece of cloth is wrapped around the head in a similar diagonal pattern, leaving the face area open. Pin the wrapping in place, then sew it securely to the head. Knot the remaining yarn, hide the knot inside the toy, and cut any excess.
Next, attach the arms to the body. The body wrapping may need to be shifted slightly so the arm fits underneath. Pin the arms in place, sew them on, and then sew the body wrapping down. Knot the ends, hide them inside the body, and trim the excess.
in black embroidery thread
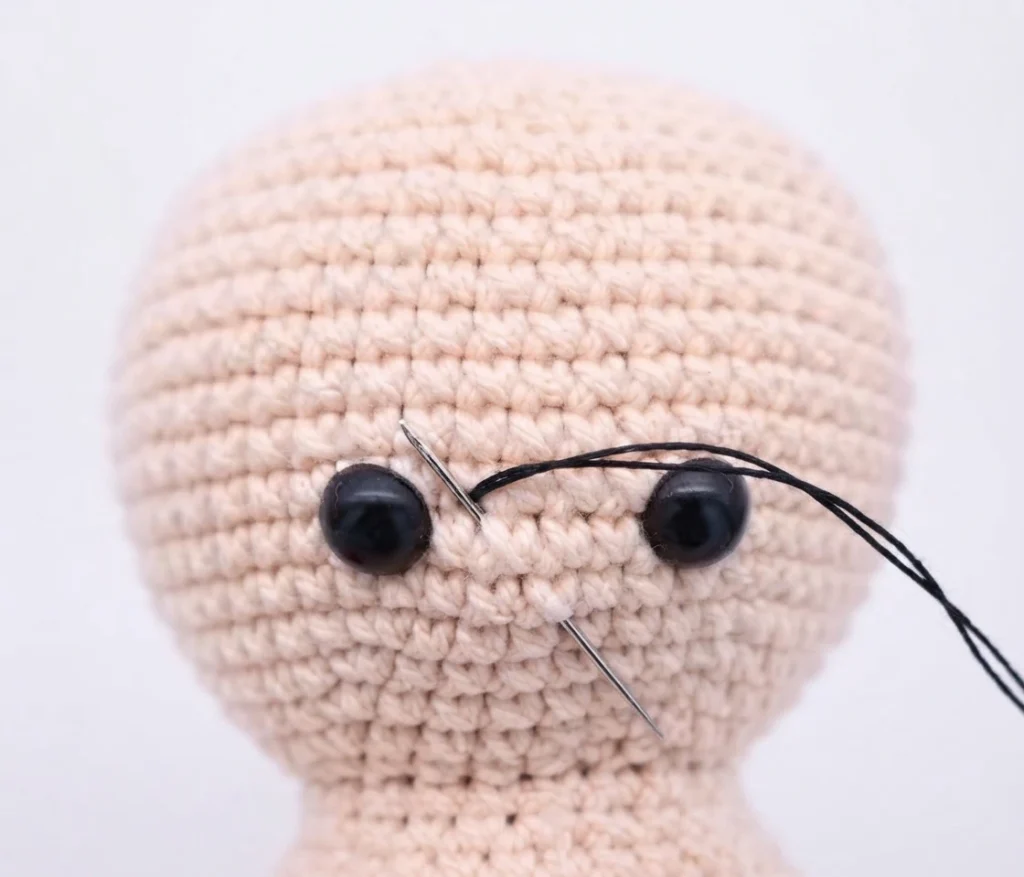
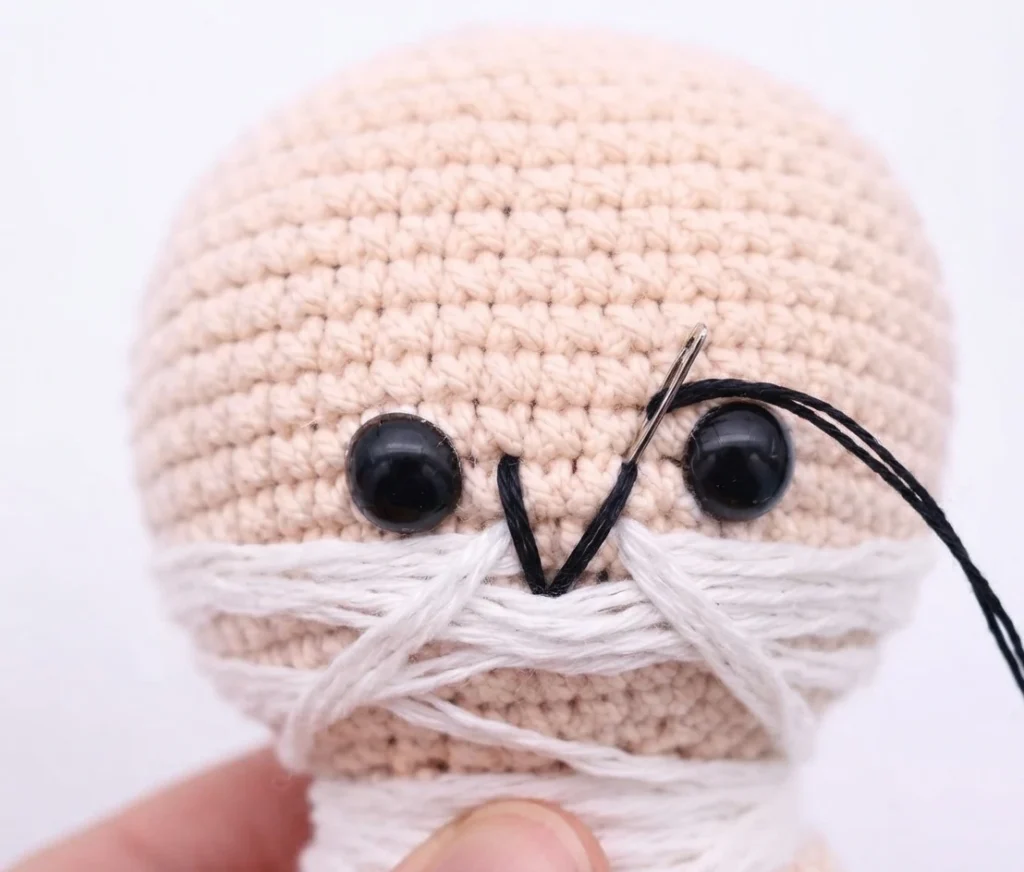
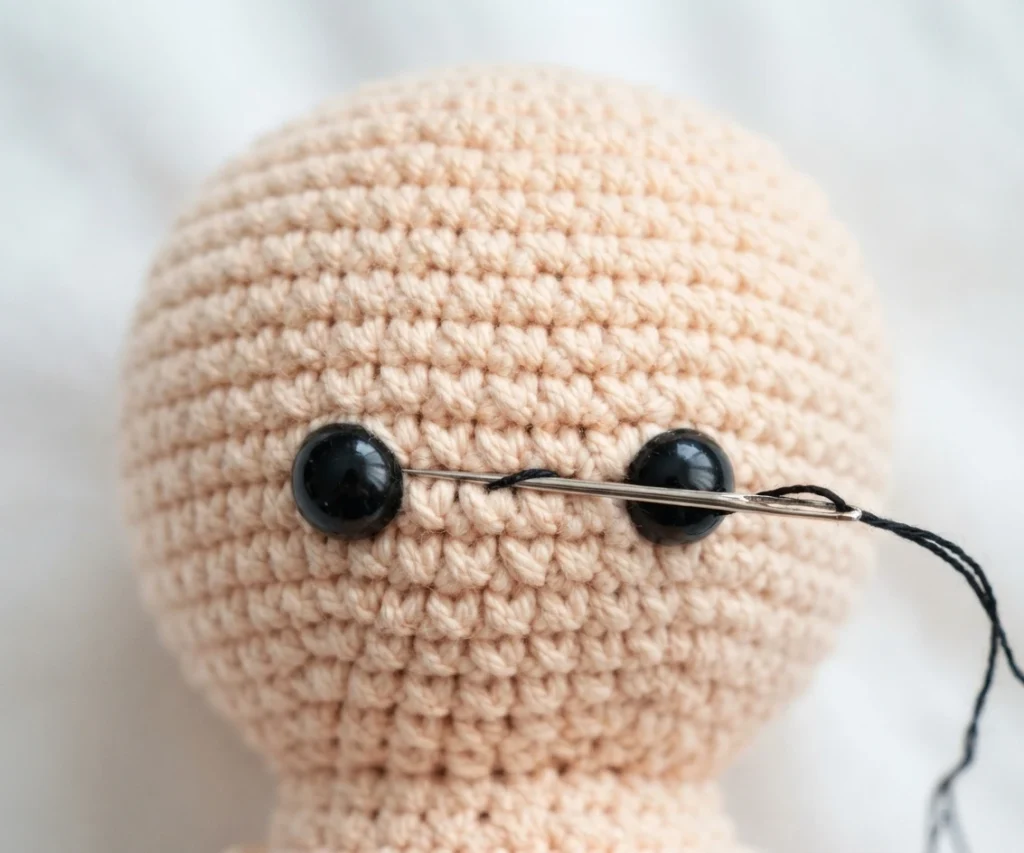
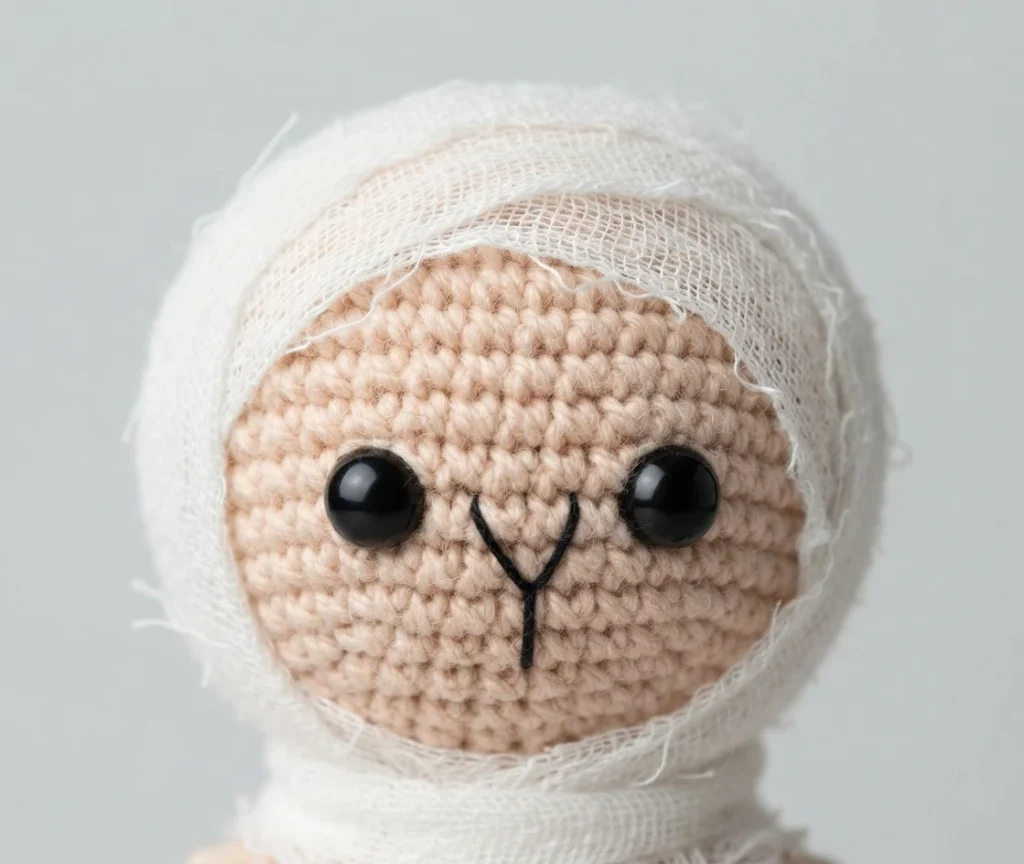
Embroider the smile with black thread. Insert the needle where shown and bring it out one stitch over from the left eye. Reinsert into the original spot and pull out one stitch over from the right eye. Insert back into the original spot to finish. Tie firm knots inside the toy to hide them, then cut the excess thread.
How to do the “x” single crochet stitch
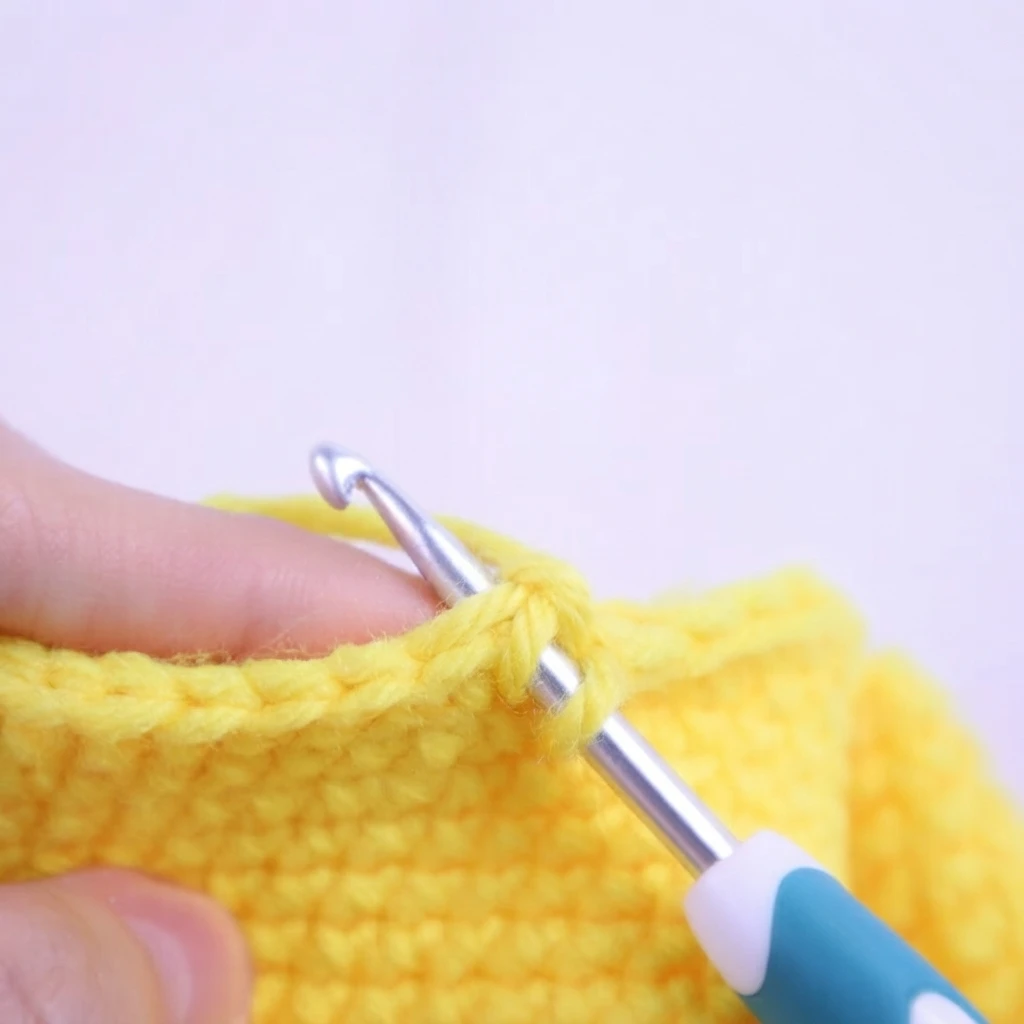
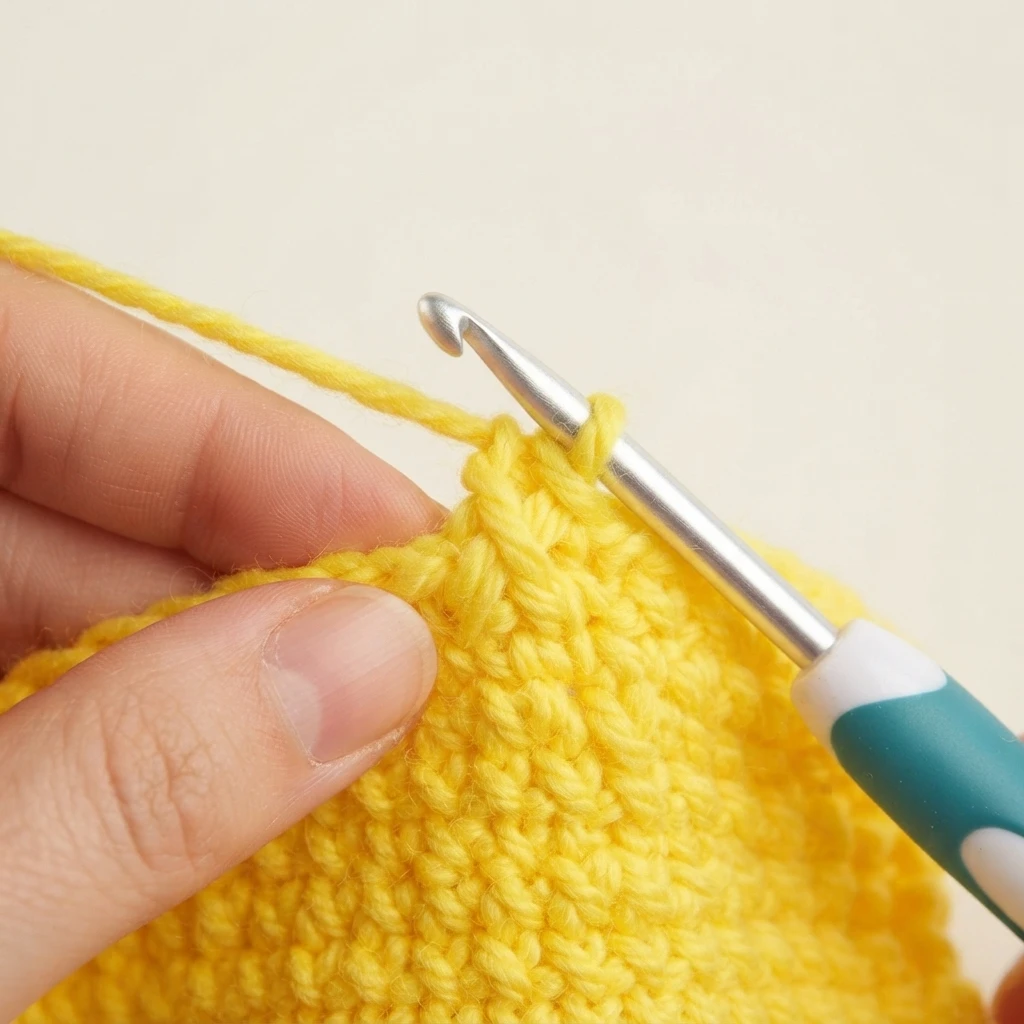
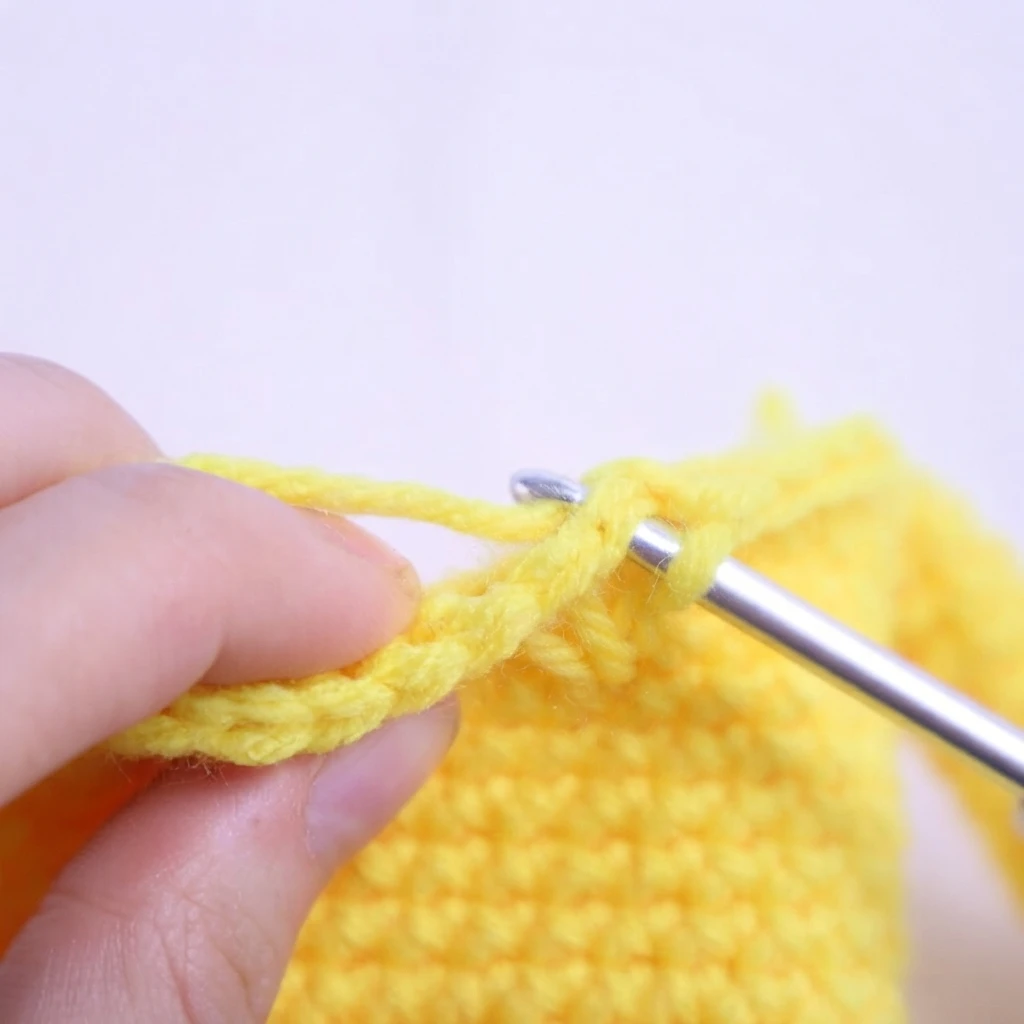
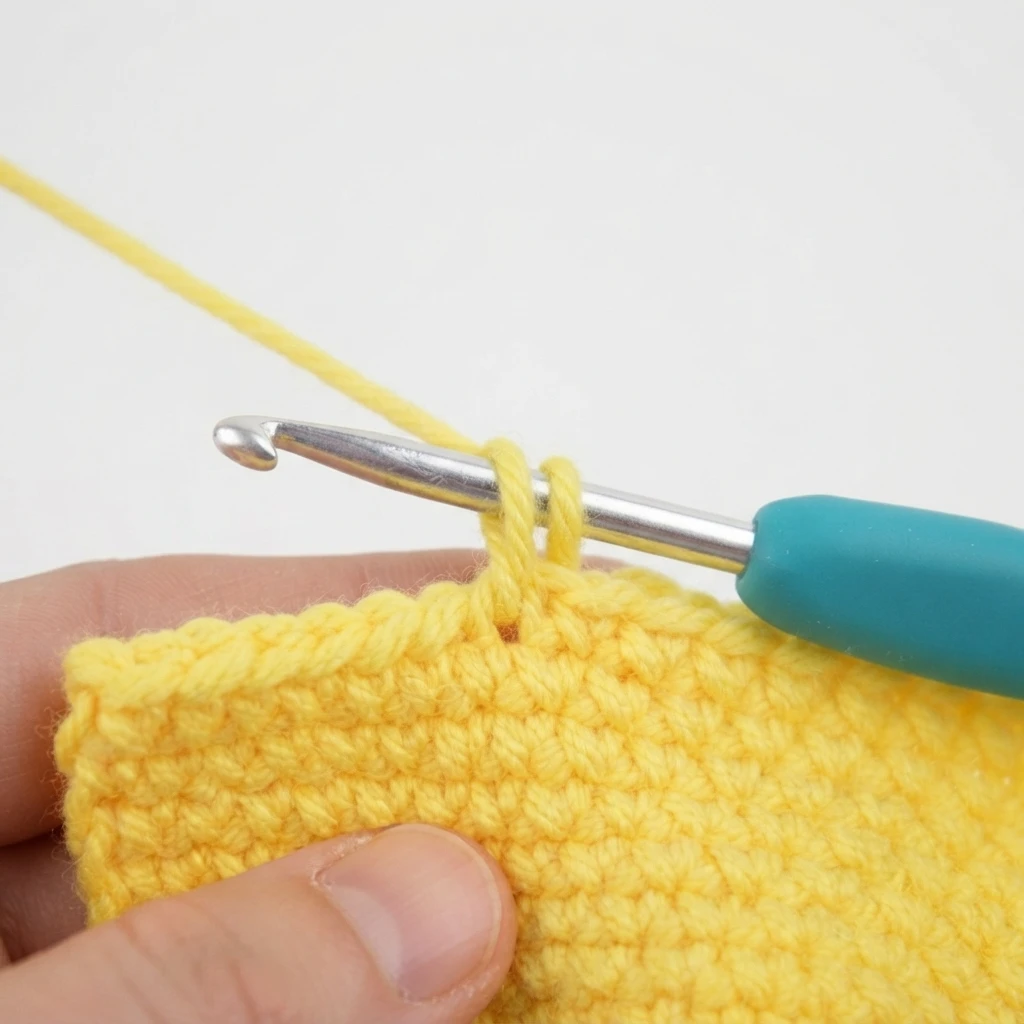
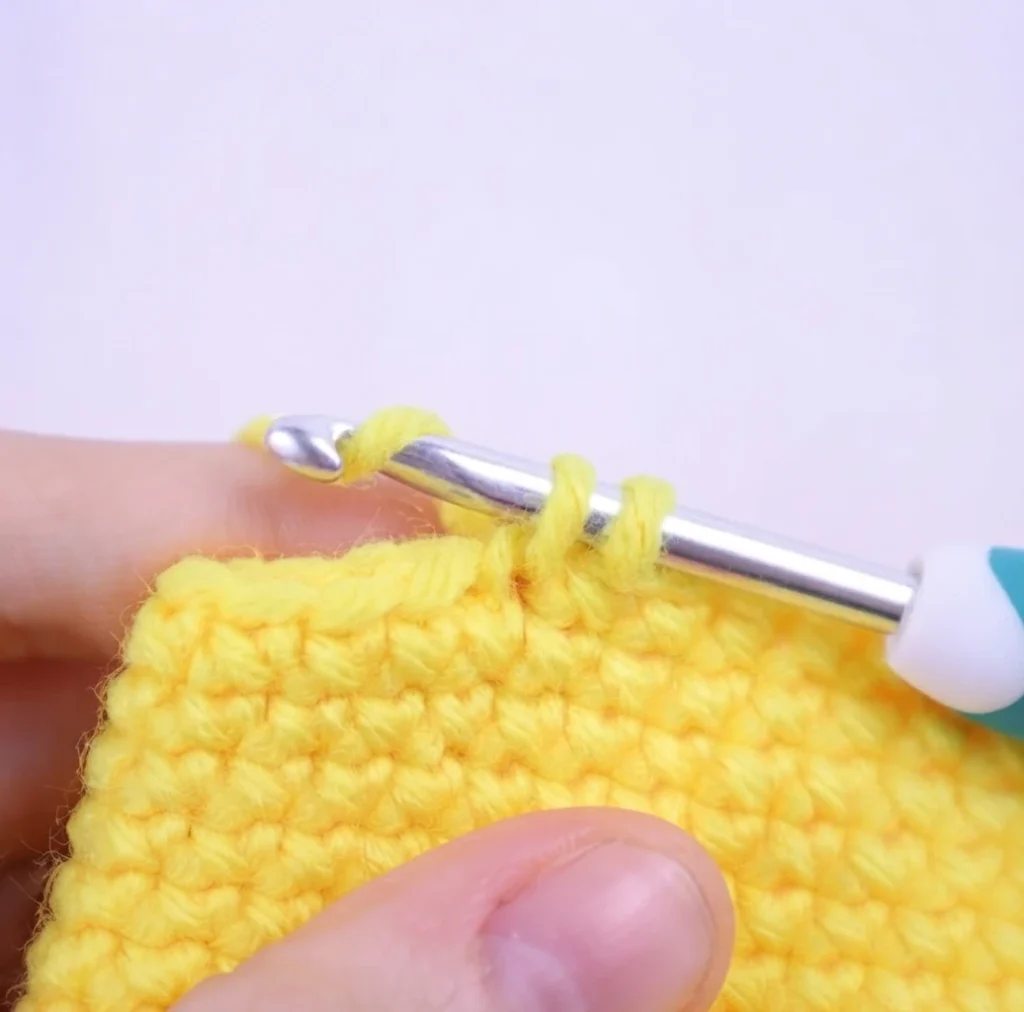
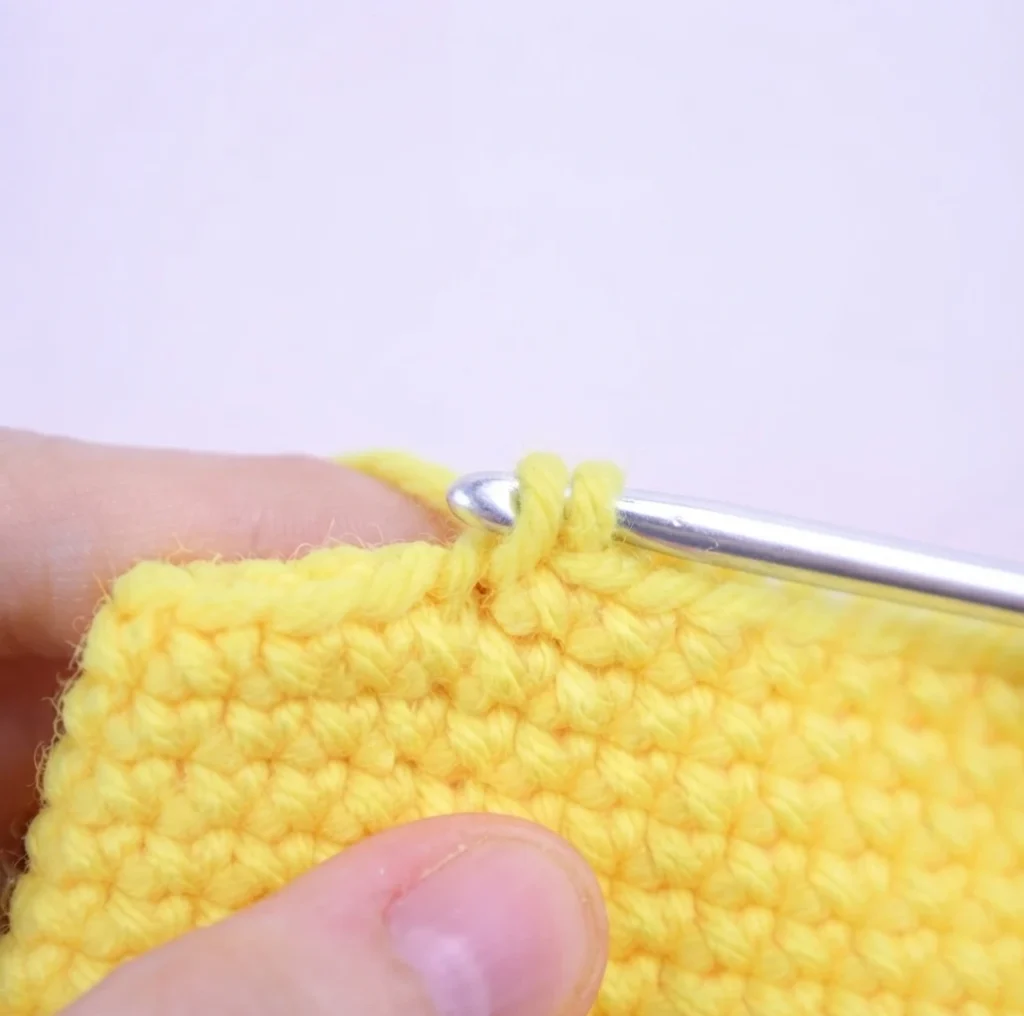
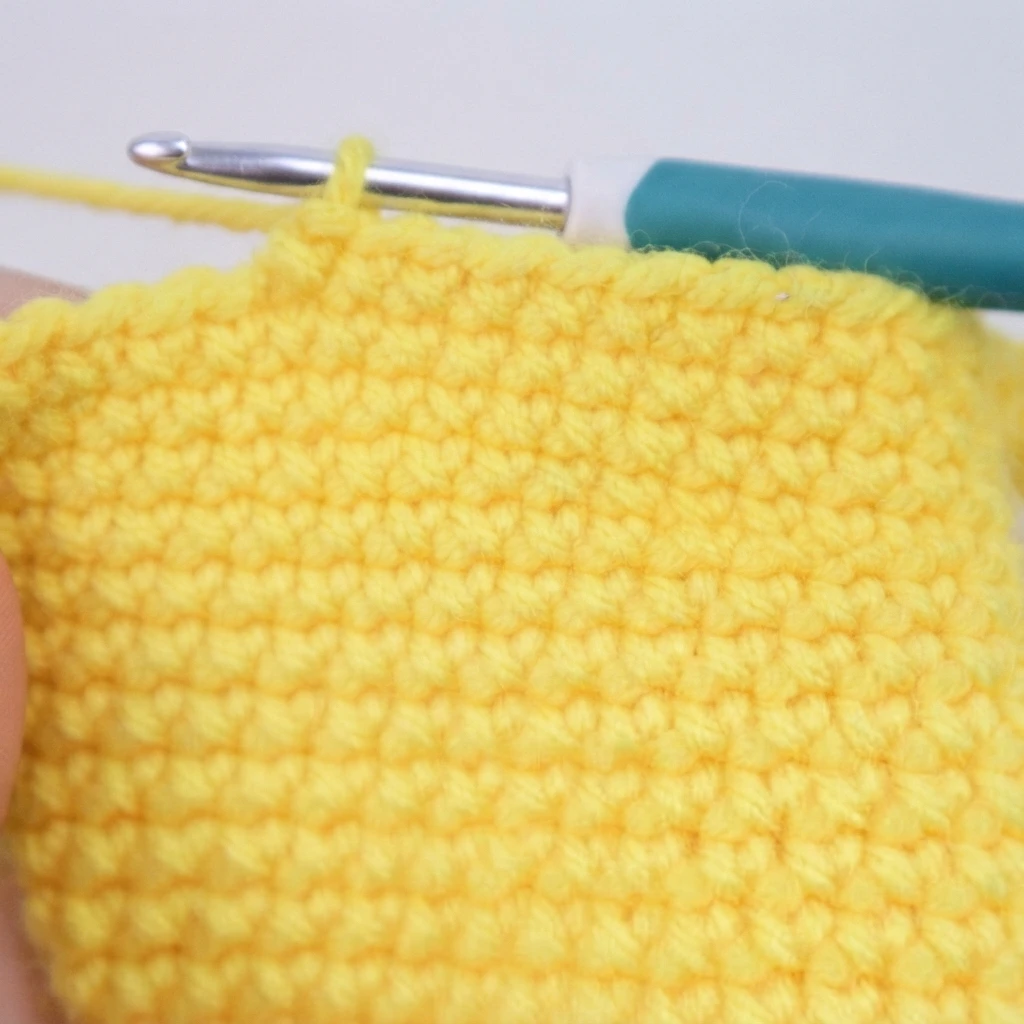
The designer includes a tutorial for the x stitch, which produces a tighter fabric. Insert the hook into the next stitch. Instead of a standard yarn over, yarn under by keeping the hook above the yarn. Pull the yarn through so two loops remain on the hook, and make sure those loops sit at the same height.
Then yarn over normally and pull through both loops to complete the stitch. The creator stresses keeping tight tension while yarning under and bringing the yarn through the stitch. The following yarn over should also be tight, though not as tight as the yarn under tension. According to the author, this tension combination is what produces the perfect x shape.
For the complete step-by-step instructions, including all stitch counts and diagrams, please refer to the Original designer’s pattern and instructions.