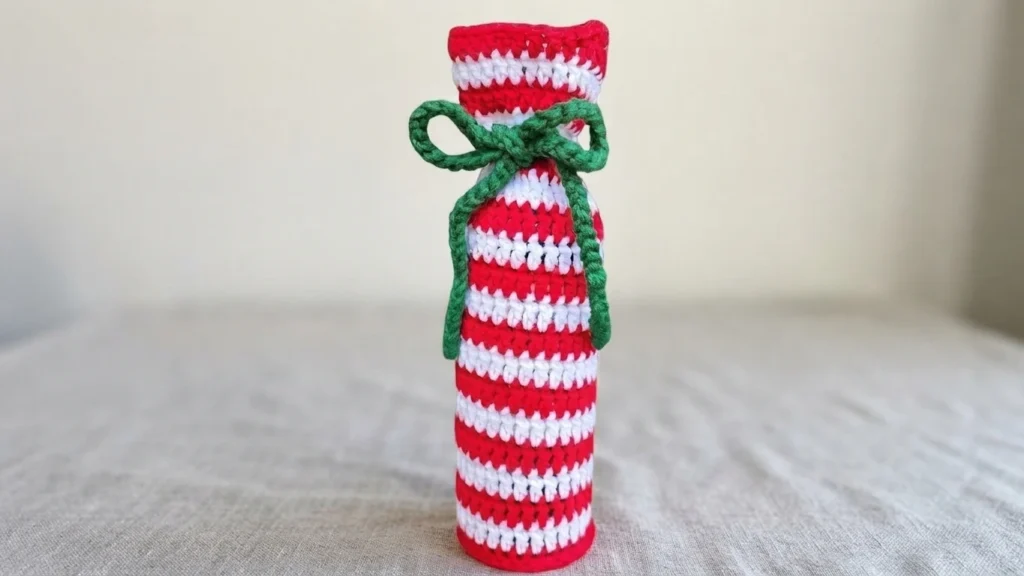
Easiest Candy Cane Crochet Wine Bag Pattern (Perfect Last-Minute Gift!)
This crochet wine bottle gift bag is a quick make that looks fun, personal, and handmade. It uses basic stitches, worsted-weight yarn, and an easy stripe trick to keep the finished piece neat without stress. The original pattern comes from Christa Patel of Secret Yarnery, and this overview walks through what the project involves so you can decide whether it fits your gift list.
Fun, personal, and handmade (without looking “homemade”)
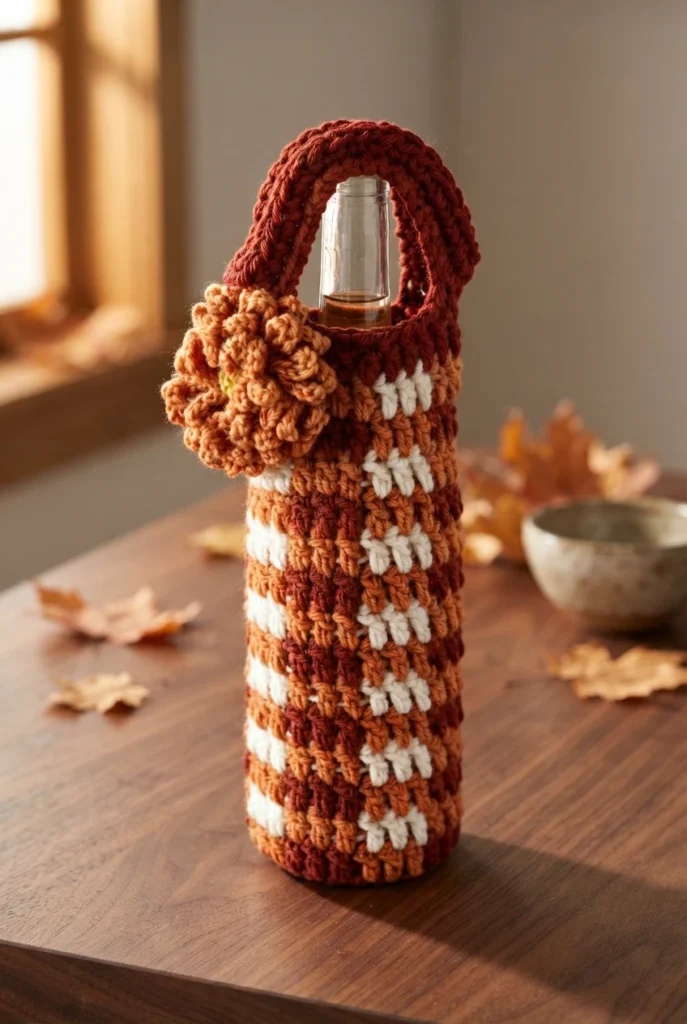
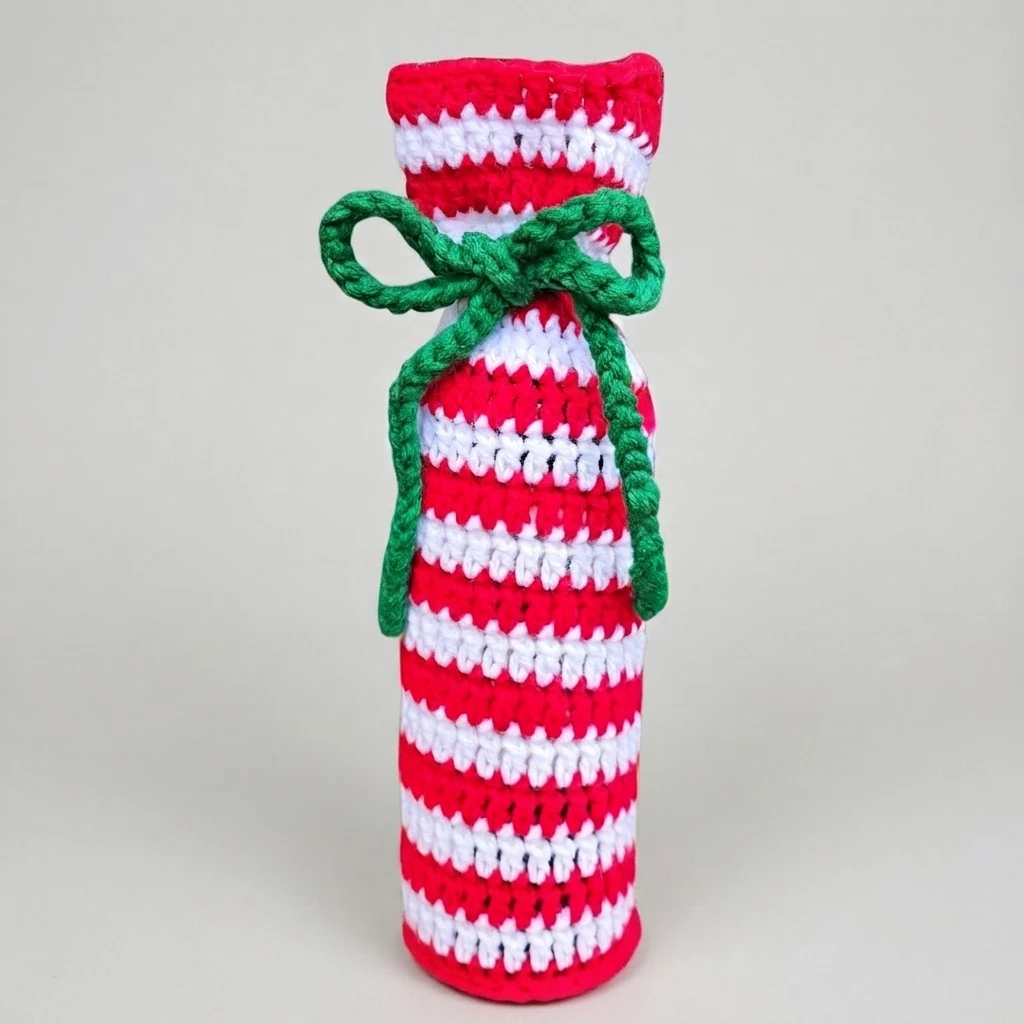
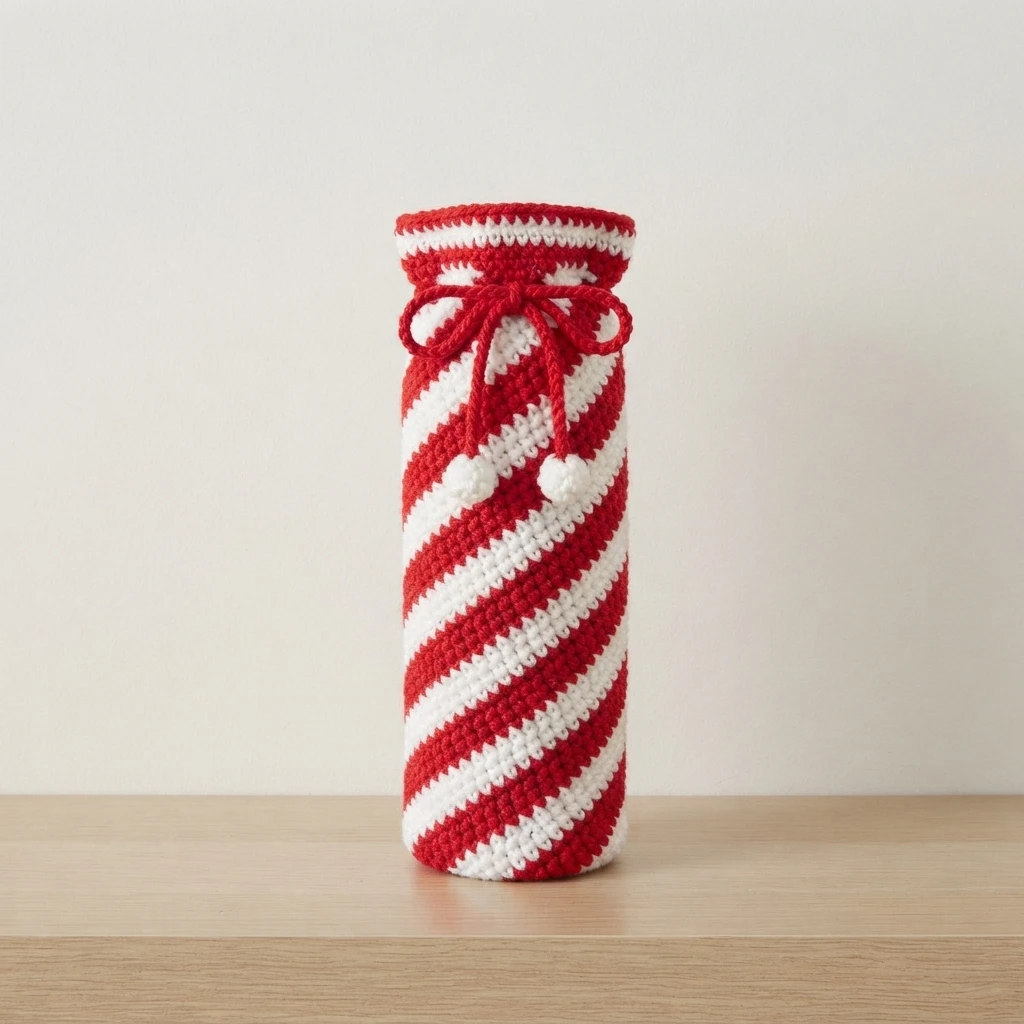
The cheerful candy cane vibe makes this project feel polished. The spiral stripe does most of the visual work, creating a look that photographs well for gifting or market displays. If you are taking photos for a gift or a market table, this is the moment to snap a picture of the finished bag with a bottle inside.
Works for any occasion and beginner-friendly
Designed for ease, the forgiving shape stretches to fit various bottles. You can adjust the height as you go. Beyond wine, it works for olive oil, fancy vinegars, hot sauce, or any tall treat bottle.
Reusable and looks store-bought
A reusable gift bag saves wrapping time and feels thoughtful. Recipients can use it later or display it in the kitchen. It fits standard wine, olive oil, vinegar, or similar shaped bottles nicely.
Your turn: color choice
Consider your palette. Classic red and white offer a traditional look, while neutrals provide modern simplicity. Bright colors add fun. Swapping the candy cane theme for other combos keeps the pattern versatile.
Yarn details (stash-buster friendly)
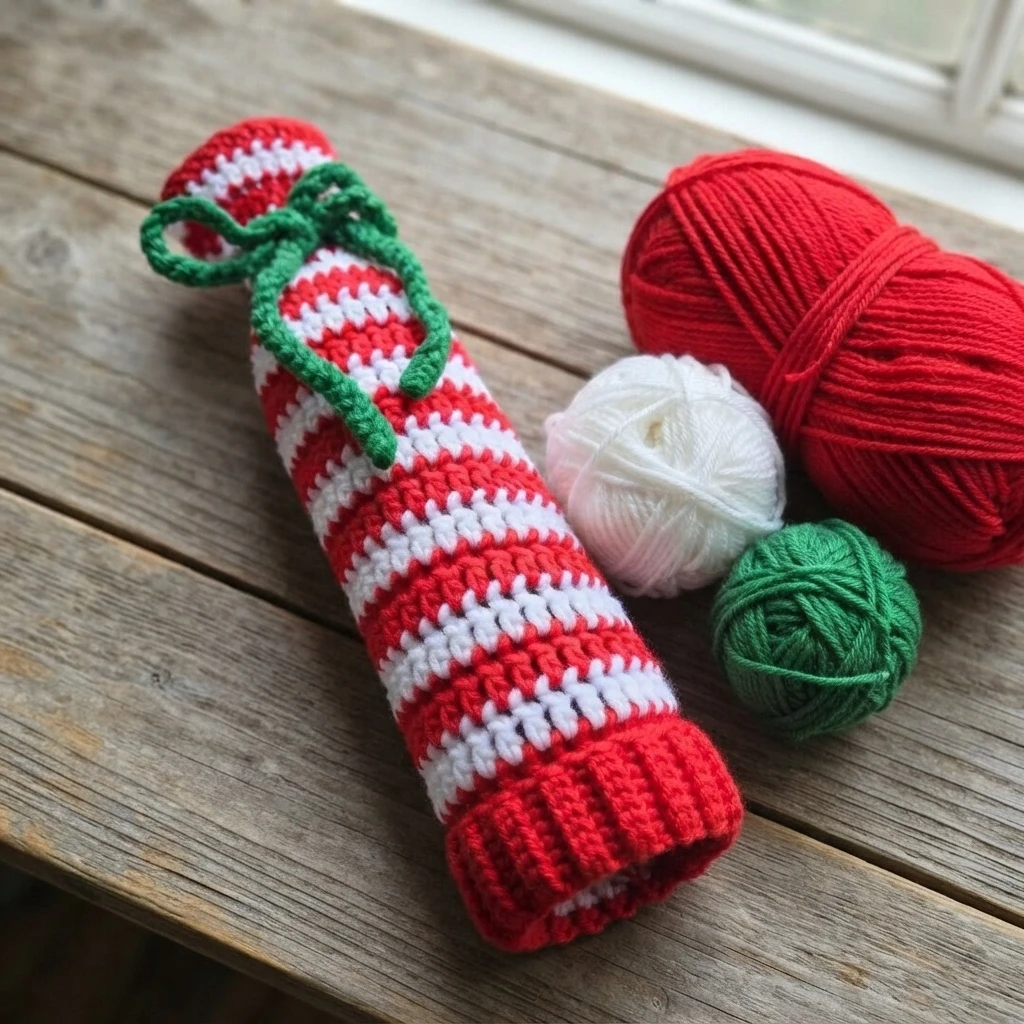
You will need size 4 worsted-weight acrylic yarn. This small project is perfect for using up odds and ends. The sample used three colors total: mostly red, a little white, and a scrap of green for the bow.
Crochet hook
A 6 mm crochet hook is recommended for this bag. If you crochet tightly, consider going up a size. If you work loosely, you might go down a size to maintain even tension.
Other tools
Gather scissors and a needle for weaving in ends. A sharp tip needle helps manage the thick tie tails. Set up your materials with the bottle you plan to wrap for a clear view of supplies.
Color flexibility tip
Use any colors you like because the stitch pattern remains unchanged. Traditional, modern, or wild combinations all work. Photographing your yarn, hook, needle, and bottle together helps visualize the final gift.
Quick navigation (video timestamps)
If working section by section, these video timestamps help you pause and resume easily:
- Intro
- Supplies and yarn information
- Magic ring base
- Back post rib round
- Start of the candy cane stripe
- Spiral stripe pattern
- Building the bag height
- Finishing stripes and top
- Green tie and bow
- Adding the bottle and final look
Magic ring vs. chain ring option
Start with a magic ring to close the center neatly. Alternatively, use a chain ring by chaining 3 and joining. Trying the magic ring once is recommended as it is a handy skill for many projects.
Step-by-step magic ring (the way I do it)
Lay the yarn tail over your non-dominant hand. Wrap the yarn around two fingers to form an X, then around the third finger under the thumb. Turn your hand to see both strands. Slide the hook under the short strand and over the long one. Catch the yarn, rotate the hook, and pull the long strand through to form the ring.
Troubleshooting the magic ring
If the ring feels awkward, keep the tail pinned with your thumb. If the tail gets too short while stitching, gently pull it. This shrinks the ring and provides more tail length to hold securely.
Chain 3 (doesn’t count as a stitch)
After forming the magic ring, chain 3. For this specific pattern, those chains act as spacers and do not count toward the stitch total. Treat them as part of the initial circle construction.
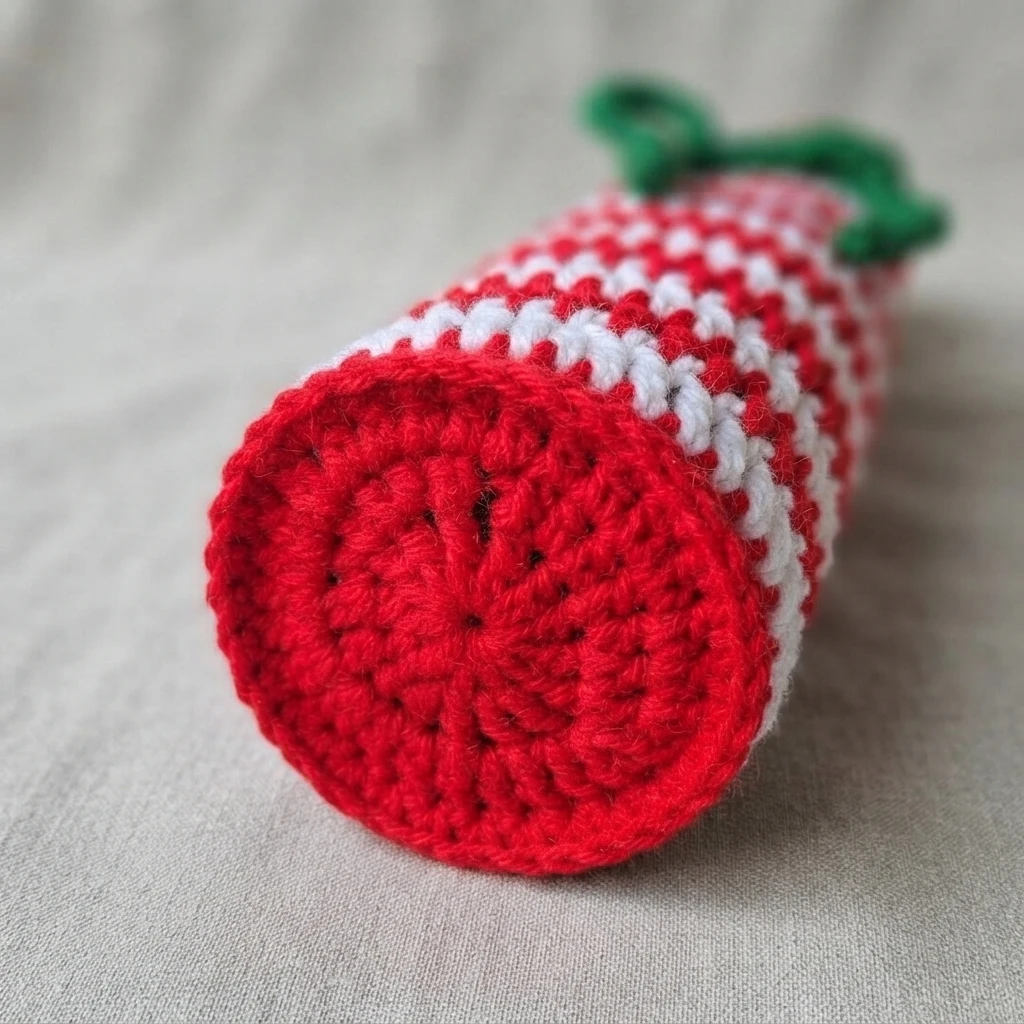
14 treble crochets into the center
Work 14 treble crochets into the ring center, covering the tail. A treble involves wrapping twice, inserting the hook, yarning over, pulling up a loop, then yarning over and pulling through two loops three times. Do not count the initial chain 3.
Counting and closing tip
Count the actual trebles from 1 through 14. Pull the center tail tight to close the ring. Acrylic yarn allows you to pull snugly without fear of snapping, ensuring a secure base.
Slip stitch to join
Join the round by slip stitching into the top of the first real treble crochet, ignoring the chain. Insert the hook under both strands at the top of that stitch before completing the slip stitch.
Chain 2 (doesn’t count)
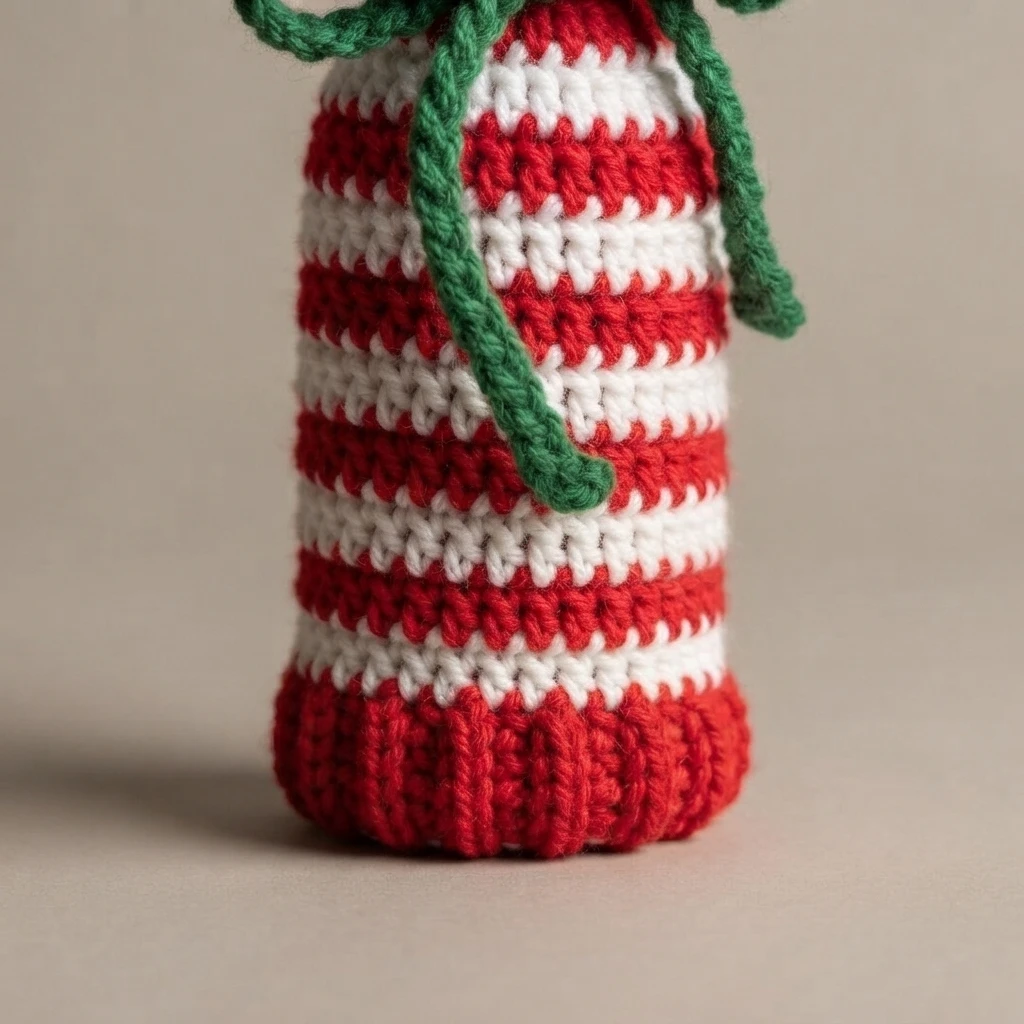
For the next round, chain 2. Like the previous spacer, this chain does not count as a stitch but helps shape the round properly as you begin increasing the base width.
Two double crochets in the same stitch
In the exact stitch where you joined the previous round, work 2 double crochets. This establishes the increase point needed to expand the flat bottom of the bag.
Continue around: 2 double crochets in each stitch
Work 2 double crochets into every stitch around. This rapid expansion builds the base width so the bag fits around the bottle bottom. Join by slip stitching into the top of the first real double crochet.
What you should see now
This doubling round creates a solid, flat base ready for a crisp edge. The structure should lie evenly on your table, indicating successful increases and proper tension for the upcoming sides.
Step 3: Bottom Edge With Back Post Half Double Crochets
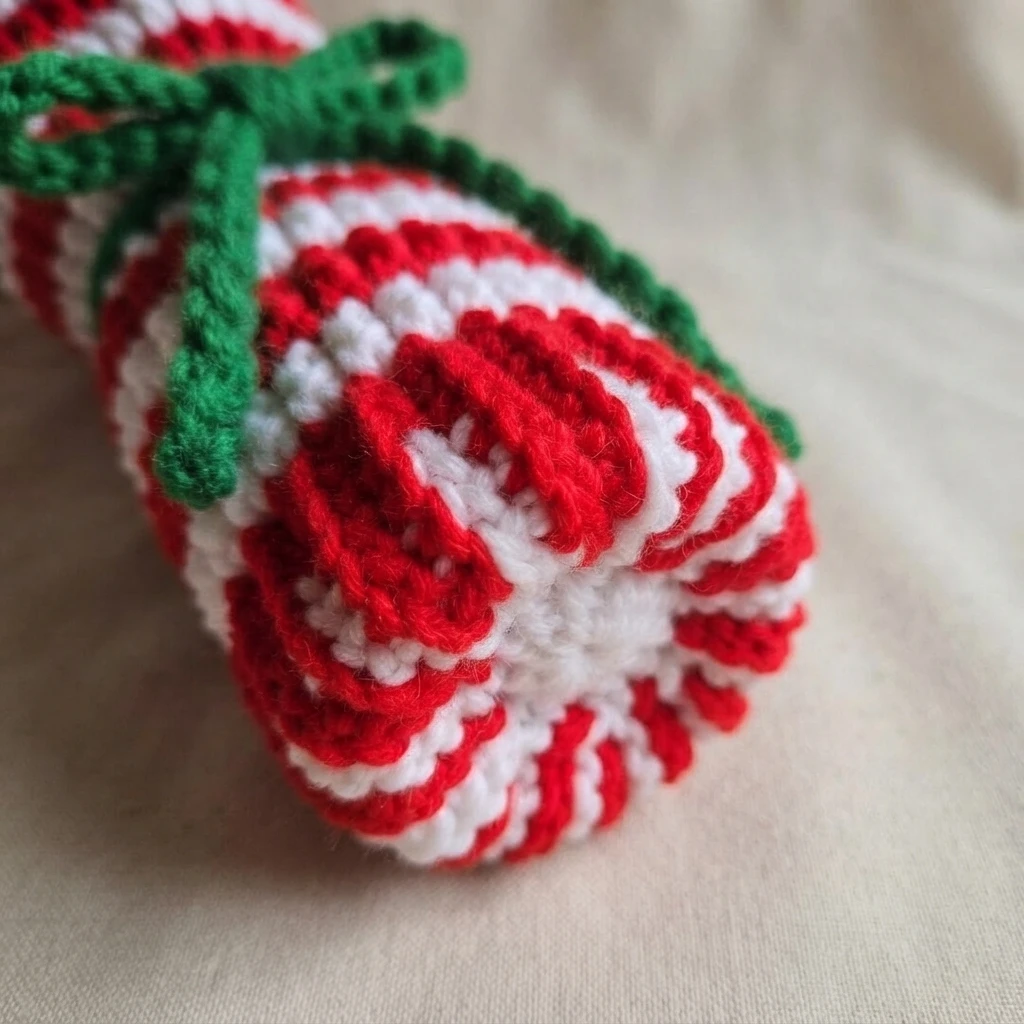
This round finishes the bottom edge. After joining, chain 2 again. These small chains prepare the work for the textured back post stitches that define the base structure.
Back post half double crochet (what it means)
Work around the post of the stitch below. Yarn over, insert the hook from the back around the post, and bring it out the back. Yarn over and pull through to leave three loops. Yarn over and pull through all three. Repeat around for a structured edge.
Switching yarn for the candy cane stripe (with 2 stitches left)
When two stitches remain in the back post round, switch colors. Leave the current yarn with a large loop to prevent unraveling. Bring in white yarn, start the next stitch, and join with a slip stitch using both strands. Chain 2 small chains.
Joining the round with a single crochet
To smooth the transition, join into the top of the next stitch with a single crochet. This begins the stripe pattern that creates the signature spiral look moving upward along the bag body.
Step 4: Starting the Candy Cane Stripe Pattern Overview
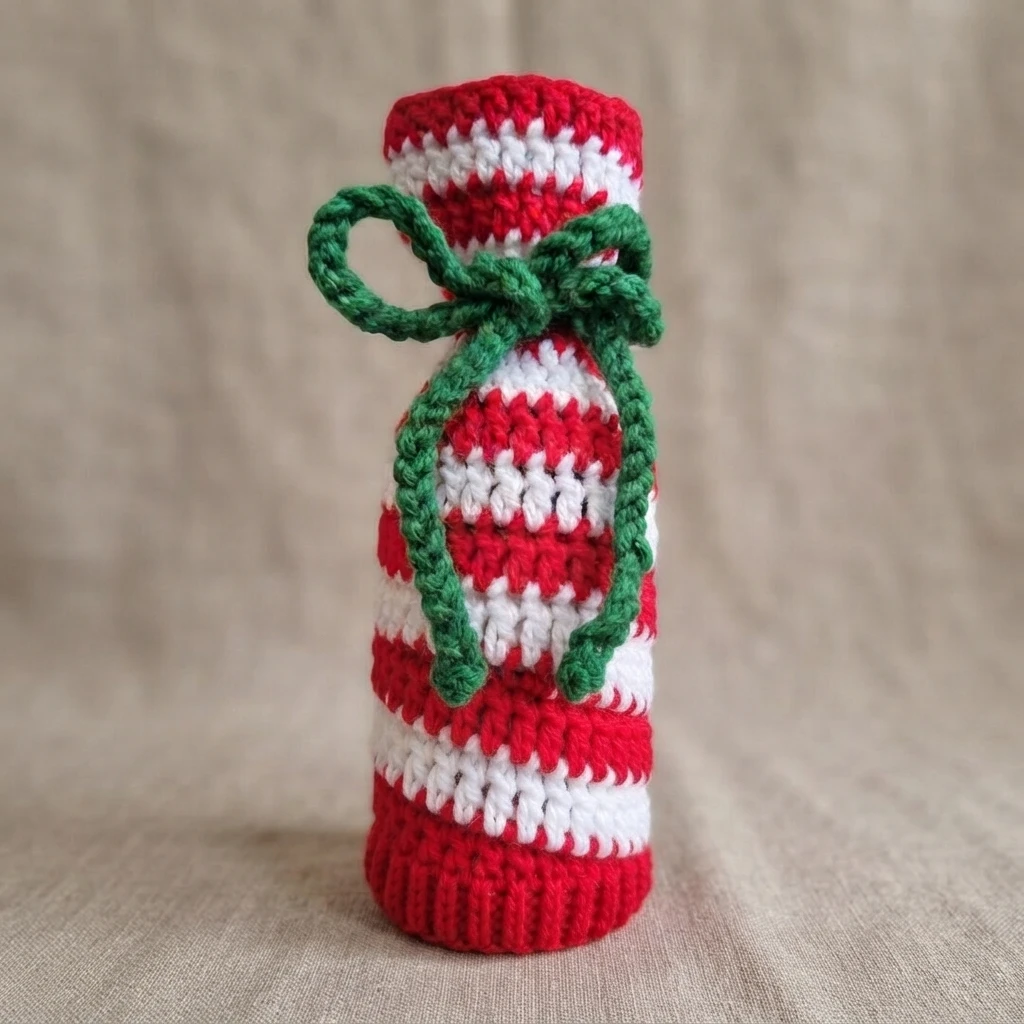
Once the rhythm is set, the project speeds up significantly. Most of the work becomes steady double crochet cruising, allowing you to relax while watching the spiral form naturally.
The “smoothing” stitches after the switch
Right after joining, work 2 single crochets and 2 half double crochets, one into each stitch. These shorter stitches help blend the color change and keep the spiral line smooth and consistent.
Then it’s double crochet around
After the smoothing stitches, work 1 double crochet into each stitch all the way around. When approaching the parked big loop of the other color, prepare to swap yarns again to continue the stripe.
The big loop trick (clean, simple color changes)
Pull up a big loop of the current yarn so it does not tighten. Put the hook into the loop of the other color. Shrink the loop to the correct size and continue crocheting. This avoids tangling and tight joins.
Repeat the start-of-color rhythm
When switching back, repeat the smoothing sequence: single crochet into the top of the chain 2, single crochet into the next stitch, half double crochet into the next 2 stitches, then double crochet in each stitch around.
Sew in tails early (it’s easier right now)
Before the bag grows tall, sew in the magic ring tail and the white stripe join tail. Match the yarn color as you weave up and down through the stitch path. This saves time and prevents digging into the deep tube later.
Step 5: Spiral Stripes and Building the Bag Height
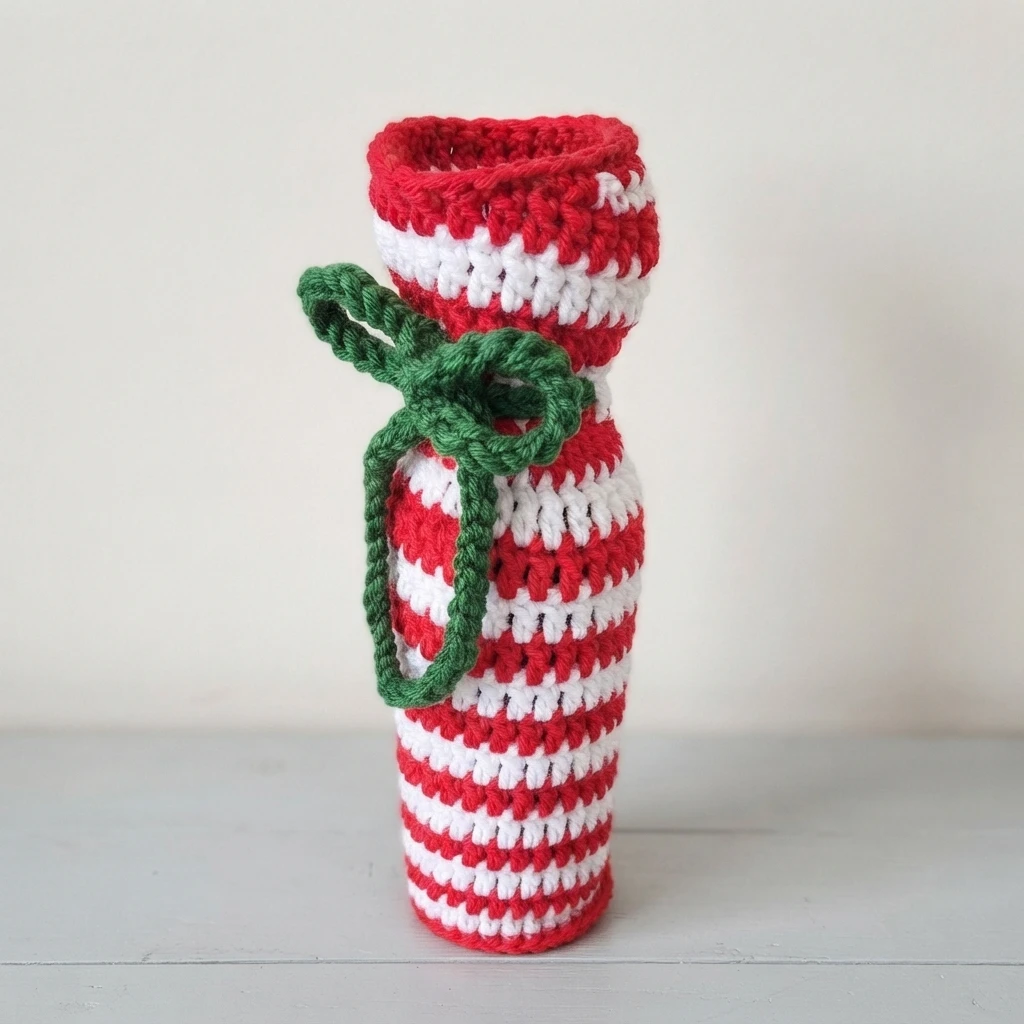
With the spiral established, the work becomes relaxing. Watch for the V shapes on top of each stitch and place double crochets neatly to maintain the clean stripe appearance as the height increases.
The main body is simple
For the sides, continue with 1 double crochet into each stitch in rounds. Alternate colors between red and white as you go. This keeps the candy cane stripe moving upward smoothly without complex shaping.
Row count guide (how tall to make it)
The sample used 10 rows of white, counted after the join, finishing in red. For a shorter bag, stop at 9 rows of white. Taller bags give extra room at the neck; shorter ones let the bottle top peek out more.
Counting rows without stress
Count rows after the join area. If unsure, flatten the bag and check the stripe path. Aim to be in the general area where the spiral began. Exact precision is not required for a good look.
Covering the “slope” as I go
Do not panic if the join area creates a tiny slope. Keep placing double crochets into the next stitches, watching for neat V’s. The spiral tends to smooth itself out naturally as the bag grows taller.
Why the spiral stripe works so well
This method avoids turning rows, complicated joins, and seam alignment worries. It results in steady crochet with a clean finish. For more reusable gift ideas, explore cozy homey patterns including bottle holders.
Step 6: Finishing the Top With Decreases
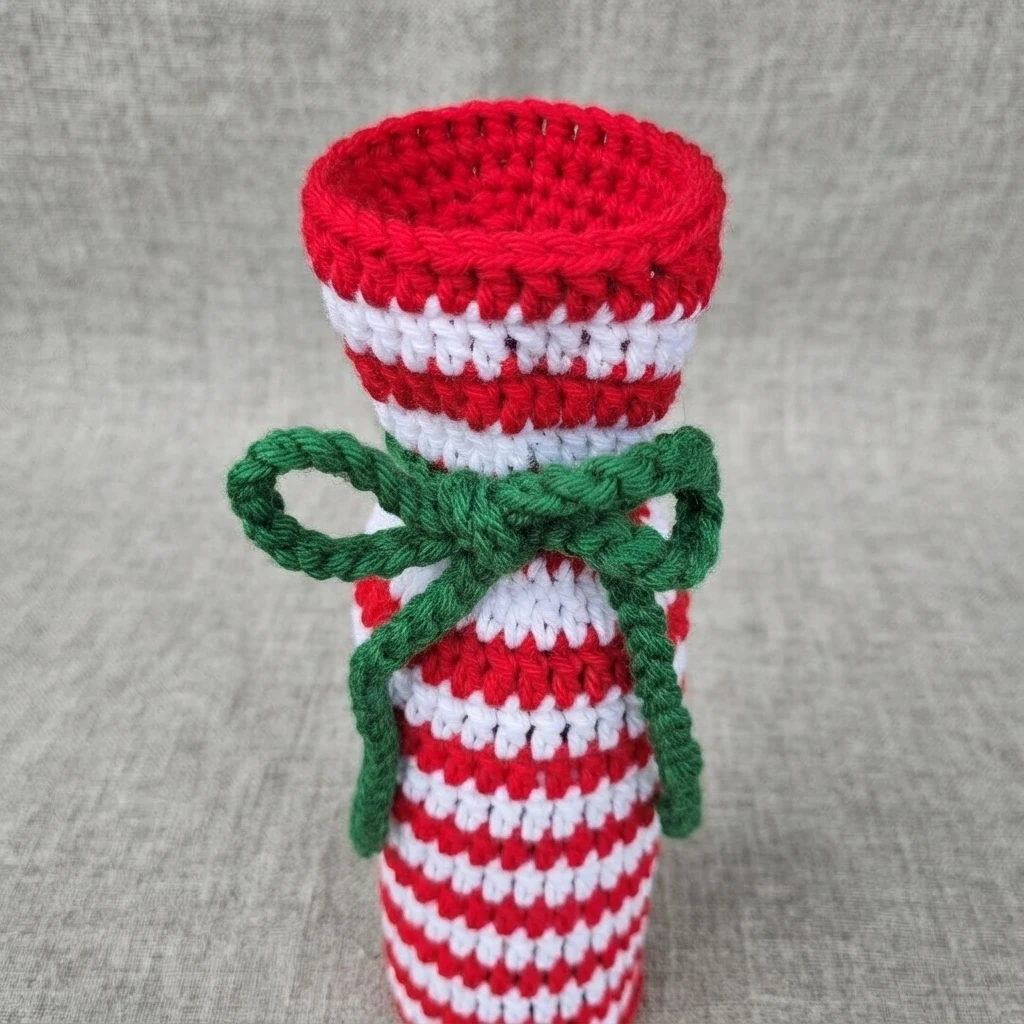
Once the bag is tall enough, at least 9 rows per color, finish the top so it lies flatter. This ensures the opening looks intentional and structured rather than loose or uneven.
Line up near the start area
Flatten the bag and try to end the stripe in the same general area where the spiral began. This balances the look. It does not need to be exact, just visually harmonious for the recipient.
White top finish: half doubles, singles, slip stitch
Finish the white section with half double crochets into the next two stitches, then single crochets into the following two, ending with a slip stitch. Chain 1 to secure, cut the yarn, and tuck the tail inside temporarily.
Red top finish: work down and cover the slope
Put red yarn back on the hook. Work half double crochets over the sloped area, covering the previous slip stitch. Finish with 2 single crochets, a slip stitch, and chain 1. Cut with a long tail for sewing in later.
Step 7: Making the Green Tie and Bow
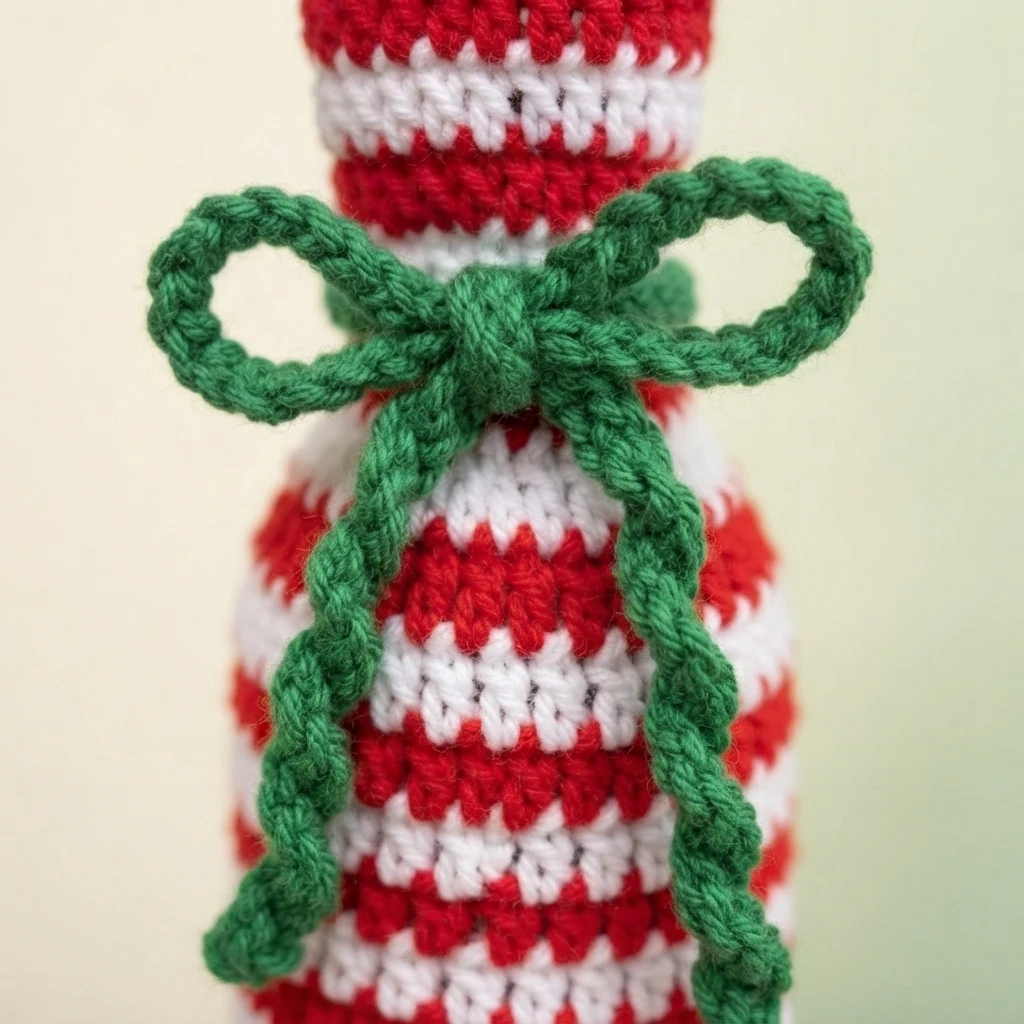
This simple tie turns the item into a true gift bag and keeps the bottle snug. It adds significant charm and functionality to the overall presentation, making it ready for gifting immediately.
Triple up the green yarn
Use regular worsted-weight acrylic tripled up, meaning three strands held together. Chunky yarn also works, but tripling worsted creates a sturdy, thick strand ideal for tying bows that hold their shape.
Slip knot with all three strands
Make a slip knot using all three strands of green yarn. Tighten it securely and place it on your hook to begin the chain for the tie length.
Chain 100 (or 70 for a shorter bow)
Chain 100 for a long bow, or at least 70 for a shorter version. As the loop gets small, put fingers through it, pull up more yarn, smooth strands, and chain over the join. Cut and pull the tail through to secure.
Sew in the tie tails
Use a sharp tip needle to sew ends into the fat part of the chain. Check with fingers to ensure the needle does not poke through to the front. With a blunt needle, sew back and forth to lock it in.
Step 8: Assembly and the Final Look
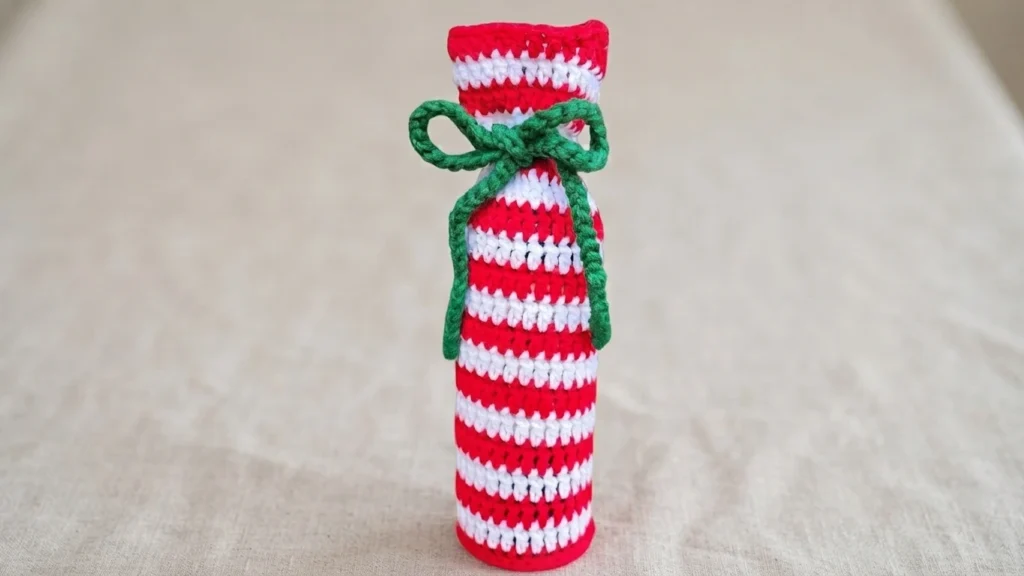
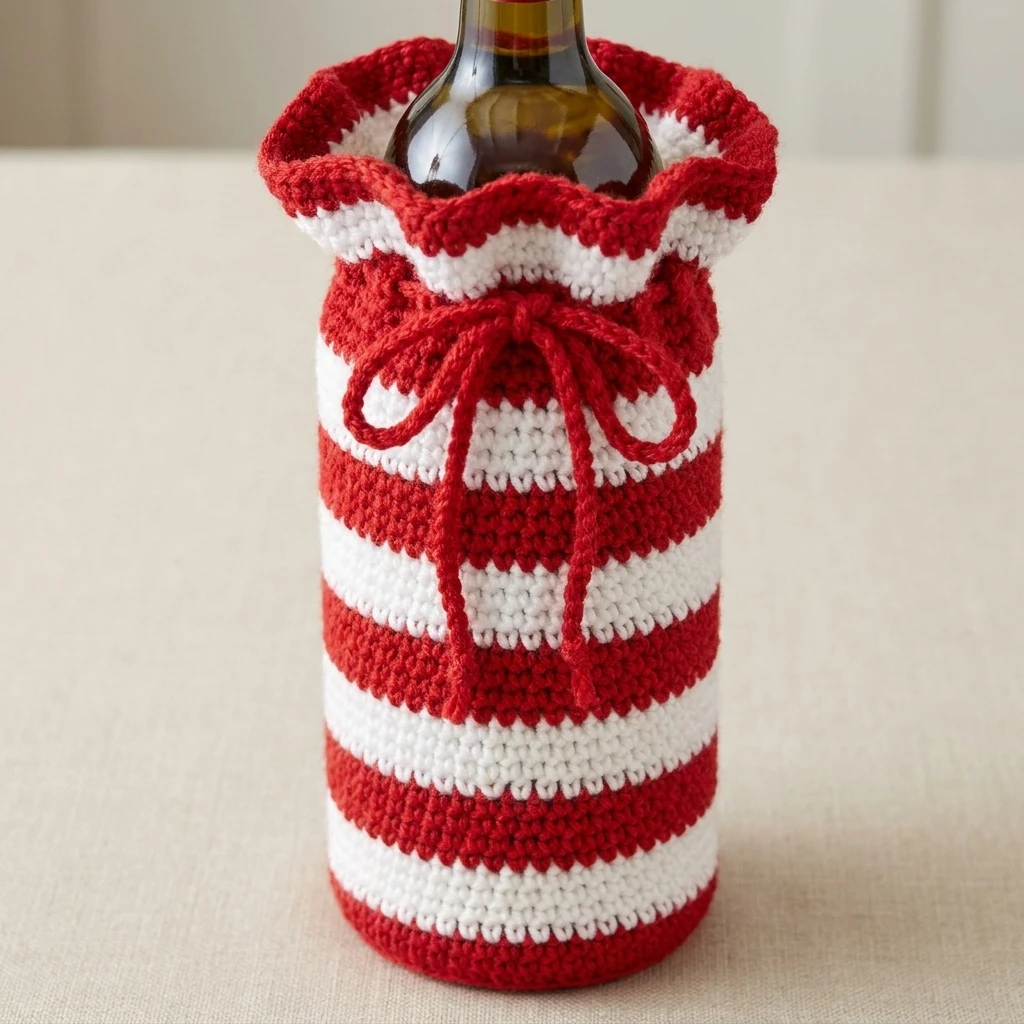
This is the satisfying part. Slide the bottle into the bag and pull it up. The crochet stretches to hug the bottle without needing a perfect custom fit, showcasing the forgiving nature of the design.
Slide the bottle into the bag
Insert the bottle and adjust the bag height. Because the fabric stretches, it conforms to the glass shape easily. This flexibility ensures a snug fit for various standard bottle sizes.
Choose where the stripe looks best
Locate where the candy cane stripe begins and decide which side faces front. Since the design looks cute from every angle, do not overthink the placement. Just choose what appeals to you.
Attach the tie so it doesn’t fall off
Loop the tie underneath one stitch near the bottle neck. This keeps the tie attached to the bag even when the bow is untied. Tie a bow at the back, fluff it, and the gift is ready.
Tail management (small habits that help)
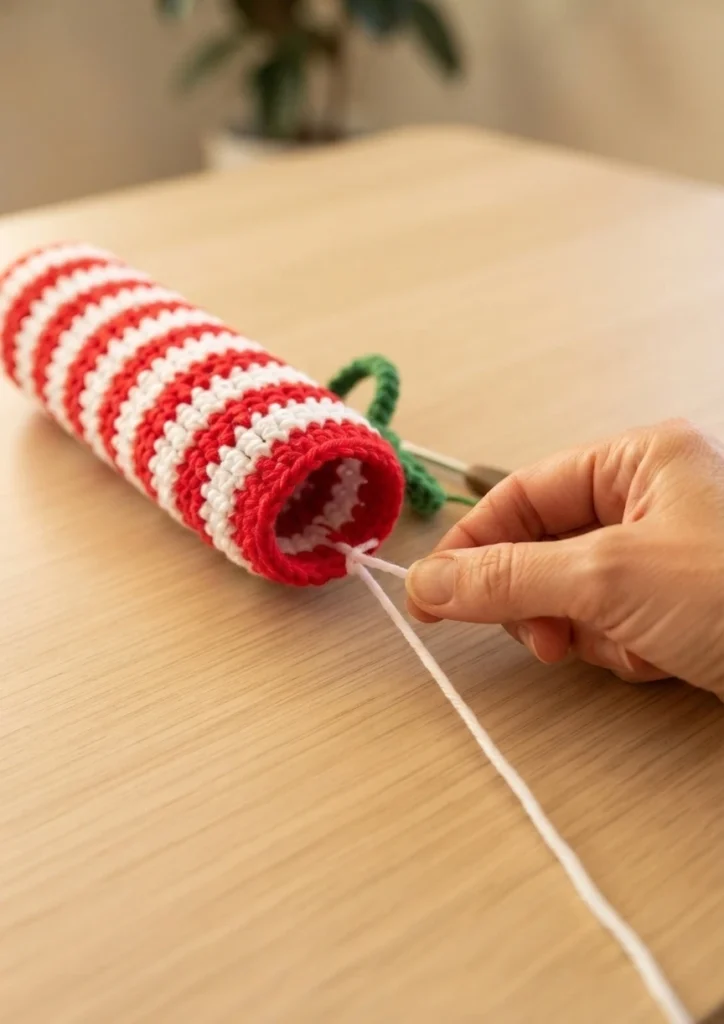
If the magic ring tail gets short, pull it slightly to tighten the ring and lengthen the tail. Sew in center and early color-change tails before the tube gets tall. Tuck tails inside temporarily if not ready to sew.
Color switching without stress
Keep each resting color with a big loop. When switching, move the hook to the other loop and tighten it to the right size. This prevents twisting and maintains even tension throughout the striped body.
Stitch recognition keeps it neat
Look for the top V’s and place one double crochet into each stitch. If the spiral area looks bumpy during color changes, it usually smooths out within a round or two past the join, maintaining a tidy appearance.
The bottom edge makes it look finished
The back post half double crochet round is worth doing. It provides a defined edge that adds structure, making the bag stand upright and look professionally finished rather than floppy.
Adjust the height for your bottle
Taller bags offer more coverage and room at the top. Shorter bags let the bottle stick out more but still look cute. Adjust based on the specific bottle neck height you are wrapping.
Resources and Next Steps
The tutorial mentions several resources for further learning, including a printable yarn option, a 6 mm crochet hook, sharp tip needles, a left-handed tutorials playlist, a free crochet cheat sheet, and Amazon Store favorites. There is also a YouTube subscription option for Secret Yarnery and a channel membership. For the complete written pattern and video support, visit the Original designer’s pattern and instructions.
If you want to keep building your skills with related projects, these overviews are good next stops:
- Christmas Candy Cane Appliques: Pattern Overview
- Candy Cane Hot Pad Crochet Version by Melody Rogers: Pattern Overview
Conclusion
This candy cane crochet wine bag is a quick, useful project that always brings a smile. With a simple base, easy spiral stripe, and chunky green tie, you create reusable gift wrap that feels handmade in the best way. Share your color choices, whether classic, neutral, or bright.
What’s the best way to weave in ends?
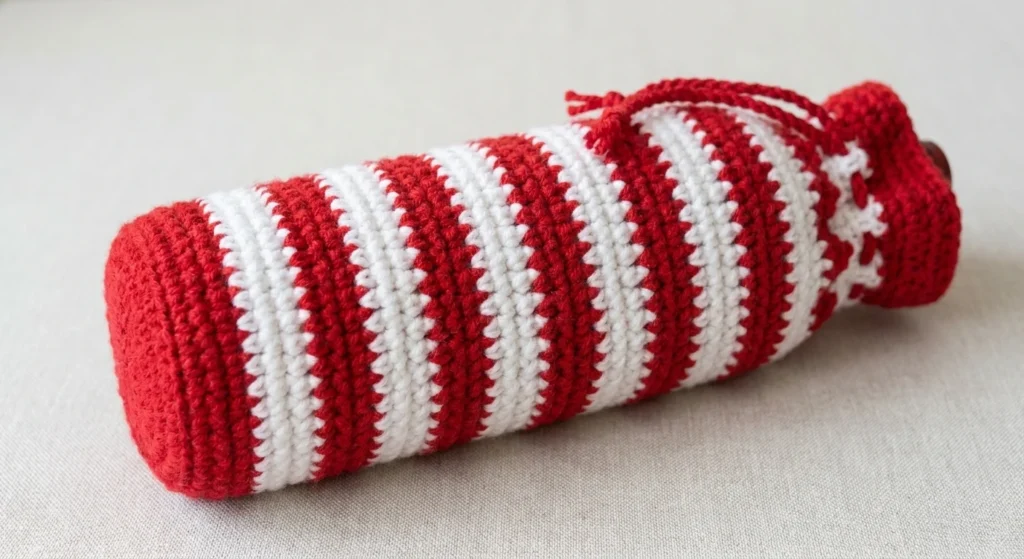
For the candy cane crochet wine bag, the source tip is to weave in the early ends before the bag gets tall. That means handling the magic ring tail and the first color-change tail while the project is still short. At that stage, the inside is easier to reach, so you are not reaching down into a tall bag. Working these ends in early also helps keep the inside of the bag neat. If you wait until the bag is finished, those first tails can be more awkward to access.
Handling them sooner supports a cleaner finish and a tidier interior.
About the Author
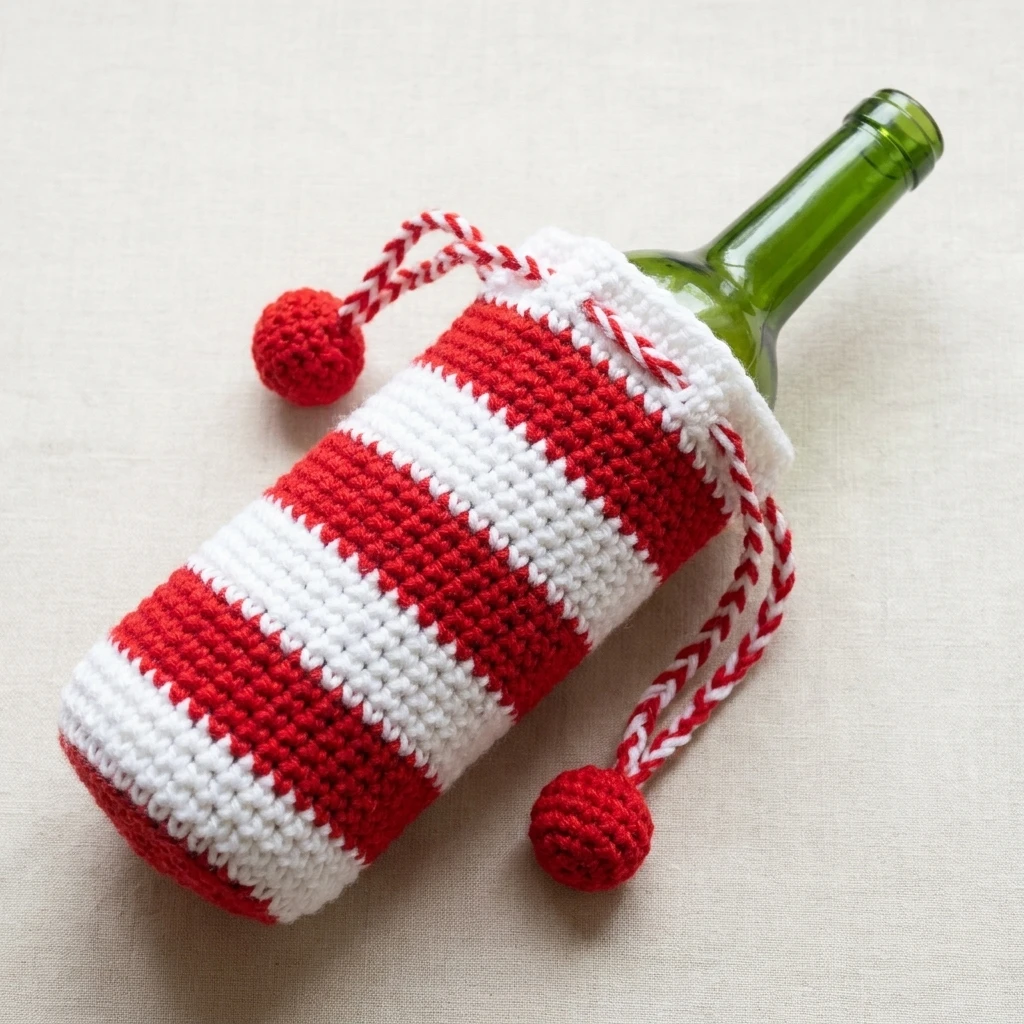
Christa Patel is the creator behind Secret Yarnery. She has a passion for crafting easy, beginner-friendly tutorials and patterns. Her work motivates makers across different skill levels to express their creativity globally. She invites yarn enthusiasts to connect, create, and craft beautiful handmade items together. This author note comes from the source material supplied for the Candy Cane Crochet Wine Bag Pattern, My Fast 2025 Gift Idea.
Latest Products
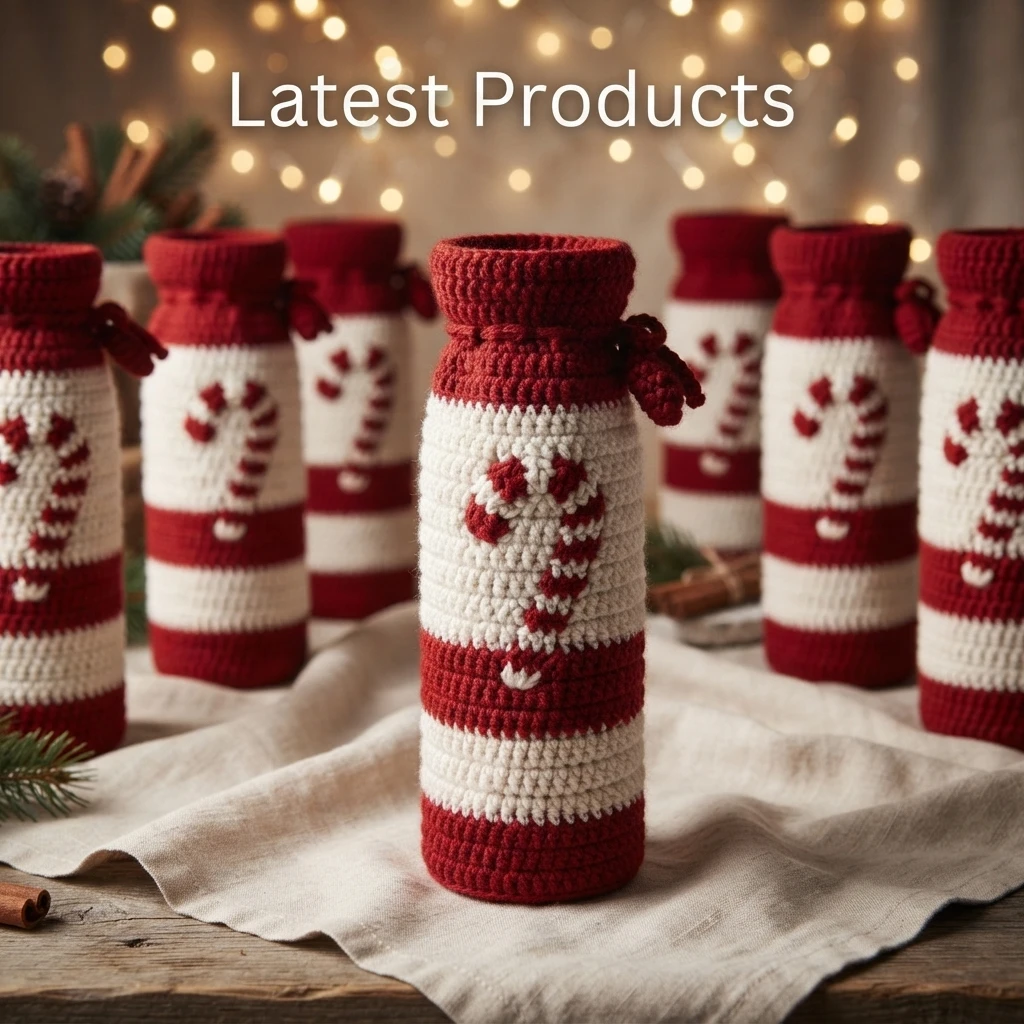
The latest products include the Ultimate Drunken Granny Chaos Blanket and the Drunken Granny Chaos Blanket, which appears with a FREE P… label in the source list. Also featured are the Easiest Ruffle Crochet Hair Scrunchie and the Easy Water Bottle Holder Bag, listed as a Quick… make. Another entry is 22 Crochet Gift Ideas for Mother’s Da…, shown in the source with an abbreviated title. These product names are taken directly from the latest products list.
Latest Blog Posts
The latest blog posts include Drunken Granny Chaos Blanket CAL: Fre…, Easy Halloween Crochet Patterns for C…, and How to Weave in Crochet Ends Securely…. Other recent entries are Half Double Crochet Stitch: Easy Proj… and How to Wash and Store Handmade Croche…. The source list presents each title in an abbreviated form, so the endings are cut off. Even so, the topics point to a mix of blanket crochet along content, seasonal Halloween pattern ideas, a guide for securing crochet ends, a half double crochet stitch project, and care advice for washing and storing handmade crochet items.