Project introduction
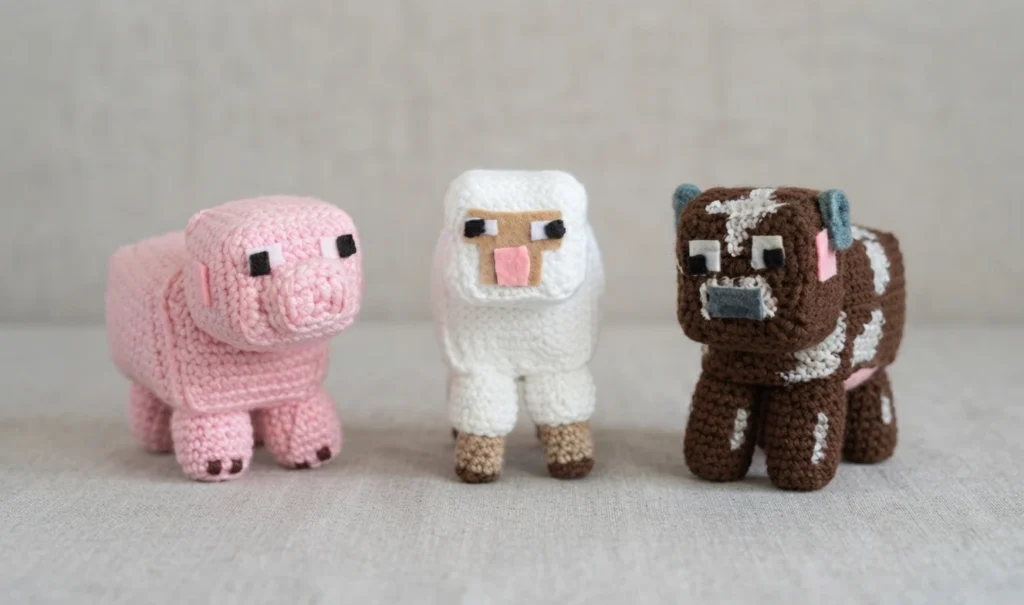
This article is a pattern overview, not a full step-by-step tutorial, of a charming trio of blocky Minecraft amigurumi: a pink pig, a white sheep and a brown cow. The designs were shared on Amie Sami’s Cherry Pie blog and grew out of a Creeper the designer made for a friend named Alex, who then asked for the animals too. Nerdigurumi’s free Creeper pattern is credited as the inspiration that made passable cubes possible, and the sheep ended up the designer’s favorite of the three.
The designer describes the pattern as untested and invites readers to ask questions if anything is unclear. Each animal follows the same blocky architecture, so once you understand one you will move quickly through the rest. You will find every round-by-round instruction, plus the abbreviation cheat sheet, on the Original designer’s pattern and instructions page, which is the authoritative source for this project.
Cheat Sheet
Before starting, the designer shares a compact abbreviation key, and notes that rounds are joined at the end of each round rather than worked in a continuous spiral. MR plus a number means a magic ring with that many starting stitches. The table below keeps the designer’s standard definitions so you can decode the original instructions with confidence.
| Abbreviation | Meaning |
|---|---|
| Ch | Chain |
| Sc | Single crochet |
| Dc | Double crochet |
| Tc | Triple crochet |
| FO | Finish off |
| FLO | Front loops only: work into the front loops of the stitch |
| BLO | Back loops only: work into the back loops of the stitch |
| Dec | Decrease: an invisible decrease worked through the front loops of two stitches |
| MR | Magic ring, followed by the starting stitch count |
Every animal in the set shares the same build, which makes the trio faster than it looks. Pieces are worked in joined rounds, and both the head and the body are made in two parts. The first part is reinforced with plastic canvas and stuffed, then the second part is sewn on like a lid. Before the body closes, a small weight is slipped into the back to balance the head, and the four legs are sewn to the underside.
The pig is worked entirely in pink and opens the set with a small nose piece that is lightly stuffed and sewn to the front of the head. Its four legs are made in pink and stuffed before sewing. The finishing is simple felt work: small squares cut for the nose, toes and eyes, plus a small rectangle for the ears, all attached to the blocky head and body.
The sheep follows the same build in white, with the colorwork saved for its legs. Each leg begins in brown, changes to tan, and finishes in white, giving the striped look of the game animal. A tan felt T-shape forms the face, with tiny felt pieces added for the eyes and mouth. The designer names the sheep as a personal favorite, and the white body against the darker legs makes it the most recognizable of the three.
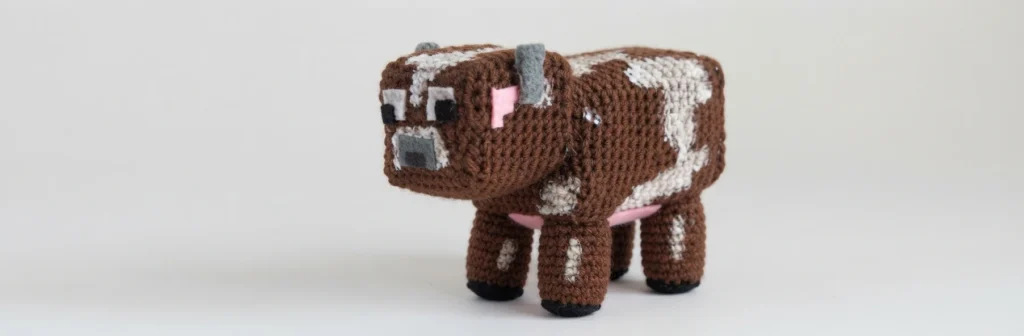
The cow closes the set in brown, with legs that start in black before changing to brown. Its finishing is the most detailed: a large pink felt square covers the underside, small felt squares form the nose and eyes, a small triangle becomes each ear, and a rolled rectangle of felt makes the horns. White patches are dabbed on with white fabric paint and a brush for the pixelated look, placed to match the game or improvised to taste.
Gather the full supply list before you start, since each animal draws on the same stash. The designer’s list covers yarn, tools, stiffening and finishing materials in one place, and the checklist below keeps every item together so nothing is missed mid-project. Quantities are not specified in the source, so buy with a comfortable margin.
- Yarn in pink, white, tan, brown and black.
- A hook suited to your yarn that gives a tight fabric; the designer used 8ply yarn with a 3.25mm hook.
- Plastic canvas for reinforcing the head and body pieces.
- Stuffing for the head, body, legs and nose.
- Felt in pink, tan, white, black, light grey and dark grey for faces, ears, horns and details.
- A small item to weight the toy, such as curtain weights.
- Craft glue or a hot glue gun for the felt pieces.
- An embroidery needle for sewing the parts together.
- Fabric paint for the cow’s white patches.
A tight fabric is the whole trick here, so test your hook and yarn pairing on a small swatch and size down if you can see through the stitches. Keep the designer’s page open while you work, since only the original instructions carry the full round-by-round detail for each piece.
The designer’s notation is compact but consistent. Repeat sections sit between asterisks, finishing off is marked FO, and each round ends by joining before the next begins. Reading one full animal through before picking up the hook will show you the rhythm, and that rhythm carries across the pig, the sheep and the cow with only colors and finishing details changing.
Good Luck!
The source closes with a copyright reminder: Minecraft belongs to its owners, and this fan pattern is inspired by nerdigurumi.com. If you would like one made for you, the designer points readers to the Cherry Pie Facebook page. Take your time with the felt details, and good luck with your own blocky barnyard.