Project introduction
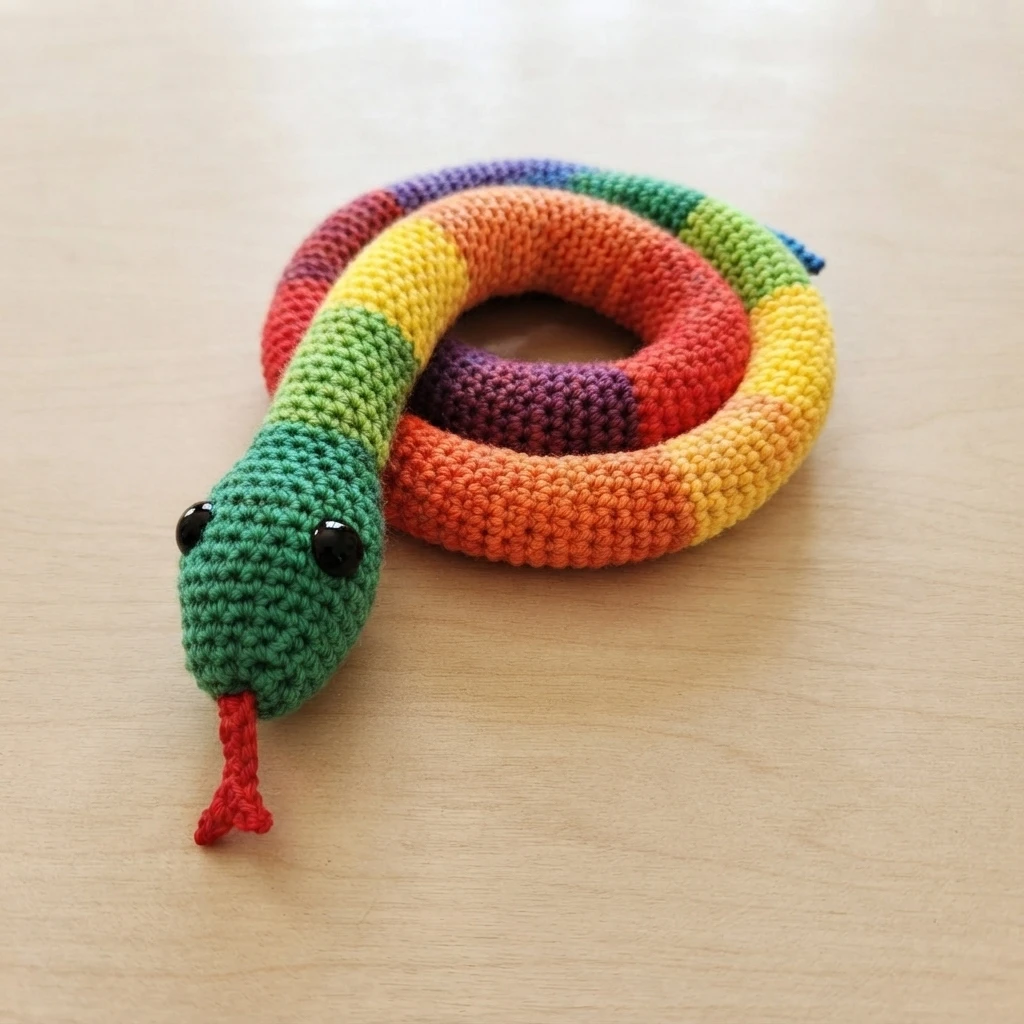
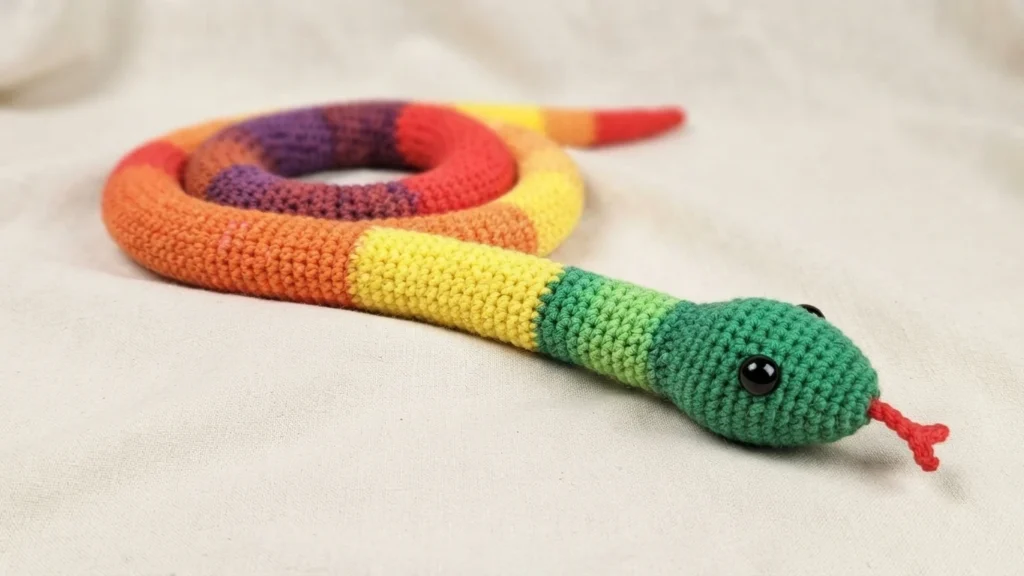
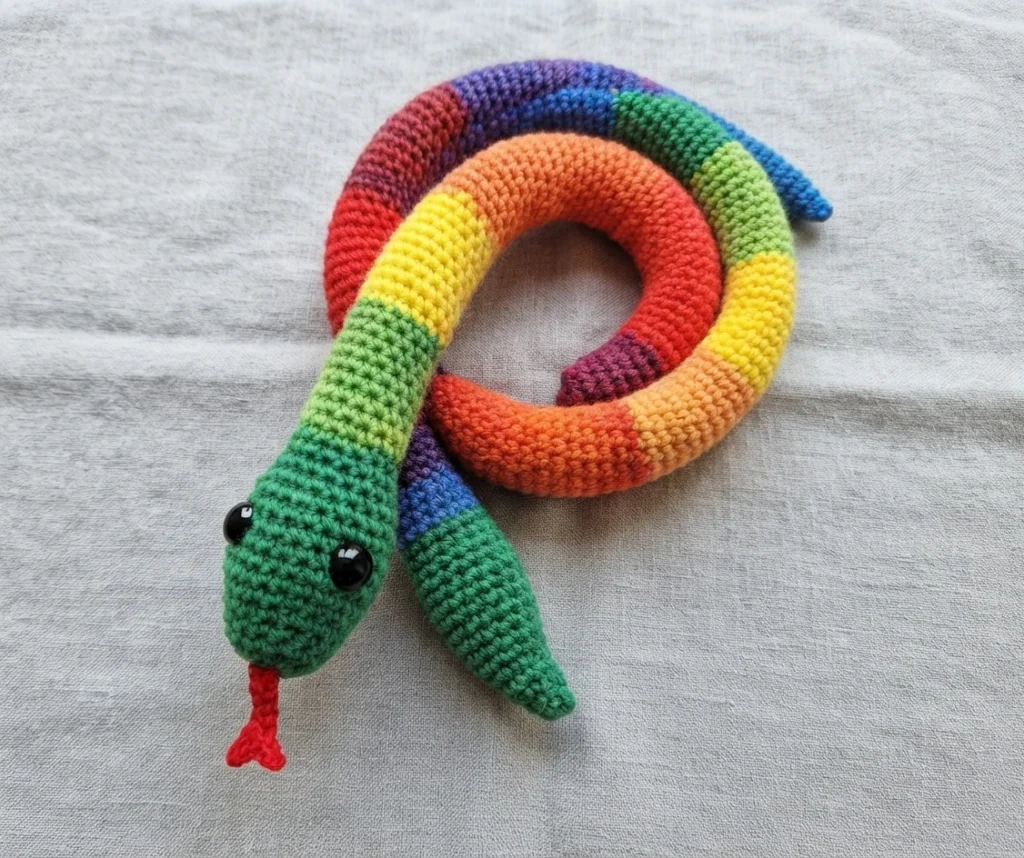
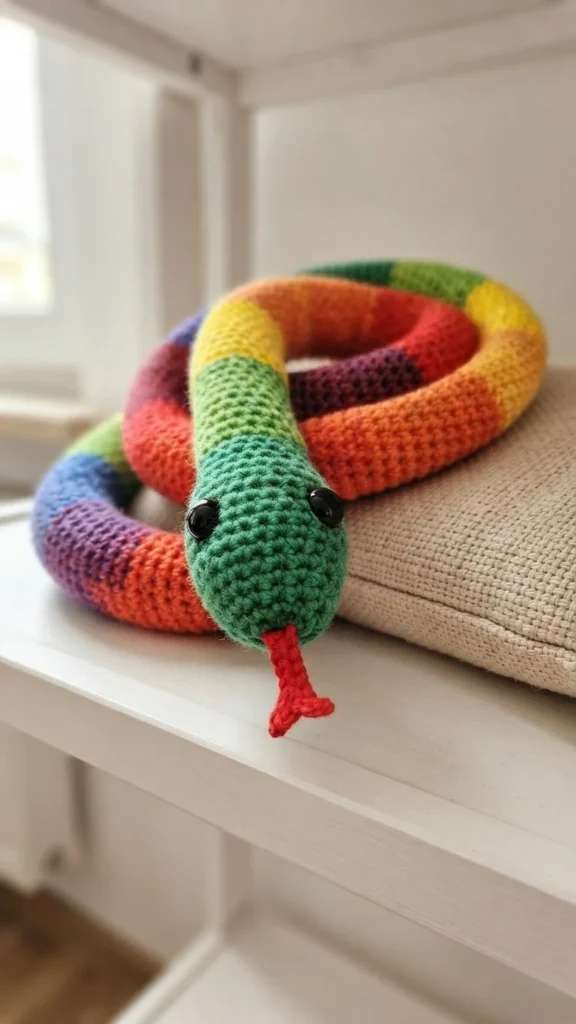
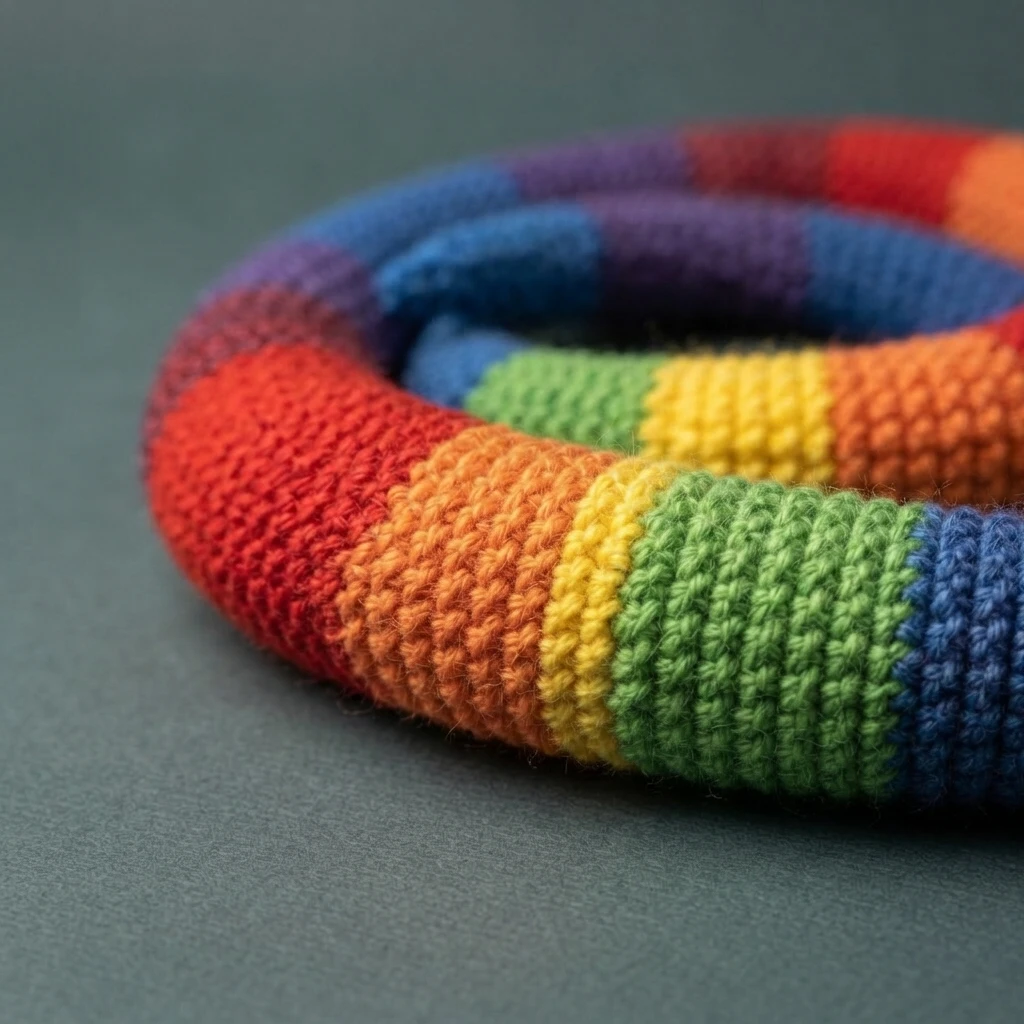
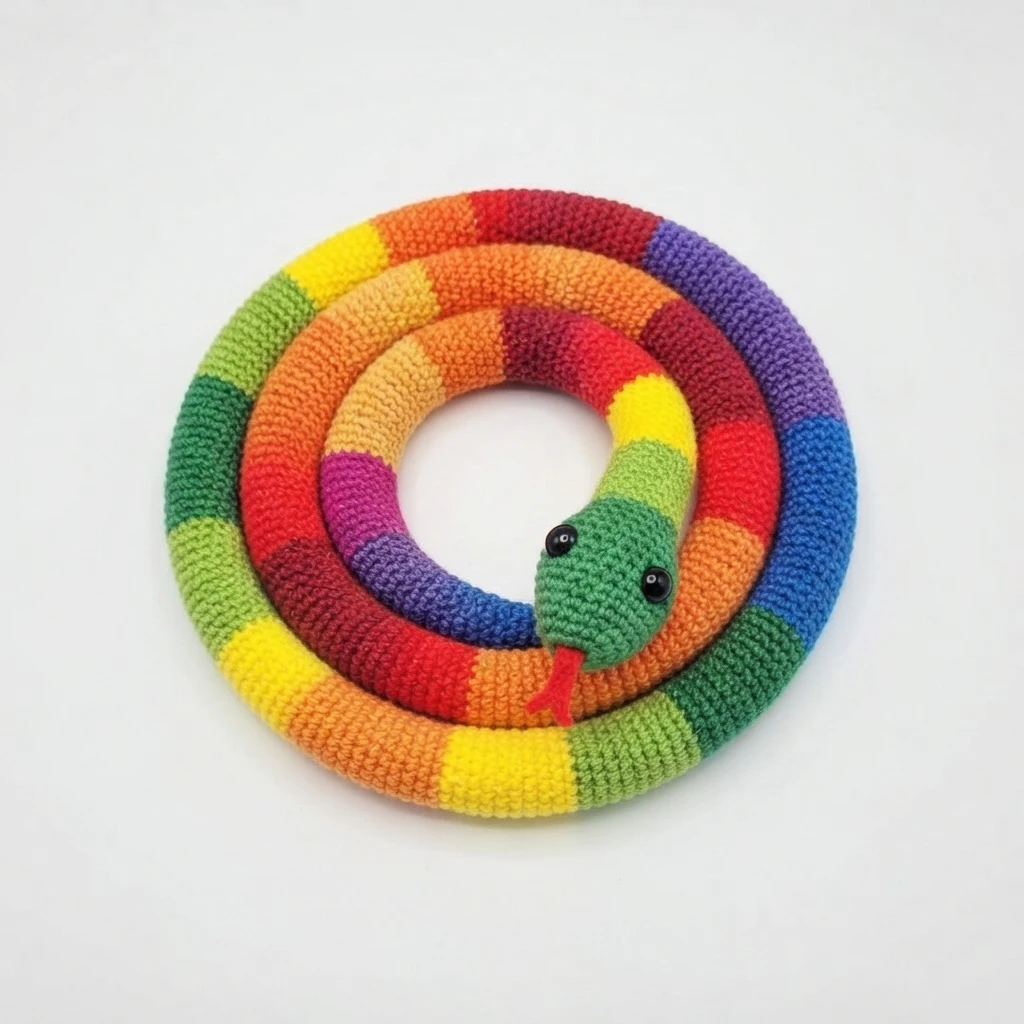
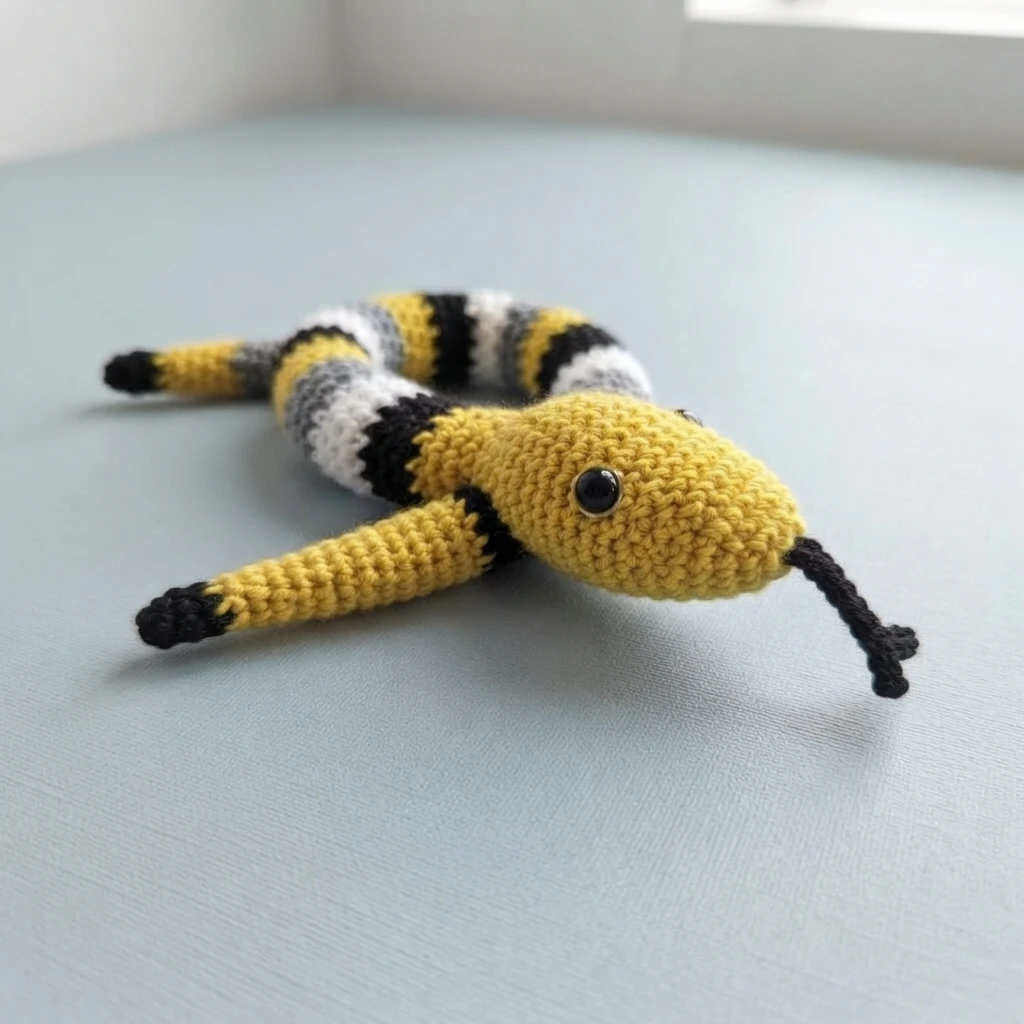
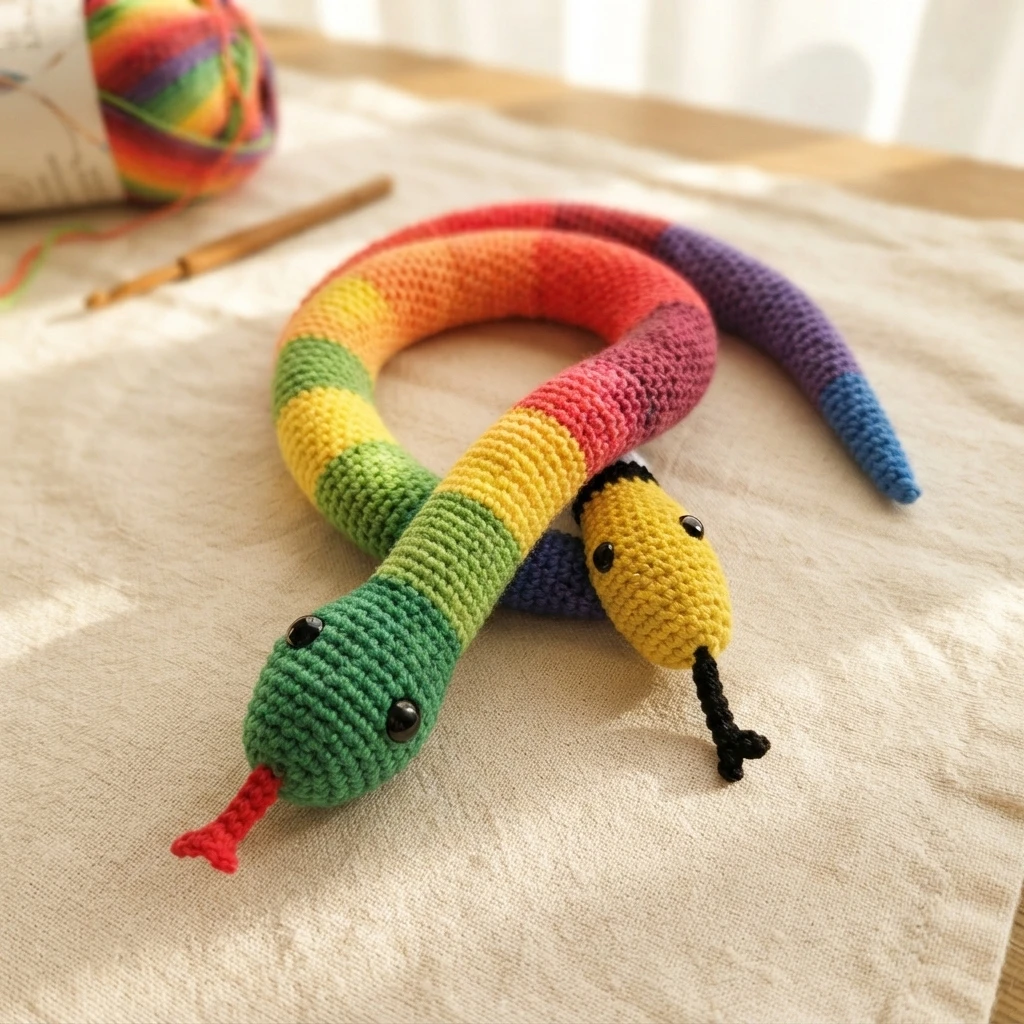
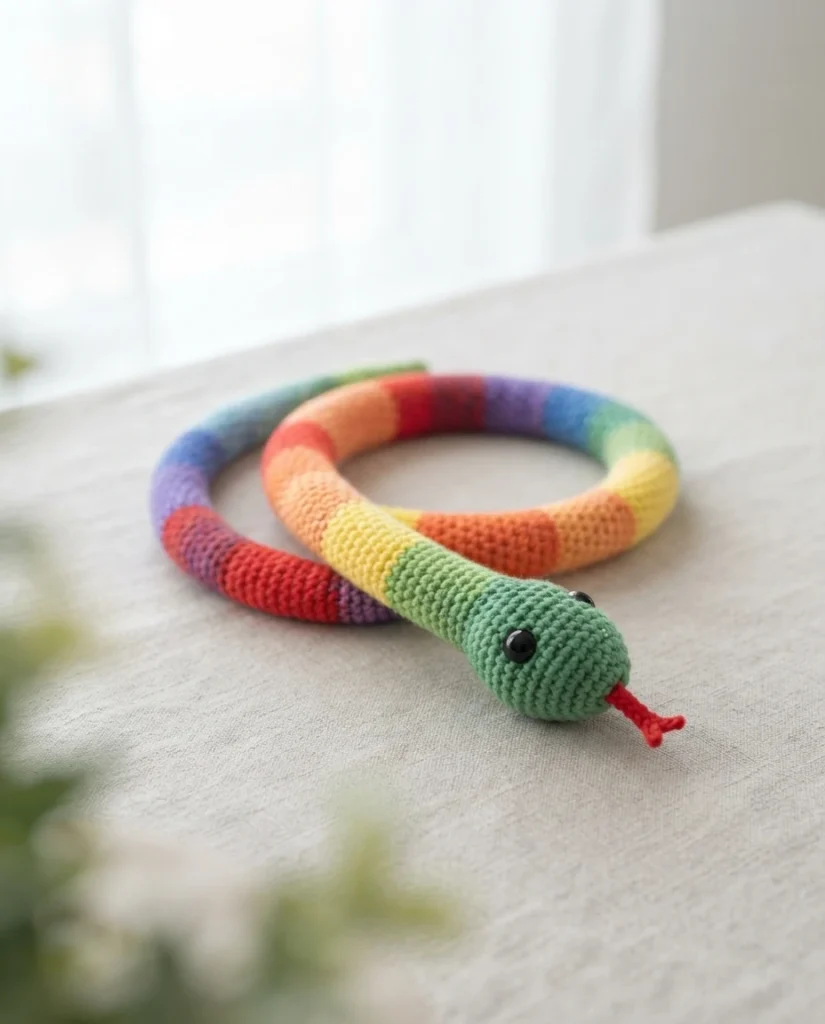
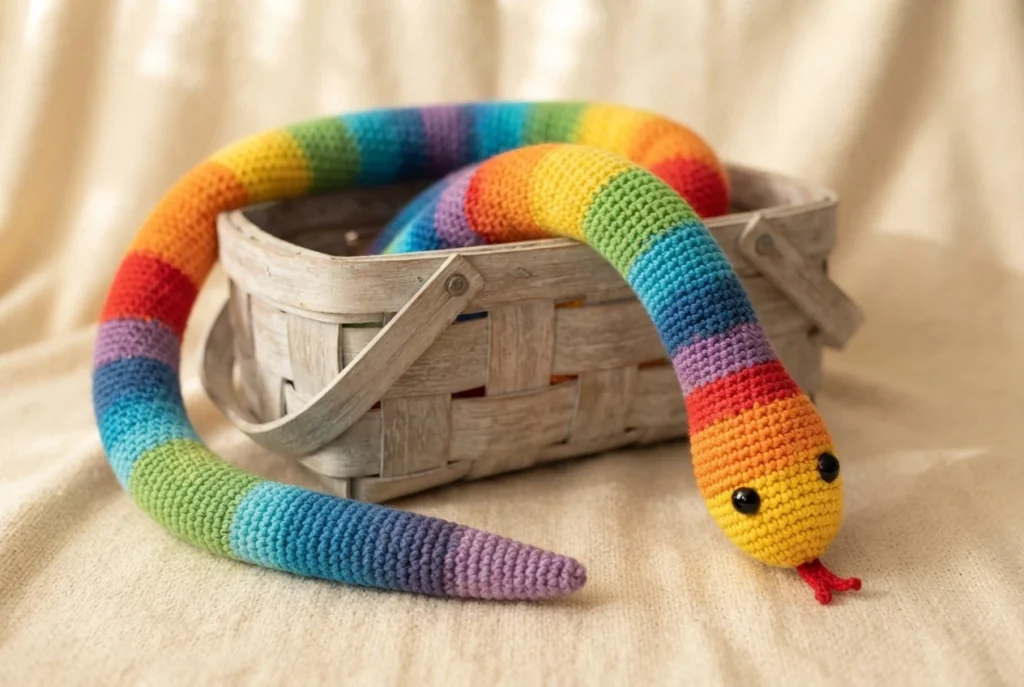
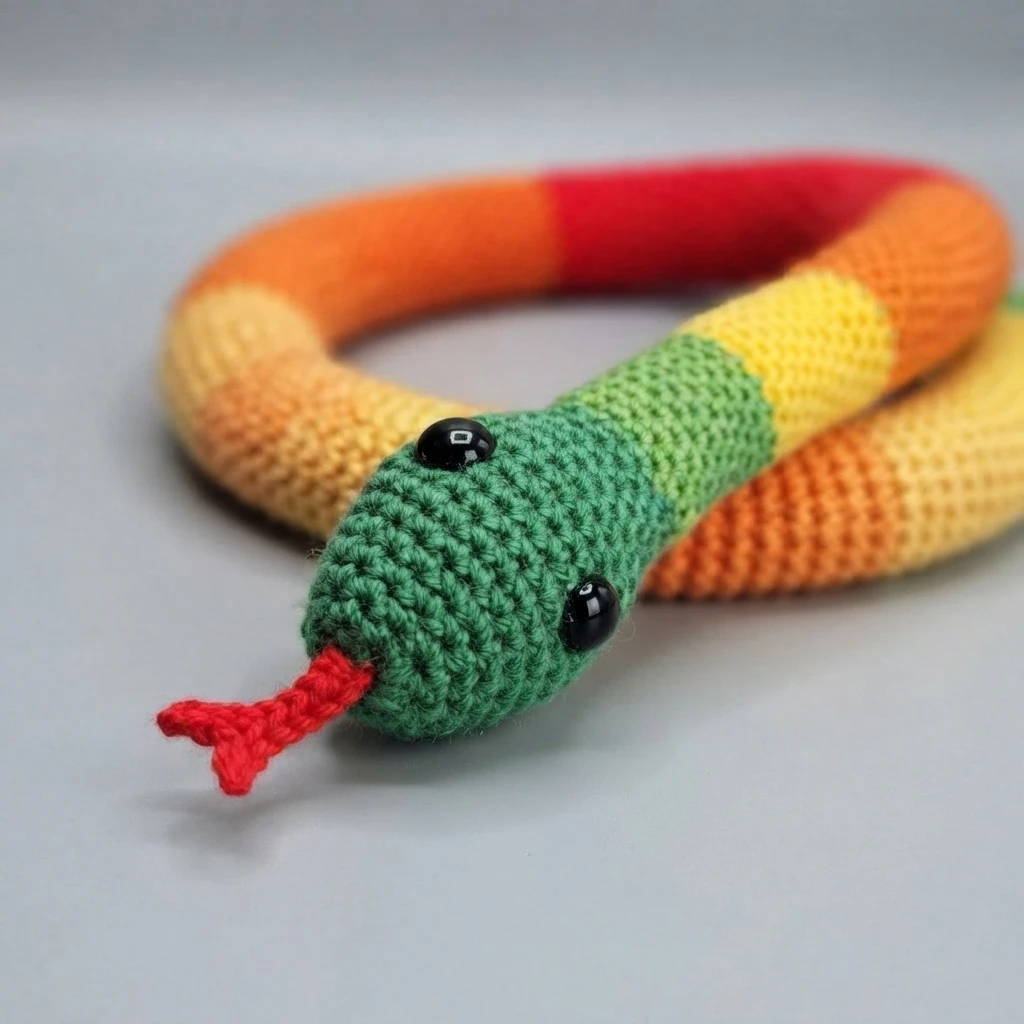
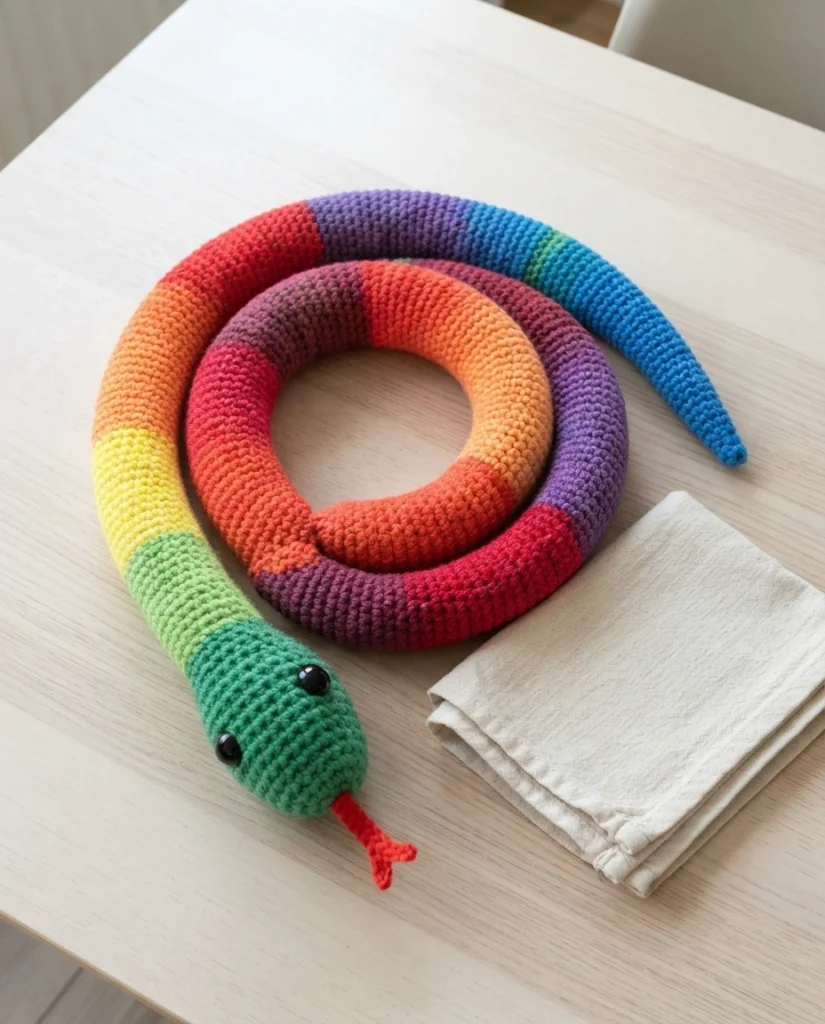
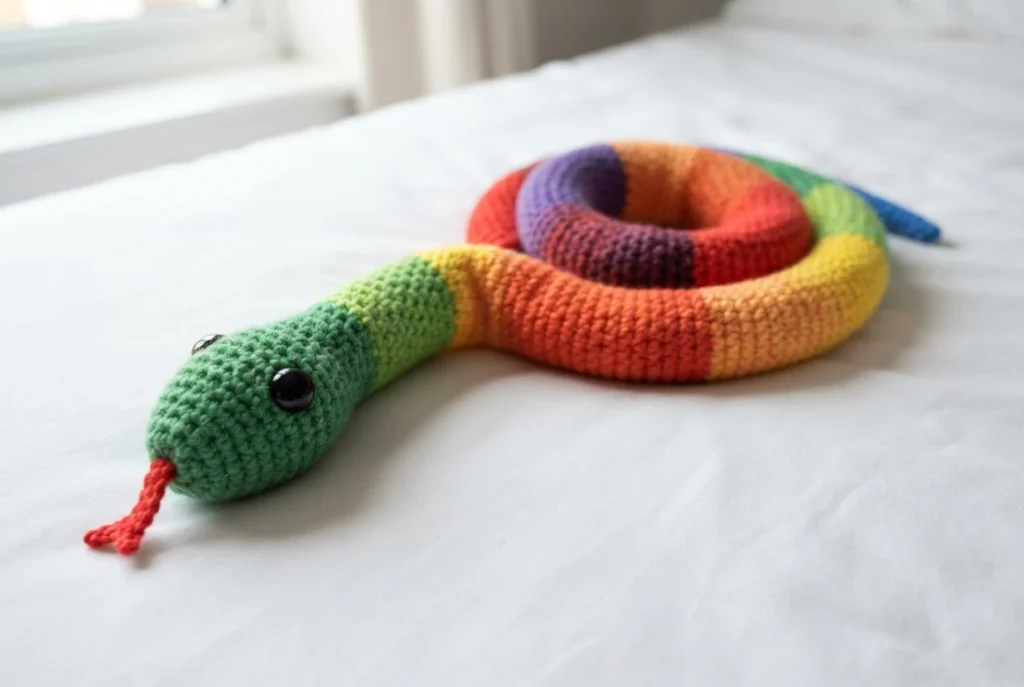
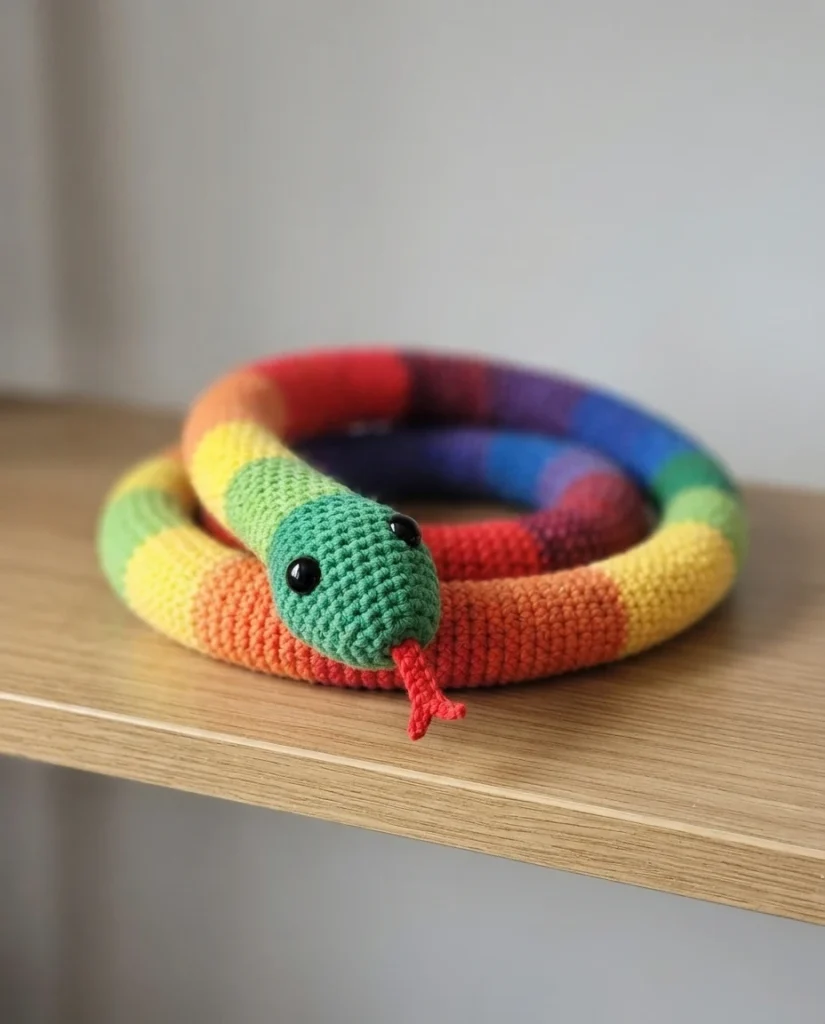
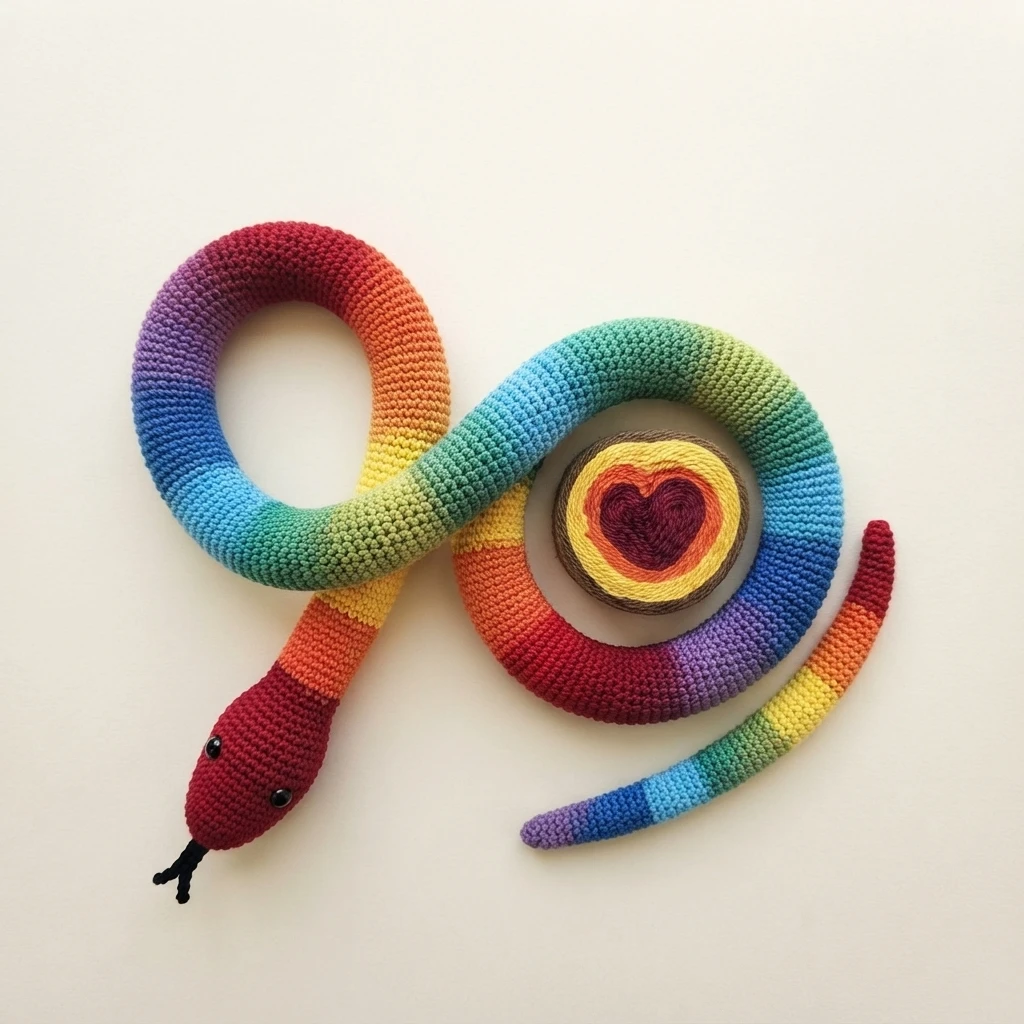
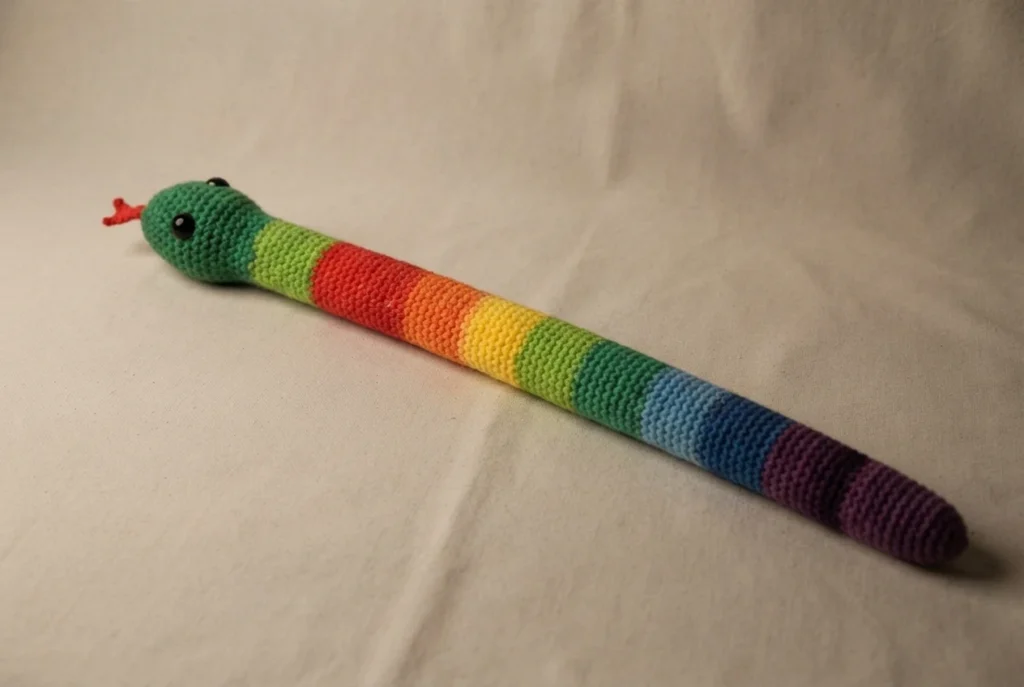
This overview describes a colorful amigurumi snake from Rhondda Mol of Oombawka Design Crochet. It covers two sizes: a long rainbow version and a smaller stripey version. The guide helps you plan supplies, size, gauge, and construction before you begin.
For the complete written instructions, follow the Original designer’s pattern and instructions. The designer page carries the full pattern, while this article stays at overview level. The project uses Lightweight Yarn [3] with a 3.25 mm (D) hook, and it is offered as a free amigurumi pattern with written instructions for both sizes.
The large version came from a family request. The designer’s daughter Darla had asked for a rainbow snake for some time. When Lion Brand offered yarn for the crochet along, the designer chose Mandala Baby in Rainbow Falls for an extra long snake, and also requested a Mandala Craft Cake set for a smaller version. One cake of Mandala Baby is listed as enough for approximately five large snakes, which keeps the project affordable.
2023 Softie Crochet Along
The snake was designed for the 6th annual Softie Crochet Along in 2023. Fifteen designers contributed free softie patterns to that event. That setting places the snake among many soft toys, and it gives makers a friendly way to compare shapes, sizes, and yarn choices.
Making this pattern?
A free GoSadi Maker account can help you organize this project. With an account, you can become a fan of the pattern, add it to your Maker Queue, and keep track of finished projects. The queue keeps the pattern easy to find, and the finished list gives you a simple record of what you made. If you are new to GoSadi, the designer points to a Getting Started with GoSadi guide that walks through each step.
Free Crochet Snake Patterns
This overview covers free crochet snake patterns, with the Rainbow Snake as the featured project. The yarn used for the sample snakes was provided by Lion Brand Yarns. That note explains the sample materials, and it does not limit what you can use.
Supplies
Gather supplies before you begin, so you can check small items early. The list below covers both sizes. Read each bullet with its own details, since hook, eyes, and filling differ by size.
- Large size yarn: Mandala Baby from Lion Brand. The fiber is 100% Acrylic, and the weight category is Light Weight Yarn [3]. One cake is listed at 5.3 oz (150 g), with 590 yds (540 m). Care notes say the yarn is machine washable and dryable.
- Small size yarn: Mandala Craft Cake from Lion Brand. The fiber is also 100% Acrylic, and the weight category is also Light Weight Yarn [3]. One cake is listed at 1.2 oz (35 g), with 88 yds (81 m). Care notes also say machine washable and dryable.
- Color choice: one cake in Rainbow Falls, Color 201BQ, for Mandala Baby. For the smaller version, use your favorite Mandala Craft Cake color.
- Hook: 3.25 mm (D) crochet hook.
- Yarn needed for the large snake: approximately 1.12 oz (30 g), and approximately 118 yds (108 m).
- Eyes: two black safety eyes for each snake. Choose 12 mm for the large size. Choose 9 mm for the small size.
- Other tools: scissors, a tapestry needle (yarn needle), an optional stitch marker, and Poly-fil Crafter’s Choice Dry Polyester Fiber fill.
Make Your Crochet Snake With Any Yarn and Hook
You can make this snake with any yarn and hook, which makes it a good choice for leftover yarn. Combine different colors from your stash to build stripes or a rainbow effect. Choose a hook that works well with your yarn and creates a firm fabric. A firm fabric keeps the stuffing from showing through the stitches. Follow the written pattern as provided.
Difficulty Level
The difficulty level is Easy. That rating fits a maker who is comfortable with basic stitches, working in rounds, and simple shaping. Color changes and stuffing add interest without making the project complex.
Finished Size
Size is given when stuffed, without the tongue. For the large size, the listed length is approximately 33 inches (84 cm). The listed girth is approximately 3.25 inches (8.25 cm) around. That size makes a long toy that is still easy to hold.
For the small size, when stuffed, the listed length is approximately 13 inches (33 cm). The listed girth is approximately 2.25 inches (5.75 cm) around. Both body measurements describe the snake before the tongue is added.
Add approximately 1 inch (2.5 cm) for the tongue when you measure total length.
Gauge
Gauge is given in 1 inch (2.5 cm). For the large snake, the count is approximately 5 sc and 7 rounds in that inch. That gauge helps you check tension before you commit to a long body.
For the small snake, the count in the same 1 inch (2.5 cm) is approximately 7 sc and 7 rounds. A tighter count in the same space gives a smaller finished toy.
Another yarn and hook may be substituted. A different gauge will change finished size. It will also change the amount of yarn required. Check gauge early if size or yarn use matters for your plan.
Abbreviations
The pattern uses US terminology. The list below groups the short forms so you can find them while you work.
- Stitches: ch is chain, hdc is half double crochet, sc is single crochet, sc2tog is single crochet 2 stitches together (decrease), sl st is slip stitch.
- Shaping and rounds: DMR is double magic ring, R is row, Rnd is round, rem is remaining, sk is skip, st or sts is stitch or stitches.
- Measures: g is grams, m is meters, oz is ounces, yds is yards.
- Marks: picot is picot, with details in the special stitch section. Repeat the set between asterisks the number of times indicated. Brackets show the total at the end of a round. Parentheses show notes or stitches grouped in one place.
Special Stitch
The special stitch is the picot. Work it as Ch 3, then sl st in the third ch from the hook. Keep tension even while you work. The picot is only used for the snake tongue. It gives the tongue its small forked tips, so keep each one neat and balanced.
Helpful Tutorials
The designer lists three tutorials to support this project. They cover a crochet stitch guide, an invisible single crochet decrease, and how to change colors in crochet. Review the decrease guide before shaping, and review the color change guide before the striped body.
Notes
Work in continuous rounds. A marker helps you track the start when rounds blend together. Do not join with a slip stitch unless instructed. Keeping rounds continuous gives a smooth tube. Use a stitch marker to mark the first stitch of each round, if needed.
For every sc2tog, the designer worked an invisible decrease. That choice keeps shaping smooth. For the large snake, timing matters at each color change. Work the change during the final yarn over of the last stitch before the new color begins. Secure the unused color inside the snake. Tucking it inside keeps the outside clean. Do not carry the unused yarn.
Begin adding fiberfill after approximately 10 rounds, and continue stuffing as you crochet. Do not overstuff the snake. Light, even filling keeps the shape soft without stretching stitches.
Before beginning the large snake, the designer rolled each color section into a separate ball. That prep keeps color changes tidy. Use as many or as few colors as you like. The sample used 11 colors.
If you use black safety eyes, avoid black yarn for the head. The eyes can be difficult to see against dark yarn. For a snake for a baby or young child, embroider the eyes securely instead of using safety eyes.
Make Your Crochet Snake With Any Yarn and Hook
This pattern also works well for stash yarn. Use leftover yarn and combine different colors from your stash to make a playful snake. Changing the yarn weight and hook size will change the finished size of your snake. If you use safety eyes, check eye size too. You may also need to change the eye size to suit the yarn, hook, and finished size.
PDF Crochet Pattern Overview
The complete pattern is available for free on the designer’s ad-supported website. You can also purchase the PDF version in the designer’s shops. The PDF includes the complete written instructions for both the large rainbow snake and the small stripey snake. The free web version and the paid PDF are separate formats, so choose the one that fits how you like to work.
How to Print or Save This Pattern Overview
To print or save this overview, use the printer icon at the top of the designer post. It lets you print or save a copy for your personal use. You can adjust the text size. You can also choose which text or images to include before printing or downloading the PDF. Preview the result before you save it, and keep the layout simple if you only need the words.
Crochet Snake Patterns
The snake patterns are crocheted in continuous rounds. That structure gives the body a smooth, tube-like shape. The overview below moves from head to body, then to tongue and finishing.
Large Rainbow Crochet Snake Pattern Overview
The large rainbow snake starts with the hook listed in the supplies, or the size required for gauge. This overview describes the head and body in broad terms, without repeating the row-by-row instructions. The focus here is shape, color flow, and taper.
Large Rainbow Snake Head
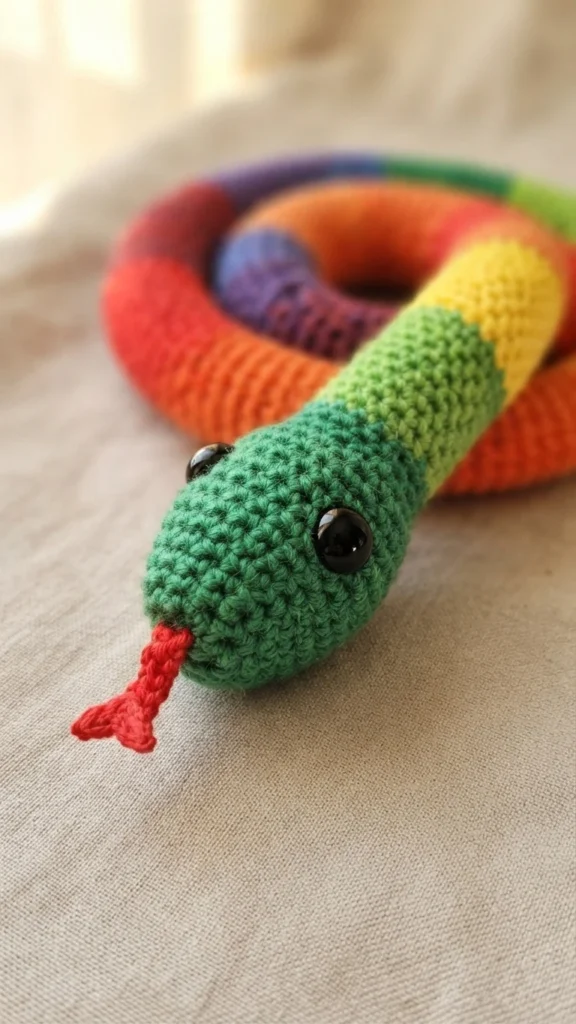
The large head begins with a chosen head color worked in a DMR. Shaping widens the head, holds it even for a stretch, and then narrows it toward the neck. Eyes are placed in Rnd 10 with 6 stitches between. The last head round changes yarn color on the final yarn over, so the body color starts cleanly.
Large Rainbow Snake Body
For a multicolored version, plan a change at the end of each repeat section. That change happens on the last yarn over of the last stitch, with a new section every 10 rounds. The sample used 11 different colors from one Mandala Baby yarn cake. The body stays even for a long stretch, then tapers gradually toward the tail. Finishing follows after the body rounds.
Small Stripey Crochet Snake Pattern Overview
The small stripey snake uses the same hook approach, or the size required for gauge. This overview describes its head and body in broad terms, without repeating the row-by-row instructions. The focus here is shape, stripe rhythm, and taper.
Small Stripey Snake Head
The small head uses the same shaping as the large head. It begins with a chosen head color worked in a DMR. The head widens, holds even, and then narrows toward the neck. Eyes are placed in Rnd 10 with 6 stitches between. The final head round changes yarn color on the last yarn over.
Small Stripey Snake Body
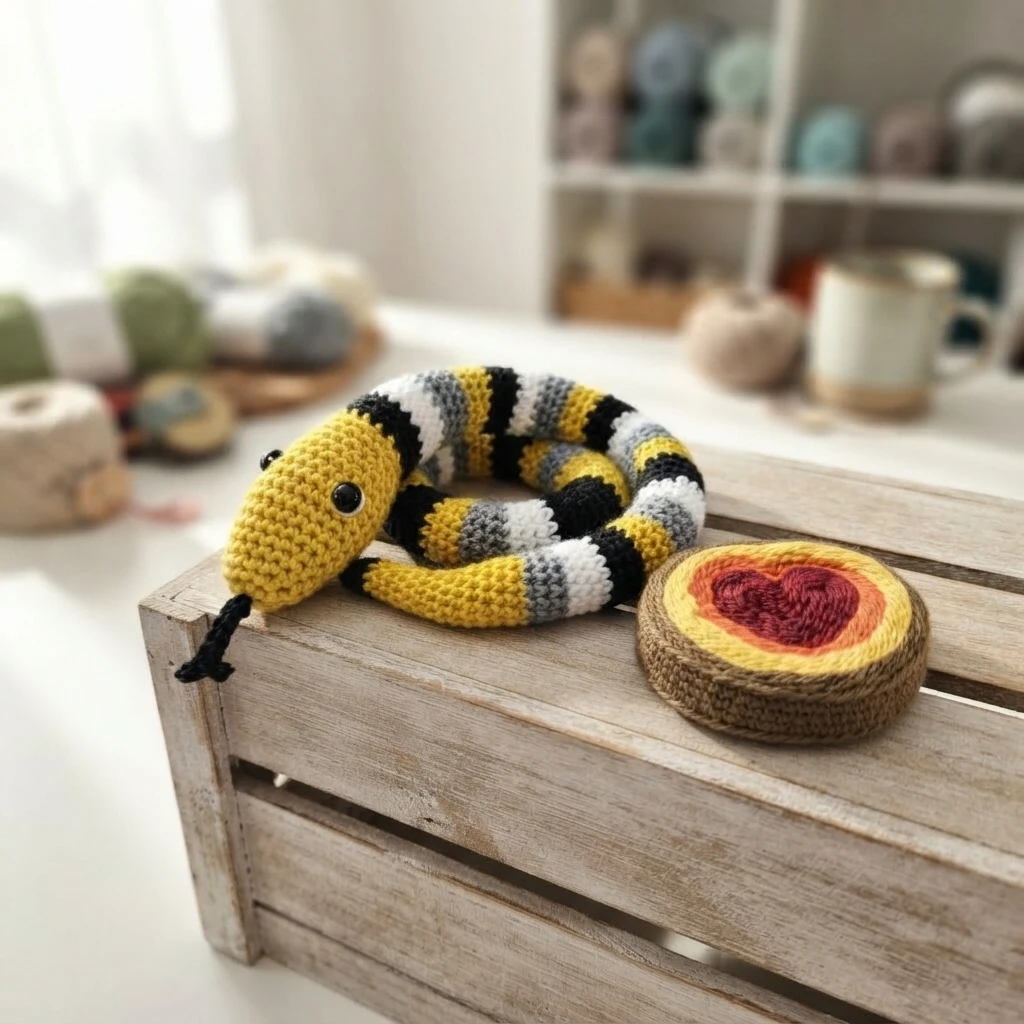
For a multicolored small snake, plan a change at the end of each repeat section. That change happens on the last yarn over of the last stitch. The sample used 4 different colors from a Mandala Craft Cake, changing color every 3 rounds. The designer notes a neatness tip, keeping 3 rounds of each color showing on the top and keeping color changes on the underside. If you prefer, you can use a stitch marker and make changes on the exact stitch of each round as written.
Snake Tongue for Both Snakes
The tongue is made for both snakes in the same way, with a different color for each size. The designer used red for the large snake and black for the small snake. The tongue starts with a short chain. The design uses Ch 5, with two picots, and then 5 sl st worked back along the chain. When the tongue is complete, finishing follows.
Finishing Construction Overview for Both Snakes
For the tail, finish off and leave a 4-inch length of yarn. Thread that length onto a needle and work slowly so the closing stays even. Pass the needle through the stitches around the final round, draw the yarn snug to shut the small hole left in the tail, and anchor the end well. A firm anchor keeps the tail closed in use. Then sew the remaining length into the inside of the snake.
For the tongue, finish off and leave a 4-inch length of yarn. Attach the tongue at Rnd 1 with the two yarn tails. Tack it with a couple of stitches on both sides and through the middle of the edge where it meets the face. Check placement before you weave in the ends. Weave the ends into the inside of the snake so the join stays neat and secure.
What Crocheters Are Saying
One maker shared a finished large snake made with a freestyled tail. That maker filled the snake with small white beans, which made the finished toy heavy, with a reported fill of 1 lb. The project was worked on and off for a year before it was finished. The note shows how one maker adapted the filling and tail while still using the large snake pattern as a base.
➜ Free Crochet Toy & Amigurumi Patterns
If you enjoy toys and softies, look for more free crochet patterns for toys, stuffed animal projects, and amigurumi. Those projects use similar skills, including shaping, stuffing, and finishing. A small toy can be a good next step after the snake.
➜ Free Crochet Angel Patterns
The designer also offers a collection of free crochet angel patterns. That collection includes designs from an annual Crochet Christmas Angel series. Angel patterns can offer a different kind of shaping and detail, while still using familiar stitches.
➜ Double Magic Ring Tutorial
A Double Magic Ring tutorial can help you start projects worked from the center out. The tutorial shows how to make a secure double magic ring. That start is useful for the snake head, which begins in a ring. Practice the ring with scrap yarn until the center closes neatly and the first round feels stable.
I’d Love to Hear From You
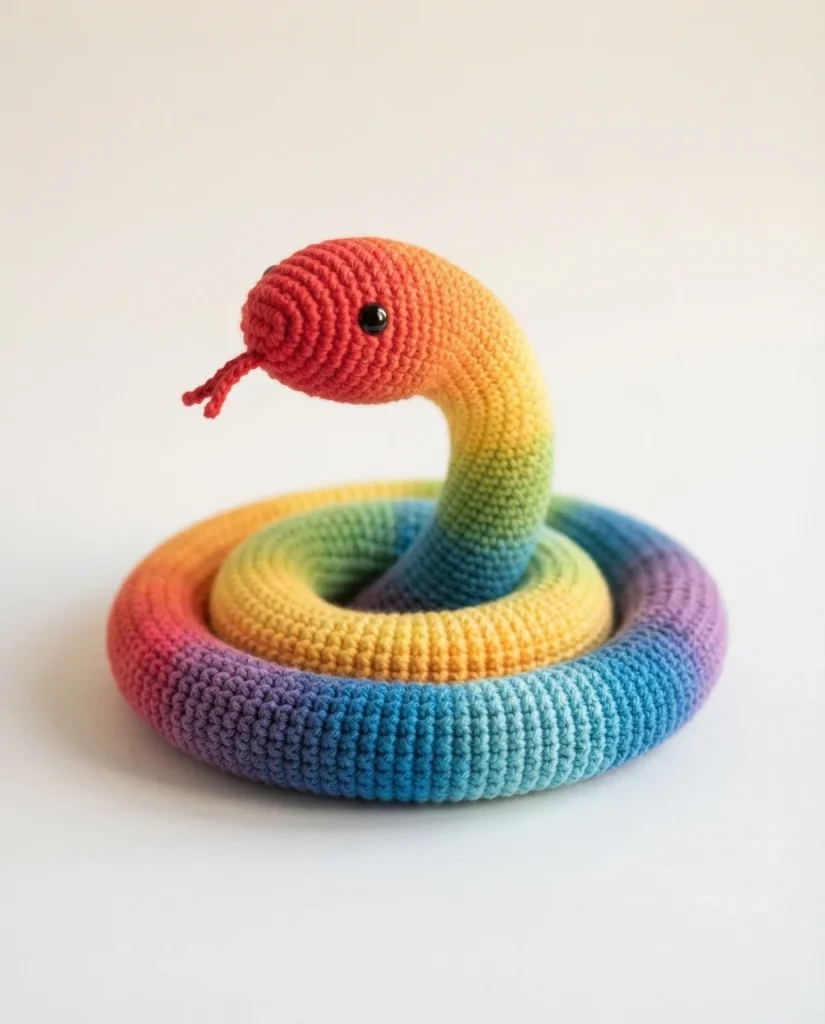
Have you made this pattern? Leave a comment and share how it turned out. Your feedback and tips can help other crocheters. You can also add your project to Ravelry, where your project page gives you a place to record your yarn, hook size, notes, and any changes you made. That record also helps other crocheters see finished projects made from the pattern. If you would like your project featured, you can submit a photo and testimonial as described on the designer page.
Happy crocheting, and thank you for reading. Finished items made from the pattern may be sold. The pattern itself, including its images and videos, may not be reproduced or redistributed without express written permission from Rhondda Mol. Keep that permission note in mind if you plan to share the pattern with others.