Project introduction
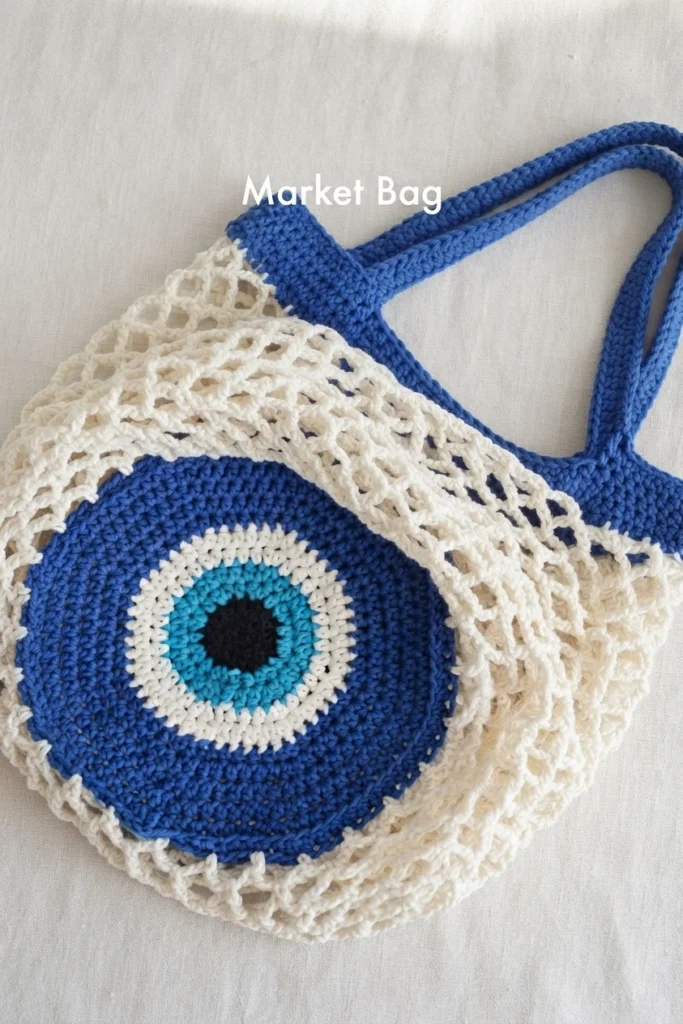
This overview introduces a bold crochet market bag built around the concentric evil eye motif, with bright rings of color and a calm, symmetrical center. It is a pattern overview, not a full tutorial, so it explains what the project includes and what you will need. For the complete designer instructions, follow Original designer’s pattern and instructions.
In many traditions, the evil eye names both a protective talisman and the envious glance it is believed to guard against. The designer describes the finished bag as funky and weird, a playful way to say the motif is meant to stand out. Bright color changes keep the eye graphic clear, while the open mesh body keeps the tote light and practical.
Difficulty
The source lists this project as Easy. That rating suits a maker who can work joined rounds, change colors, and follow a repeating mesh pattern. If you can keep even tension and count rounds, the structure stays straightforward from base to handles.
Terms
The pattern is written in U.S. terms. If you usually read U.K. terms, check each stitch name before you begin, because the same names can mean different stitches. This overview also uses U.S. terms. That match keeps the abbreviations and notes below easy to follow.
Supplies
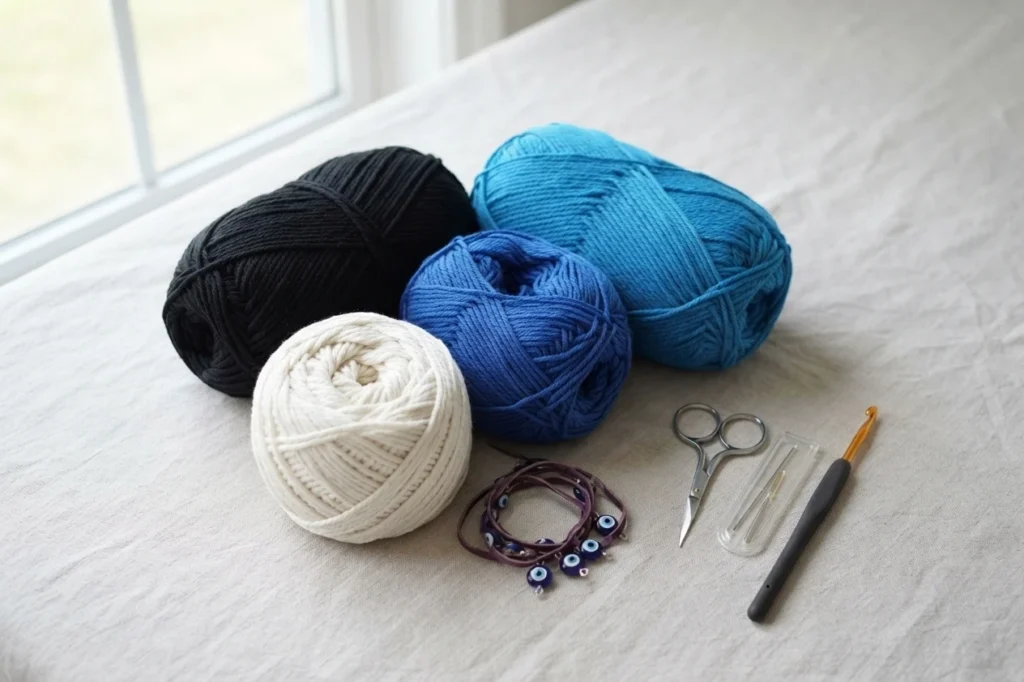
Gather these supplies before you start, so color changes stay smooth and you do not need to pause mid-round. The source lists one skein of each yarn color, plus a hook and two basic finishing tools. Label each color as you wind it.
- Yarn: Sugar ’n Cream, Super Size (200 yd; 184 m/113 g; 4 oz) in Black, 1 skein
- Yarn: Sugar ’n Cream, Super Size in Hot Blue, 1 skein
- Yarn: Sugar ’n Cream, Super Size in White, 1 skein
- Yarn: Sugar ’n Cream, Super Size in Dazzle Blue, 1 skein
- Hook: U.S. H/8 (5mm)
- Scissors
- Yarn needle
Abbreviations
The source uses three abbreviations. Keep this key nearby, because the increase is defined in a specific way for this project. Reading the key first helps you follow color changes and base shaping without pausing to guess a stitch name.
- mc - magic circle
- hdc - half double crochet
- inc - work 2 hdc into one stitch space
Gauge
Gauge is listed as 13 sc and 14 rows in a 4 inch by 4 inch square. Check gauge before you begin, since a looser or tighter hand can change the size and drape of the base and mesh. If your swatch differs, adjust tension and recheck.
Yarn Color Key
The pattern refers to colors by letter. Use this key when you read a color change, and keep the skeins labeled so the eye rings stay in the intended order. Clear labels also make it easier to pick up the right yarn after a break.
- A - Black
- B - Hot Blue
- C - White
- D - Dazzle Blue
Notes
The source notes that ch 2 does not count as a stitch throughout. That detail matters when you join rounds and place the next stitch, because counting the chain as a stitch would shift placement. Keep it in mind each time you join a round.
Pattern Overview
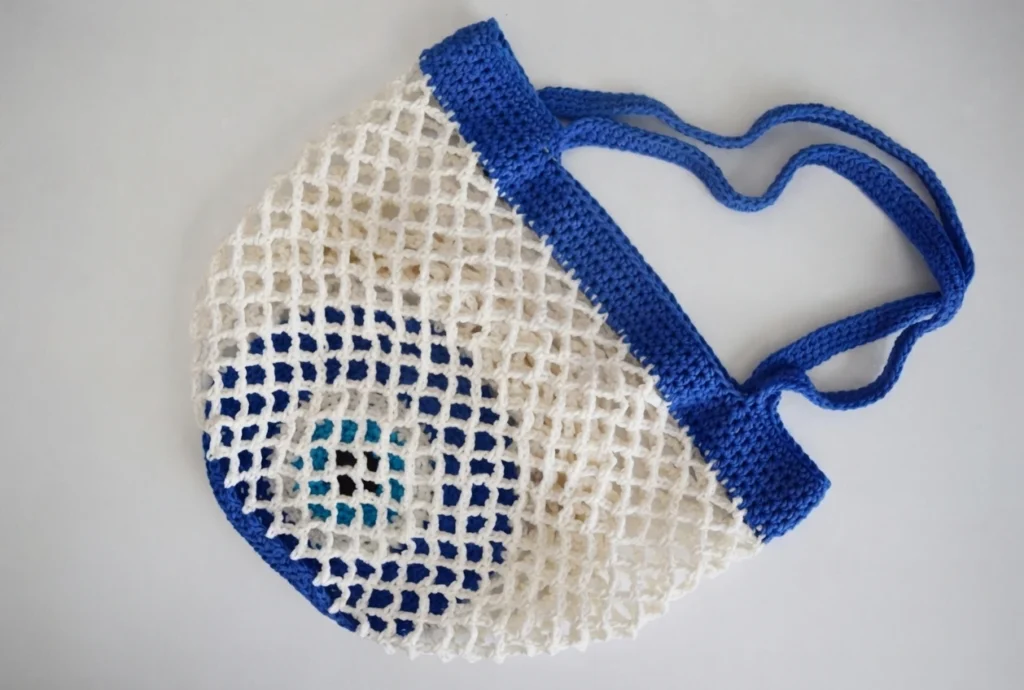
The bag begins with a magic circle and grows outward in joined rounds of half double crochet, with increases shaping a flat round base. Color changes create the concentric rings of the evil eye, moving from the dark center through bright blue and white rings to the outer blue. The base stays flat while the rings stay centered.
After the base is complete, the work turns upward through a back loop round that helps the side wall stand up from the base. The body then opens into a chain-space mesh that repeats for a long stretch, giving the bag its airy market bag feel. A narrower chain-space round near the top tightens the edge before the solid top border begins.
The top edge is worked in denser stitches and gently shaped so the opening stays tidy and strong enough to hold the handles. Two handles are formed from long chains with skipped stitches, then worked over so each handle is sturdy and even. Fasten off and weave in ends with the yarn needle for a clean finish.