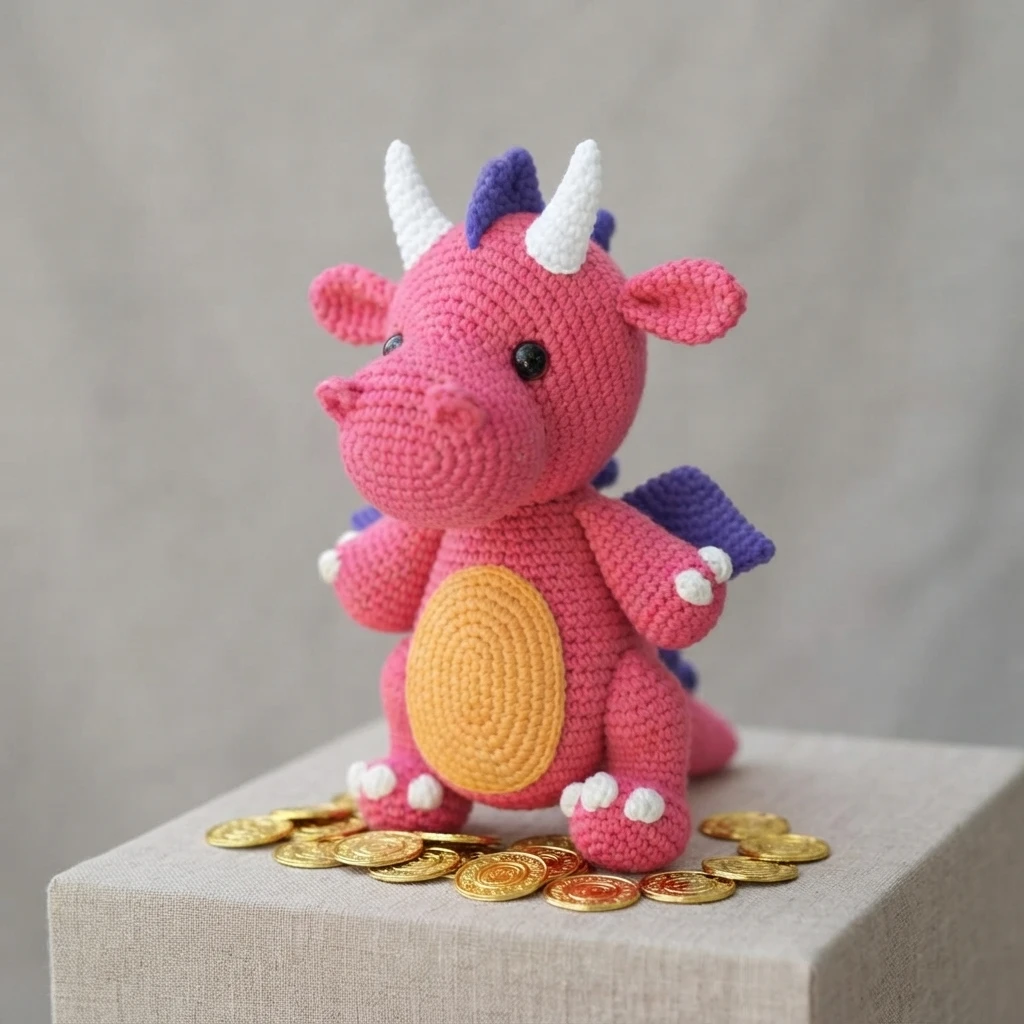
Table of Contents
This overview follows the designer’s page order: an introduction to Dante and a dinosaur variation, written project details, finished specifications, and the full supplies list with yarn amounts. Then come abbreviations, one special stitch, construction notes, and gauge, followed by a section for each piece.
Get ready to take your amigurumi skills to a whole new level
This is a pattern overview, not a full tutorial. Dante the Dragon is a free amigurumi design from JessHuff.com, introduced as the newest “Huffy” in the designer’s collection of free amigurumi patterns. The source calls it the most intricate crochet pattern in that collection to date, with more pieces and more assembly than the designer’s typical designs. Read the complete instructions at the Original designer’s pattern and instructions.
I’ll be your sidekick throughout this epic crochet quest
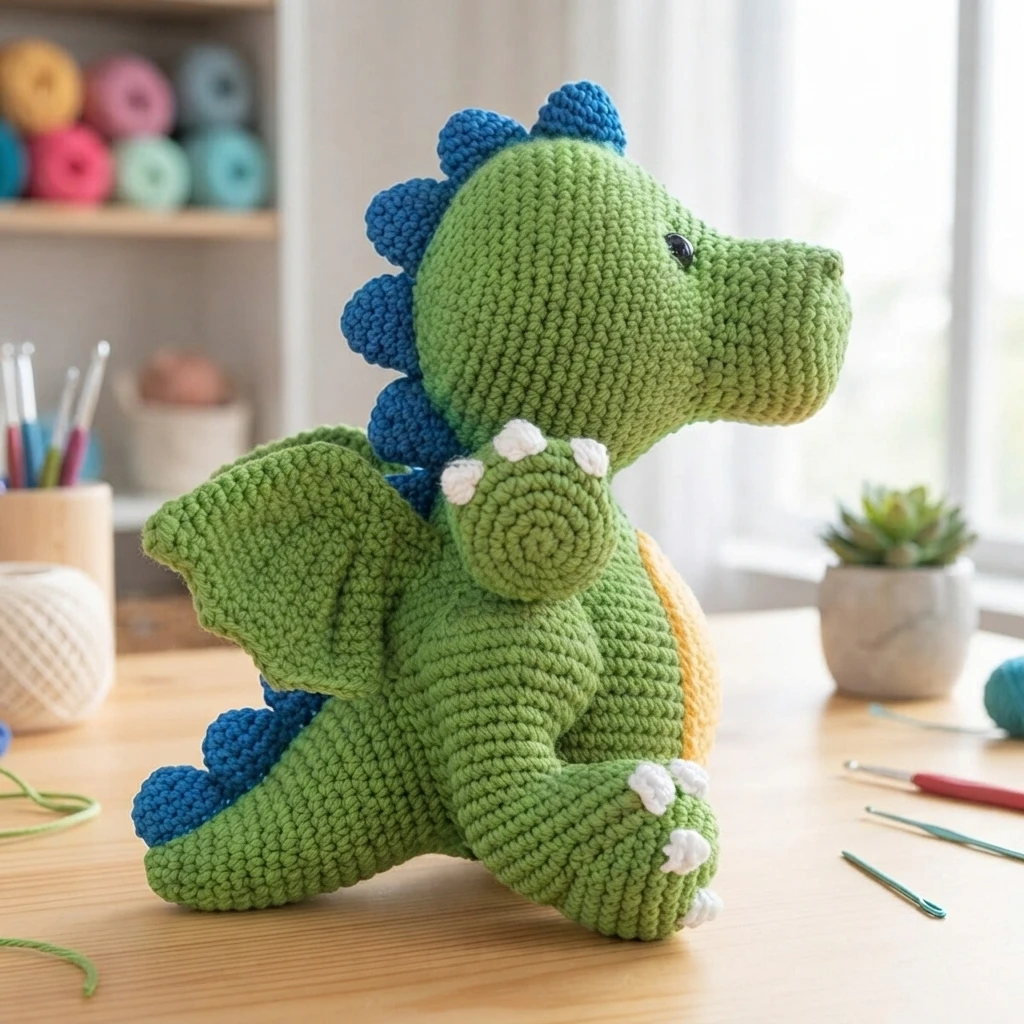
Whether you are new to amigurumi or a seasoned pro, video tutorials support the trickiest parts of this build. The source highlights help with claws, spikes, and wings, presenting the tutorials as guidance through the pattern’s challenging sections. Review the tutorial list before your first stitch.
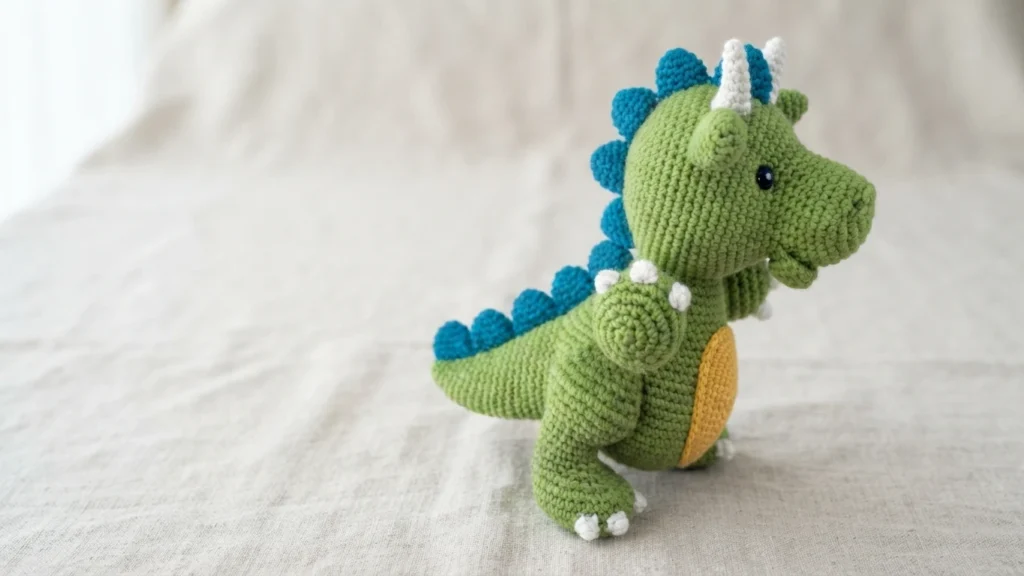
Not into dragons? Use this pattern to make a dinosaur instead!
The same design becomes a dinosaur when you leave off the flames, bottom lip, wings, ears, and horns. The source describes Dante as a sister pattern to Dan the Dinosaur; the two share the same height and the same legs and tail. The dinosaur version reuses much of what you learn here.
A great challenge awaits you, crocheter. Are you ready to prove your mettle?
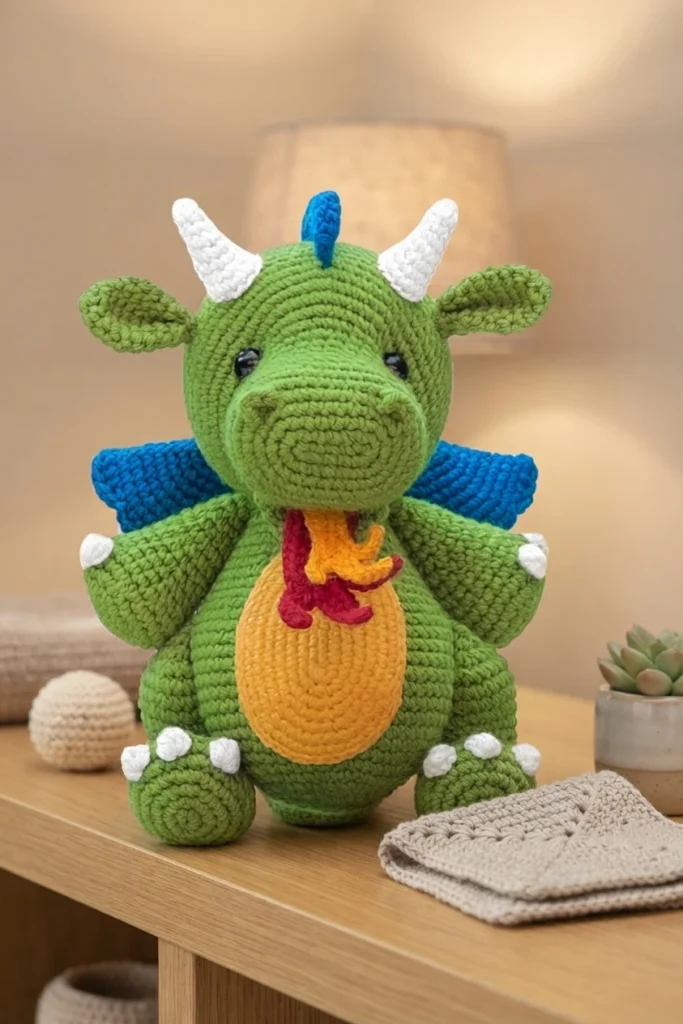
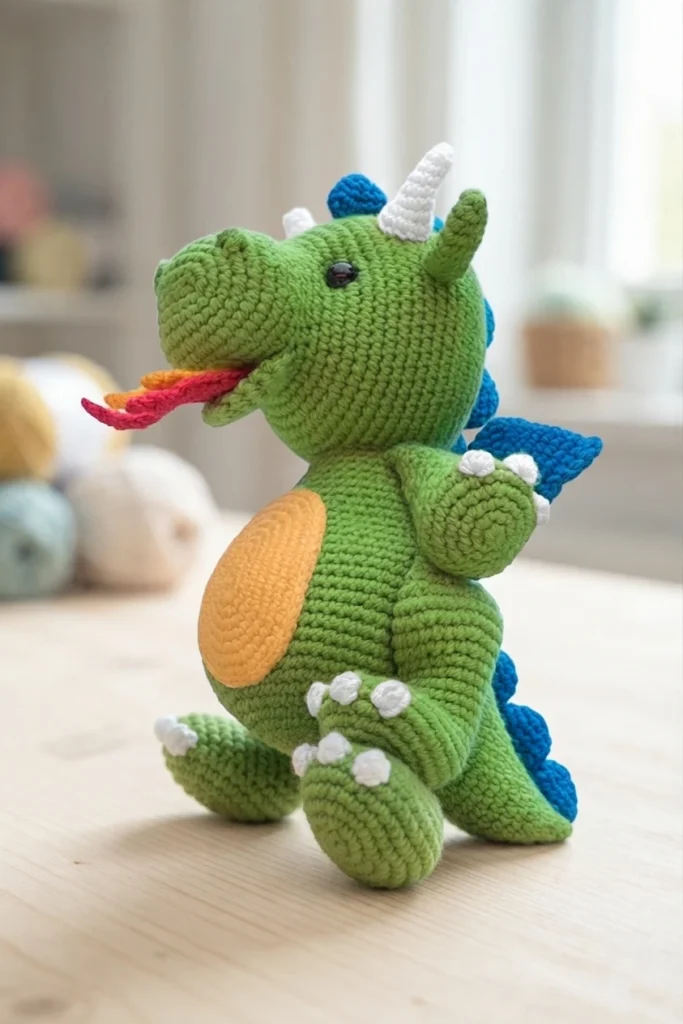
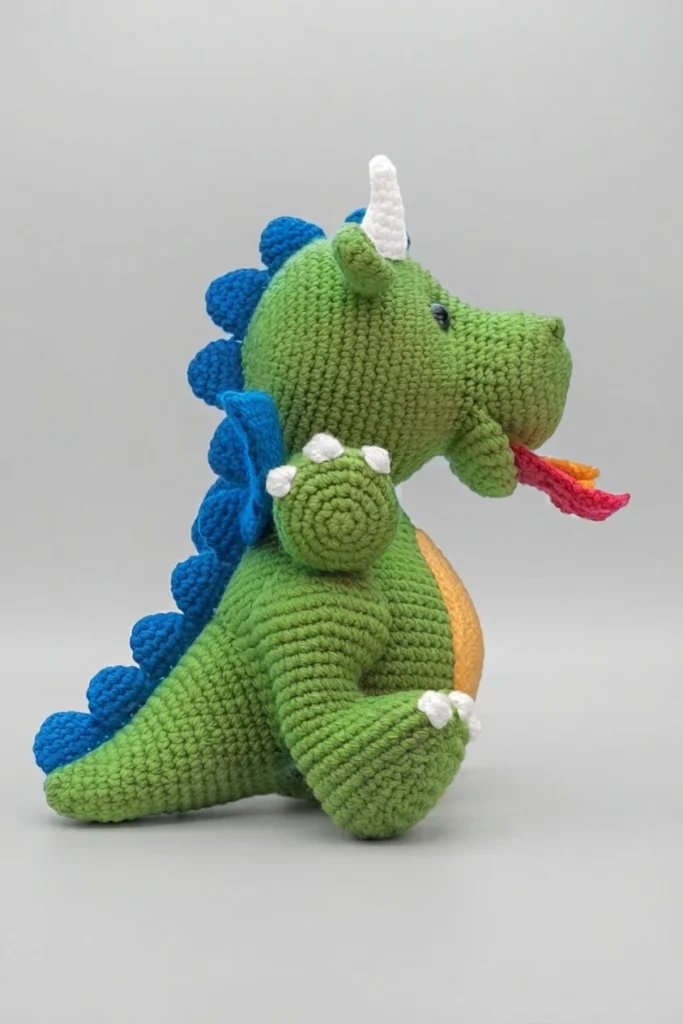
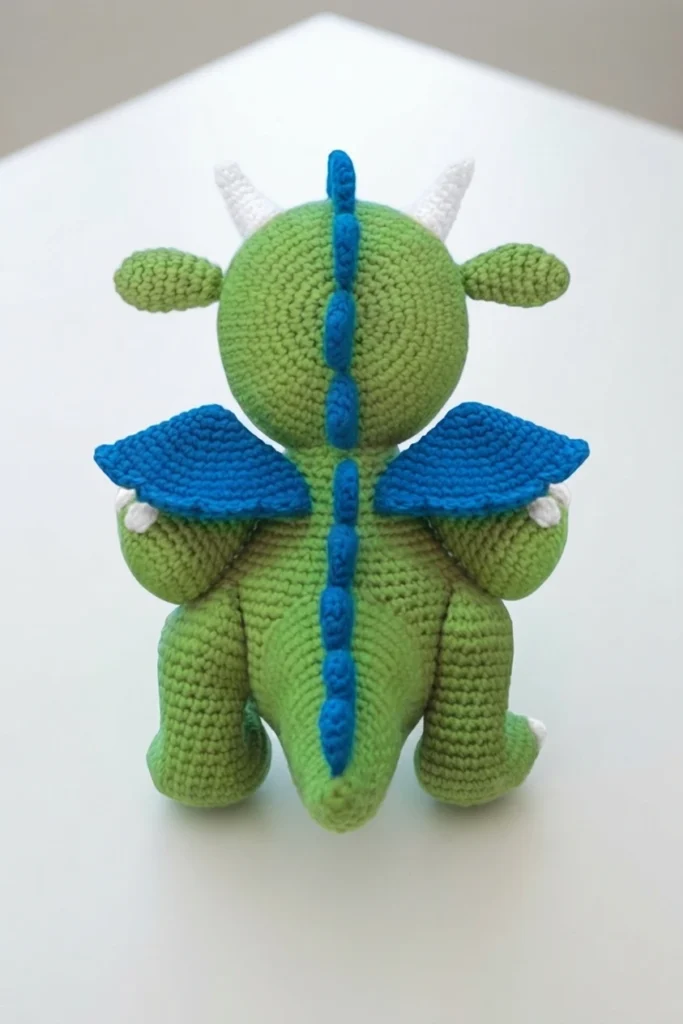
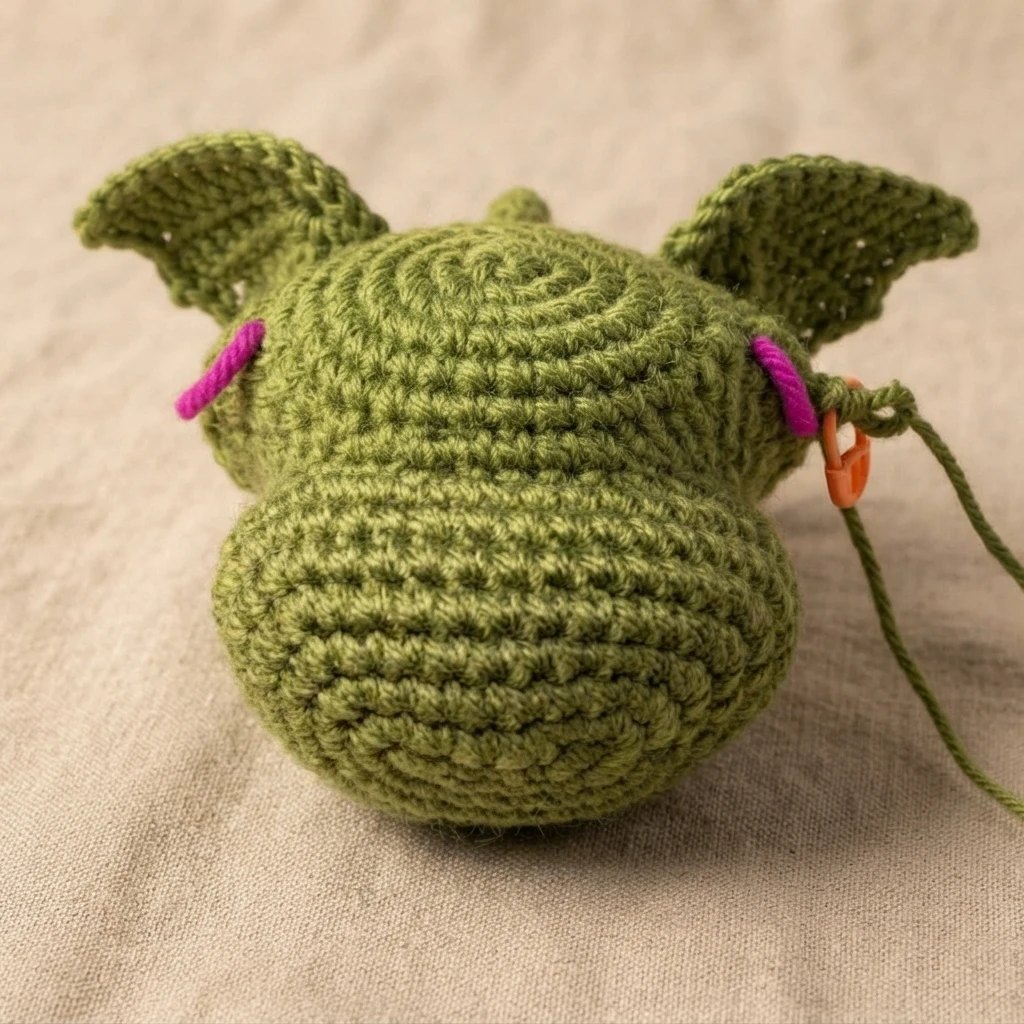
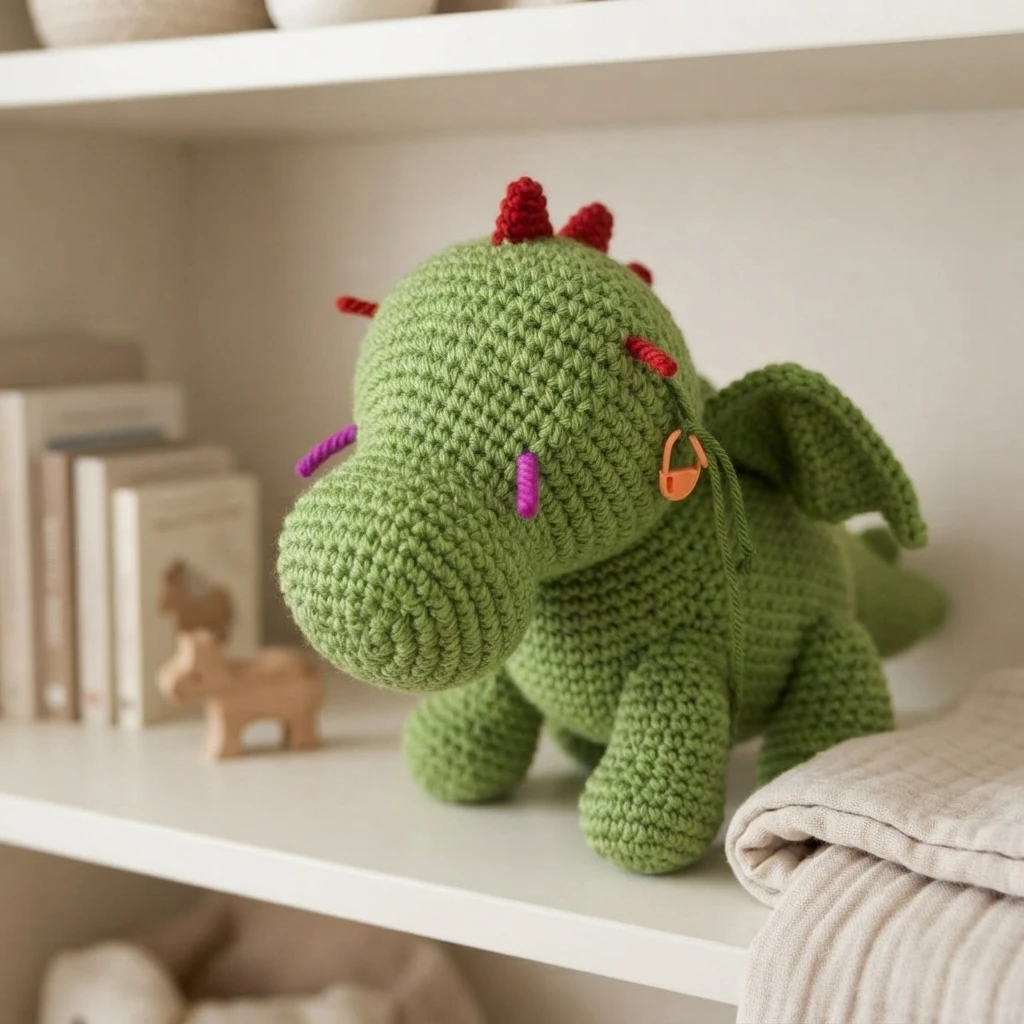
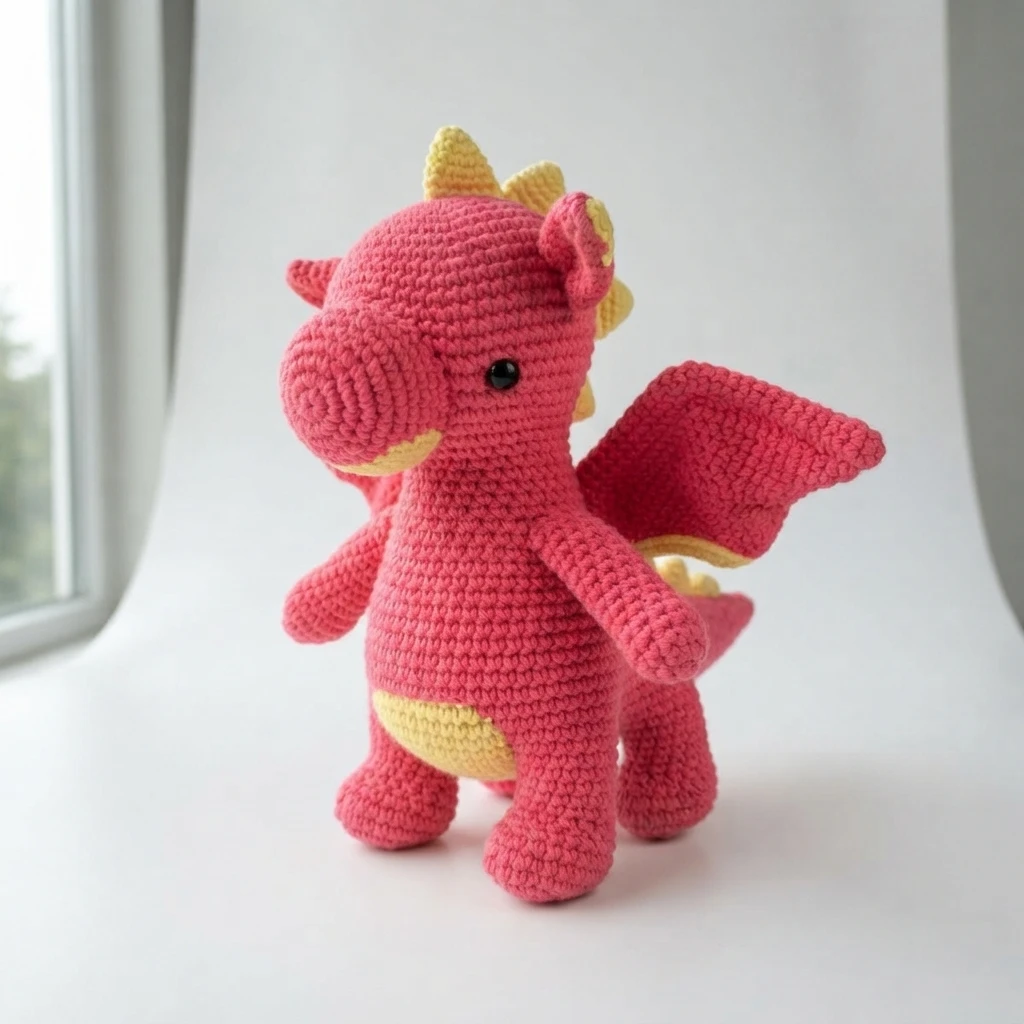
Grab your hook and yarn and set out on this build. The source frames the dragon as a true test of skill with a legendary reward. For more mythical magic, the designer points readers to a unicorn design called Jazzy the Unicorn. Now venture forth, courageous crafter: here be dragons.
Written project details
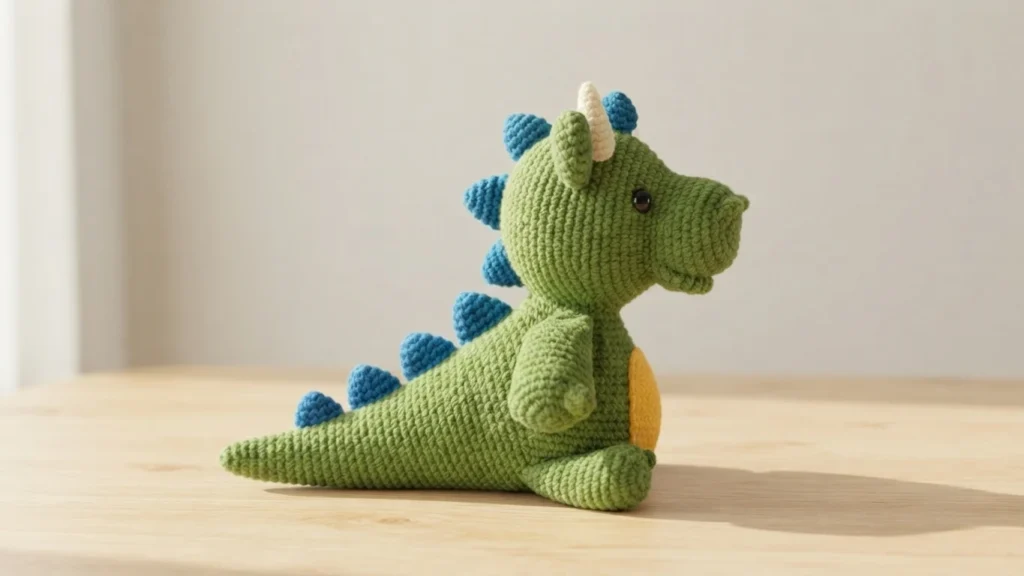
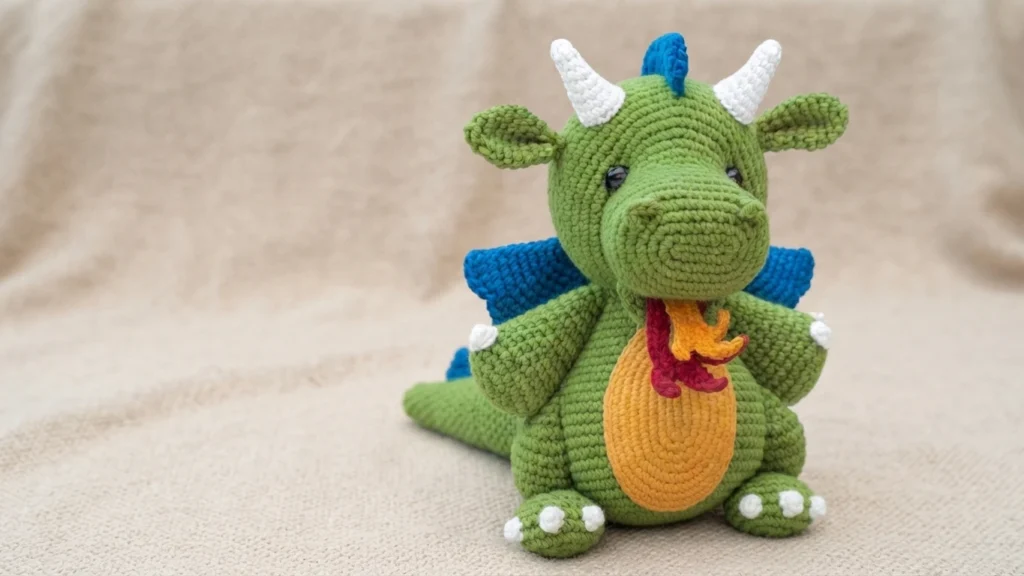
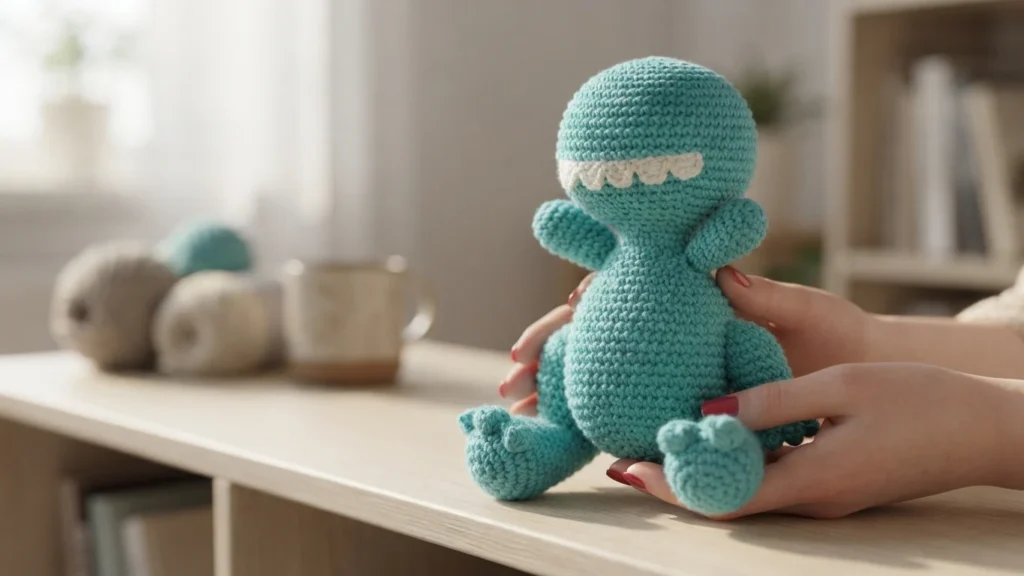
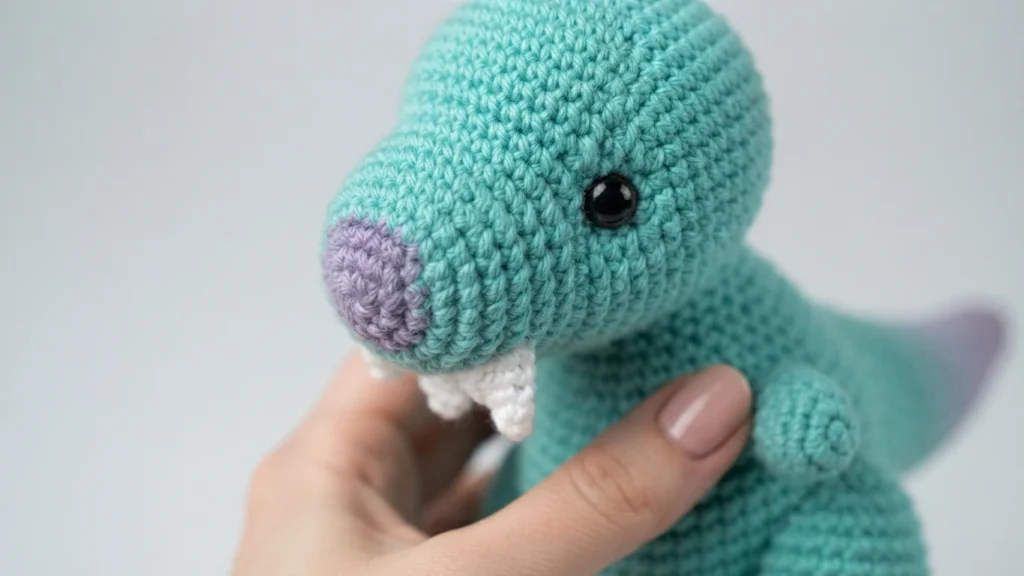
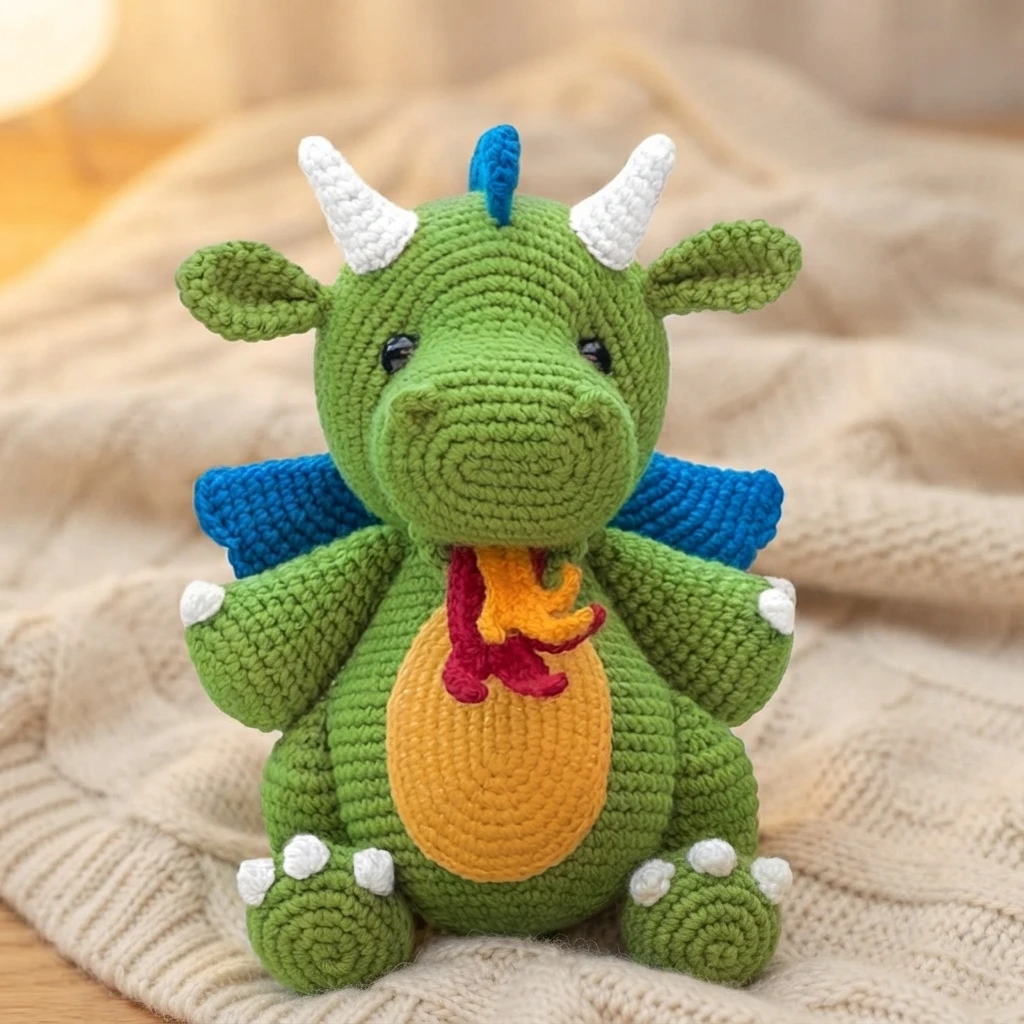
The source lists this project as a free crochet pattern and also notes a free PDF, without describing any paid format. Video tutorials back up the instructions, covering the assembly and finishing skills below. Preview each one before the pattern calls for it.
- Attaching arms, ears, and legs
- Chain start
- Claws and toes
- Adding nostrils
- Sewing body to head
- Indenting eyes
- Invisible finish
- Invisible stitching
- Magic ring
- Slip stitch closed
- Ultimate finish
Dante the Dragon
Dante stands 11.5 inches (29 cm) tall when finished. The pattern is rated intermediate and uses US crochet terms. The designer’s introduction gives him flair, with scales that shimmer like stardust and flames dancing in his eyes. This overview maps out supplies, gauge, and construction so you can prepare; the full directions live in the original pattern.
Supplies
Gather these notions before winding yarn. The source names one hook size as the starting point for gauge, then lists the marking, stuffing, and finishing tools used during assembly. Having everything on hand keeps the many small pieces moving smoothly.
- 3.5 mm (E-4) hook, or the size needed for gauge
- Stitch markers
- Scissors
- Yarn needle
- Fiber fill
- Two straight pins
- 15 mm safety eyes
- Hot glue gun and glue sticks
- Disappearing ink marker
458 yards of acrylic (weight 4) yarn
The dragon uses 458 yards of medium weight acrylic yarn in six colors. The amounts below are exact, so match them when shopping your stash. The main body color takes the largest share by far, covering the body, head, limbs, and tail.
| Color | Yards | Meters | Grams |
|---|---|---|---|
| Green | 251 | 230 | 137 |
| Blue | 178 | 163 | 97 |
| White | 12 | 11 | 6 |
| Yellow | 11 | 10 | 6 |
| Red | 4 | 4 | 2 |
| Orange | 2 | 2 | 1 |
Steps to Complete Pattern Overview
Small pieces are finished before they are joined, and the source orders the work to match the assembly. Follow this sequence for the full build, checking off each stage before sewing begins, so no part gets attached out of turn.
- Crochet the flames and bottom lip.
- Crochet the ears, then the snout and head, attaching the lip with or without flames.
- Sew on the ears and add the nostrils.
- Crochet the legs, arms, and body, joining the limbs as you go.
- Sew the head to the body.
- Crochet the tail and sew it to the body back.
- Crochet the belly patch and sew it to the body center.
- Crochet the spikes and sew them to the body and head.
- Crochet the horns and wings and sew them on.
Abbreviations
The pattern uses the standard US-term abbreviations below, seen throughout the designer’s instructions. A quick review now keeps the piece sections easy to follow. Keep this list nearby while you work, from the first flame to the final wing.
| Abbreviation | Meaning |
|---|---|
| ch | chain |
| sc | single crochet |
| hdc | half double crochet |
| dc | double crochet |
| inc | increase: two single crochet stitches in the same stitch |
| dec | decrease: two stitches joined into one with an invisible decrease |
| sl st | slip stitch |
Three notation marks carry extra meaning. Asterisks wrap a group of stitches to repeat for the stated number of times. Brackets group stitches that belong together as one unit. Parentheses around stitches signal that a body part is attached while those stitches are worked.
Special Stitches
The pattern uses one special stitch, the bobble stitch, abbreviated bo. Work it by repeating a yarn over and pull up a loop sequence five times, then drawing the yarn through all six loops on the hook. The result is a small raised bump that adds texture to the dragon’s details.
General Construction Overview
Dante is worked in continuous rounds without joining; a stitch marker tracks the end of each round, moving up as you go. Unless the directions say otherwise, every stitch goes through both loops, and the project builds from the bottom up. Some pieces are crocheted separately and sewn on, while others join directly into the body. Review the video tutorial list before the first stitch.
Pattern Gauge
Gauge is 30 stitches and 5 rounds in single crochet for a 2 inch (5 cm) square. Check it by working rounds 01 through 05 of the arms and measuring straight across the circle, which should span 2 inches (5 cm). Using the same yarn brand for every color helps all parts match gauge once you have it.
Small Flame
The small flame is worked in orange yarn, starting with an 8 inch (20 cm) tail and a slip knot. A short single-crochet chain forms the base, tendrils grow from it over the next steps, and the piece finishes along the opposite side. Fasten off with a 6 inch (15 cm) tail, knot it, and weave both ends in.
Large Flame
The large flame uses red yarn with an 8 inch (20 cm) starting tail and a slip knot. A chain of 9 with double crochet sets the base, and three tendrils grow from its last chain. Join the flame layers along the top flat edge, then finish with a 6 inch (15 cm) tail, a knot, and woven ends. The flames attach later while the head is crocheted.
Bottom Lip
The bottom lip is worked in green yarn from a magic ring and shaped over several rounds into a small circle. It stays unstuffed, folds in half, and closes with a slip stitch. Fasten off with a 12 inch (30 cm) tail and set it aside; it is attached while the head is crocheted later.
Ears (make 2)
Each ear is worked in green yarn from a magic ring and shaped over several rounds. Leave it unstuffed and fasten off with an 18 inch (46 cm) tail. Press the final round together, close it with a slip stitch, fold the edge in half, and sew it shut with a running stitch to form a round base. Knot the work and set the ears aside to sew to the head later.
Snout & Head
The snout and head are worked in green yarn from the snout outward, then stuffed and closed. The bottom lip joins along the way, with or without flames. Eye markers sit 18 stitches apart between rounds 15 and 16; ear markers sit 24 apart between rounds 22 and 23. After the safety eyes are secured, the head closes with an Ultimate Finish. Indent the eyes with an 18 inch (46 cm) strand of green yarn, then sew the ears at their markers.
Nostrils (make 2)
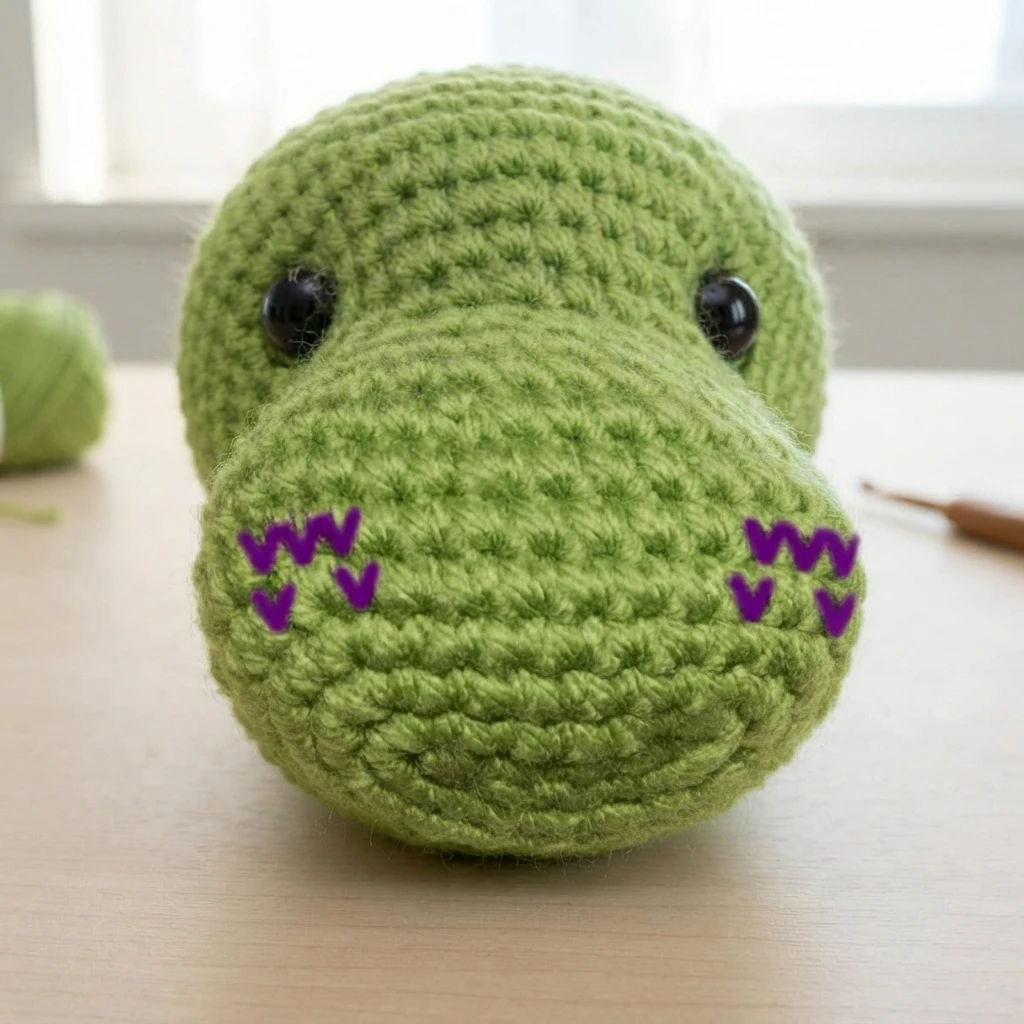
The two nostrils are worked in green yarn, starting with a 6 inch (15 cm) tail. Mark positions with disappearing ink, seven stitches apart between rounds 05 and 06, then turn the head upside down. Work each nostril directly into the marked stitches on round 05, fasten off with a 6 inch (15 cm) tail, hide the ends inside, and repeat for the second nostril.
Legs (make 2)
Each leg is worked in green yarn with a chain start. White claw stitches go in while crocheting; the source points to a claws and toes video tutorial. The leg base is stuffed firmly. Fasten off with a 12 inch (30 cm) tail, press the final round together, close it with a slip stitch, and hide the tail inside. Set the legs aside to attach while crocheting the body.
Arms (make 2)
Each arm is worked in green yarn from a magic ring start. White claw stitches go in during crocheting, with the same claws and toes video tutorial referenced. The arm base is stuffed firmly. Fasten off with a 12 inch (30 cm) tail, press the final round together, close it with a slip stitch, and hide the tail inside. Set the arms aside to attach while crocheting the body.
Body
The body is worked in green yarn from a magic ring, with legs and arms joined into the rounds as the work progresses. Once stuffed, fasten off with a yarn tail the length of your arm span (about 65 in / 165 cm). That tail sews the body to the head, using a traced circle as a placement guide. Finally, tack the legs down after marking the inside center of each thigh and the matching body spots.
Tail
The tail is worked in green yarn and stuffed, then fastened off with a 36 inch (91 cm) tail. Sew it centered over rounds 03 to 19 on the back of the body with the attached tail and a yarn needle. Knot the join and hide the remaining tail inside. A tutorial for attaching the tail is referenced in the source.
Belly Patch
The belly patch is worked in yellow yarn and finished with an invisible finish. Fasten off with a 36 inch (91 cm) tail, knot it on the back, and keep the remaining tail intact. Sew the patch to the center of the body with a yarn needle, knot it, and hide the tail inside. The source references an invisible stitching tutorial.
Spikes
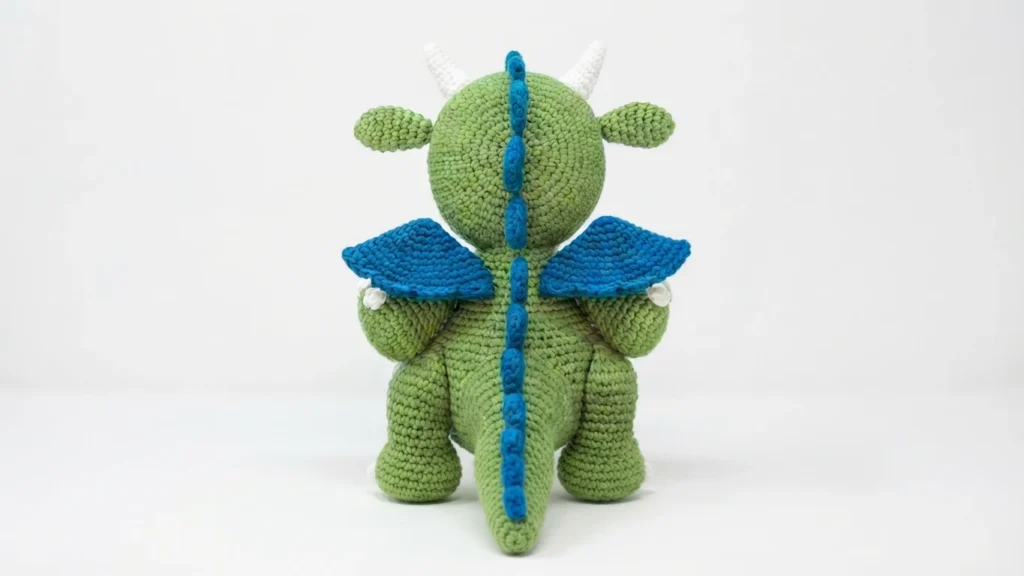
Ten spikes are made in blue yarn, each finished with a 6 inch (15 cm) tail, an invisible finish, and a knot inside. Five spikes join into a row by pressing their final rounds together and working through both layers; fasten the row off with a 36 inch (91 cm) tail, then repeat for the other five. Sew one row from the tail tip to the neck base and the other from the neck base to the forehead. A spikes tutorial is referenced.
Horns (make 2)
Each horn is worked in white yarn from a magic ring and fastened off with an 18 inch (46 cm) tail. A hot glue gun fills the horn with hot glue, stiffening it so it holds its shape. Mark placement on top of the head between rounds 19 and 22, centered between the spikes and ears. Sew each horn in place with its tail and a yarn needle, knot it, and hide the remaining tail inside.
Wings (make 2)
Each wing is worked in blue yarn from a magic ring, with a scalloped edge added as the next row. The wings stay unstuffed; the final round is pressed together and worked through both layers. Fasten off with a 24 inch (61 cm) tail. Sew the wings to opposite sides of the spikes, two to three rounds below the head base. Knot each join and hide the tails inside. A Dragon Wings video tutorial is noted.