Project introduction

This article is a pattern overview, not a complete tutorial. It explains what the Tiny Turtles project involves, lists the supplies, and walks through how the pieces are made and joined. For the full row-by-row instructions, visit the Original designer’s pattern and instructions page, where the pattern is shared free. An ad-free printable version is also available to purchase on Ravelry or Etsy.
These turtles began as an accident. The designer picked up some O’Go yarn in playful multicolor shades on an impulse craft-store trip and planned to turn it into hats. The hats never worked: the colors looked too busy and the shaping felt wrong. After months on her desk, the yarn found its purpose, as she paired lighter and darker shades from each color family to make tiny turtles.
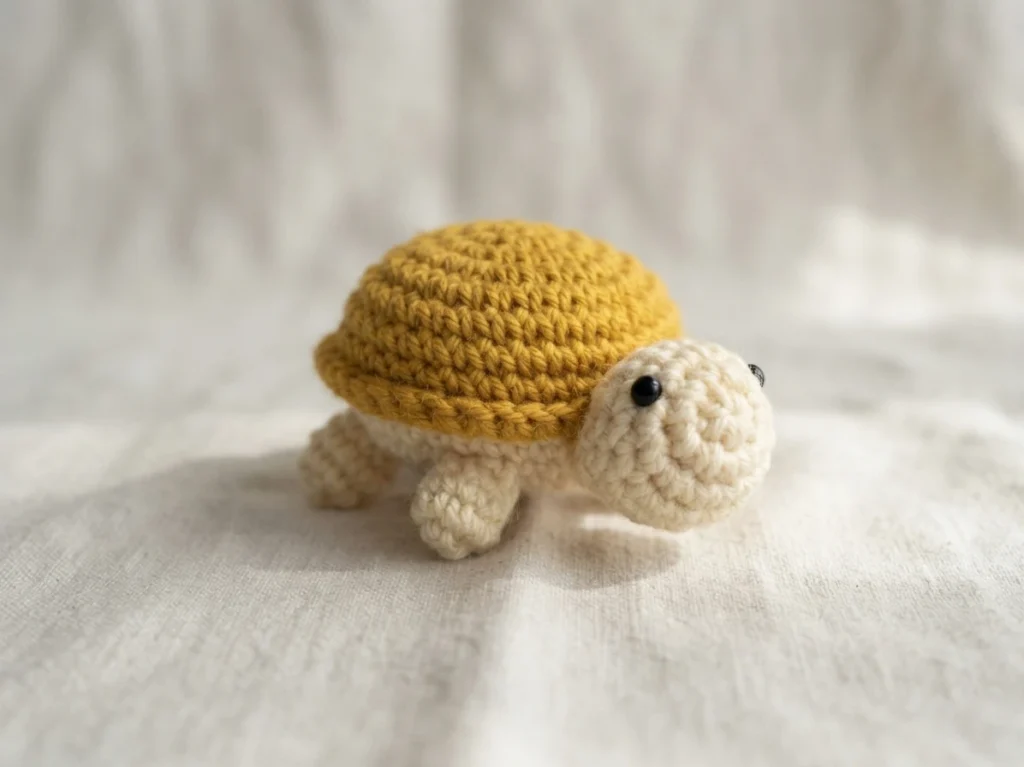
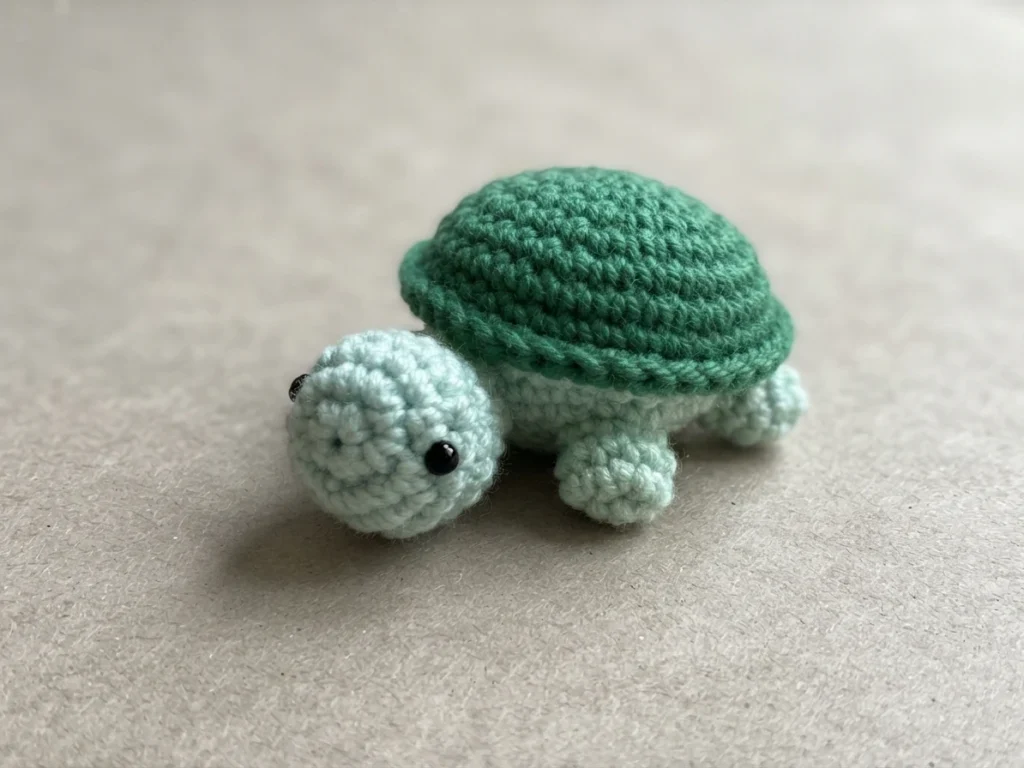
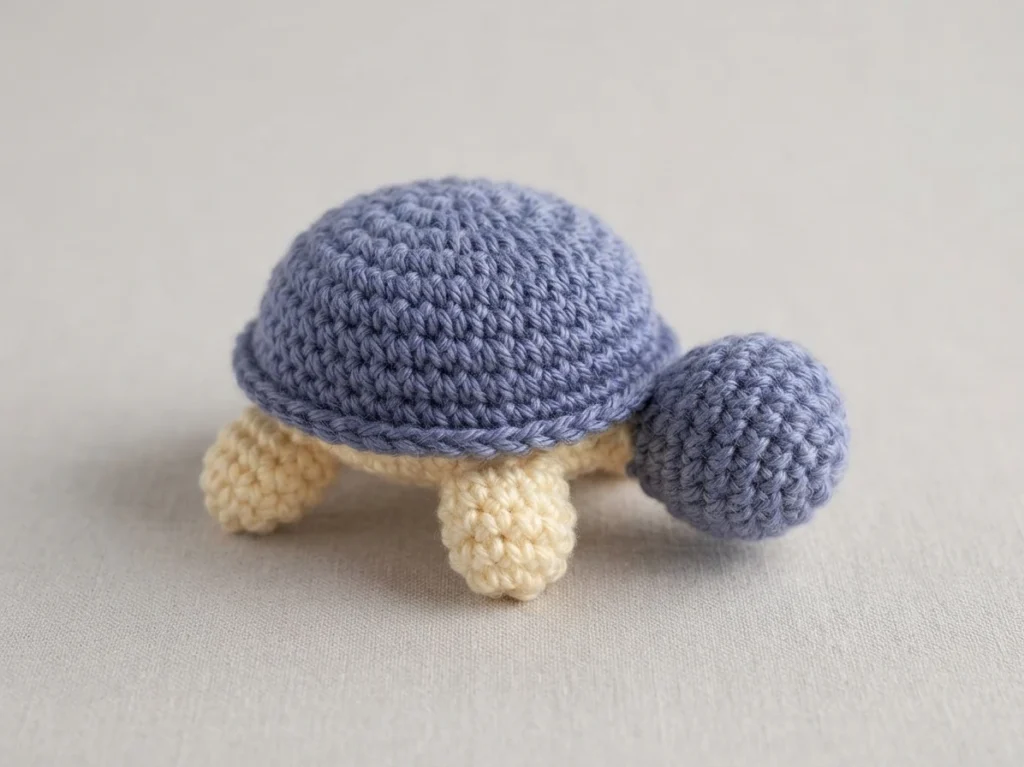
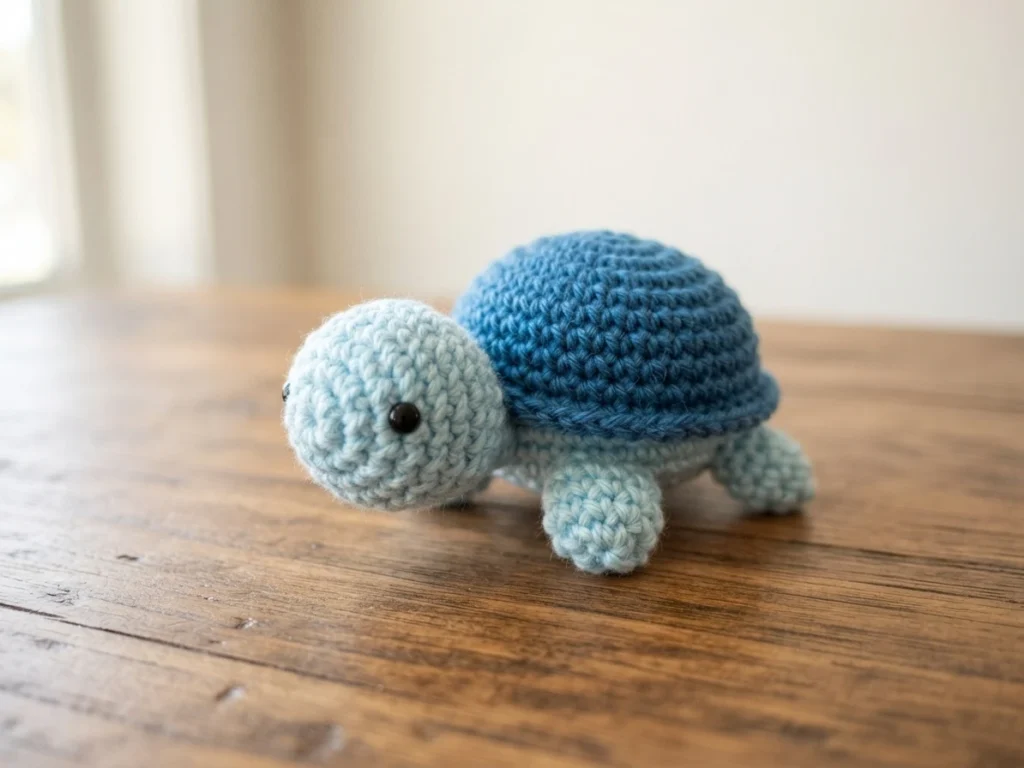
Each finished turtle measures about 2.5 inches tall and 5 inches long, a size that fits comfortably in your hand. You can pair any two colors, but the two-shade approach gives this project its charm: a lighter color forms the body, a deeper shade becomes the shell, and the gentle tonal shifts keep every turtle soft and cohesive.
Below you will find the supplies checklist, a plain-language look at how each piece is built, and the assembly steps. The pattern uses US crochet terminology, and every piece begins with a magic ring. Keep the designer’s page handy, since this overview does not replace the original instructions.
You will need
These little turtles work up quickly, so gathering everything first keeps things smooth. The samples used Caron Big Donut in Blue Moon and Mint Julep, but any worsted weight yarn in two colors will do. Pick a lighter shade for the body and save the darker one for the shell.
- Worsted weight yarn in 2 colors, lighter for the body and darker for the shell (samples used Caron Big Donut in Blue Moon and Mint Julep)
- G crochet hook
- Small safety eyes (6mm)
- Fiberfill for stuffing
- Yarn needle for sewing and weaving in ends
Construction Overview
Construction follows a simple amigurumi flow. Every piece starts with a magic ring. Color A, the lighter color, is used for everything except the shell, while Color B, the darker color, is used only for the shell. Make the belly and shell first, join them into a stuffed body, then add the head, legs and tail.
Belly
The belly is made once with Color A. It begins with a magic ring and grows outward in rounds, then continues with a round worked even to form a smooth, flat disc. Finish off and cut the yarn. This piece forms the underside of the turtle and joins to the shell next.
Shell
The shell is made once with Color B, the darker color. It starts with a magic ring, is worked outward in rounds and then continued with even rounds. Hold the belly against the shell with wrong sides together, line up the stitches and join by working through both layers. Start stuffing a little past halfway around and keep filling as you go, so the body is fully stuffed when the join closes. Finish off and weave in the end.
Head
The head is made once with Color A. It starts with a magic ring, grows outward and is shaped with decreases into a rounded head. The small safety eyes go in with about 6 stitches of space between them, and the head is stuffed before the final rounds close it. Finish off, leaving a long tail for sewing.
Legs
You will make four legs with Color A. Each leg starts with a magic ring and is worked in rounds, with a slight decrease for shape. Add only a tiny bit of stuffing to each, since a light fill keeps them soft without making them rigid. Finish off, leaving a long tail so each leg can be sewn on securely.
Tail
The tail is a single small piece made with Color A. It starts with a magic ring, increases a little and is then worked even to form a short tail. Finish off, leaving a long tail for sewing it onto the underside of the body.
Assembly
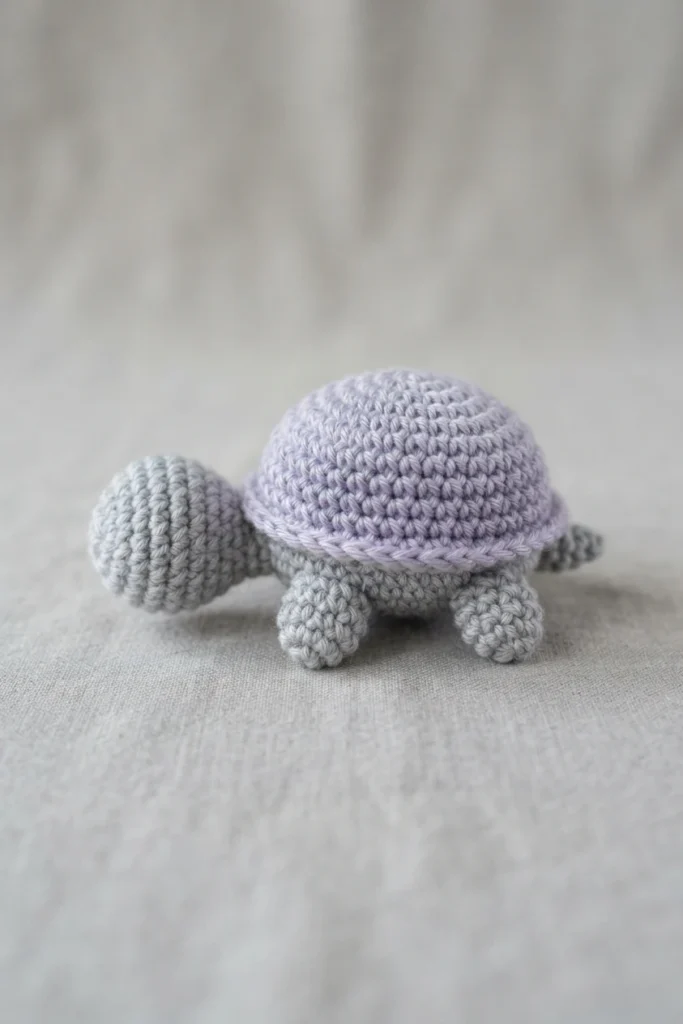
Assembly brings the turtle to life. Stitch the head to the belly just under one side of the shell, adding an extra stitch on each side of the neck to keep it steady. Sew the legs onto the belly, two per side, then sew the tail to the belly just beneath the shell, opposite the head. Weave in the loose ends and your tiny turtle is done.