Project introduction

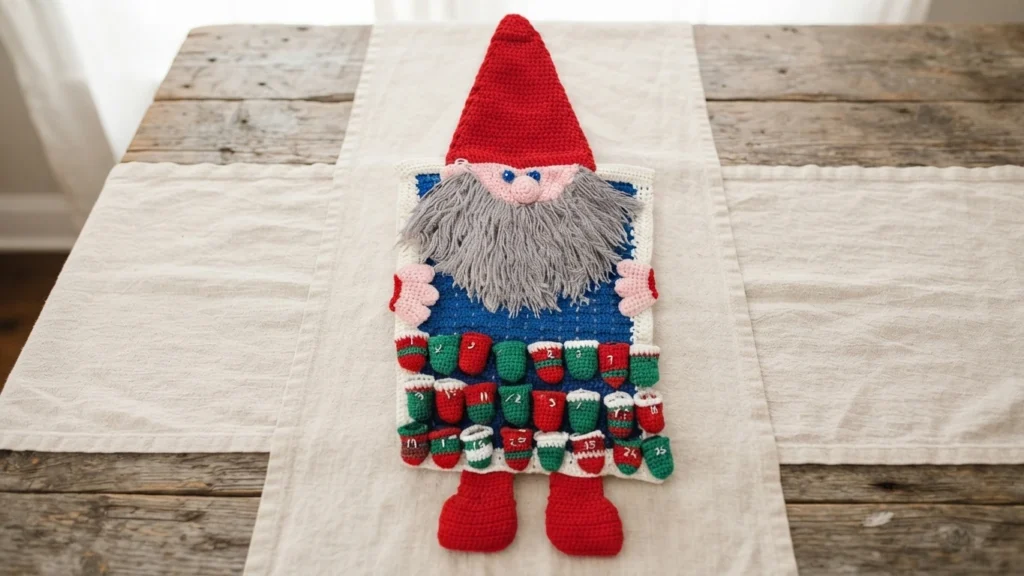
George the Gnome is a cheerful character designed by Michele Wilcox for MarlyBird.com. This free crochet pattern builds an advent calendar with mini baskets for daily treats, and the construction is described as rather simple, with all the work living in the details. Each basket is meant to hold a small surprise leading up to Christmas, which makes the project a good fit for families counting down the season.
The original pattern is free on the source site. The source notes that this free gnome pattern will be part of the Holiday Pattern Collection vol. 2, released Nov. 17, 2022, on MarlyBird.com, which is available as an ad-free PDF. You can find the original designer’s pattern and instructions on the source site.
Crochet Gnome Advent Calendar || Pattern Overview
Designed by Michele Wilcox for MarlyBird.com.
This overview details the construction of George the Gnome, an advent calendar featuring mini baskets for daily treats. The project combines amigurumi shaping with functional holiday decor, and the source describes the construction as rather simple, with all the work in the details.
Skill level
This overview walks through the key elements of George the Gnome, a design by Michele Wilcox for MarlyBird.com that combines amigurumi shaping with functional holiday decor.
This project is rated as an Adventurous Beginner skill level. It requires comfort with working in the round and joining multiple pieces, making it suitable for crocheters who have basic experience but want to try a more detailed holiday build.
<h2 data-pcsp-section=Measurements
Finished Measurements
The completed calendar measures 18 inches [45.5 cm] wide by 24 inches [61 cm] long. That size leaves room for the gnome plus the twenty-four baskets arranged below him.
Gauge
To reach the stated dimensions, your gauge should be 13 single crochet stitches by 14 rows equaling 4 inches [10 cm] by 4 inches [10 cm]. The pattern advises using any hook size necessary to match this tension.
Materials
Yarn
Two WeCrochet bulky yarns are used. Brava Bulky is 100% acrylic, 136 yds / 124 m, 3.5 oz / 100 g, CYCA# 5 bulky. Mighty Stitch Bulky is 80% acrylic / 20% superwash wool, 136 yds / 124 m, 3.5 oz / 100 g, CYCA# 5 bulky. The color requirements are:
- Color A (#28338 Celestial), Brava Bulky: 2 skeins
- Color B (#28361 White), Brava Bulky: 2 skeins
- Color C (#28352 Red), Brava Bulky: 2 skeins
- Color D (#28347 Hunter), Brava Bulky: 2 skeins
- Color E (#26818 Blush), Mighty Stitch Bulky: 1 skein
- Color F (#26820 Silver), Mighty Stitch Bulky: 1 skein
Hook
A Size J/10 (6.0 mm) hook is specified for this project. Check that your hook helps you meet the stated gauge for the best results.
Notions
Gather stitch markers, a tapestry needle, polyester fiberfil for stuffing, and a stiff brush (like a cat brush) to fluff the beard. You also need one dowel for hanging that is 18 inches [45.5 cm] long, plus charms or beads to label each day of advent.
Abbreviations
Familiarize yourself with these US terms used in the pattern:
- Ch: Chain(s)
- Dc: Double Crochet
- FLO: Front Loop Only
- Hdc: Half Double Crochet
- PM: Place Marker
- RS: Right Side
- Sc: Single Crochet
- Sp(s): Space(s)
- St(s): Stitch(es)
- Tch: Turning Chain
- WS: Wrong Side
Special stitches
The pattern relies on specific decrease stitches to shape the gnome’s features. Single Crochet 2 Together (sc2tog) creates a 1 decrease, and Single Crochet 3 Together (sc3tog) creates a 2 decrease. Double Crochet 2 Together (Dc2tog) is also used for shaping the boots and other elements.
- sc2tog: 1 decrease
- sc3tog: 2 decrease
- Dc2tog: used for boots and other shaping
Crochet gnome advent calendar: notes
For the nose and the baskets, which are both crocheted in a continuous spiral, a marker at the start of a round helps you keep your place as the rounds build.
CROCHET GNOME ADVENT CALENDAR Pattern Overview
The construction process begins with the background panel, followed by the border that creates the dowel slot. Next, the individual gnome parts (face, ears, nose, eyes, beard, hat, boots, hands, and cuffs) are crafted and assembled. Finally, twenty-four small baskets are made and attached below the gnome’s hands to complete the advent countdown feature.
Background
The background panel is worked first in Color A, beginning with a chain of 52. Row 1 establishes the base width with double crochet groups, and Rows 2 through 28 repeat a pattern of skipping stitches and working clusters of double crochet to build height. This panel becomes the main canvas for the gnome.
Border
A border in Color B frames the background. Round 1 establishes a single crochet edge around all four sides, totaling 228 stitches, with specific counts at corners and along each side. Subsequent rows work double crochet increases at marked corners to shape the frame before turning to work the top edge.
Rows 4 through 9 continue with single crochet across the top edge and previous row ends. The piece is fastened off with a long tail, and the top edge is folded behind and sewn to the first single crochet round to create a slot for the hanging dowel.
Crochet gnome
Face
The face is crafted in Color E, starting with a small chain and increasing steadily over twelve rows to reach 42 single crochet stitches. Round 13 continues the increase pattern, then turns to work single crochet evenly across the top edge over the previous row ends, joins with a slip stitch, and fastens off. This oval piece serves as the base for attaching the eyes, nose, and ears.
Ears
Make two ears in Color E. They start similarly to the face but use fewer rows, growing to 18 stitches before decreasing back down. Row 4 works in the front loop only to create a fold line, and decreases in the following rows taper the ear to six stitches. Once finished, fold each ear down at row 4 and sew it to the top edge of the face.
Nose
The nose is a small spiral piece in Color E. It increases from six to eighteen stitches, works even rounds, then decreases to nine. Stuff it lightly before sewing it onto the center of the face. For extra charm, the pattern offers an optional step: use a red crayon to color rosy cheeks on either side of the nose.
Eyes
Create two tiny eyes in Color A. Each consists of a ring of six single crochet stitches joined with a slip stitch. Embroider one small straight stitch in Color B for a twinkle effect. Sew the eyes slightly above the nose but close to it, then attach the entire face assembly to the top center of the background, close to the top edge and taking care not to sew the dowel slot closed.
Crochet Gnome Advent Calendar: Beard
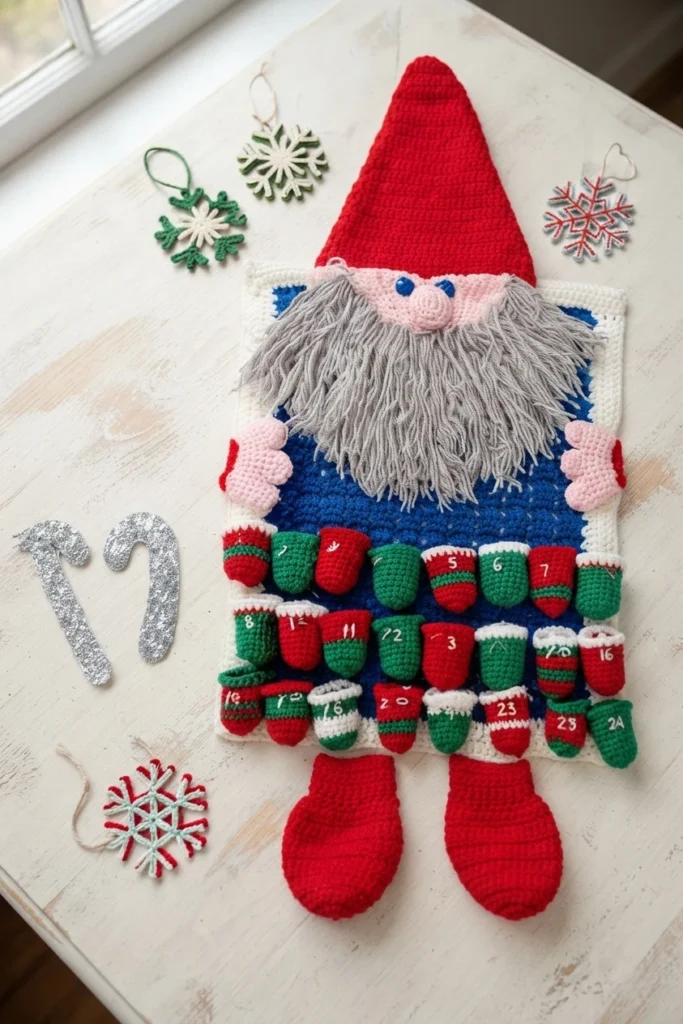
The beard adds texture using about 100 lengths of Color F yarn, each roughly 20 inches [51 cm] long. Work two strands at a time along the face edges and chin, then brush the beard with a stiff tool until it looks right and trim the bottom to your desired length. The example shown is approximately 7 inches [18 cm] long.
Hat
The hat is worked in Color C, alternating between double crochet and single crochet rows to build height, and the pattern states it reaches 34 sc. An edging round finishes the brim. Sew the hat onto the gnome so it just covers the top of the face, completing the classic silhouette.
Boots
Make two boots in Color C. Start with a chain of 25 and work flat rows, increasing for the foot area and decreasing for the toe. Fold each boot in half lengthwise, sew the back side, stuff it lightly, and sew the bottom seam. Attach the boots behind the bottom edge of the background using Color A yarn.
Hand
Craft four hands in Color E. Begin with a chain of 10 and work the fingers individually from unworked stitches on the same row. Add an edging round to give the hand dimension, placing slip stitches between the fingers. Seam two hands together at the wrist, leave an opening, and stuff lightly before closing.
Cuff
Add cuffs to the hands using Color C. Work two rounds of single crochet around the wrist opening. Fasten off with a long tail, stuff the cuff lightly, and sew the opening closed. Attach the hands to the calendar body, wrapping the cuff slightly around the edge for a natural look.
Crochet gnome advent calendar baskets
Produce 24 small baskets for the advent days. You can work them in solid colors, stripes, or any combination you like; the sample uses Colors B, C, and D. Work in a spiral without turning or joining, increasing to form the base, then continuing even rounds. Finish with a textured top edge. Sew the baskets in three rows of eight beneath the gnome’s hands.
Finishing
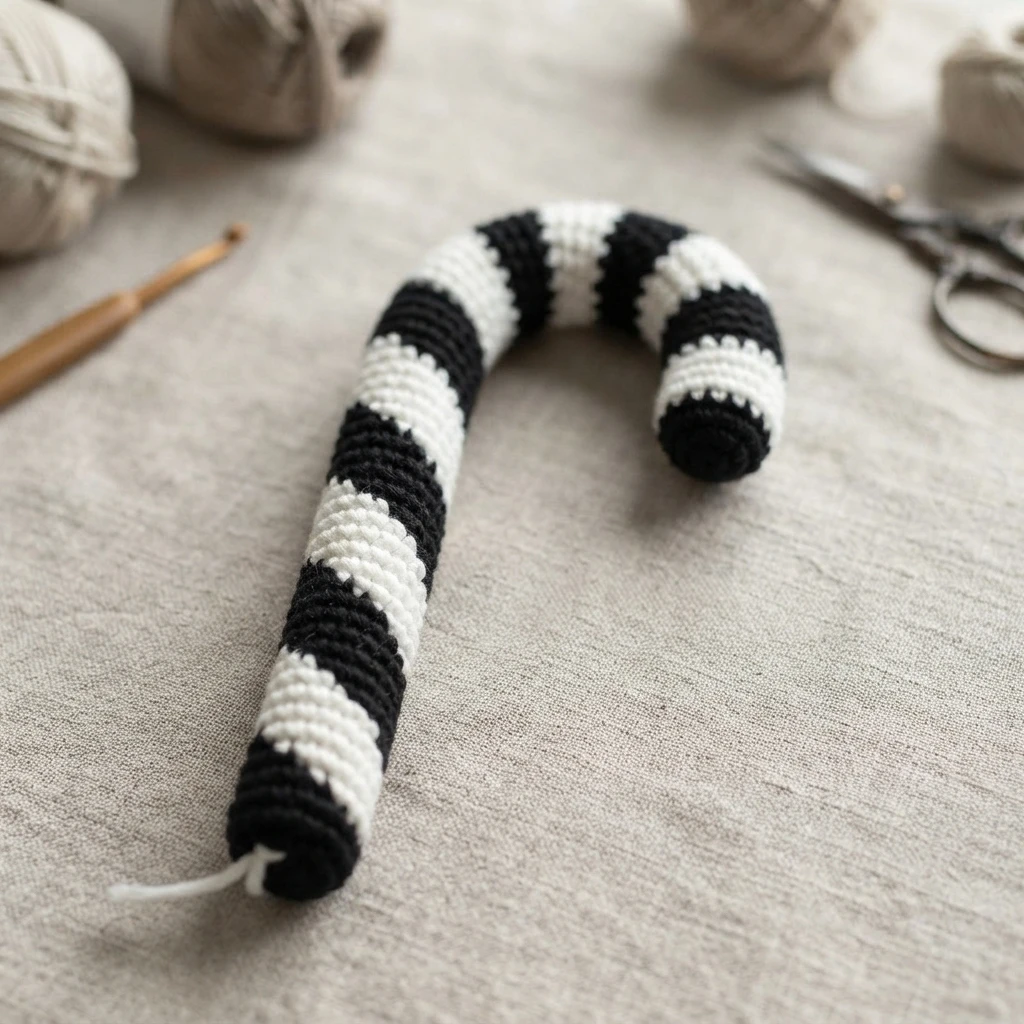
Insert the dowel into the top slot and sew the side opening closed. Label each basket with a charm or bead corresponding to the day of advent. Optionally, use a colorful placemat, foam sheet, or posterboard to trace and cut out a candy cane shape as a weekly marker.
You can also queue and favorite this project on Ravelry.
Check out more free crochet holiday patterns on MarlyBird.com
If you enjoyed making George, explore other festive designs on the source website. Options include the Prancing Through The Holidays Knit And Crochet Stocking Course, Free Knit Christmas Stocking Patterns, a Table Runner Free Crochet Pattern, and the Holiday Armadillo Amigurumi Pattern.
Crochet Gnome Towel Topper: Pattern Overview