Project introduction
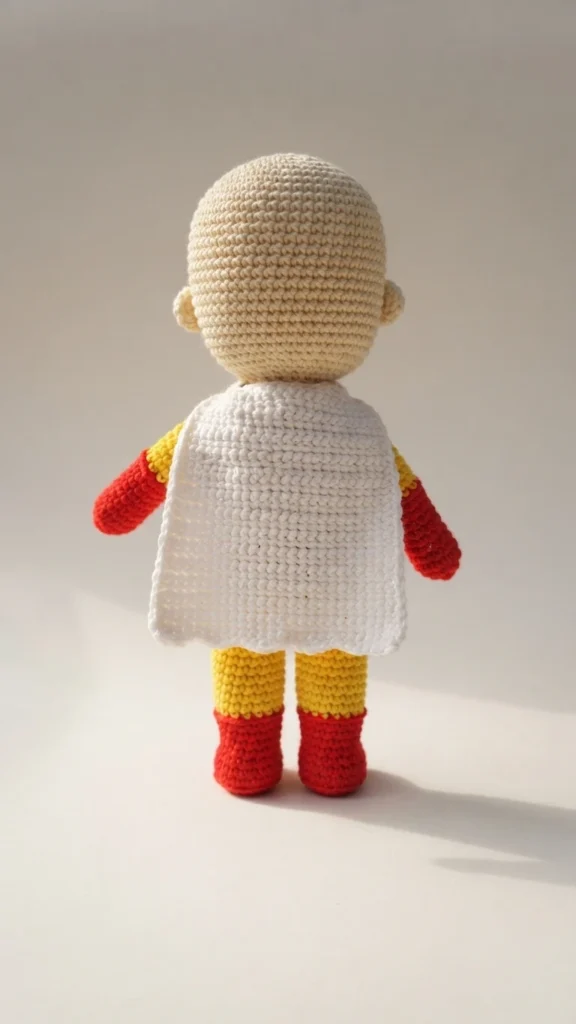
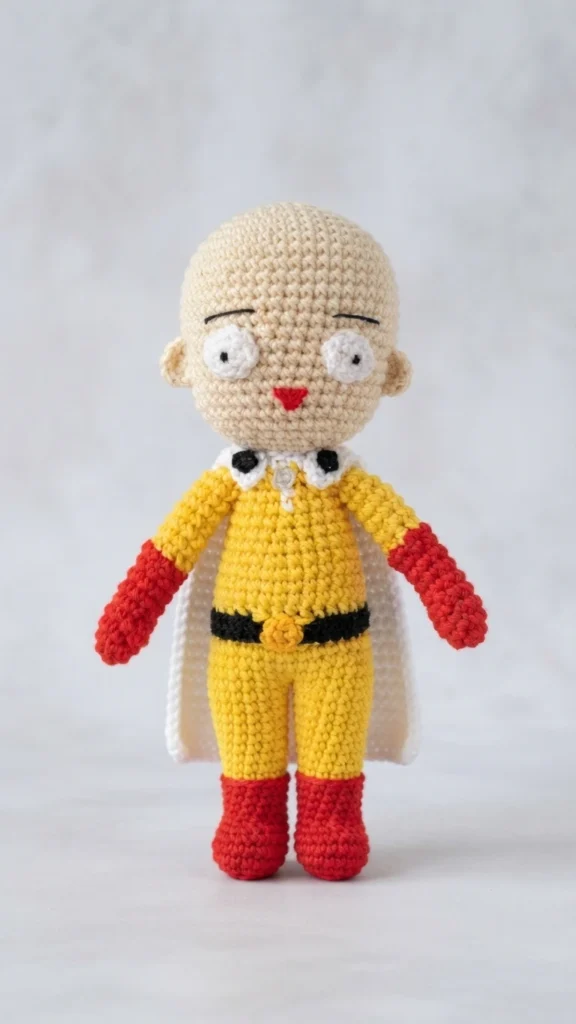
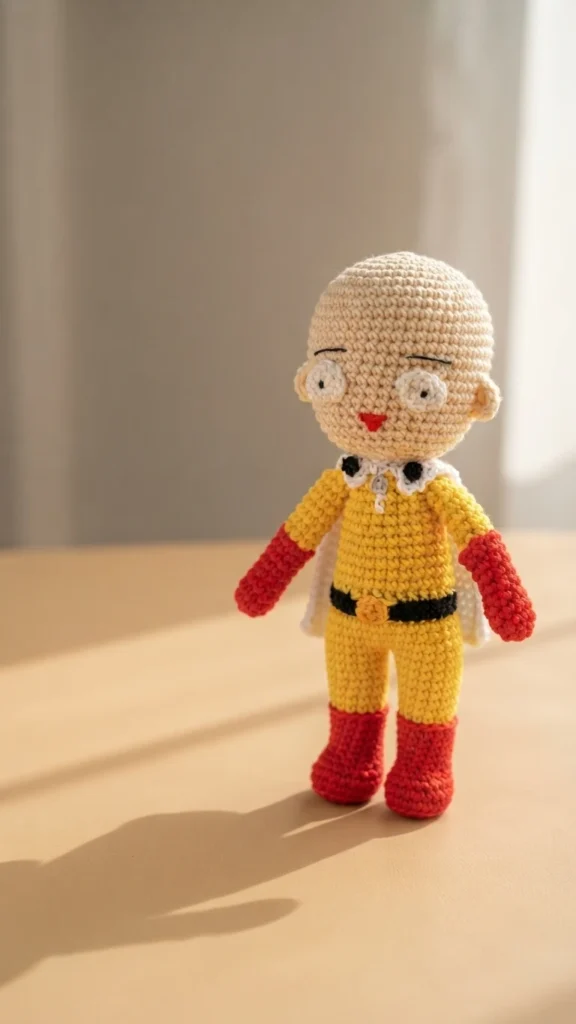
This is a pattern overview, not a full tutorial, for a crochet Saitama amigurumi inspired by One Punch Man. The design is shared as a free pattern on the blog Amigurumi Piano Sound, and the full written instructions stay with the original designer. For the complete pattern, follow Original designer’s pattern and instructions. The overview below explains what the project includes, how it is built, and how to prepare.
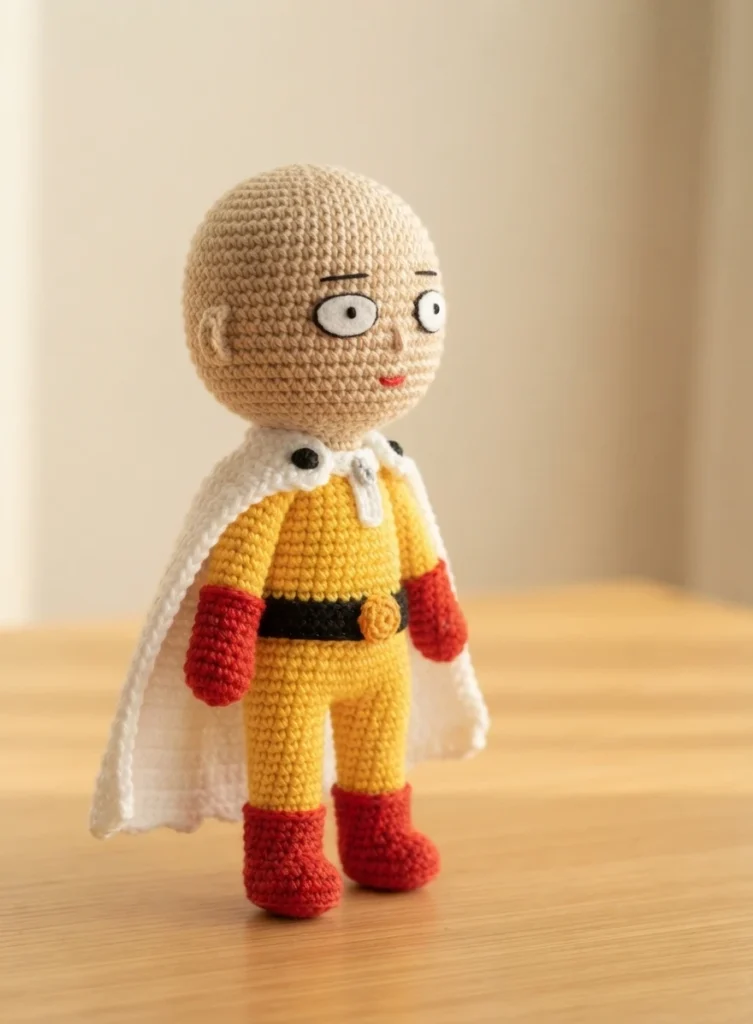
The doll takes its character from Saitama, the calm hero known for ending a fight with one punch. The designer used a Saitama Nendoroid figure as a visual model while shaping the crochet version. The finished doll has a smaller head than that model, a choice linked in the source notes to balance and standing. The designer also notes that the finished doll can stand, which makes it a display piece as well as a handmade toy.
Construction begins at the toe and continues to the shoulder, so the lower body and torso form one connected section. The head is crocheted separately and joined later, along with separate limbs. One leg is fastened off, while the second leg stays joined so the body can continue from it. That order helps keep the legs aligned before the torso shaping begins.
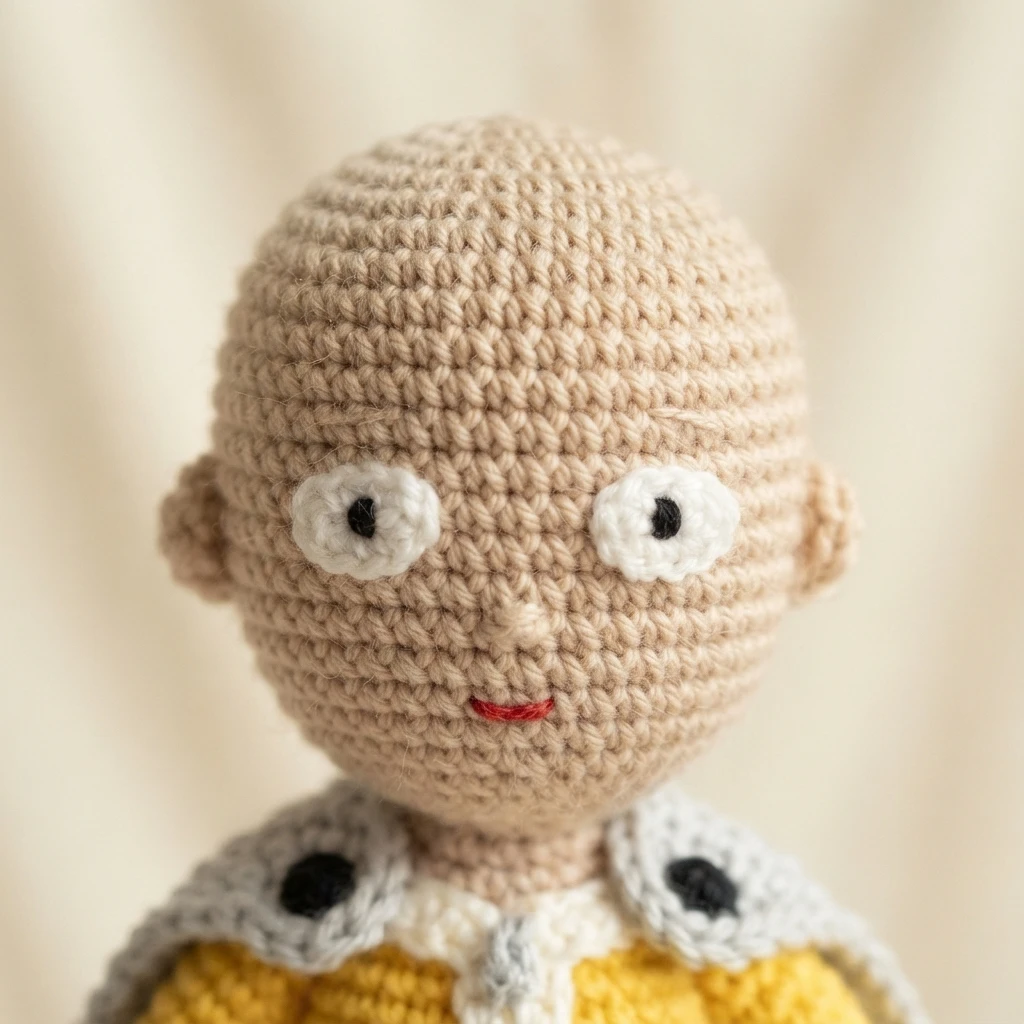
Expect a small character doll with bold color blocks, a plain head, simple facial features, and a flowing cape. The felt options give a neat way to finish the face without shaping tiny crochet features. Because the head is separate, take time to place the eyes, ears, and mouth evenly before joining. A tidy join will help the finished doll read clearly as Saitama.
Pattern format and preparation
The original pattern is written in standard American crochet terms, with a short abbreviation list and a video tutorial in parts. This overview does not repeat the row by row instructions. Use it to check supplies, construction, and finishing choices, then work from the designer’s page for stitch by stitch guidance. If a passage seems unclear or incomplete, the original page and video are the authority for that step.
- Crochet hook: 3 mm, or Japanese size 5/0
- Yarn: 4ply worst weight yarn in red, yellow, white, black, and beige
- Belt buckle yarn: orange color yarn, or a yellow felt sheet cut into a circular shape
- Eyes: white yarn, or white felt sheet cut into ovals
- Mouth: red felt sheet cut into a triangular shape
- Assembly: sewing needle and thread or glue, using only a small amount of glue if you choose glue
- Permanent pen for felt pupils
Before starting, review the abbreviations used in the original pattern: ch means chain, sc means single crochet, dc means double crochet, sl means slip stitch, and sc2tog means decrease single crochet. Those terms cover the main fabric, while the original also uses other stitches in specific parts, such as the ears and cape. Keep the designer’s abbreviation list beside your work, and check the video when a joining or color change needs a visual cue.
The legs and body use color changes to form the costume, including yellow for the legs and black and yellow through the torso. A small buckle finishes the belt, either in orange yarn or as a yellow felt circle. The eyes are worked in white yarn or made from white felt ovals, and the mouth uses red felt. The ears are small separate pieces, the arms start in red yarn and change to yellow, and the cape starts in white yarn.
After all parts are finished, join them with attention to symmetry for both arms and legs. The designer allows sewing or gluing, and advises using only a small amount of glue so it stays neat and does not mark nearby parts. The designer also notes that the cape could be improved and encourages makers to modify it to look better. Treat that note as permission to adjust the cape shape while keeping the character clear.
Work slowly through color changes and keep your tension even so the joined legs and torso hold their shape. Check each part against the original instructions before assembly, since small differences in placement affect balance and symmetry. If a step does not match your reading, pause and compare the written pattern with the video before moving on.
This overview keeps the project approachable without replacing the designer’s instructions. The pattern is described in the source as a free pattern, and this overview reflects that free web access without claiming a free PDF or other format. Gather the listed colors, review the abbreviations, and follow the original page for the full sequence from legs through assembly.