Project introduction
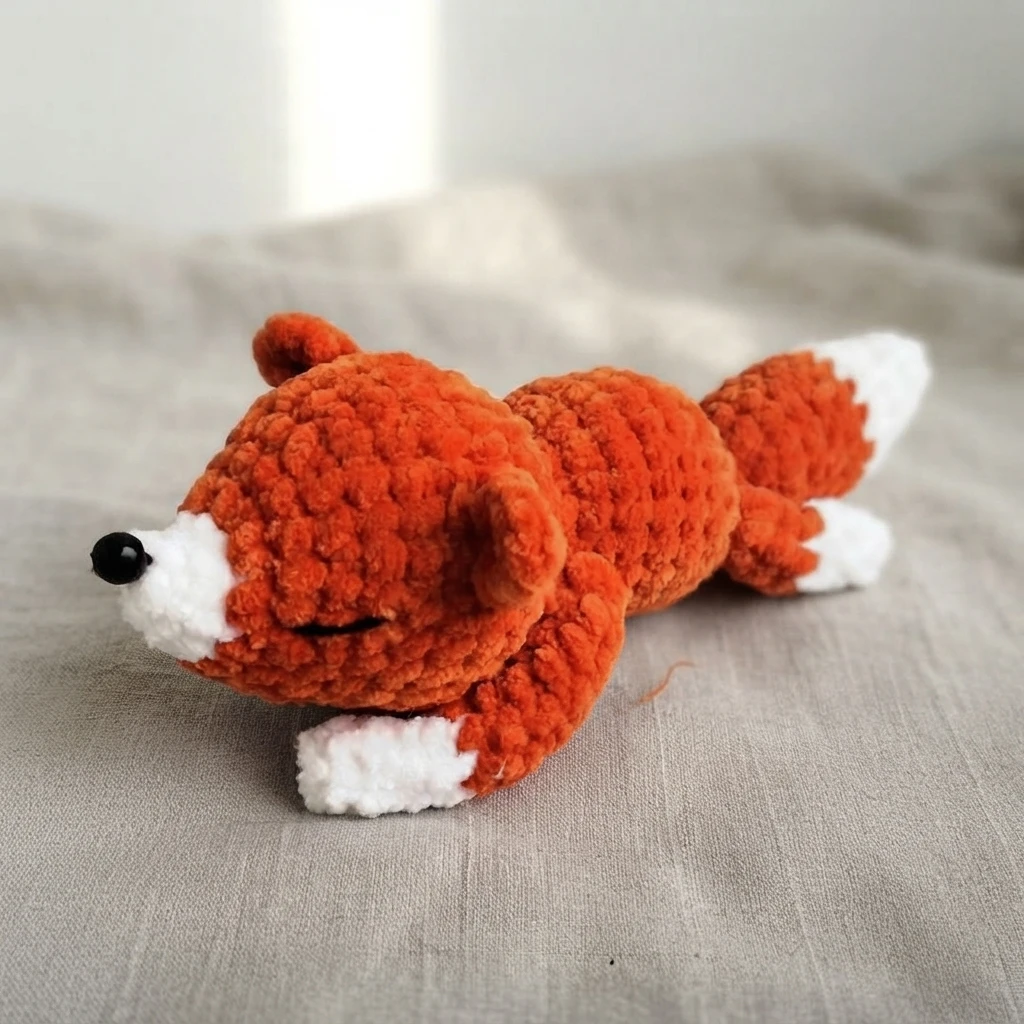
This overview introduces a small forest animal plush with a calm, curled sleeping pose. The fox design suits a soft toy shelf, a nursery accent, or a gentle handmade gift for someone who loves woodland creatures. It is written as a pattern overview, so it explains the project scope and construction without giving the full row by row instructions.
Sleeping fox amigurumi Pattern Overview
Designed and photographed by Yana Emets, with translation by Amiguroom Toys, this free pattern creates a finished plush close to 20 cm (7.8 inches) long, measured from nose to tail tip. The head, body, and tail are crocheted as one piece, which keeps the shaping continuous. For the complete instructions, see the Original designer’s pattern and instructions.
Before you begin, gather every item on this checklist so color changes, stuffing, and assembly stay smooth. The list follows the source exactly and keeps the two yarn options and the two eye options visible, so you can choose before you start.
- Himalaya Dolphin Baby or YarnArt Dolce yarn, 1/2 skein of orange and a little white
- Black yarn or embroidering floss for eyes
- 3.5-4.0 mm crochet hook
- 8 mm black bead for nose
- Fiberfill for stuffing as you go
- Stitch marker to keep placement centered
- Yarn needle for sewing pieces together
The pattern uses US crochet terms and a short key for common shorthand. Readers should check the original key for how the designer marks rows, a magic circle, chains, slip stitches, single and double crochet, increases, decreases, fastening off, stitch counts in parentheses, and repeats. Keeping that key nearby makes the color changes and shaping easier to follow.
Free crochet plush fox Pattern Overview
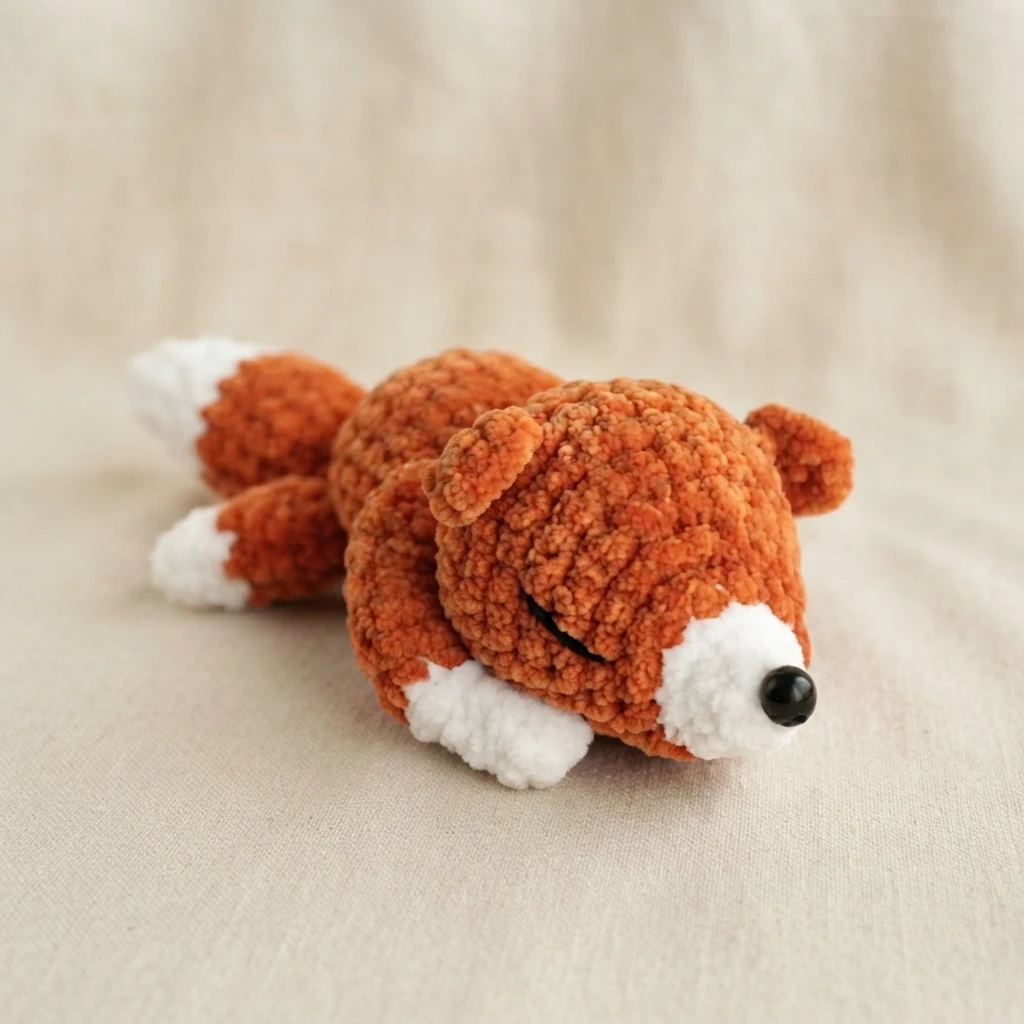
The main piece begins in white, moves to orange, and returns to white near the tail end. Stuffing is added as you go, so the shape stays even while the head, body, and tail grow together. The source asks makers to keep a stitch marker centered, with a small adjustment allowed when needed, which helps the shaping stay balanced.
Two fore legs, two hind legs, and two ears are made separately. The legs start in white and change to orange, while the ears use orange alone. Each separate piece leaves a long tail for sewing, so you can join it firmly without adding extra yarn. Work the pairs to match, then check the shapes before assembly.
For assembly, the ears are sewn to the head on R 9 with 8 stitches between them, the legs are sewn to the body, the bead is sewn on as the nose, and the eyes are embroidered with black yarn. The pattern is presented as free on the source site.
Use this overview to decide if the project fits your time and yarn stash before you open the full pattern. Read the designer key first and note where the colors change, so you can set the orange and white balls where you can reach them. Keep the marker in place as the main piece grows, pause to stuff lightly and evenly as you go, and check the shaping before you join the separate parts. This preview keeps the focus on planning, so the full instructions stay in the designer source.