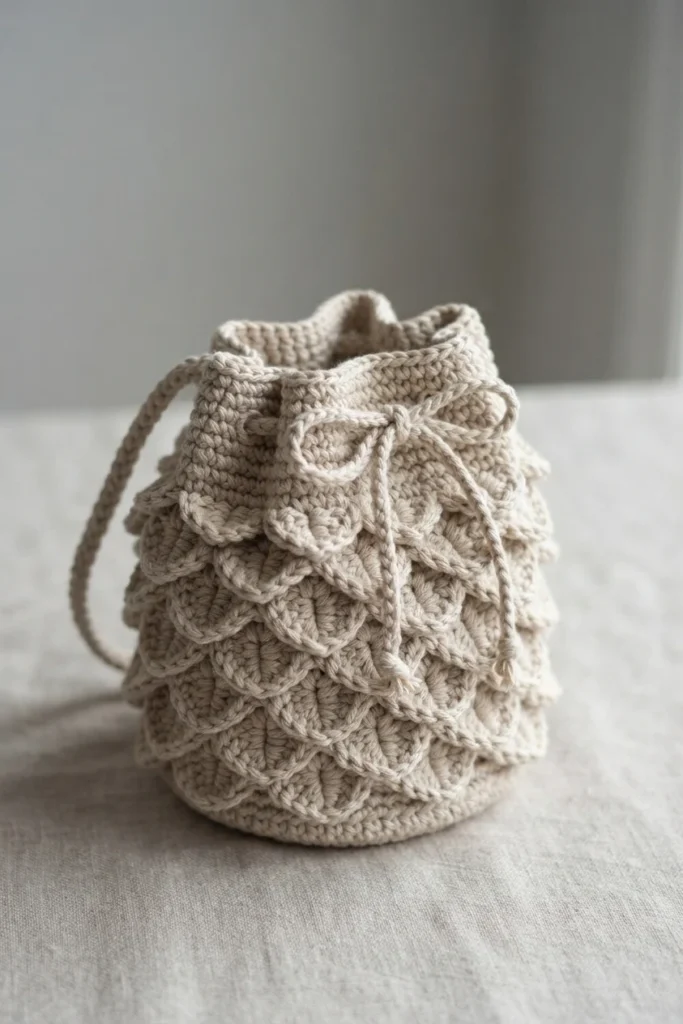
Project introduction
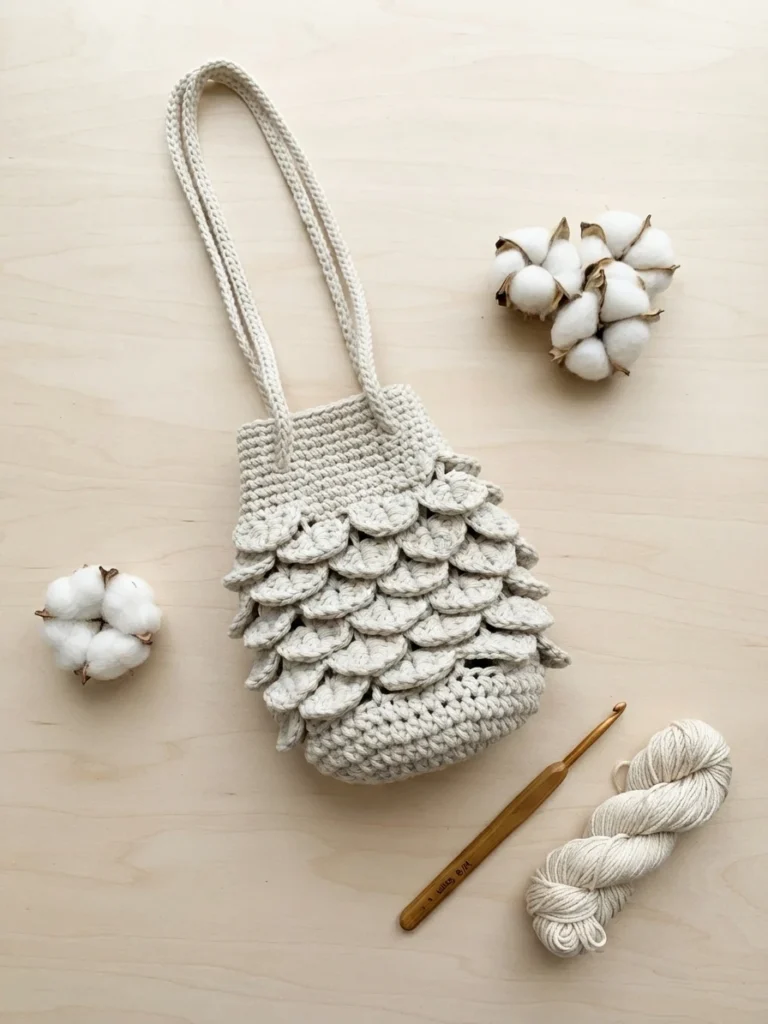
This post is a pattern overview for the Mini Crocodile Stitch Bag from Knitcroaddict, not a full tutorial. It walks you through what the project involves so you can decide whether it fits your skill level and your yarn stash before you begin. The bag is rated intermediate because of its textured crocodile stitch, but the designer pairs the free written pattern with a step by step video tutorial, which makes each stage approachable. The finished piece has a modern, petal-like surface that feels a little dressy while staying handy for everyday errands.
The finished bag measures 16″ in circumference and 8″ tall, and the sample used 200 yards (183 meters) of #4 medium weight yarn, shown in Ecru. The unblocked gauge is 14 hdc by 10 rows of hdc equaling 4″. The free written pattern and video tutorial are available at the Original designer’s pattern and instructions, and a separate premium, ad free, printable PDF is also sold on Etsy, Ravelry and Lovecrafts. The designer also shares a video showing a preferred method for adding a lining, which is handy if you want a more polished interior.
- #4 medium weight yarn, such as ICE Yarn Macrame Cotton (Ecru pictured)
- 5 mm crochet hook
- Scissors
- Yarn needle
- Stitch marker
Mini Crocodile Crochet a Bag Pattern Overview
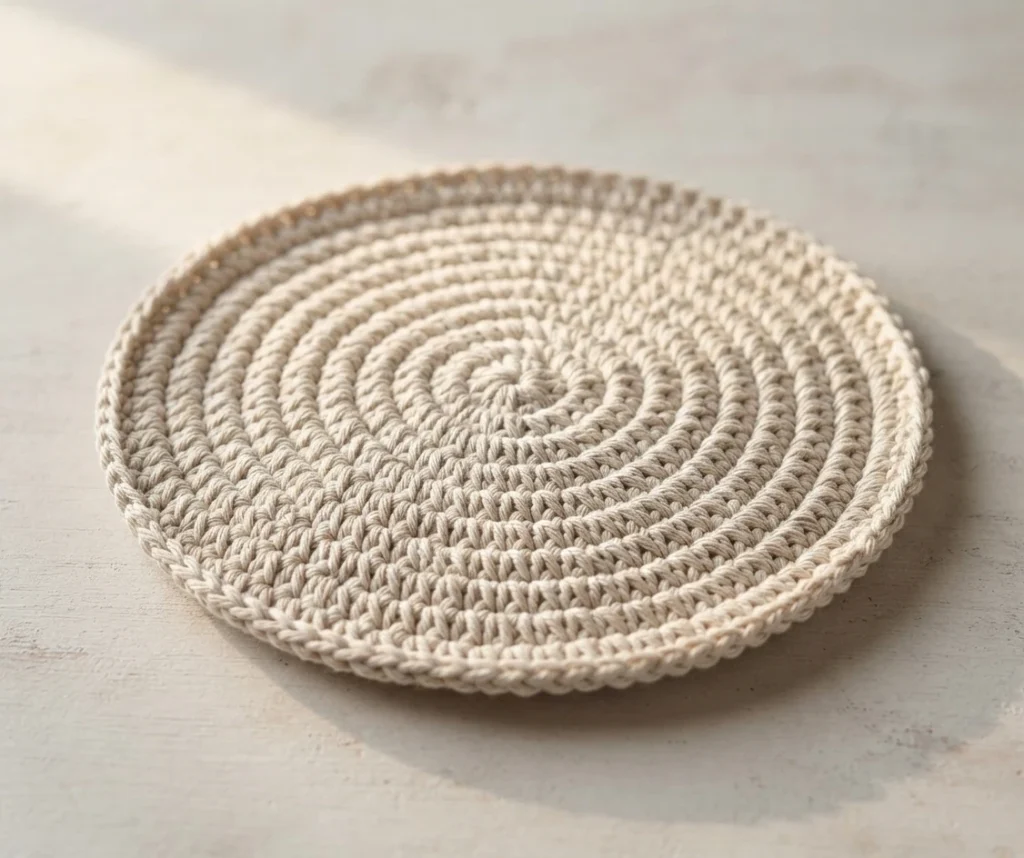
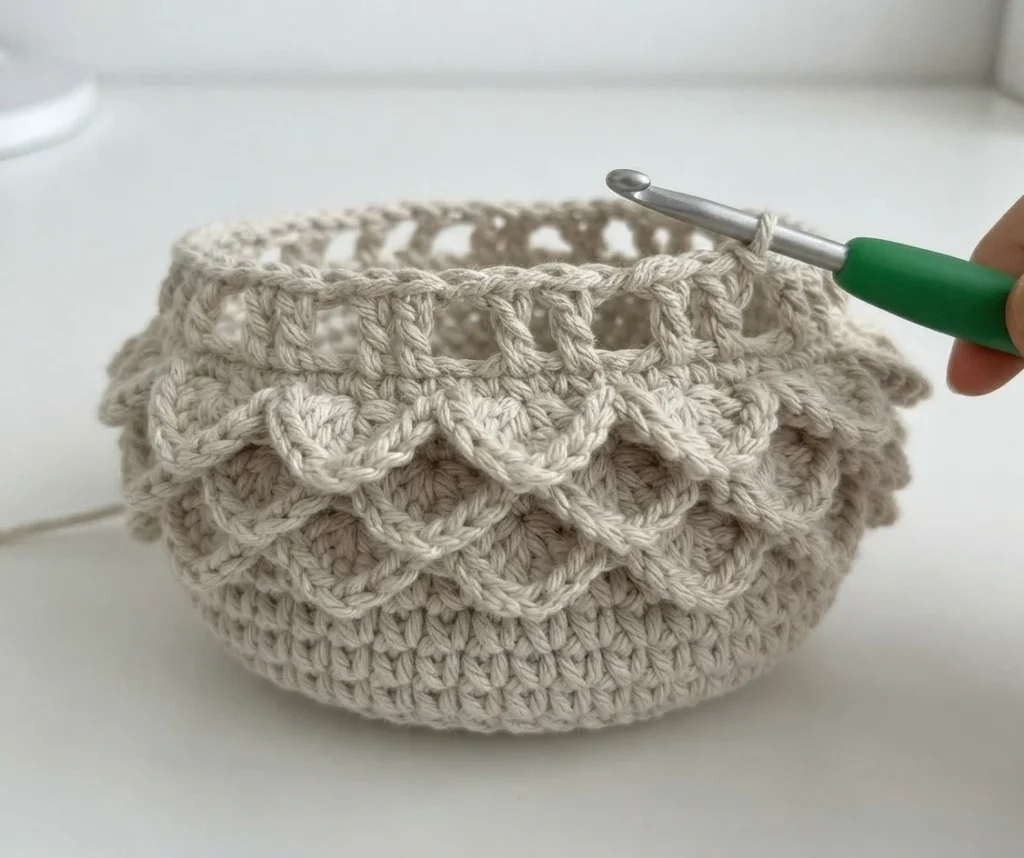
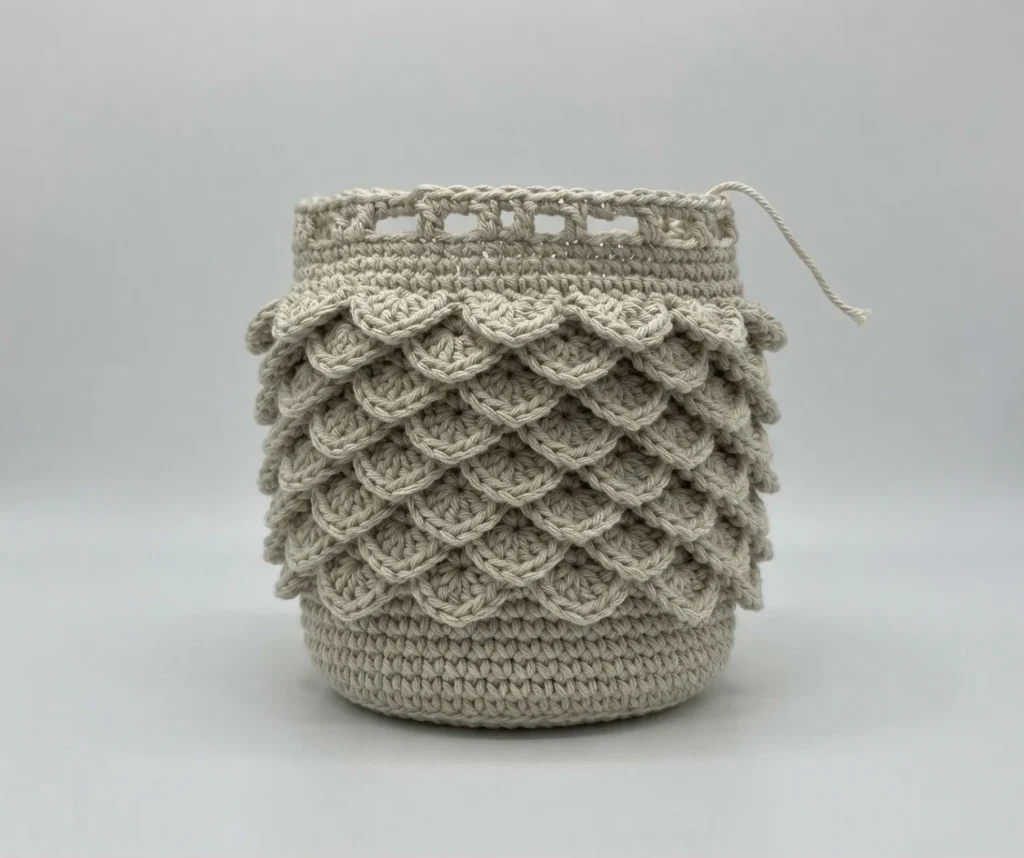
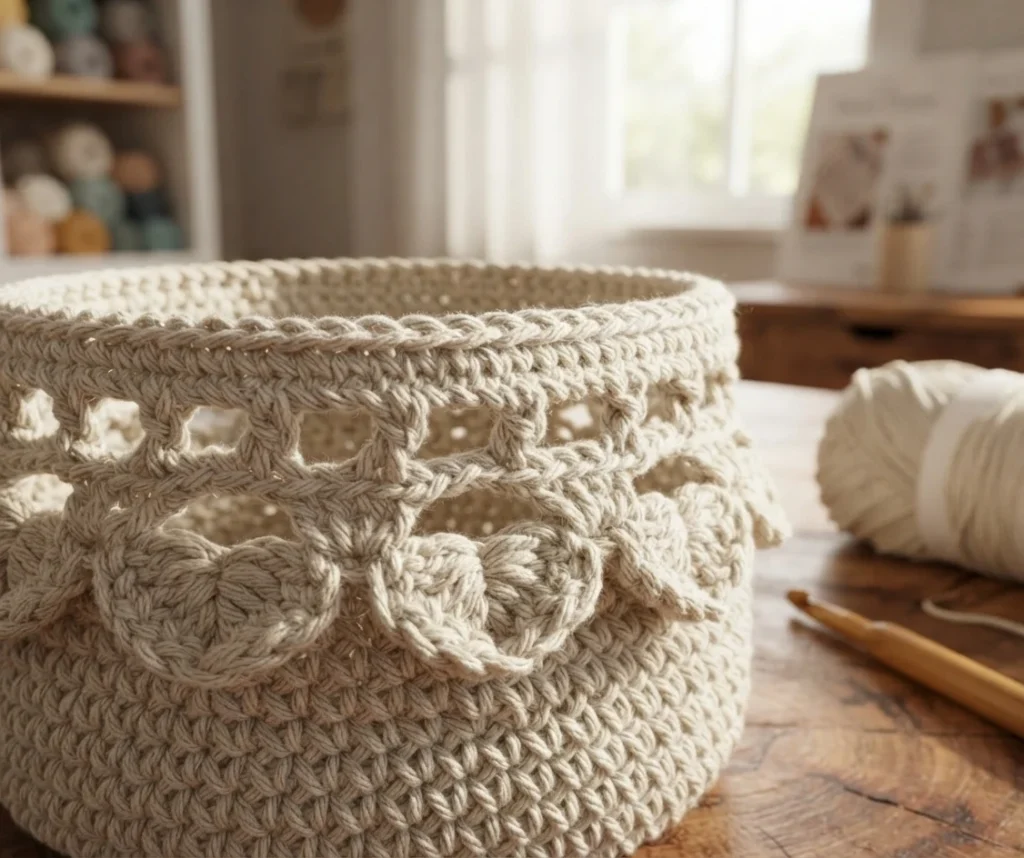
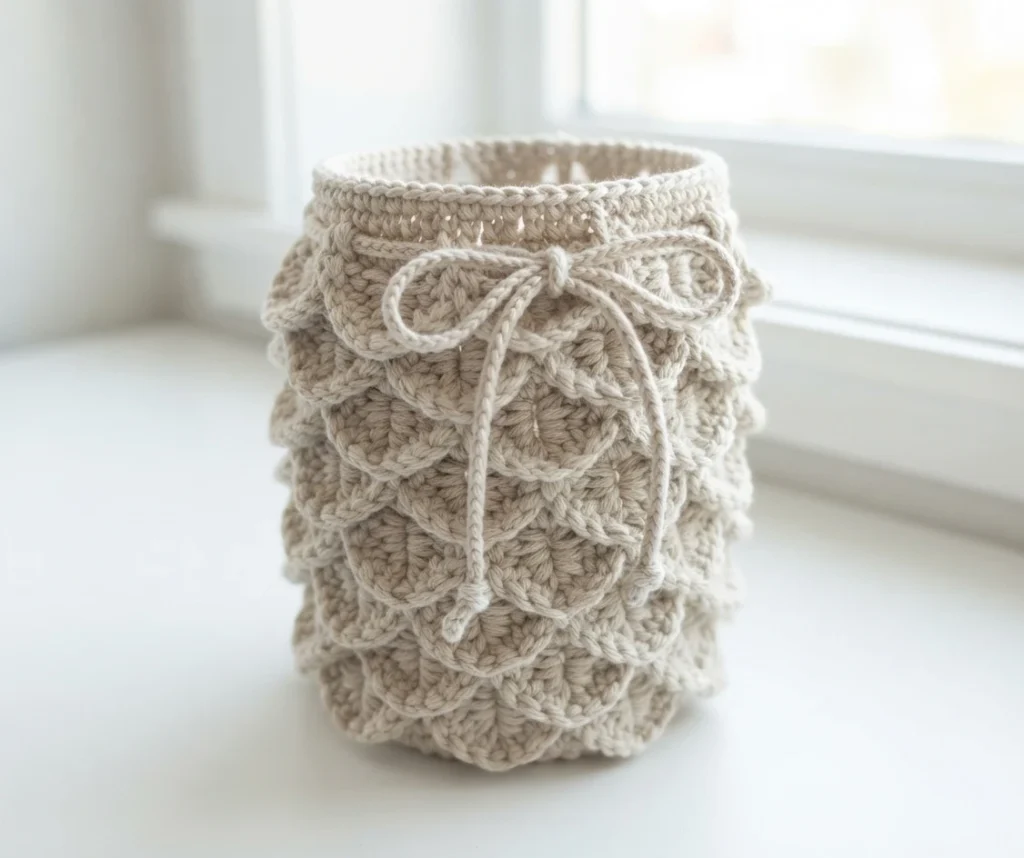
The bag begins at its base with a magic ring filled with half double crochet stitches, then grows outward through a series of increase rounds worked entirely in hdc. These rounds widen the circle until the base reaches its full width, followed by two rounds worked evenly with no shaping. Throughout the body, the designer advises placing a stitch marker in the first stitch of each round, which keeps your place during the longer stitch counts and the repeating texture that follows.
The middle of the bag is the crocodile stitch section, and this is where the project earns its intermediate rating. A setup round creates spaced double crochet posts, and the next round forms nine overlapping scales by working groups of double crochets around those posts. The designer then alternates a foundation round with a scale round several times, repeating the pair five more times until the bag reaches a total of 22 rounds. The source notes that the crocodile stitch is worked in multiples of 6 stitches, which explains the rhythm of the repeats.
Once the textured body is complete, the top of the bag shifts to single crochet. Several plain sc rounds stabilize the upper edge, and then a special round creates chain spaces that will later receive the drawstring strap. A couple more sc rounds finish the band, and the pattern ends by cutting the yarn and weaving in the ends. This closing sequence gives the bag a neat, slightly structured opening that pairs well with the soft drape of the scale texture below.
| Abbreviation | Meaning |
|---|---|
| ch | chain |
| sc | single crochet |
| hdc | half double crochet |
| dc | double crochet |
| sl st | slip stitch |
| sp | space |
| sk | skip |
| st | stitch(es) |
| REP | repeat |
This overview intentionally describes the construction phases rather than rewriting the round-by-round instructions, so please follow the designer’s own pattern and video for exact stitch placement, especially in the scale rounds and the chain-space round. If any step feels ambiguous, the original tutorial’s photos and videos are the best guide. Because the texture hides stitches a little during the single crochet rounds above the scales, many makers find it helpful to tilt the top of the bag toward themselves to spot the V shapes of the previous round, just as the designer suggests.
Drawstring/Strap
The strap doubles as the bag’s drawstring closure, and the designer sizes it at twice the desired finished length. The source uses a 30″ strap as the example, which calls for about 60 inches of foundation chain end to end. Once the chain reaches that length, you turn the work and slip stitch into the back bump of the second chain from the hook, continuing a slip stitch into the back bump of each chain across for a tidy, rope-like cord.
After working the full length of the chain, cut the yarn and leave about an 8″ long tail for joining and finishing. This method produces a sturdy, slim strap that threads smoothly through the chain spaces at the top of the bag, and its length can be adjusted if you prefer a shorter crossbody drop or a longer shoulder strap.
Adding the drawstring strap into the crochet bag
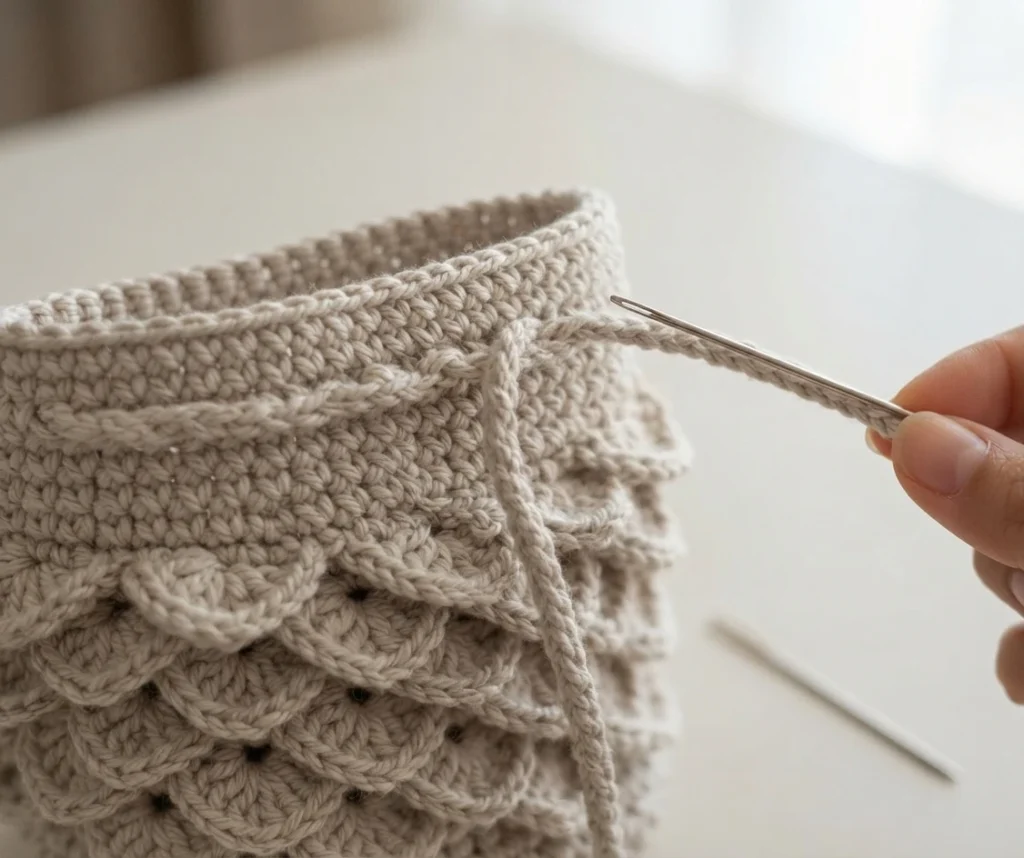
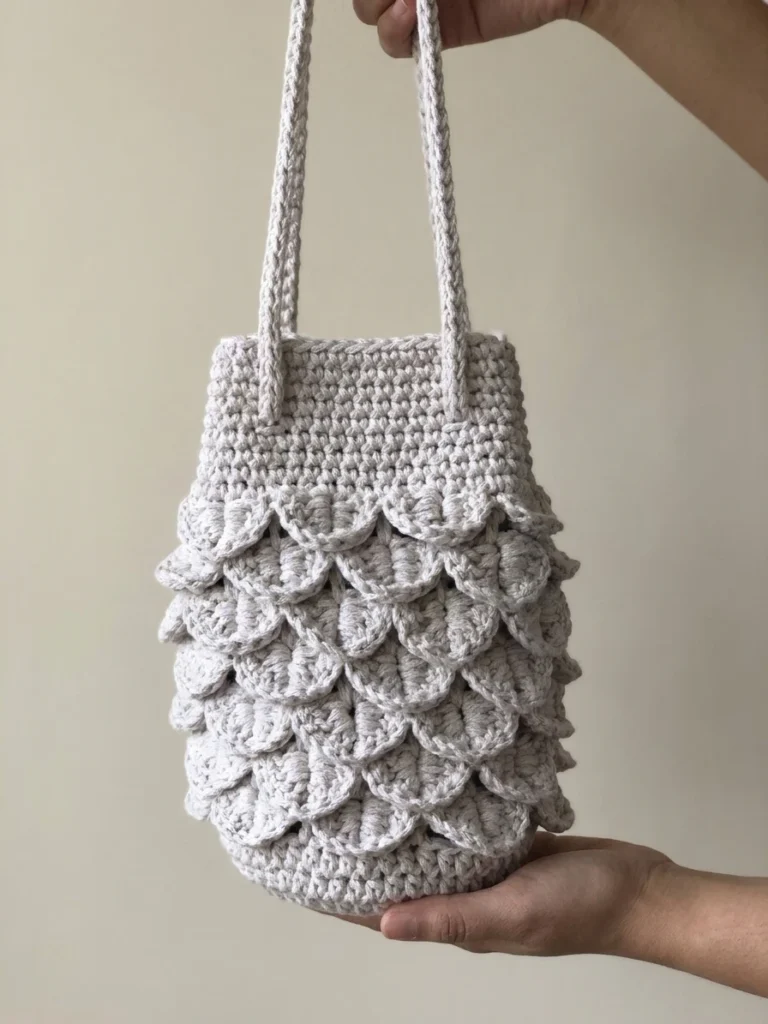
To assemble the bag, thread the drawstring through the first ch 1 space from round 27 and continue working counter clockwise around the bag. Weave the strap through each loop all the way around, then join the ends of the drawstring together. This single cord cinches the top closed while forming the shoulder strap, which is part of the design’s charm, since the bag needs no sewn handles or extra hardware.
The designer congratulates makers on finishing a genuine challenge and invites them to share their finished bags on social media. If you are gathering more ideas before you cast on, you might also enjoy the Autumn Rhapsody Stitch Sampler Pillow: Pattern Overview or the Mini Ghost Pattern by Carolyne Brodie: Pattern Overview. Happy crocheting, and enjoy every scale of this satisfying little bag.