Project introduction
This is a pattern overview, not a full tutorial. It summarizes what the Braided Summer Tote includes so you can decide if you want to make it, and it points you to the complete instructions from the original designer.
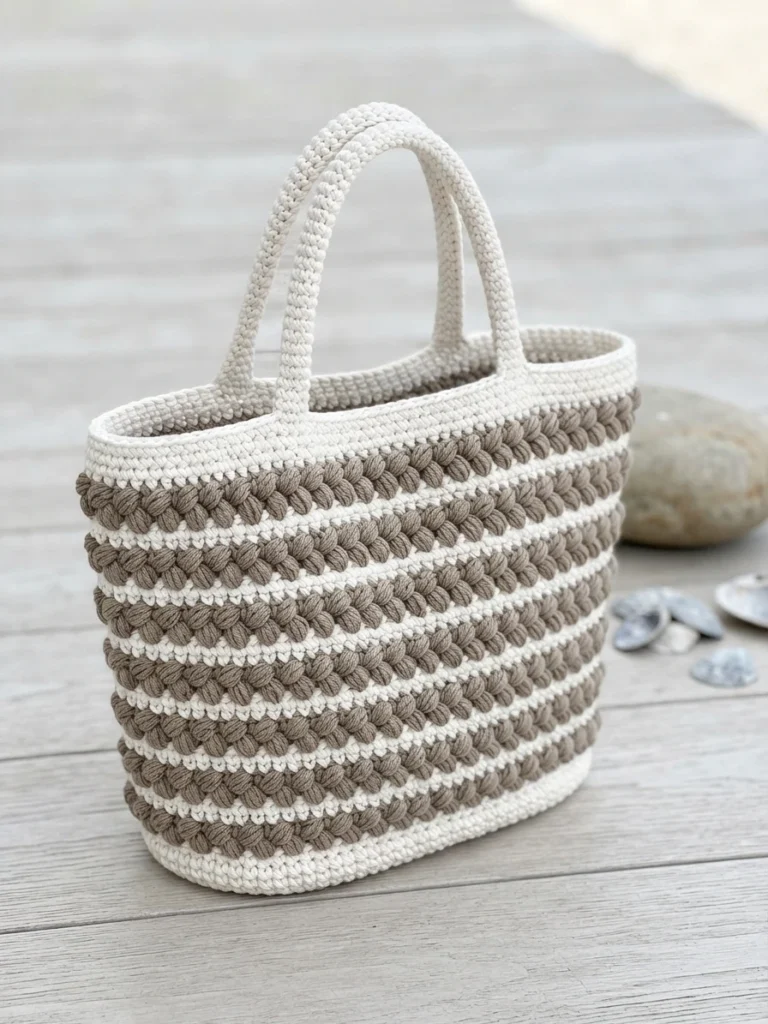
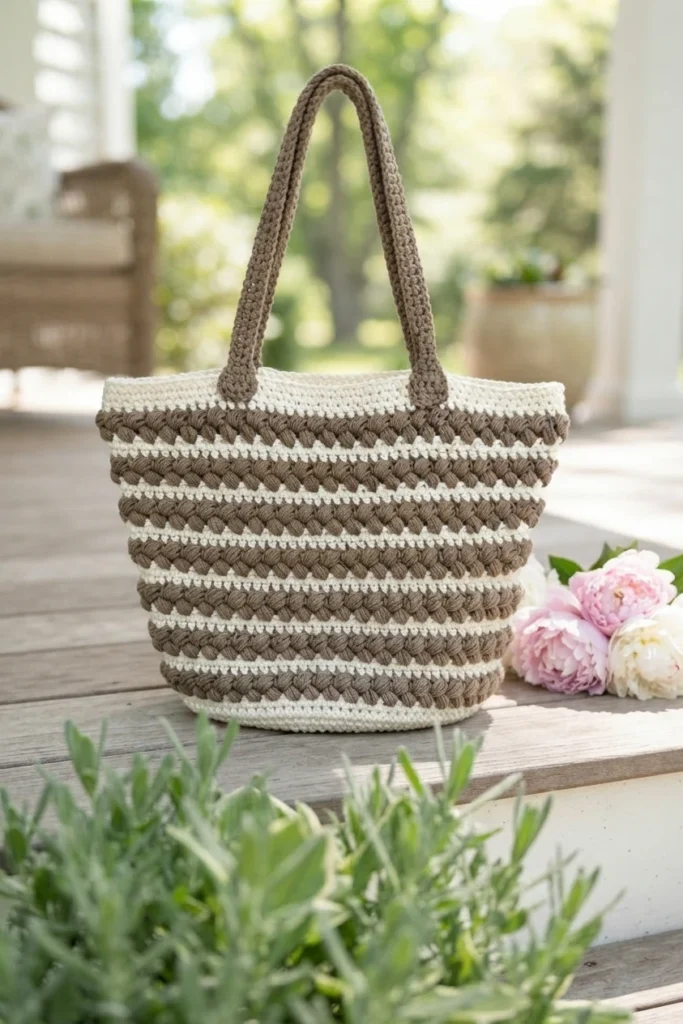
This sturdy summer tote uses yarn held double throughout and a two layer base for extra strength with less stretch. Texture comes from puff stitches worked to mimic a braid, separated by simple single crochet rows. You can make the included crocheted tube handles or choose store bought leather handles for a different look. The free web version is available on the designer site, while an ad-free printer friendly version with a round tracker is sold in her Etsy and Ravelry shops. Find it here: Original designer’s pattern and instructions.
About the Braided Summer Crochet Tote Bag
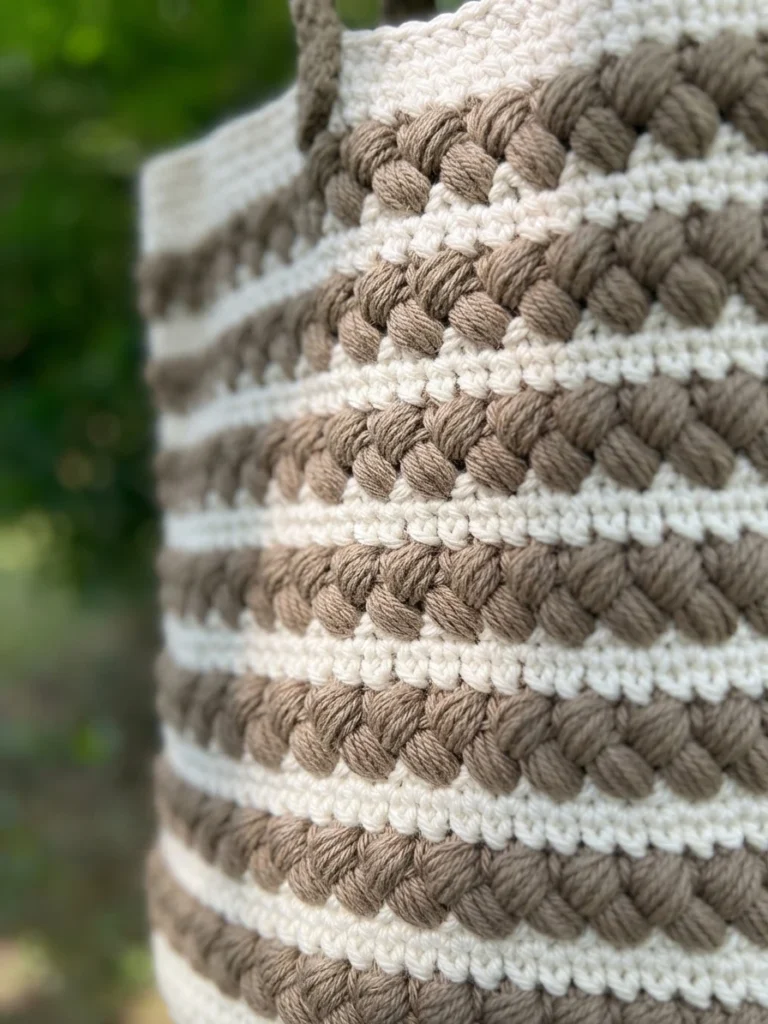

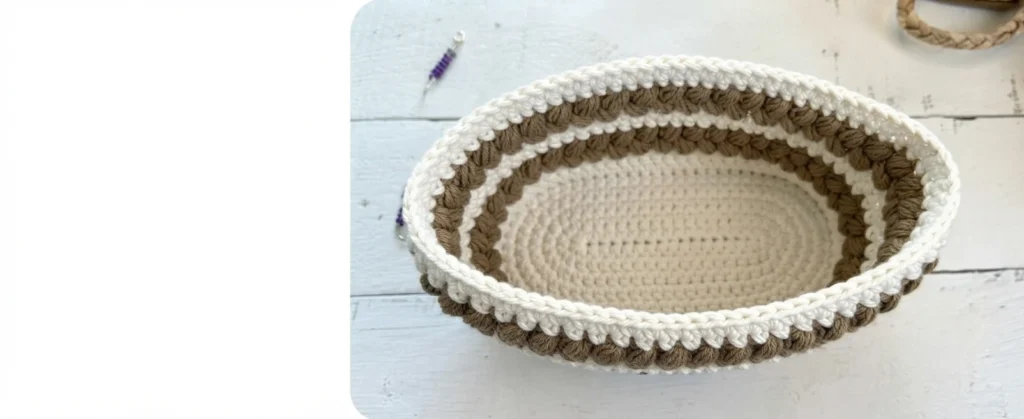
The idea for this bag came from an Easter basket spotted at a discount store in western New York, not from a European vacation. The basket paired smooth white stripes with taupe stripes that looked woven like a braid, and that contrast sparked the design.
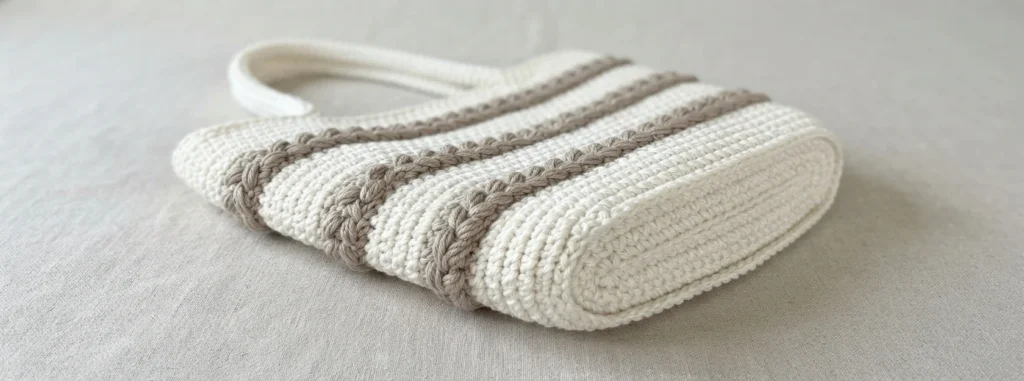
To translate the look to crochet, the designer uses puff stitches worked in alternating directions for the braided bands. A couple of plain single crochet rows sit between the textured rows so the braid effect stays bold and easy to see.
Braided Summer Tote Bag - Construction

Durability is built in three ways. First, the base is made as two matching oval panels that are layered and joined, so the bottom feels firm and secure. Second, two strands are held together for the whole project, which creates a thick fabric with limited stretch.
Third, the handles are crocheted as flat strips, folded lengthwise and joined into tubes, which keeps them strong for daily use. The finished tote is presented as a practical choice for market trips, beach gear, or groceries.
Crochet Tote Bag - Materials
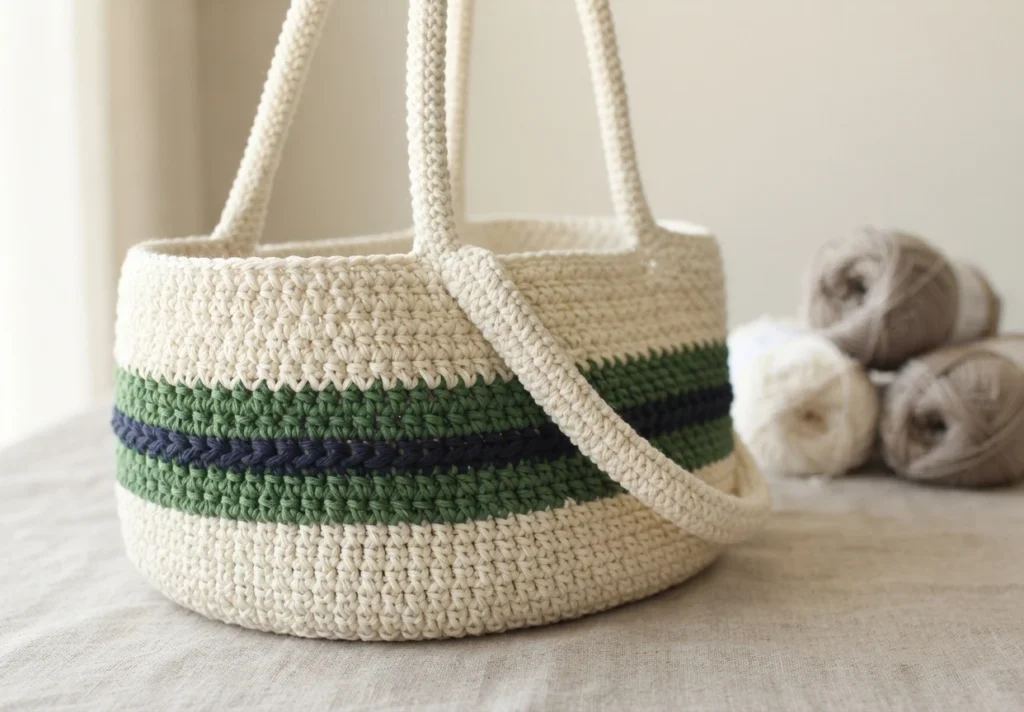


Fiber choice matters for a bag that will carry weight. The original sample uses a durable cotton that is washable and holds its shape well, with similar plant fibers noted as suitable alternatives. Acrylic and wool are not suggested for this project.
The full checklist with exact yardage, hook size, and notions is listed under Materials below, so you can gather everything before you begin.
Crochet Summer Tote Bag Pattern Overview
The sections that follow summarize the skill level, supplies, sizing, and construction notes from the original pattern. Use them to check fit with your tools and experience.
Skill Level
The designer rates this as intermediate. You will use single crochet and puff stitches along with increasing and color changes. The base begins with spiraled rounds, the body continues in joined rounds, and the handles are crocheted separately then attached. Guidance for the special techniques is included in the original pattern.
Materials
Gather these items exactly as listed in the source before starting:
- About 550 yards of worsted weight (size 4) yarn for color A (white); sample used 3 balls of WeCrochet Dishie cotton yarn (100% cotton, 190 yds/100 grams) in Swan
- About 760 yards of worsted weight (size 4) yarn for color B (brown); sample used 4 balls of WeCrochet Dishie cotton yarn (100% cotton, 190 yds/100 grams) in Mushroom
- Cotton or similar durable fiber such as linen or hemp recommended for structure and washability; acrylic or wool not recommended
- Size J/10 (6.00 mm) crochet hook
- Stitch markers
- Yarn needle
- Scissors
- Optional: 24 inch leather handles if you prefer not to make the crocheted handles
Size
When laid flat, the sample measures approximately 19.5 inches at the widest point and 13 inches tall, not including handles.
Gauge
Gauge is listed as 5 stitches by 7 rows equals 2 inches using single crochet.
Notes
Two strands are held together for the entire bag. You may pull from two separate balls or use the center and outer strands of one ball. Work proceeds from the bottom up, with the base in spiral rounds and the body in joined rounds. Handles are worked in rows, folded to form tubes, then sewn on.
Color changes are worked on the joining slip stitch, and the pattern asks you to follow the Turn and Do not turn directions closely because they create the crossed braid texture. The beginning chain 1 does not count as a stitch. The pattern uses US crochet terms, and the back bump technique is used for the starting chain.
Special Stitches
The featured stitch is the puff stitch. It is built by pulling up several loops in the same stitch, then drawing through all loops and closing with a chain one. In this design each puff is counted as two stitches, which matters for keeping the round totals correct.
Abbreviations
The pattern uses standard US abbreviations: ch(s) for chain(s), ps for puff stitch, rep for repeat, sc for single crochet, sk for skip, sl st for slip stitch, st(s) for stitch(es), and yo for yarn over.
Crochet Summer Tote Bag Pattern Overview
The construction summary below explains how the pieces fit together. For row by row counts, refer to the original designer link in the introduction.
Base (make 2)
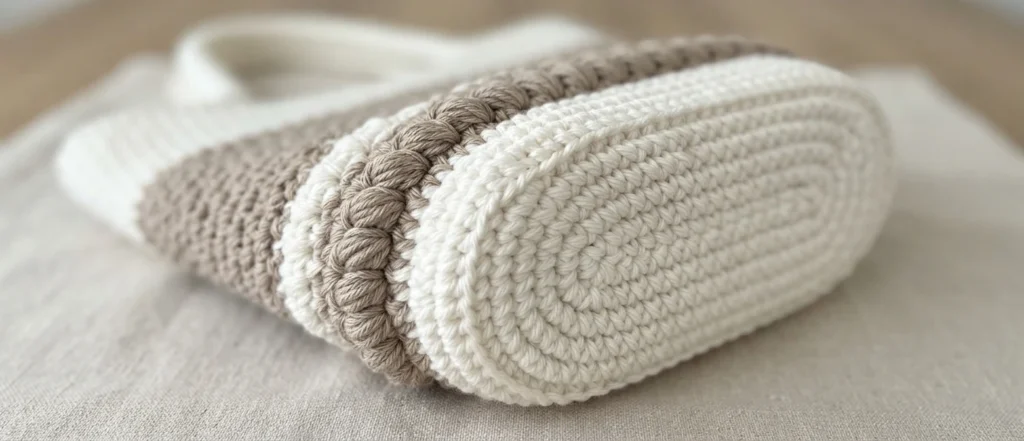
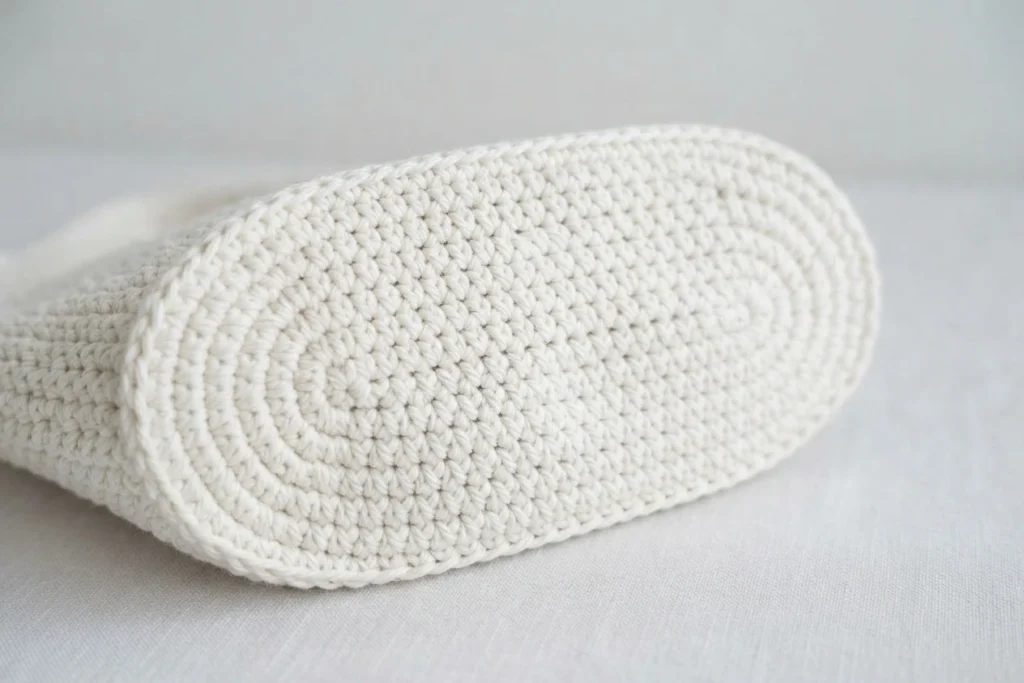
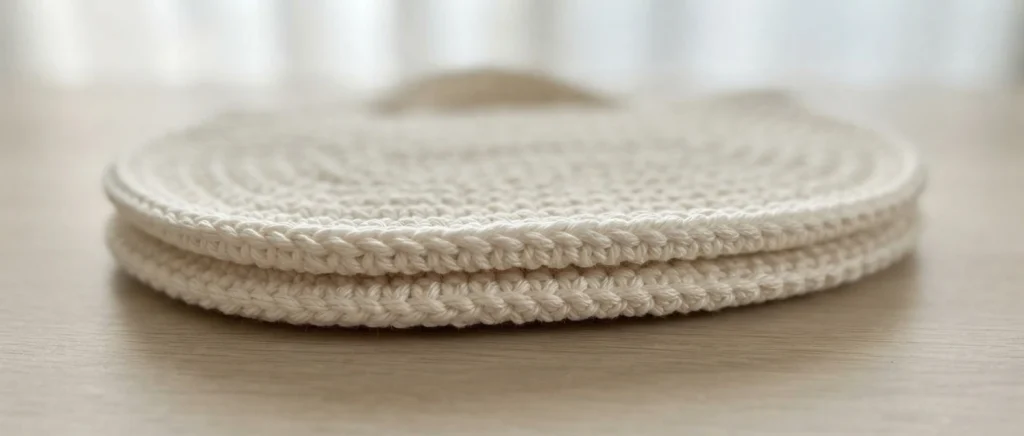
The base starts as an oval worked along both sides of a foundation chain in spiral rounds, with increases placed near the curved ends to keep the shape flat. Two identical panels are made. They are then layered and crocheted together through both thicknesses, which creates the firm double layer bottom described by the designer.
Bag
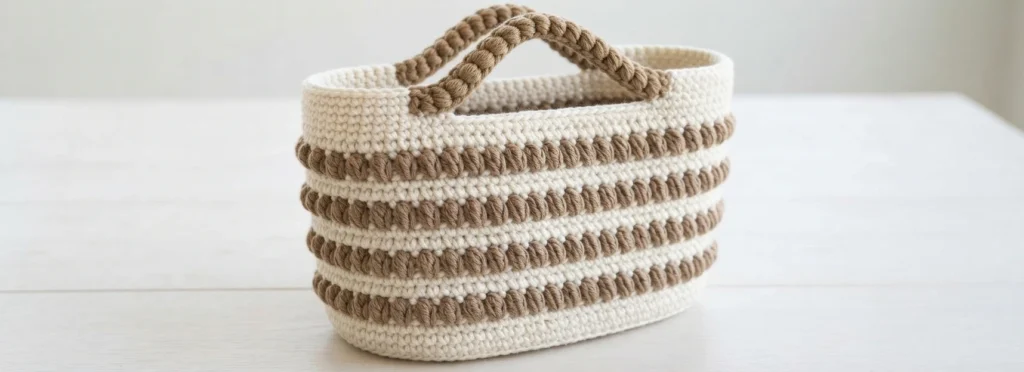
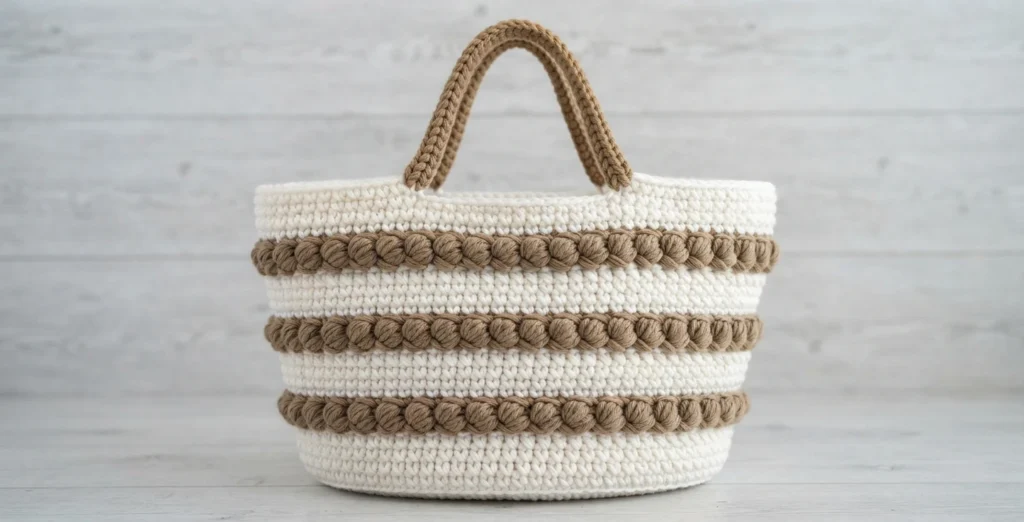
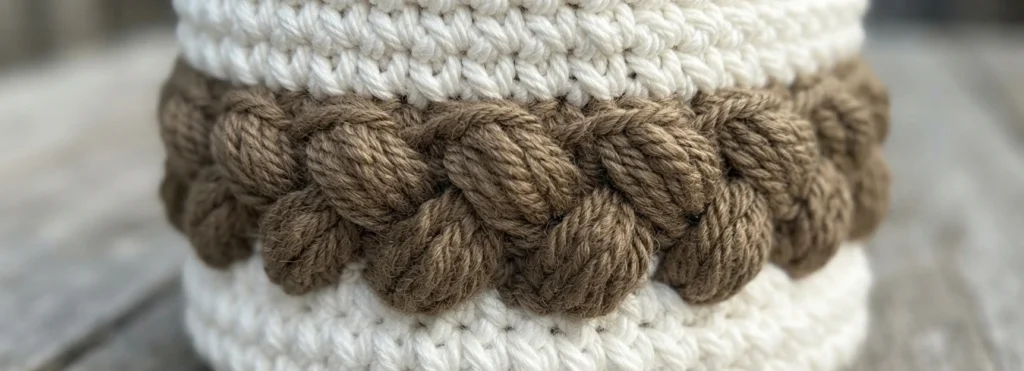
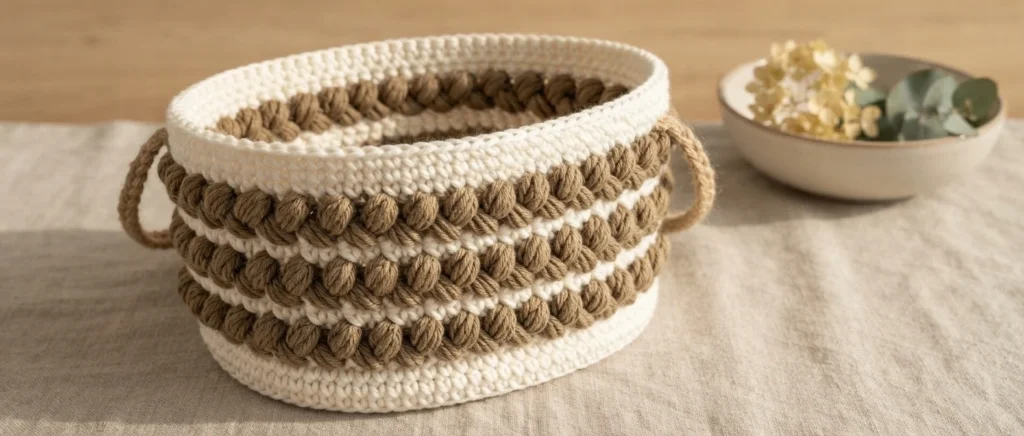

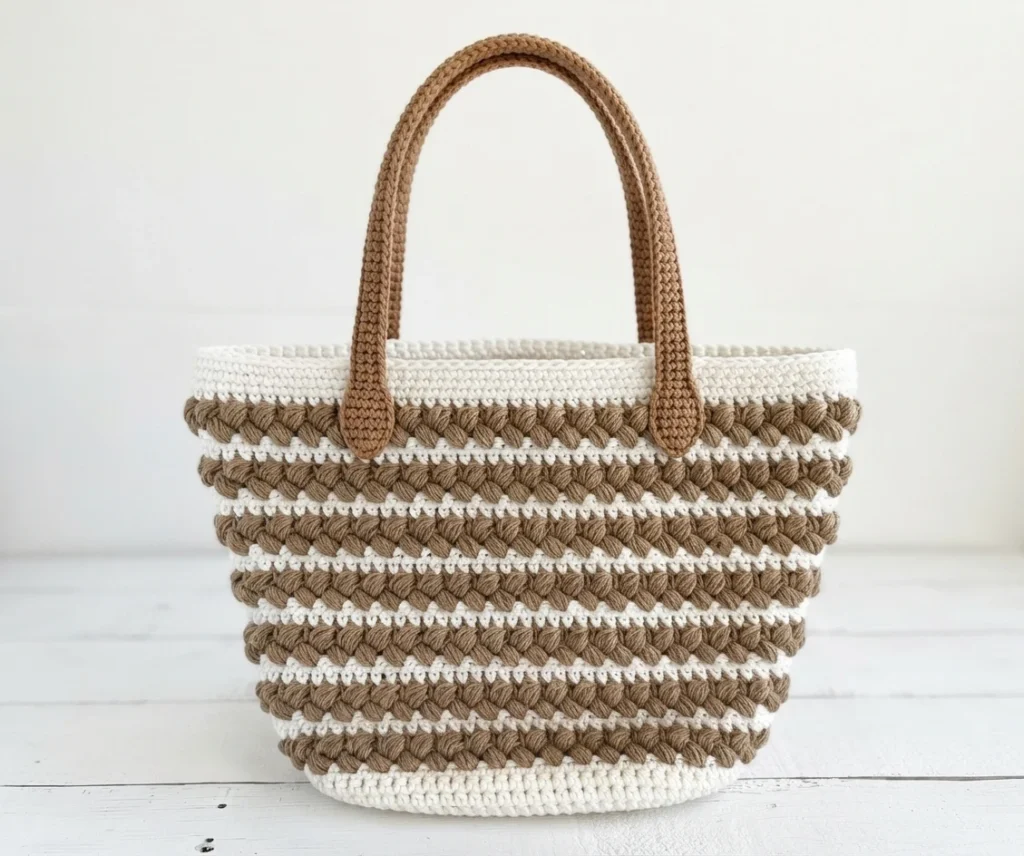
The body is worked upward in joined rounds with both colors held double stranded. Rounds of single crochet alternate with pairs of puff stitch rounds that are turned to face opposite sides, forming the braided bands. Increase rounds are placed after the textured sections, with added stitches near the oval tips to gently widen the tote.
If you enjoy sturdy market style bags, you may also like this related overview: Easy 13 Granny Square Tote Bag: Pattern Overview.
Handles (make 2)
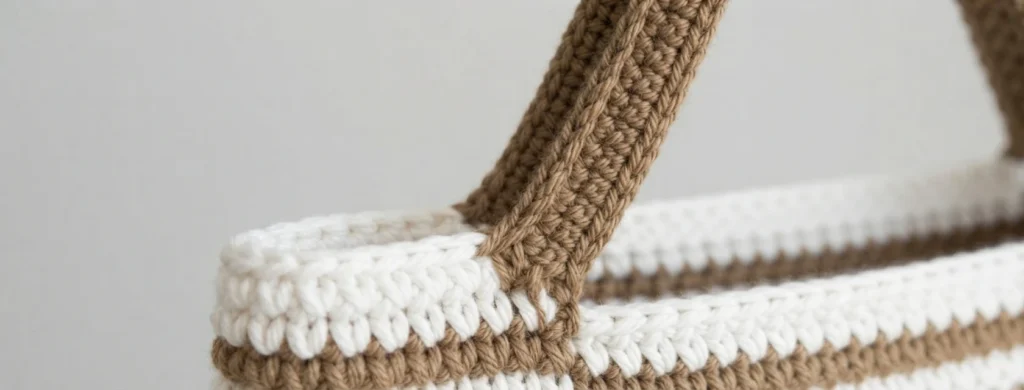
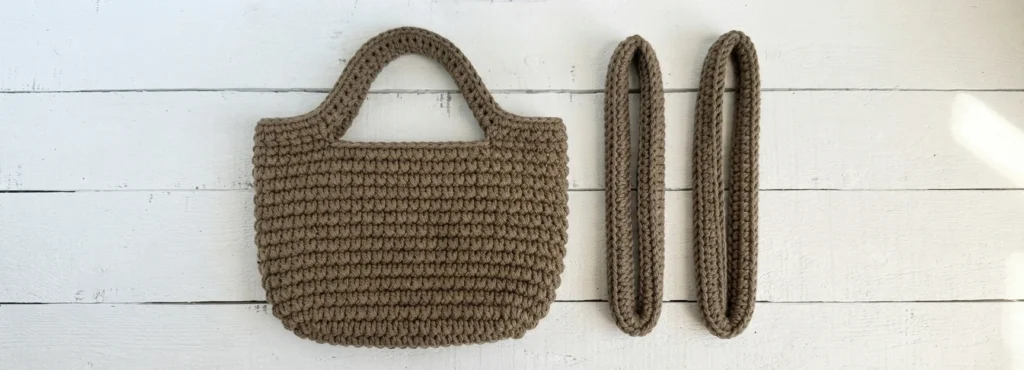
Each handle begins as a narrow strip of single crochet rows worked from a short starting chain. The strip is folded in half lengthwise to make a tube, and the long row edges are joined. Long starting and ending tails are left so the finished tubes can be sewn securely to the bag.
Attaching Handles to the crochet tote bag
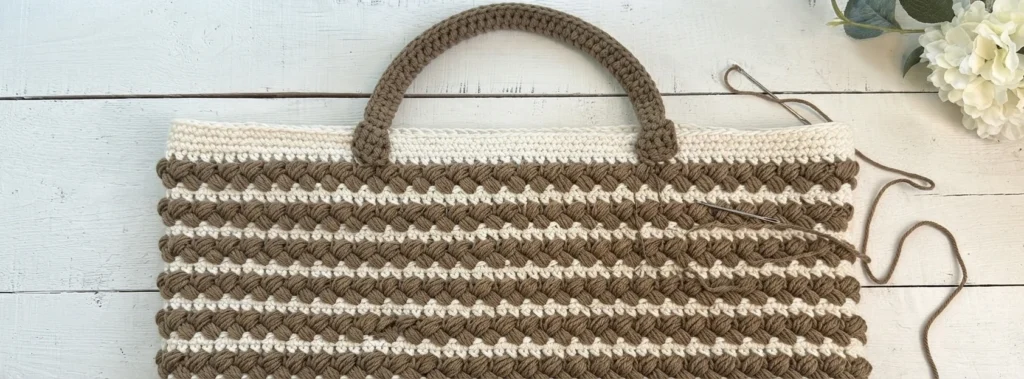
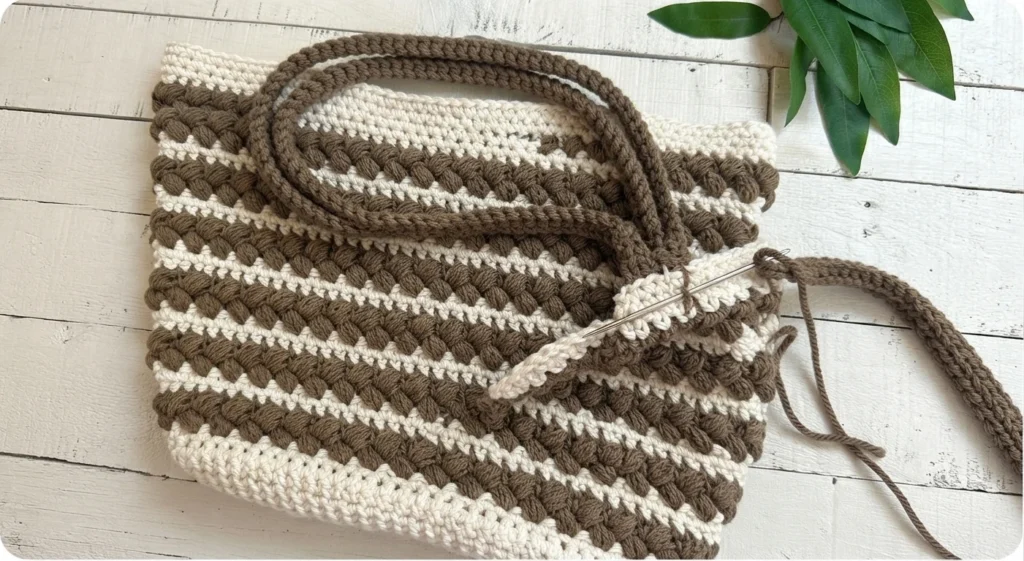
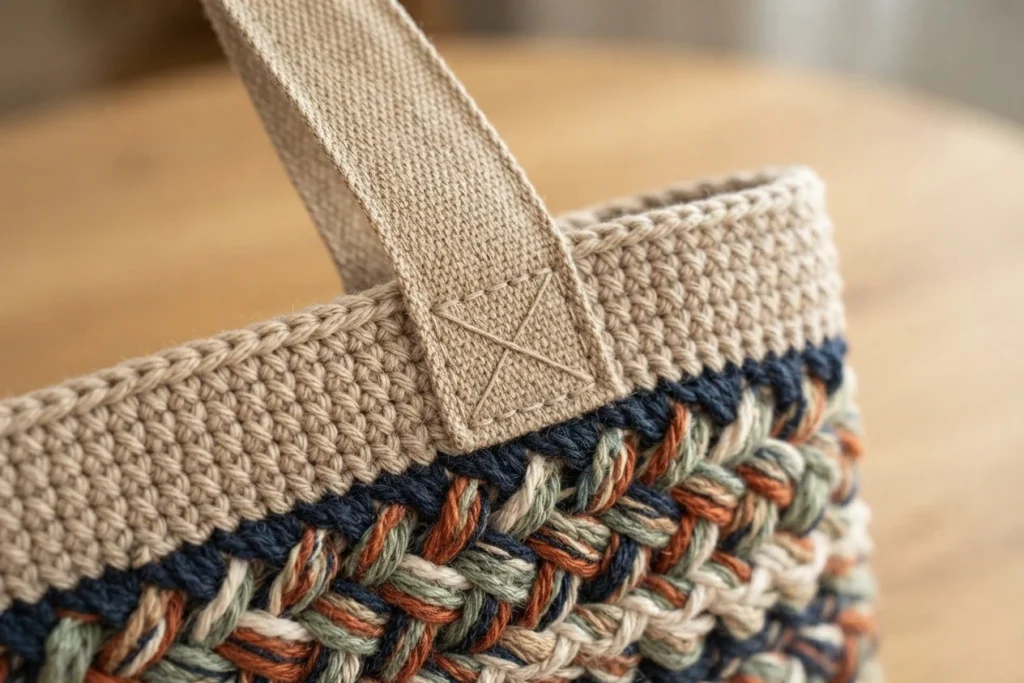

To finish, lay the bag flat and place each handle on the upper single crochet rows, set in about 5 inches from each side edge. Use the reserved yarn tails and a yarn needle to sew the flat ends firmly in place, then repeat for the second handle.
This overview is based on the free web version of the pattern. A separate ad-free printable version is available for purchase. Check the original designer page for current access details.