Project introduction

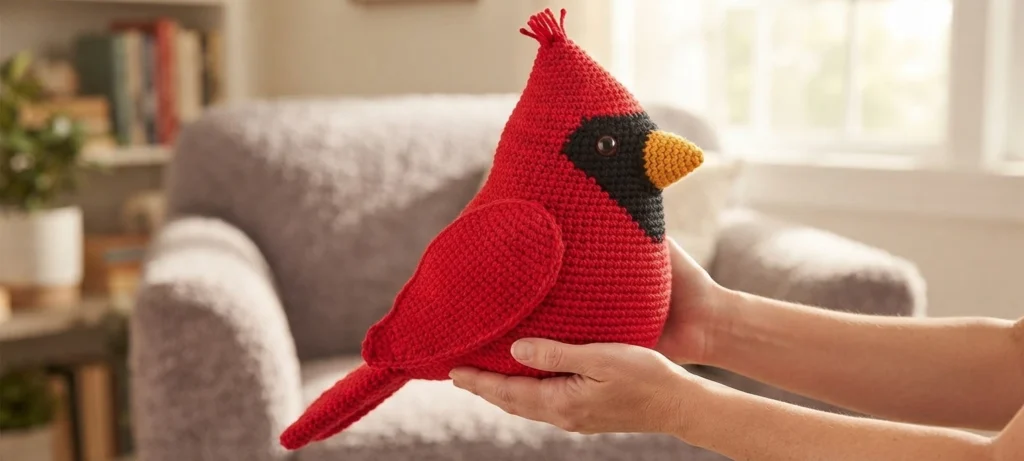


This pattern overview introduces a cheerful cardinal pillow that brings a bright bird shape to a chair, bed, or seasonal display. It is not a full tutorial, so it explains what the project includes, how the pieces fit together, and what to gather before you begin. For the complete row-by-row instructions, see Original designer’s pattern and instructions. That source remains the authority for stitch counts, shaping, and assembly details.
The finished pillow measures 17 in from the top of the crest to the bottom of the tail and 7 in across, giving it a tall, narrow silhouette that reads clearly as a bird. The source notes that you can make it bigger or smaller by adjusting hook size and yarn weight. Keep that flexibility in mind if you want a smaller accent or a larger cushion, and check the designer page for the full sizing note before changing materials.
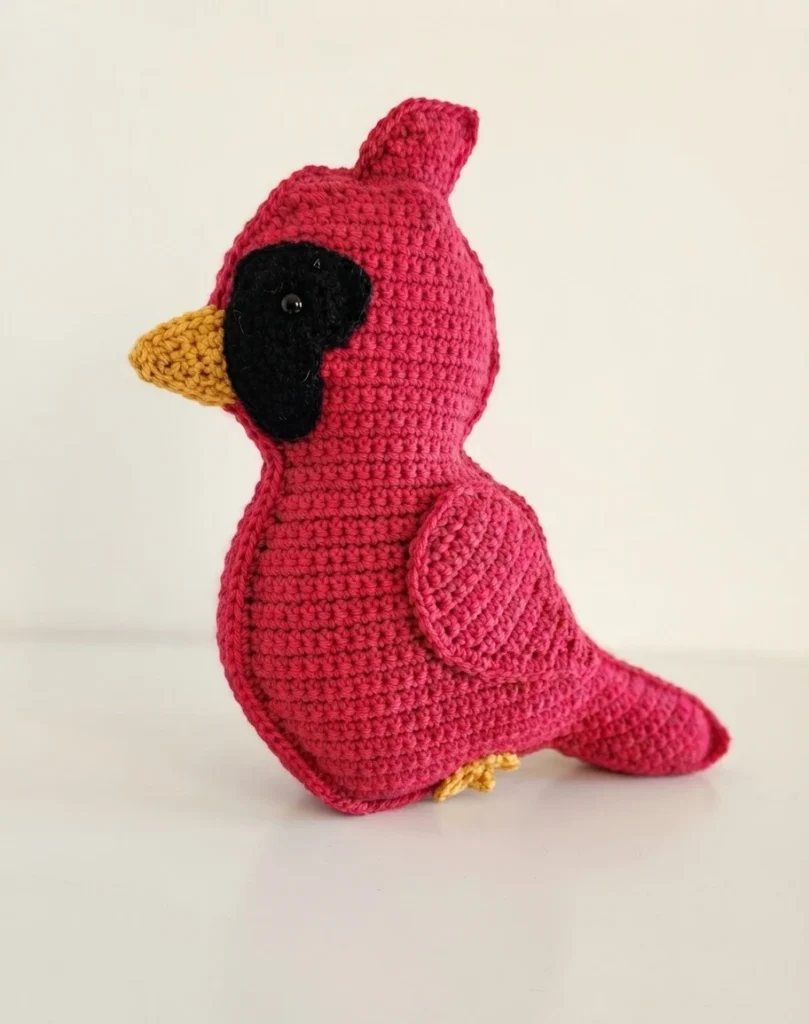
Construction centers on two body pieces, worked in rows and later joined. The crest is worked directly into the starting chain of each body piece, beginning in the right-hand corner with the tail on the right-hand side. The beak is worked directly into the left side of row 14 of each body piece, so neither feature is a separate piece to sew on. That direct construction helps the crest and beak sit in the intended spots while you shape the bird.
The remaining pieces add contrast and character. A face accent, a foot, and a wing are made separately and sewn into place after the body is joined. The eye can be a safety eye or a crocheted eye, with a small highlight added for expression. Place a safety eye before joining the front and back, since access becomes harder once the body is closed.
Pattern format and preparation
The designer works this project in rows, which keeps the shaping flat and easy to check as you go. Unless otherwise stated, chain 1 at the end of each row and turn the work. The stitch count is shown at the end of each row in parentheses, so you can confirm that increases and decreases stayed on track. Reading those counts before moving on helps catch a missed increase early, when it is still simple to fix.
Gather everything before you start, so color changes and finishing stay smooth. The checklist below covers every supply named in the source, with the hook size and color roles exactly as listed. Check that you have a comfortable hook, enough yarn in each color, stuffing, and a needle for finishing.
- Size H or 5.0 mm crochet hook
- Medium worsted weight yarn in three colors
- Color A (red) for body
- Color B (black) for face accent
- Color C (yellow) for beak and foot
- One safety eye in desired size or black yarn for crocheted eye
- White embroidery thread or paint if crocheting eyes for eye accent
- Tapestry needle for adding accent
- Poly-fil stuffing
The source uses a short set of standard abbreviations, so the instructions stay compact once you know them. Ch means chain, Sc means single crochet, Hdc means half double crochet, Inc means single crochet increase, Dec means single crochet decrease, Sl st means slip stitch, MR means magic ring, and Fo means fasten off. Keep this key nearby while you work, especially when moving between the body, wing, and small accent pieces.
To finish, align the two body pieces so the edges match, with the front facing you. Join them by single crochet through both pieces in a counter-clockwise direction, switching colors if you want the edge colors to match. Leave an opening to stuff, and avoid overstuffing so the pillow keeps a soft, even shape. Finish closing, fasten off, weave in ends, and sew the face accent, foot, and wing into their desired locations.
Use the designer page as your working pattern, since this overview does not replace its row-by-row steps. Start with the body pieces, add the directly worked crest and beak on each piece, then make the separate wing, face accent, and foot. Check each piece against the stated counts, place the eye before joining, and follow the source assembly order for a tidy finish.
If you choose the crocheted eye instead of a safety eye, the source makes one small eye with black yarn in a magic ring, then adds a white highlight. Sew or glue that eye into the desired location. Settle either eye choice before the body pieces are joined.