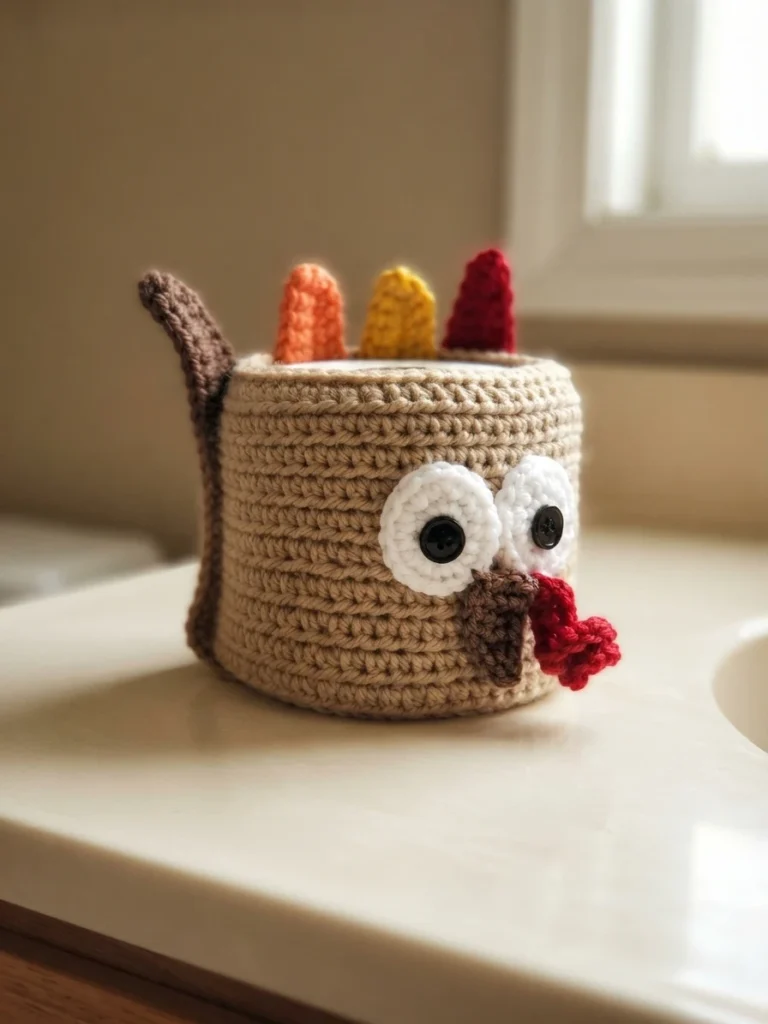
Project introduction
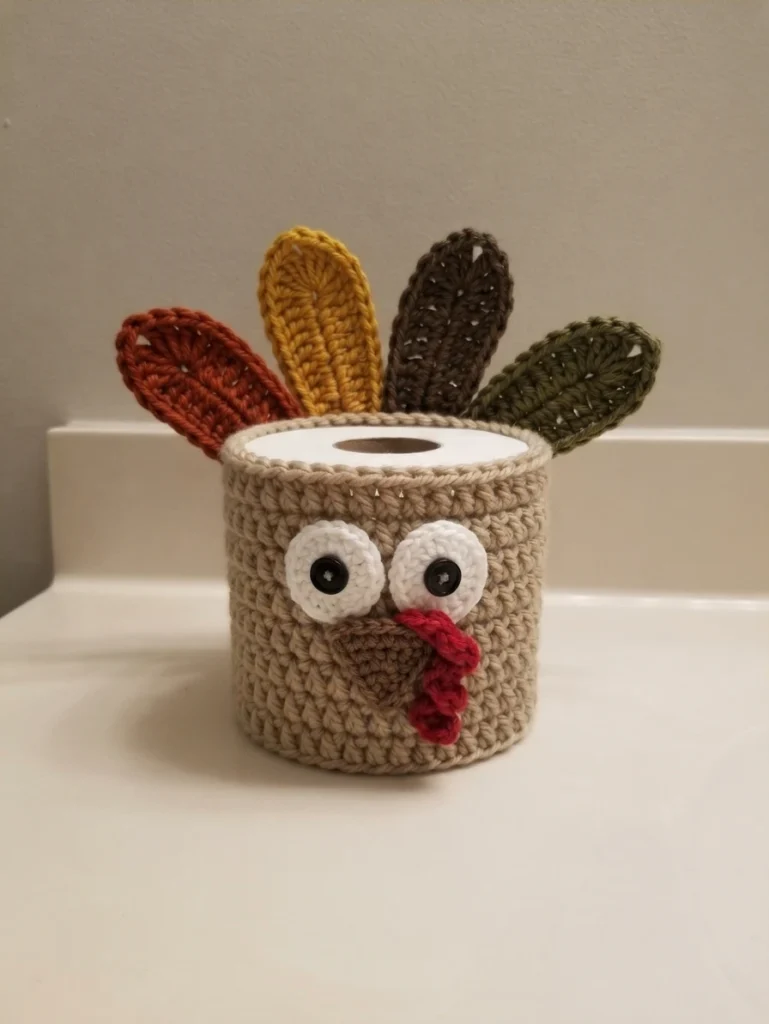
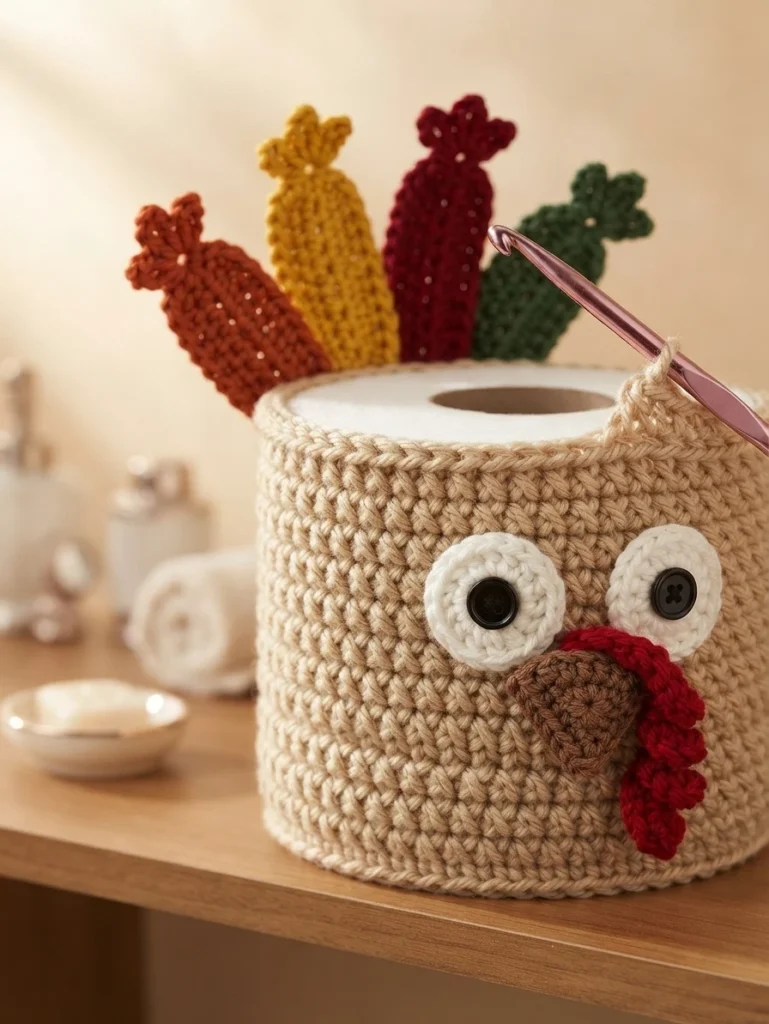
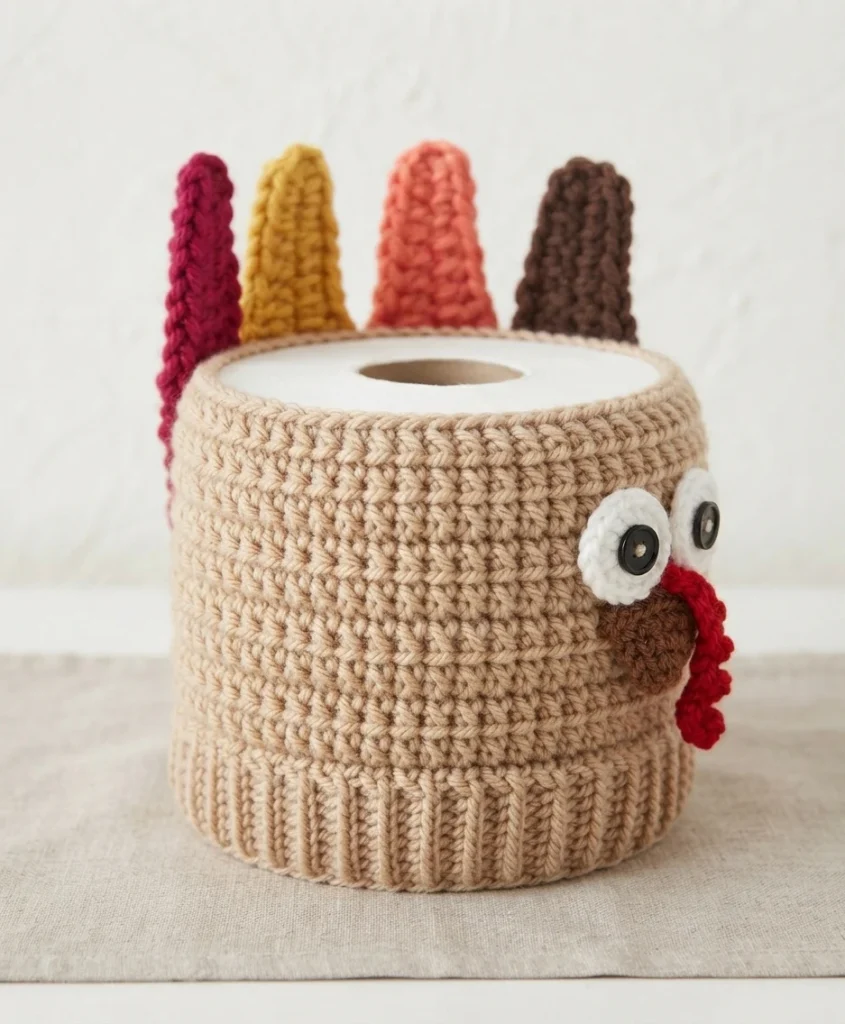
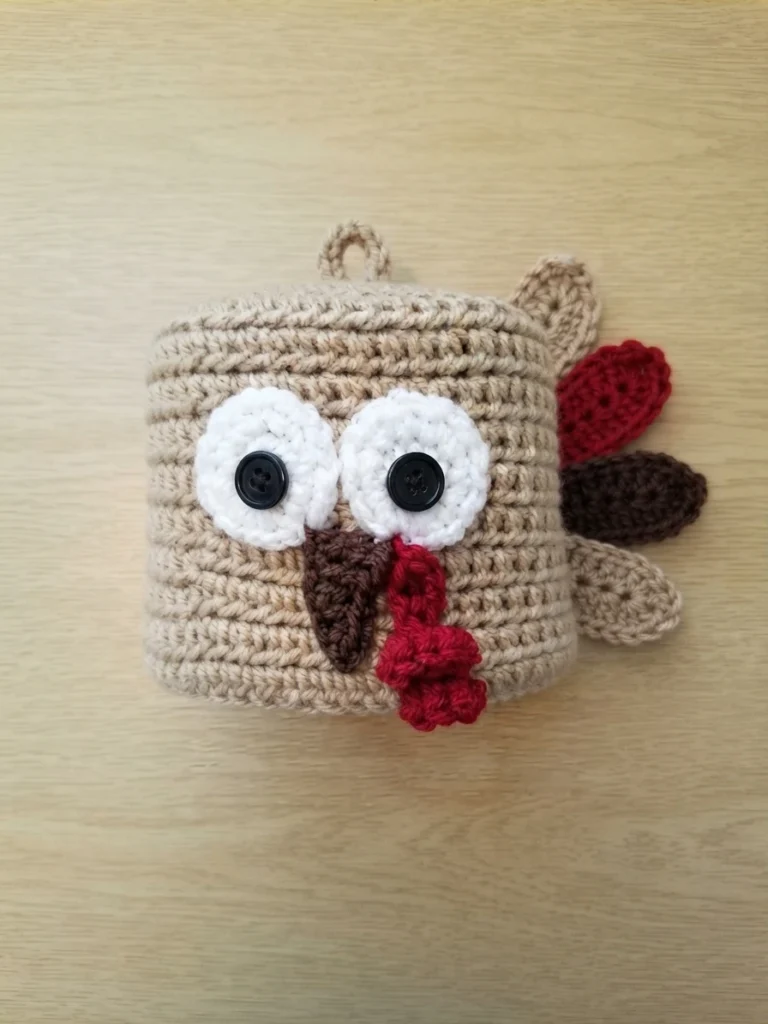
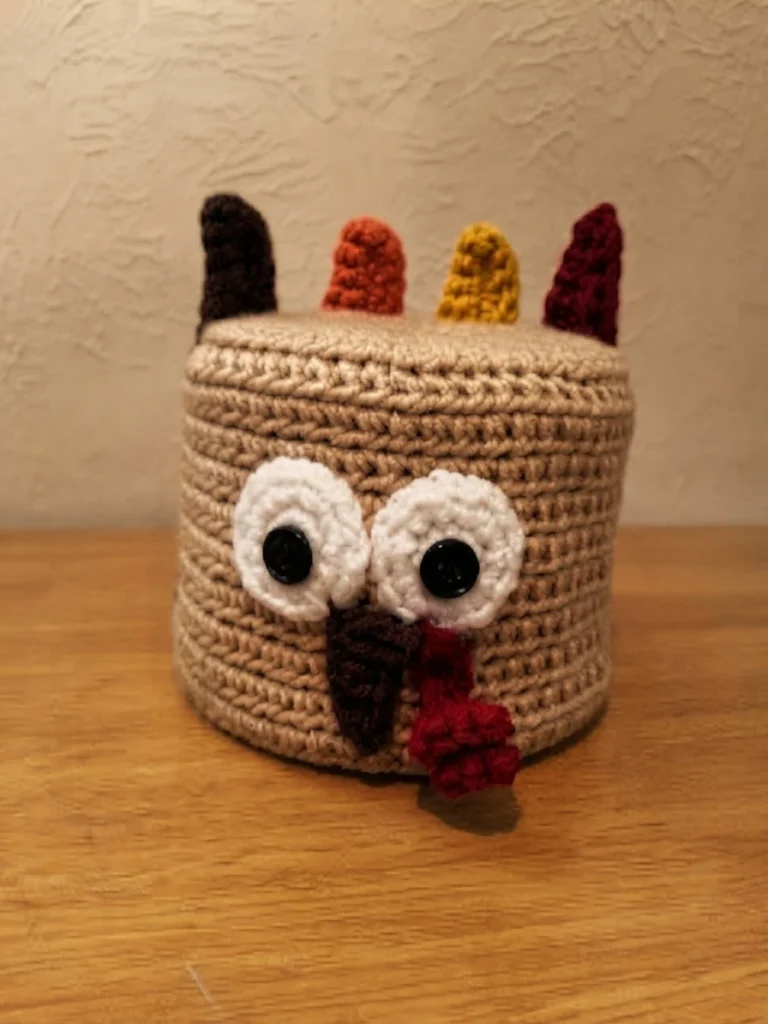
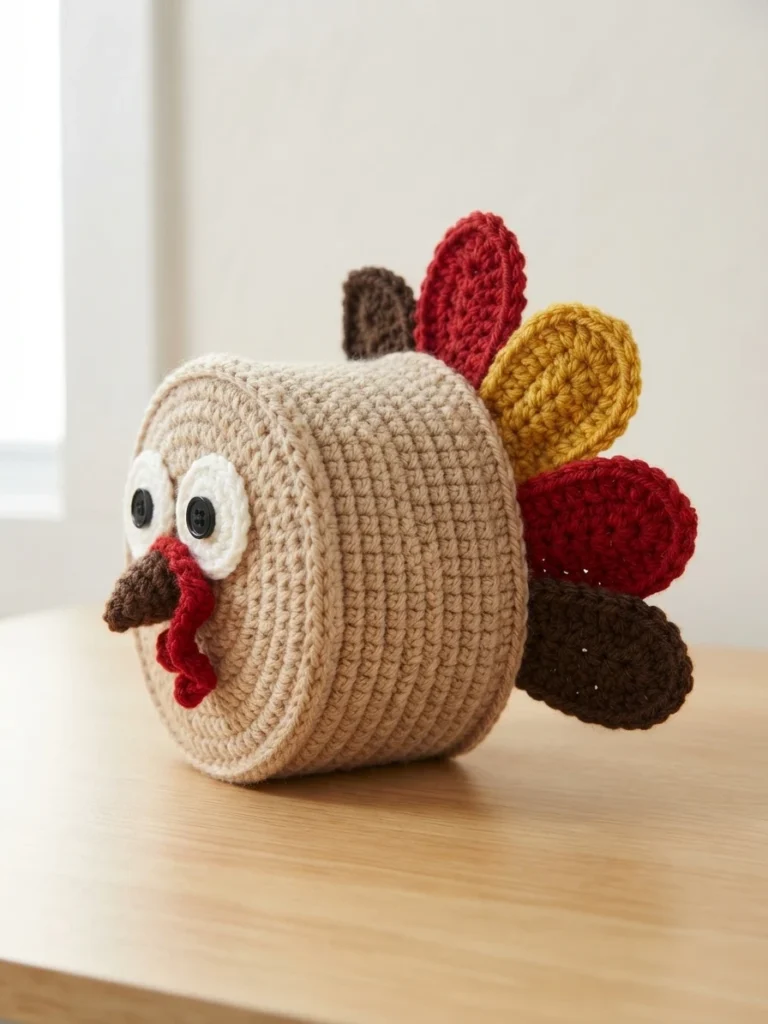
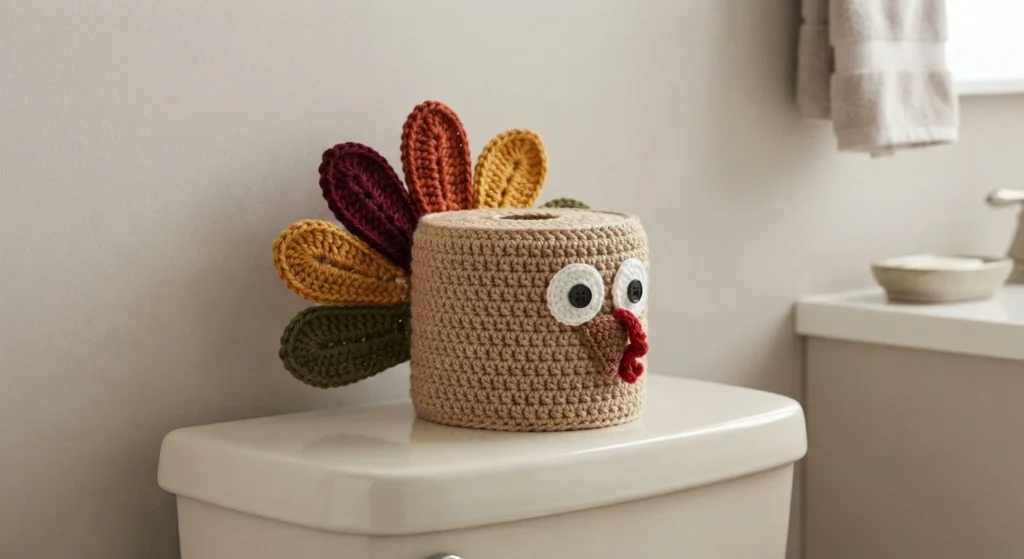
This is a pattern overview, not a full tutorial. It walks through what the Thanksgiving turkey toilet paper roll cover involves, what you need, and how the pieces come together, so you can decide whether to make it before opening the original pattern. The design comes from Cuppa Stitches, and the complete round-by-round instructions live there, not here.
Holiday home decor made by hand has a charm that store-bought pieces rarely match, and a powder room is an easy place to start. This turkey cover slips over a standard roll and turns a plain bathroom into something guests notice. If you enjoy small seasonal projects, this one works up in pieces you can finish in a few sittings.
The finished cover measures 4 3/4 inches wide by 4 1/4 inches tall. It uses category 4 worsted weight yarn, roughly 1 skein of tan for the body, about 16 yds each of 4 colors for the feathers, and small amounts of white, red and brown for the face.
You will also need two hooks, a G-6 (4.00 mm) and an I-9 (5.5 mm), plus 2 black buttons at 1/2 inch and a tapestry needle. The pattern relies on Ch, SC, HDC, DC, TR and BLO, so a working knowledge of those stitches helps before you begin.
Construction is modular. The tan cover is worked in joined rounds of half double crochet, with one back loop only round creating a ridge. Four feathers are made separately with two strands held together, then two eyes, a nose and a red snood. The face is sewn to one side and the feathers to the other.
For the full sequence, including every round and the assembly notes, go to the original designer’s pattern.
If you like small amigurumi-style projects, our Crochet Turkey Amigurumi: Pattern Overview offers another festive option.
Pattern format and preparation
The source explains a few techniques worth reading before you start, because they shape how the finished piece looks. An invisible join means joining your rounds in the first stitch rather than the beginning chain, and starting each round in the same stitch as the beginning chain. Together these create a seam that barely shows.
Back loop only is defined in the source as the upper part of a stitch having two loops that form a V. For half double crochet in the back loop, you yarn over and insert the hook into the loop farthest from you, then finish the stitch as normal. That single round gives the cover its folded edge.
Working with two strands is central to the feathers. Hold two strands together, make the knot that goes onto your hook, and crochet as usual, inserting the hook through all 4 loops of the stitch in the previous row. The source notes this takes practice, so patience helps.
For the feathers, the easiest approach is two separate skeins. Using both ends of one ball tends to create knots. If you would rather not buy two skeins for one feather, the source offers a tip: hold one end between your index finger and thumb, wrap the yarn around your elbow and back up to your fingers 8 or 9 times, which should give you enough to work with.
Before you commit, gather everything the source lists:
- Category 4 worsted weight yarn, about 1 skein tan
- About 16 yds each of 4 colors for the feathers
- Small amounts of white, red and brown for the face
- US Crochet hook G-6 (4.00 mm)
- US Crochet hook I-9 (5.5 mm)
- 2 black buttons, 1/2 inch
- Tapestry needle
One practical note from the source: begin checking dimensions at round 6. The upper edge of the cover should extend slightly past the rim of the toilet paper roll. To increase the size, add one HDC to each subsequent round after round 7 (for example, work HDC in the next stitches and then 2 HDC in the following stitch). This sizing adjustment is provided by the designer, so adhere to their specific instruction rather than estimating a new count.
Original designer’s pattern and instructions
Crochet Turkey Amigurumi: Pattern Overview
Easy Crochet Plant Pot Cover -Emoji design: Pattern Overview