Project introduction
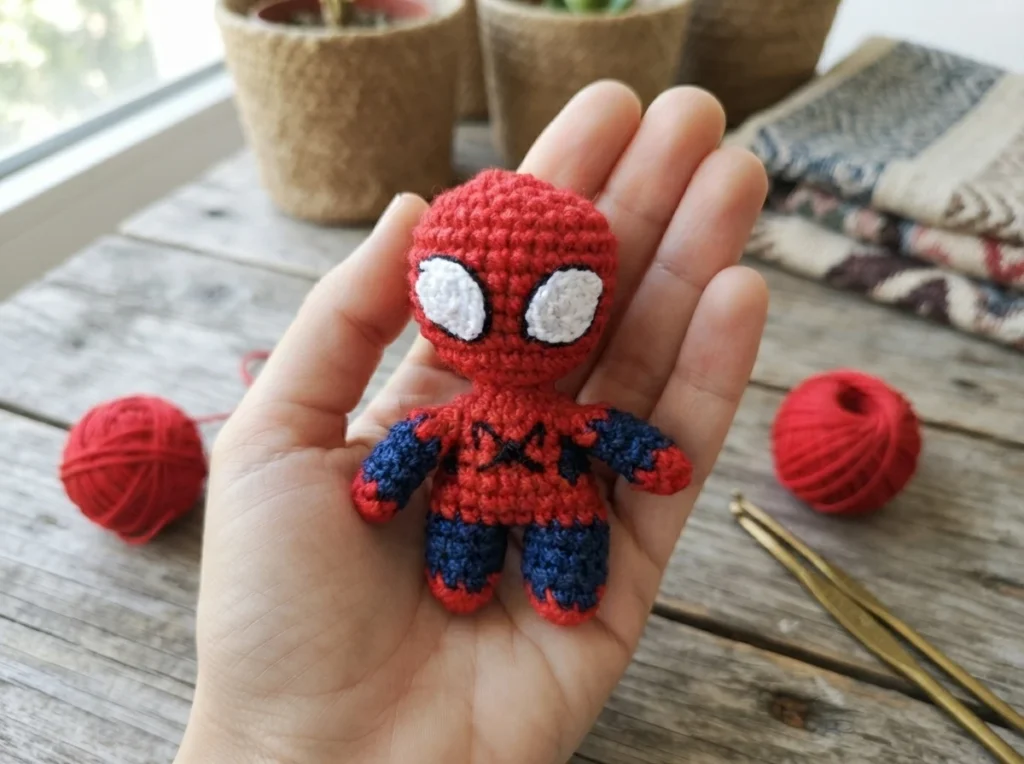
This overview covers the mini amigurumi Spider-Man designed by Adri’s Crochet. It is a descriptive summary rather than a full tutorial, and it gathers the supplies, abbreviations, and construction steps that appear in the source. Round-by-round instructions live with the designer, so use the original designer’s pattern and instructions for the actual pattern. The source labels this a free pattern and does not document any paid or printable version.
Materials and tools
Gather these supplies before starting. The source names the yarn colors and tools but gives no yarn quantities.
- Cotton yarn in red, blue, black, and white
- 2.5 mm crochet hook
- A needle, written in the source as a Stuffed Woll needle
- Scissors
The source states a 2.5 mm hook. Black yarn is also used to outline the eyes when they are sewn on.
Abbreviations
The pattern uses these standard abbreviations. Color changes are shown by the color of the letters in the pattern text, which makes them easy to spot as you work.
| Abbreviation | Meaning |
|---|---|
| MR | Magic ring |
| Sc | Single crochet |
| Inc | Increase |
| Dec | Decrease |
| BLO | Back loop only |
| Ch | Chain |
| Dc | Double crochet |
| Hdc | Half double crochet |
AMIGURUMI MINI SPIDER-MAN Pattern Overview
The finished toy is built from two arms, two legs, a body and head worked as one piece, two eyes, and a sewn spider symbol. The first leg is made on its own. The second leg starts the single-piece section, and the arms are joined in later. The eyes and the chest motif are finishing details.
Arms x2
Make two matching arms. Each arm begins with six single crochet stitches in a magic ring and stays at six stitches through the following rounds. End each arm by cutting the yarn with a short strand.
Leg 1
Start the first leg with six single crochet stitches in a magic ring, then increase to nine stitches. One round is worked in the back loop only, followed by two rounds at nine single crochet stitches. Cut the yarn with a short strand. From this point the source works the remaining pieces as a single piece.
Leg 2, body and head
Repeat the first leg’s rounds for the second leg. The legs are then joined with a chain stitch, with nine stitches worked around each leg plus one stitch in the chain. The source continues with rounds that shape the body, and the arms are joined during a later round. The upper body and head use decreases and increases before the head is closed. The source does not include stuffing directions, so check the designer’s pattern for exact wording and placement.
The body shaping continues through subsequent rounds. Arms are joined during round 11. The upper body and head involve decreases and increases, ending with six stitches before closing the head. The provided text does not include stuffing directions. Consult the linked pattern for precise wording and placement.
Eyes X2
Make two eyes. Each one starts with a magic ring and uses chains, double crochet, half double crochet, and single crochet stitches, then the ring is closed. Cut the yarn with a long strand for sewing. When the eyes are sewn on, the source says to border them in black for the detail. Follow the designer’s photos for placement.
The spider symbol
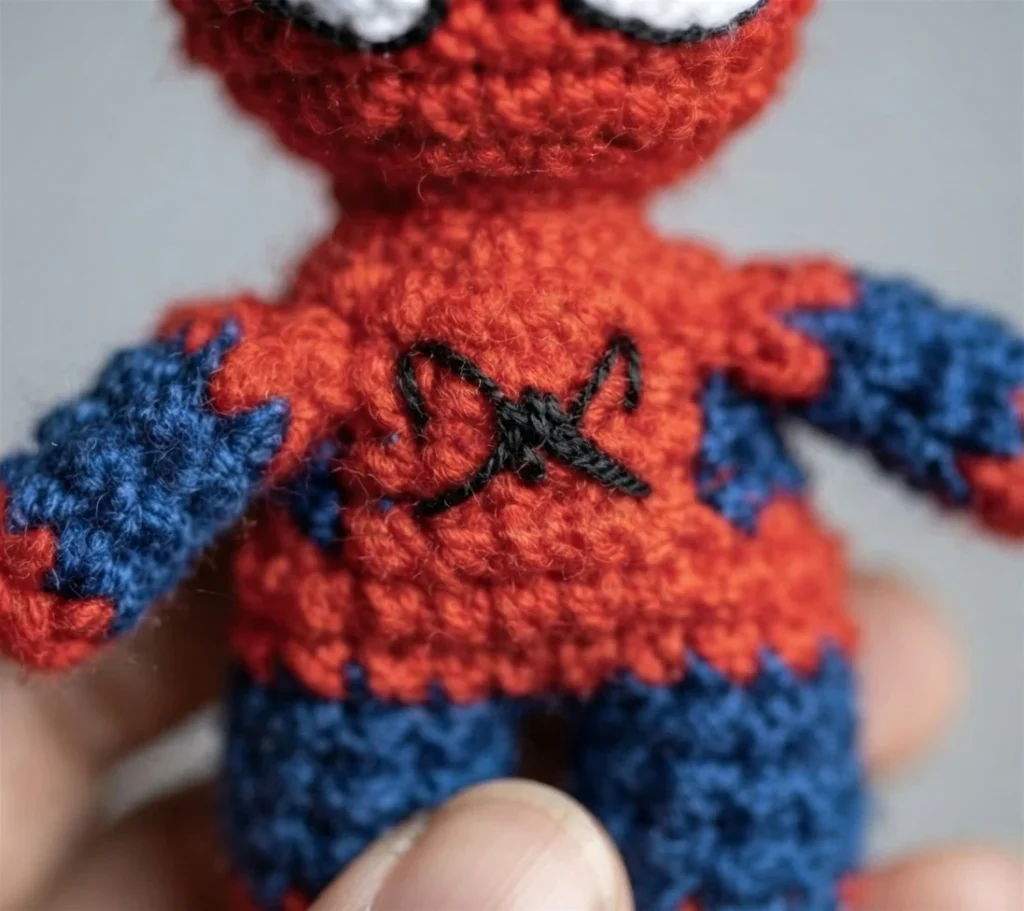
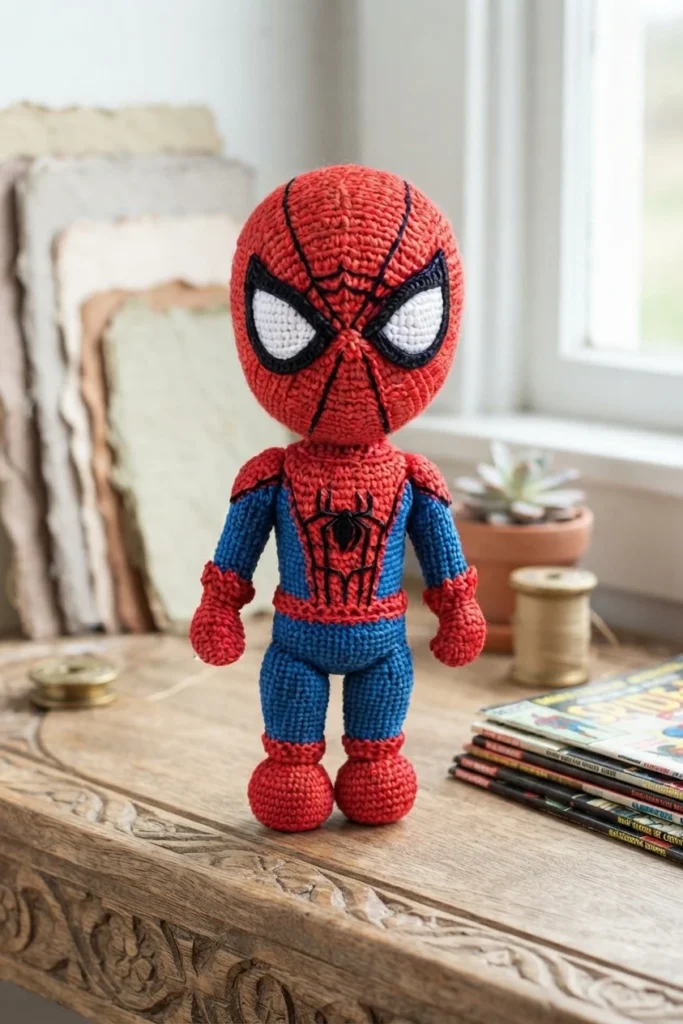
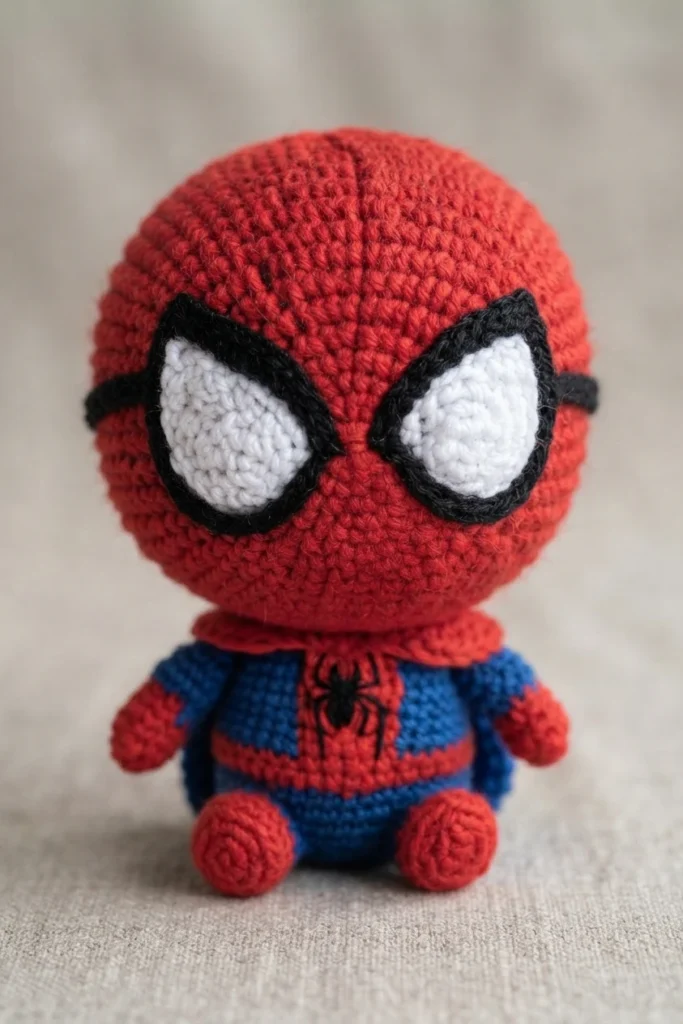
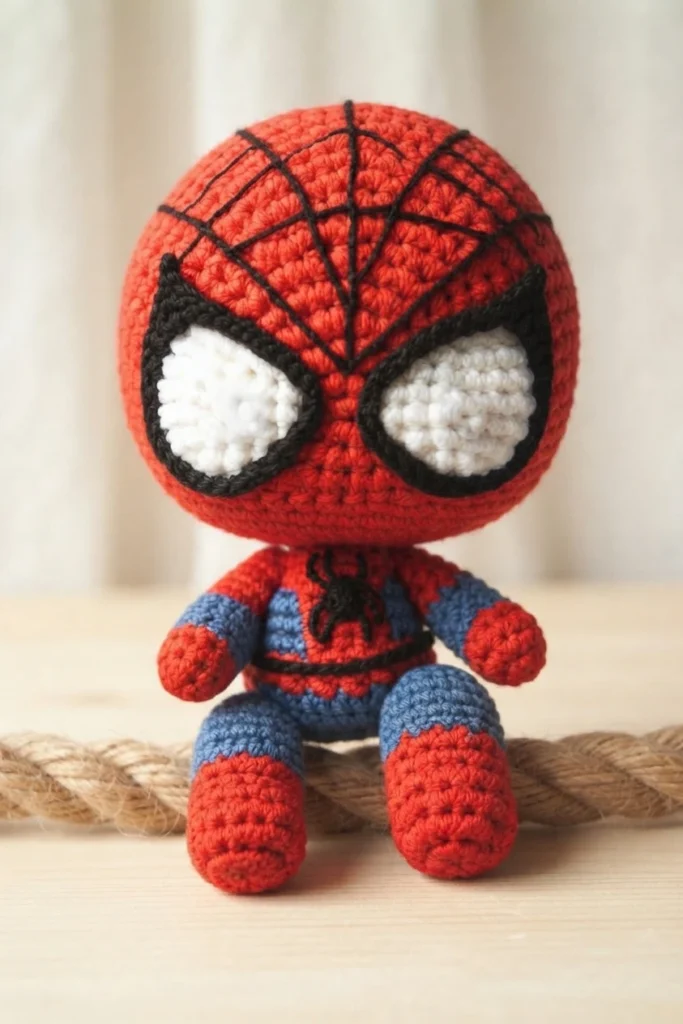
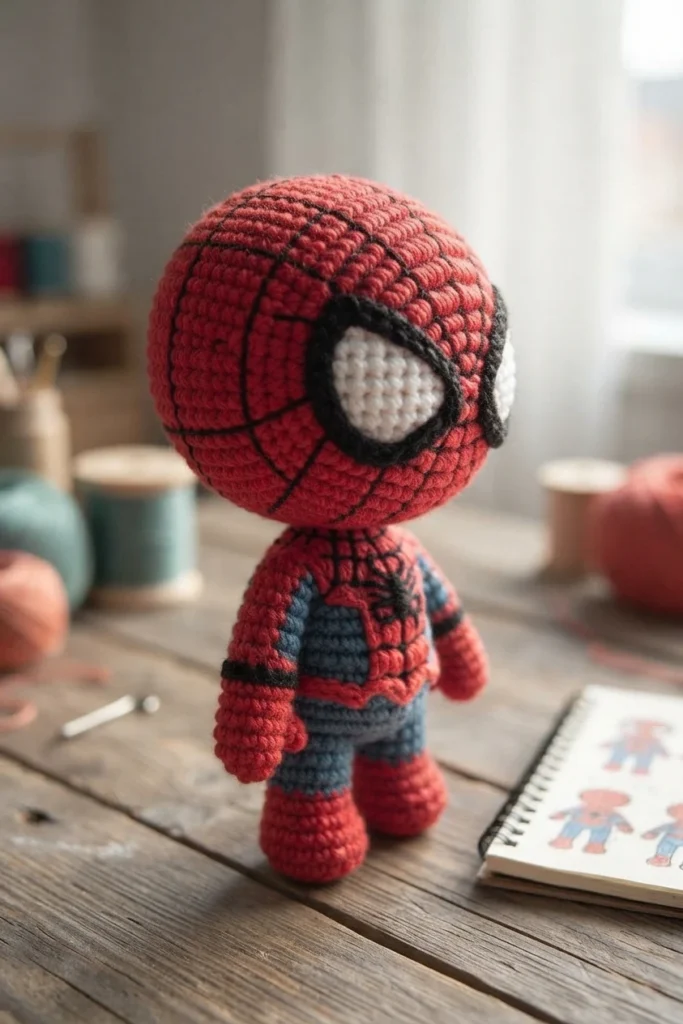
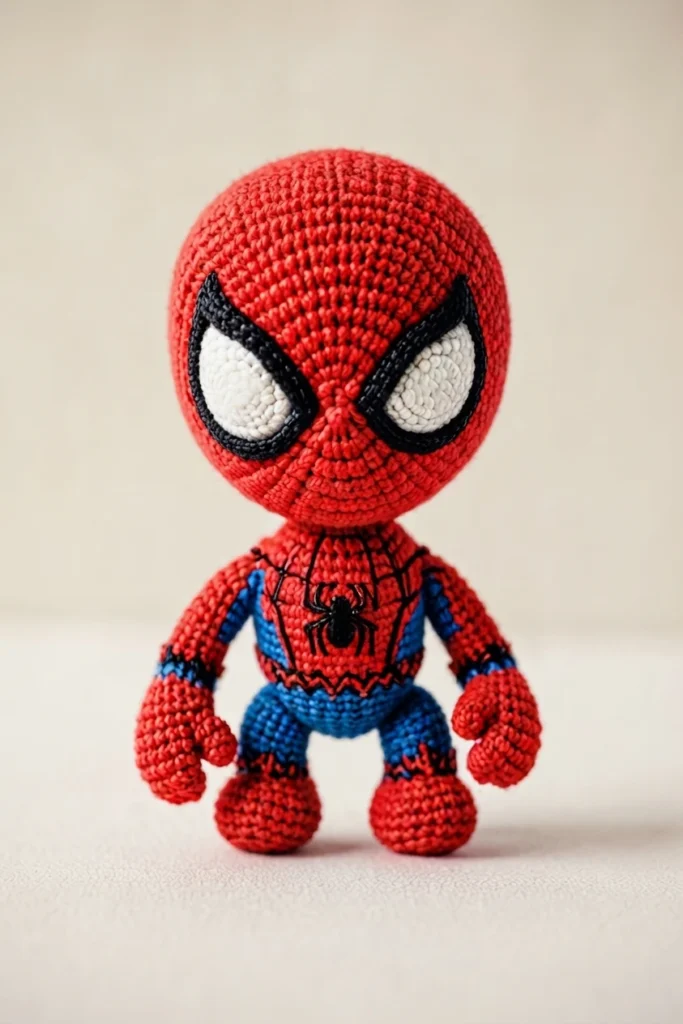
The chest spider is made by sewing an X. At the top of the X, the source goes down to the height of one single crochet to shape the spider’s legs, then closes in the center and secures the work to give the spider’s body its final shape.