Easy Easter Bunny Worry Worm Crochet Pattern (FREE) The Quickest bunny rabbit to crochet
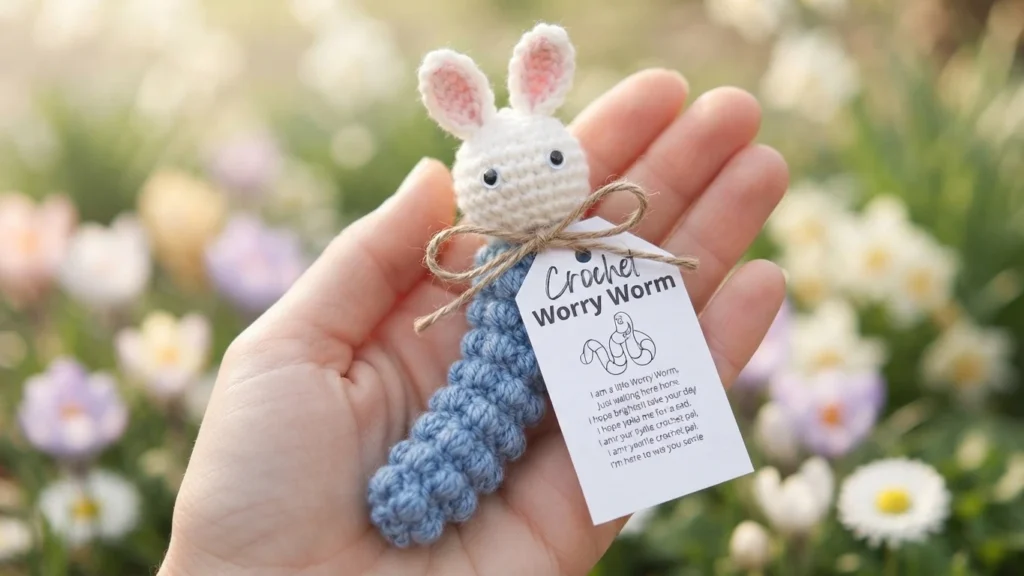
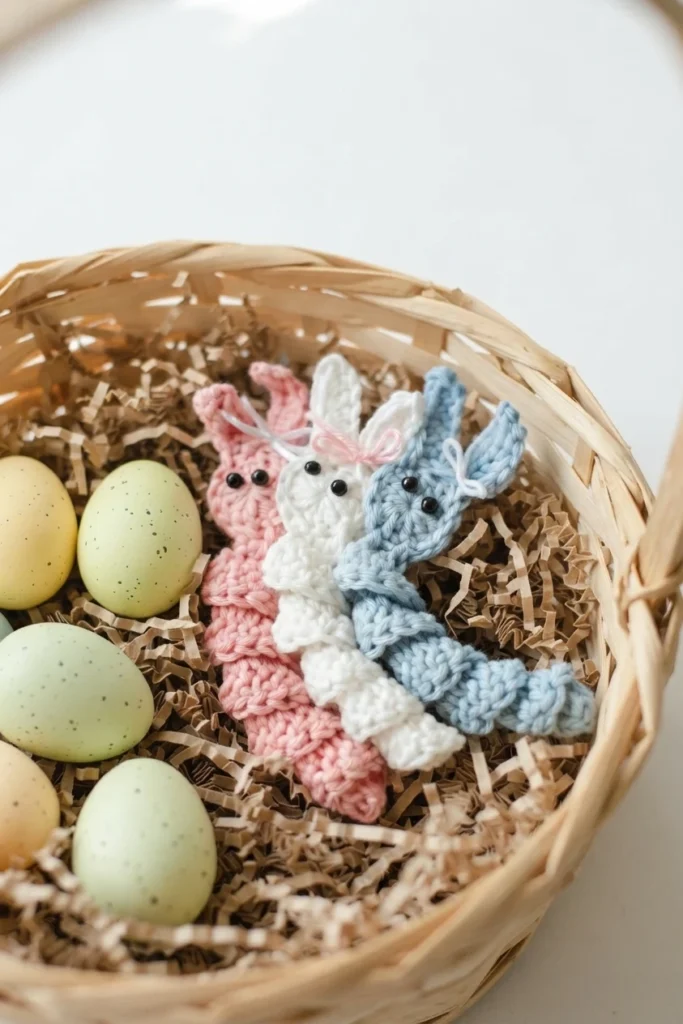
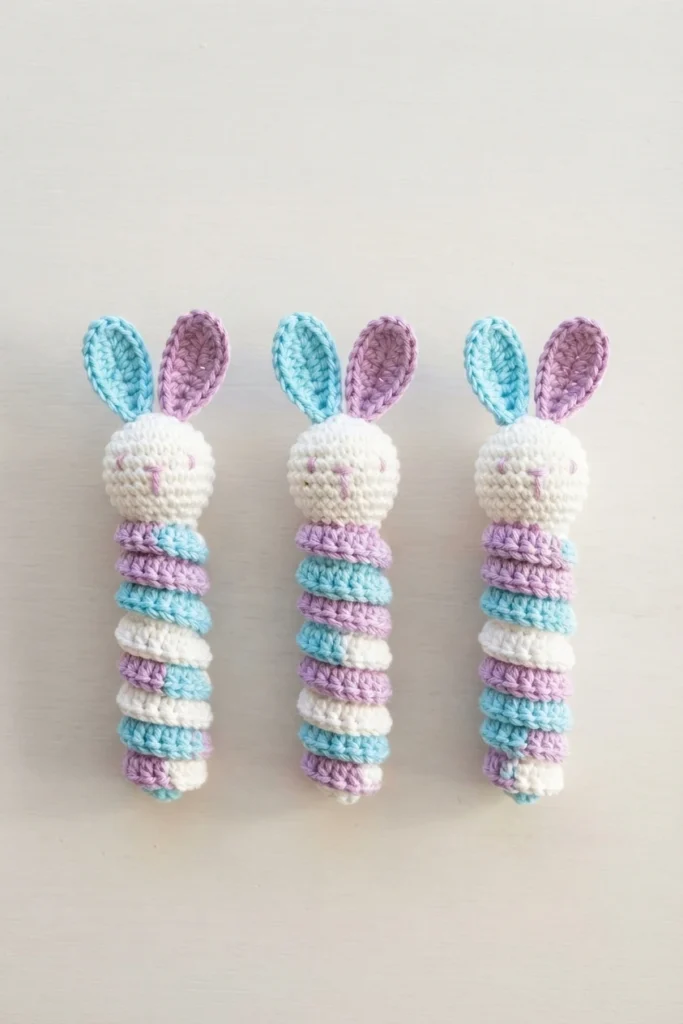
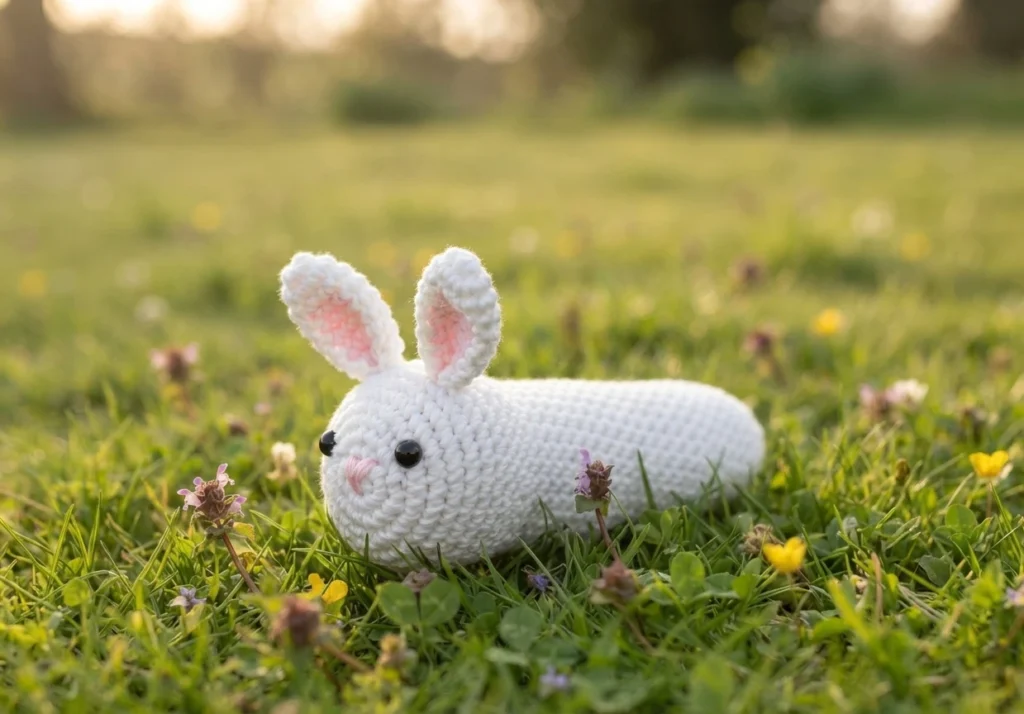
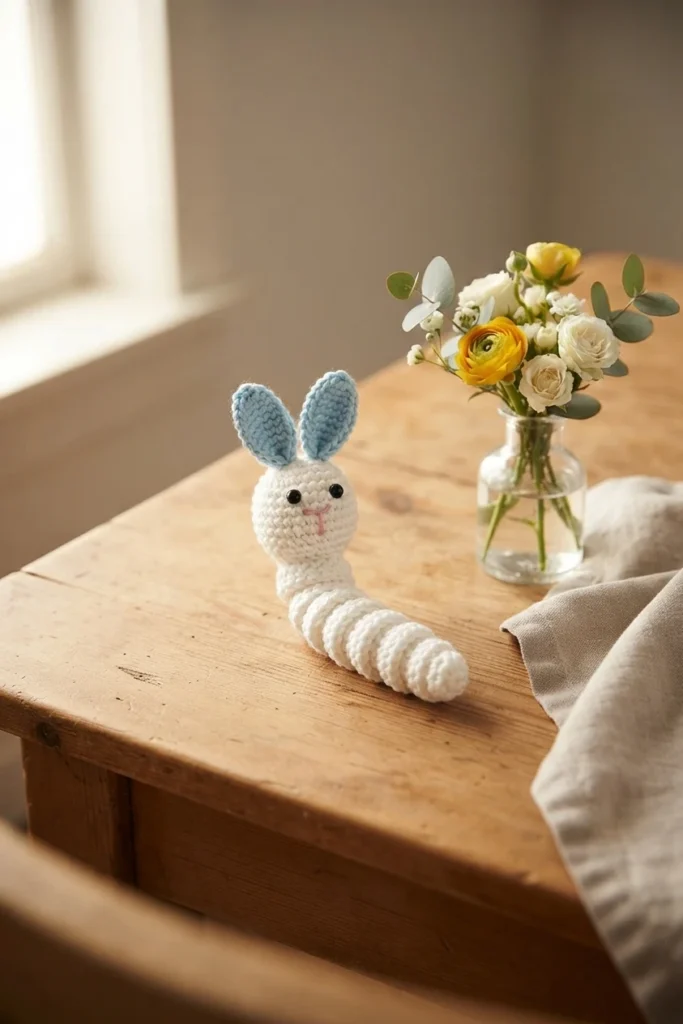
Start Crochet published this free Easter bunny worry worm pattern for makers who want a small project they can repeat many times. The designer explains that worry worms are crocheted figures given as comfort tokens, and that this bunny version was made for Easter baskets and for leaving in places where people might find them. The stated goal is the simplest possible design that can be crocheted quickly and easily, because the plan is to make a lot of them.
This overview gathers the pattern details that matter before you begin: materials, skill level, gauge, finished size, yarn amount, and the order in which the bunny is constructed. It is a reference summary, not a substitute for the instructions. For the complete step-by-step pattern, use the Original designer’s pattern and instructions.
How To Crochet A Bunny Worry Worm
What You’ll Learn
The pattern is built around three techniques. Working in the round creates the head. A 3-D spiral produces the curled body. Small bunny ears are crocheted separately and joined as you go.
Materials Needed
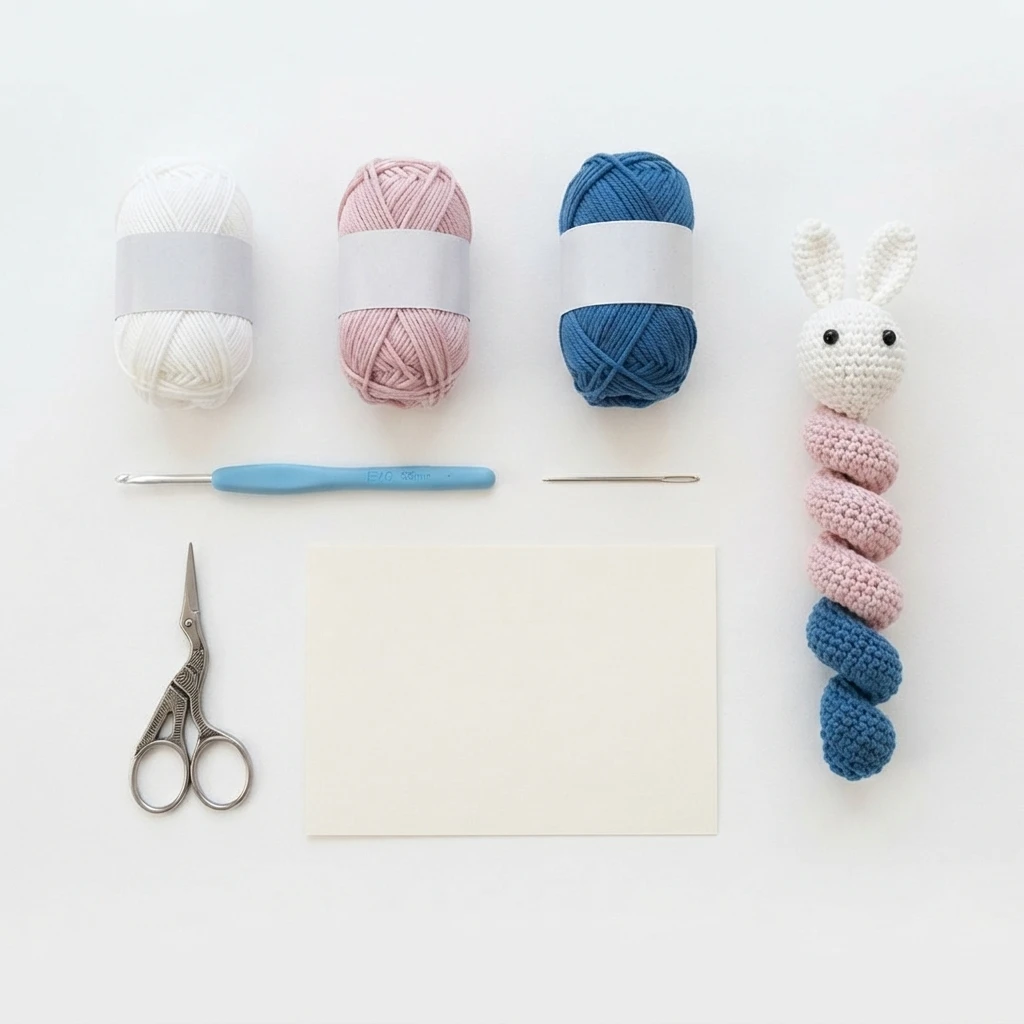
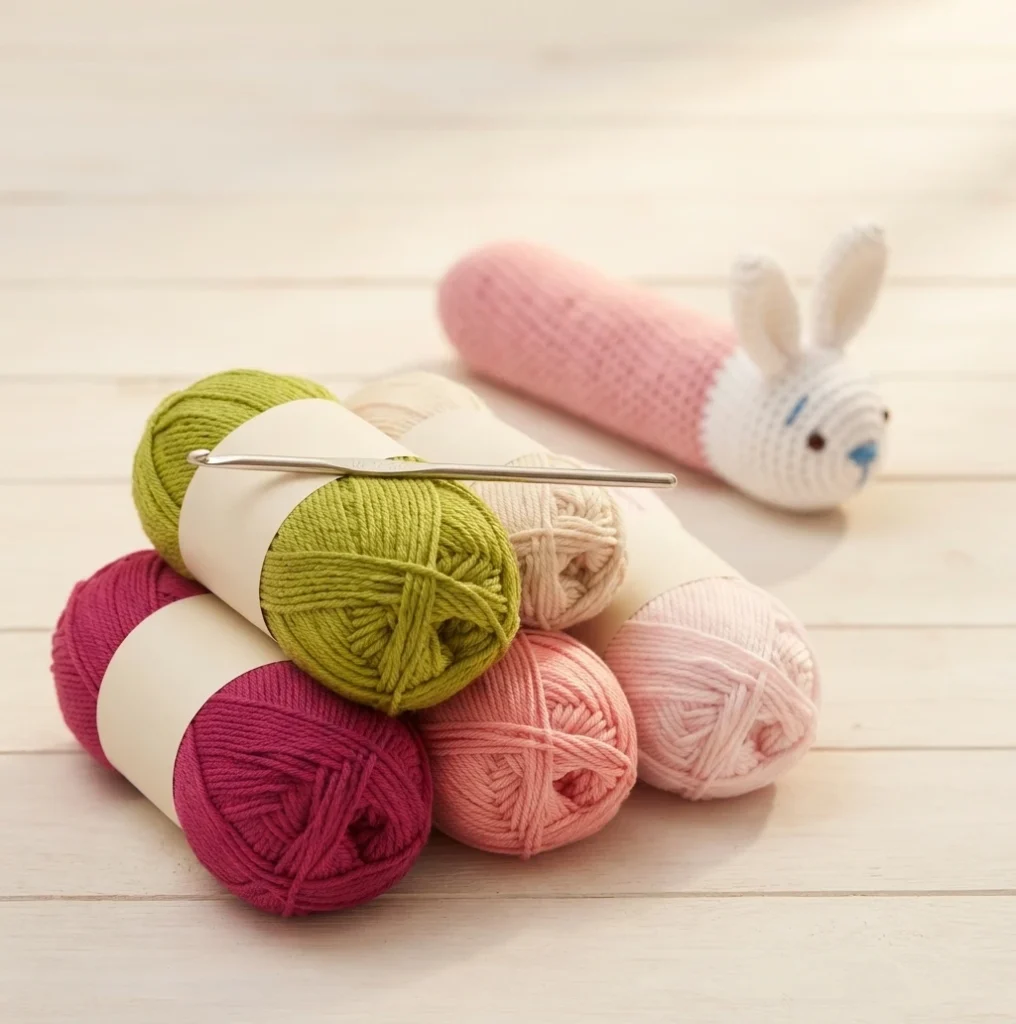
- DK cotton yarn in your choice of colors. The sample uses Ricorumi DK, 100% cotton, in white, pink, and blue.
- A crochet hook that suits your yarn. The sample was made with a 3.5 mm hook.
- A tapestry needle.
- A pair of scissors.
- Optional: a printer plus A4 paper or card stock if you want to print the accompanying cards.
Abbreviations
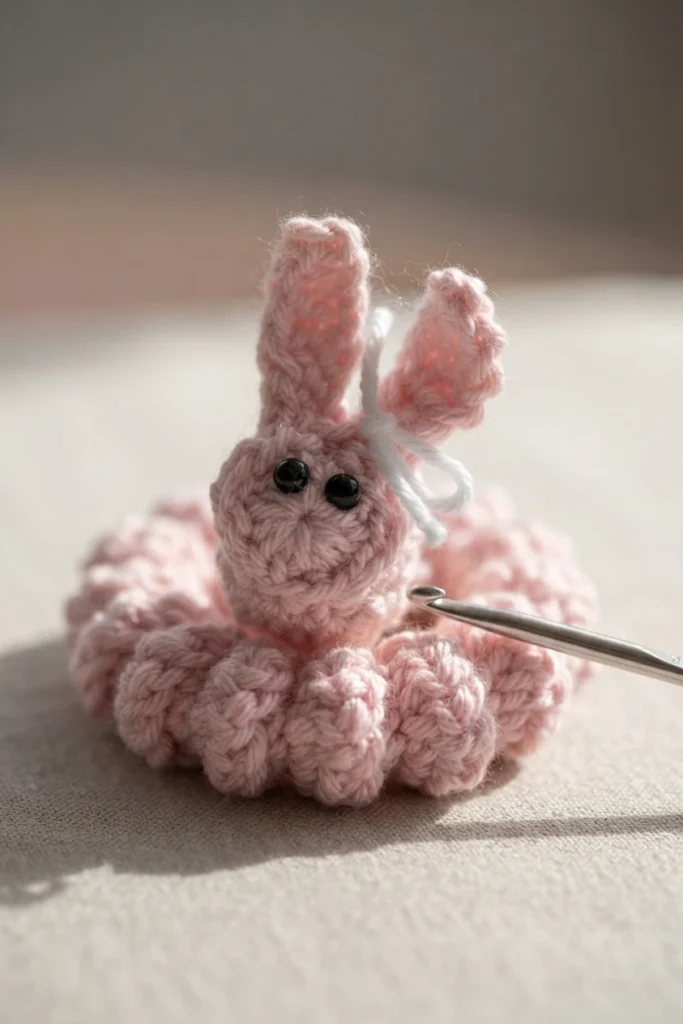
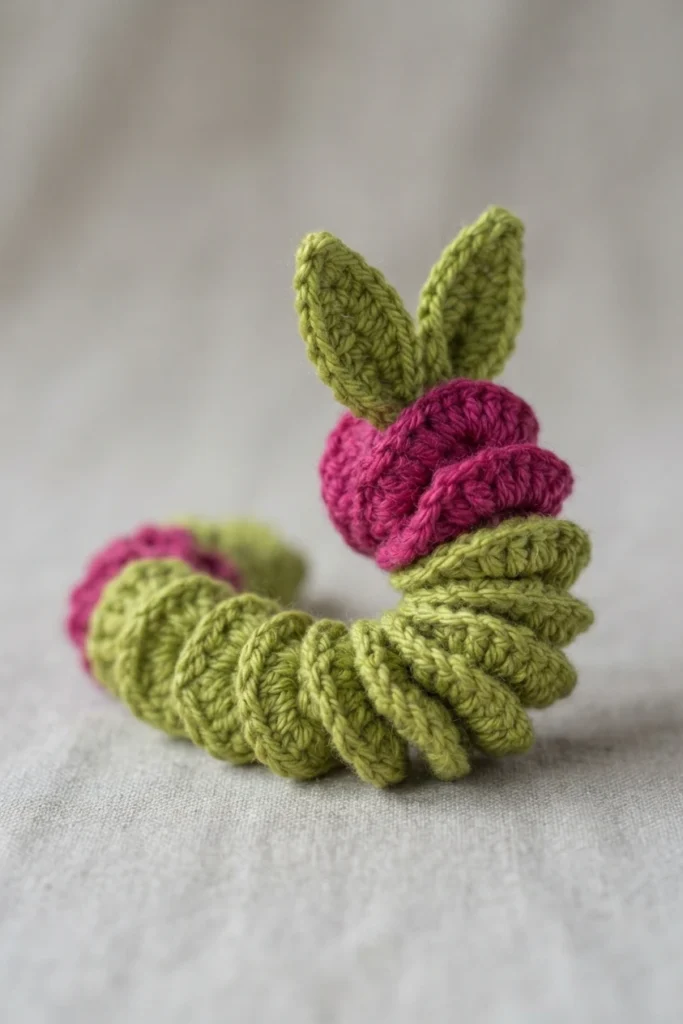
The pattern uses US terms and defines the following abbreviations: mc (magic circle), ch (chain), sc (single crochet), hdc (half double crochet), dc (double crochet), sl st (slip stitch), and fo (fasten off).
Skill Level
Start Crochet lists this project as beginner level and notes that the maker should know how to crochet a magic circle, or use an alternative. The instructions include a second starting method for anyone who has not mastered the magic ring.
Gauge
The stated gauge is 13 stitches and 4 rows in double crochet measuring 2.5 inches (5 cm). The designer describes gauge as not really crucial here. Size changes are handled with the hook instead: go down to a 2.5 mm hook for a smaller bunny, or go up half or a whole number or letter hook size for a larger one, with hooks between letters C and D suggested.
Measurements
The finished bunny is stated to measure 5.1 inches (13 cm) tall including the ears and 1.18 inches (3 cm) wide. That size suits gift bags and basket arrangements.
Yardage
Yarn use is given as approximately 7 meters (7.6 yards). The low figure means leftover scraps can cover a bunny, which helps when making several.
Notes
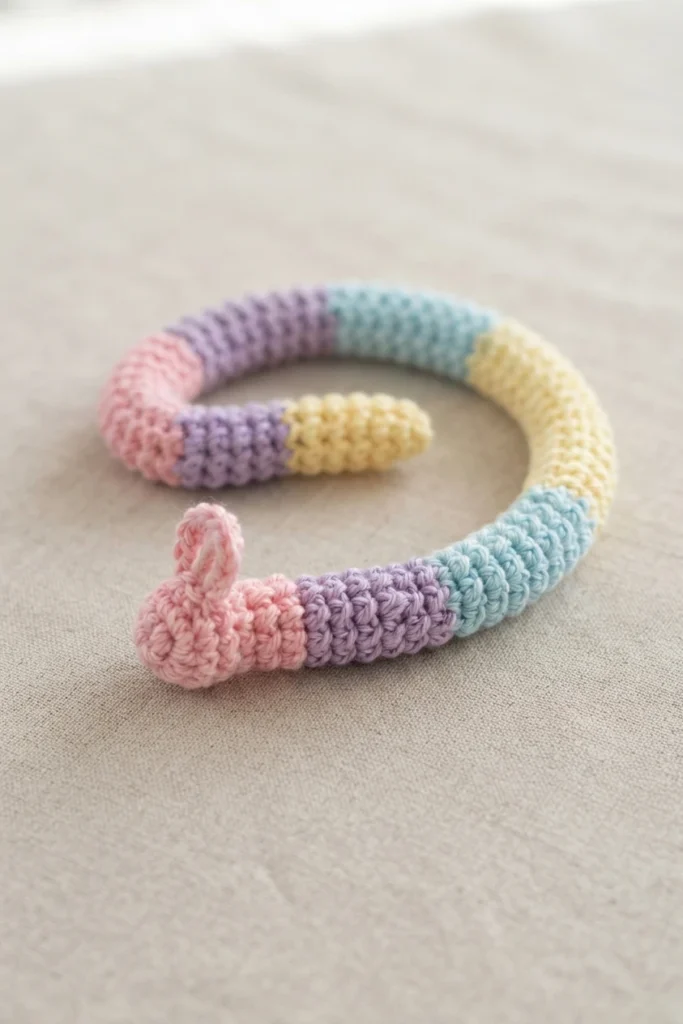
Numbers in brackets at the end of a step show the final stitch count for that step. The beginning chain 2 counts as a double crochet stitch. No stitching is required beyond weaving in ends. The yarn is not cut between the bunny’s sections; you continue straight into the next body part. The pattern uses US crochet terms, and the source points to a free US to UK conversion chart.
Stitch How-To Construction Overview
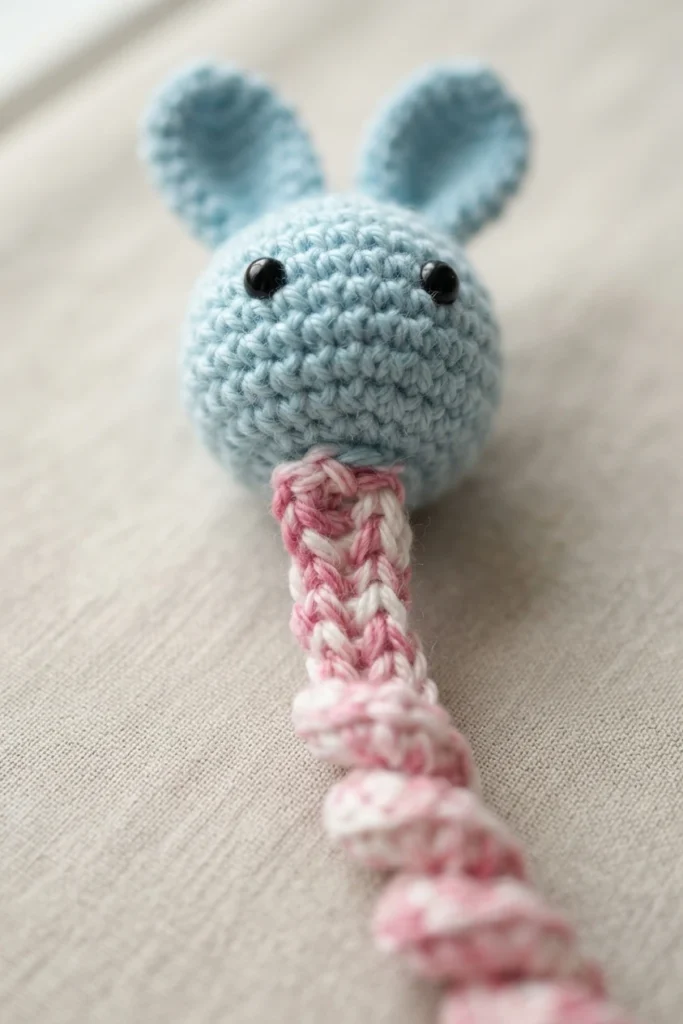
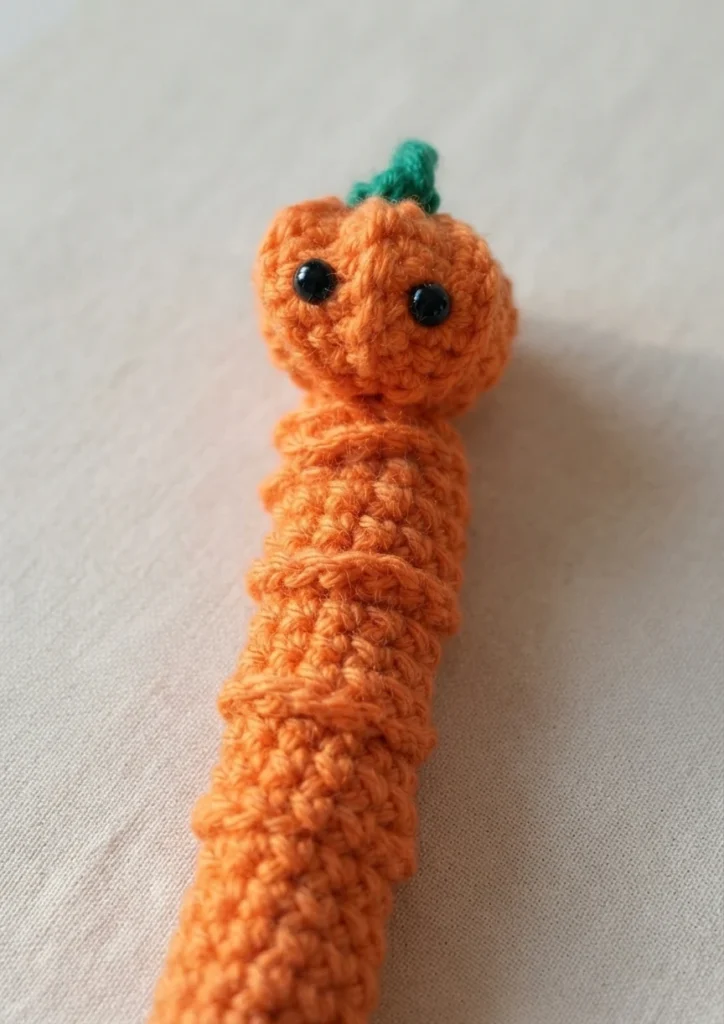
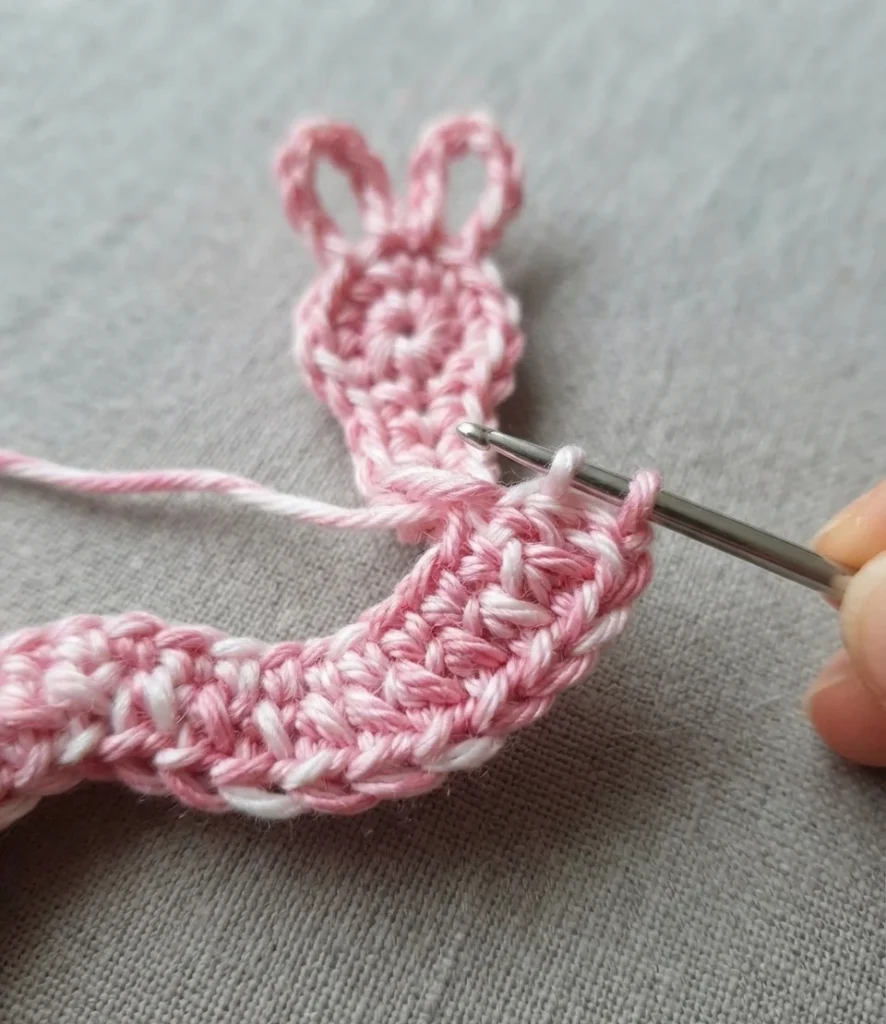
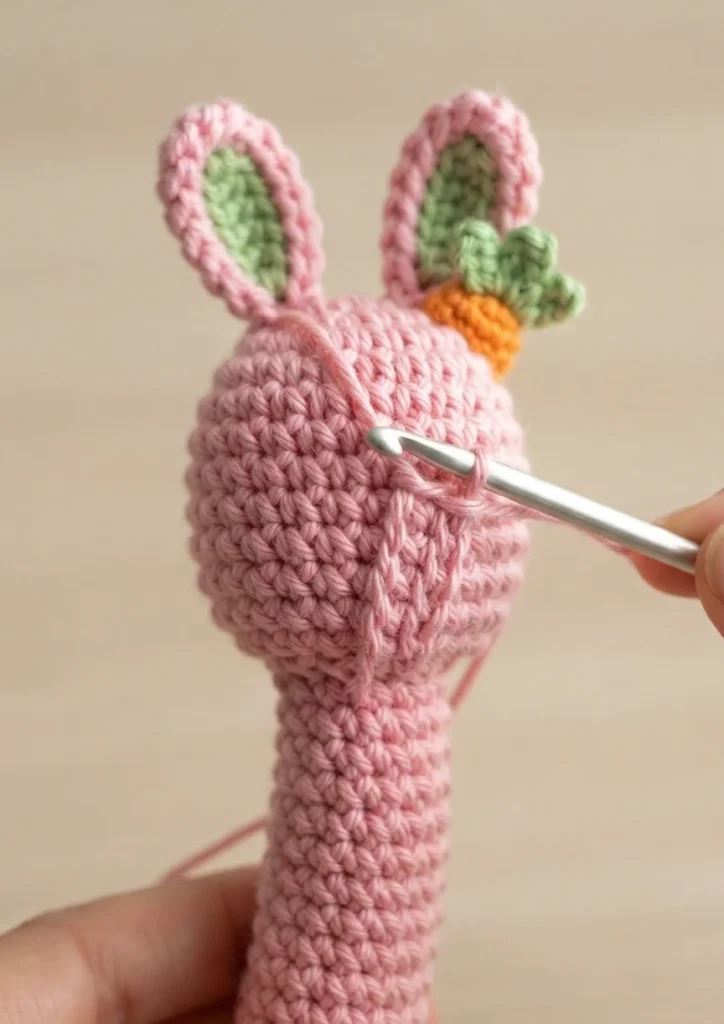
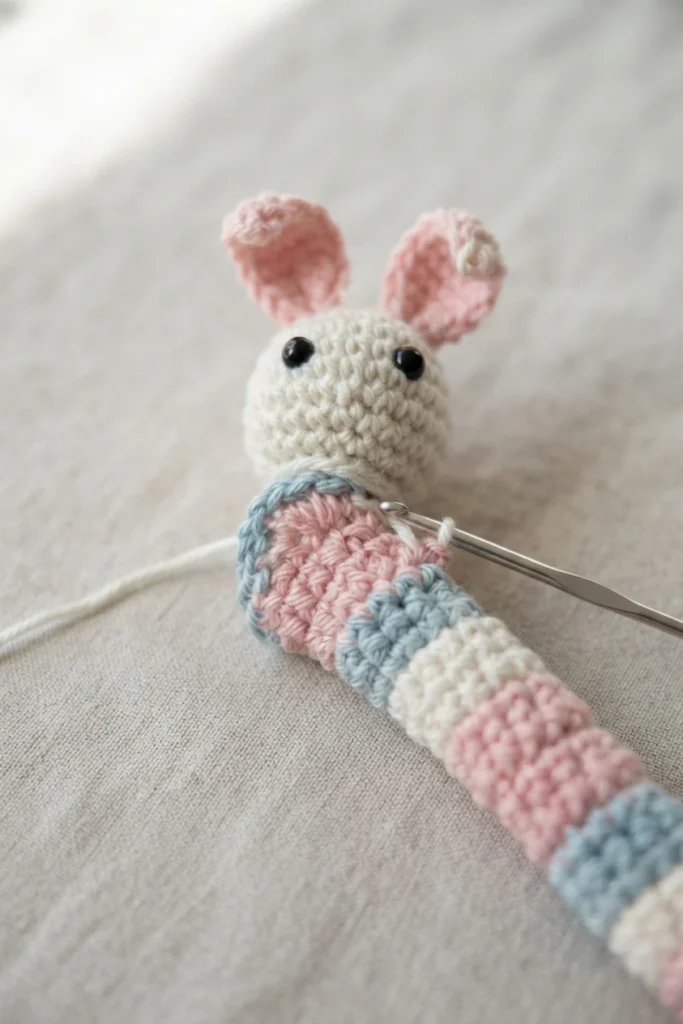
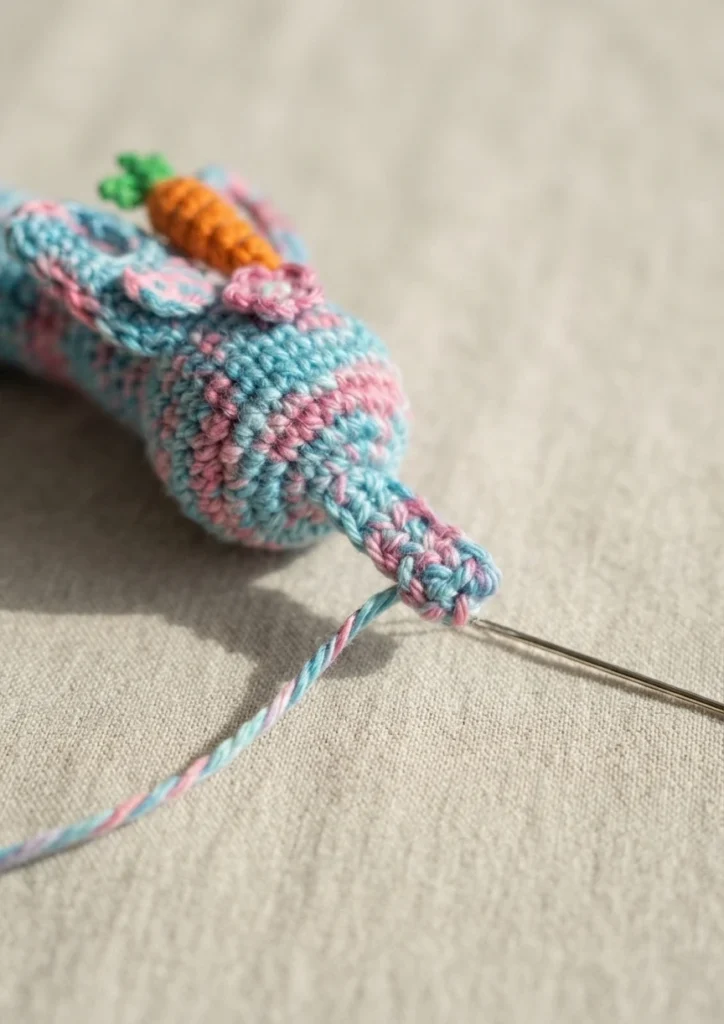
The source provides a reference for basic stitches. Rather than repeating those how-tos here, this overview notes only that the page covers chain, single crochet, half double crochet, double crochet, slip stitch and fastening off, and that the US single crochet matches UK double crochet.
For the full step-by-step wording of each stitch, including the UK equivalents, follow the linked tutorial on the designer’s site.
The source’s fastening off note is a short finishing step: after the last stitch of the final round, cut the yarn leaving a 6 inch end, then draw that end through the stitch and pull to tighten the knot.
The construction order below follows the source: head first, then the body, then the transition back around the head, the ears, the finishing pass, and finally the bow and eyes.
How To Crochet A Bunny Worry Worm Construction Overview
Bunny Head Part I
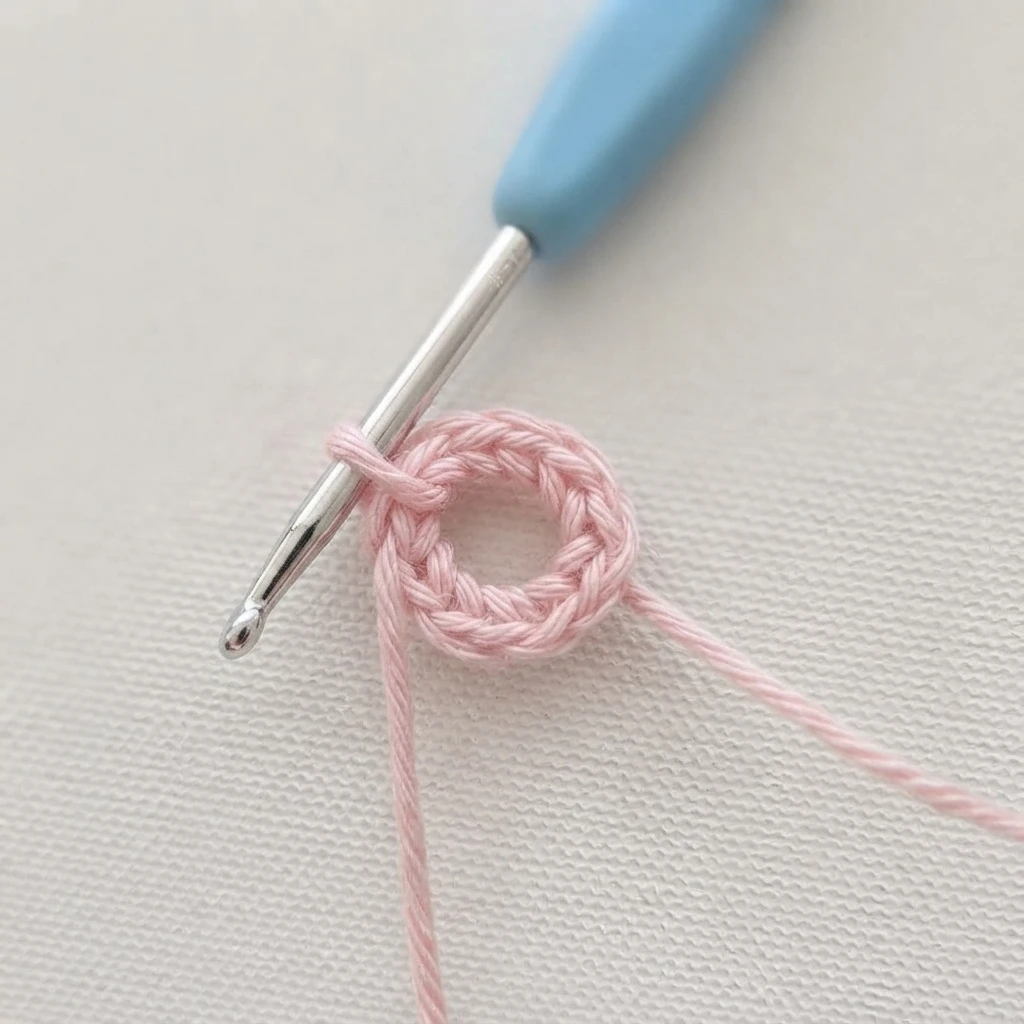
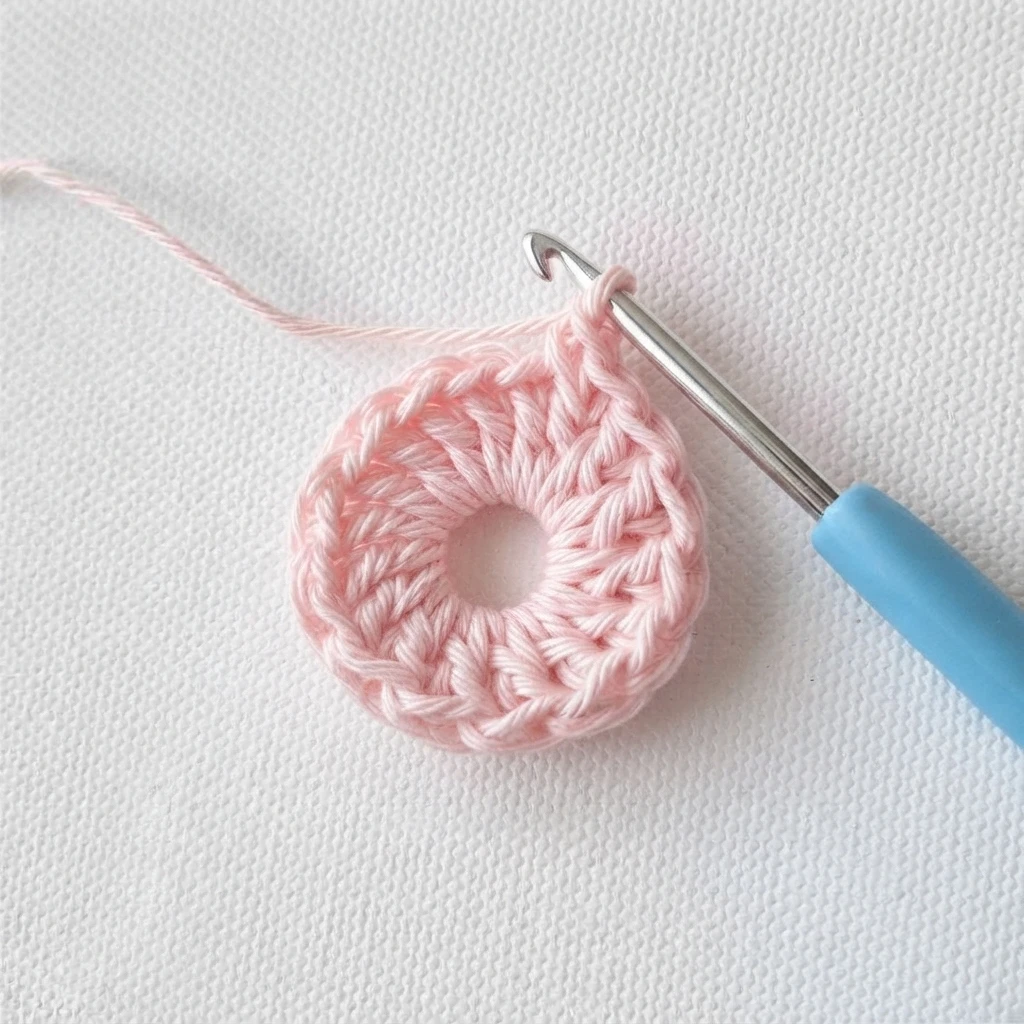
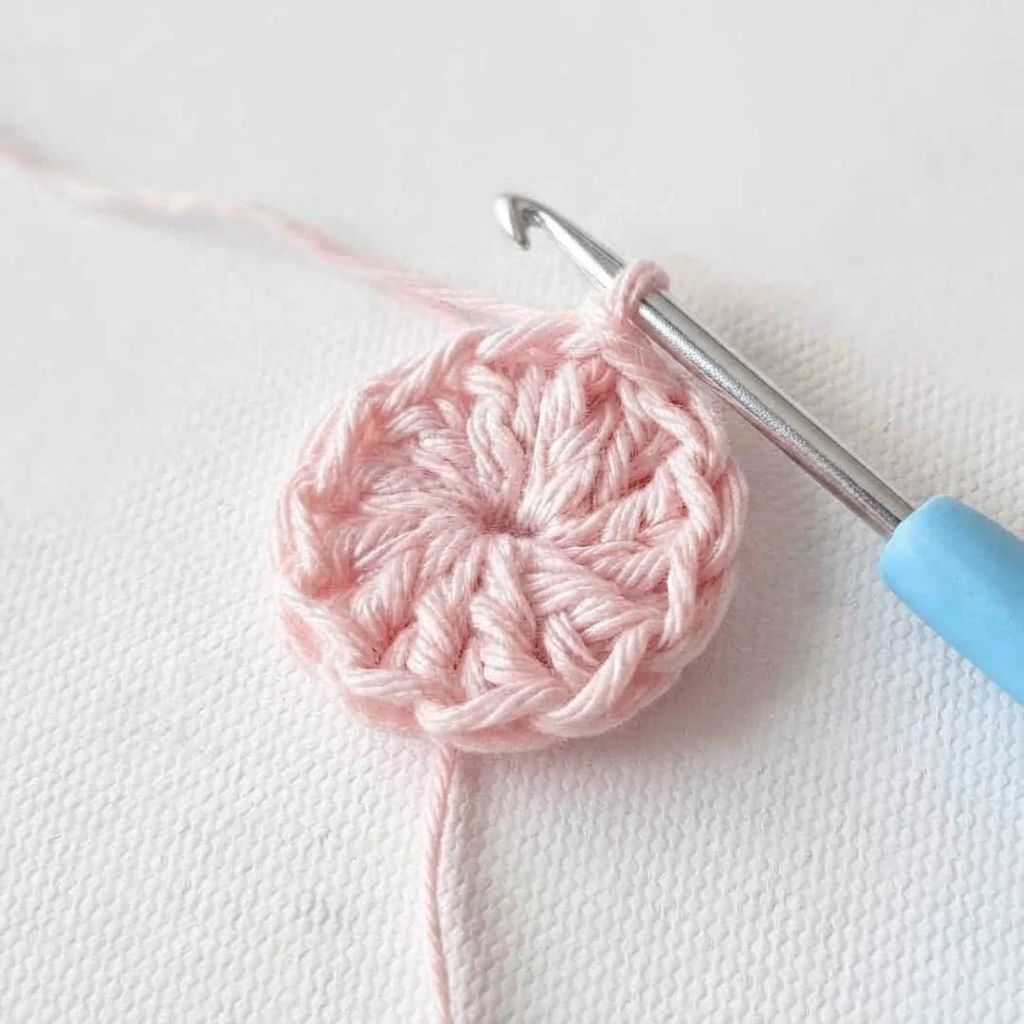
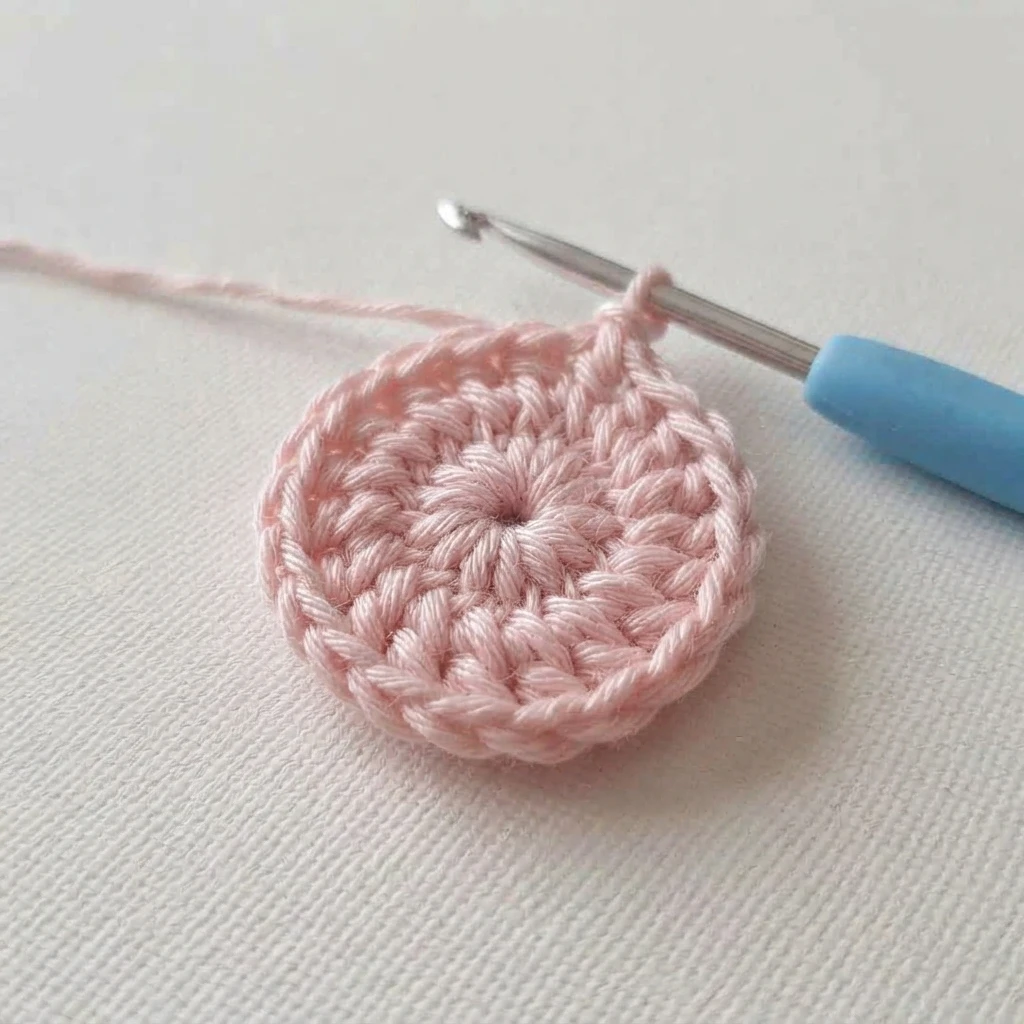
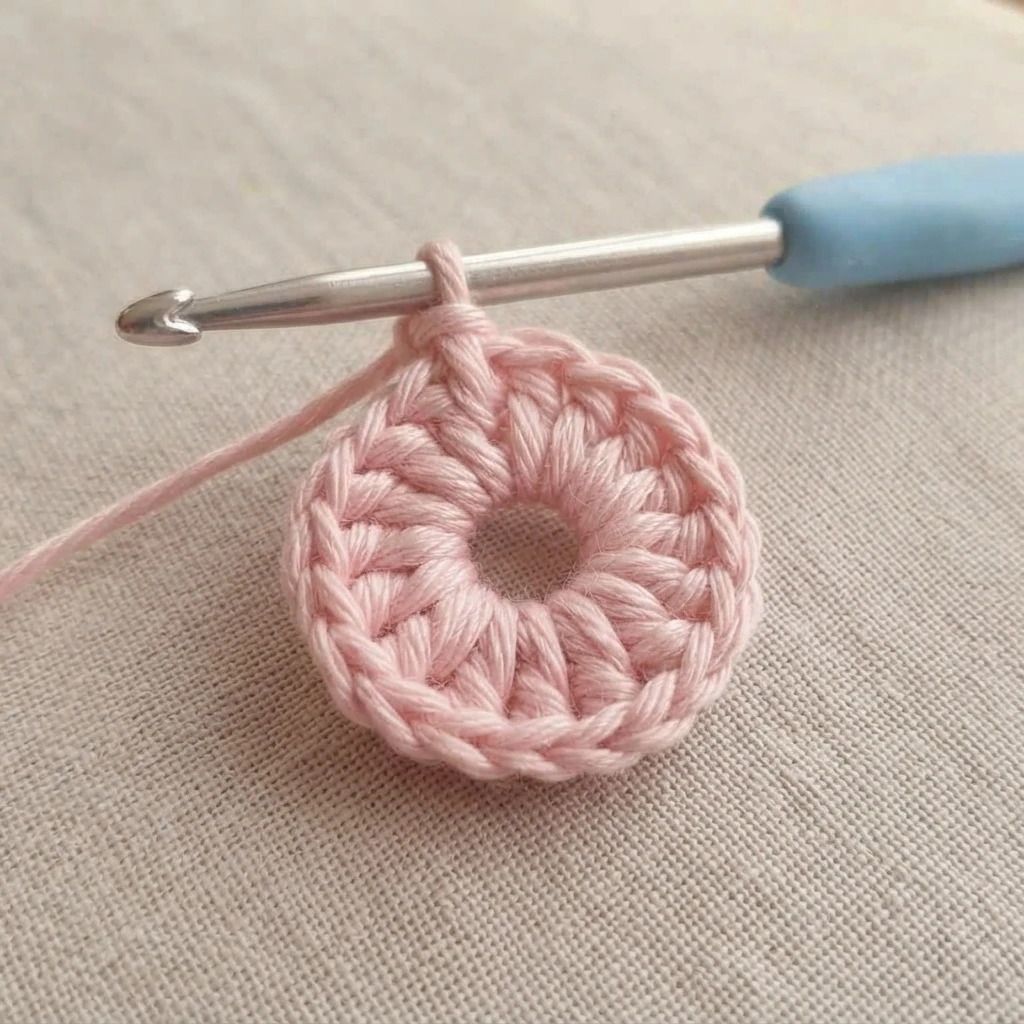
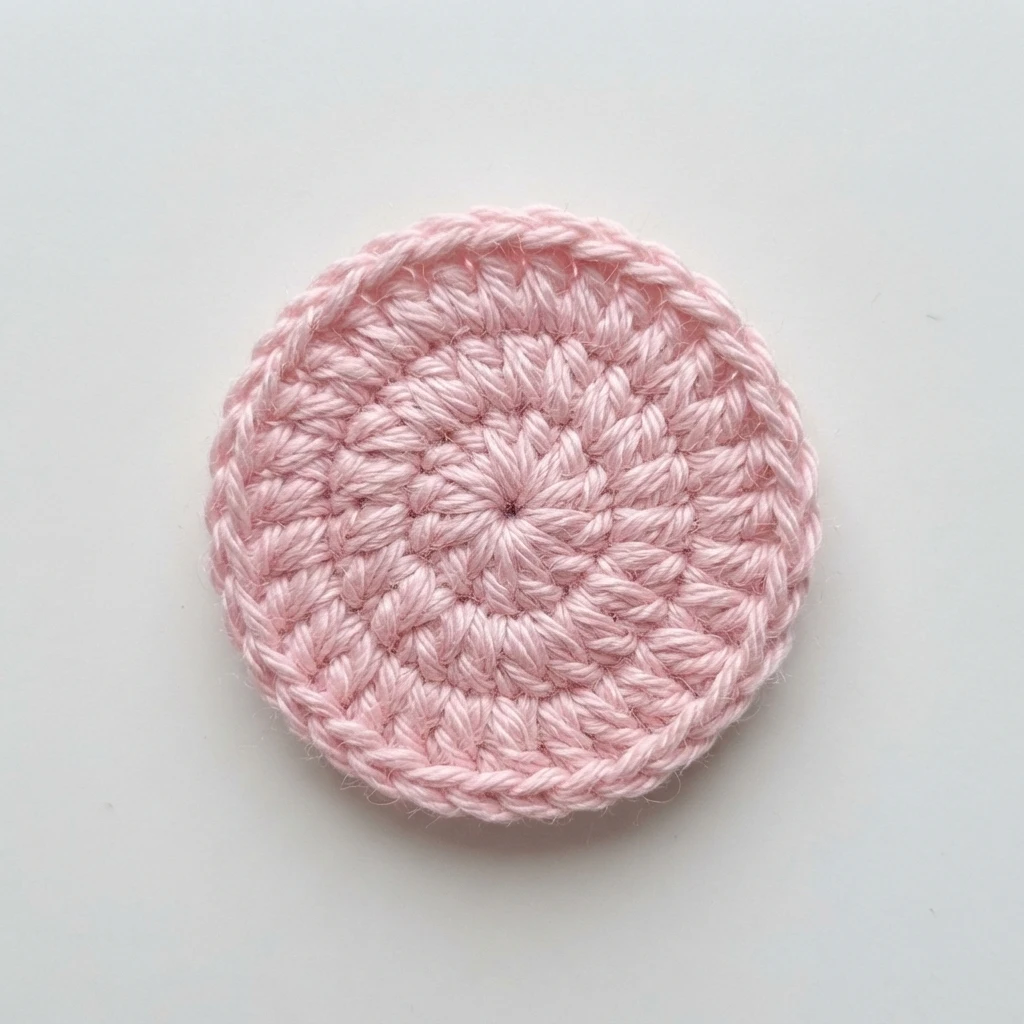
Round 1 offers two starting options. Option 1 uses a magic circle. The source works double crochet into that circle and joins with a slip stitch to close the round, then pulls the tail tight for a closed center.
Option 2 is for makers unfamiliar with the magic circle. Tie a slip knot onto the hook, chain 3, and join to the first stitch with a slip stitch to form a circle of 3. Chain 2, then work 11 double crochet into that circle, again totaling 12. The first chain 2 counts as a double crochet, so 11 more double crochet gives 12 double crochet for Round 1. A chain 3 start may leave a small gap in the middle, which can be sewn closed with a tapestry or darning needle after the bunny is finished.
Body
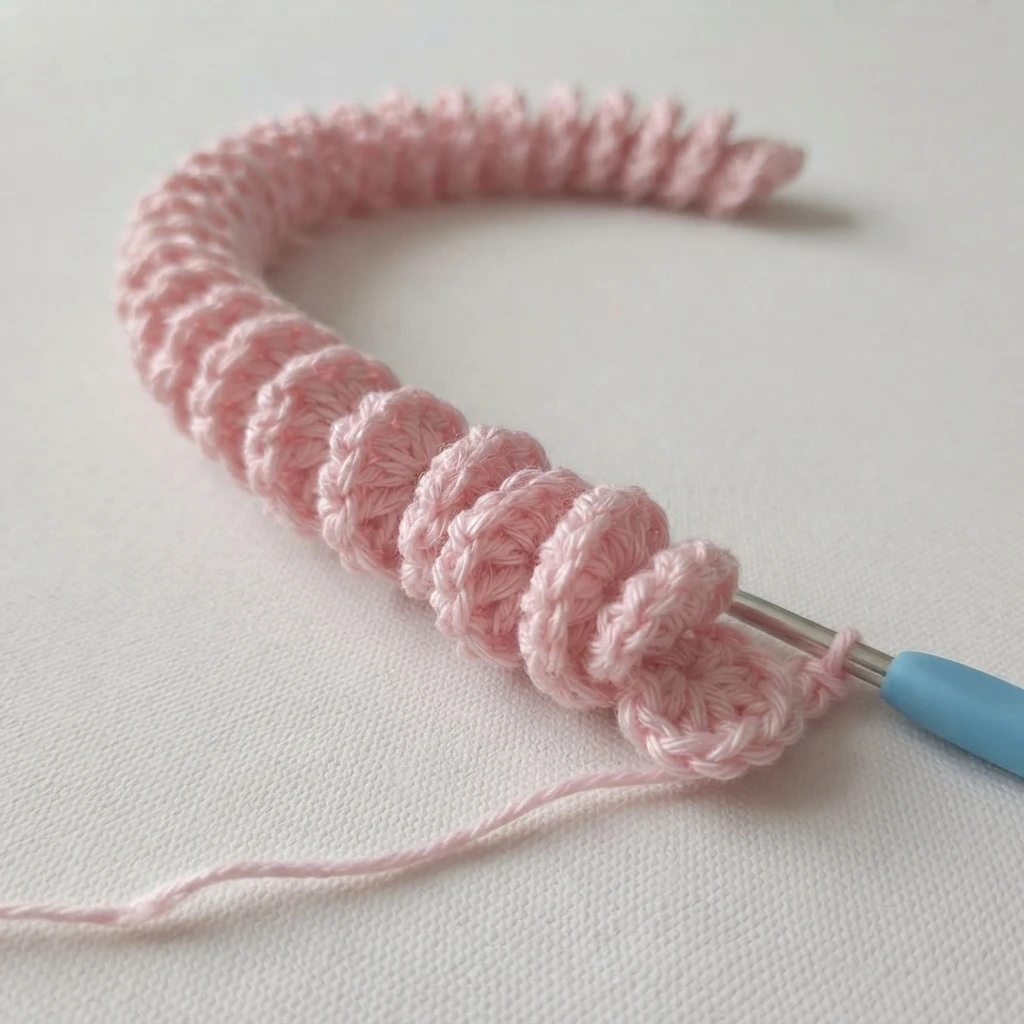
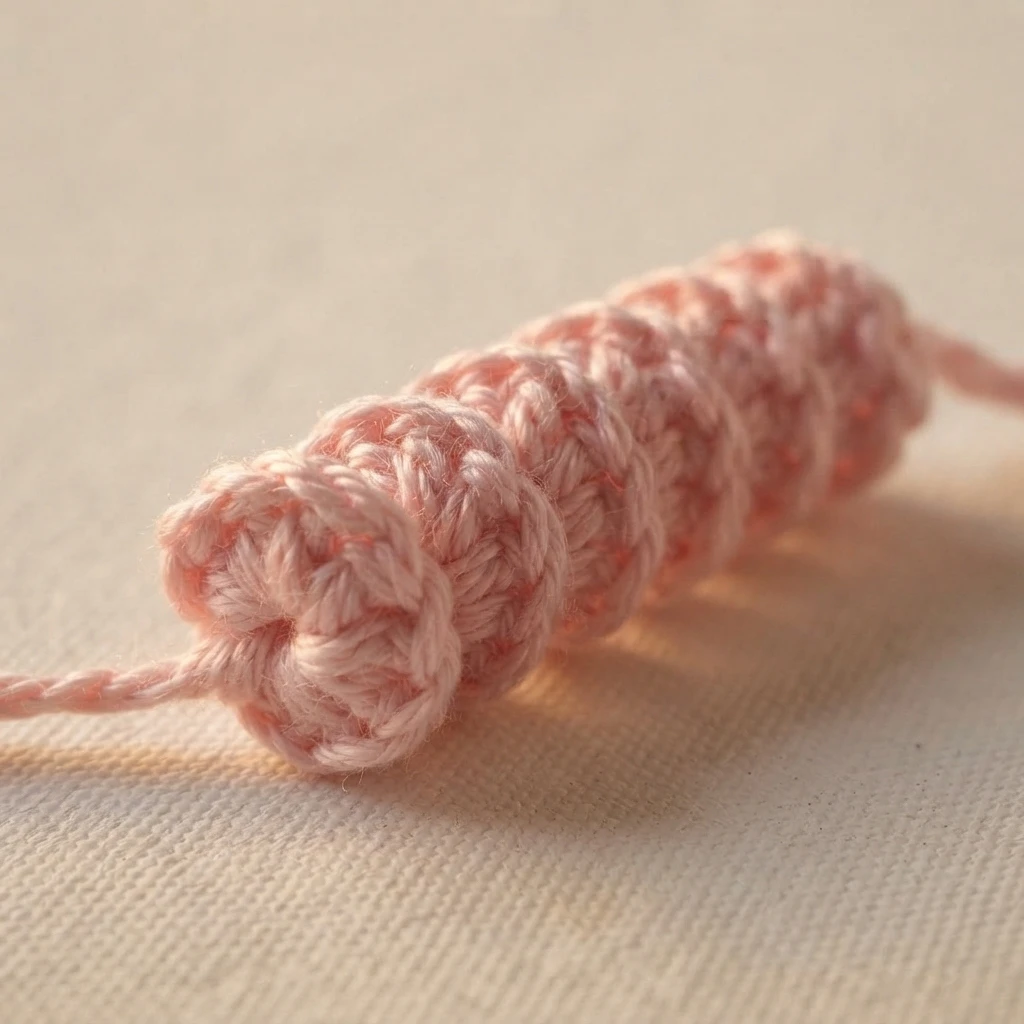
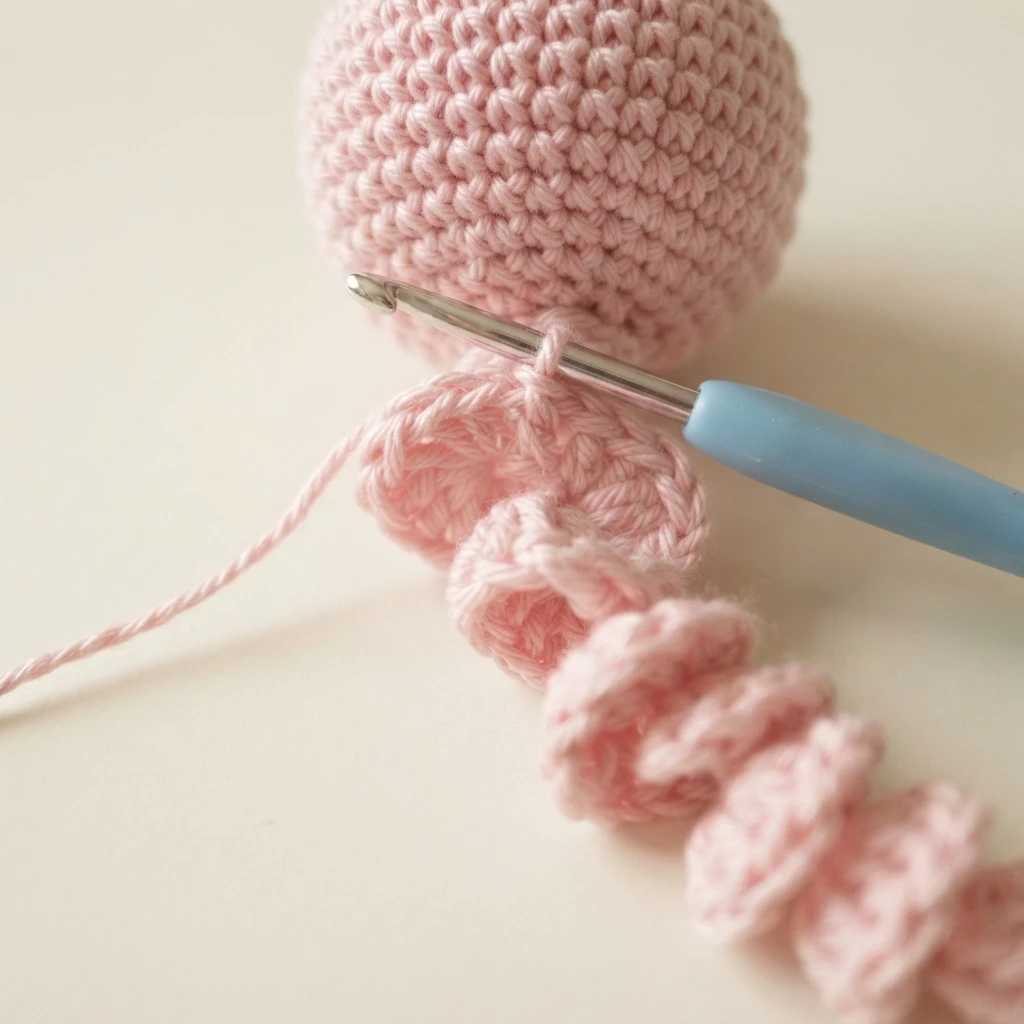
The body begins with a chain of 21, described as the center of the bunny’s body. From the second chain from the hook, the source works double crochet stitches back up toward the bunny’s head. A note adds that with thin yarn you place 4 double crochet in each chain along the body instead.
The body curls up naturally as you work. If the curls do not look right, twirl them around your finger to place them in a spiral. At the top of the body nearest the head, slip stitch into the same stitch where the chain started to join the body to the head.
Bunny Head Part II
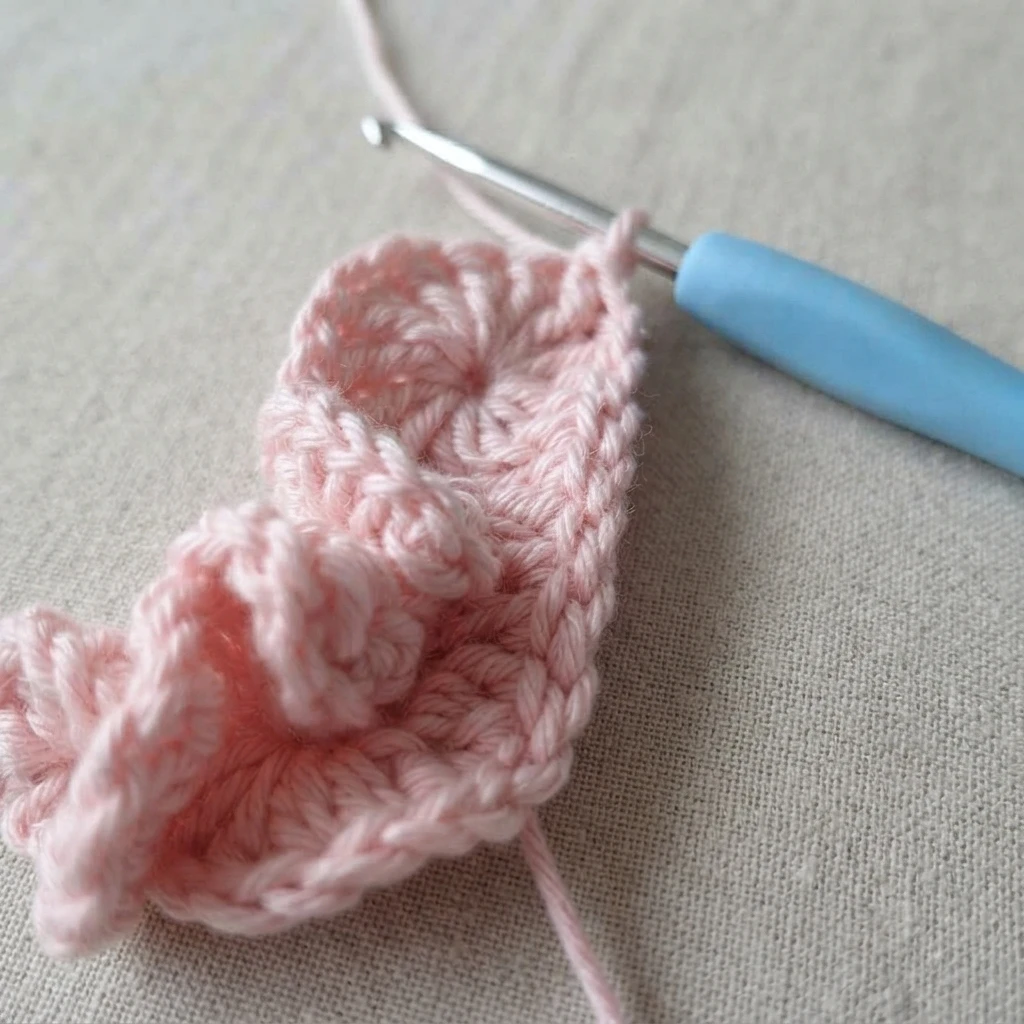
Slip stitch into the next 4 stitches around the right side of the bunny’s head to reach the top of the head. The source warns against working these slip stitches too tightly.
Bunny Ears (x 2)
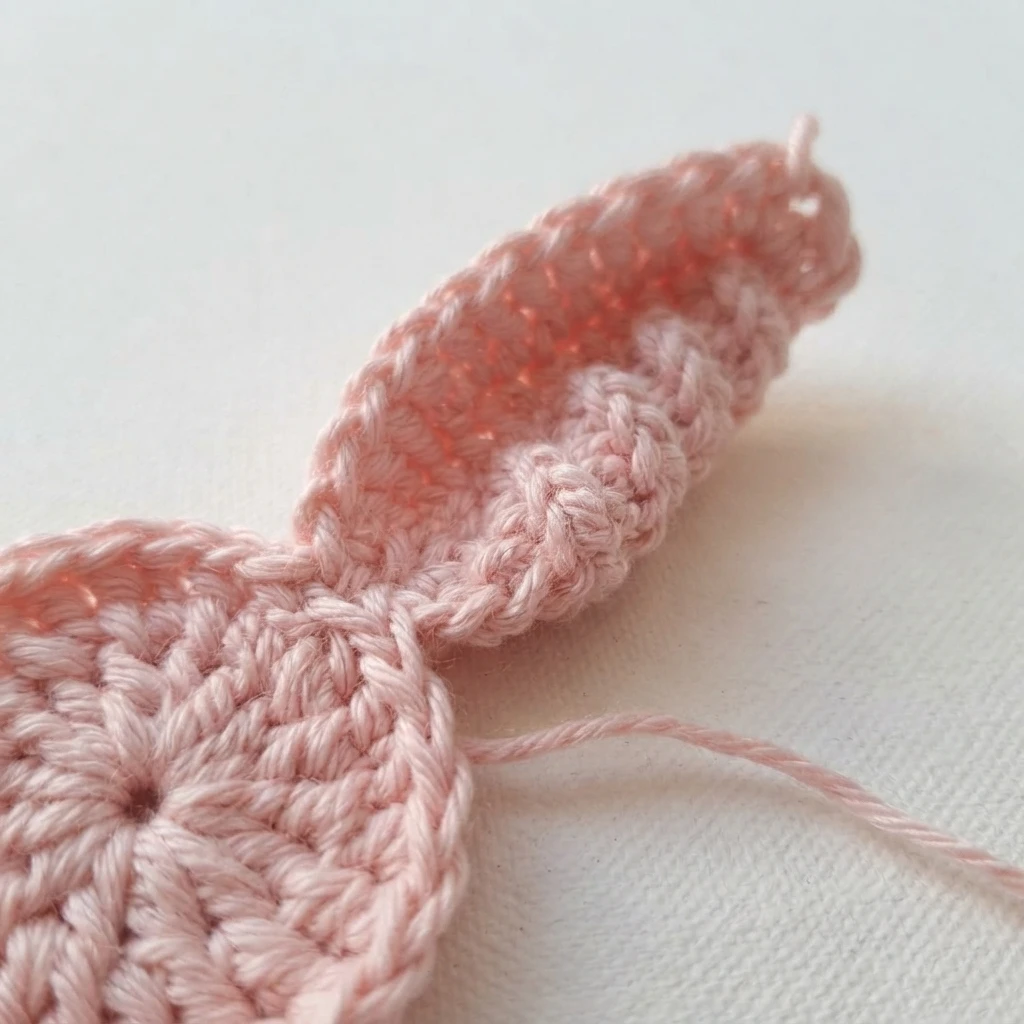
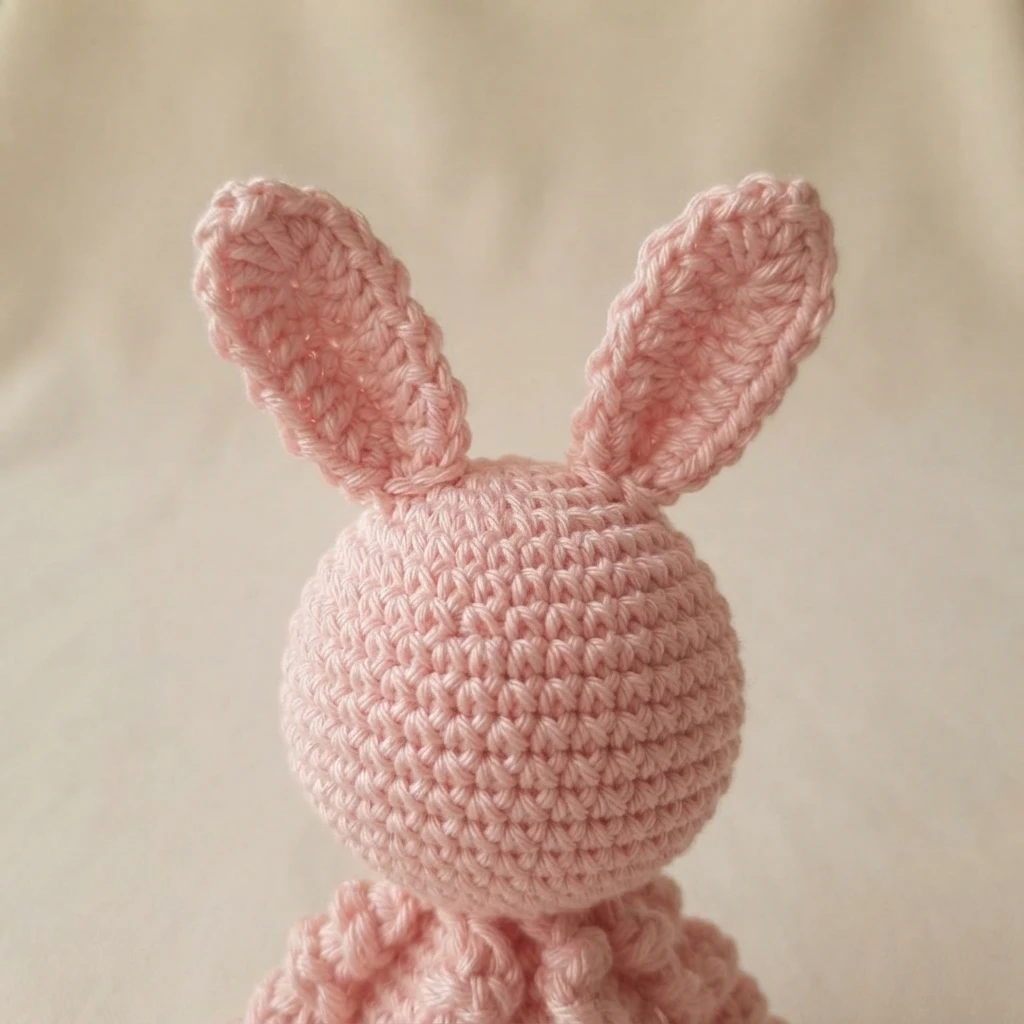
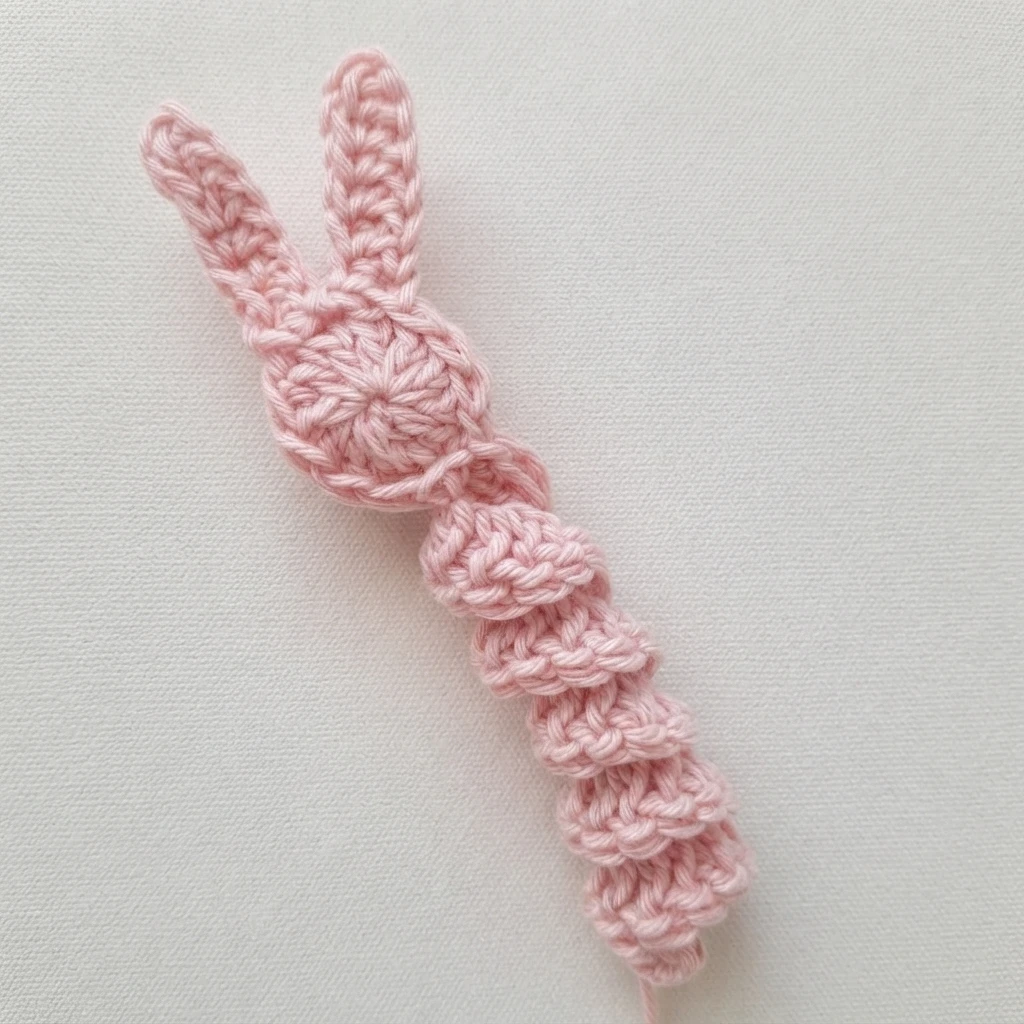
Each ear starts with a chain of 7. The source then works single crochet, half double crochet and double crochet across that chain, finishing with a single crochet and joining with a slip stitch into the next stitch on the bunny’s head, for 7 stitches. That completes the first ear, and the sequence is repeated for the second.
Bunny Head Part III (Finishing the Bunny’s head)
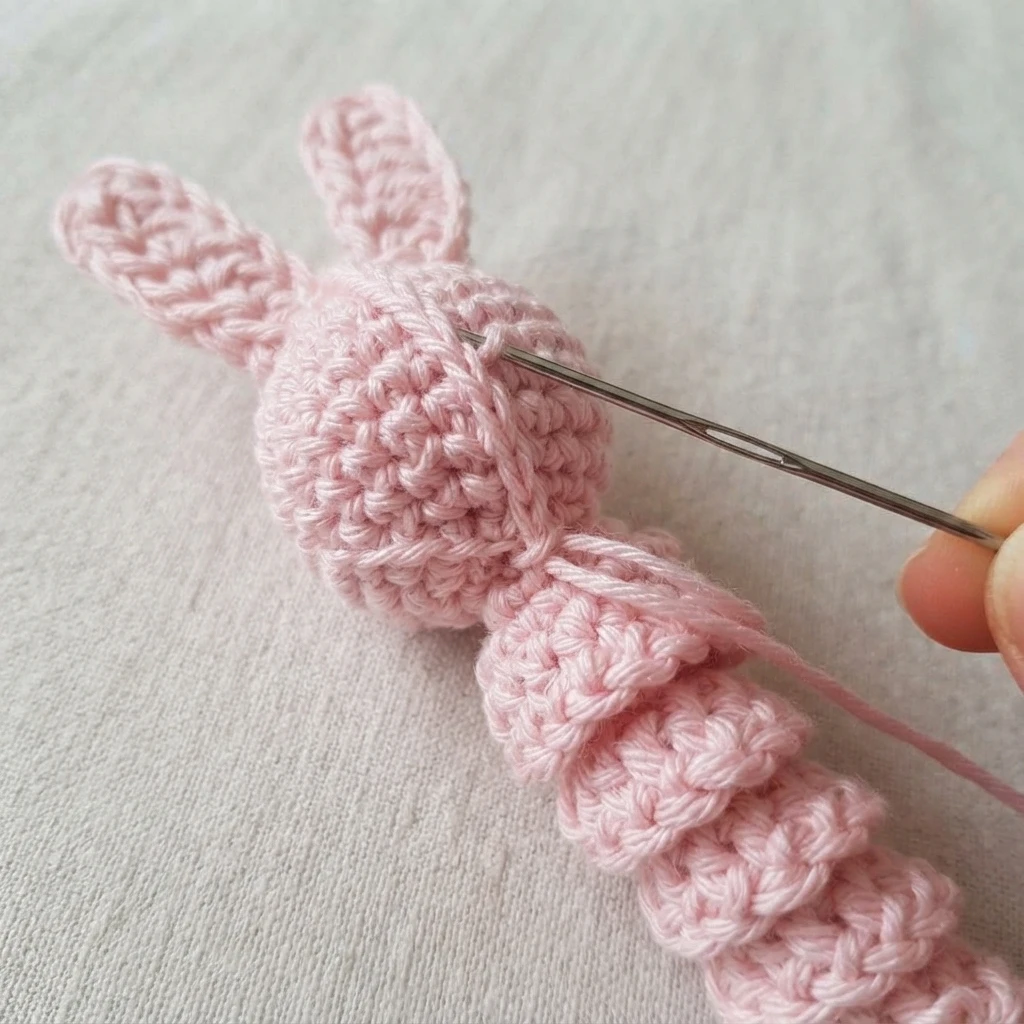
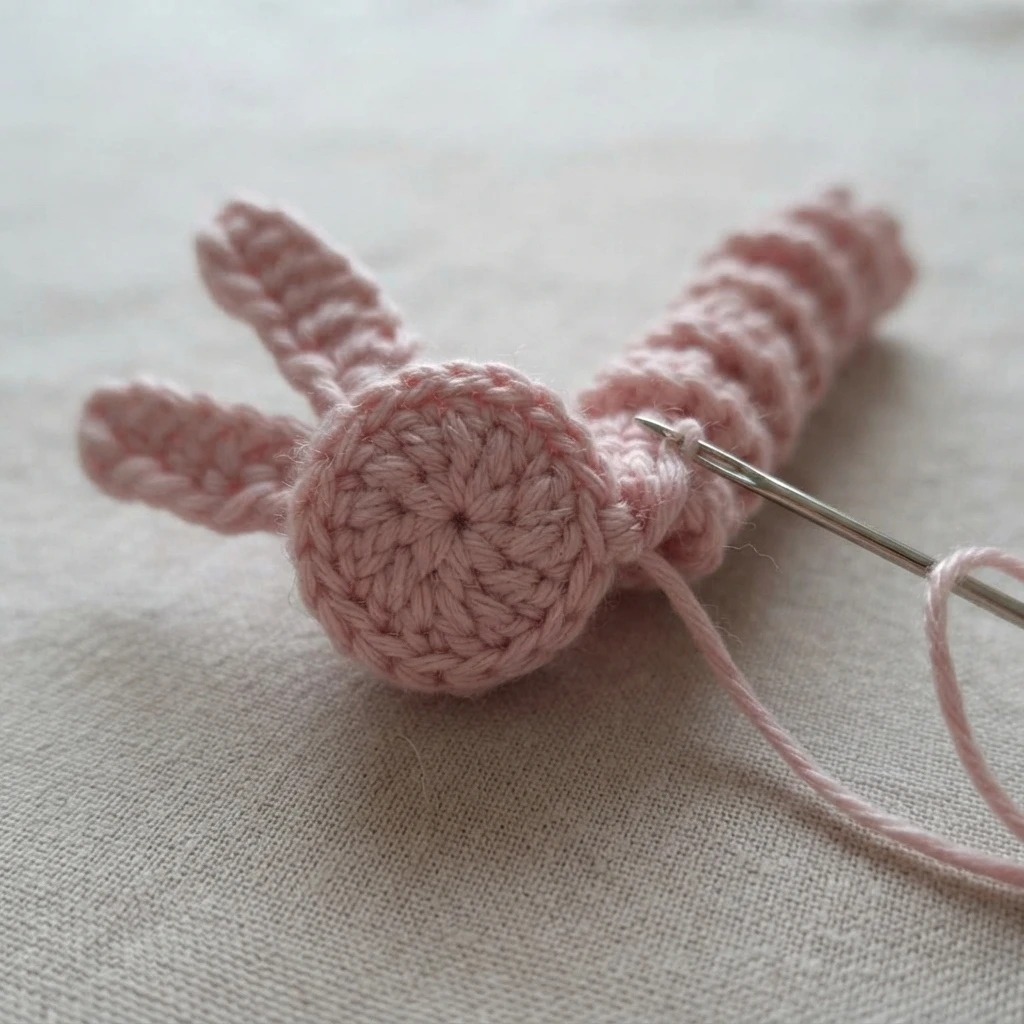
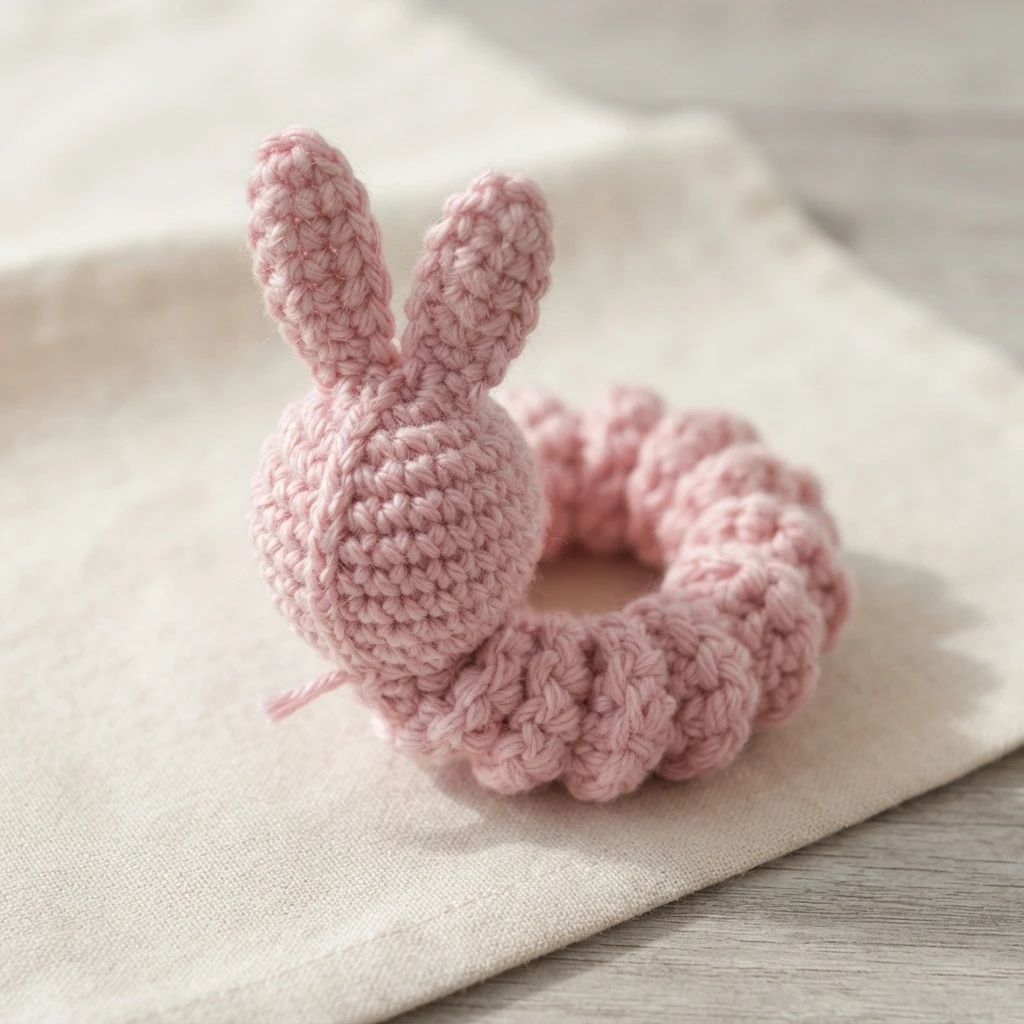
Slip stitch into the next 4 stitches down the left side of the bunny’s head, again not too tightly, then slip stitch to join into the last stitch where the bunny’s body started. Leave a 4 inch tail, cut the yarn, and fasten off. Weave the ends in at the back of the head with a darning needle.
The Bunny’s Bow
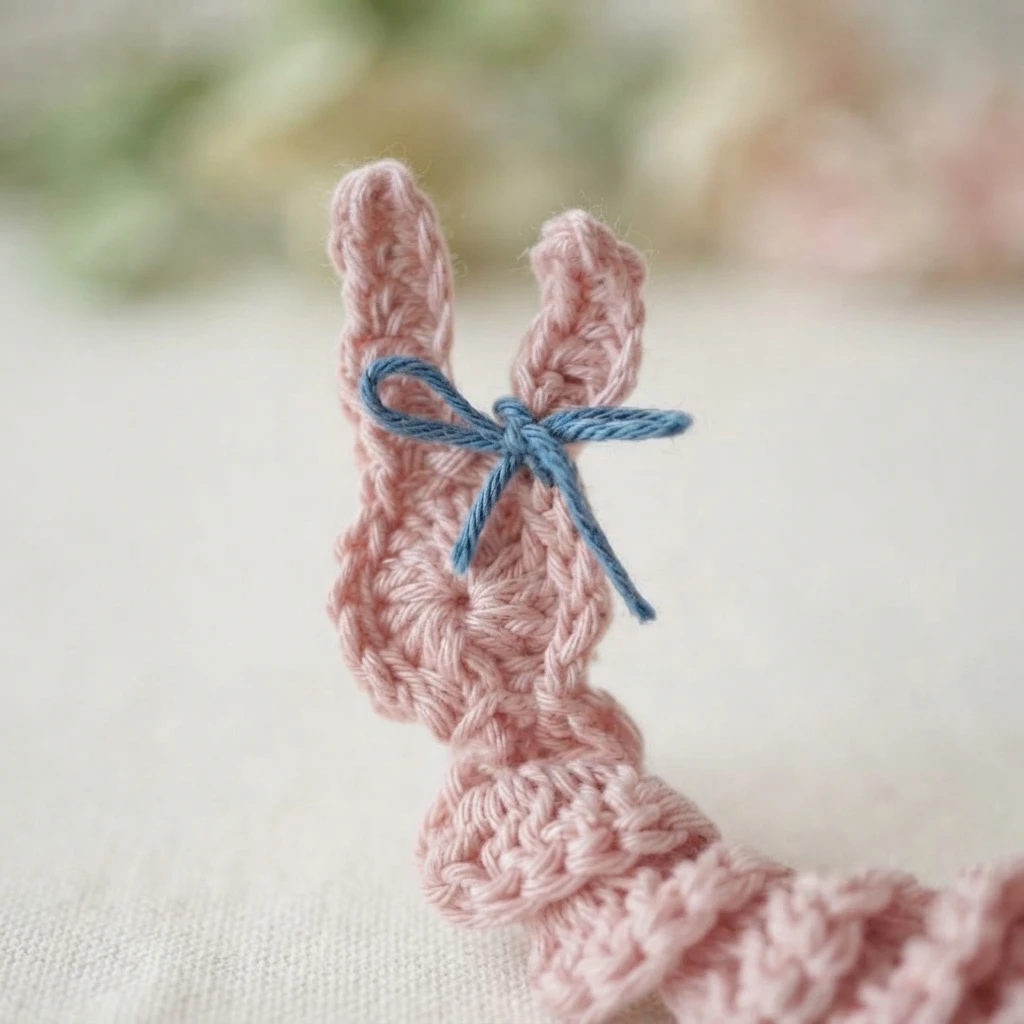
Cut a piece of contrasting colored yarn about 6 inches long. Tie a shoelace bow around the bottom of the bunny’s right ear, then snip off the excess ends. This detail adds charm without extra crochet work.
The Bunny Eyes
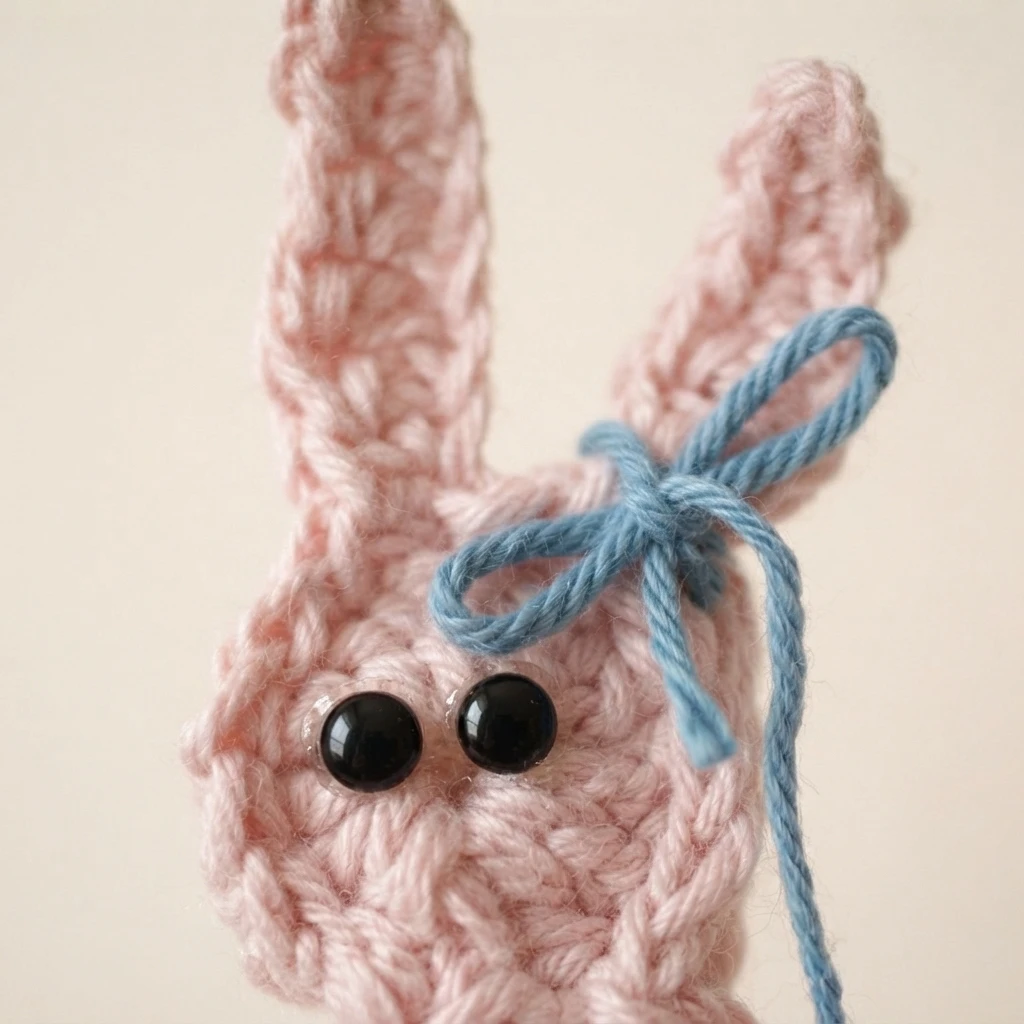
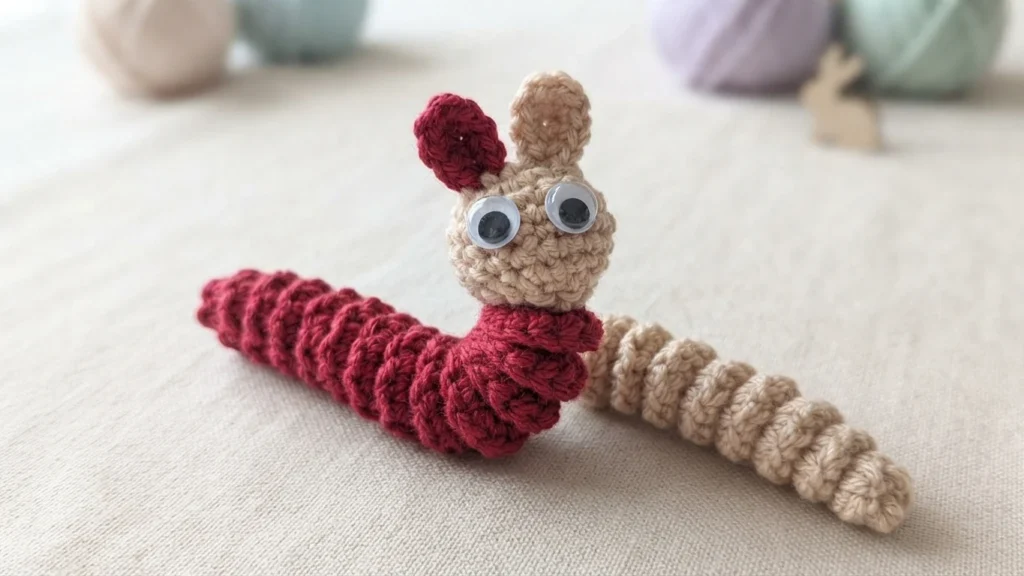
The sample uses stick-on craft eyes. They are not safety eyes and have nothing protruding from the back, and they are glued onto the face. Because they are not suitable for children under 3 years old, the source advises including a note about the age restriction if the bunnies are left out for people to find; that note is included in the poem tags. Embroidered eyes or a French knot are mentioned as alternatives, and the source links to a list of other eye options.
Finishing Touches
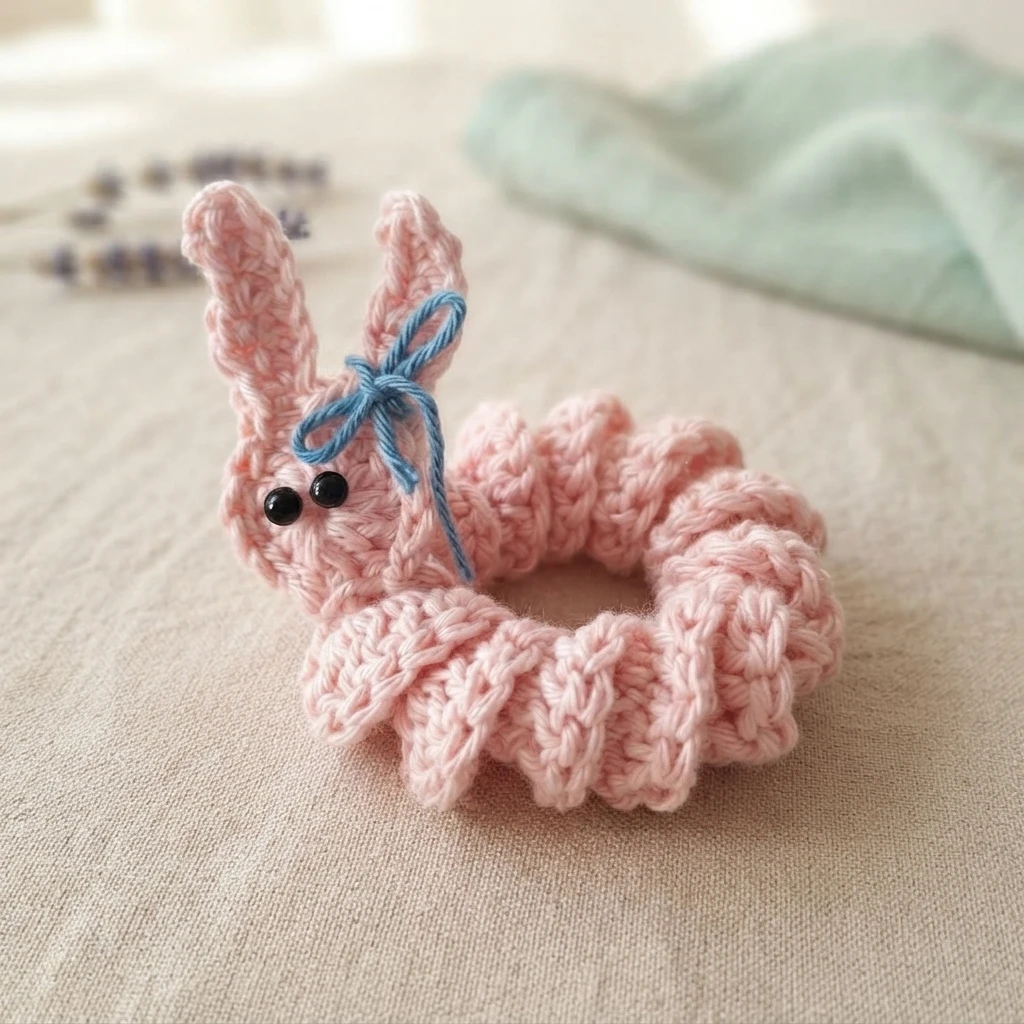
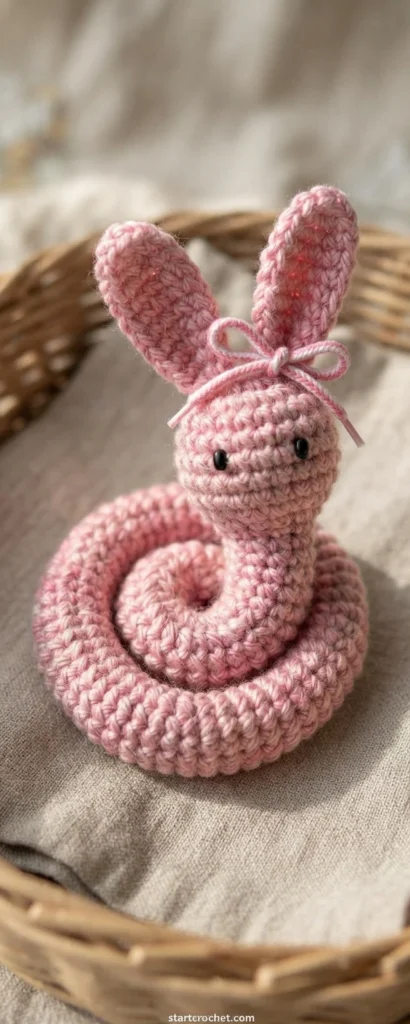
If the body did not curl properly, twirl it around your finger once more so each curl falls into place. An embroidered mouth is optional if you want a smile, though the designer prefers the bunnies plain and simple. Once the rhythm is familiar, these work up quickly, which suits making many for a classroom, a care home, or Easter baskets at a children’s egg hunt.
<h2 data-pcsp-section=Three Christmas Worry Worm Crochet PatternsBundle Sale (PDF Printable)
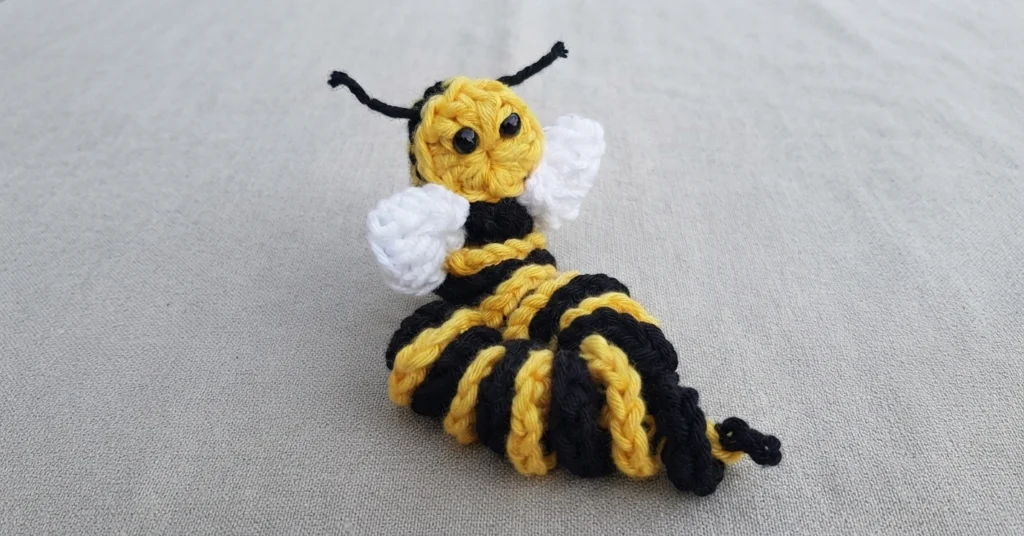
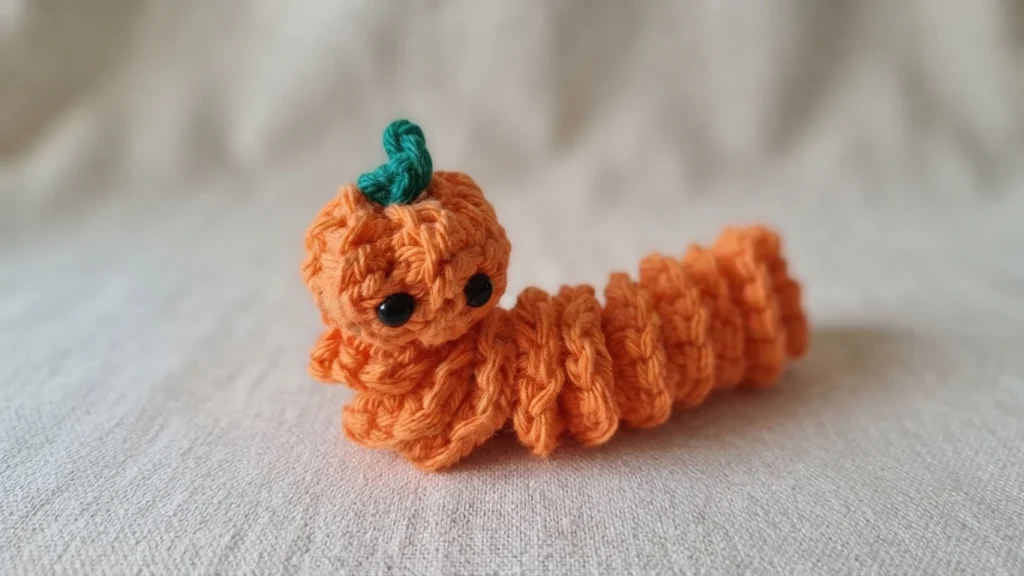
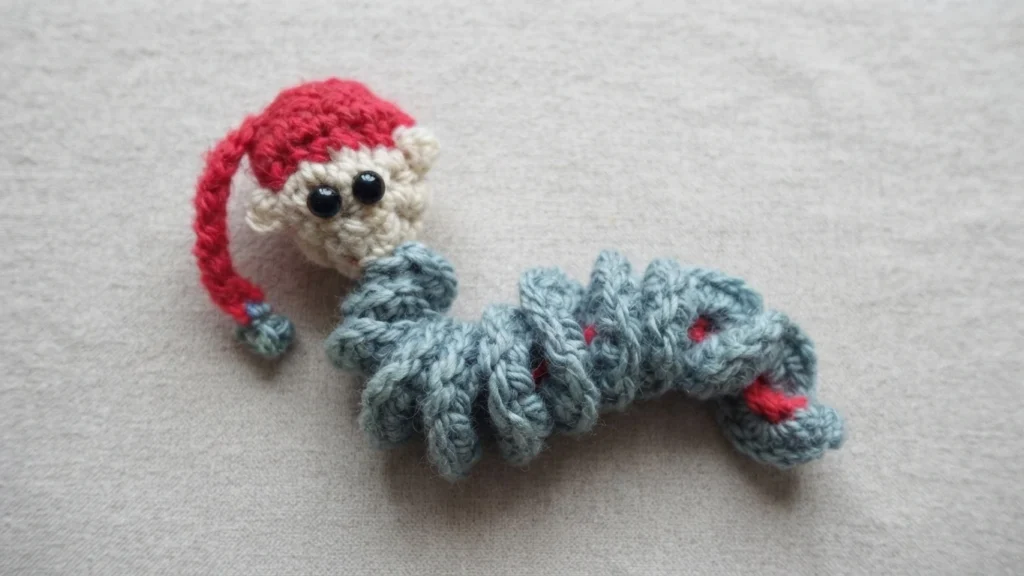
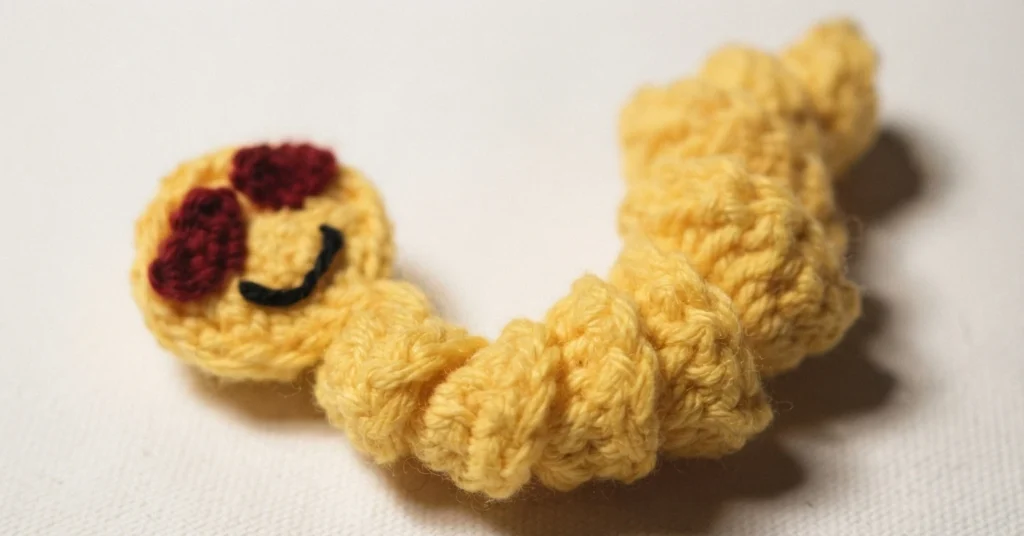
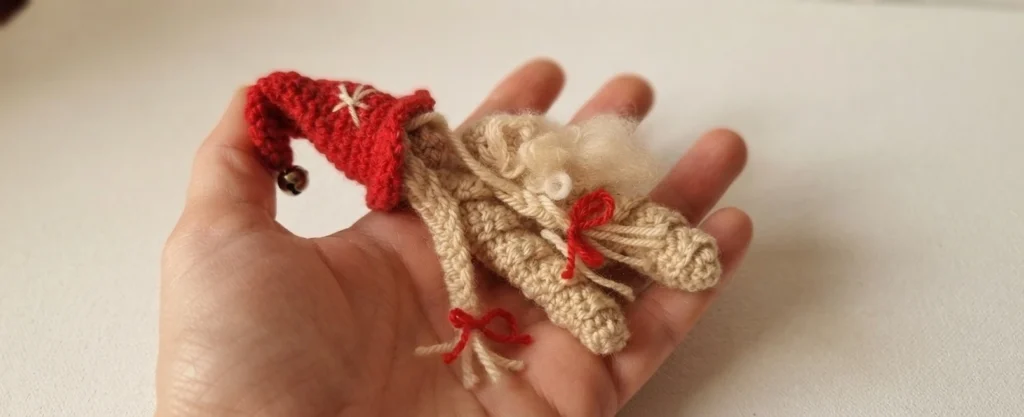
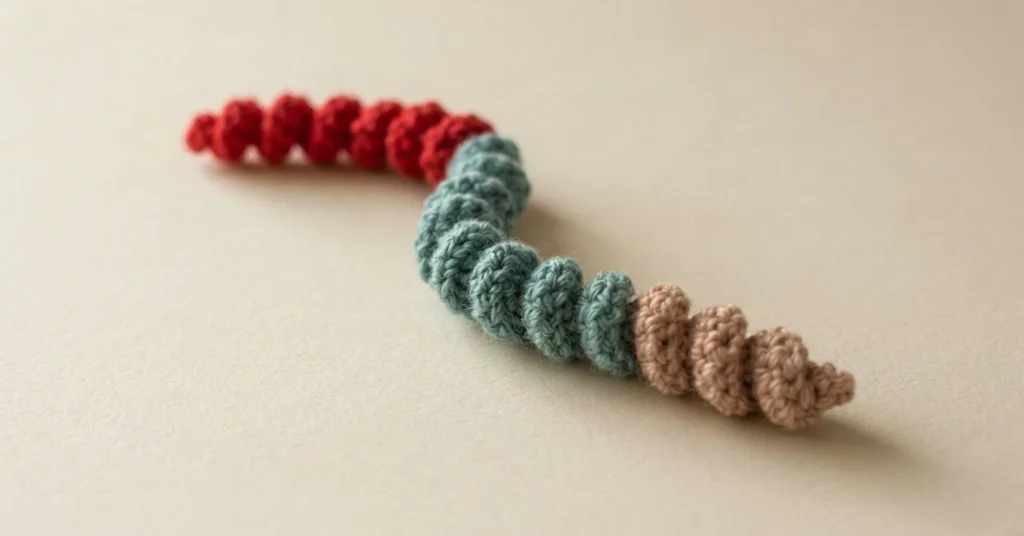
The free Easter bunny pattern is available on the Start Crochet website. Separately, the designer sells ad-free printable PDFs. One paid option is a bundle of three Christmas worry worm patterns, offered at a discounted rate of $9.99 instead of $14.97, available from Ravelry or the designer’s online shop. Other paid PDF offers listed by the designer include an ad-free printable bunny worry worm pattern, printable poem tags, and larger worry worm bundles. These paid PDFs are separate from the free Easter bunny pattern on this page.
<h2 data-pcsp-section=The source acknowledges the work of pattern testers Jayde Hartwell, Victoria Navarrete (@CraftsByTory), and Shania Foley. A disclaimer notes that while errors are rare, no liability is accepted for variations in finished projects. Questions about potential mistakes or interpretation should be directed to admin@startcrochet.com. Finished items may be shared by tagging @startcrochet.
Makers are permitted to sell finished products created from this pattern but are asked to credit Start Crochet by linking to startcrochet.com or using the tags @startcrochet or #startcrochet when selling online. The pattern design and photos remain the copyright of Start Crochet (May Shehab, 2023); unauthorized reproduction, translation, or resale of the pattern itself is prohibited.
For complete instructions and material lists, refer to the Original designer’s pattern and instructions.
Meet the Halloween Witch Bunny! (October bun; pattern): Pattern Overview
Apple Mason Jar Cover with Worm by Kitty’s Kreations Boutique: Pattern Overview