Project introduction
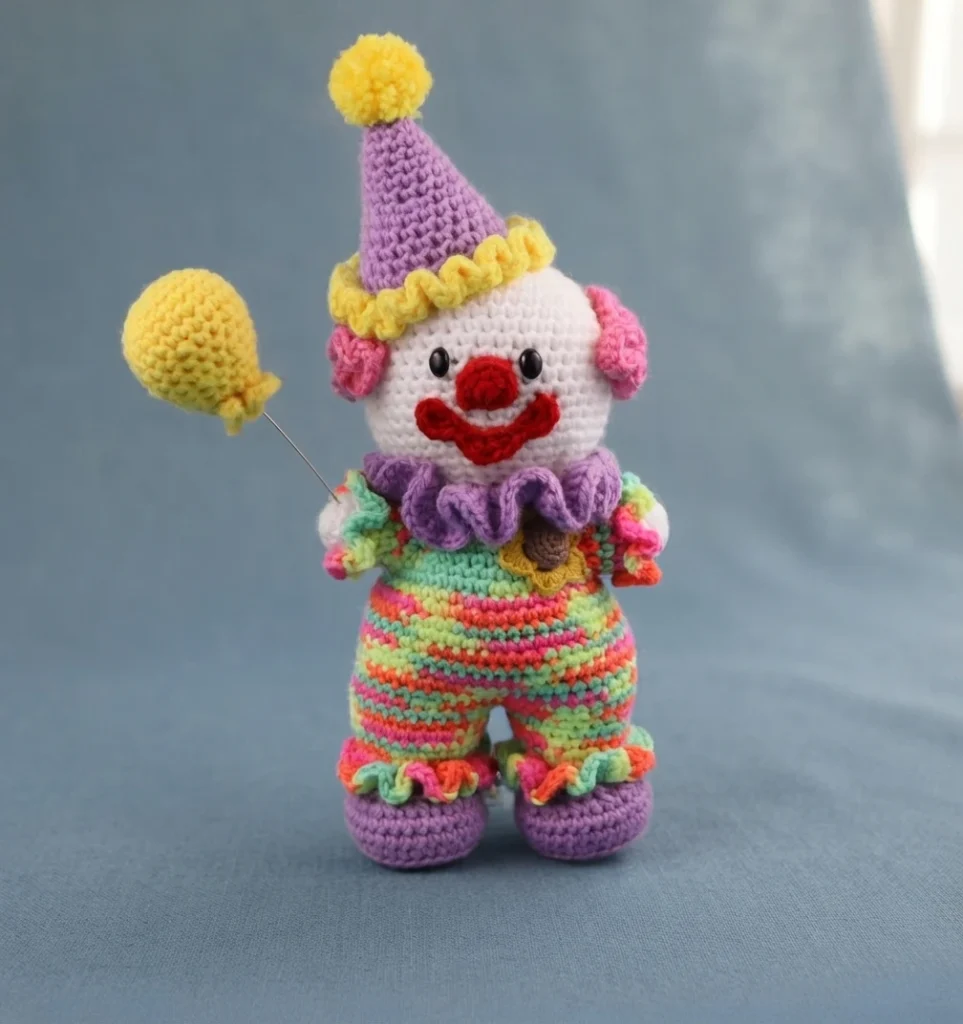
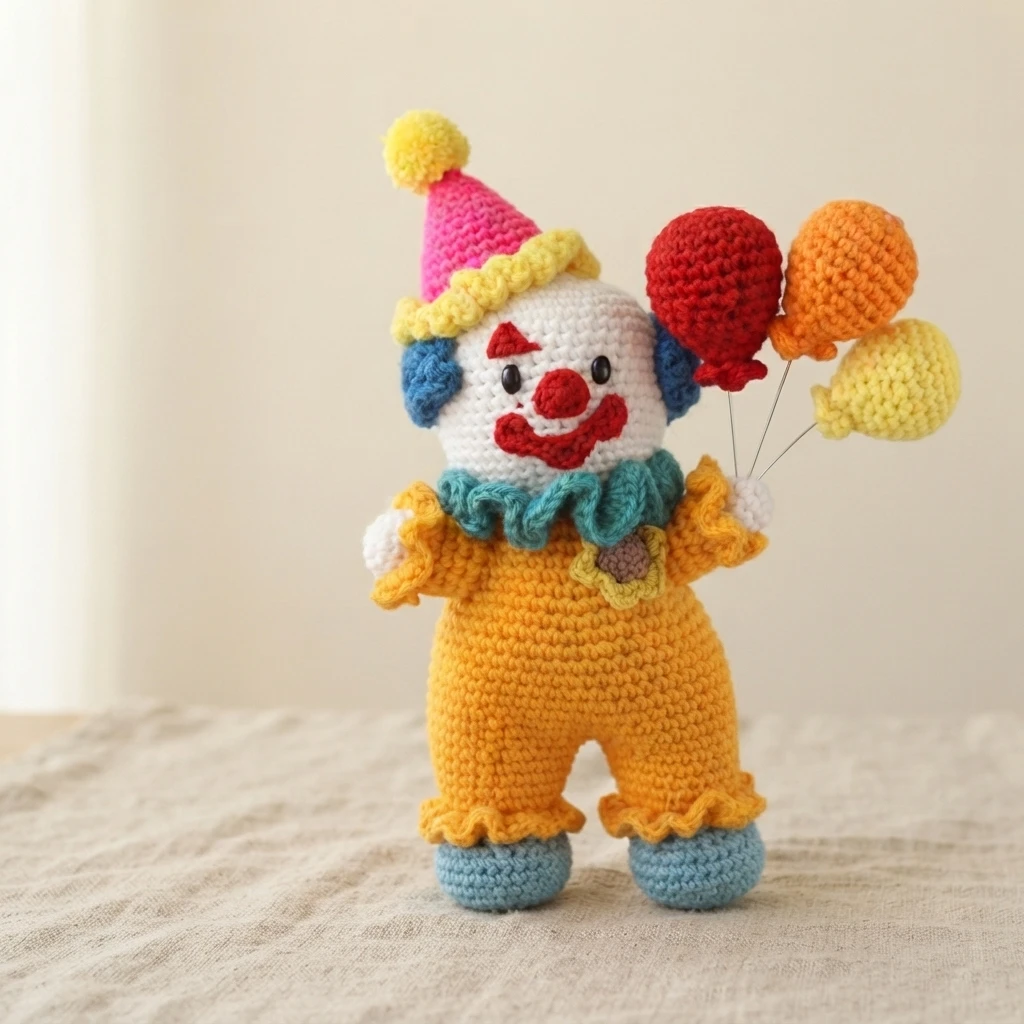
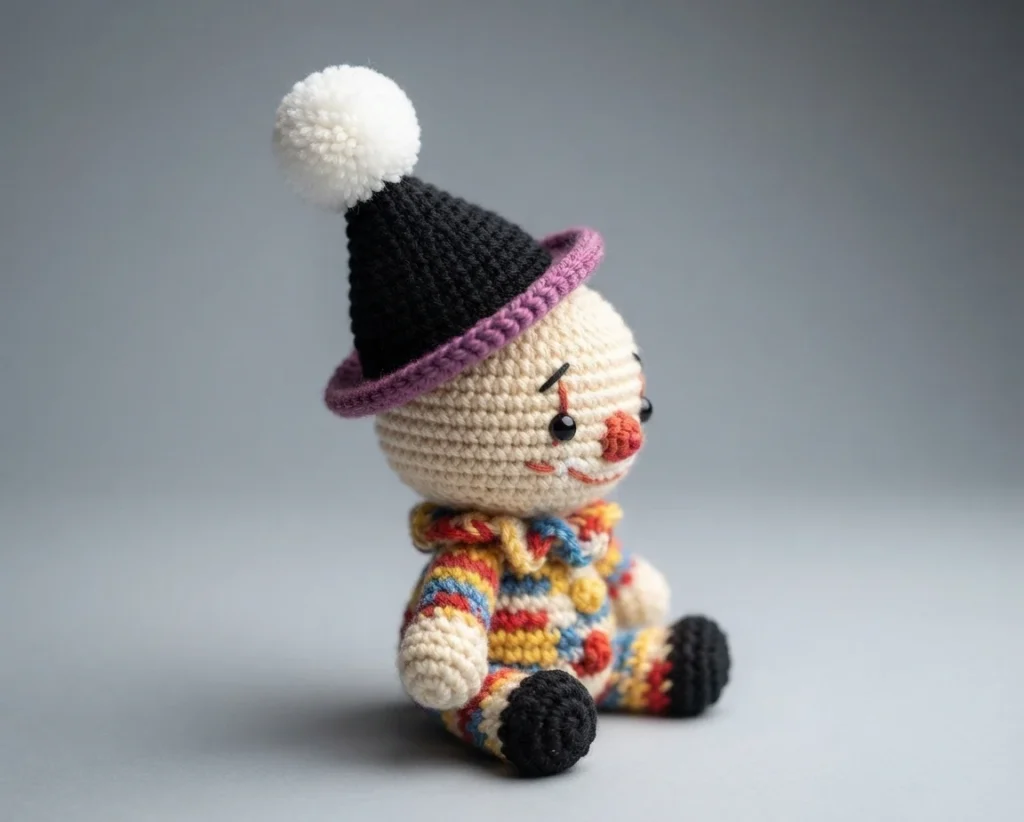
This is a pattern overview, not a full tutorial. The Clown Amigurumi Doll is a free crochet pattern from StringyDingDing, and this page walks through what the project involves, what you will need, and how the pieces come together. The designer lists the difficulty as experienced, and the finished clown includes balloons and a mini sunflower as accessories. You can find the Original designer’s pattern and instructions at StringyDingDing.
The designer notes that the pattern took a long time to produce because of the number of small sections and photos, and asks readers to flag anything that looks missing. Because the pattern is long and detailed, reading it through before you begin is worthwhile. The free web version is available on the designer’s site, while the printable PDF is a paid format. This overview does not reproduce the row-by-row instructions.
Supplies
- Medium weight (4) yarn in white for the clown’s face and hands, plus bright colors for the rest of the clown
- Fingering weight (1) yarn in brown and yellow for the sunflower
- 4 mm crochet hook and 2 mm crochet hook
- 12 mm safety eyes
- Tapestry needle
- Scissors
- Stuffing
- Hot glue gun or E600 glue for the balloon
- 18 gauge wire for the balloon
Head
The head begins in white with a magic ring of 6 single crochet stitches. It increases steadily to 42 stitches before working even rounds. Back-loop-only sections create ridges that later hold the hair, while the front loops left behind serve as attachment points for the collar.
During the shaping rounds, the designer has you place two contrasting stitch markers to mark where the eyes will sit. The head then increases to 48 stitches, works even, and decreases back down to 24. The 12 mm safety eyes go in at the marked spots after the final decrease round. If any round reads ambiguously, check the original pattern rather than guessing.
In White
This section covers the head construction. It opens with 6 sc in a magic ring and grows through increase rounds to 42 stitches. Rounds 8 through 10 are worked even. Rounds 11 and 12 mix back-loop-only and both-loop stitches to create reserved ridges. Round 13 adds two eye markers. Round 14 continues the loop pattern, rounds 15 to 17 are plain, and rounds 18 to 23 shape the head down to 24 stitches. Eyes are inserted at the marked areas after round 23.
Hair
The hair uses the front loops that were deliberately left open while the head was made. Rather than sewing on strands, you rejoin yarn directly into those loops and work outward, which gives the hair a rooted look that sits flush against the head. The designer works the hair in sections, turning the head as needed to reach each row of loops, then repeats the same process on the second set of reserved loops.
In Any Bright Color
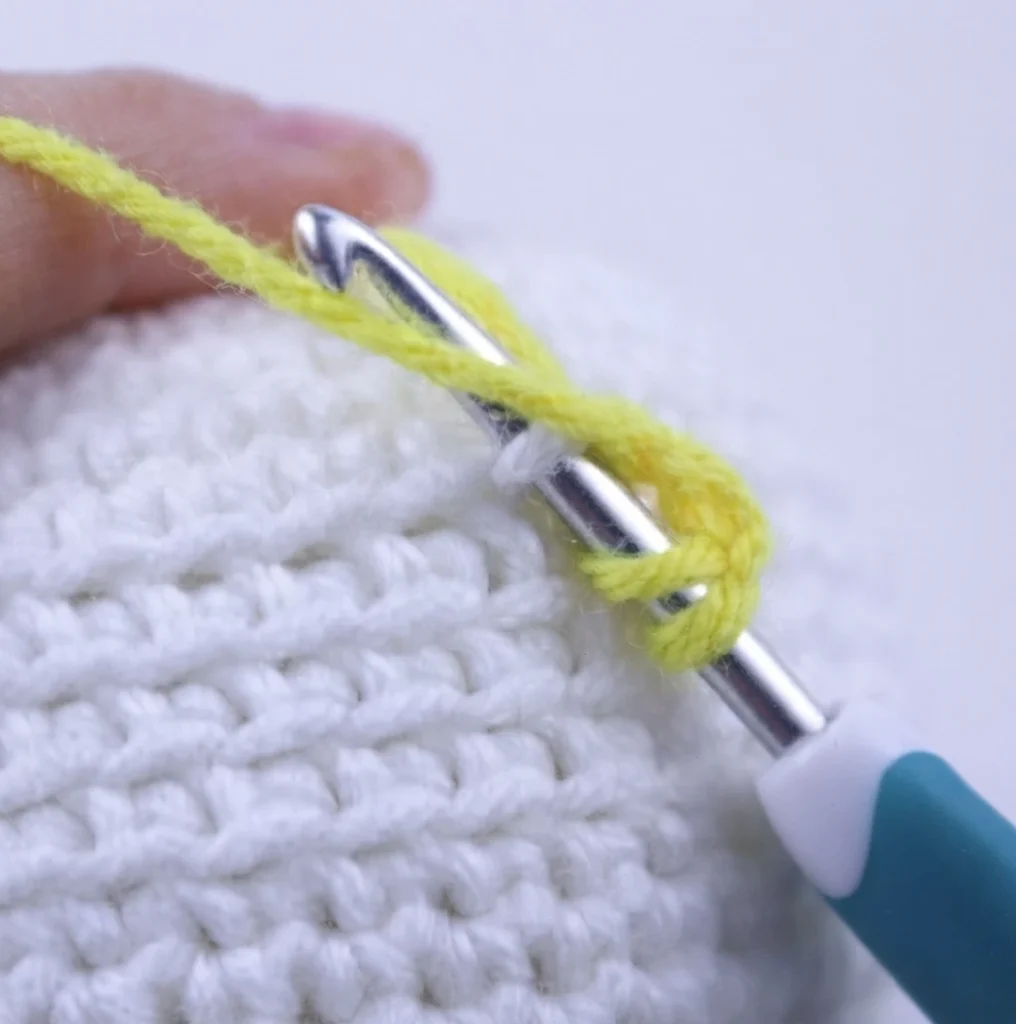
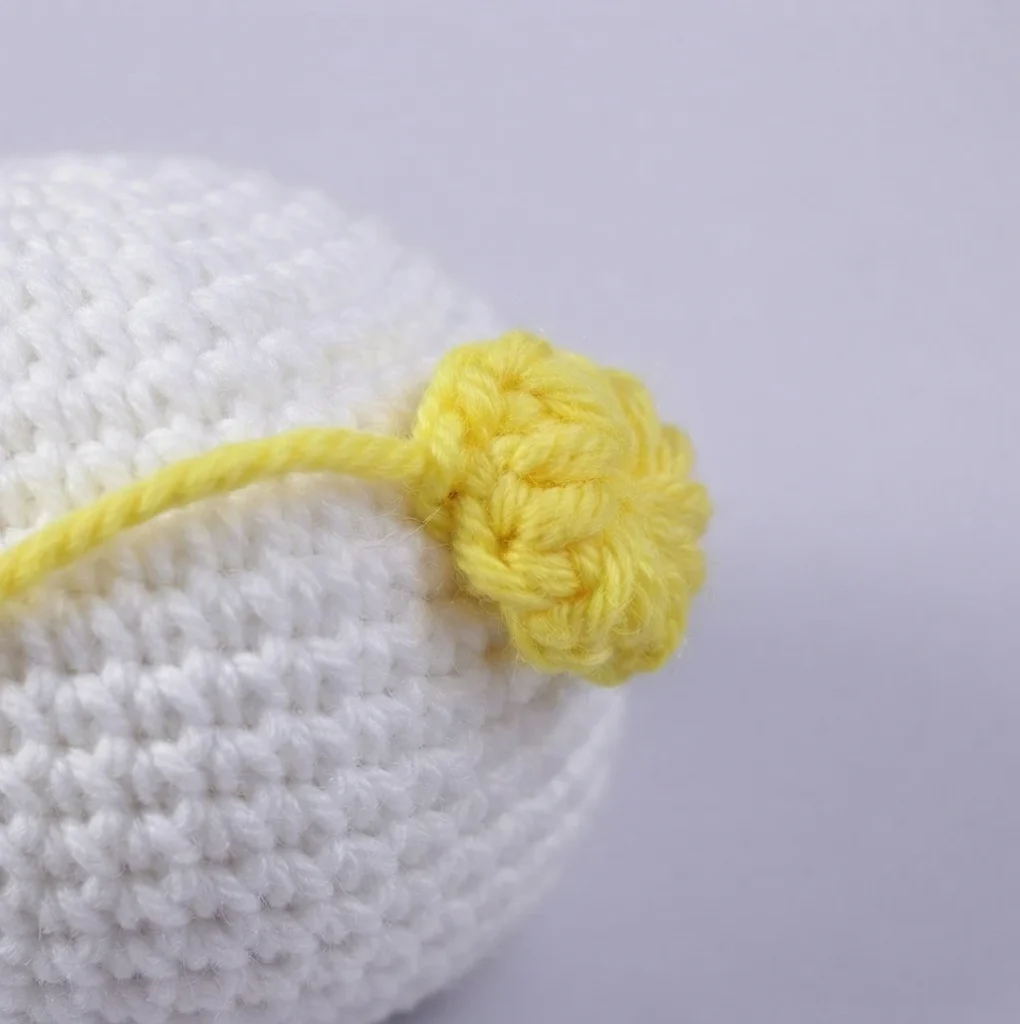
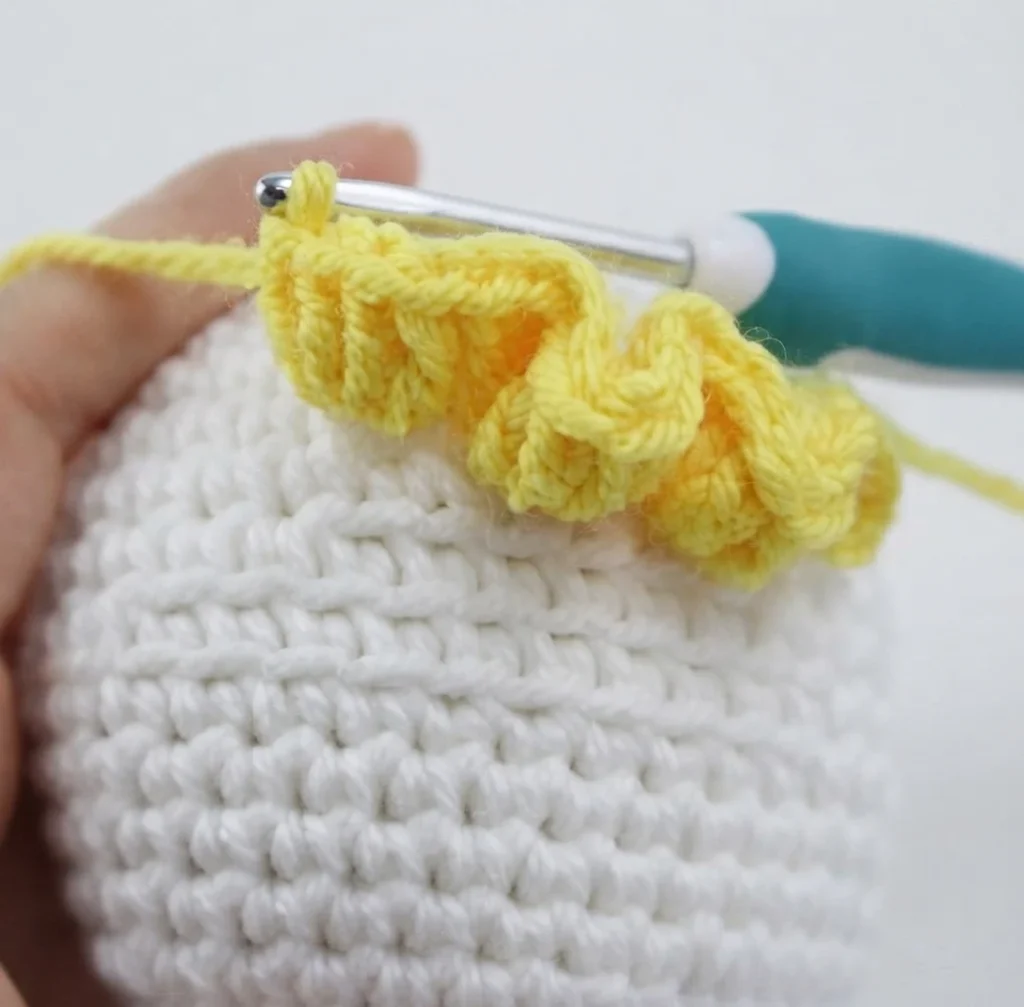
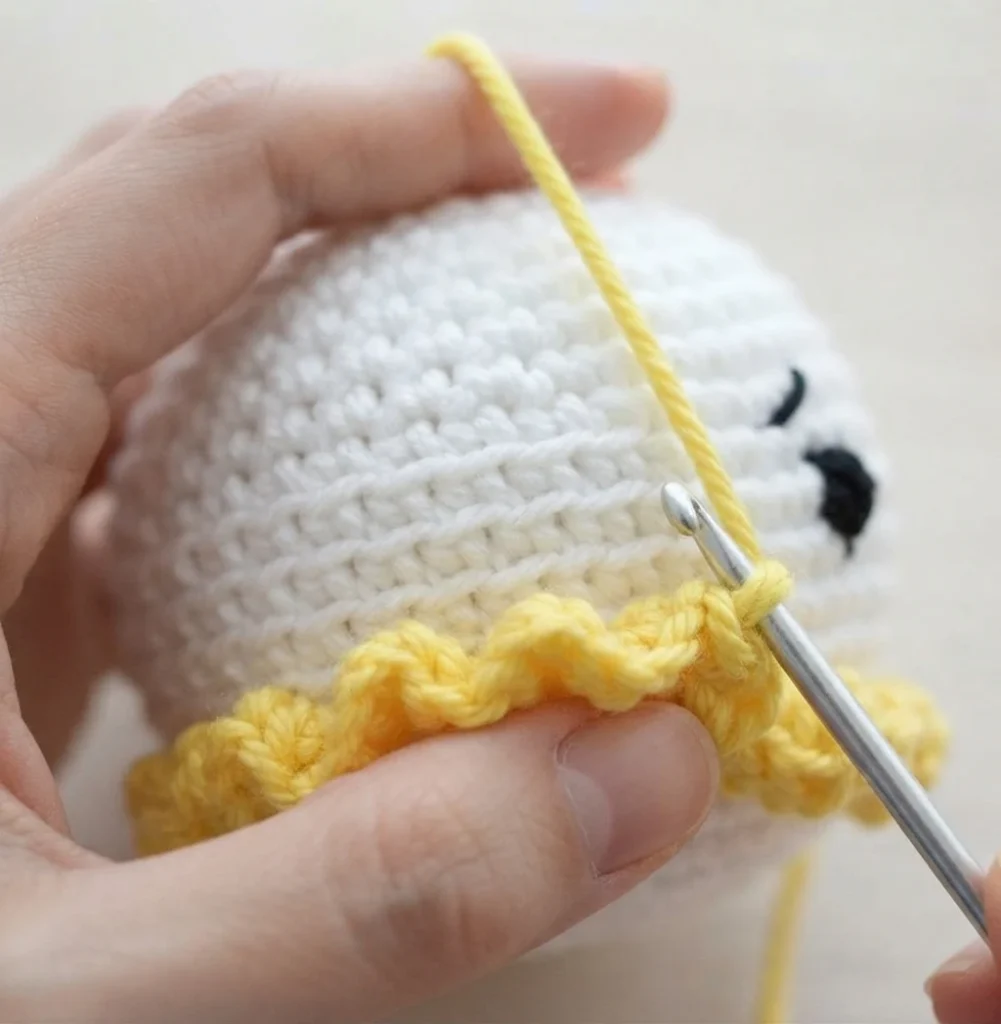
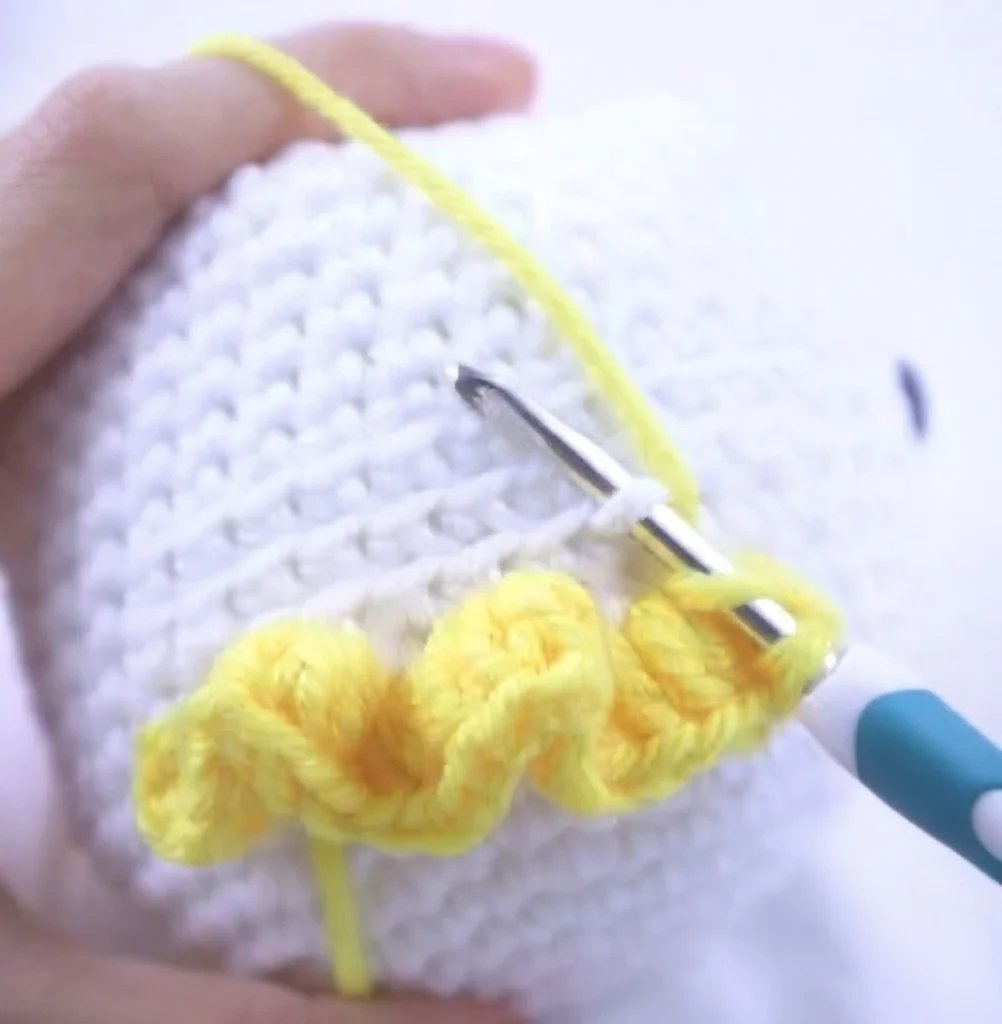
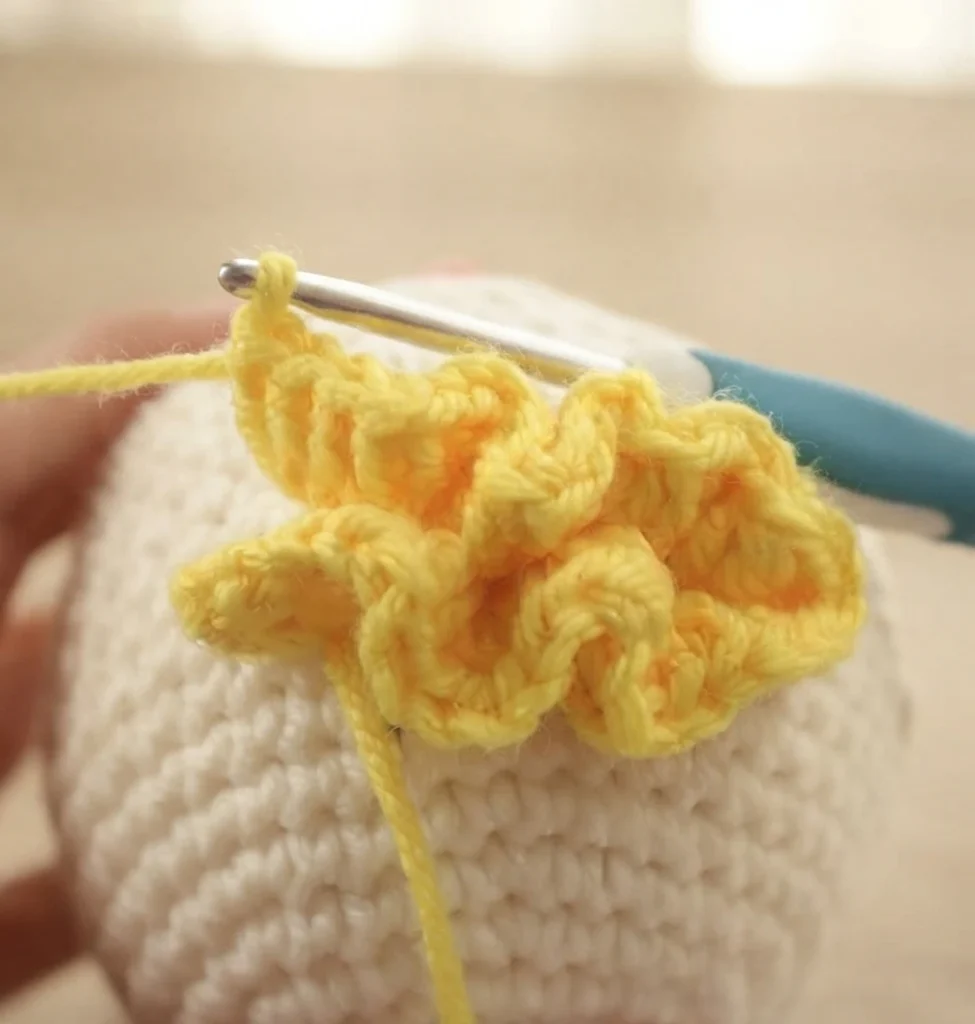
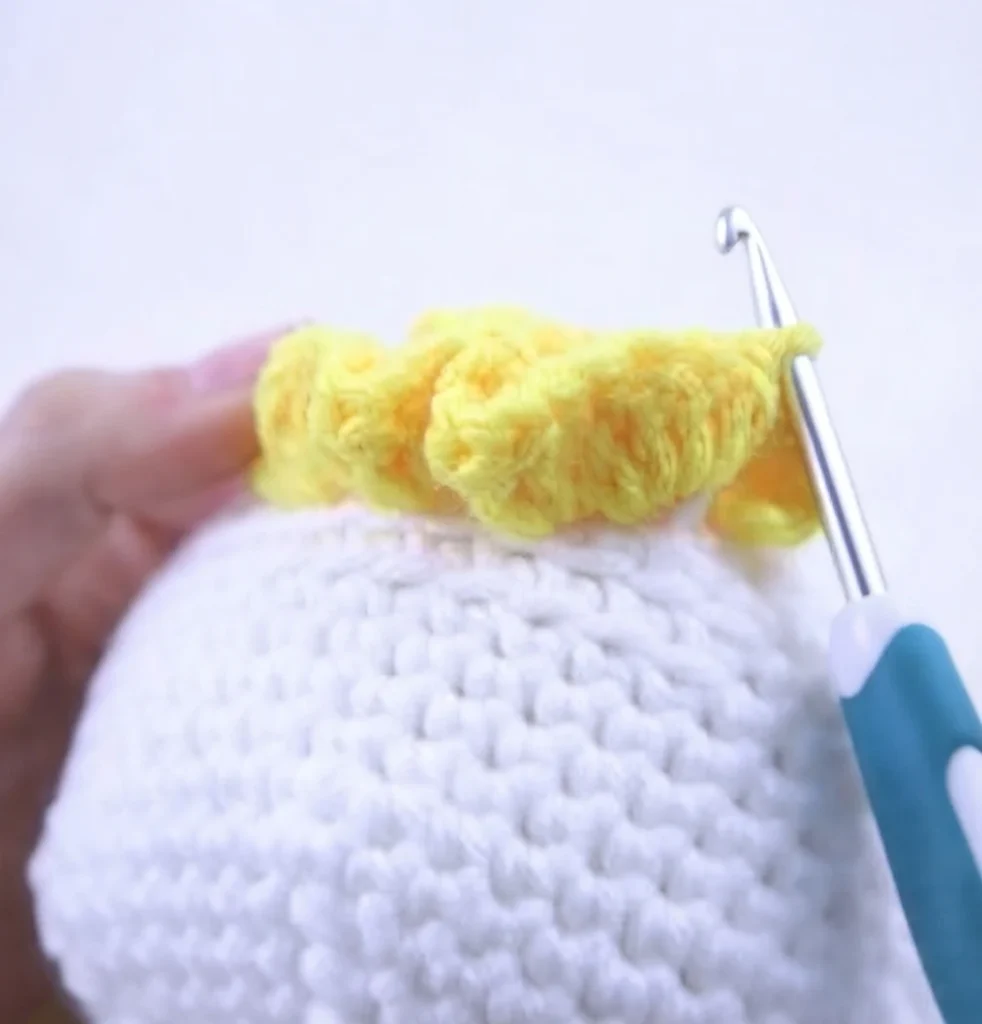
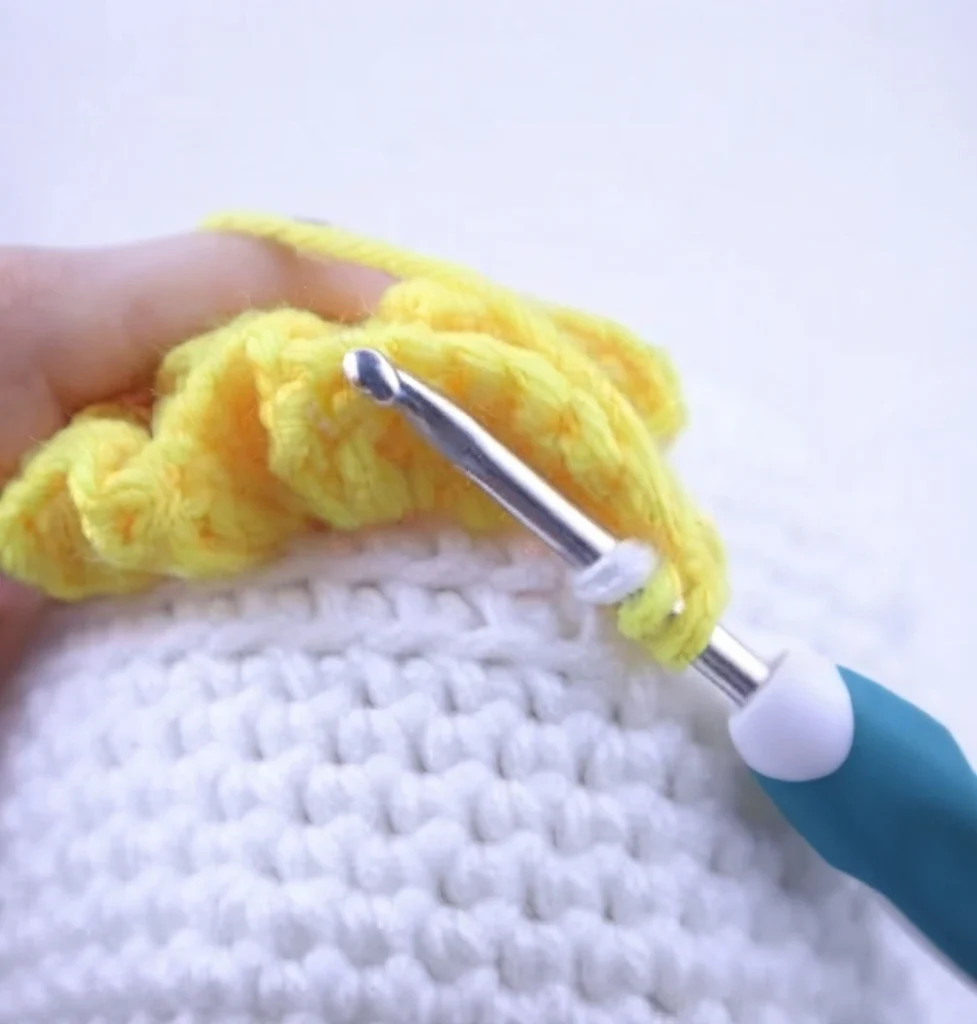
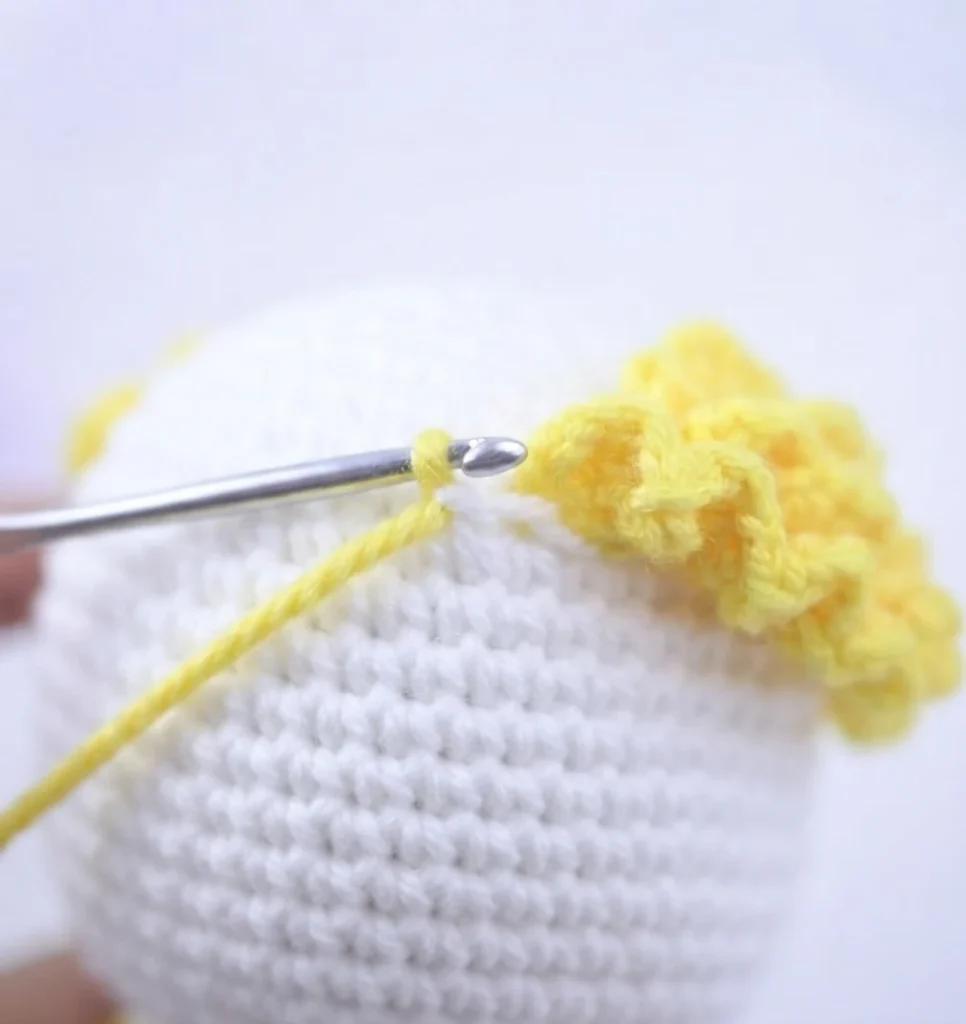
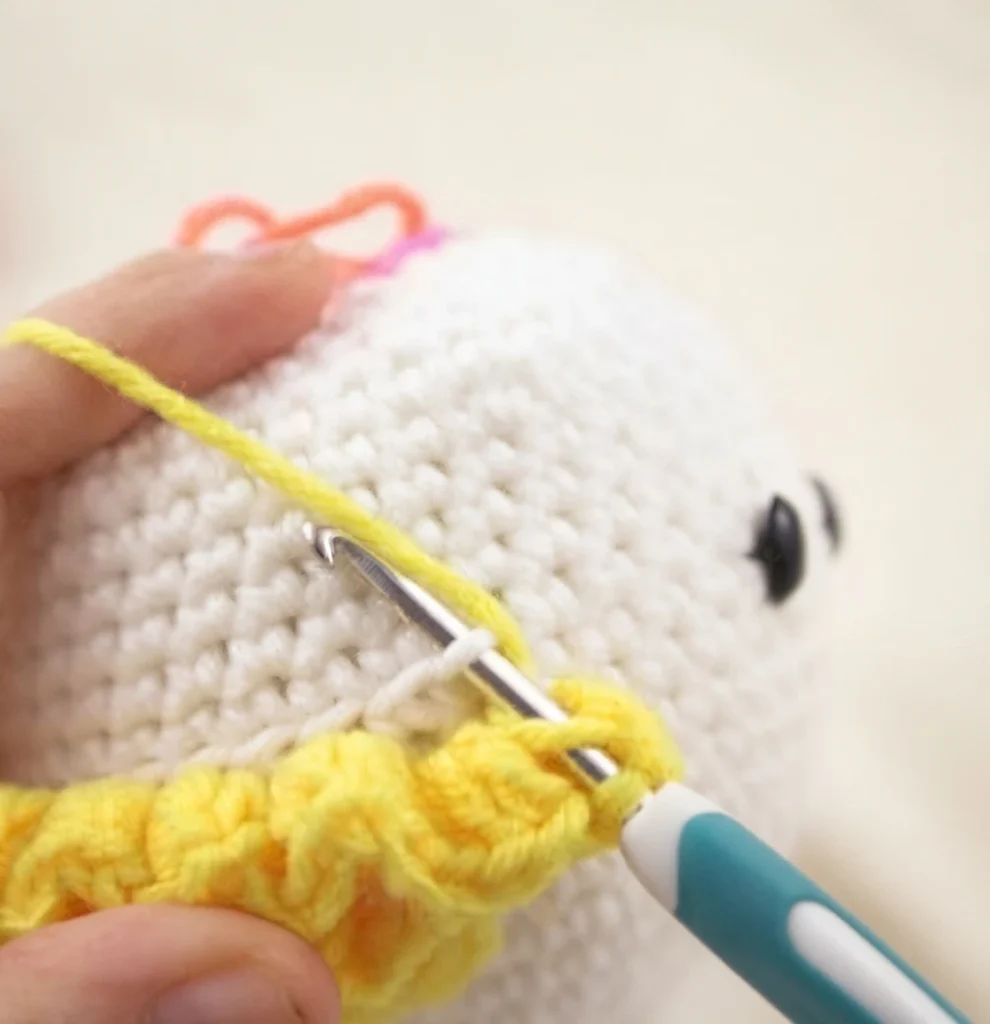
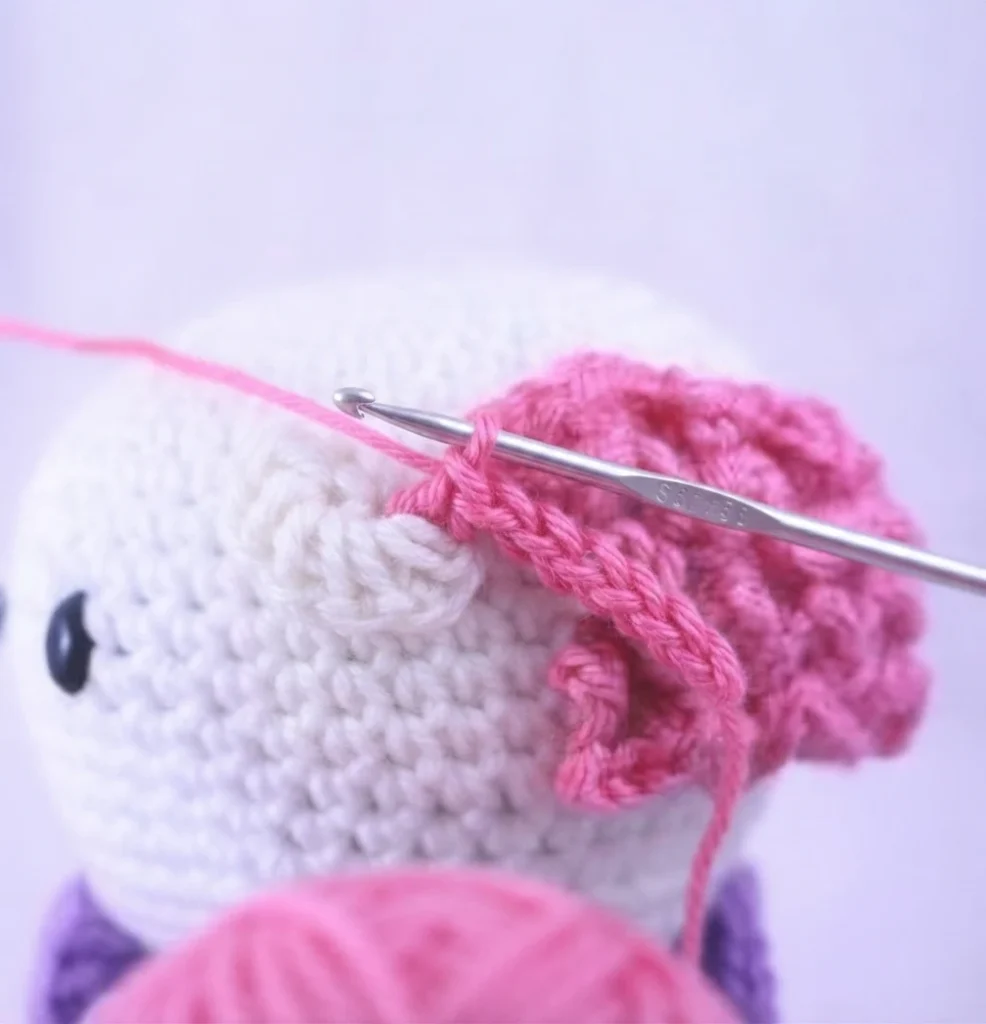
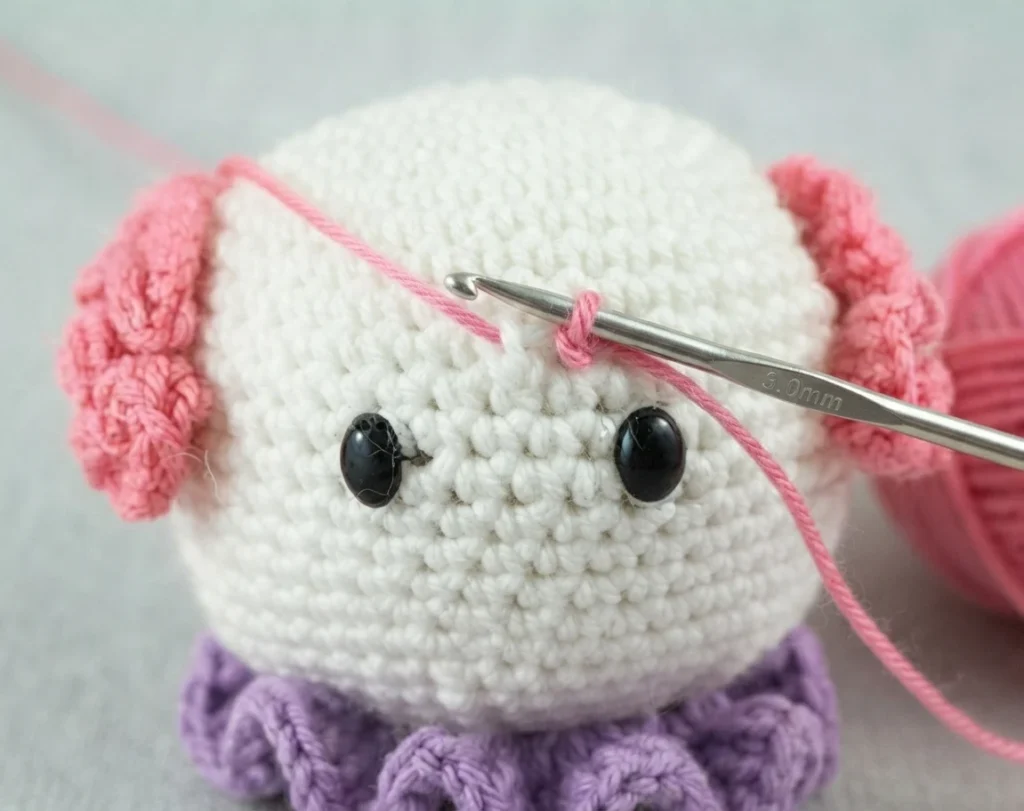
Here you attach the hair color to the first loop of the top row, chain 3, and work 3 dc into that first loop, then 4 dc into each of the next 5 loops. The head is turned upside down to reach the next row, where 4 dc go into each of 6 loops, then into each of 10 loops on the following row. The last row of that section takes 4 dc into each of 10 loops, and the whole sequence repeats on the other set of front loops.
After the hair, the pattern returns to the suit for one round, makes the collar, and resumes the suit.
Suit
The suit continues directly from the head, so the body is worked in one piece rather than seamed. The collar is made separately into the suit’s front loops, which is the same loop technique used for the hair. Once the collar is finished, the suit resumes and widens over several rounds before working even through round 42.
In Suit Color
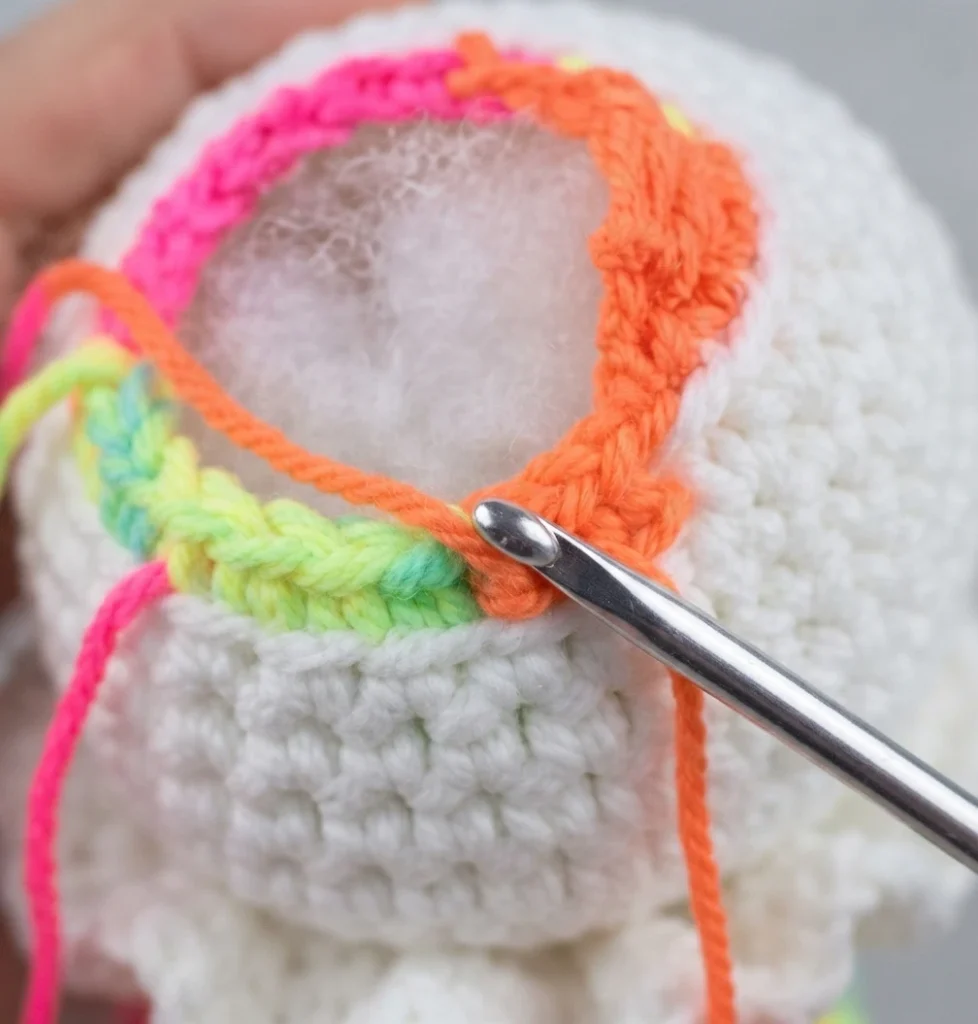
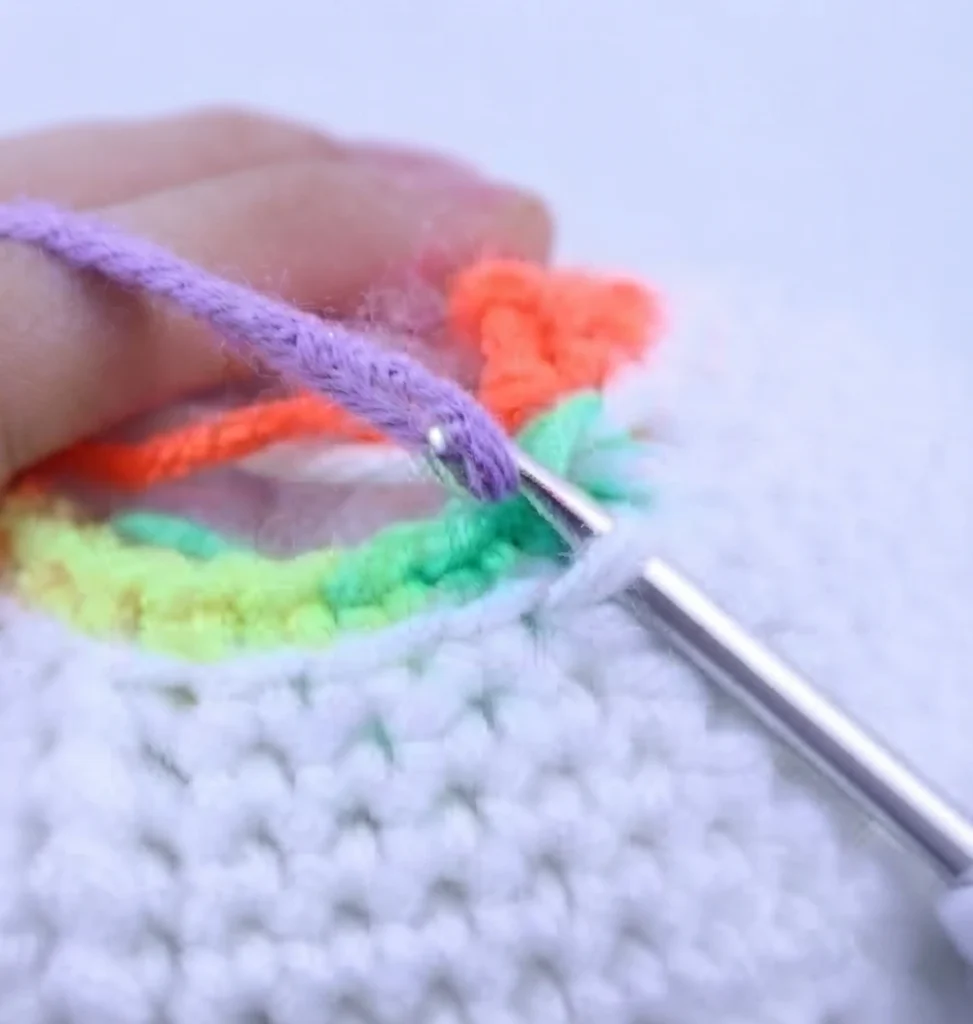
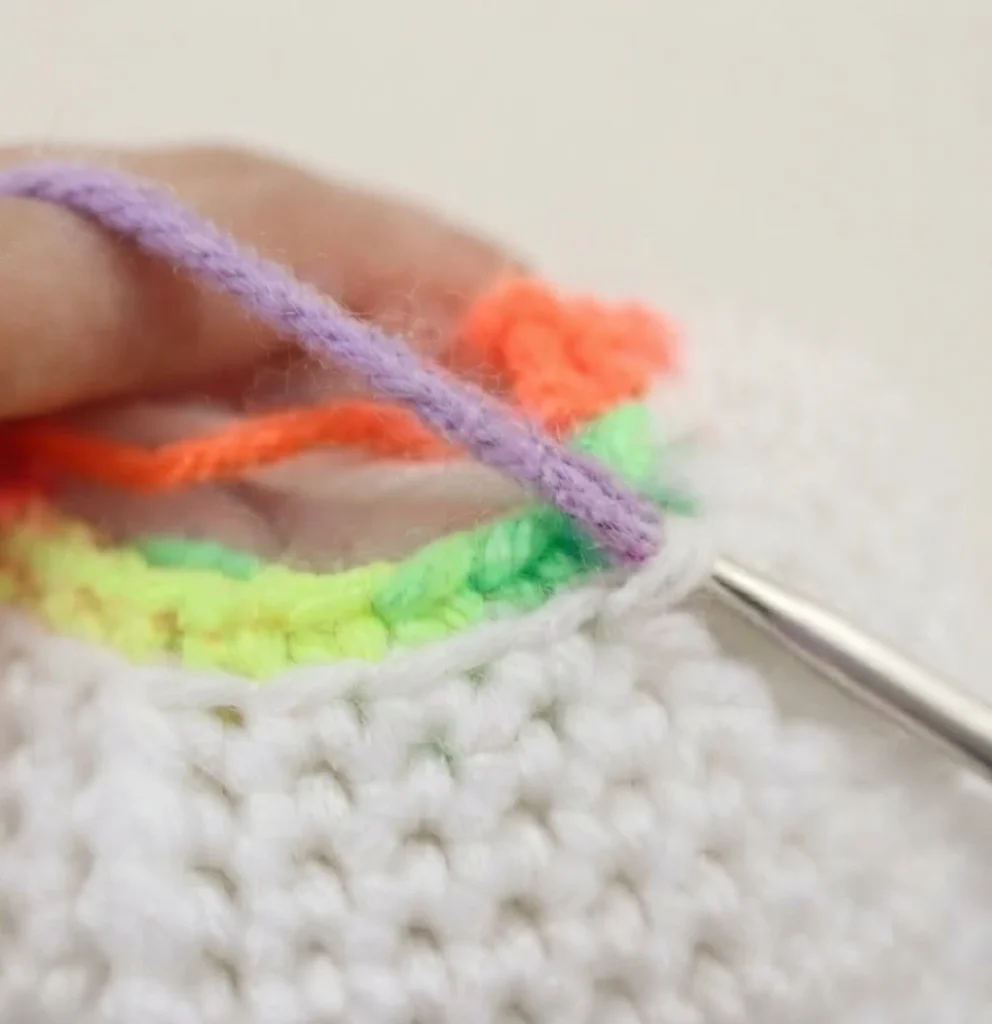
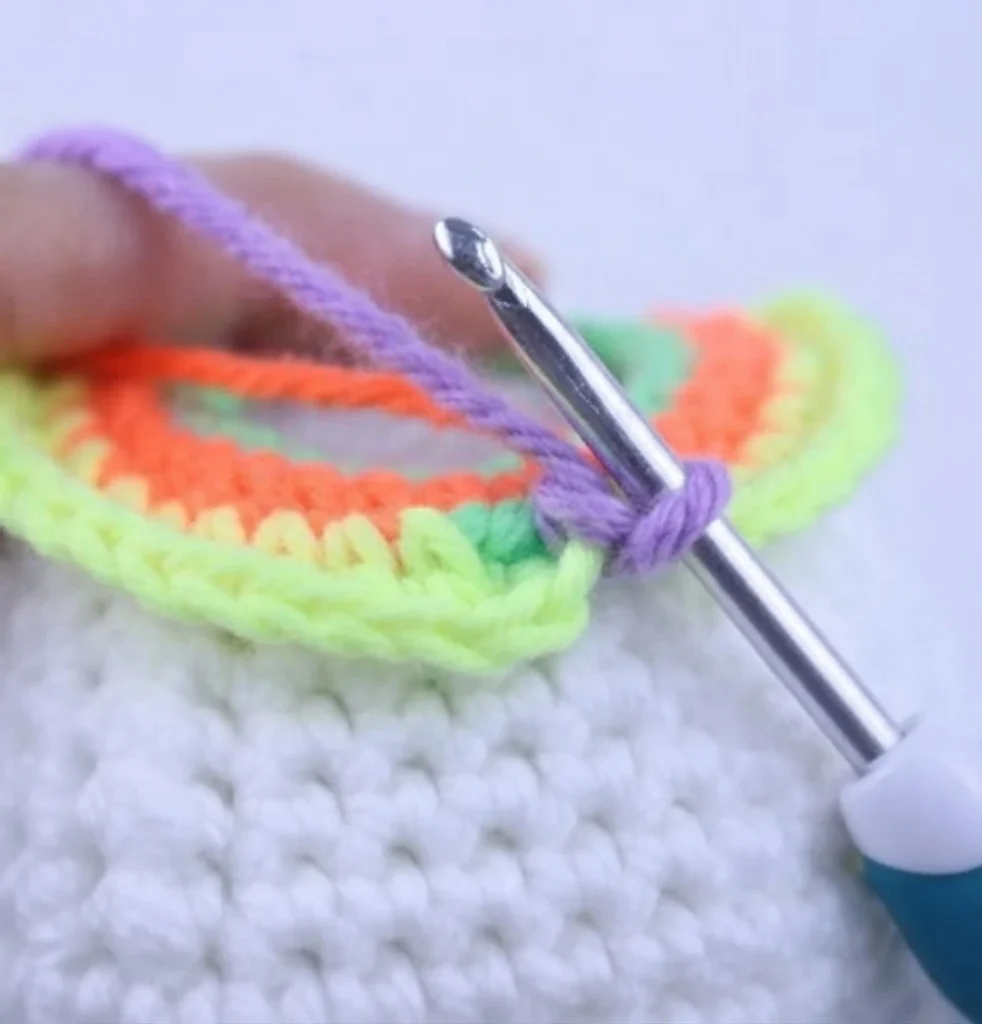
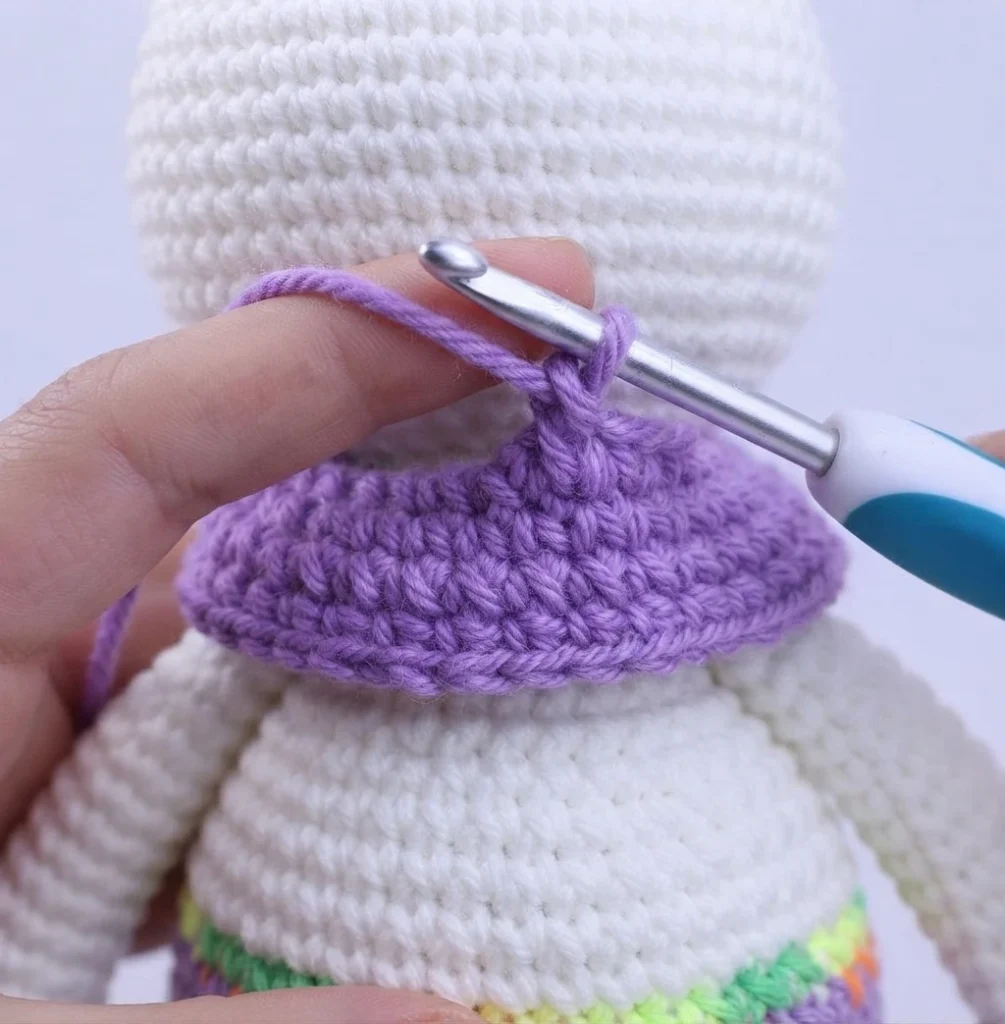
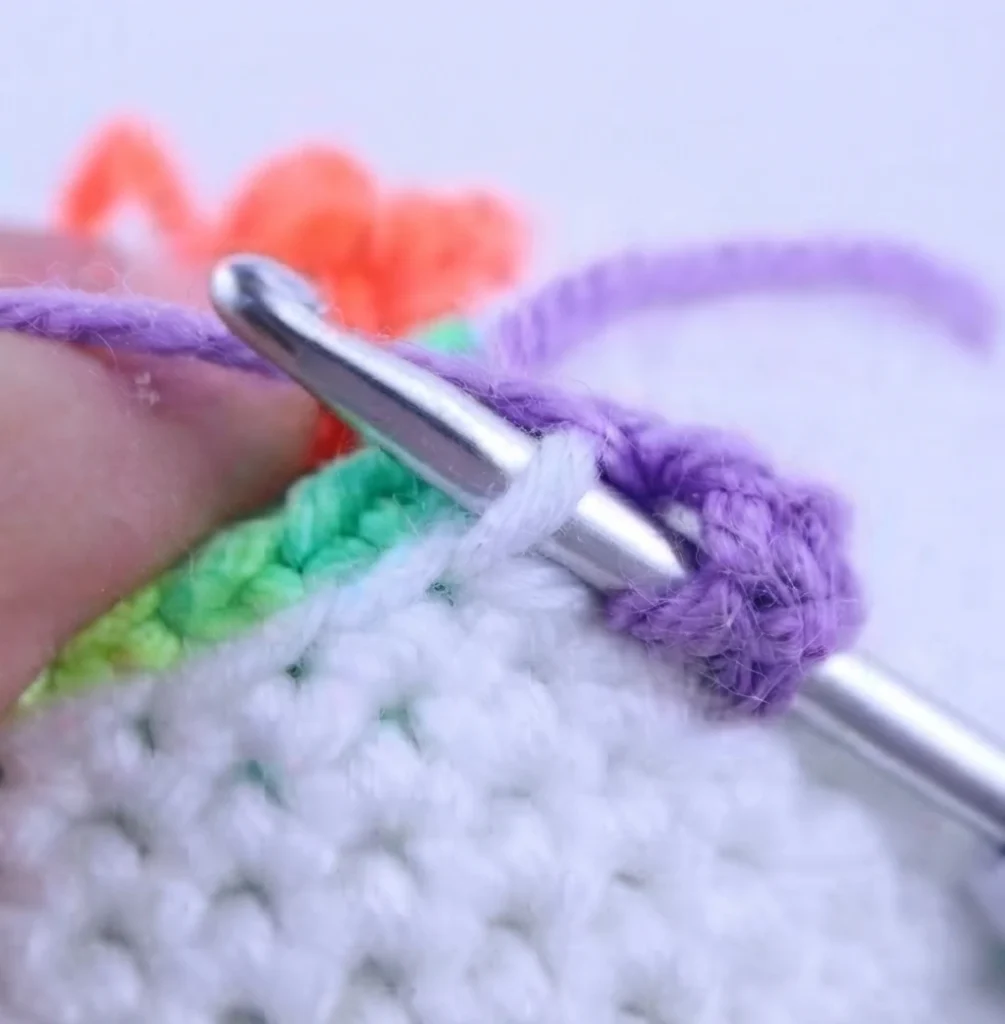
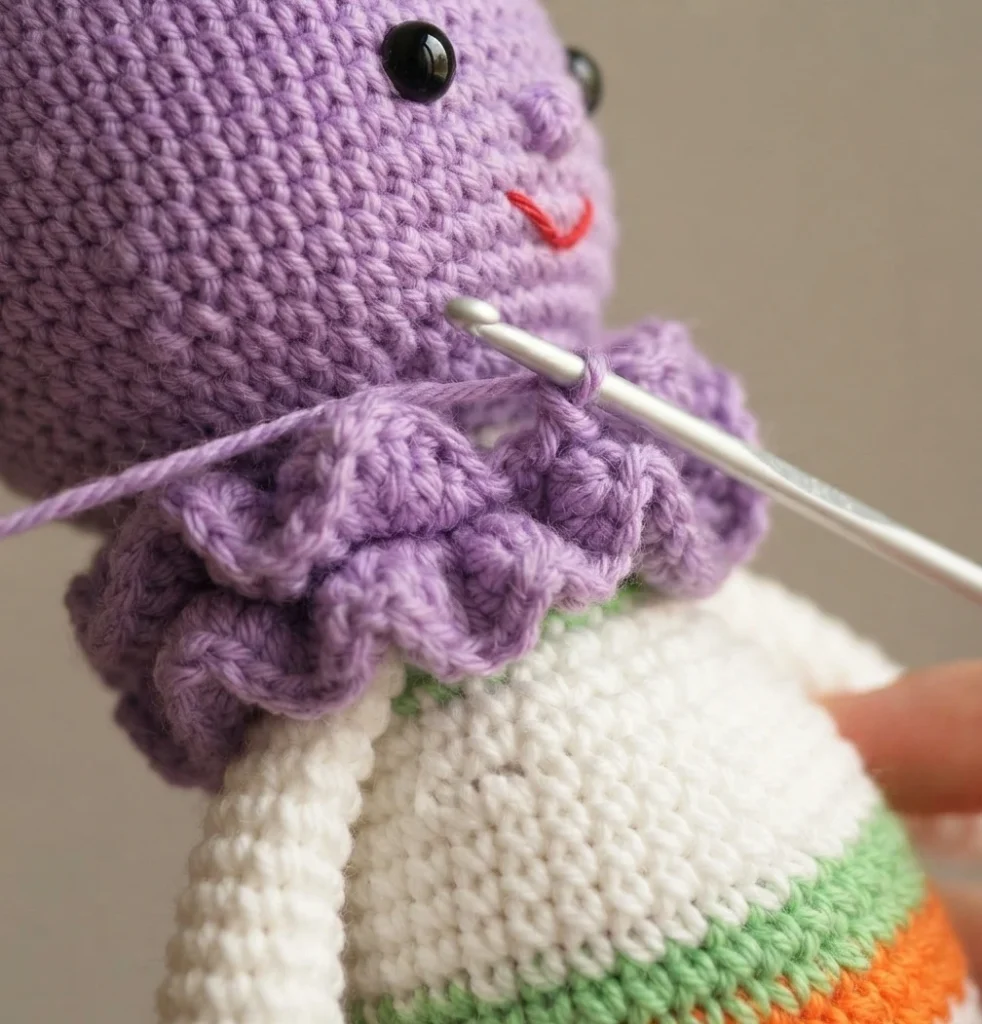
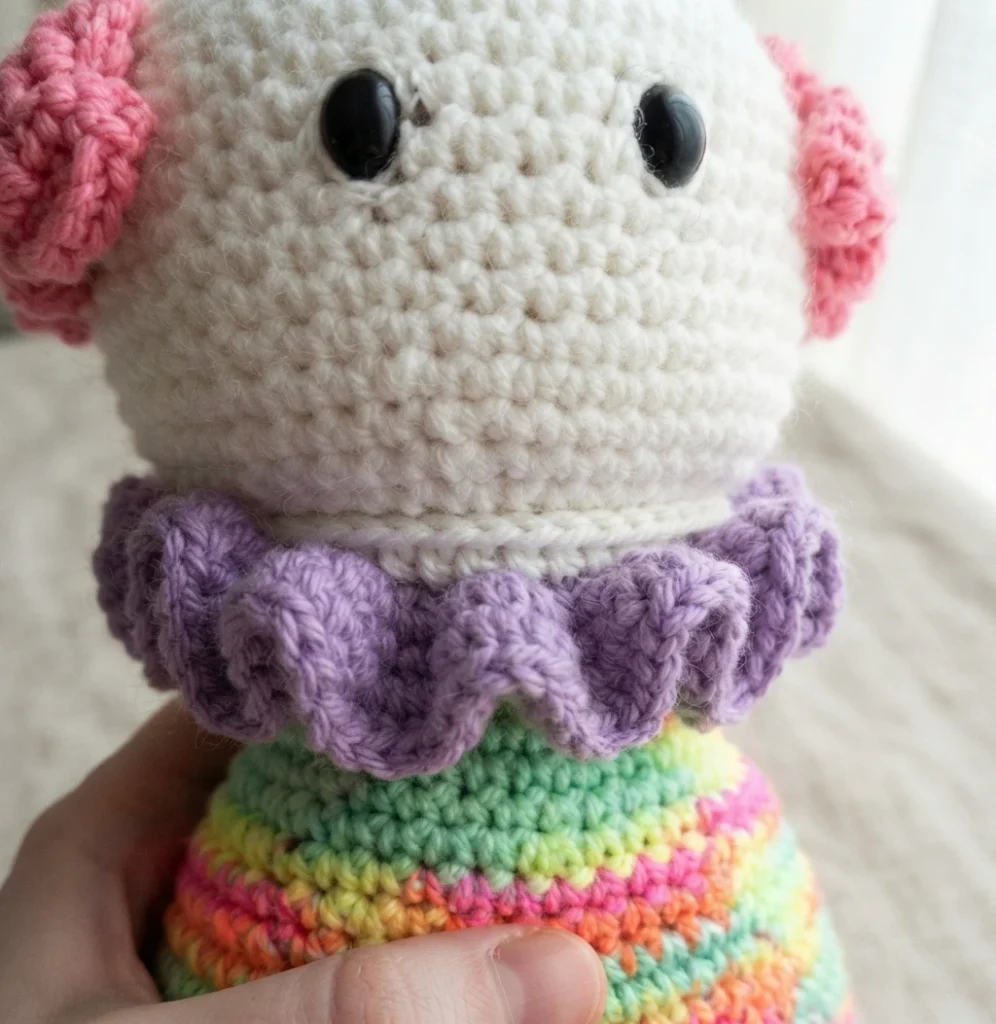
Round 24 rejoins the head’s active loop, changes to suit color, and works sc in the back loops only for 24 stitches, leaving the yarn attached. The collar then joins into the designated front loops, chains 3, and repeats 2 dc in the next stitch and 1 dc in the following stitch around. Collar round 2 works 4 dc in every stitch, then fastens off.
The suit resumes at rounds 25 and 26 with 24 stitches, then increases through rounds 27, 30, 32, and 34 to reach 48 stitches, with rounds 35 through 42 worked even.
Important Note
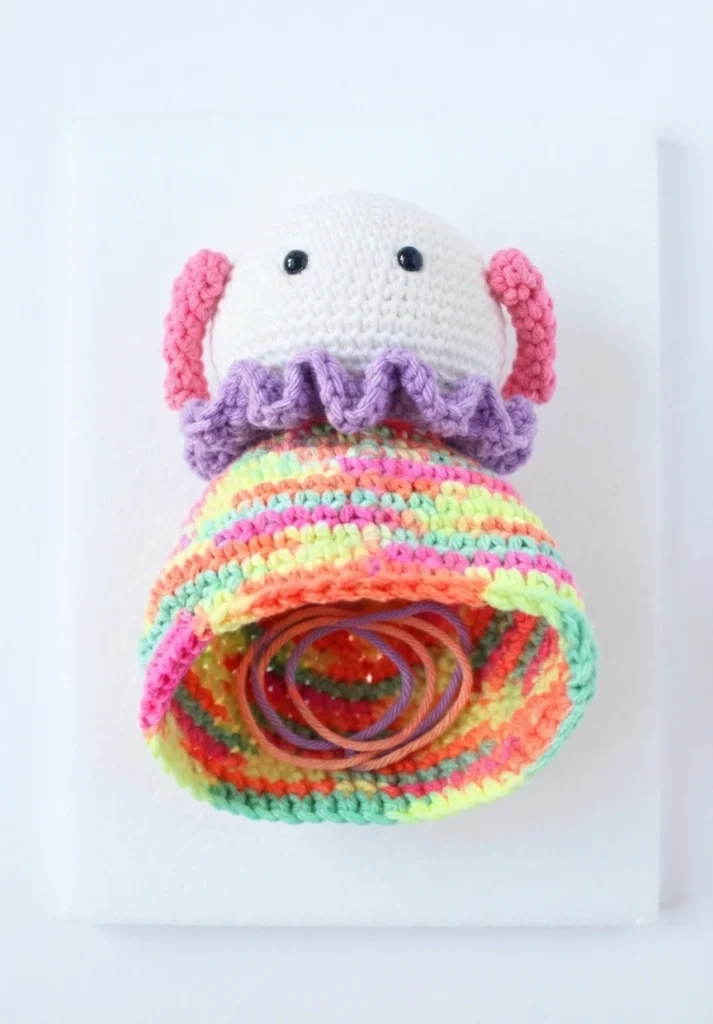
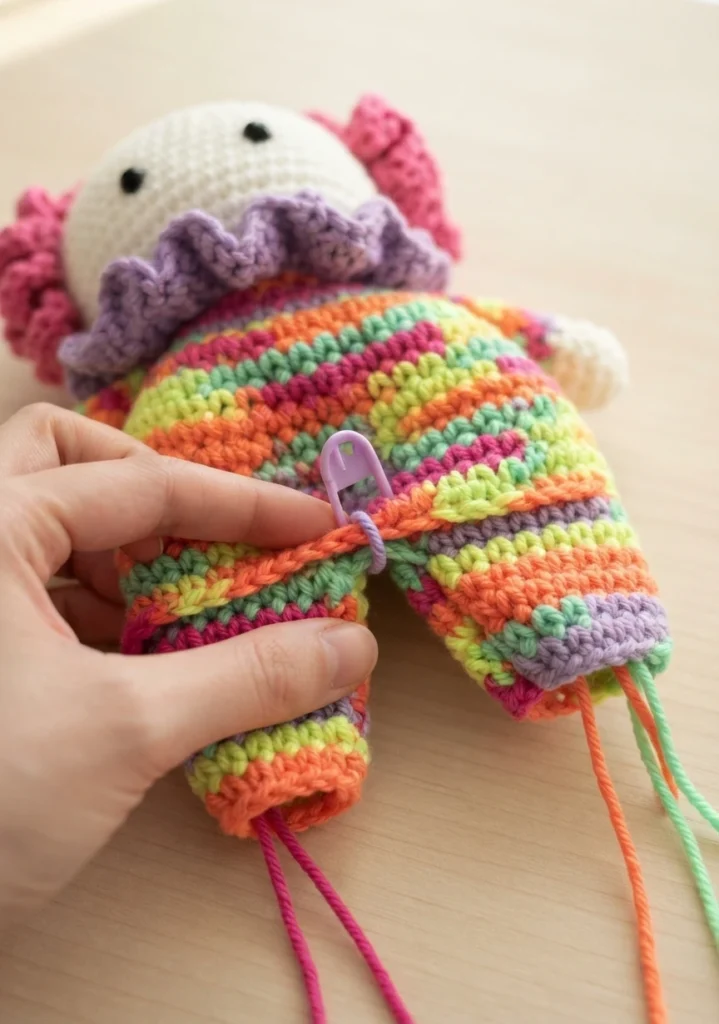
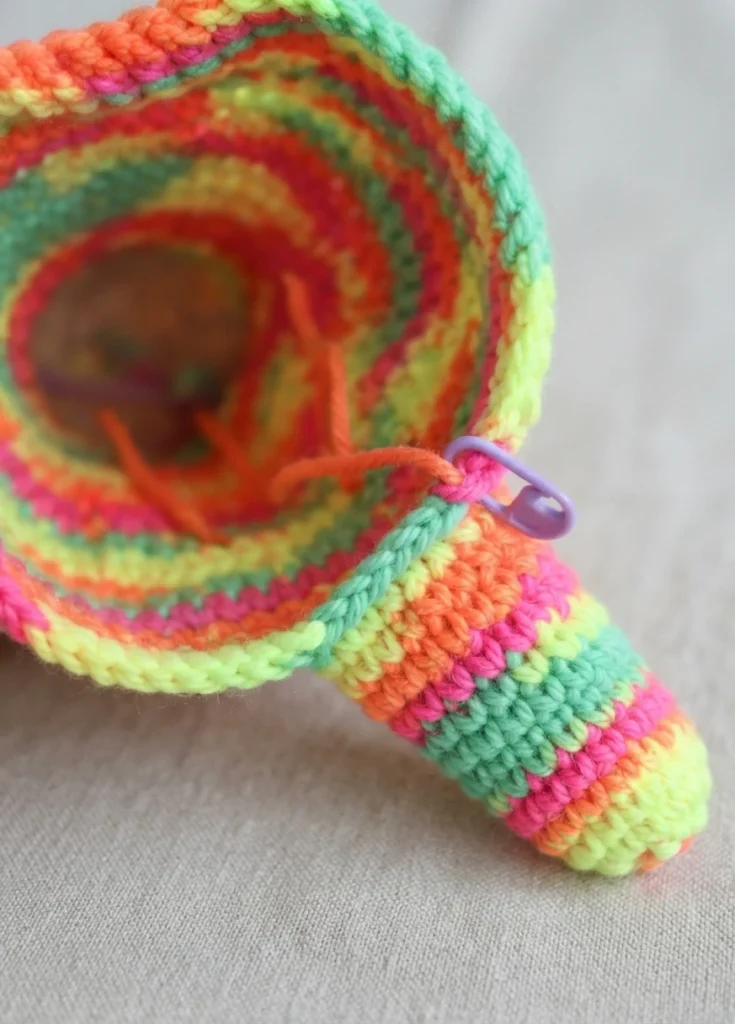
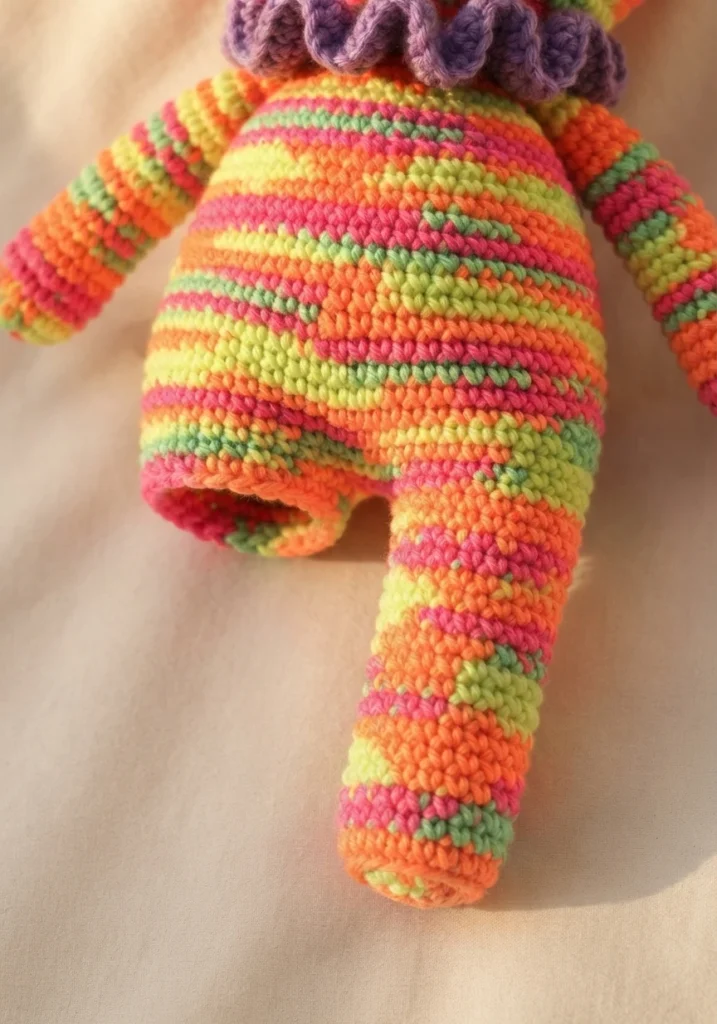
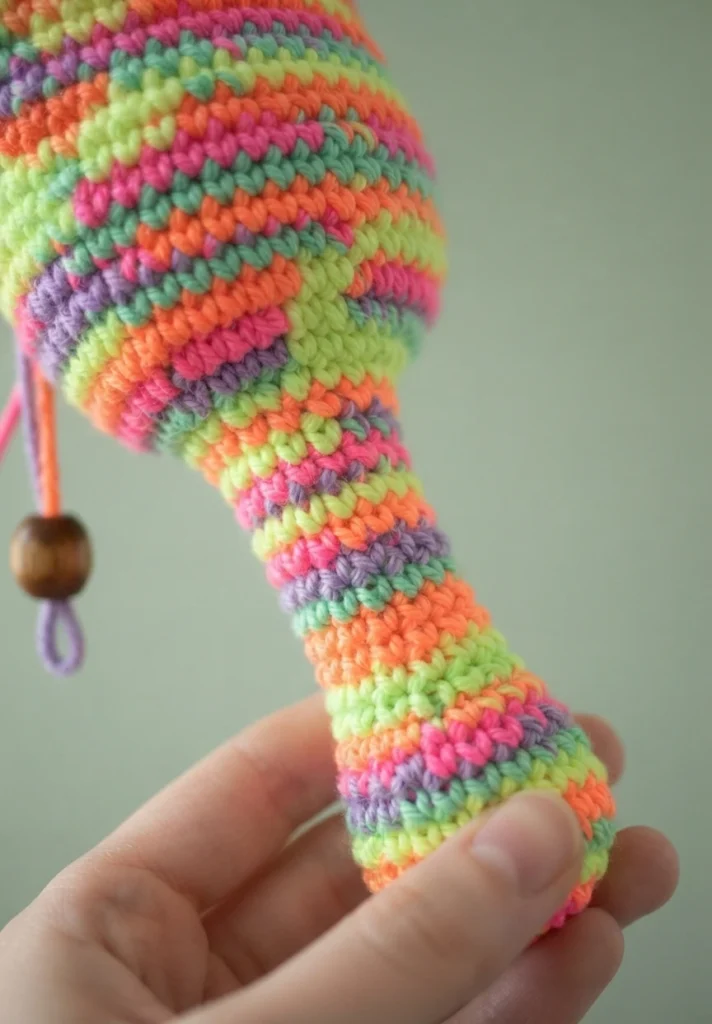
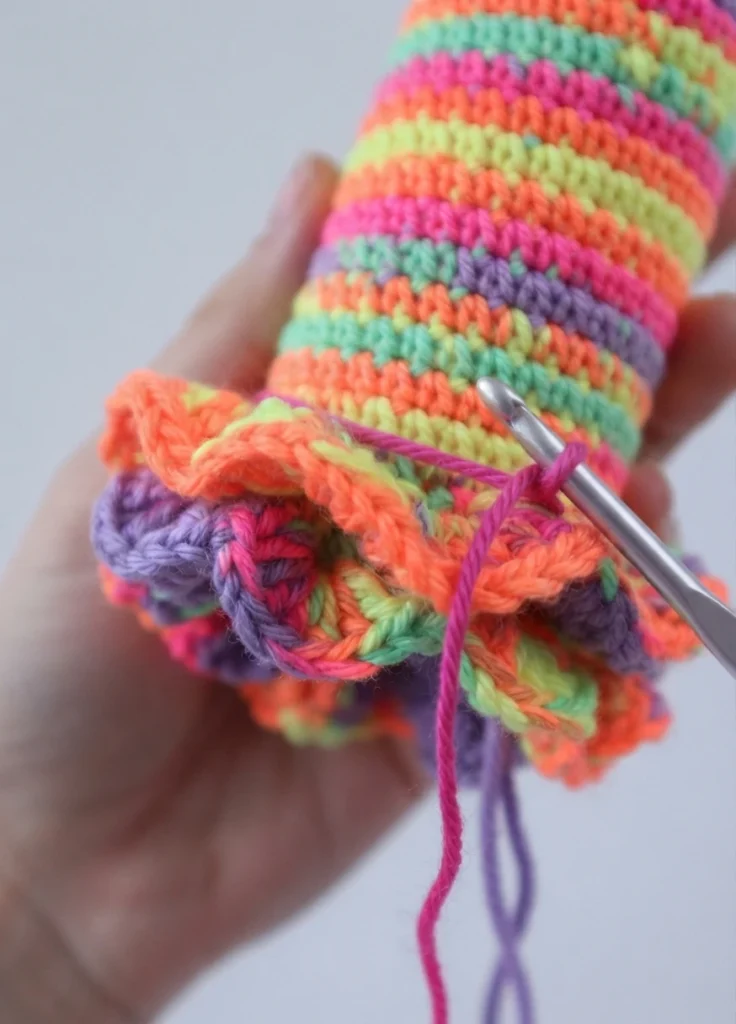
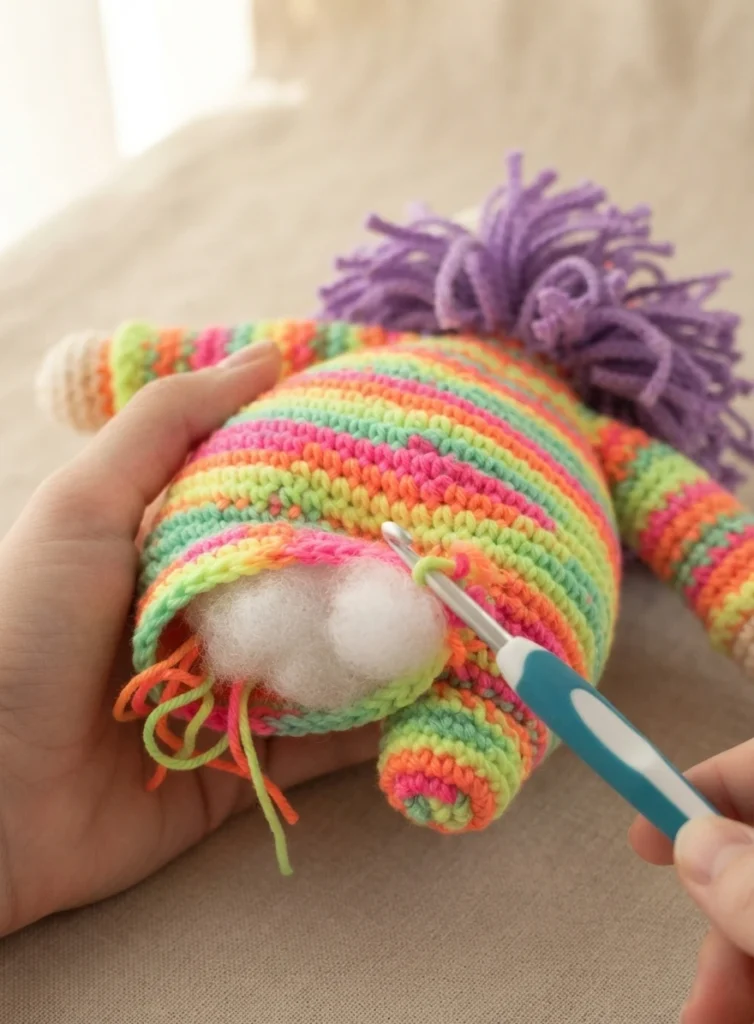
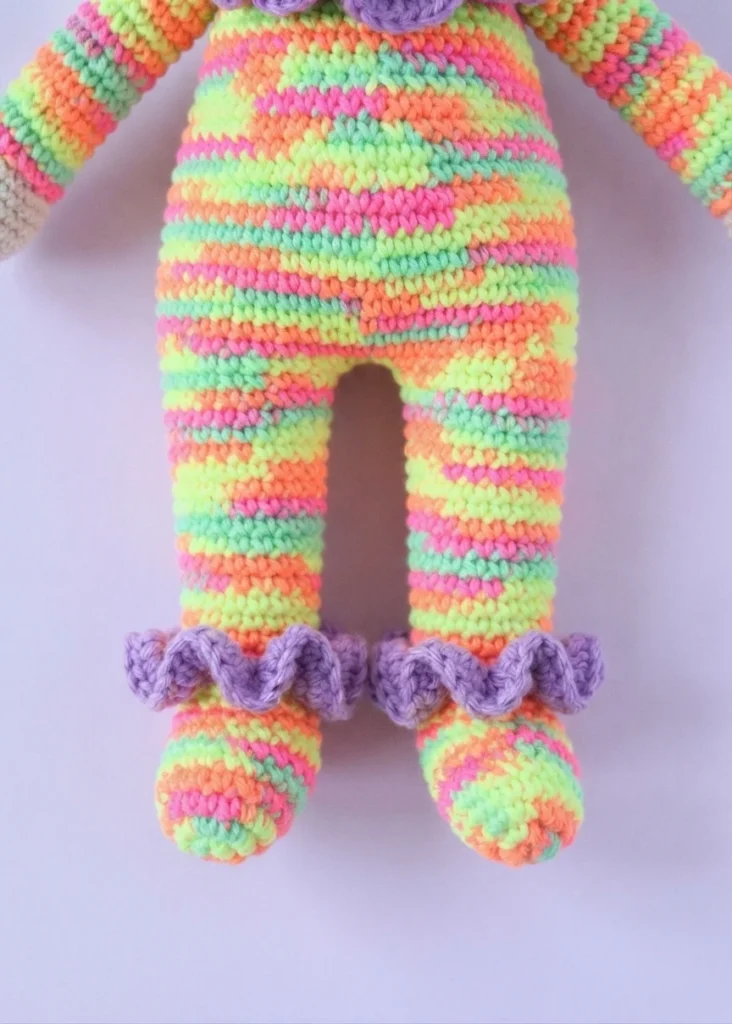
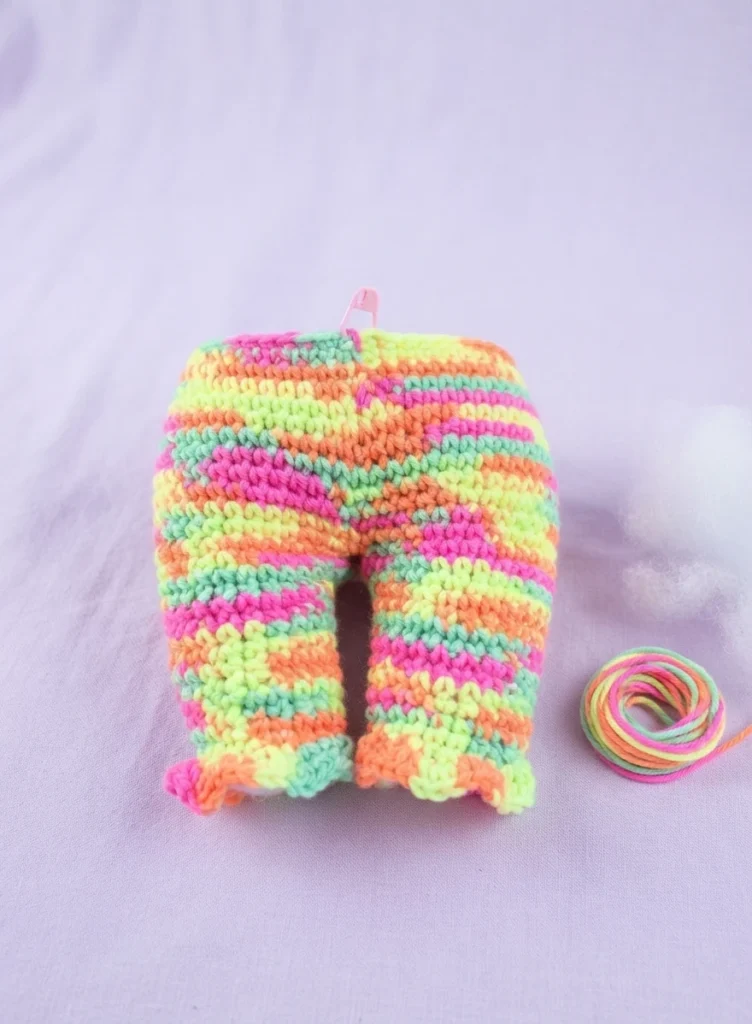
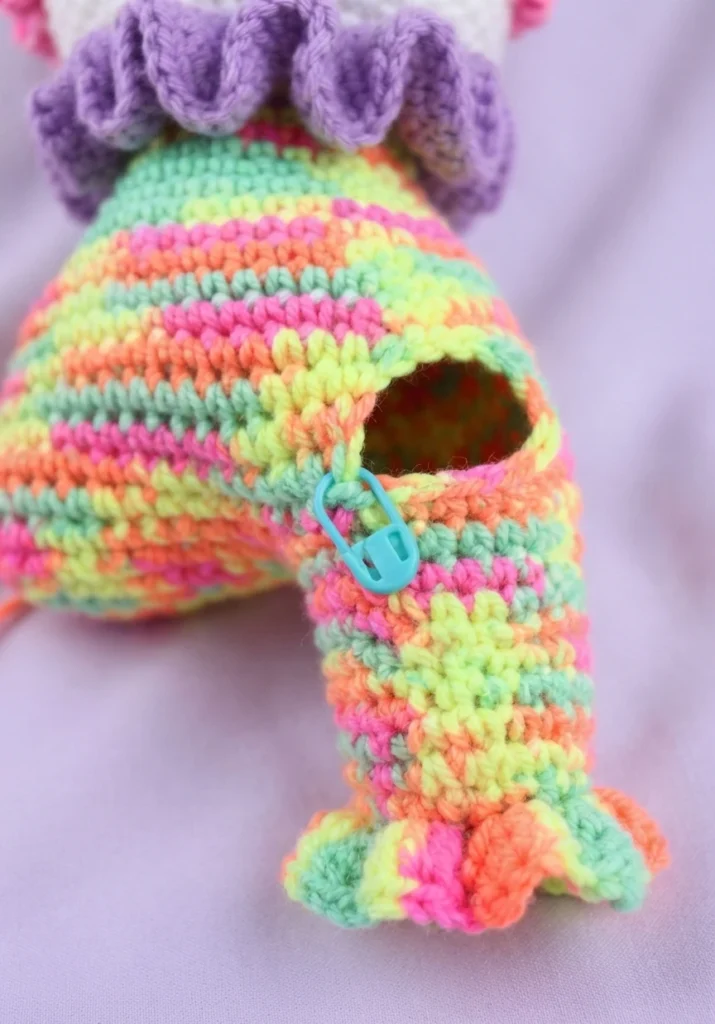
Before the legs, the 48 suit stitches are divided into two groups of 24. If your division looks uneven, the designer suggests folding the suit in half and using a stitch marker to find a balanced split, ensuring each leg keeps 24 stitches. Round 43 places a contrasting marker in the 38th stitch, works 13 sc, then 1 sc into the marked stitch to close the first leg, followed by 10 sc in the remaining stitches.
Rounds 44 through 48 keep the leg at 24 stitches, round 49 decreases to 18, and round 50 works 4 dc into each front loop before fastening off. The suit is then stuffed through the opening for the second leg, and the finished leg is stuffed firmly afterward.
Second Leg
The second leg is joined into the opening left by the first, using a chain 1 as the first single crochet. It mirrors the first leg’s shaping and finishes with the same flared front-loop round.
In Suit Color
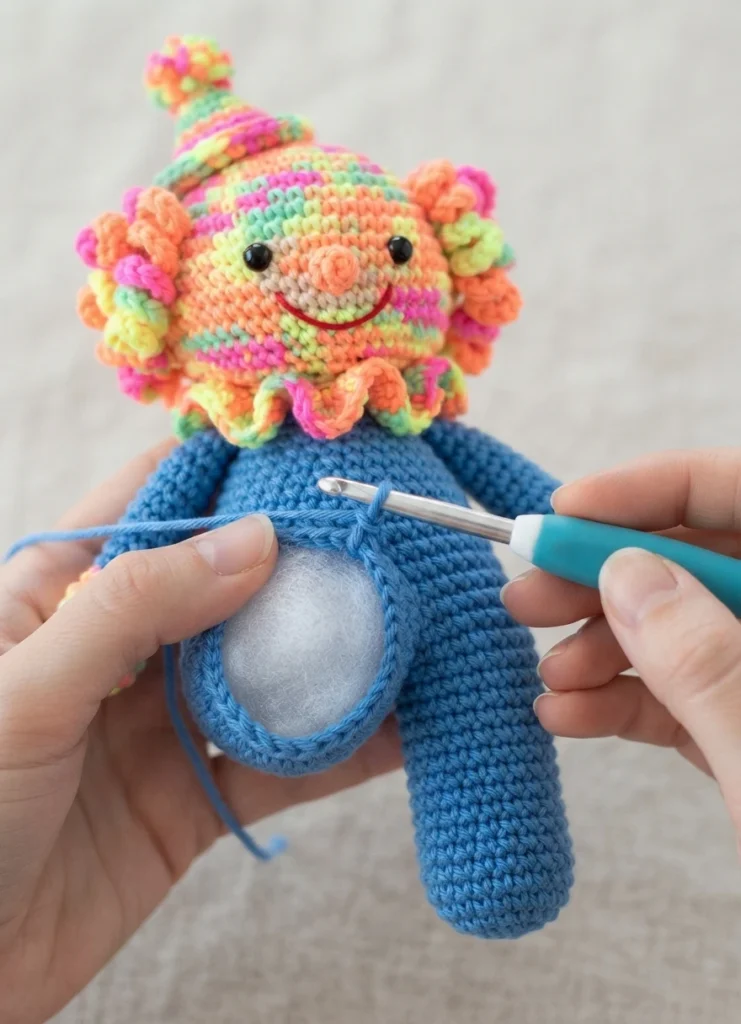
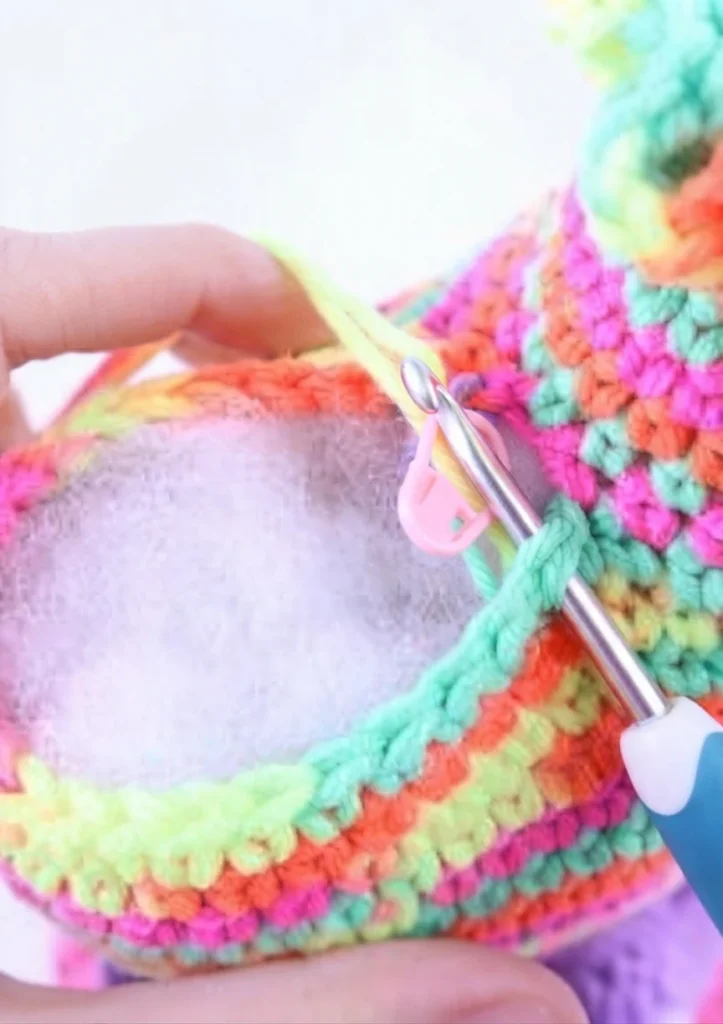
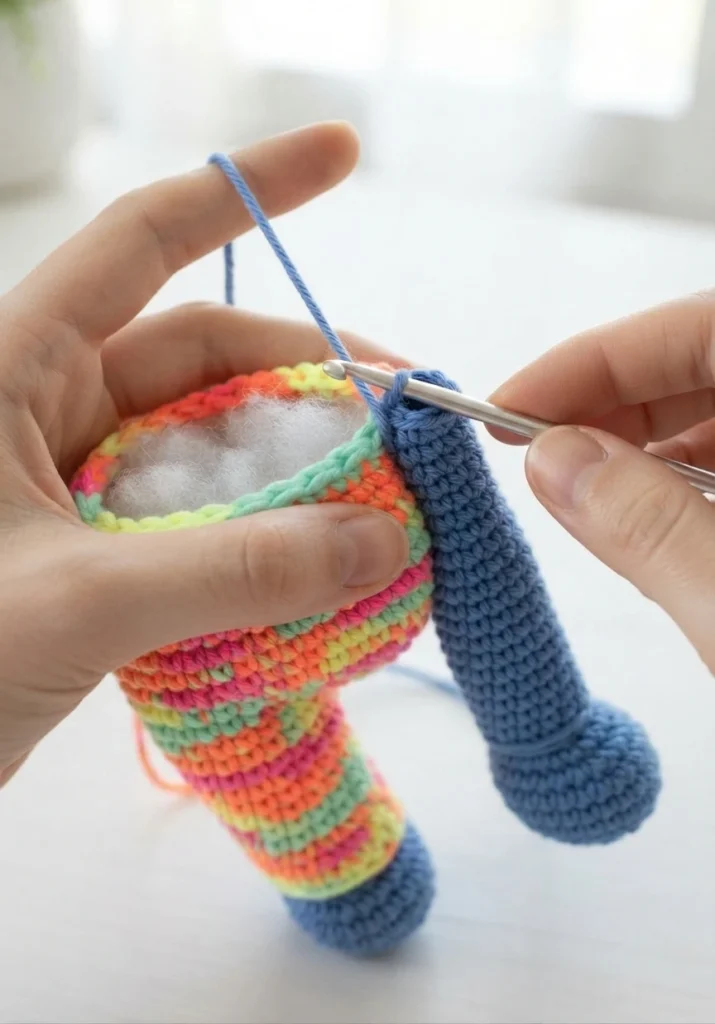
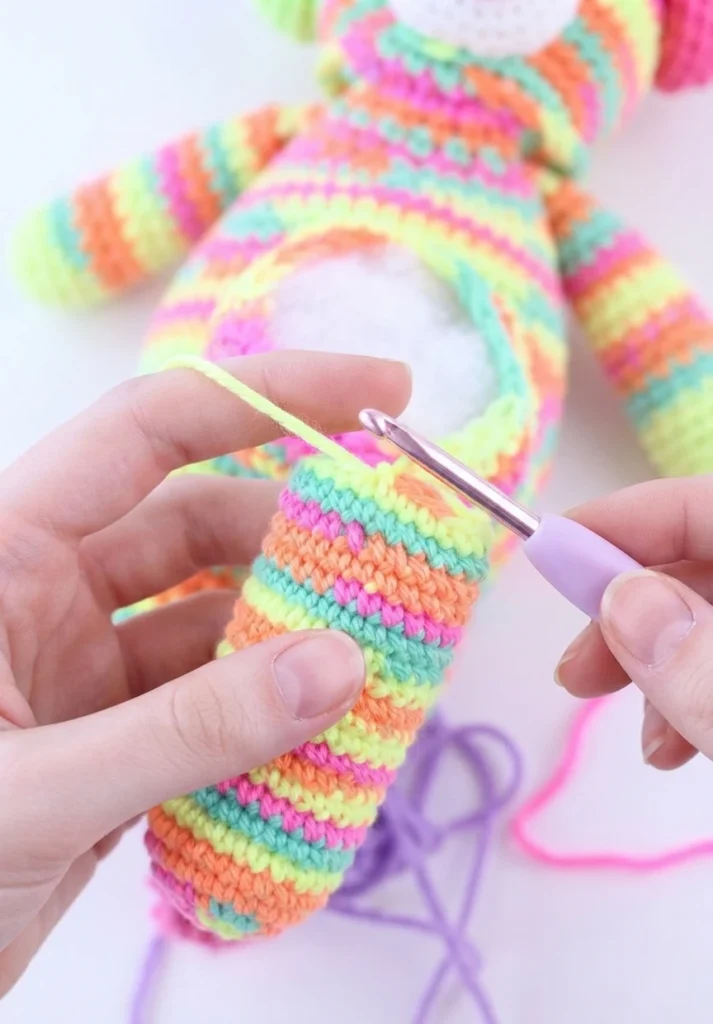
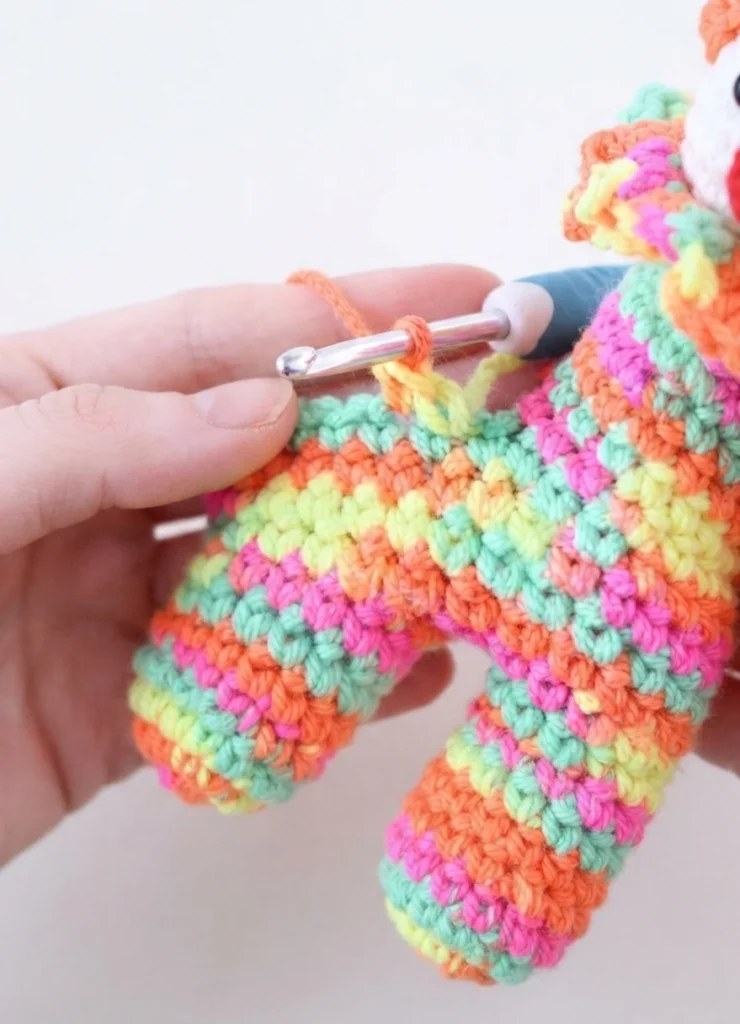
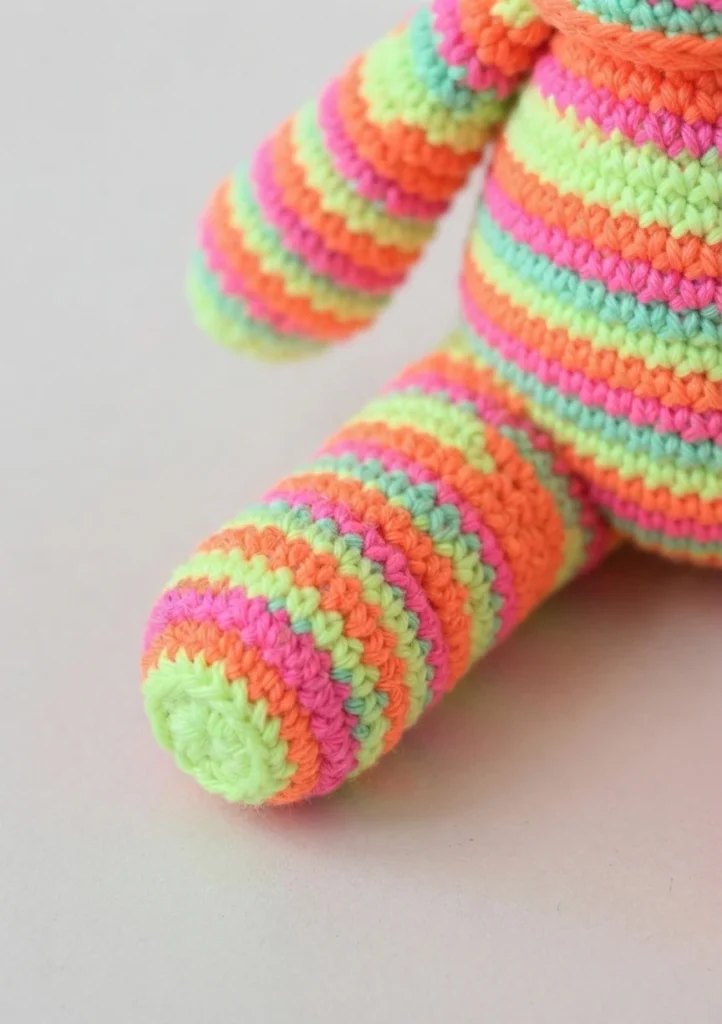
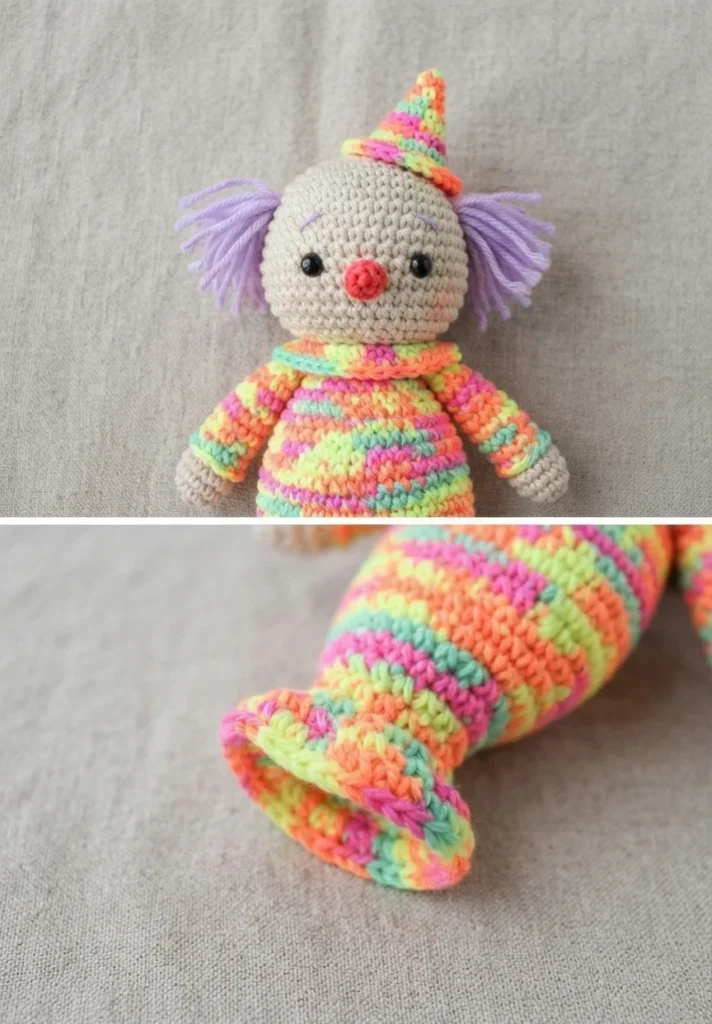
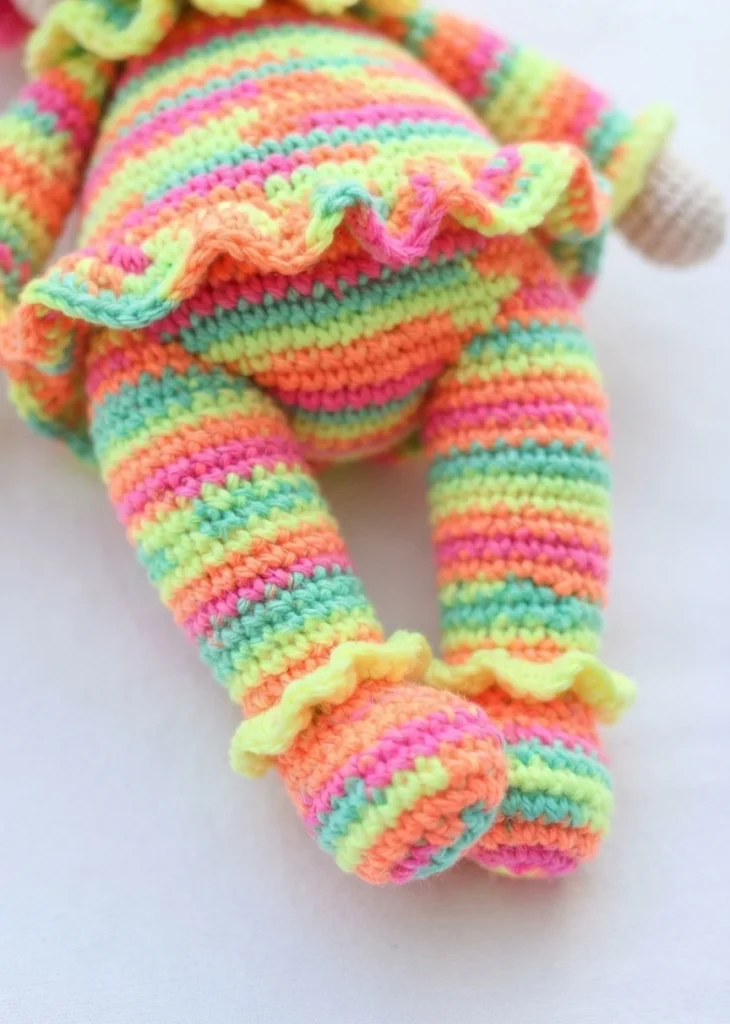
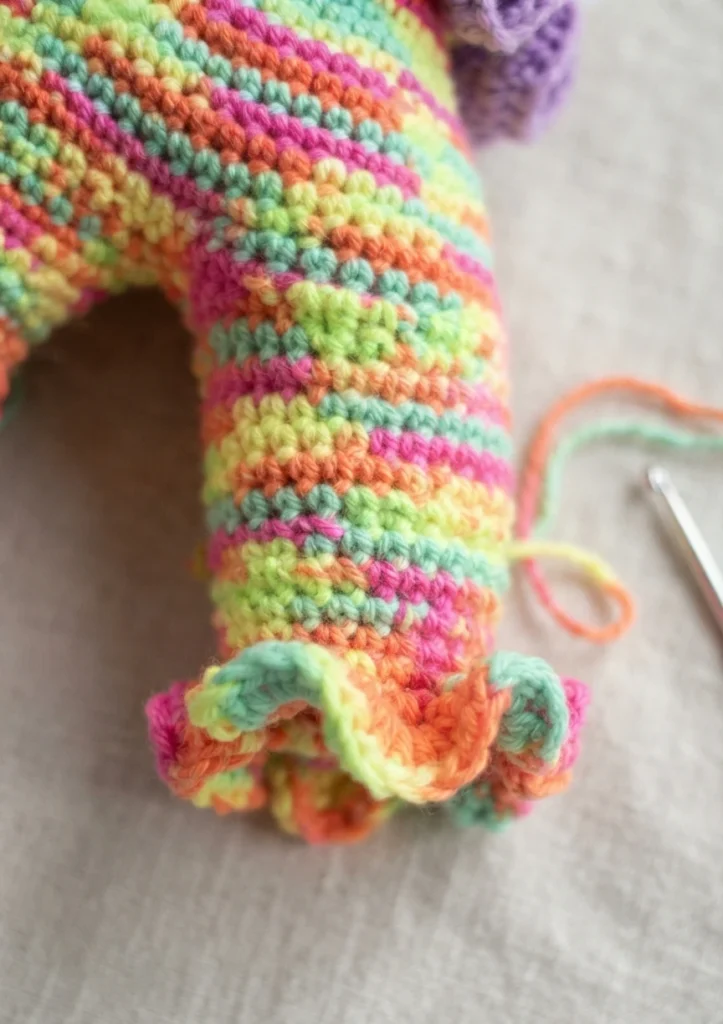
Attach the hook to any stitch of the unmade leg, pull the yarn through, and chain 1, which counts as the first sc. Place a marker in that stitch. Rounds 1 through 6 work sc around for 24 stitches, round 7 decreases to 18, and round 8 works 4 dc into each front loop. Fasten off, weave in the ends, and stuff the leg firmly.
Shoes: (Make 2)
The shoes are made as a pair and sewn to the bottom of each leg opening. They begin as a flat circle and are shaped with decreases to create a rounded sole, with a back-loop round that gives a defined edge.
In Shoe Color
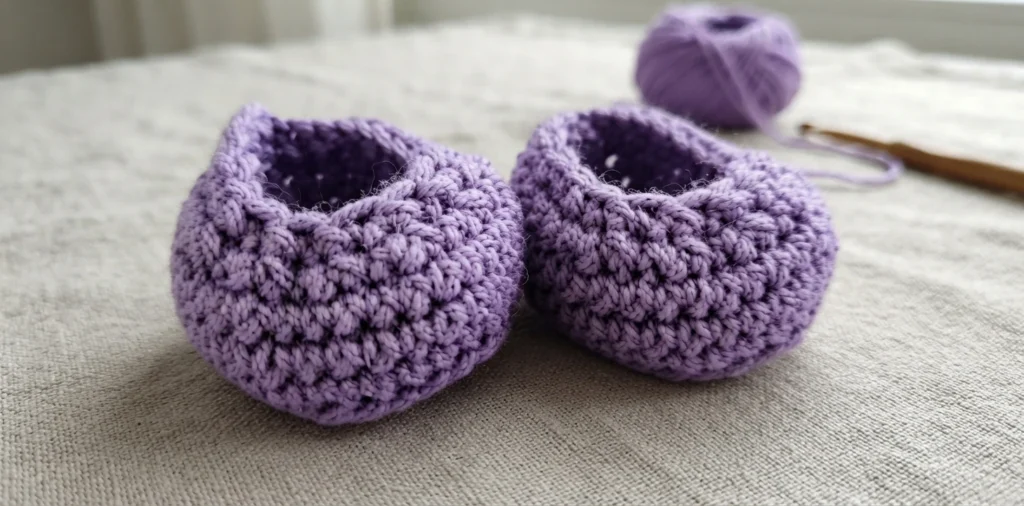
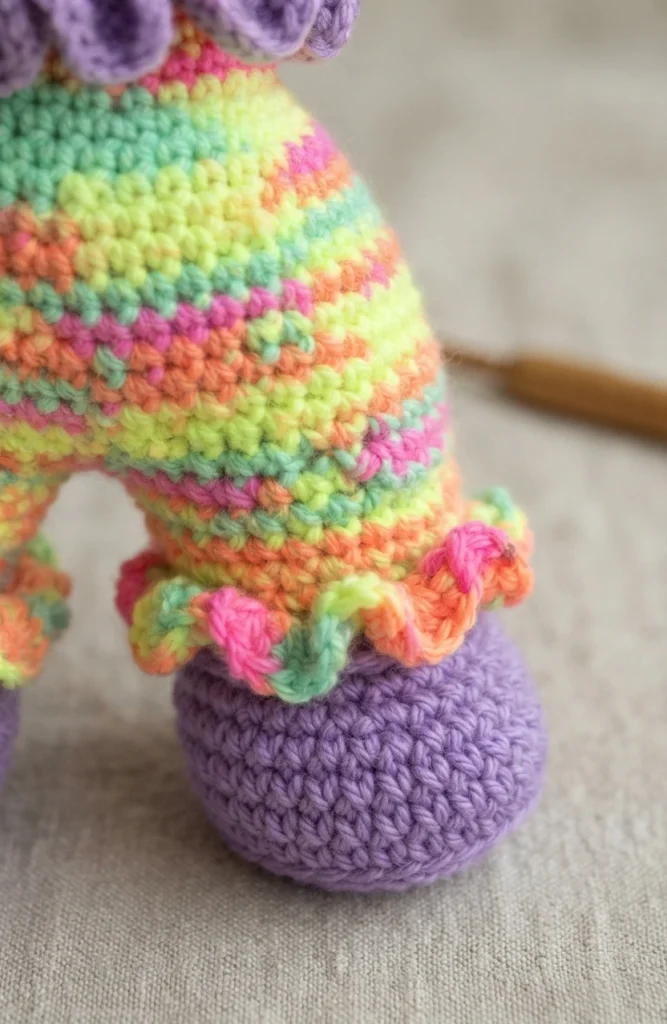
Round 1 starts with 6 sc in a magic ring, and rounds 2 through 5 increase to 30 stitches. Round 6 works sc in the back loops only, rounds 7 and 8 work through both loops, round 9 combines 6 sc, six repeats of dec and 1 sc, and 6 sc to reach 24, and round 10 combines 6 sc, six dec, and 6 sc to reach 18.
Fasten off with a long tail, stuff the shoe firmly, pin it to the bottom of the leg opening, and sew it on by alternating stitches between the shoe and the leg, then the suit and the leg, until it is fully attached.
Arms: (Make 2)
The arms are worked as a pair and pinned to the suit at specified rounds. Like the head and suit, they use a back-loop round partway through so a front-loop edging can be added afterward.
In White
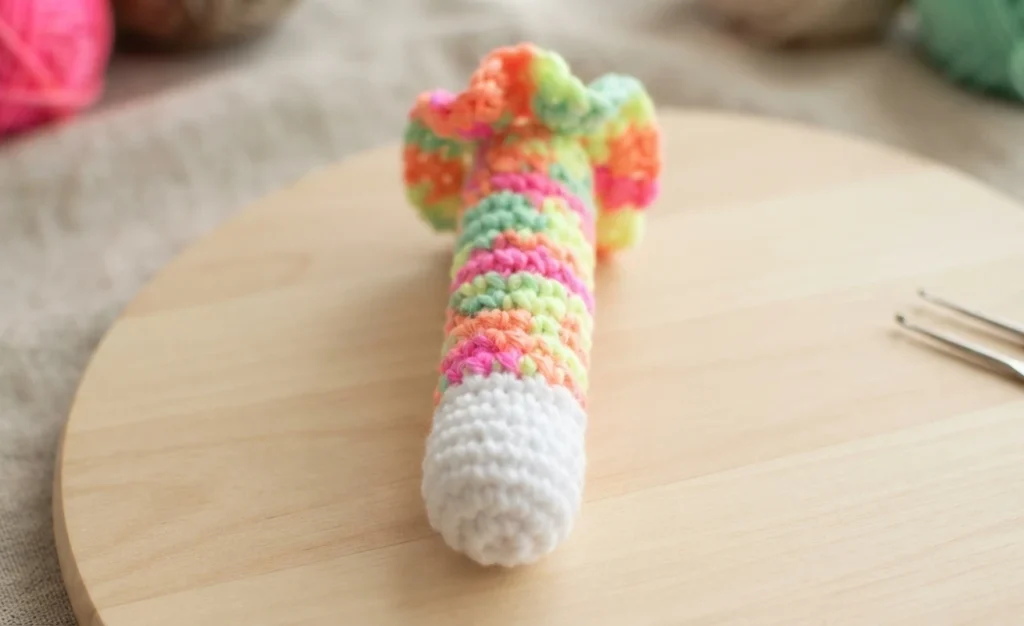
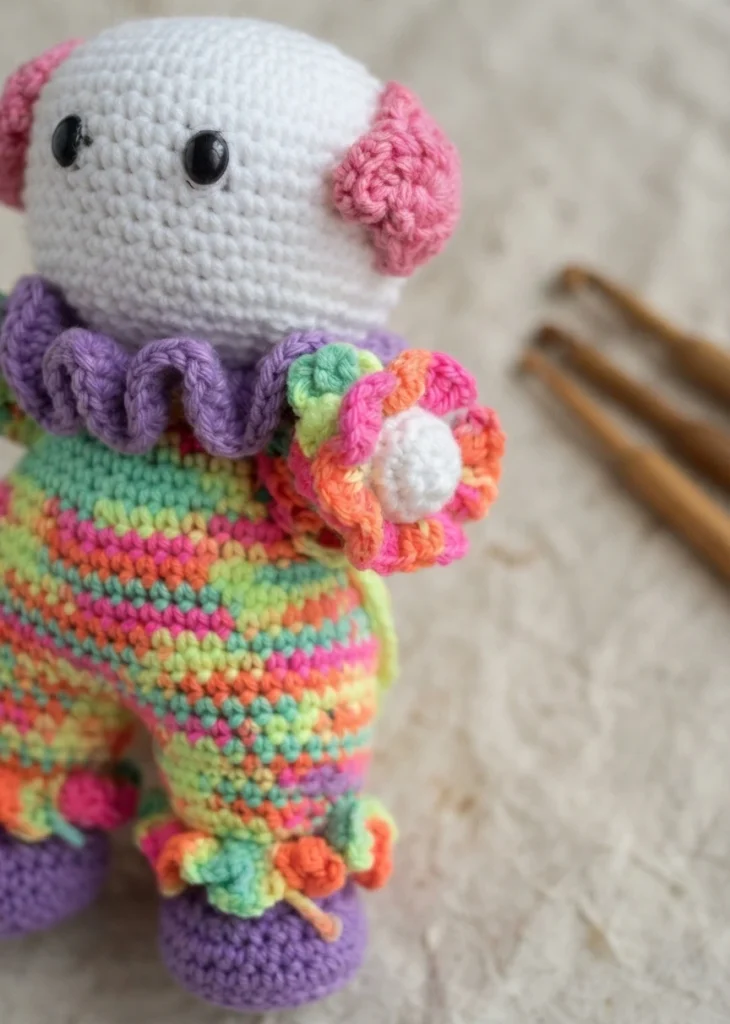
Round 1 is 6 sc in a magic ring, round 2 increases to 12, and rounds 3 through 5 work even. Round 6 changes to suit color and works sc in the back loops only, then rounds 7 through 10 work through both loops. Fasten off with a long tail and stuff the arm firmly. Rejoin into any front loop from round 6, chain 1, and work 4 sc into each front loop for the next 12 stitches, then fasten off and weave in the ends.
Pin the top of the arm on round 26 and the bottom on round 31.
Nose
The nose is a small red piece worked in two rounds and sewn between the eyes. Its placement is specified by round numbers so it sits centered on the face.
In Red
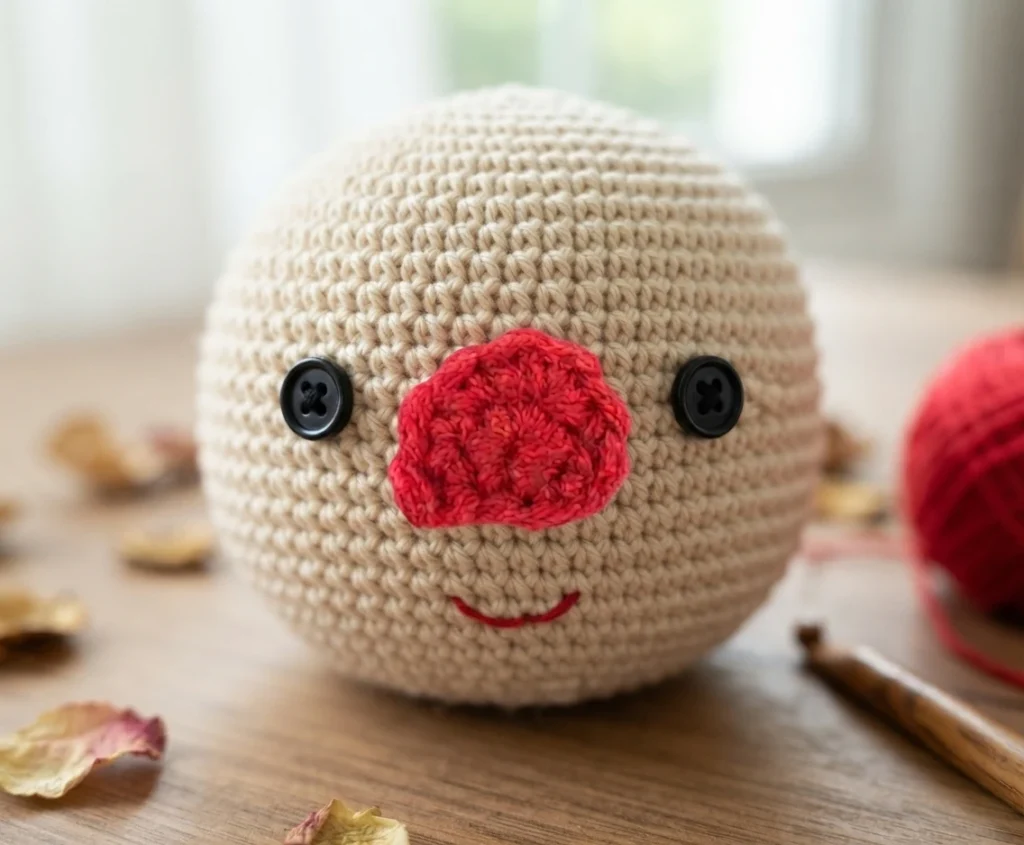
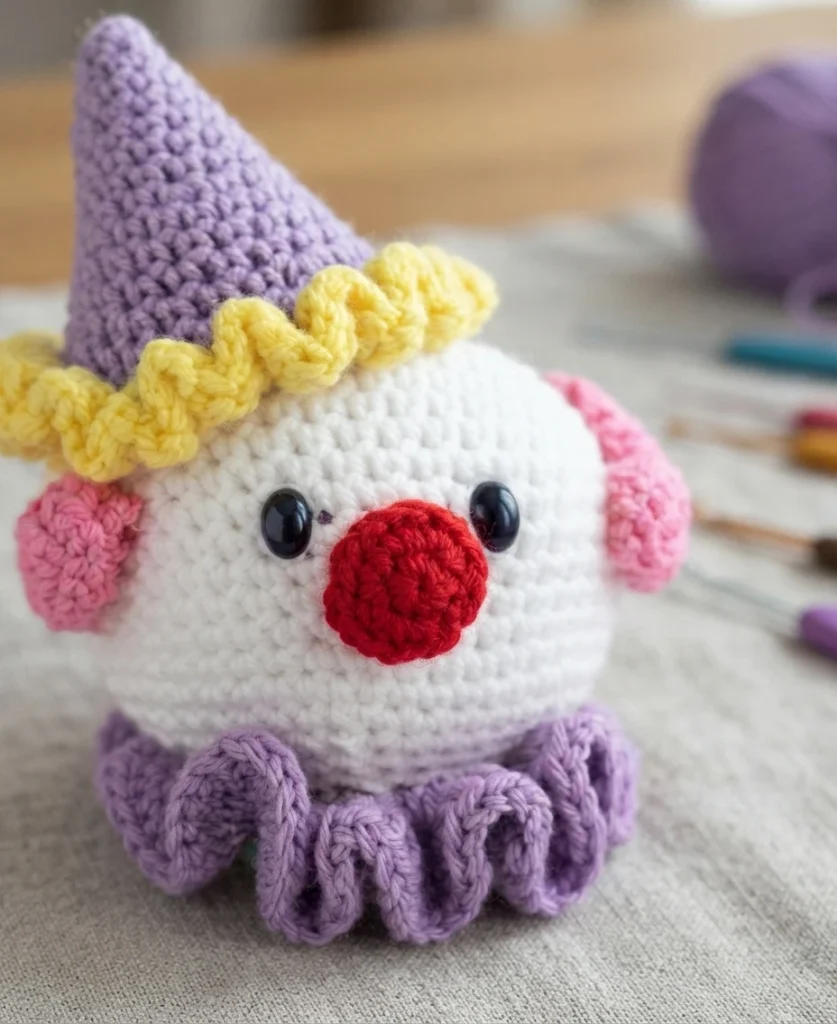
Round 1 is 6 sc in a magic ring. Round 2 works sc in the next 2 stitches, 3 sc in the following stitch, then sc in the next 3 stitches. Fasten off with a long sewing tail, position the nose between the eyes with its top between rounds 13 and 14 and its bottom between rounds 16 and 17, then sew it on and weave in the ends.
Mouth
The mouth is a single red row that curves upward at the corners, giving the clown a smile. It is pinned and sewn to the face at set round positions.
In Red
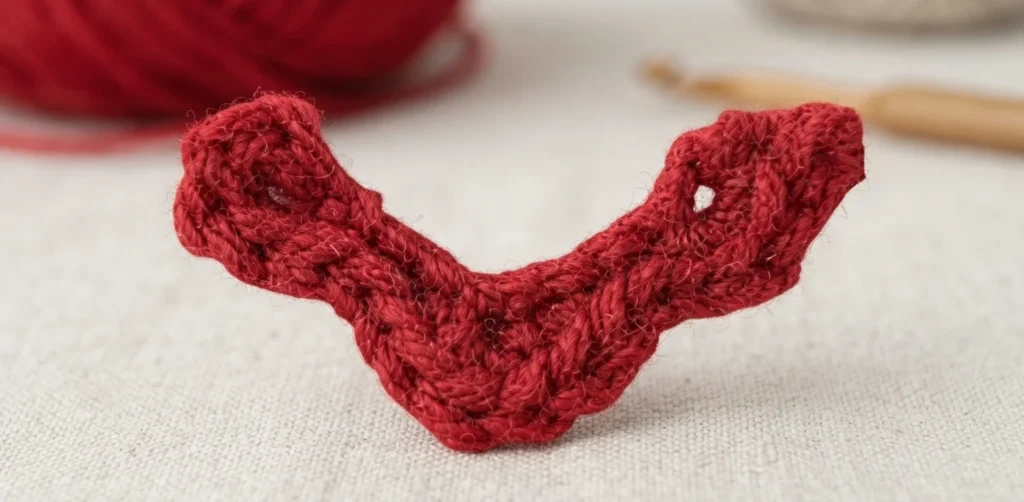
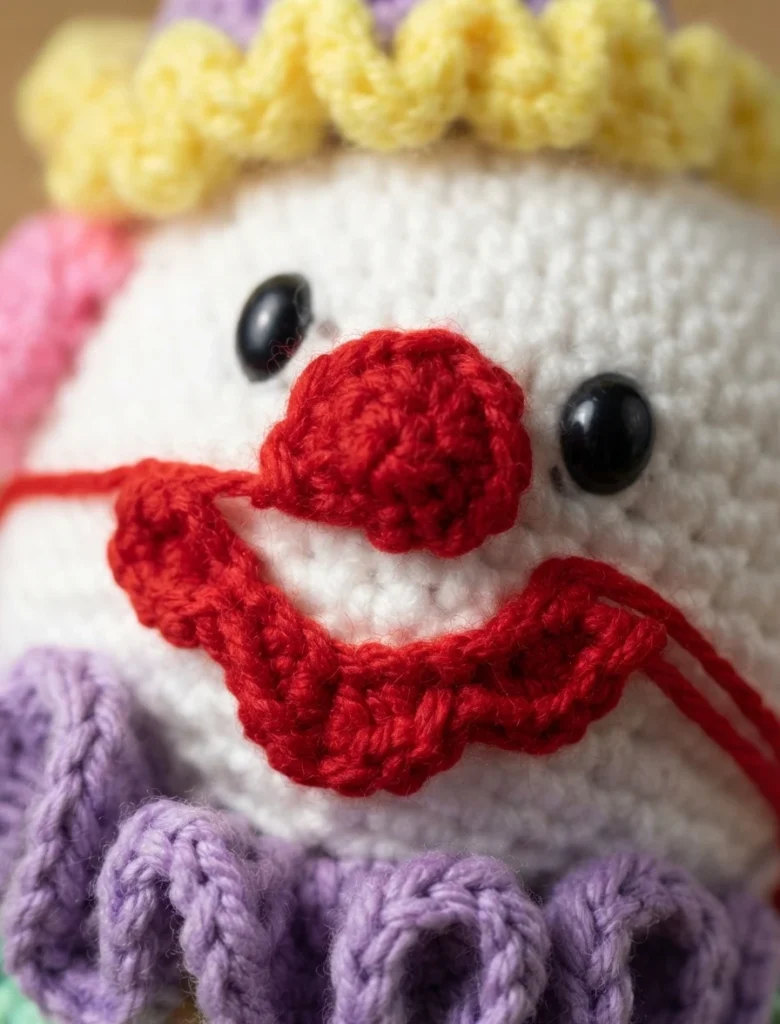
Chain 10, then work 4 sc in the second chain from the hook. Slip stitch in each of the next 2 stitches, 1 sc in the next, 3 sc in the following stitch, 1 sc in the next, slip stitch in the next 2, and 4 sc in the last stitch. Pin the mouth so its corners sit between rounds 16 and 17 and its bottom rests on round 21, then sew it on and weave in the ends.
Face Triangle: (Optional)
This small optional accent sits above one eye and adds a bit of clown character. It is a two-stitch piece and takes very little yarn.
In Red
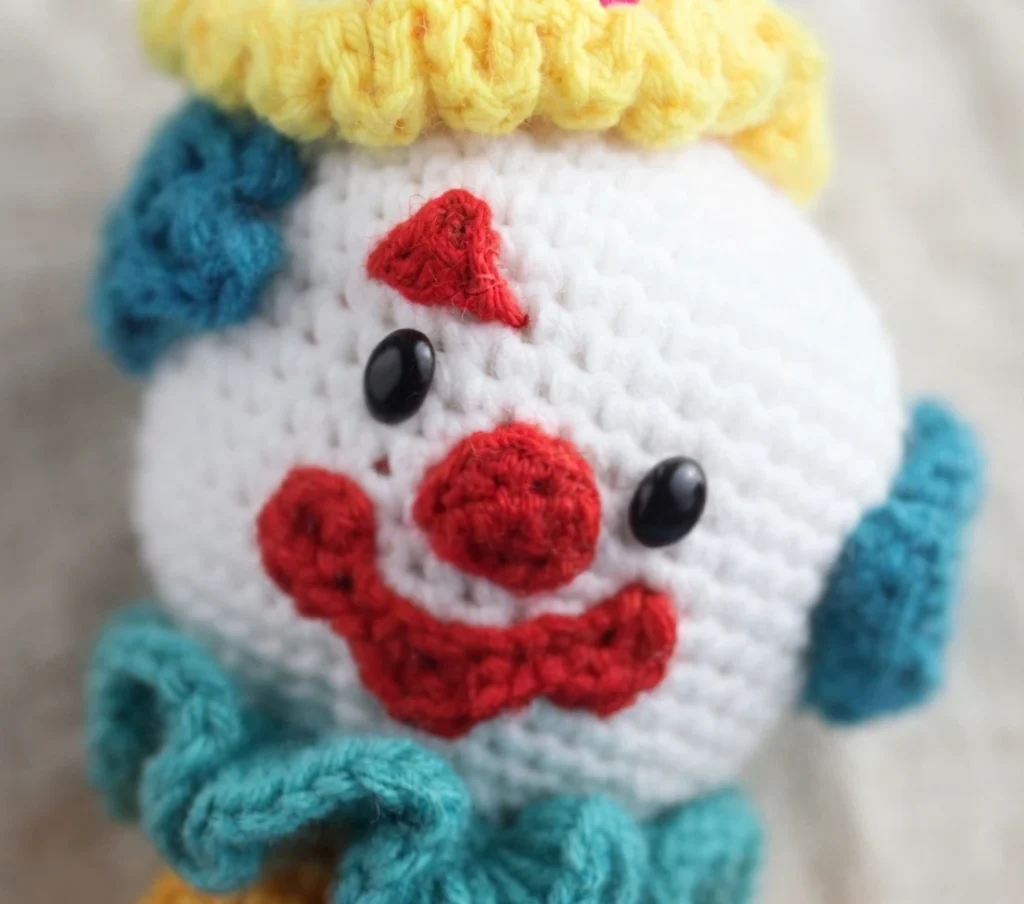
Chain 3, work sc in the second chain from the hook, then dc in the next chain. Fasten off leaving a long tail, pin the triangle above the eye as shown, sew it on, and weave in the ends.
Hat
The hat is a cone-shaped piece that sits tilted to one side of the head. It grows from a magic ring through alternating increase and even rounds, then finishes with a contrast-color brim worked in the front loops.
In Any Hat Color
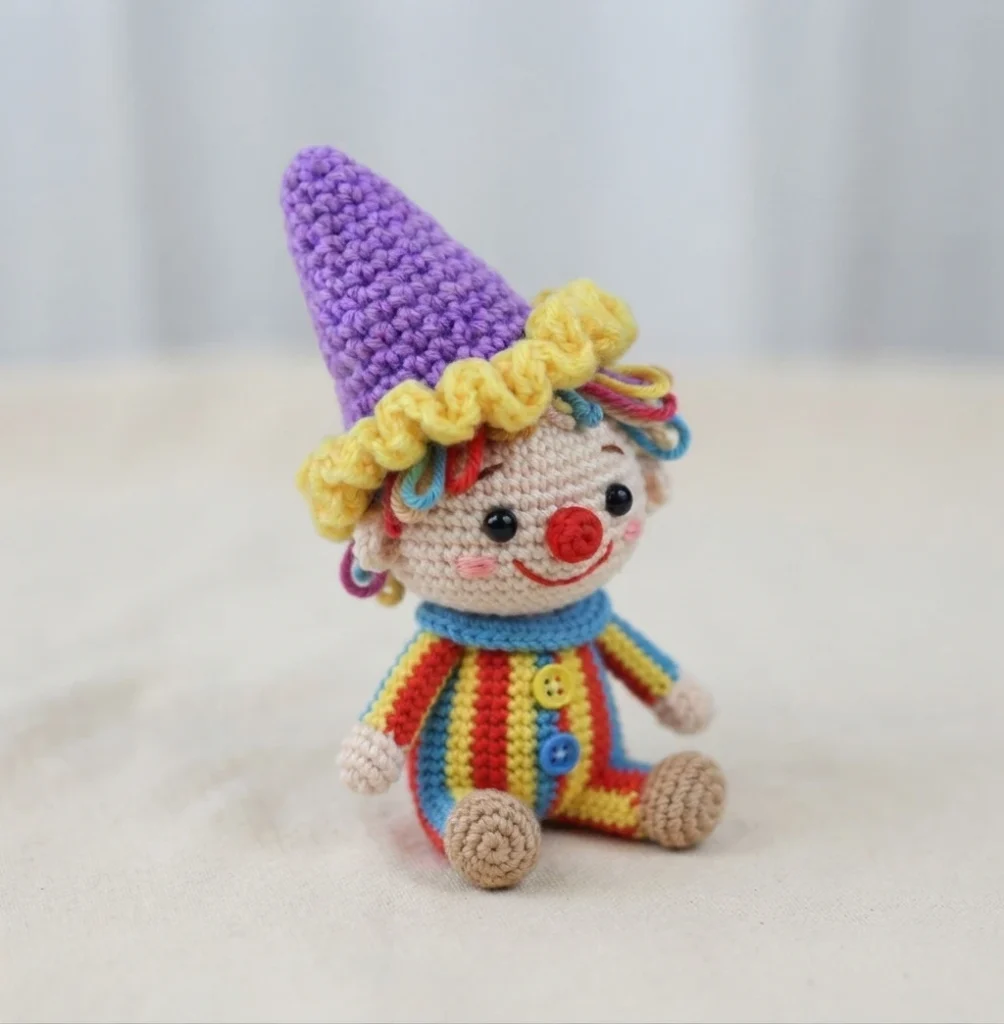
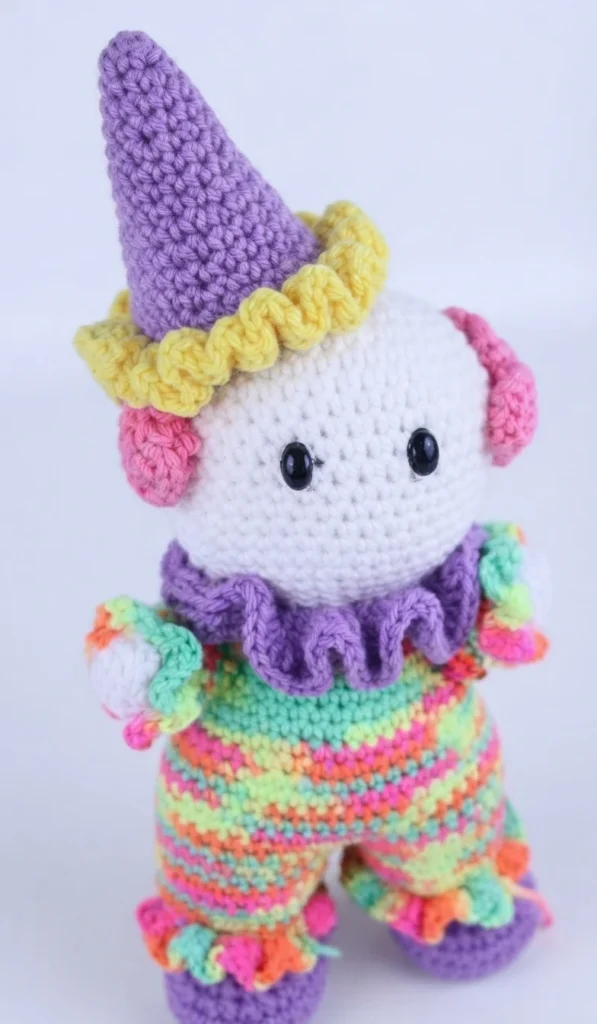
Round 1 is 6 sc in a magic ring, round 2 works even, and rounds 3, 6, 9, 13, and 15 increase to 12, 18, 24, 30, and finally 36 stitches, with even rounds between. Round 16 changes to a contrast color and works 4 dc into each front loop. Fasten off with a long tail, pin the hat on tilted to the side, stuff it firmly before sewing it down completely, then weave in the ends.
Pom Pom
The pom pom is made from yarn wrapped around your fingers and tied off, then trimmed into a puff. It is sewn to the top of the hat.
In Any Color
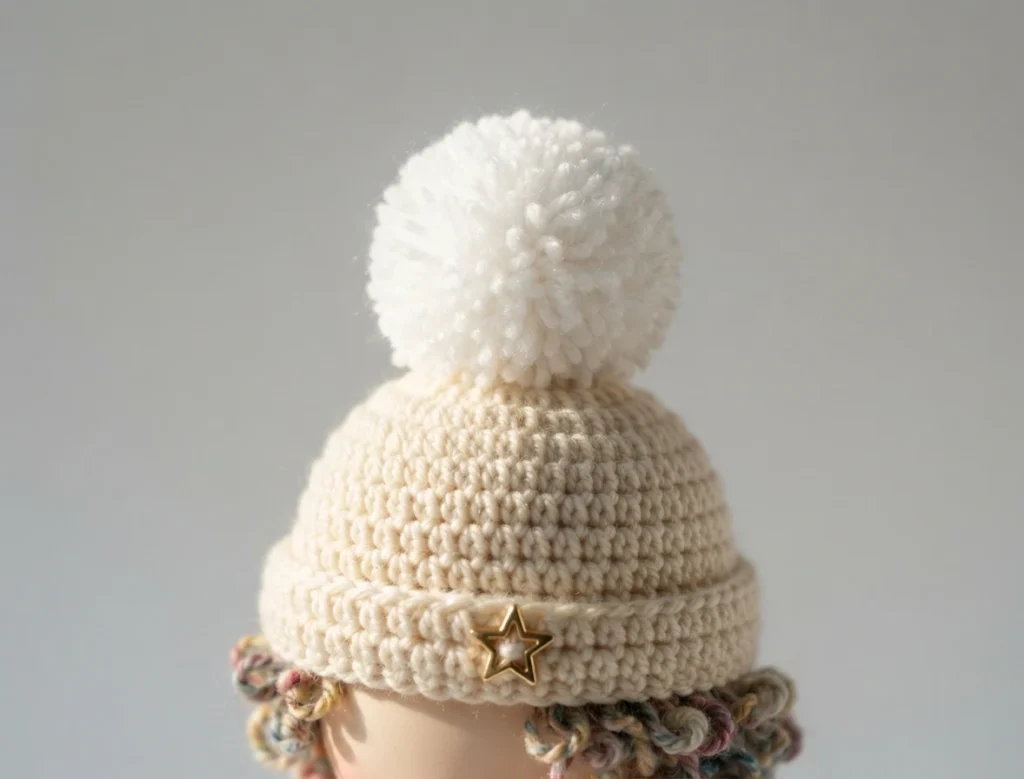
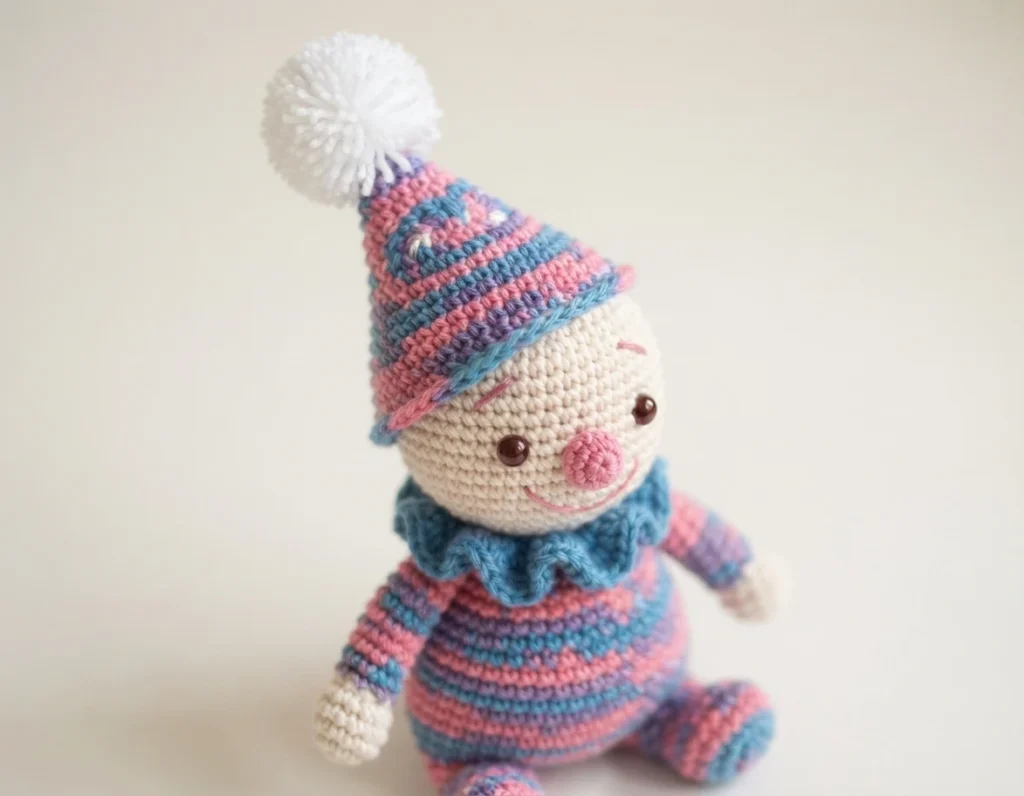
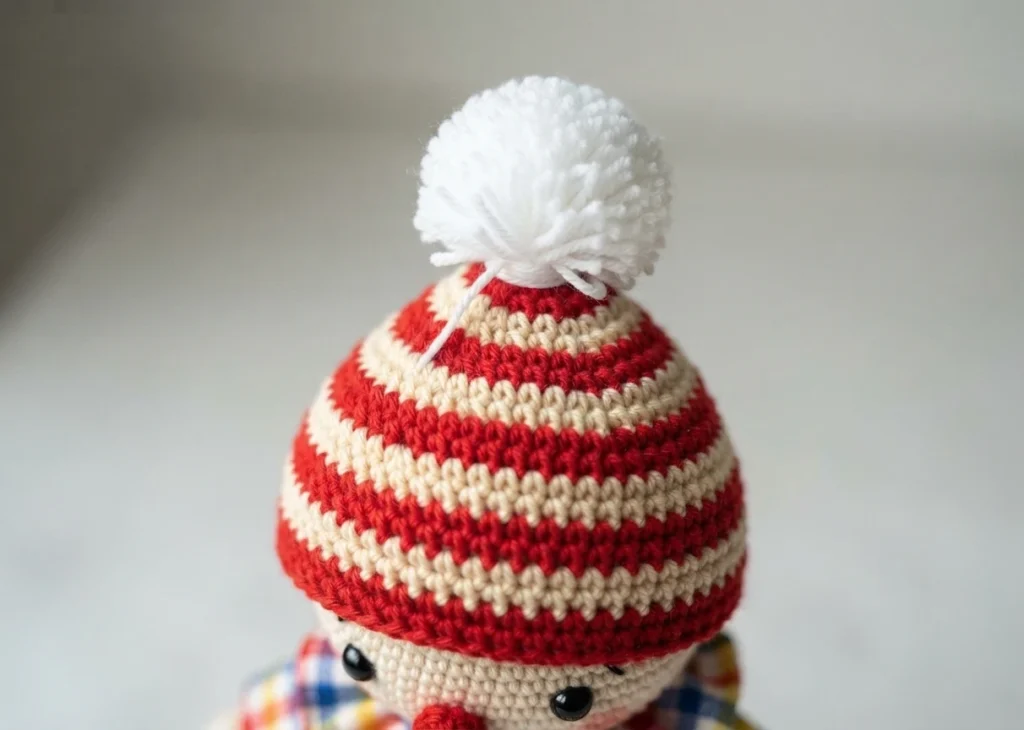
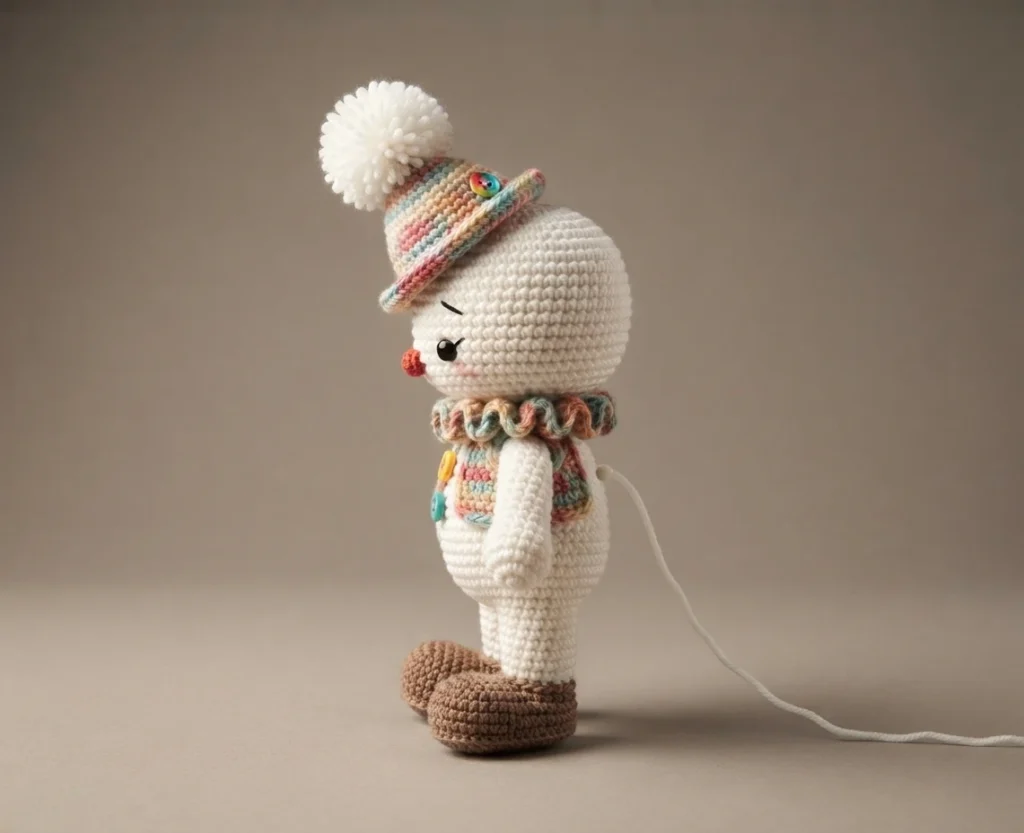
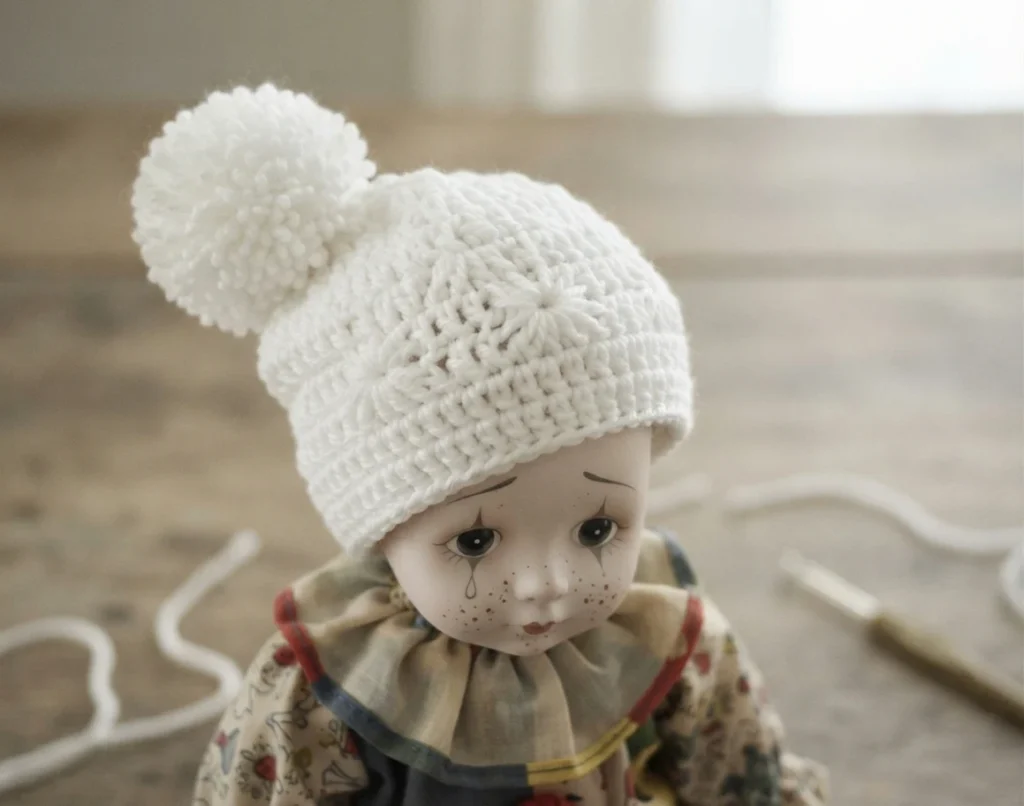
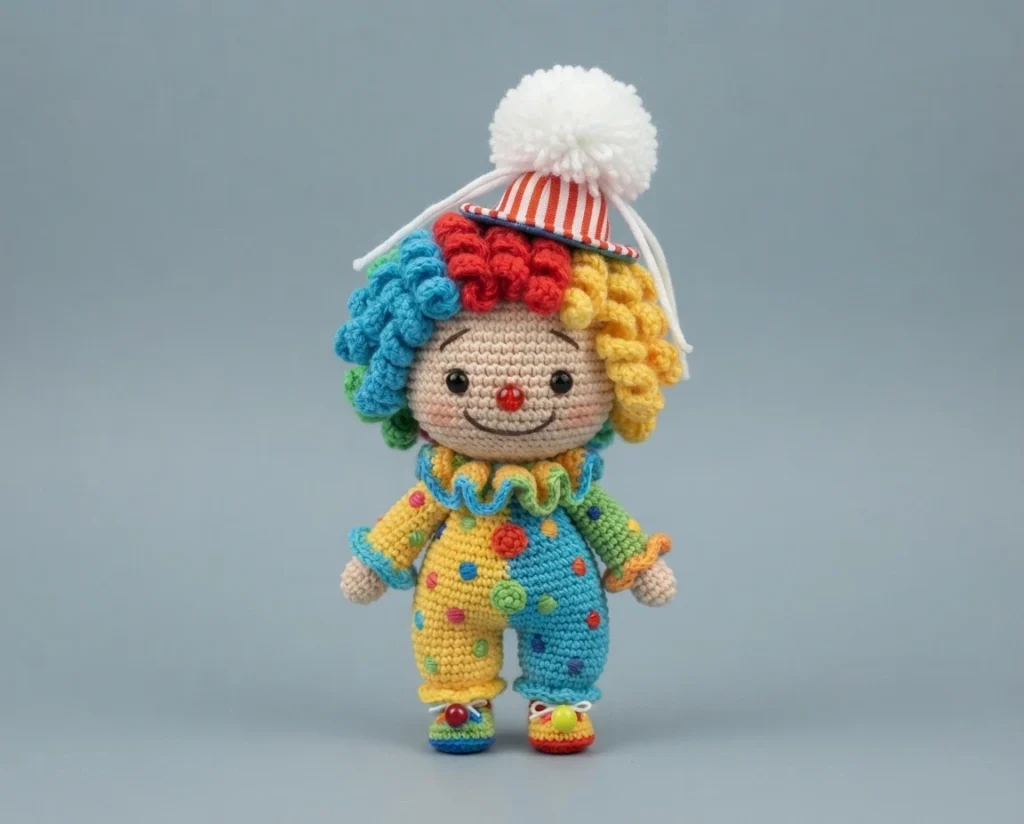
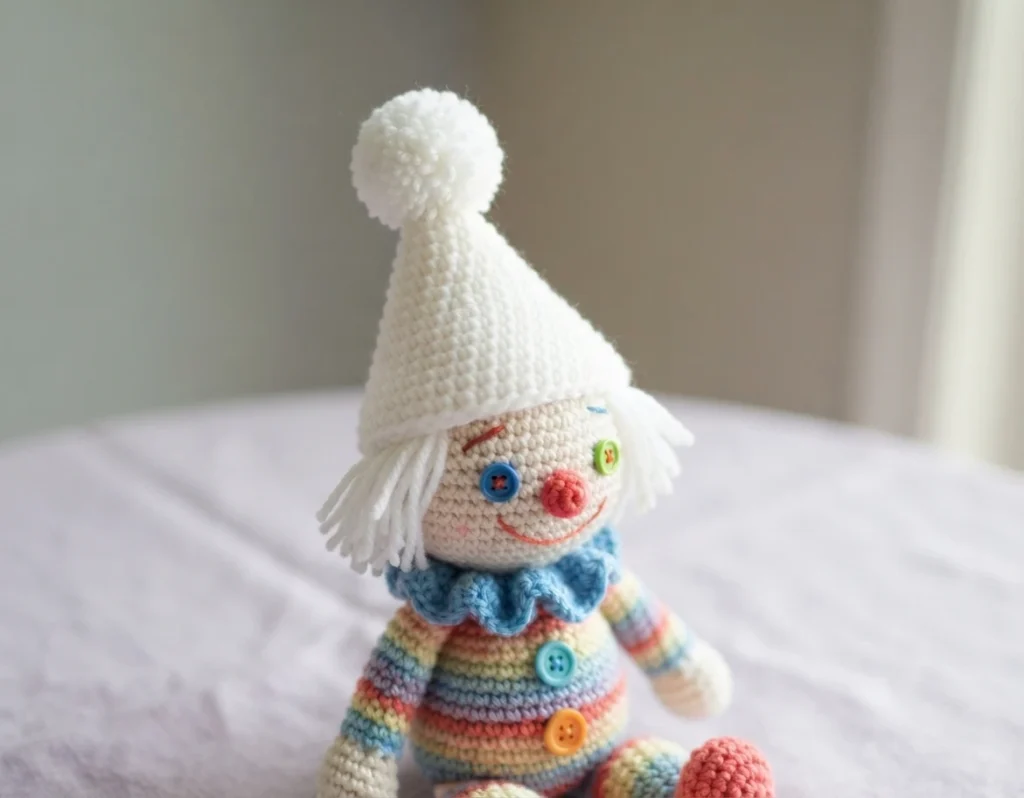
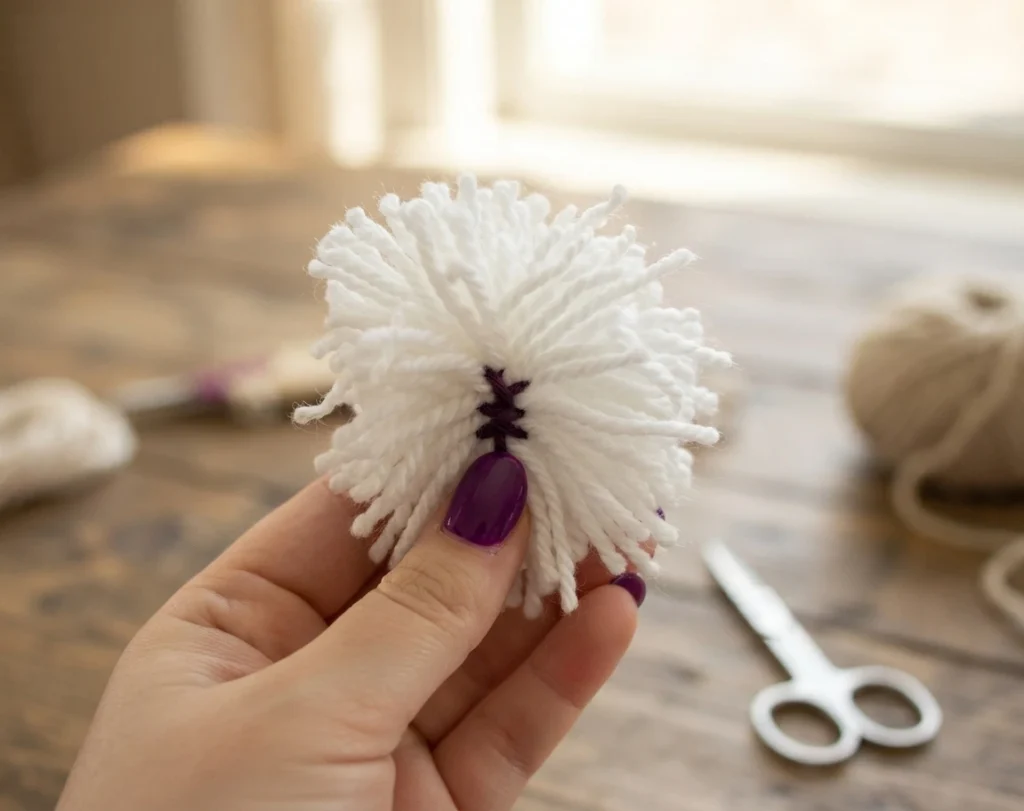
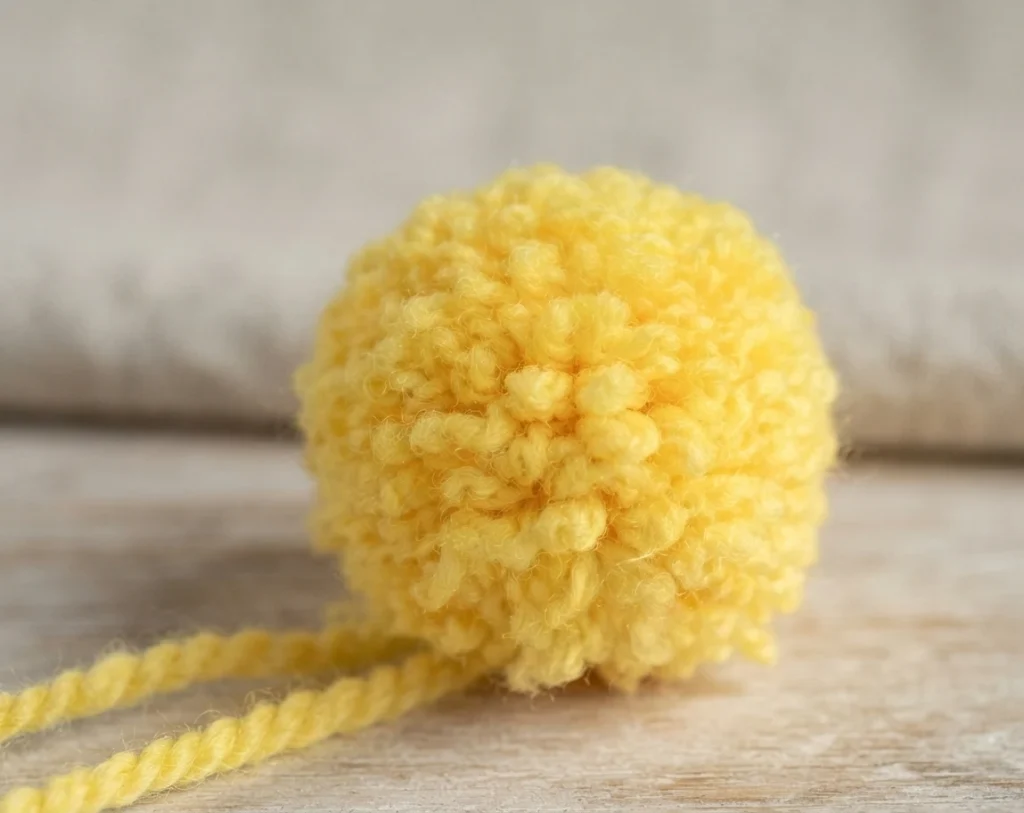
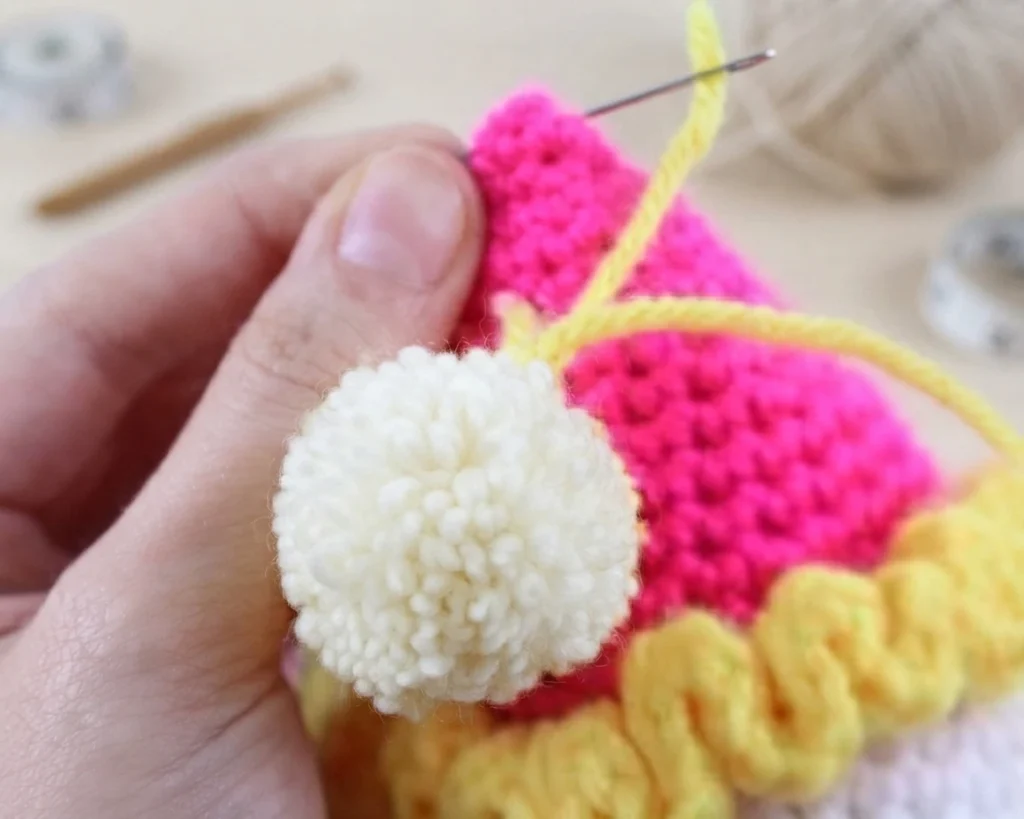
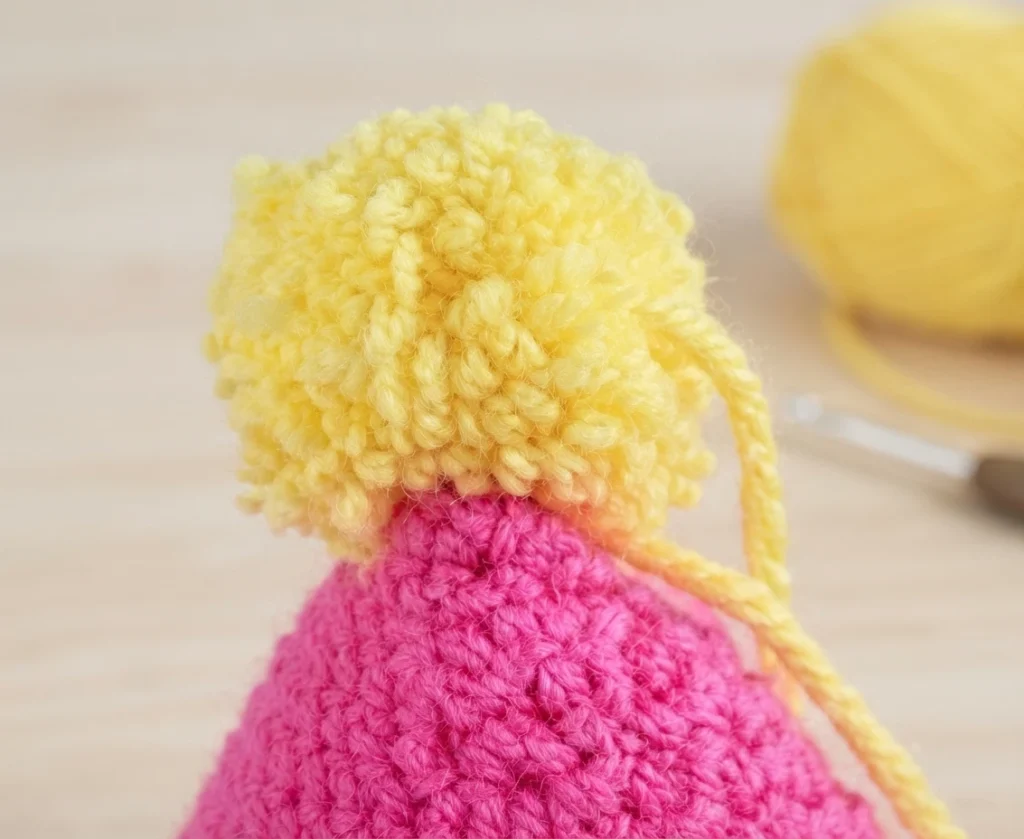
Cut a 12 inch piece of white yarn and set it aside. Wrap white yarn around 3 fingers 80 times, slide it off your fingers, and wrap the reserved 12 inch strand around the bundle a few times, pulling tightly to secure it. Cut the loops, trim any longer pieces so the ball looks puffy, and sew the pom pom to the top of the hat.
Flower
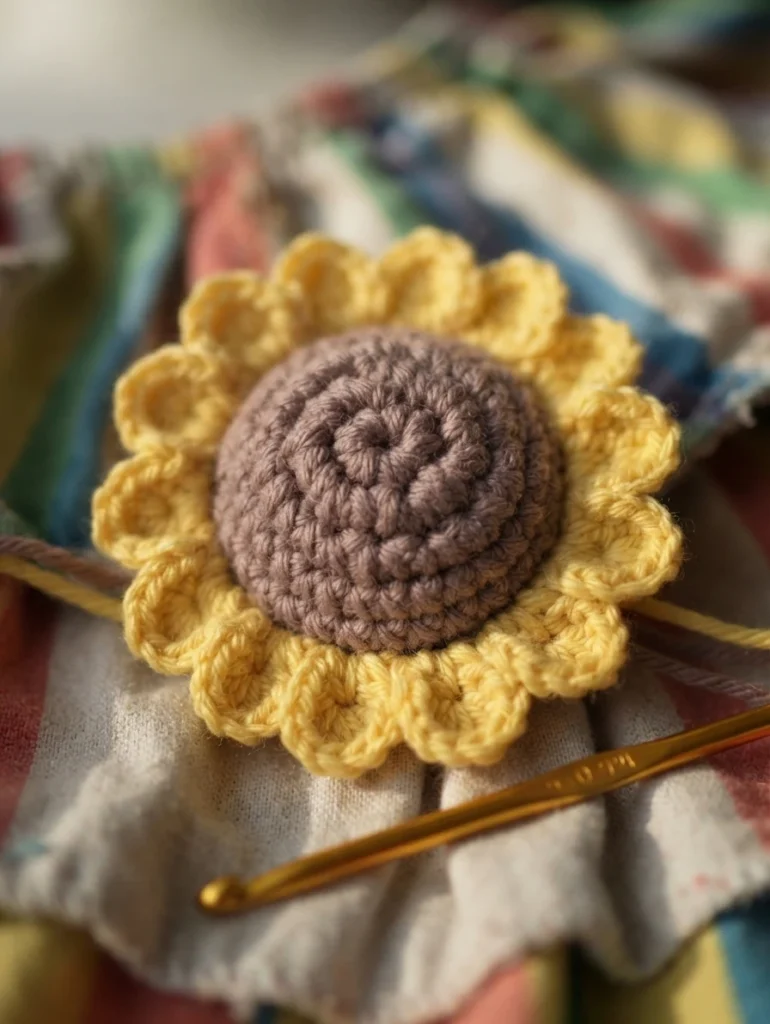
The mini sunflower is a small two-layer piece that is sewn onto the suit as an accessory. It uses a finer yarn and hook than the clown itself.
Use 2mm Crochet hook and Fingering weight yarn
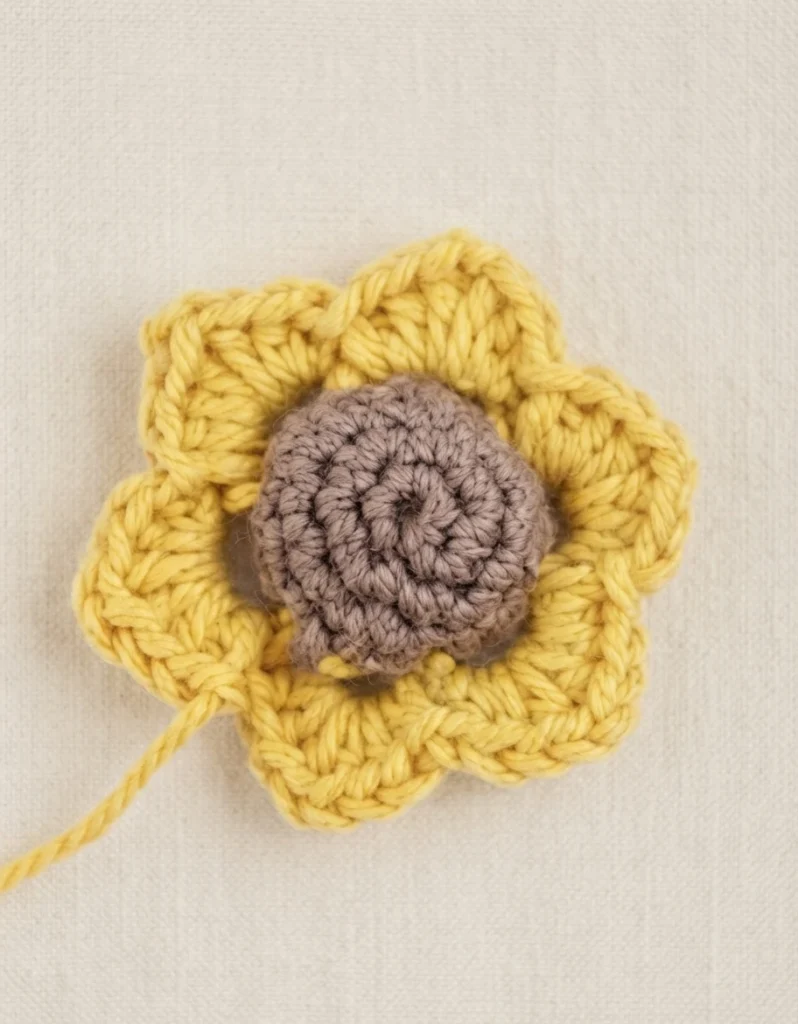
Make the front and back of the brown center first, then switch to yellow. The two pieces are crocheted together while the petals are formed, so the yellow rounds join the layers as you go.
Back of flower: (Make first)
The back piece is a simple flat circle in brown and is made before the front so the two can be aligned later.
In Brown
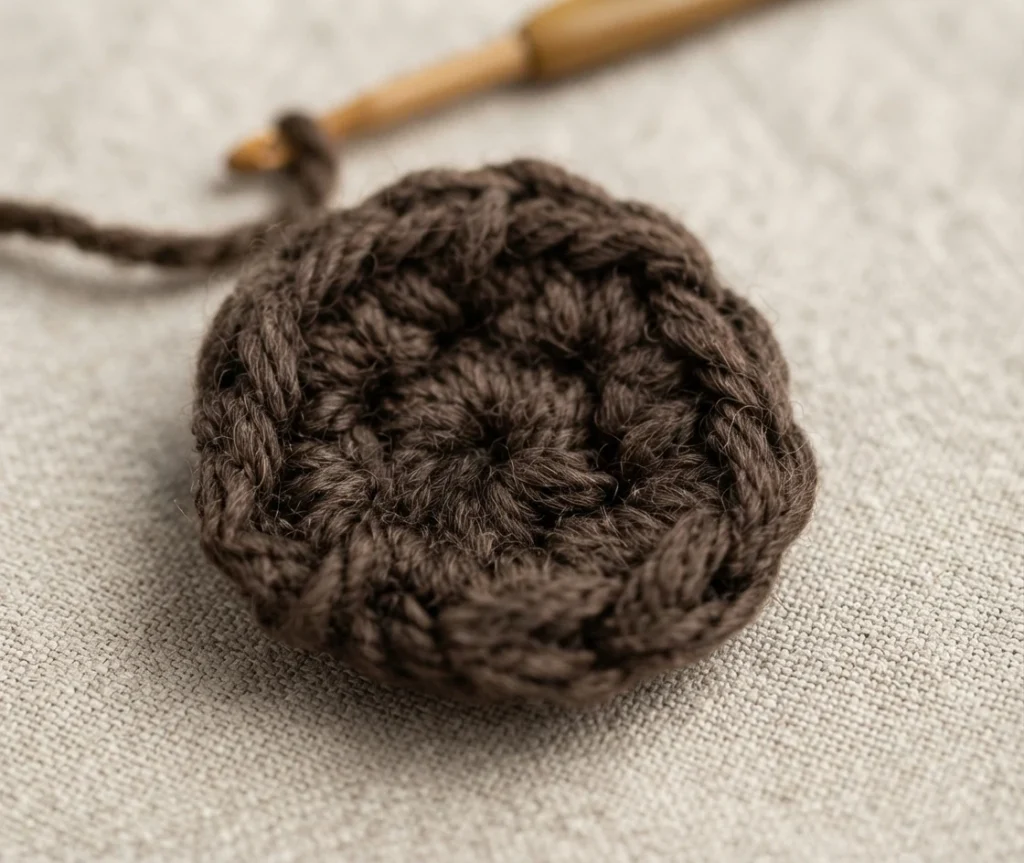
Round 1 is 6 sc in a magic ring, and round 2 increases in every stitch to 12. Fasten off.
Front of Flower
The front piece adds a plain round before the color change, then joins to the back piece as the petals are worked.
In Brown
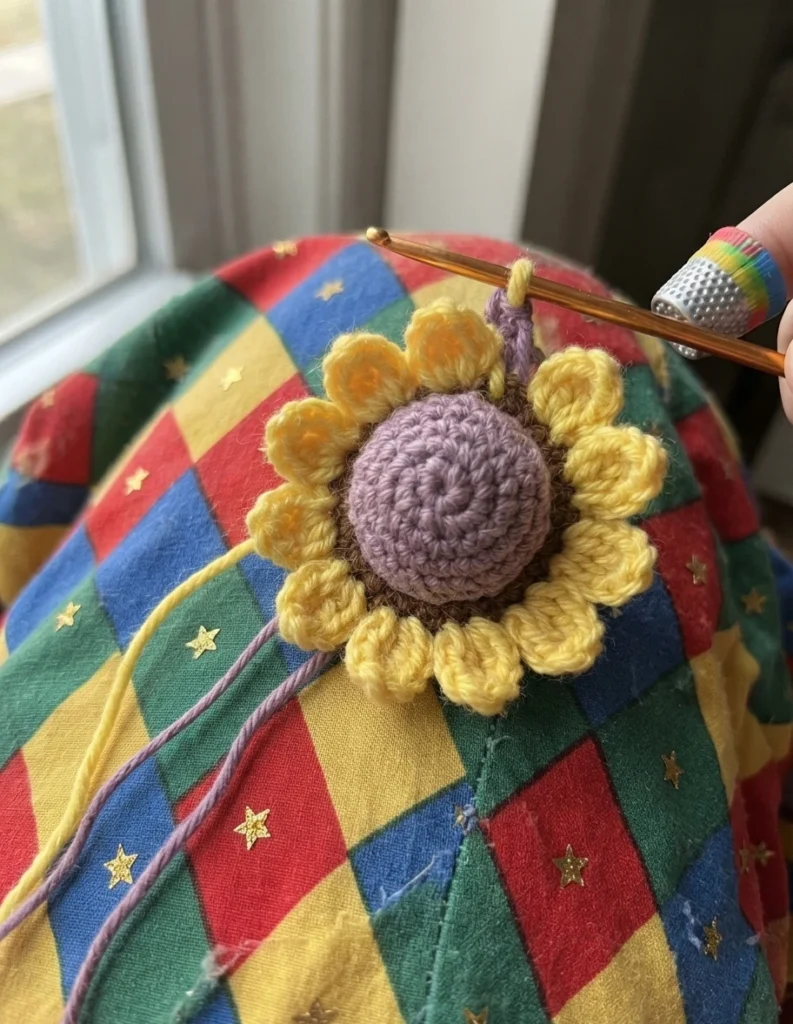
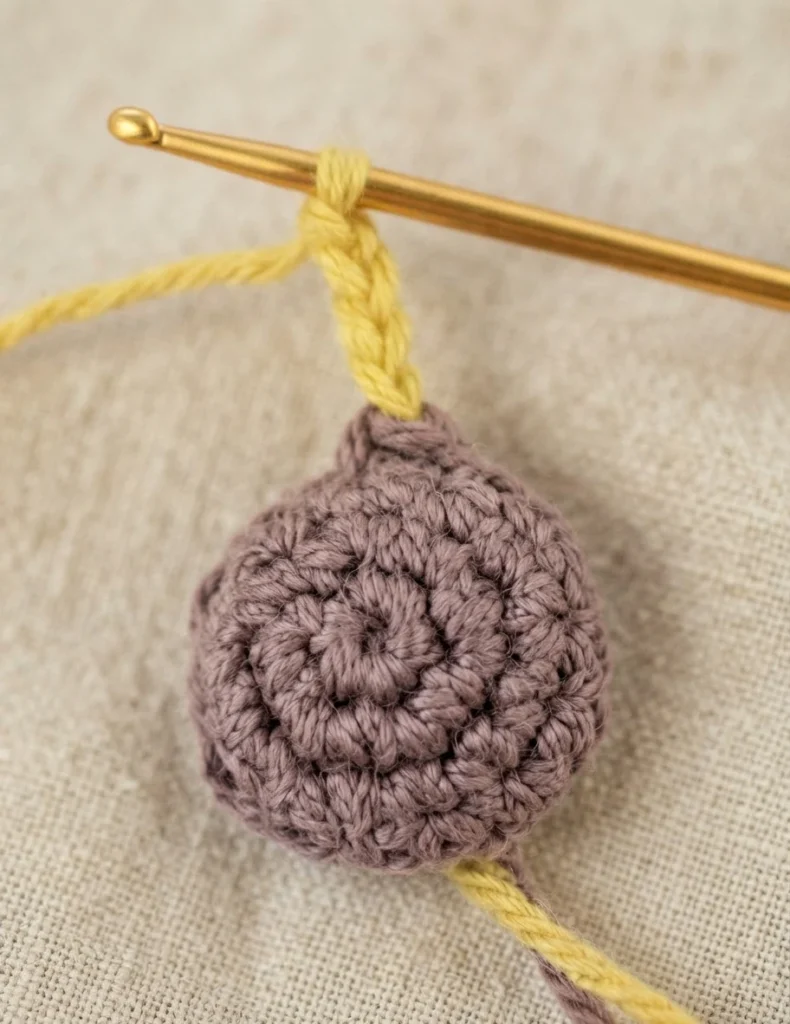
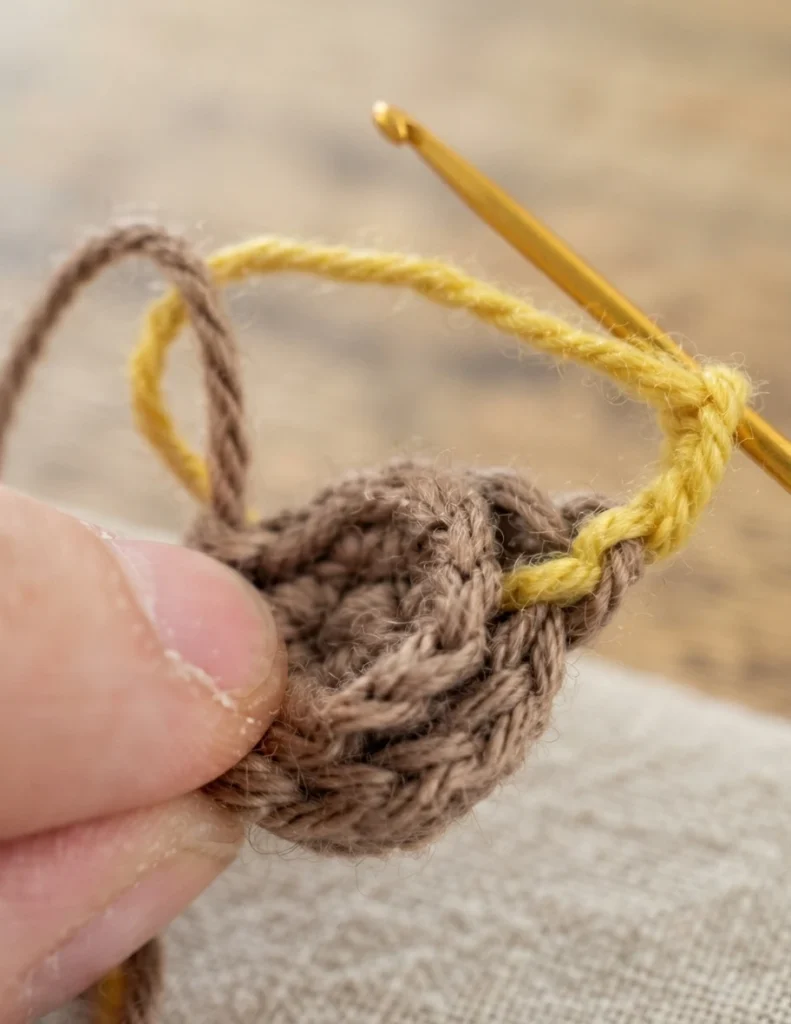
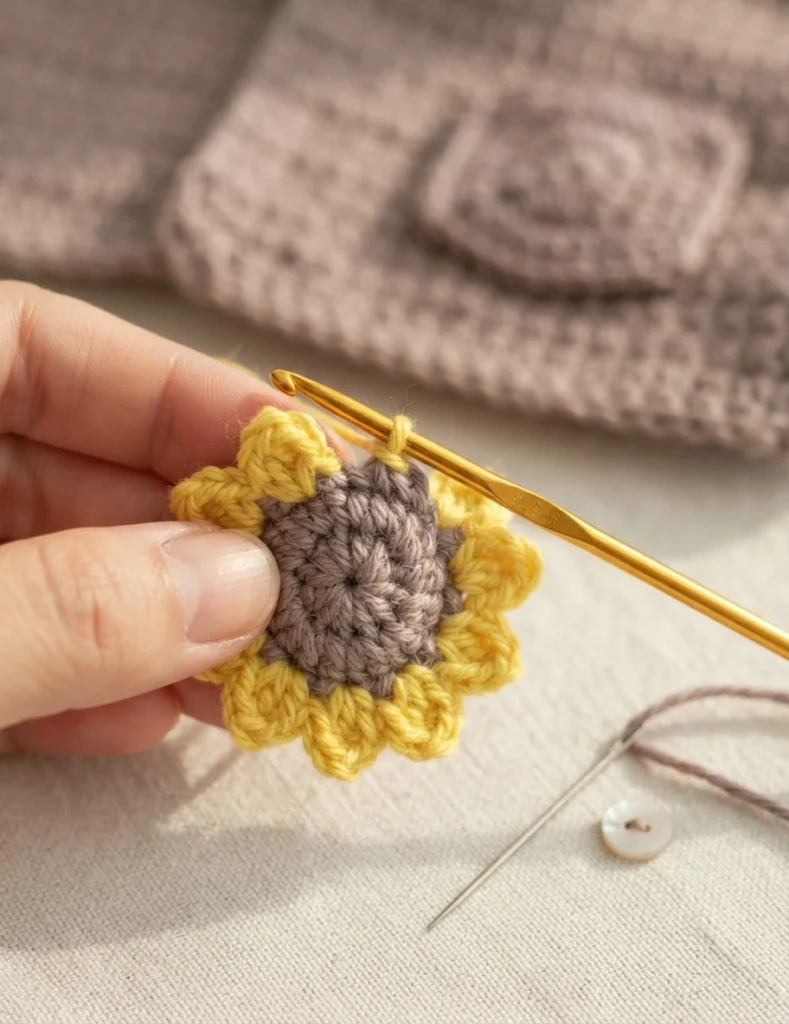
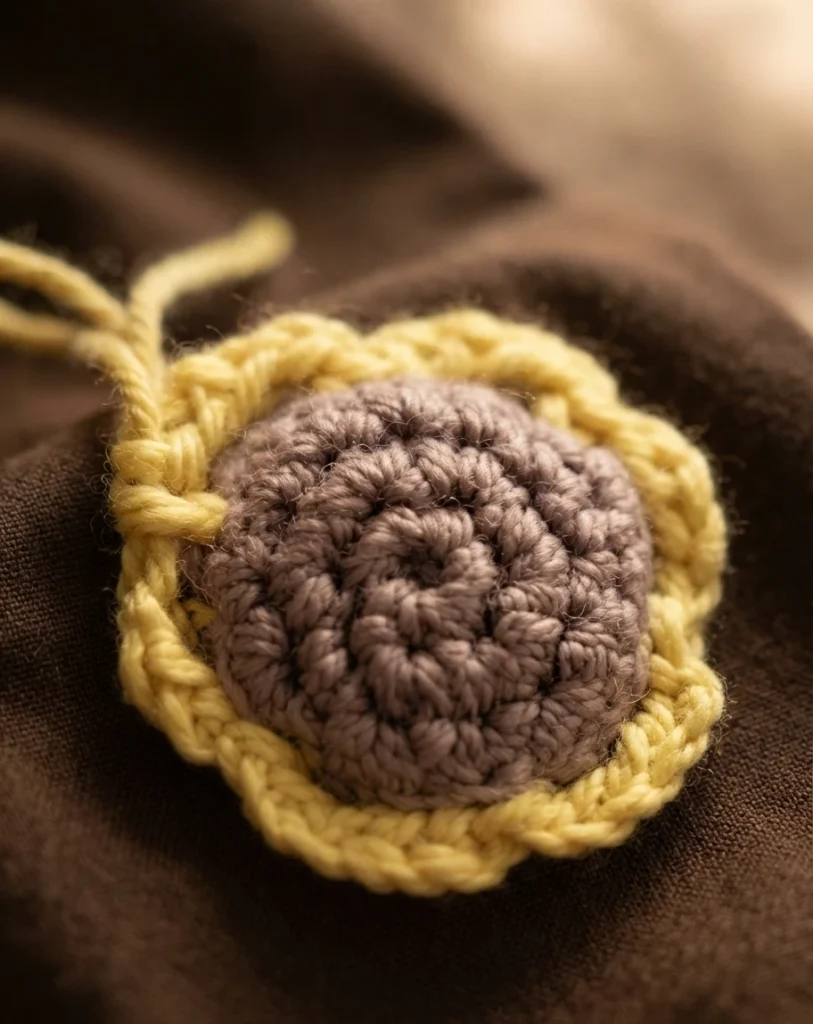
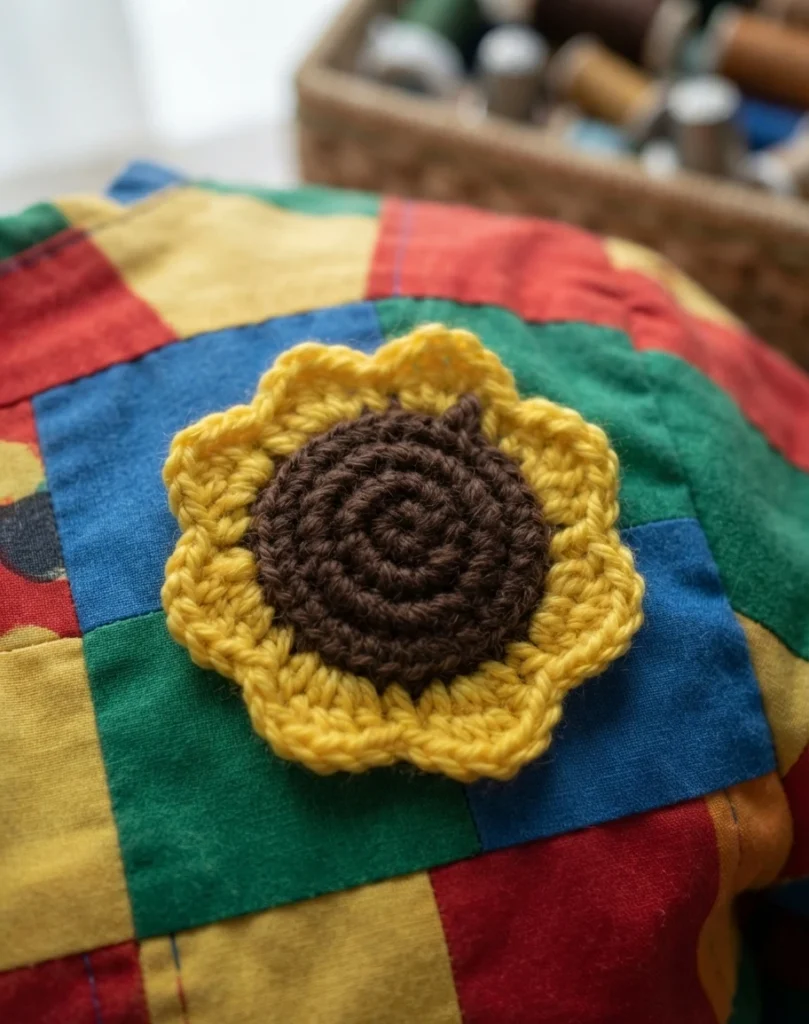
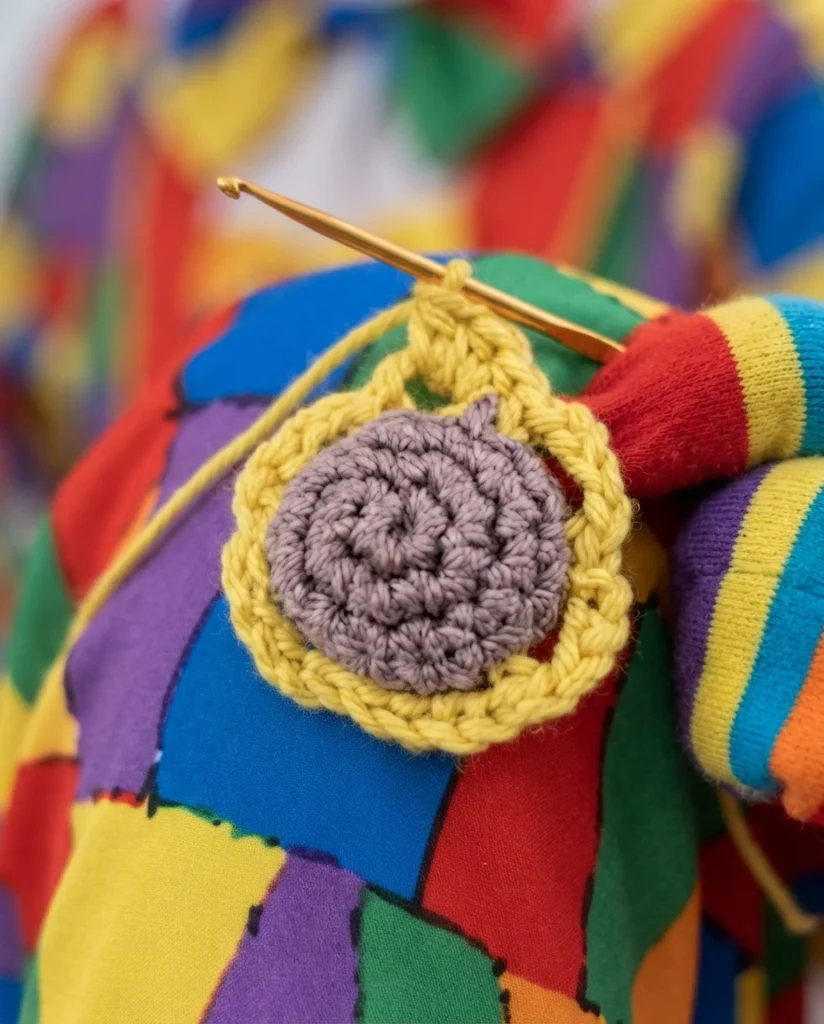
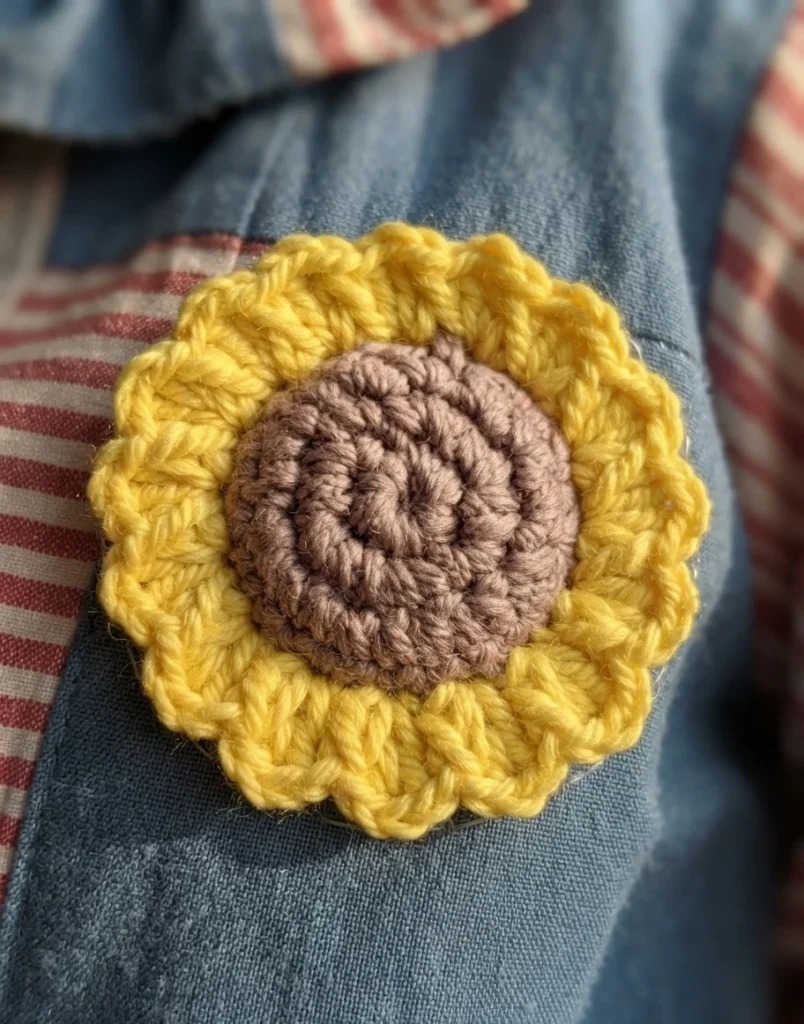
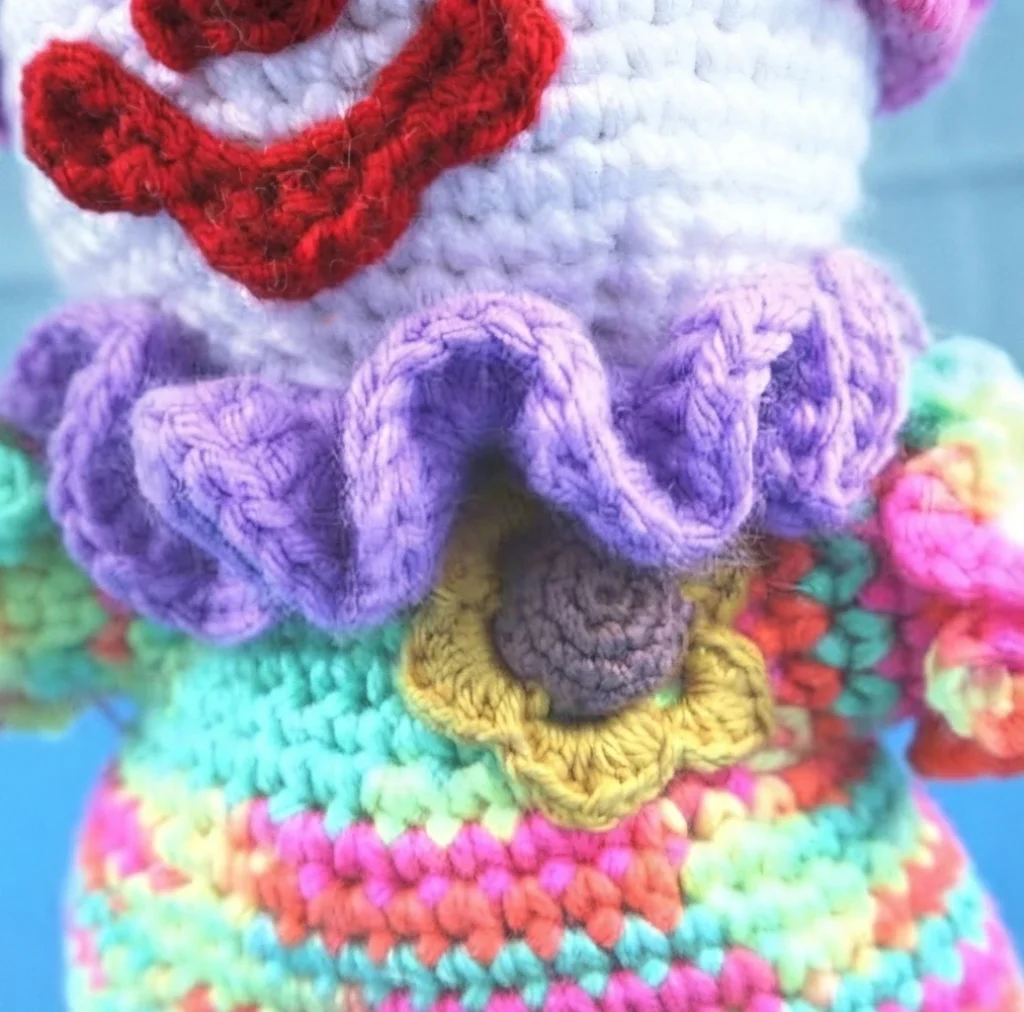
Round 1 is 6 sc in a magic ring, round 2 increases to 12, and round 3 works even. Round 4 works sc in 11 stitches, then the final sc while changing to yellow. Round 5 aligns the front and back pieces and, in yellow, repeats chain 4, skip the next stitch, and slip stitch in the next stitch 6 times.
Round 6 works 3 hdc in each chain-4 space, chain 1, 3 more hdc in the same space, and a slip stitch into that space, repeated 6 times. Fasten off with a long tail, pin the flower to the suit, sew it on, and weave in the ends.
Balloon
The balloon is a small stuffed shape with a flared base that reads as the tied end. It is made in any color and attached to the clown’s hand with wire.
In Any Color
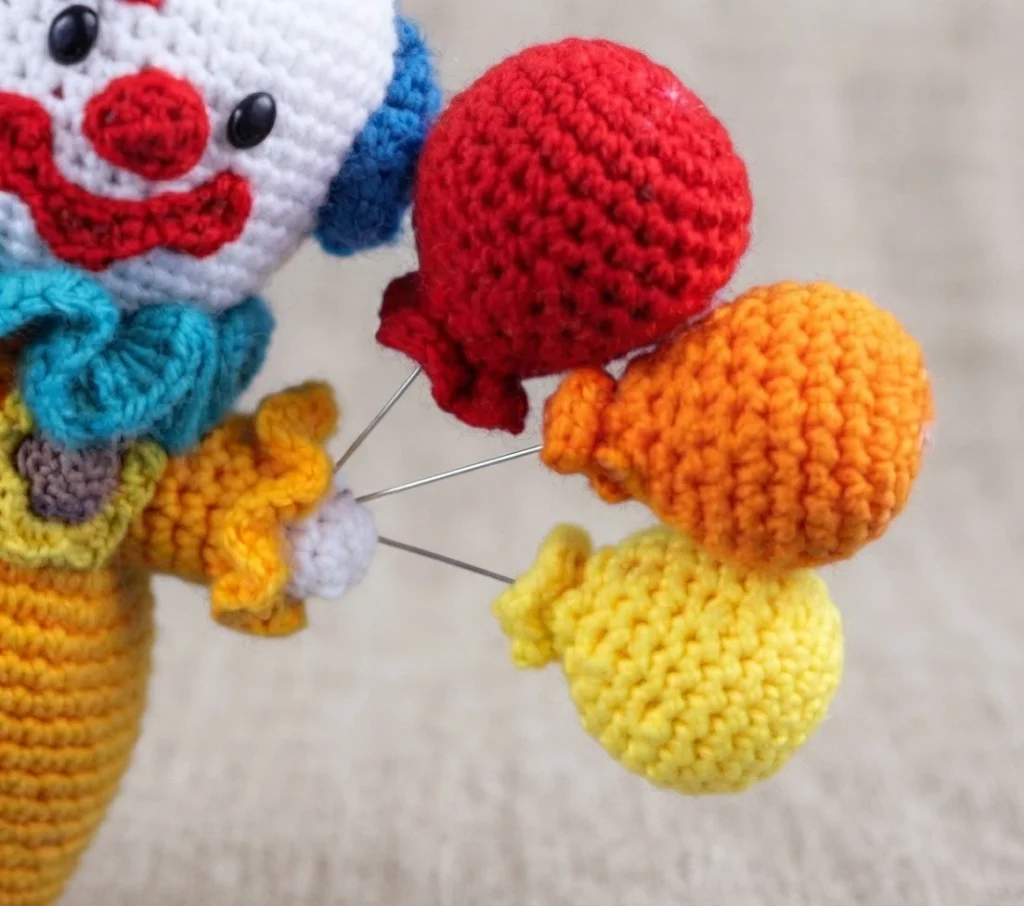
Round 1 is 6 sc in a magic ring, and rounds 2 through 4 increase to 12, 18, and 24 stitches. Rounds 5 through 7 work even, round 8 decreases to 18, rounds 9 and 10 work even, round 11 decreases to 12, and rounds 12 and 13 work even. Stuff the balloon firmly, then round 14 decreases to 6 and round 15 works 4 sc into each front loop. Fasten off with a sewing tail and sew the 6 stitches from round 14 closed.
Balloon Assembly
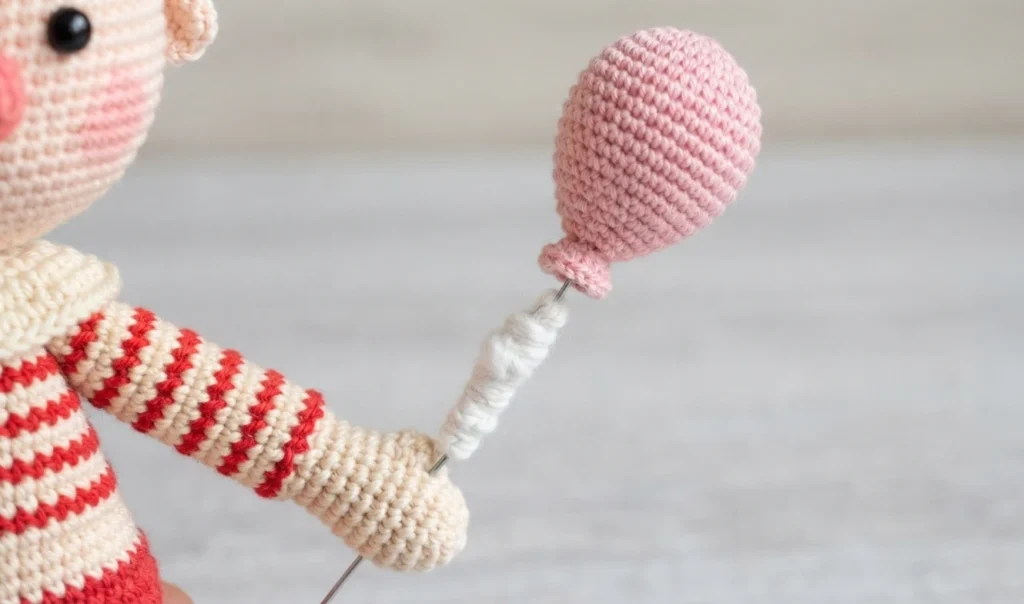
There are two ways to attach the balloon, and the choice depends on how the clown will be used. The first method is much more secure but takes up enough space on the hand that only one balloon fits; the designer recommends it when the clown is a toy for a child. The second method allows multiple balloons but is far less stable, so it suits a clown used as decoration.
Pipe cleaners are not firm enough to hold the balloons up. Use firm wire stems instead; the designer used 18 gauge floral stems. Bend the wire ends so they cannot poke anyone, and for extra safety you can add hot glue or E600 to the end and wrap yarn around it.
Method 1 of Balloon Assembly
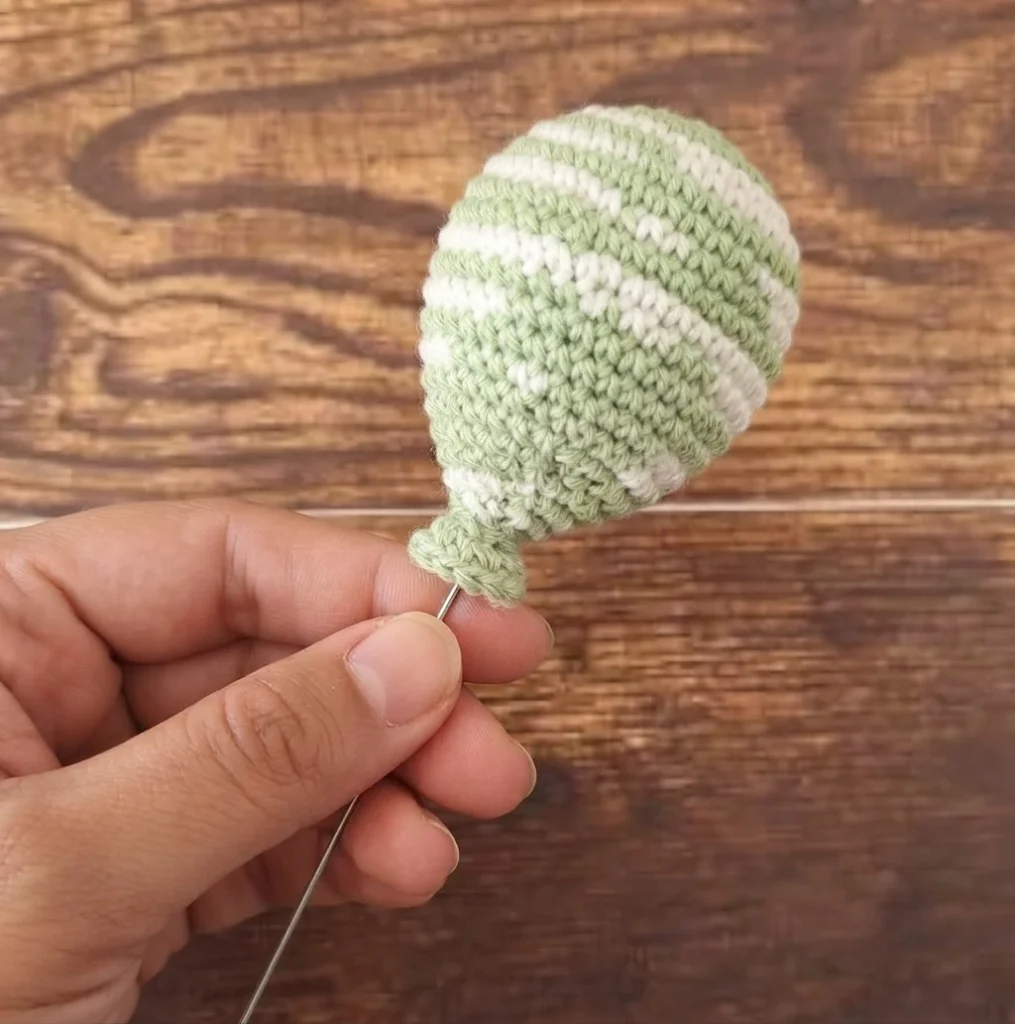
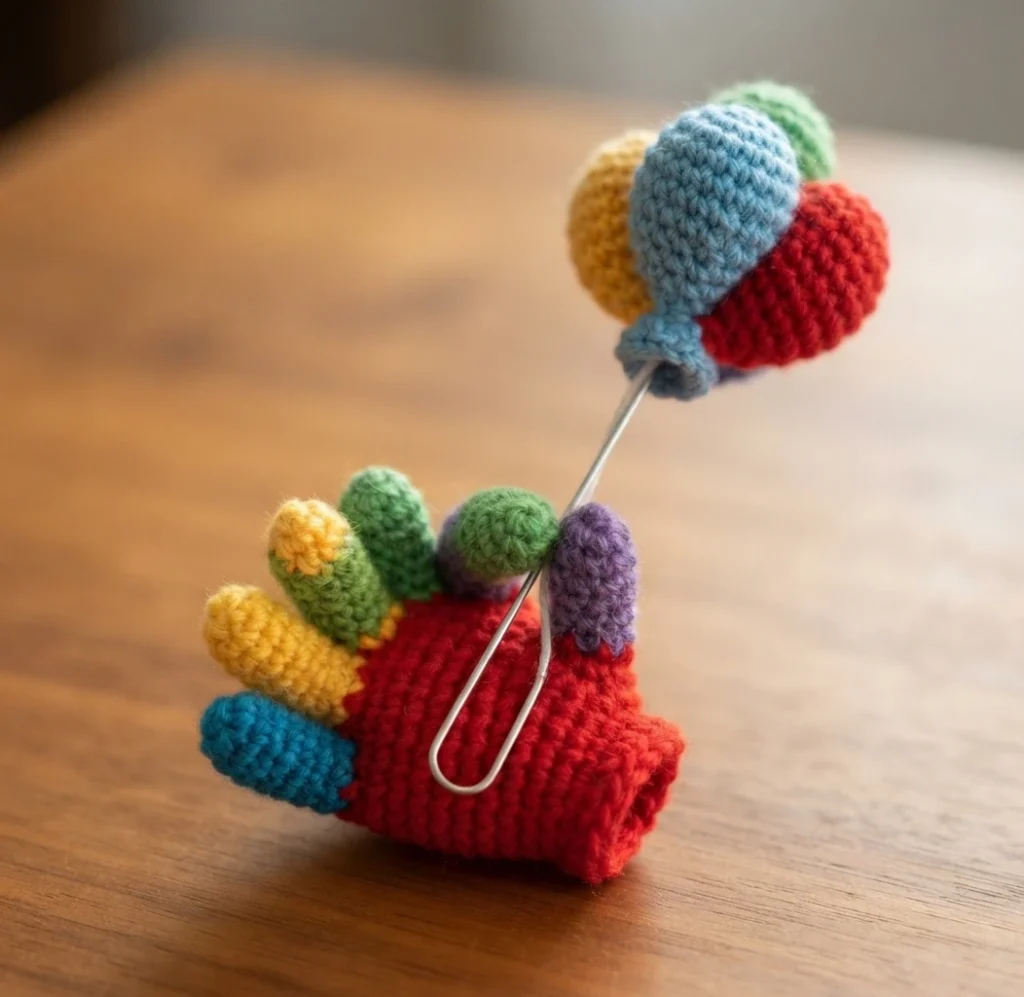
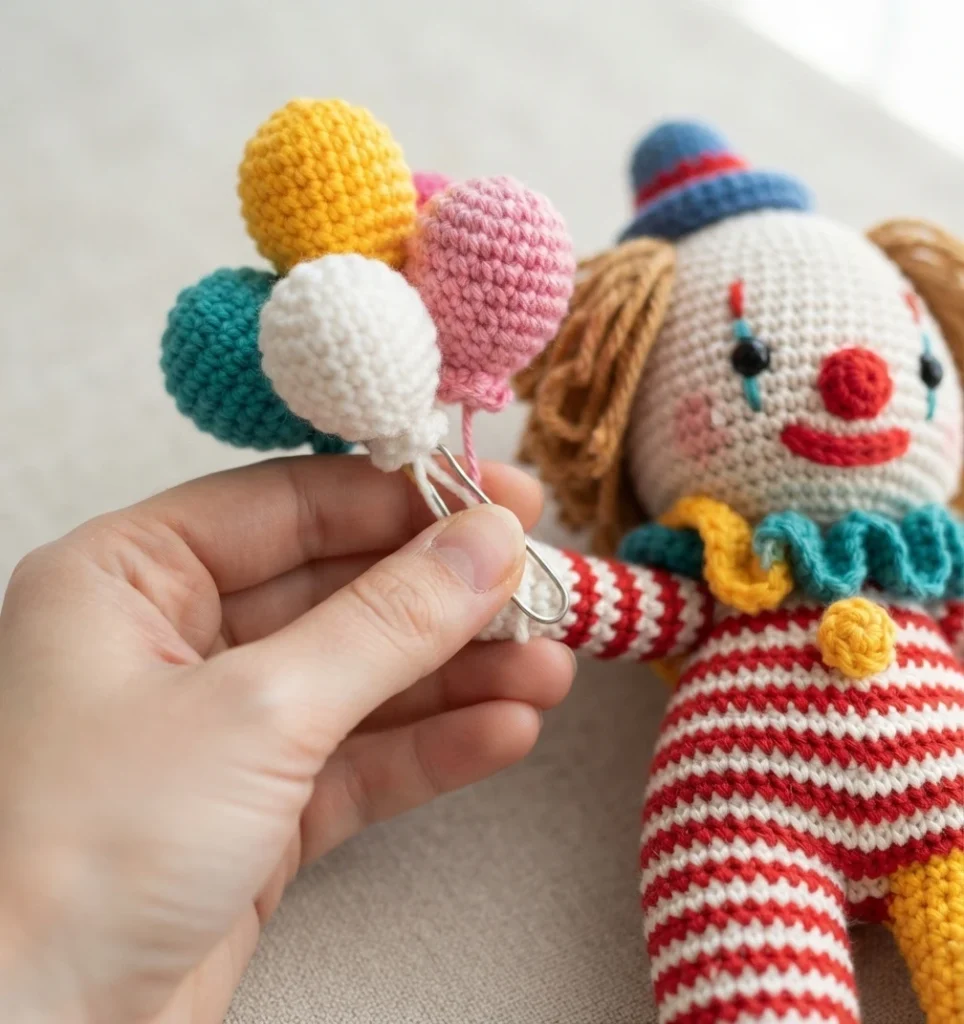
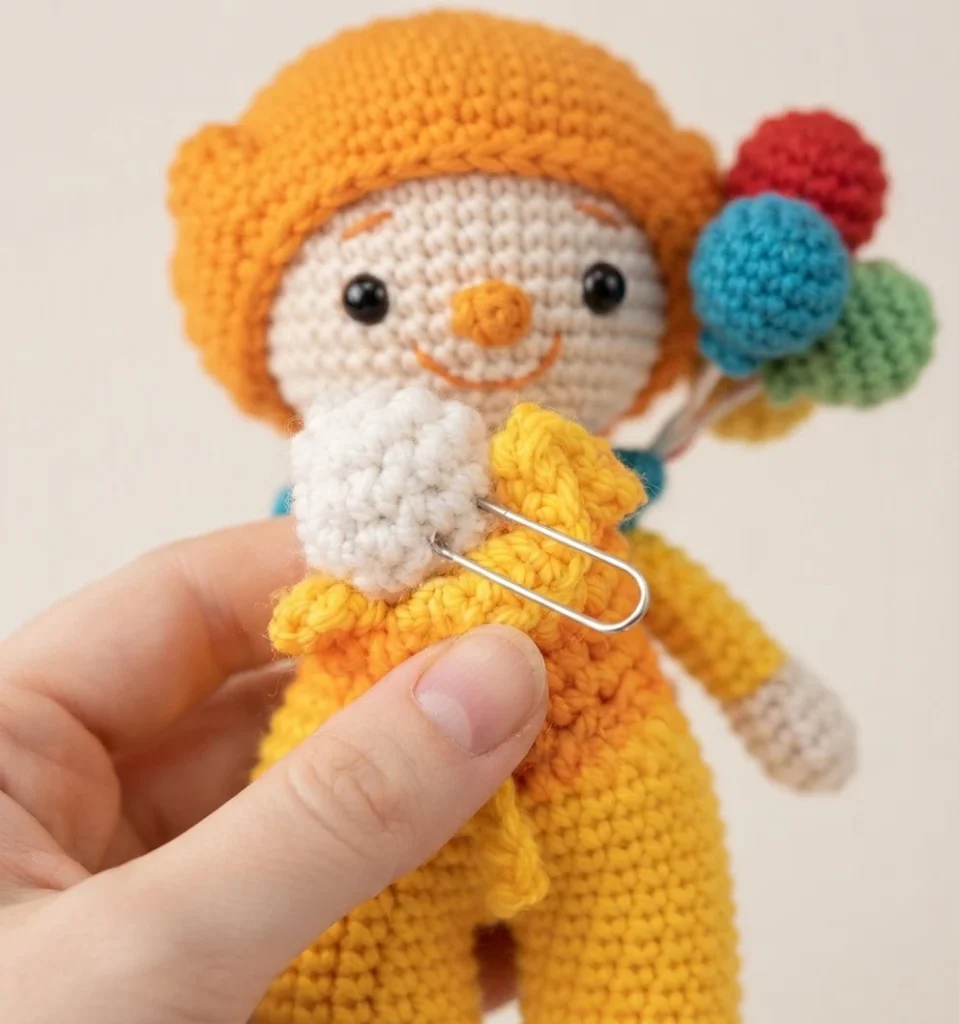
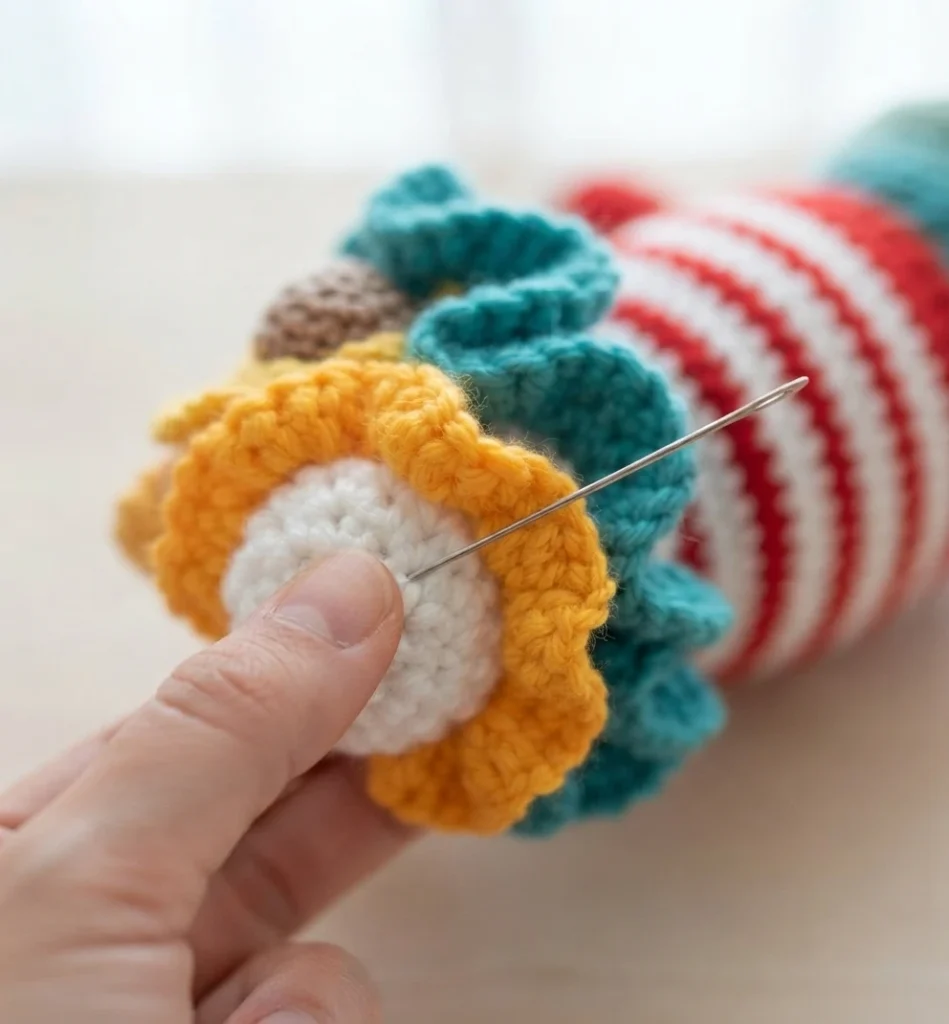
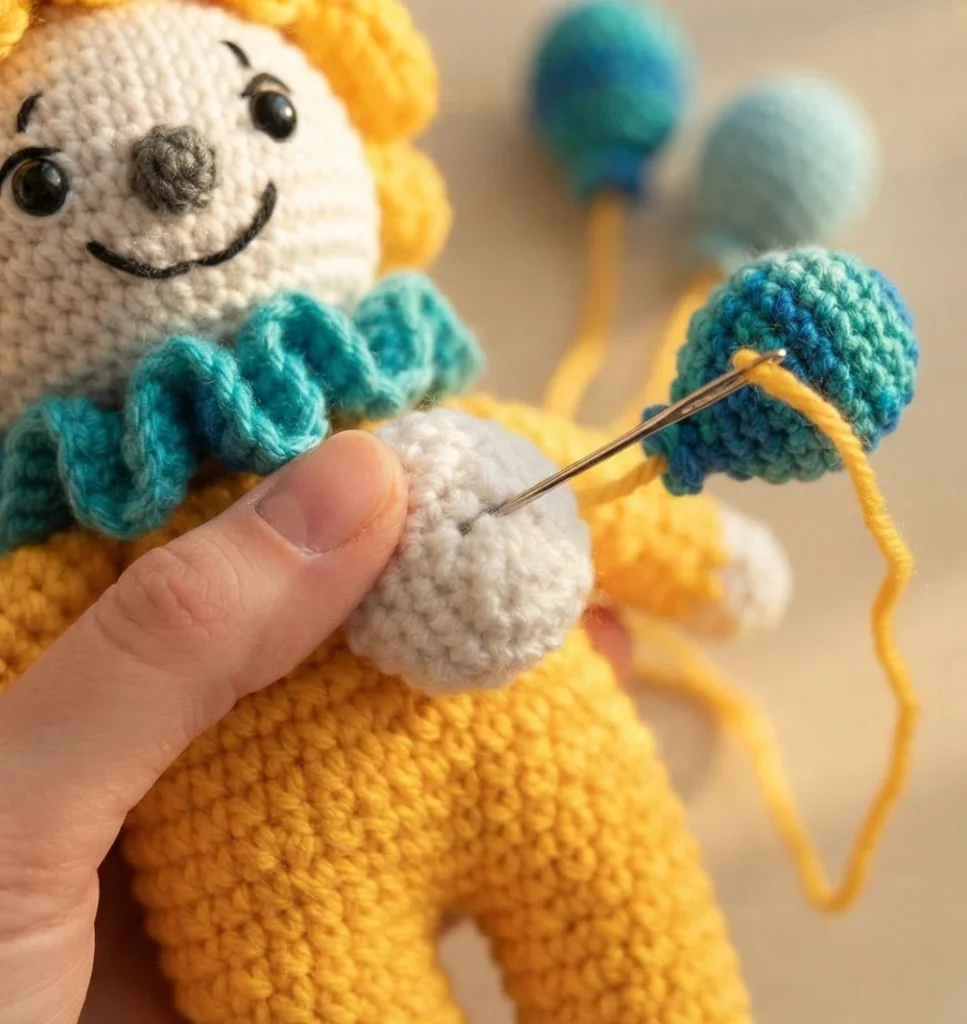
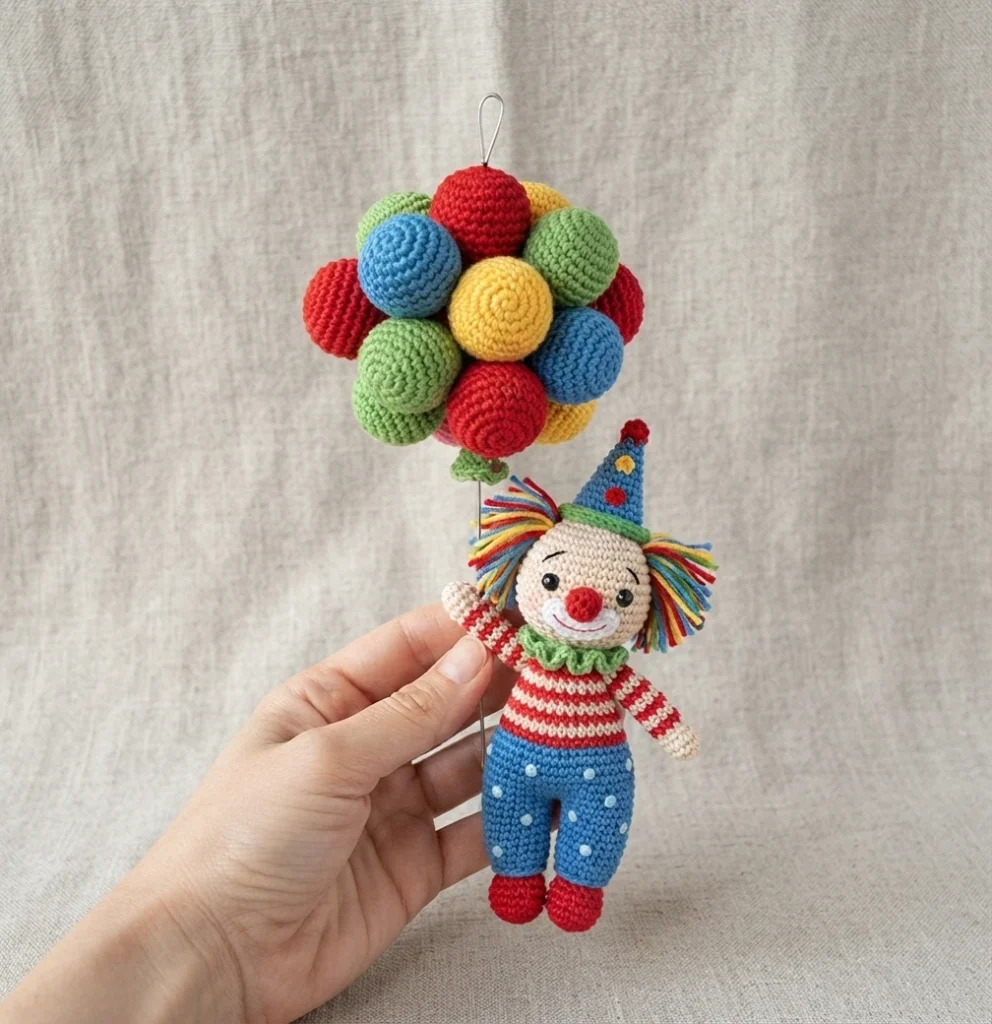
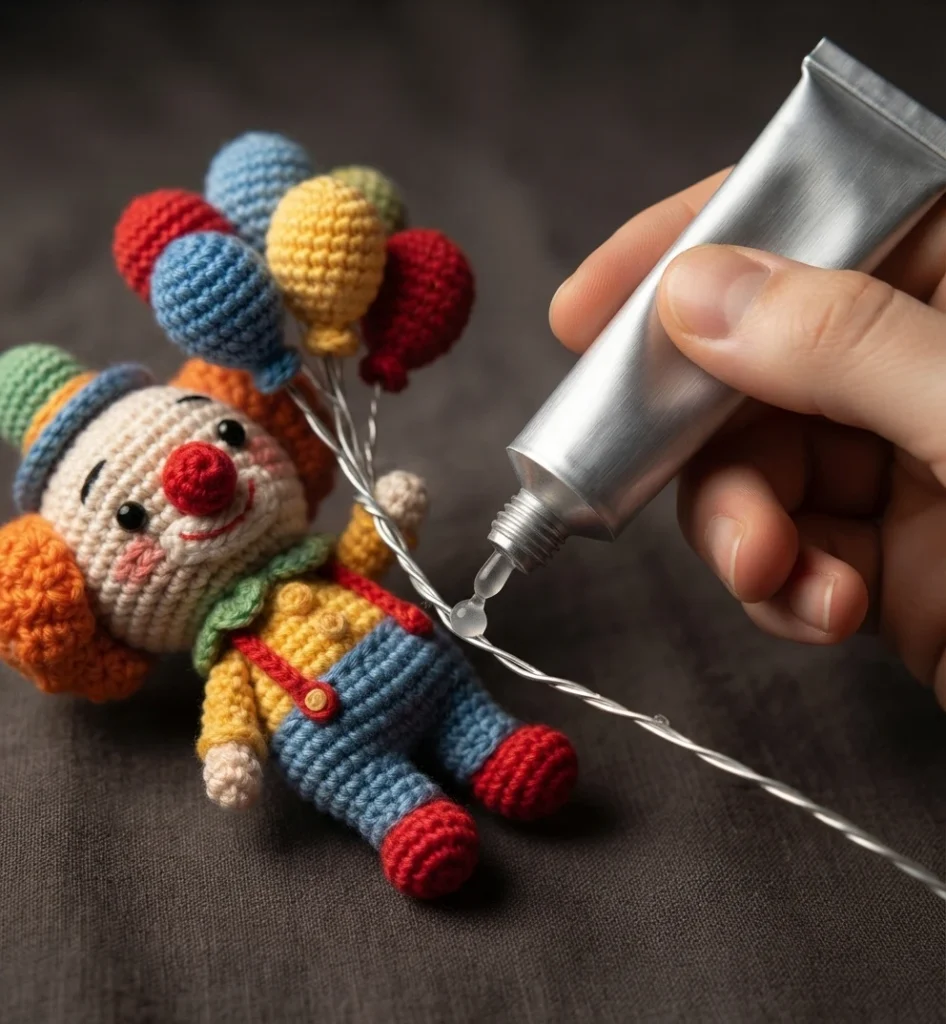
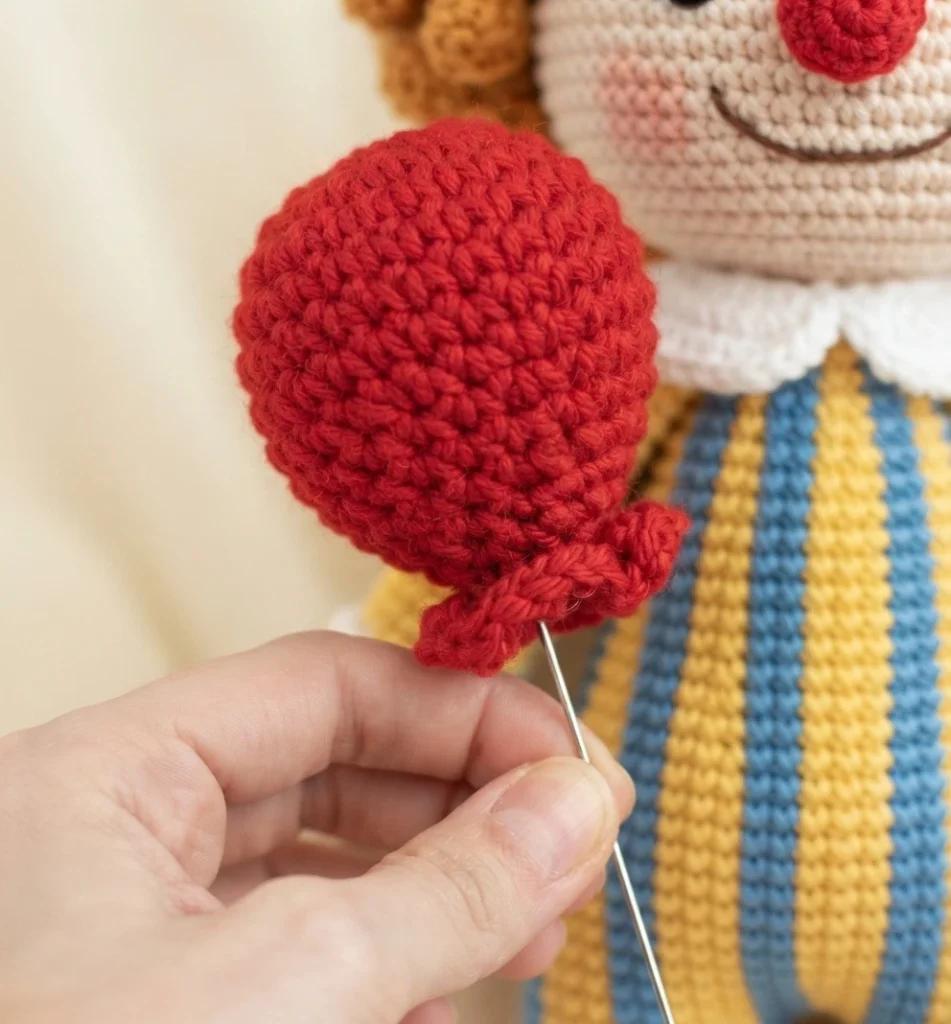
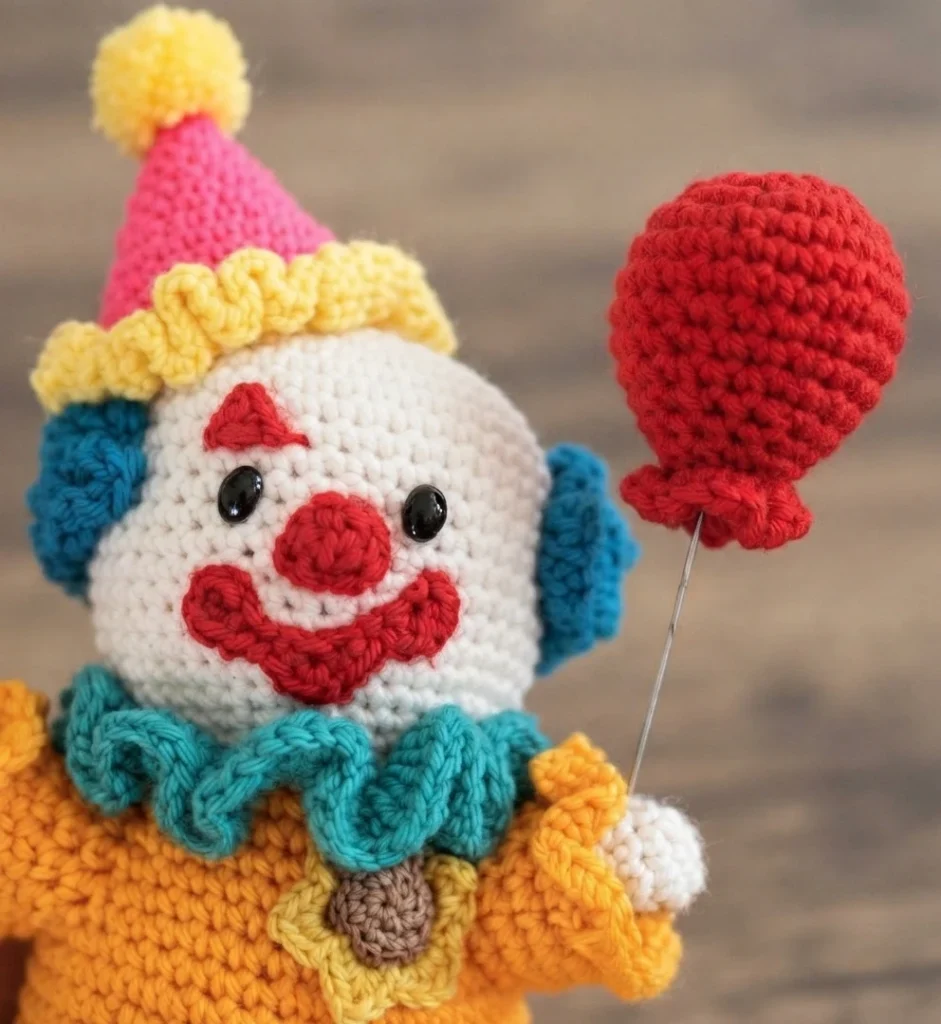
Cut a wire about 5 inches long and bend one end with pliers. Insert the long end from the bottom of the hand up through the top, and route the short end through the hand as well. Bend the tip of the short end back into the hand, bend the top of the long end, add glue, and slide the balloon onto the wire. Check that it is secure and cannot poke anyone. This holds only one balloon. If wire shows at the top of the hand, cover that small section with sewn yarn or paint.
Method 2 of Balloon Assembly
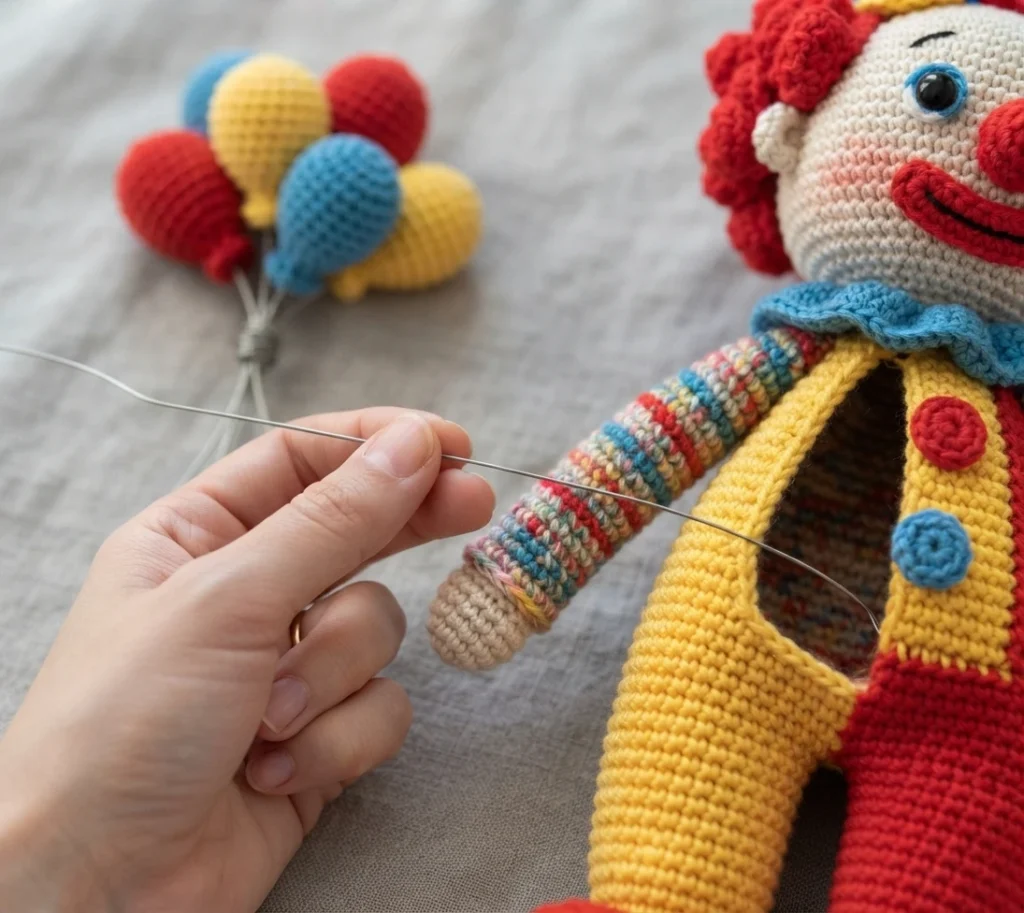
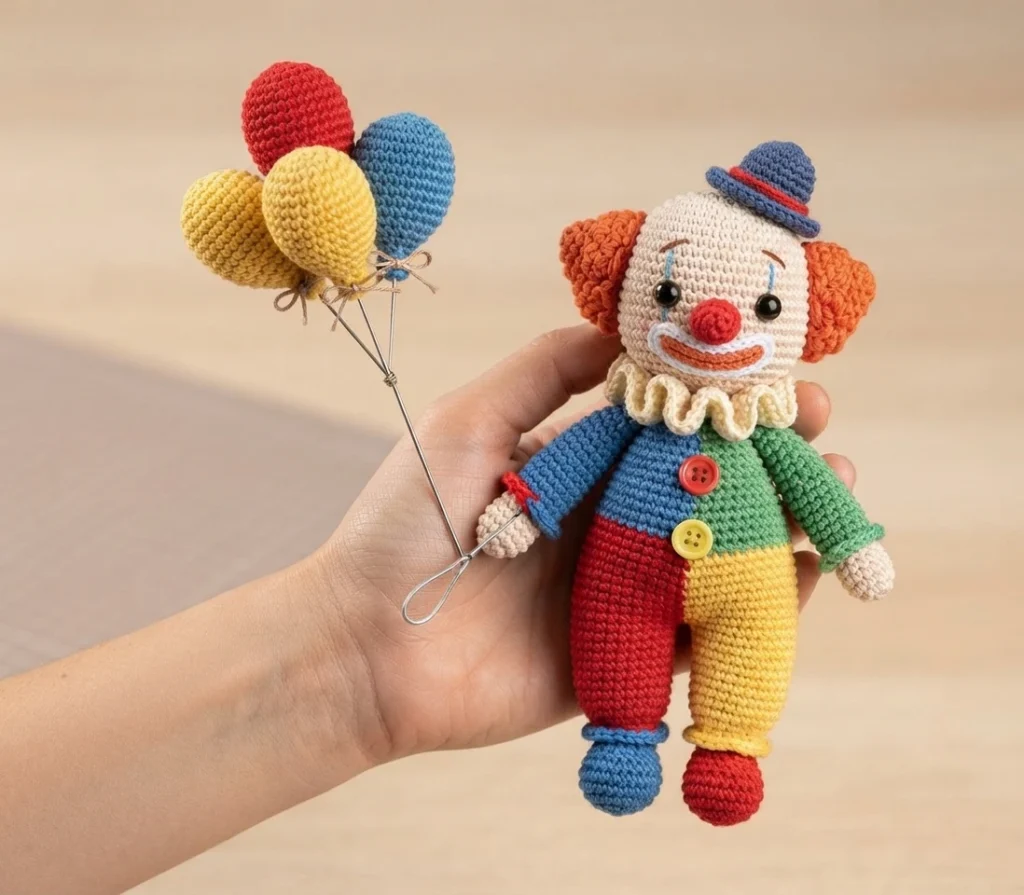
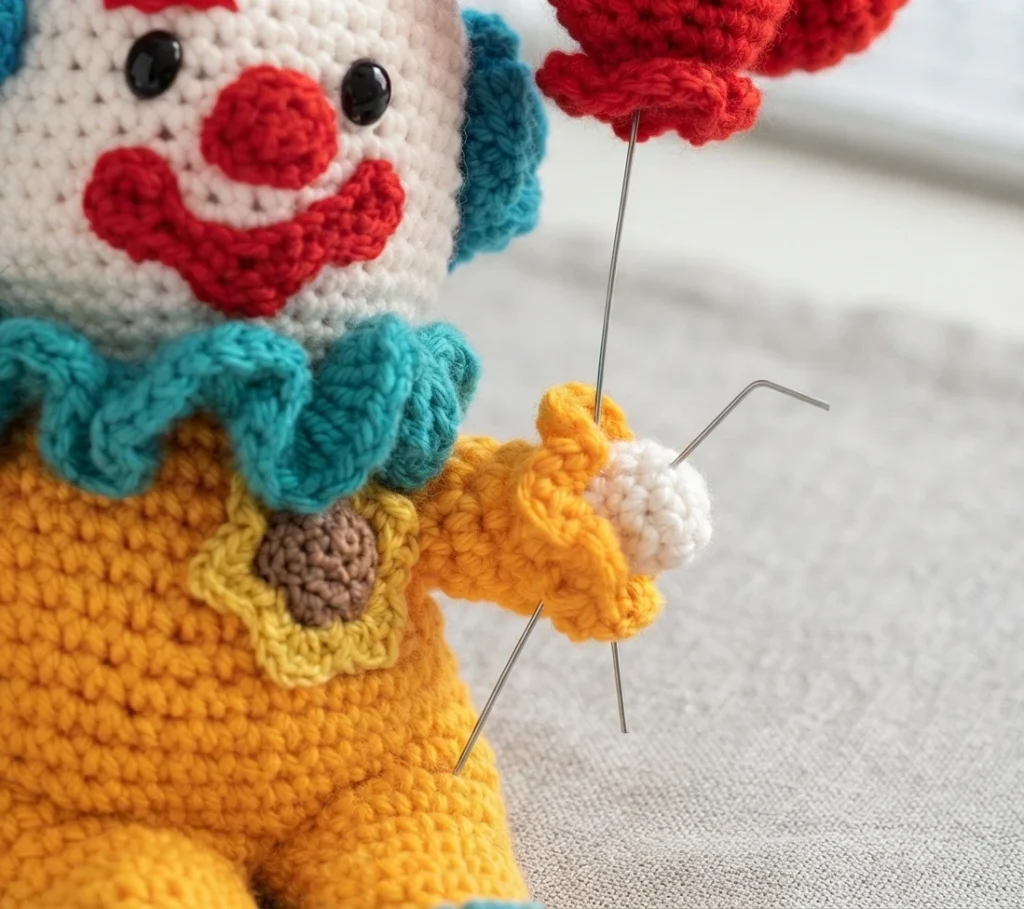
Cut a wire about 8 inches long and bend both tips so they will not poke. Add glue to one end and slide the balloon onto it, then insert the other end into the clown’s hand and lead the wire through the arm and body for stability. Repeat for any additional balloons. This method is less stable than the first, so use it only when the clown is for decoration.
If you enjoy clown-themed accessories, the Ravelry: Cat Clown Hat and Collar Add-On pattern by Maggie L. Wood: Pattern Overview is a related project worth a look.