Project introduction
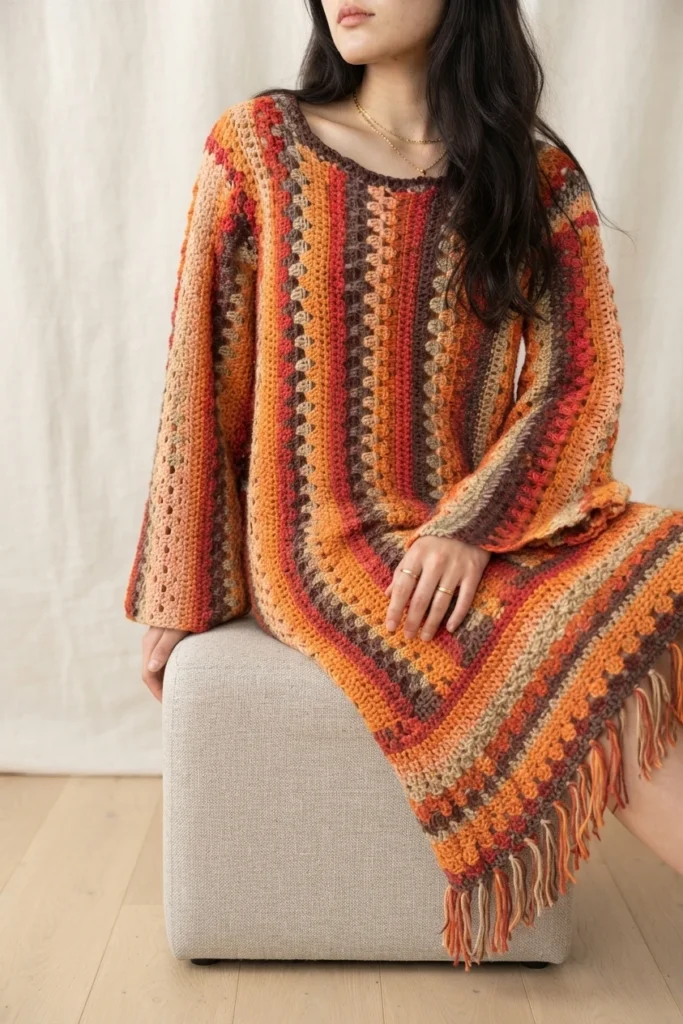
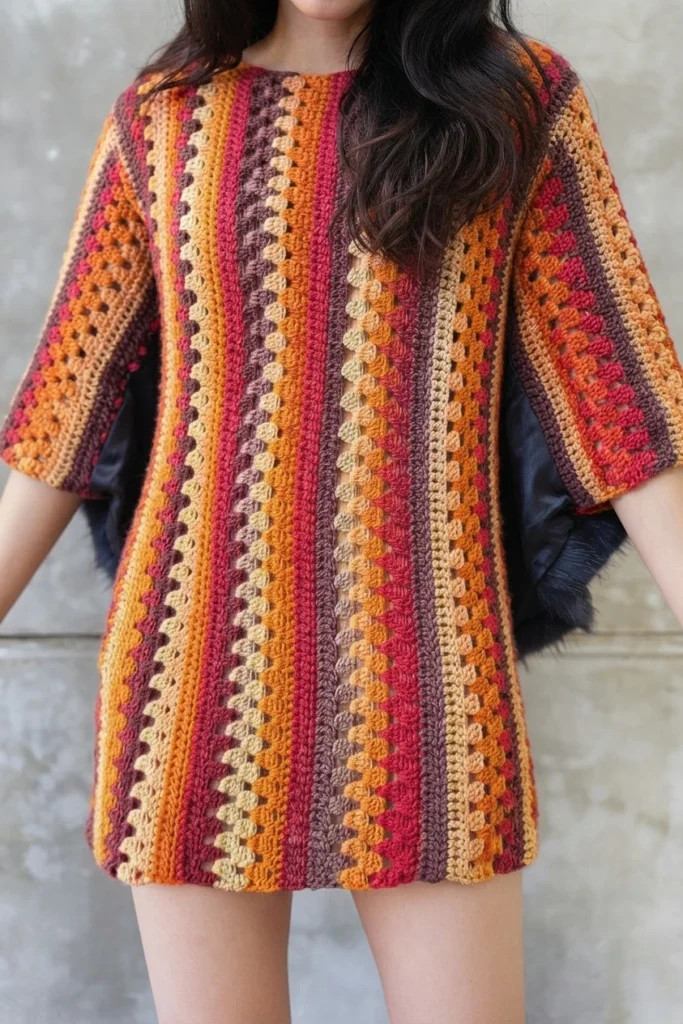
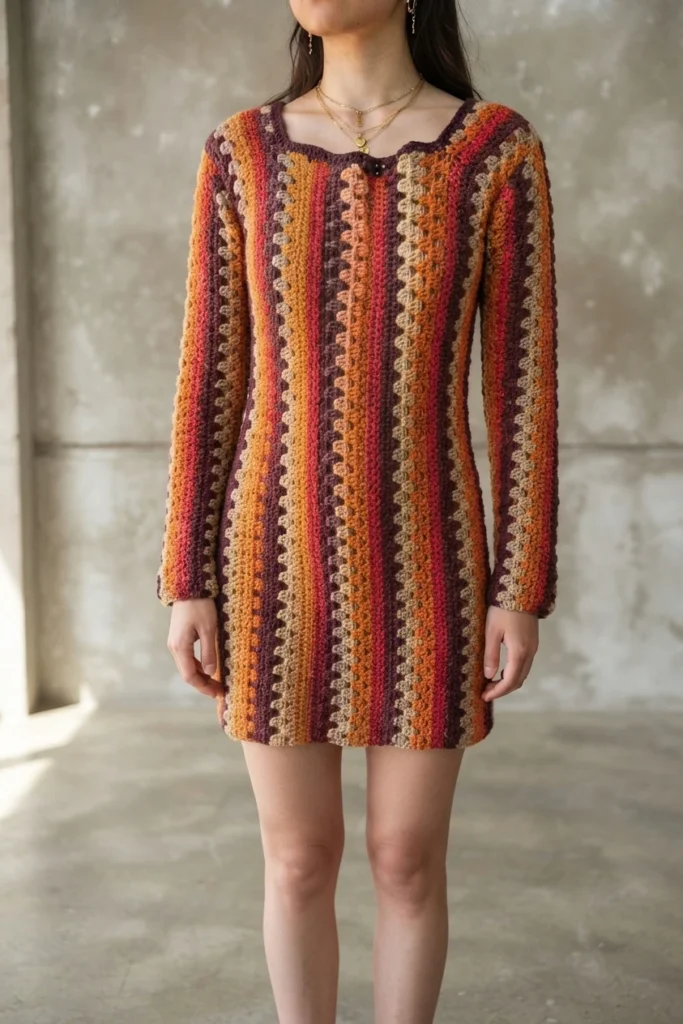
This article provides an overview of the Easier Swiftie Crochet Dress, designed by Kiks + Jack Crochet. It is not a replacement for the designer’s complete pattern. The garment features a loose silhouette, a square neckline, and wide sleeves. Its made-to-measure format allows crocheters to choose specific dimensions, including length. The designer describes the pattern as beginner-friendly, using a mix of double crochet and granny-style clusters separated by simpler rows. The original page contains the full instructions and construction details.
DESCRIPTION of The Easier Swiftie Crochet Dress
The dress is crocheted vertically and primarily uses double crochet, with granny stitch clusters adding texture. The shape is roomy and oversized, without fitting closely at the bust or hips. Sleeves are wide. The square neckline simplifies front shaping compared to curved necklines, according to the designer. Finished length is customizable.
Self-striping yarn creates color changes without frequent joins. Solid yarn, scraps, or separate colors also work, though multiple colors may require weaving in more ends. The neckline has a simple edging, while the lower edge can be left plain or finished.
Crochet measurement & sizes
This design relies on personal measurements rather than standard graded sizes. However, the designer provides approximate reference ranges for those who prefer them. The intended fit is relaxed and oversized, not shaped to the body.
- Finished length: Measure from the top of the shoulder to the desired hem point. The example ends at mid-thigh.
- Finished width: Use the bust or hip measurement. For the bust, measure around the fullest part without pulling tight, then halve it. Add 2 to 3 inches for ease. If using hips because they are wider, halve that measurement too; extra ease may not be needed if the hip measurement already provides room.
- Shoulder strap: Measure from the outer shoulder edge to the start of the collarbone.
- Neckline depth: Choose the depth, measuring down from the top of the shoulder. The example uses 4 inches.
- Armhole depth: Measure from the outer top of the shoulder down to the armpit.
- Arm length: Measure from the armpit to the wrist or chosen sleeve endpoint.
Standard reference figures below range from XS through 5XL. These are approximate body measurements, not finished garment dimensions. Hip figures show a significant change between XL and 2XL references, so use them as printed.
| Measurement | Inches, XS through 5XL | Centimeters, XS through 5XL |
|---|---|---|
| Bust | 28-30, 32-34, 36-38, 40-42, 44-46, 48-50, 52-54, 56-58, 60-62 | 71-76, 81-86, 91-96, 102-107, 112-117, 122-127, 132-137, 142-147, 152-158 |
| Hips | 33-34, 35-36, 38-40, 42-44, 46-48, 52-53, 54-55, 56-57, 61-62 | 83.5-86, 89-91.5, 96.5-101.5, 106.5-111.5, 116.5-122, 132-134.5, 137-139.5, 142-144.5, 155-157 |
| Armhole depth | 6-6.5, 6.5-7, 7-7.5, 7.5-8, 8-8.5, 8.5-9, 9-9.5, 9.5-10, 10-10.5 | 15.5-16.5, 16.5-17.5, 17.5-19, 19-20.5, 20.5-21.5, 21.5-23, 23-24, 24-25.5, 25.5-26.5 |
| Arm length | 16.5, 17, 17, 17.5, 17.5, 18, 18, 18.5, 18.5 | 42, 43, 43, 44.5, 44.5, 45.5, 45.5, 47, 47 |
CROCHET GAUGE for The Easier Swiftie Crochet Dress
The made-to-measure format accommodates gauge variations, but the designer recommends choosing yarn and a hook that yield results close to the sample. The reference gauge is approximately 14 double crochet stitches and 8 rows over a 4-by-4-inch (10-by-10-cm) square, using a 5 mm hook (US size 8).
CROCHET MATERIALS for The Easier Swiftie Crochet Dress
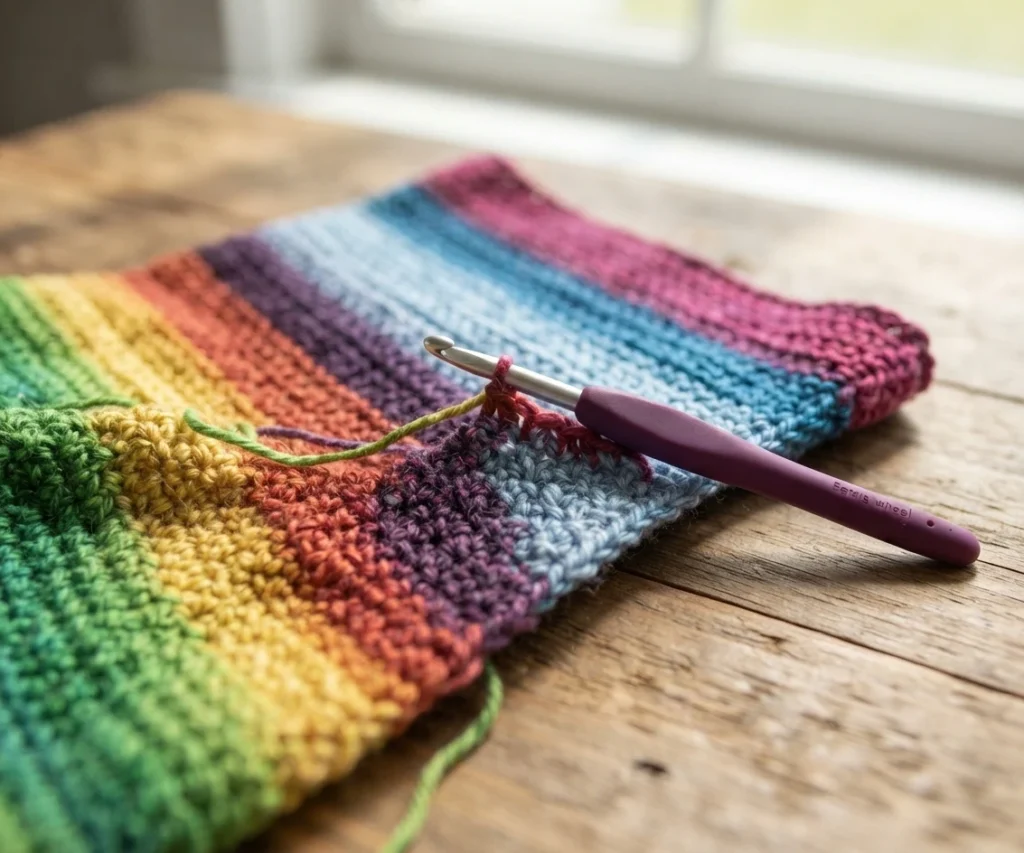
The following list separates sample yarn and tools from the amount used for one version. Because the dress is made to measure, sample quantities are not guaranteed requirements for every size or length.
- Yarn: Lion Brand Ferris Wheel, Weight 4, medium worsted, in Cherry on Top. Each skein is 85 g and 270 yards (247 m).
- Sample yarn use: Kiks + Jack Crochet reports approximately 5 skeins, 420 g, or 1,335 yards (1,220 m) for its approximately XS version. Finished measurements were 18 inches wide and 31 inches long. These figures describe the designer’s sample.
- Hook: 5 mm (US size 8).
- Measuring and marking: A measuring tape with inch and centimeter markings, plus stitch markers. The source mentions both locking and nonlocking markers.
- Finishing tools: Blocking pins, a blunt yarn needle with a large eye, and scissors or thread snips.
- Optional tool: A yarn winder is mentioned for winding loose or leftover yarn.
Crochet stitches & abbreviations
The designer uses US crochet terminology. Abbreviations include ch for chain, sc for single crochet, hdc for half double crochet, dc for double crochet, ch sp for chain space, BLO for back loop only, and sl st for slip stitch. Other shorthand includes tch for turning chain, st for stitch, sk for skip, and an asterisk to indicate a repeat.
Note this convention when reading the pattern: unless stated otherwise, turning chains of 1 or 2 do not count as stitches, while chains of 3 or 4 do count. Refer to original instructions if row counts or edge placement are unclear.
SUMMARY OF CROCHET CONSTRUCTION for The Easier Swiftie Crochet Dress
The garment consists of a shaped front panel, a rectangular back panel, and two wide sleeve panels. The front is worked vertically: first one shoulder strap, then shortened rows for the center of the square neckline, followed by rows extending the other strap. The back has no neckline opening and matches the front in width and length.
After making panels, the designer joins them at the shoulders, attaches sleeves, and closes sides and sleeve undersides. A narrow ribbed edging finishes the neckline. Since the design is made to personal dimensions, exact gauge matching is not essential, though similar yarn and hook are recommended.
Permissions and copyright
Kiks + Jack Crochet is the creator and retains rights described on its pattern page. Do not republish the pattern or website content as your own, and do not claim the designer’s photographs as your own. Permission from the designer is needed to sell items made with this design, and a link back to their post is requested. Contact the creator directly about commercial permission before selling finished items.
Construction Overview for The Easier Swiftie Crochet Dress
Original designer’s pattern and instructions
The sections below describe the garment’s pieces and their purpose at a high level. They do not replace the pattern’s row-by-row directions. Check the designer’s page for stitch sequences, shaping details, and visual guidance needed to complete the project.
Crochet the Front Panel Left Strap
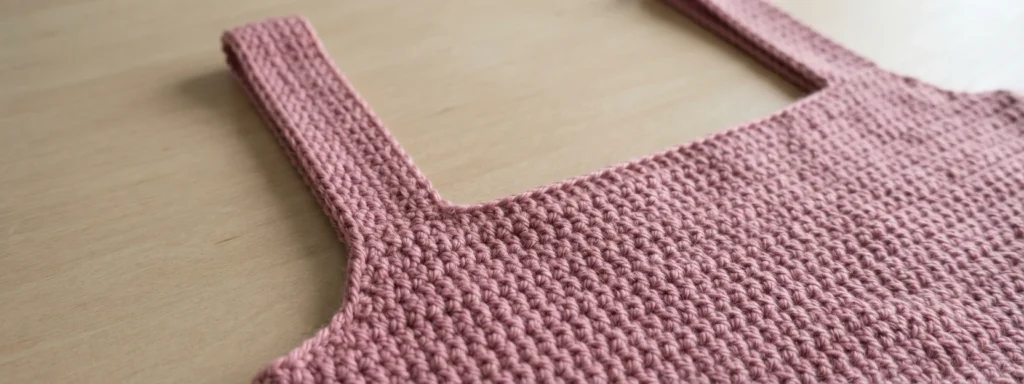
The front begins with a strap section worked to the selected dress length. The designer’s sample uses a 31-inch length and a 4.5-inch strap width, but these are examples, not universal requirements. This first section establishes the stitch pattern and dimensions used later to shape other parts of the front.
Crochet the Centre of your Front Panel
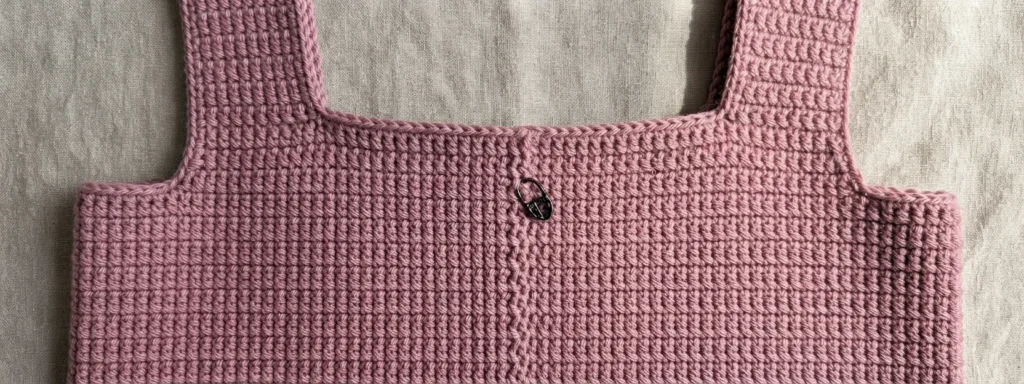
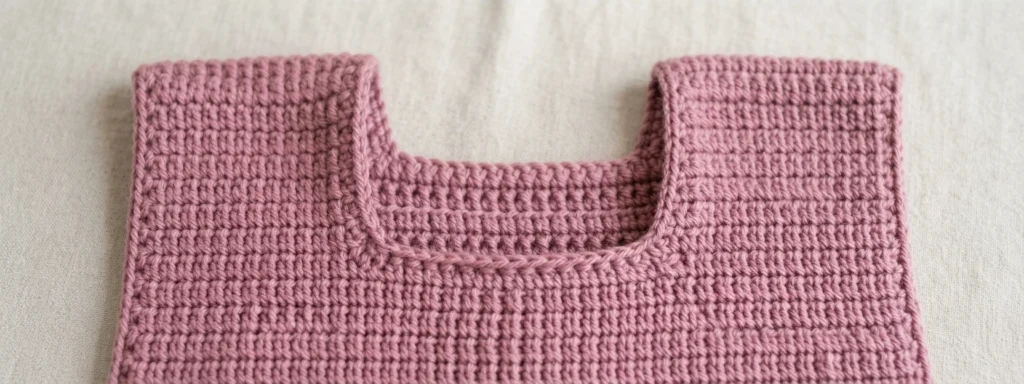
The center section creates the square neckline by shortening vertical rows according to the chosen neckline depth. The creator’s example uses a 4-inch depth and a 9-inch-wide center section. The center width in that example follows from an 18-inch finished width with two 4.5-inch straps. The source advises tracking shaping measurements for the opposite side and matching any width changes on the back panel.
Crochet the Front Panel Right Strap
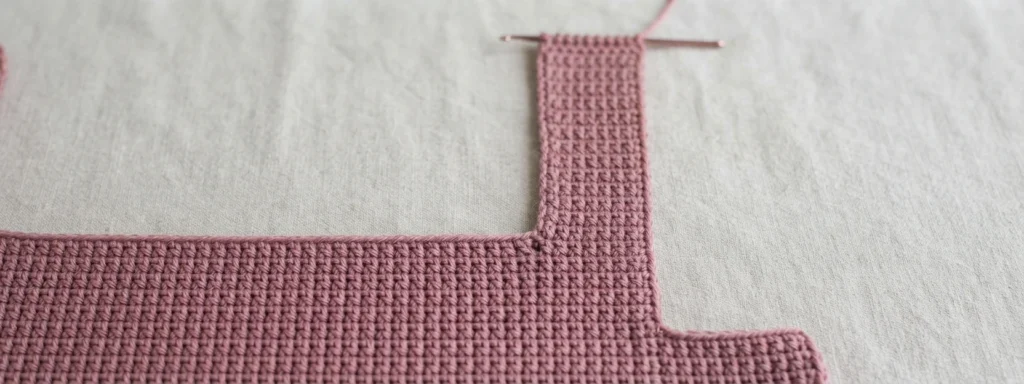
Once the center neckline is formed, the front continues into the second strap. Its shaping corresponds to the section removed for the neckline, and the finished strap should match the first. Example dimensions are specific to the designer’s sample; use the linked pattern for stitch sequences and details dependent on personal measurements.
Crochet the Back Panel
The back is a rectangle without a neckline opening. It should match the front panel’s length and reach the chosen finished width. The designer suggests comparing the two pieces, since tension can vary or the front may have been adjusted while working. The source example measures 31 inches long and 18 inches wide.
Crochet the Sleeves (Make 2)
The design has two wide sleeve panels, each based on the wearer’s arm length and armhole depth. In the designer’s example, the arm-length measurement is about 21 inches. The panel width is based on twice the armhole depth, with an additional 1/2 to 1 inch suggested if more room at the armpit is wanted. The source also recommends checking that a panel wraps comfortably around the arm.
Assembling The Easier Swiftie Crochet Dress
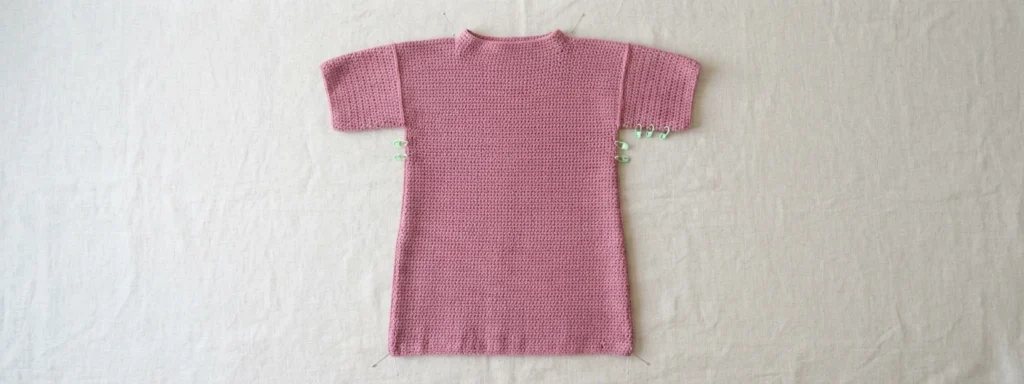
Kiks + Jack Crochet recommends blocking the panels before assembly. The source describes pinning pieces into shape, adjusting front and back to resemble one another and likewise matching sleeves, then spraying them with water. Keep pieces pinned until completely dry.
For assembly, join the front and back at the shoulders with right sides together. Center each sleeve at a shoulder seam and attach to main panels. With the dress turned inside out, sew side seams from hem to armpit and continue along sleeve undersides. The original page provides diagrams and further assembly details.
Crochet around the Neckline
The neckline finish uses a single crochet round followed by a half double crochet round. The designer recommends keeping single crochet stitches evenly spaced and not too tight. A smaller hook may be worth testing, depending on yarn and gauge. An additional round is optional if a fuller edge is preferred.
Crochet around the Bottom Edge (Optional)
The designer leaves the sample hem unfinished for a relaxed, deconstructed look. A bottom edging is optional; the neckline finish can also be used at the hem. The source notes this may be helpful when covering multiple yarn tails.
Weave In & Celebrate The Easier Swiftie Crochet Dress
Weave in remaining yarn ends when the garment is complete, taking particular care to check for loose tails if multiple colors were used. The linked designer page is the source for the full pattern and any construction questions. This overview helps assess fit, materials, measurements, and general assembly before starting.