Project introduction
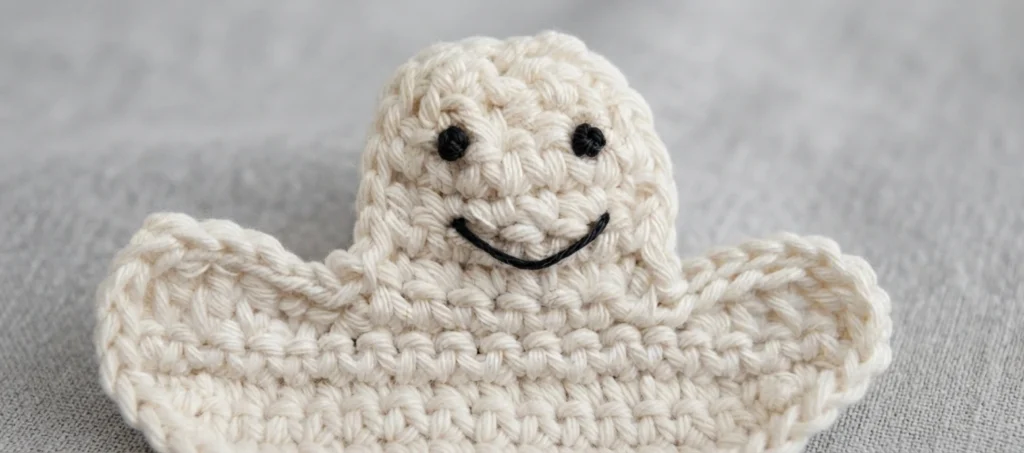
This is a pattern overview, not a full tutorial. The original Halloween ghost design is a free, quick and easy crochet project from Craftfix, and the complete row-by-row instructions live on the designer’s page. What follows is a practical orientation: what the motif is, what you need, how the shape is built, and where to find the Original designer’s pattern and instructions.
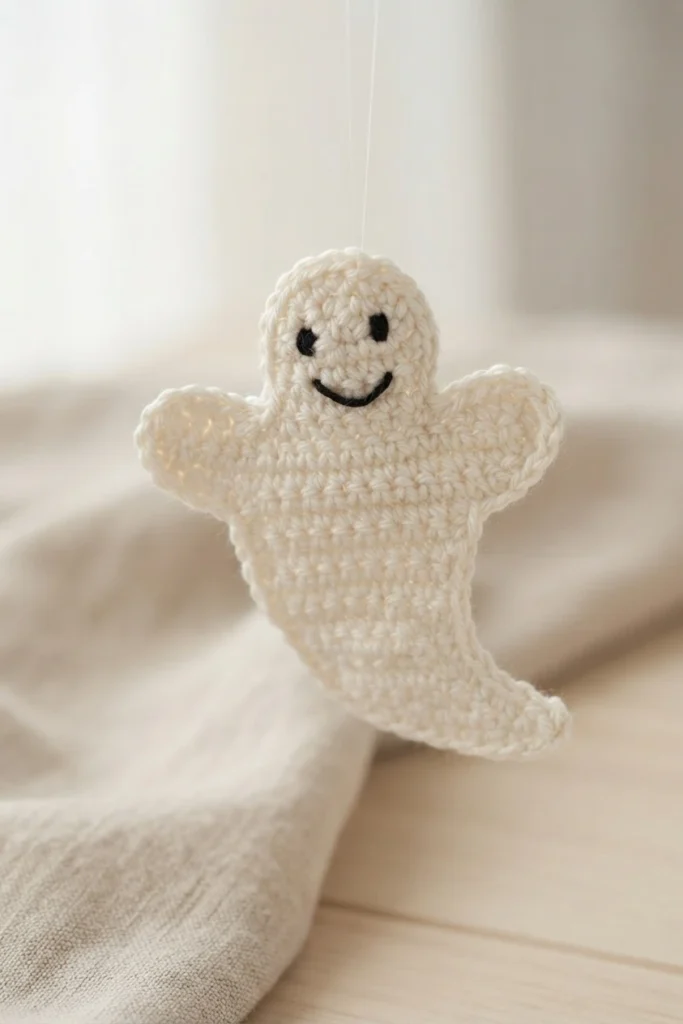
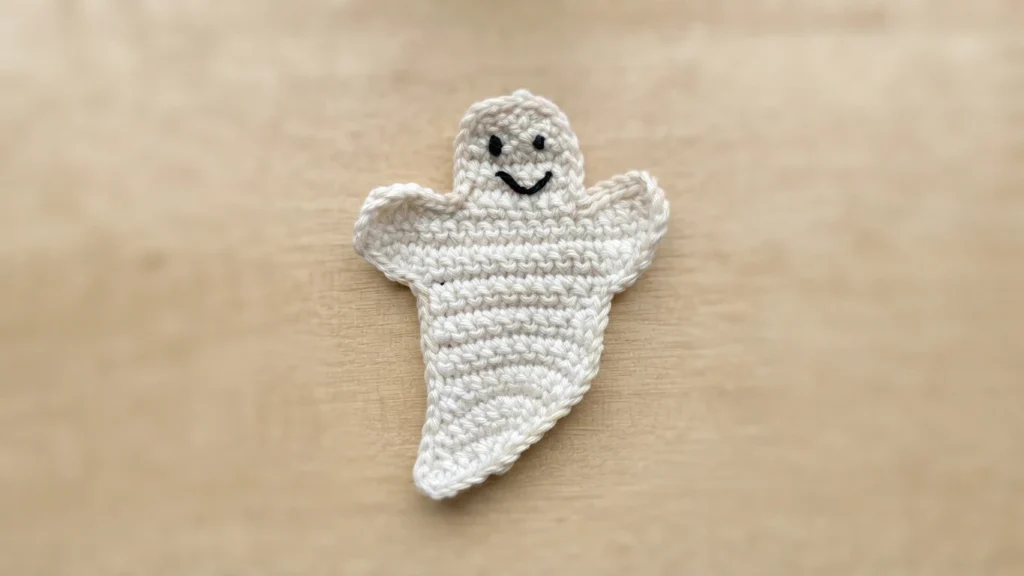
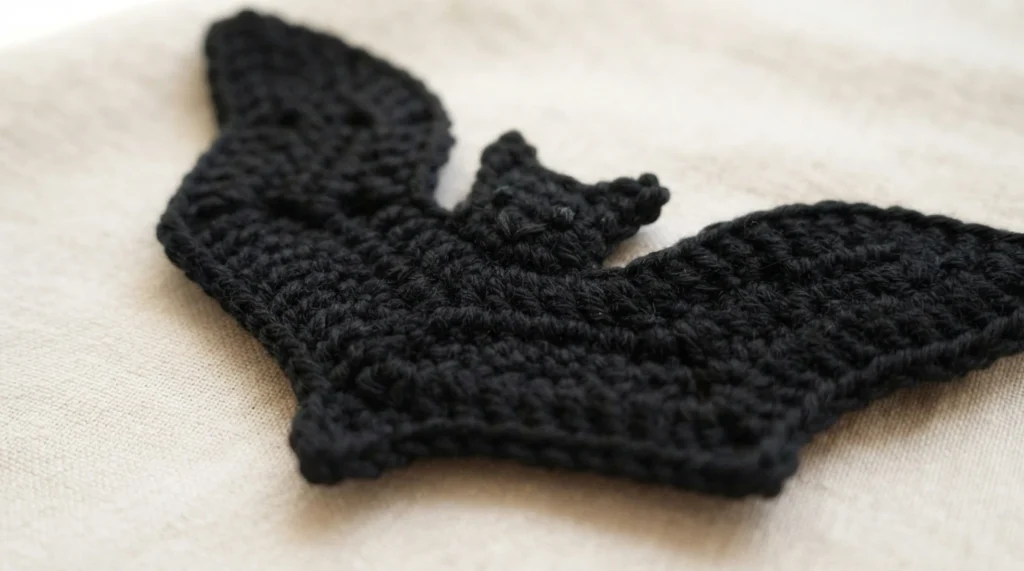
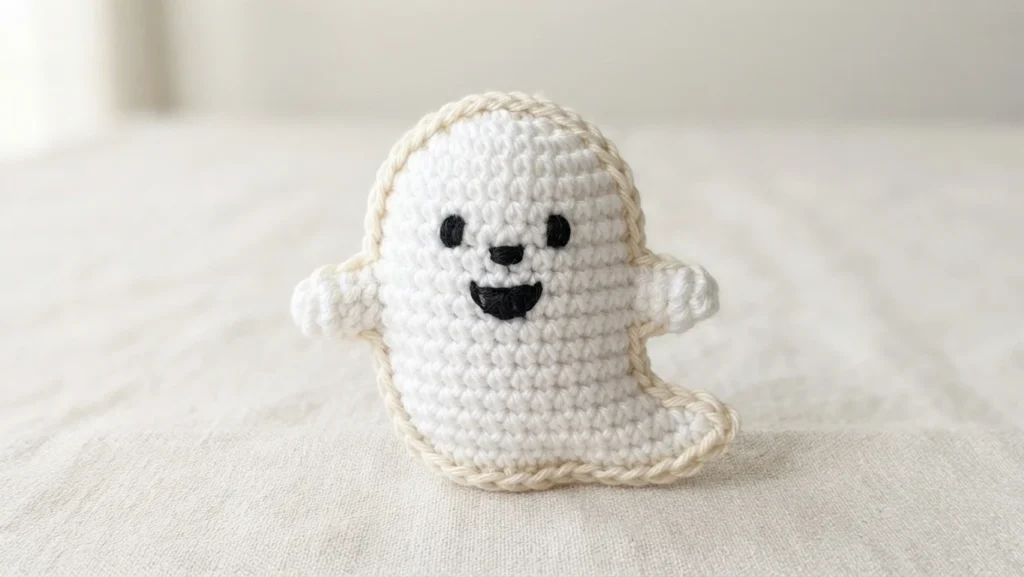
The ghost can be made with a friendly face or a scary face, and the designer provides full instructions for both. It belongs to a set of Halloween bunting crochet patterns that also includes pumpkin faces, spider webs, flying bats and a Halloween cat face. The designer links to each of those companion patterns from the original page.
If a garland is not your plan, the same motif works as a hanging Halloween decoration or as an embellishment or applique attached to a blanket, costume or other craft project. That flexibility is part of why this small project suits last-minute seasonal making.
Crochet a Halloween Ghost Video Tutorial
Craftfix also shares a full step by step video tutorial for this pattern. You can watch it or scroll past it for the written pattern with pictures, so the format is your choice.
The full video is 20 minutes long, but timestamps mark each section so you can jump straight to the part you need. That is handy when you only want to revisit the face embroidery or a single shaping stage.
Materials & Notes
These are the supplies listed by the designer. The hook is given in metric, and the yarn note reflects a sample-specific substitution rather than a requirement.
- White DK yarn. The designer used Rico creative cotton aran (shade 80), which she found equivalent to DK for this project.
- Black yarn or embroidery floss for the eyes and mouth.
- 3.5mm crochet hook. The designer uses Addi swing hooks.
- Embroidery needle.
- Optional: light fabric stiffener, for example Dylon spray starch.
Finished size is approximately 11cm wide by 14 cm tall. Gauge is not important here, so any weight yarn can be used and the ghost will simply come out a slightly different size. Remember to change the hook size to match, and the designer suggests a hook a bit smaller than the standard size stated, because decorations work better with a dense fabric.
Abbreviations
The pattern uses US crochet terms, and the equivalent UK crochet stitches are listed after each term. The definitions below are the ones the designer gives.
- R: row
- RS: right side facing
- WS: wrong side facing
- st: stitch(es)
- ch: chain
- sl st: slip stitch
- sc: single crochet (UK double crochet)
- sc2tog: decrease by working two stitches together (UK dc2tog)
- hdc: half double crochet (UK half treble)
- dc: double crochet stitch (UK: treble crochet)
The construction notes below describe the shape and the order of work only. They are not a substitute for the designer’s row-by-row instructions.
Start at the bottom of the ghost
The ghost is worked in rows beginning at the bottom edge. A short starting chain sets the base, then the early rows combine single crochet with increases and a decrease to widen the piece, with stitch counts moving from 5 st up to 9 st. Rows 6 through 10 are five even rows that hold the count steady at 9 st.
Increase for ghost arms
From row 11 the arms take shape. Chain loops extend the piece on both sides to open the arm area, and later rows add stitches to build the arm width, growing from 9 st to 19 st. Row 16 mixes single crochet, double crochet, half double crochet and slip stitches to define the arm and shoulder line.
Make the ghost head
The head narrows the work using slip stitches and single crochet, then holds at 6 st across four even rows before two final decrease rows close the top, ending at 4 st and then 3 st. If any instruction reads ambiguously, check the original rather than guessing at a correction.
Outline ghost (optional)
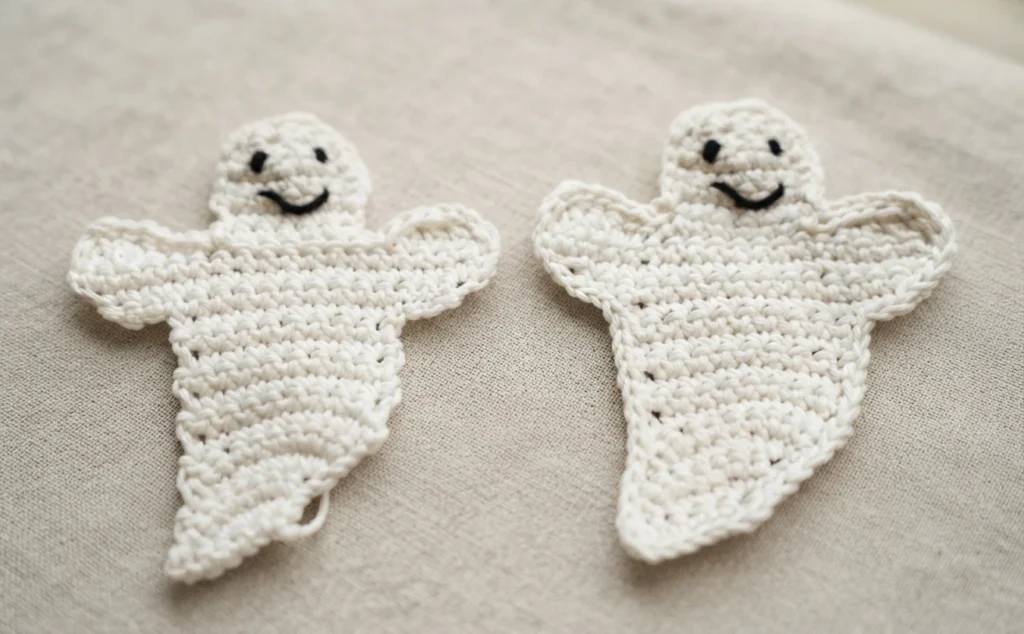
Instead of fastening off, you can slip stitch around the edge of the ghost to neaten it. Decide first which way the ghost’s tail should point: by default it goes to the right, and to point it left you turn your work and slip stitch across the top of the head first. For a garland, pairs of ghosts can be mirrored for symmetry.
When working vertically, place a slip stitch wherever it feels natural and err on the side of too many if unsure. As a guide, the designer did 6 ss down the side of the head, about 14 around each arm, 14 along the straight side and 19 along the longer curved side. A before-and-after picture on the original page shows how much difference the outline makes.
Option 1: friendly face
The friendly face uses black thread and an embroidery needle. The left eye is a French knot placed 2 to 3 rows down from the top and 2 stitches in from the left, made by coming up through the fabric, wrapping the yarn tightly around the needle 2 to 3 times and going back down very close to the same point. Tug the ends at the back and adjust so the eye flattens nicely, then repeat about 3 stitches across for the second eye.
The smile is stitched in stages: up 2 crochet rows below the left eye, down 1 to 2 rows below that near the horizontal midpoint, back up 2 rows under the right eye in line with the left corner, then down at the middle to finish. The designer’s video covers this from the 15:52 timestamp in about 2 minutes.
Option 2: scary face
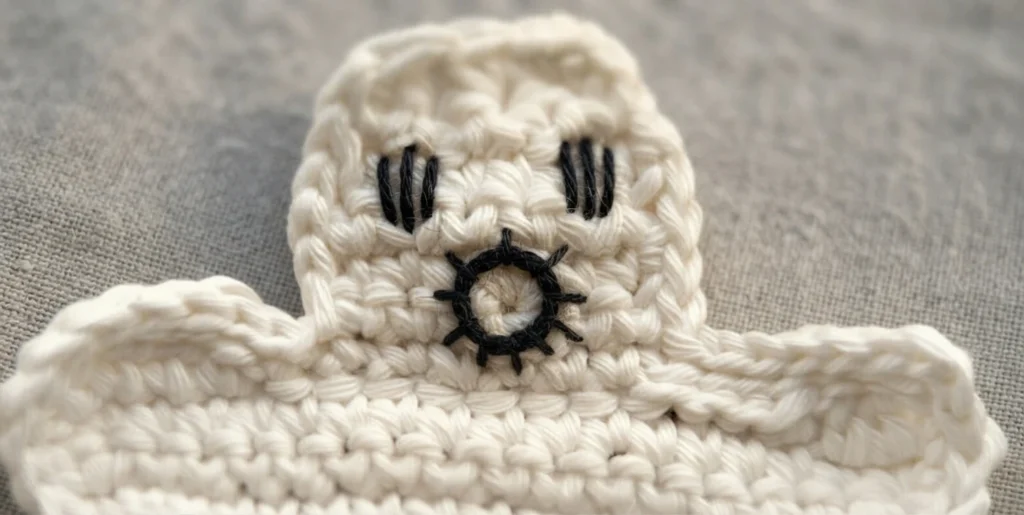
The scary face also uses black thread and an embroidery needle. For the left eye, work 4 vertical stitches slightly over 1 single crochet high, placed 2 to 3 rows down from the top and 1 stitch in from the left, then leave a gap of 2 to 3 crochet stitches and repeat for the right eye.
The open mouth starts with the needle coming up approximately 4 to 5 rows from the top at the horizontal centre, then going back down 2 rows of crochet below, in line with the bottom of the head or top of the shoulders. A few loose vertical stitches about 2 single crochet high sit each side of the central stitch and curve slightly as you make them, then horizontal stitches across the top and bottom complete the round open shape. The video covers this from the 17:36 timestamp in about 2 minutes.
Finishing (optional)
For a fully flat and more rigid ghost, spray it with stiffening spray such as Dylon spray starch and leave it to dry. Leaving it as is gives a more realistic, floaty look, which is what the designer chose for her own sample.
The pattern is free and intended for personal, non-commercial use only. It may not be copied, sold, translated or distributed in any way without permission. For more seasonal ideas, the designer also offers other free crochet Halloween decoration patterns, and you can browse related overviews such as:
How to Crochet the Cutest Halloween Ghost: Pattern Overview
Crochet Jack-o-Lantern, Spider or Lady Bug Halloween Costume: Pattern Overview