Project introduction
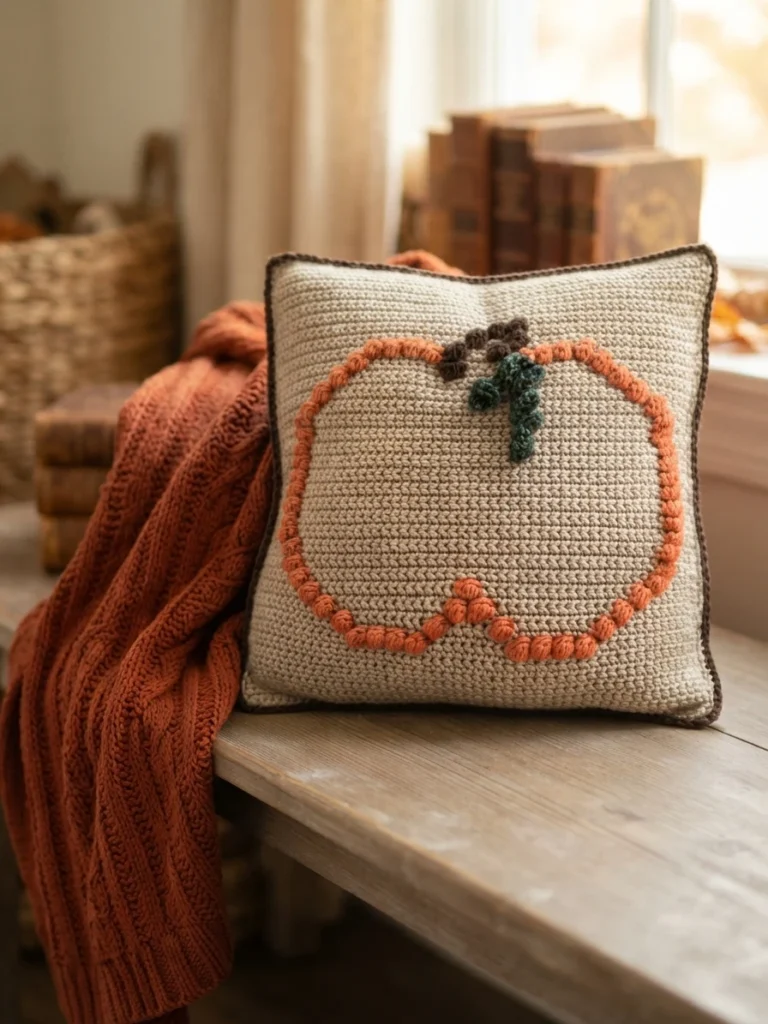
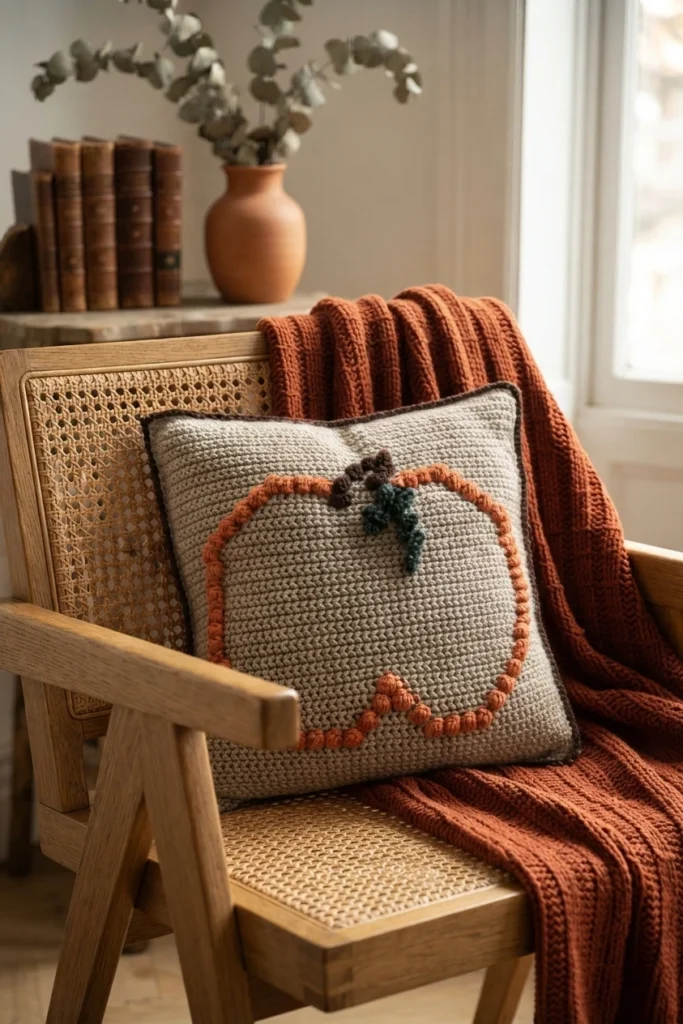
The Pumpkin Patch crochet pumpkin pillow is a fall decor piece built around bobble stitch texture. The designer describes it as cozy and tactile, and it fits seasonal home styling. This overview covers the yarn, gauge, notes and construction approach so you can decide whether to make it. It is a descriptive summary, not a complete crochet pattern, so follow the original for the full row-by-row instructions.
Inspiration
The designer notes that September triggers their holiday spirit and that they immediately put out their fall decor. They grew up in a small ski town in Northwest Colorado, where they experienced cool fall air and the changing colors of the Rocky Mountains. They now live in Southwest Florida, where the fall season does not bring cooler temperatures and the landscape stays green, so decor does the work of setting the seasonal mood. After unpacking more than twenty pumpkin decorations, they decided a crochet pumpkin pillow was needed to match the collection.
Yarn
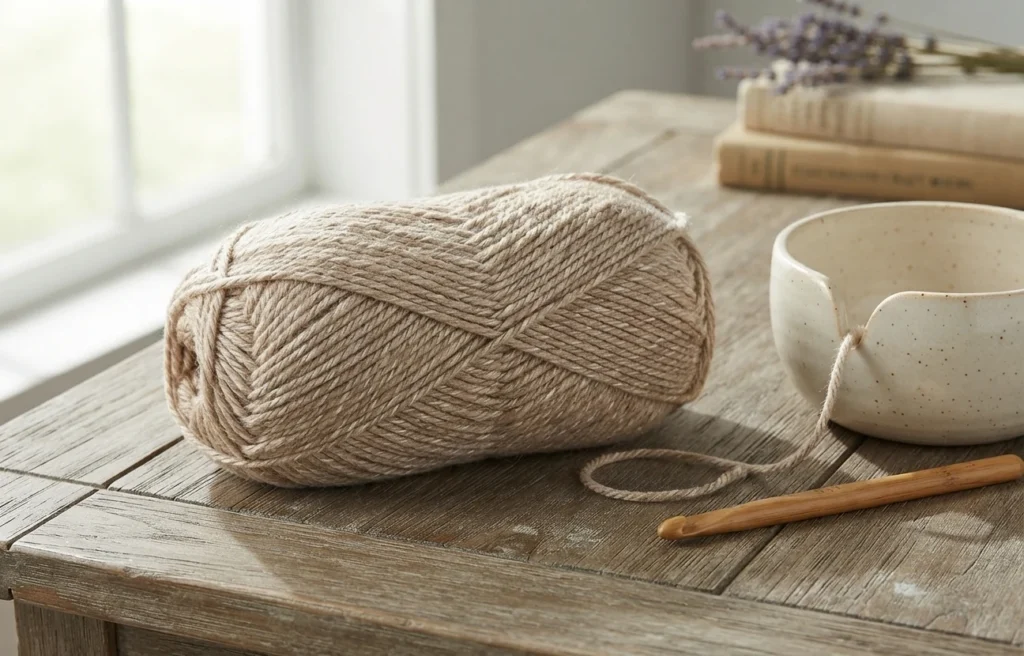
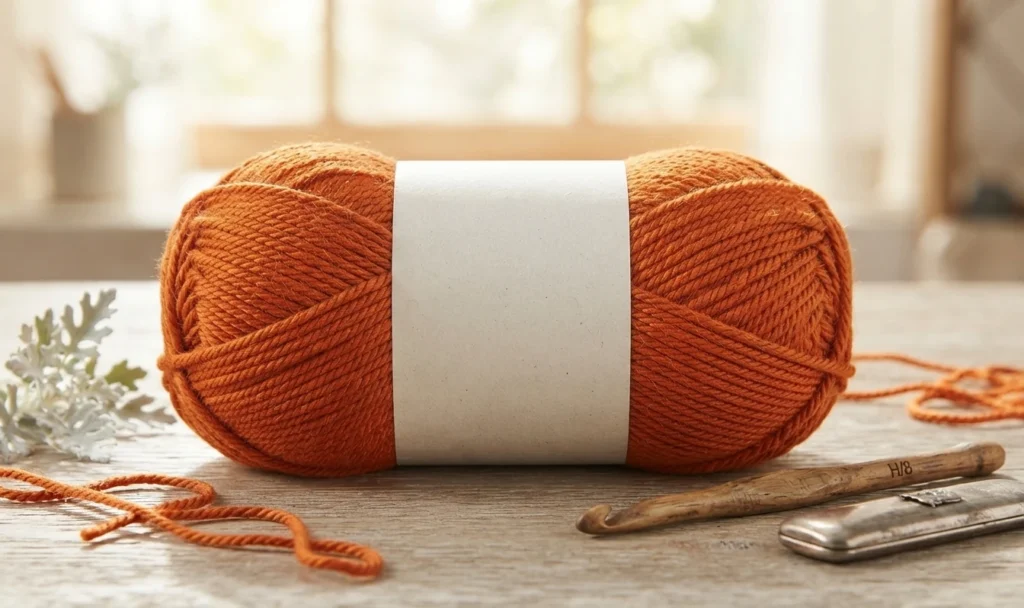
Lion Brand Heartland Yarn was the choice here. The designer describes it as a soft medium weight yarn, and notes that its color range is inspired by the natural beauty of different US landscapes. Those shades are what give the pillow its autumn feel. The brand is also widely stocked at craft stores, and Joann Fabric’s coupons are mentioned as a way to buy it at a good price. If you substitute, match the weight and check your gauge before starting, since the finished size depends on it.
Original designer’s pattern and instructions
Crochet Pumpkin Pillow Pattern Project Details
Here are the specific materials and measurements listed for this project:
- Yarn: Lion Brand Heartland, Weight 4 Medium (100% Acrylic, 251yds/230m/5oz/132g)
- Colors: Color A Grand Canyon requires two skeins; Color B Gateway Arch needs one skein; Color C Sequoia uses one skein; and Color D Kings Canyon calls for one skein.
- Hook Size: J, 6mm
- Gauge: 4 inch square = 13 sts x 18 rows
- Finished Size: 16 inches W x 16 inches H
- Additional Materials: Tapestry needle, scissors, 16 inch x 16 inch pillow insert; stitch markers may also be used to help with seaming
Abbreviations
These are the standard US crochet abbreviations used throughout the pattern:
- bo: bobble stitch
- ch: chain
- hdc: half double crochet
- rep: repeat
- sc: single crochet
- st(s): stitch(es)
- yo: yarn over
Stitch Description
The bobble stitch carries the texture of this design. The source defines it as follows: yarn over, insert the hook into the stitch, yarn over and pull up a loop, then yarn over and pull through two loops. Repeat that sequence in the same stitch until six loops sit on the hook, then yarn over once more and pull through all six loops to close the bobble.
Pattern Notes
Several working conventions apply. A chain 1 at the start of a row does not count as a stitch, and the first stitch of each row is never skipped. After chaining 54, Row 1 is worked into the back bump: rotate the chain toward you and insert the hook through the back bump loop.
Color changes happen on the wrong side while the bobble stitches are being made. On the last stitch of the previous color, stop before the final pull through so two loops of the old color remain on the hook, then pull through with the new color and continue. Carry the unused color along the top of the row you are working into and crochet over it on the last stitch of that color.
Waiting until that last stitch keeps the color from showing on the right side and saves weaving in many loose ends. On right-side rows, carry the yarn from the previous row back to the first stitch of that color and crochet over it so it can join the next bobble row. Even rows form the right side of the pillow.
Crochet Pumpkin Pillow Pattern Overview
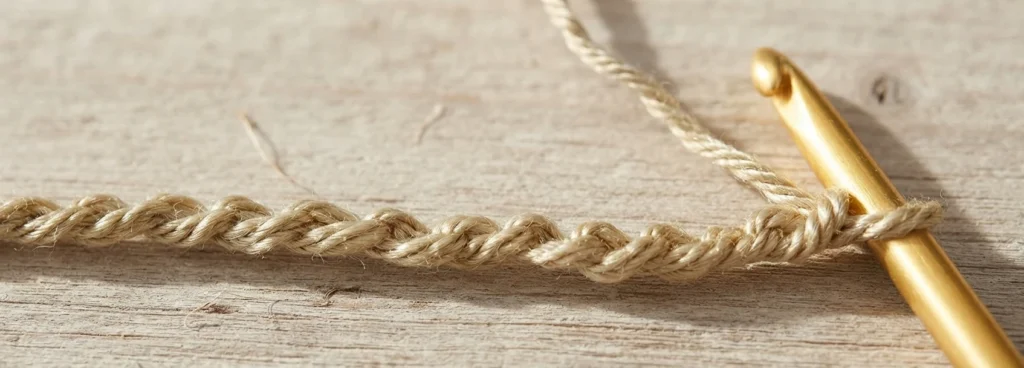
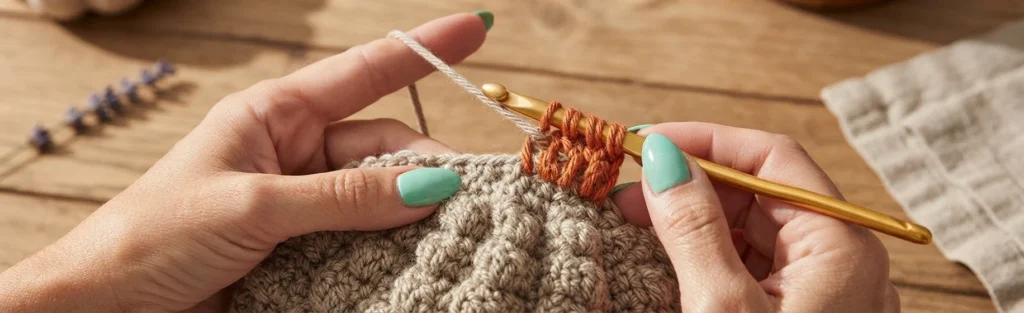
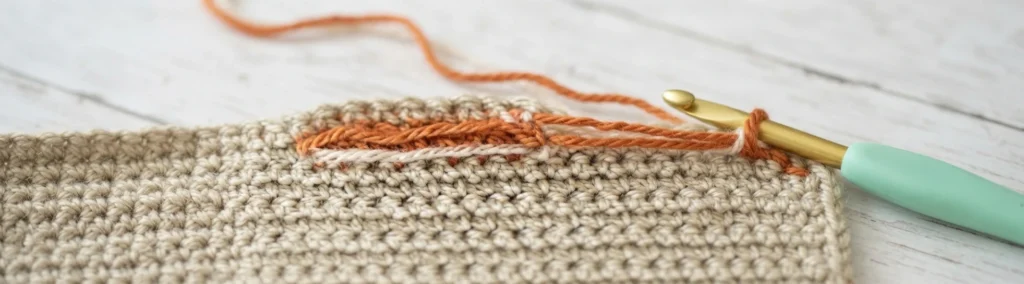
The front panel starts with a chain of 54 in Color A. Row 1 is worked into the back bump, while Rows 2 through 14 consist of single crochet across. From Row 15 onward, Color B is joined and dropped at set intervals to draw the pumpkin outline using sequences of bobble and single crochet against the Color A background, with plain single crochet rows in between. That rhythm continues through Row 27. Original designer’s pattern and instructions give the full step-by-step detail for these rows.
Row 28: rep Row 2.
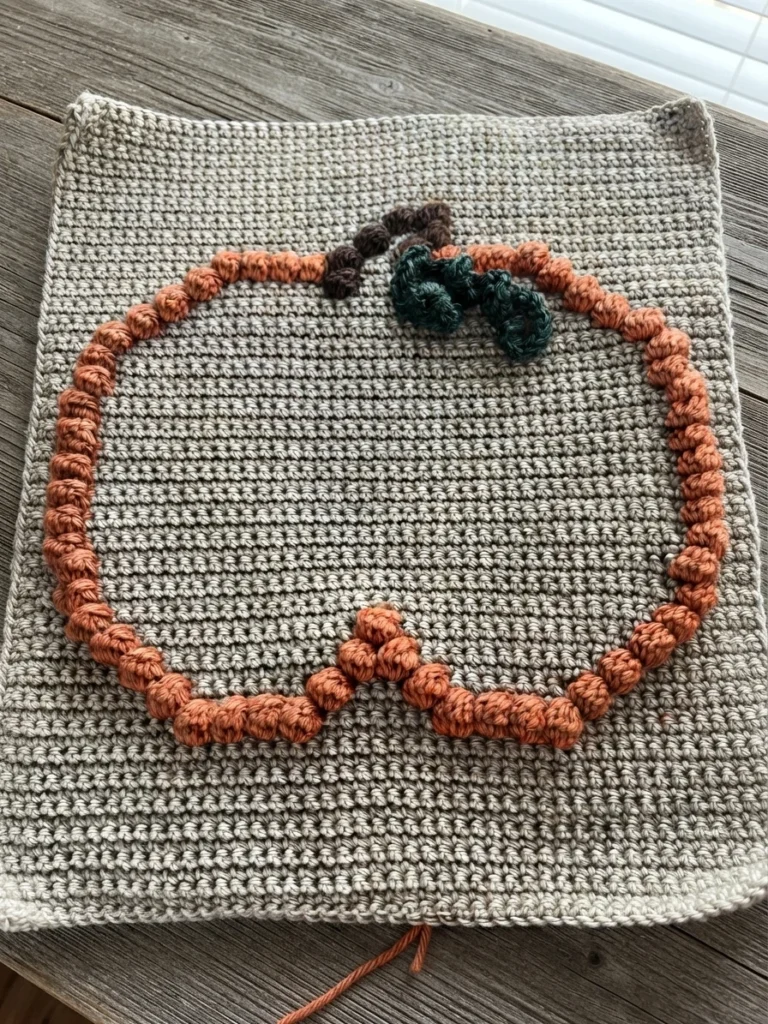
Row 29 places Color B sections within the Color A single crochet, and Rows 30 through 41 alternate Row 2 with Row 29. Row 42 repeats Row 2, Row 43 repeats Row 25, and Row 44 repeats Row 2. This stretch keeps the same alternation of colorwork rows and plain single crochet rows, building the lower part of the pumpkin shape before the final color transitions.
Back of Pillow
The back panel is simpler and is worked entirely in Color A. Begin with a chain of 54 and work Row 1 into the back bumps. Rows 2 through 73 are single crochet across, then fasten off and weave in ends. The solid background lets the textured front stand out.
Pumpkin Vine (Make 2)
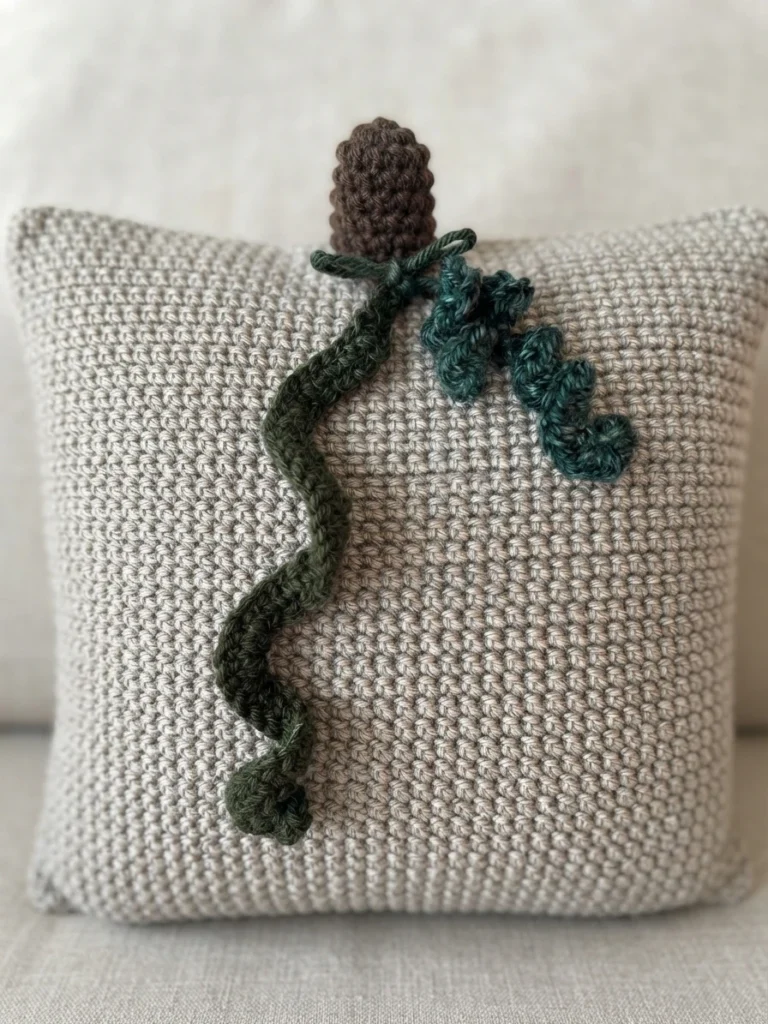
Two vines are made in Color D. One begins with a chain of 18 and the other with a chain of 11. Each is worked with two single crochets in each chain across, then fastened off with a 6 inch tail. Use the tails to tie both vines at the top of the pumpkin at the bottom of the stem. Attach them by inserting the tails from the right side through to the wrong side and double knotting around a stitch post.
Border
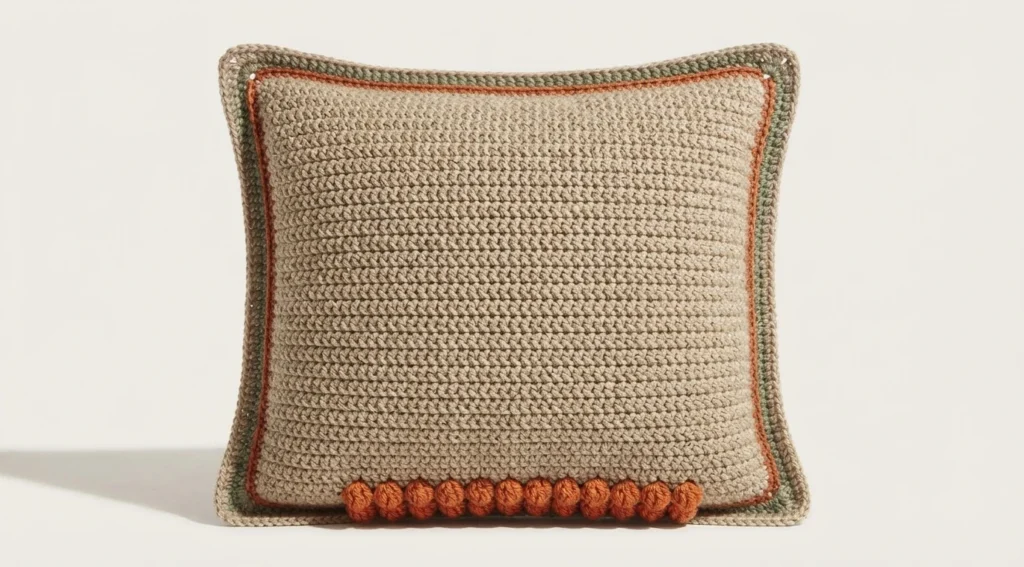
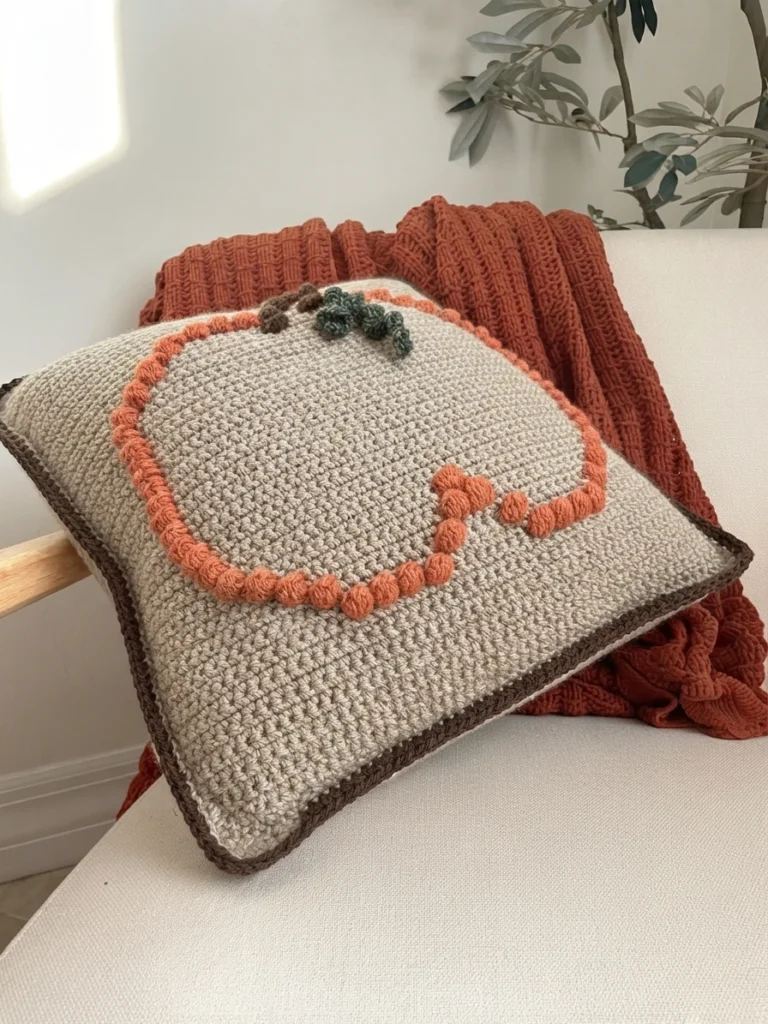
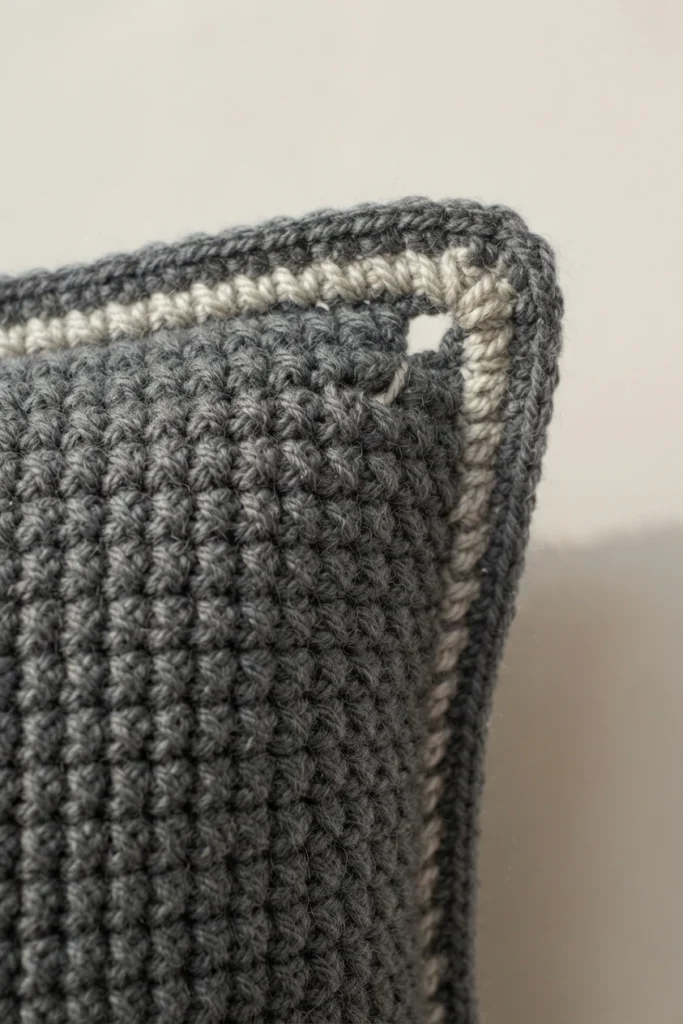
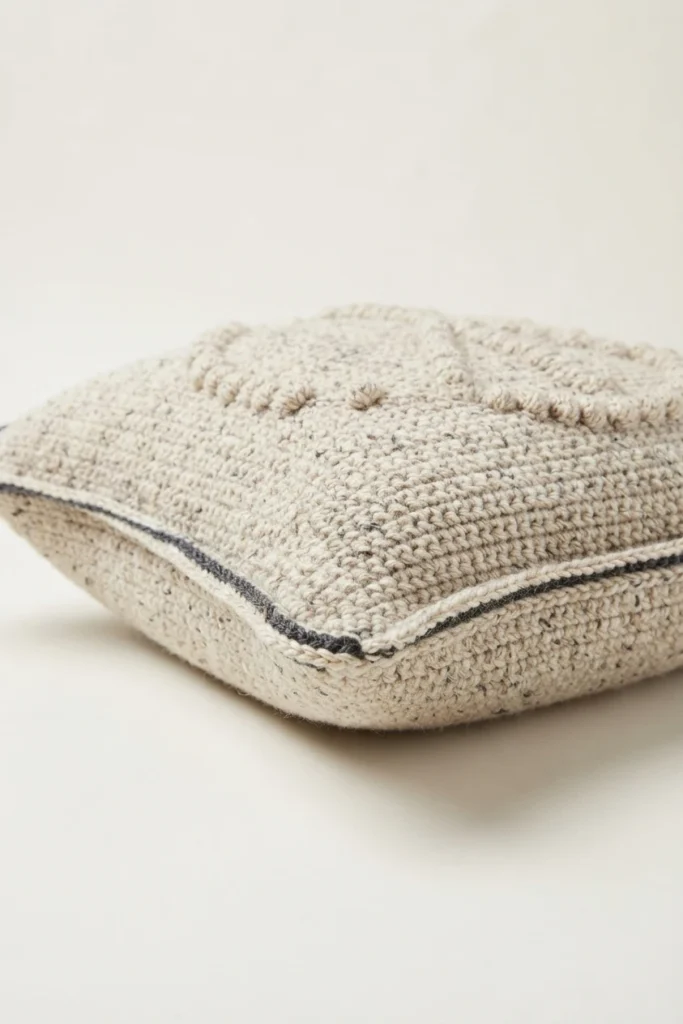
Line up both panels with right sides facing out and secure them with stitch markers. Round 1 works through both layers in Color A, with corner spaces and single crochet along the sides. Insert the 16 inch x 16 inch pillow form partway through this round, holding the sides closed with markers while you finish the last side. Round 2 uses Color C, joining in the corner chain-2 space and working single crochet in the back loop only around the perimeter, then fastening off and weaving in ends.
Fall Crochet Pattern, Hello Pumpkin Pillow: Pattern Overview
Crochet Pumpkin Pillow Pattern | Pumpkin Throw Pillow: Pattern Overview