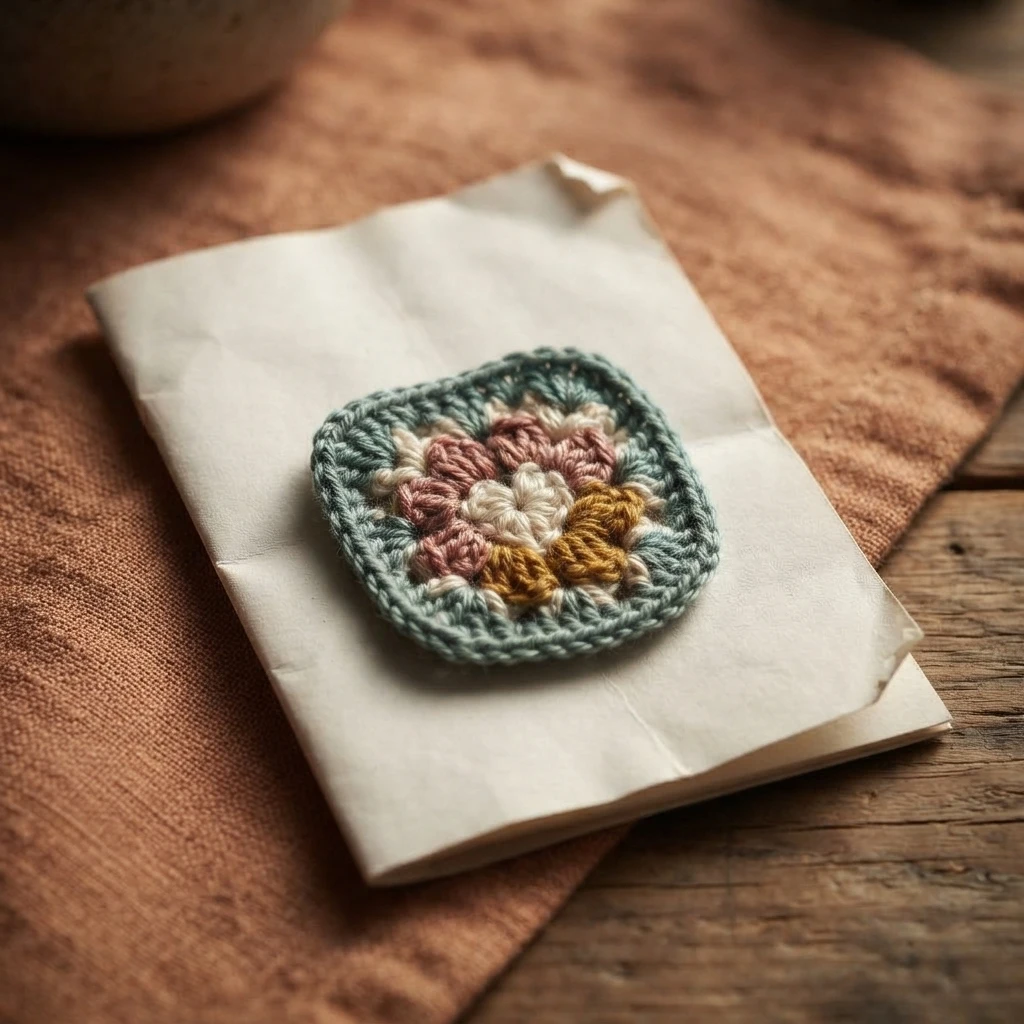
Project introduction
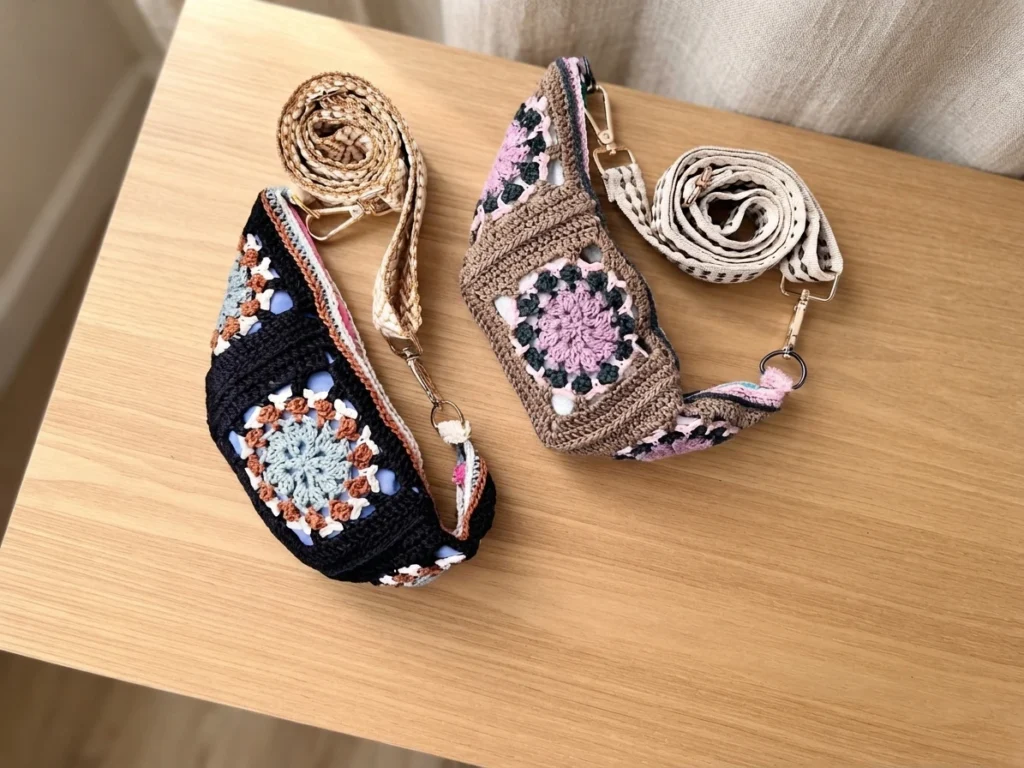
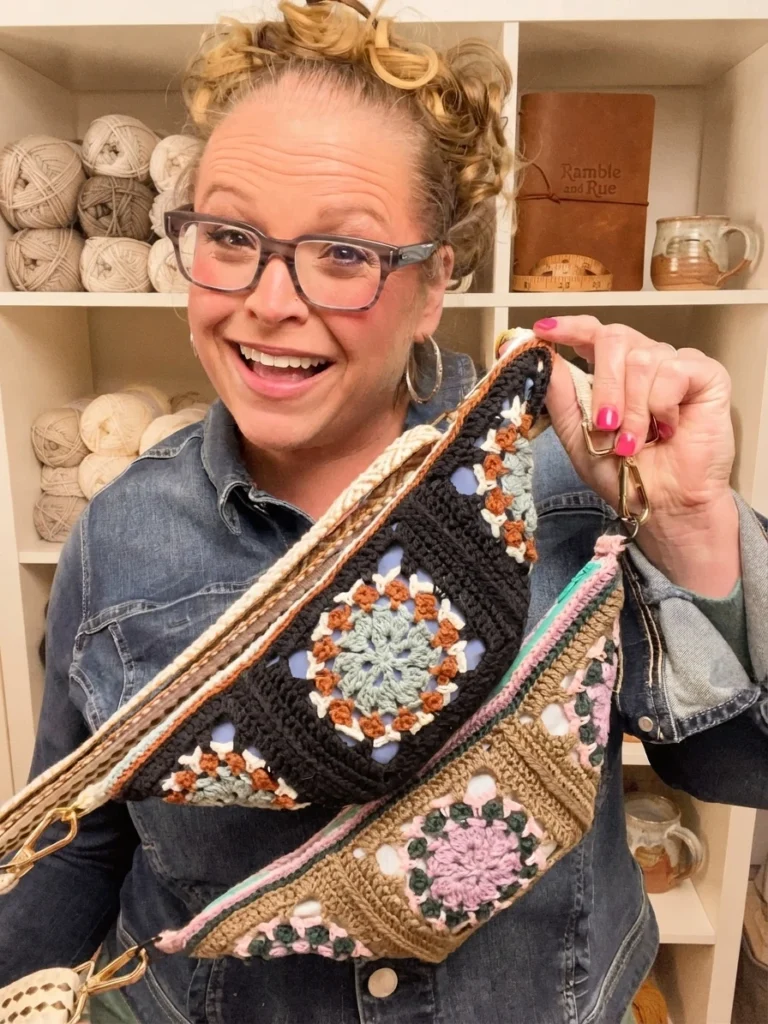
The Ramble and Rue is a boho-style crochet crossbody bag that pairs vintage granny square charm with genuinely useful construction: a secure zipper, a fabric lining, and a detachable strap. This article is a pattern overview, not the full tutorial, so you can decide whether the project suits your stash and skill level before you begin.
The complete free pattern lives on the designer’s blog; follow it through the Original designer’s pattern and instructions. A paid ad-free PDF is also available from the designer’s online shops.
Why You’ll Love the Ramble and Rue Crochet Bag
The best crochet projects are the ones you reach for daily, and this bag earns its place: hands-free to wear, stash-friendly to make, and finished with the details that make a bag truly usable.
- Hands-free convenience: wear it crossbody, at the waist, or over the shoulder.
- Stash-busting friendly: mix and match colors from your yarn collection.
- Beginner friendly with a twist: granny squares plus shaping, joining, and bag construction.
- Practical details: a lining keeps essentials secure; the zipper stops slips.
- Gift-worthy: pick the recipient’s colors and adjust the strap to fit.
Crochet Bag Terminology: Crossbody, Bum Bag, Fanny Pack, or Belt Bag?
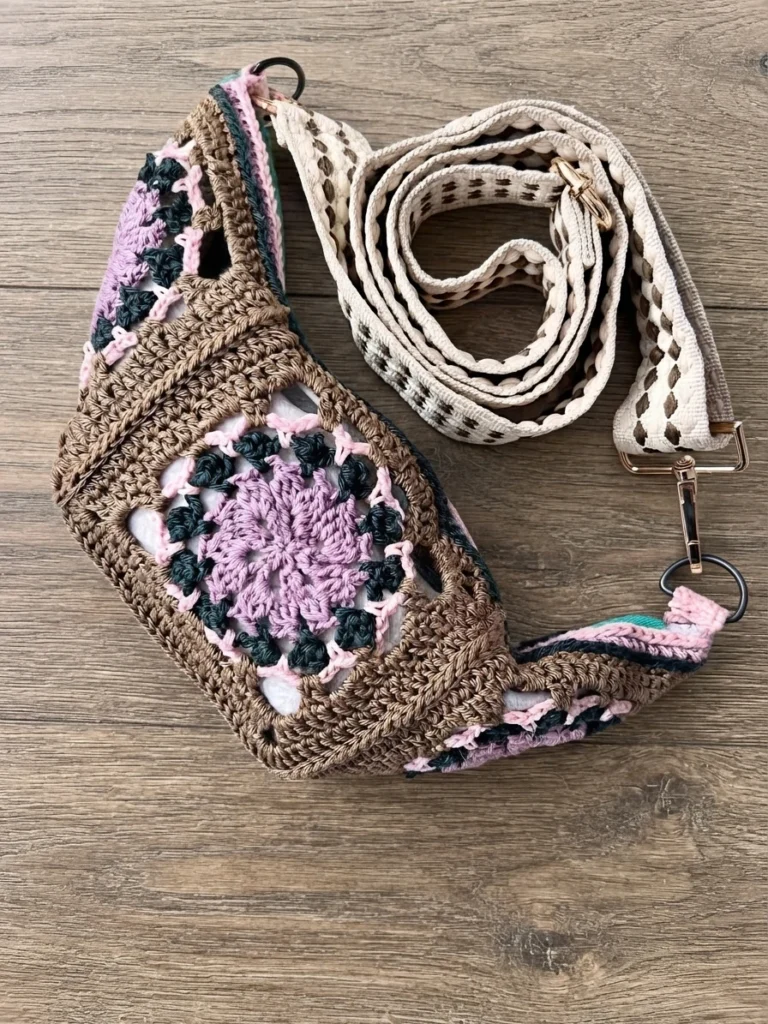
Several names describe this silhouette. Here is a quick guide:
- Fanny pack: common in the U.S., typically worn around the waist.
- Bum bag: the U.K. equivalent of the fanny pack.
- Belt bag: a fashion-forward term, often for sleeker designs.
- Crossbody bag: the most versatile, worn across the chest or back.
The adjustable strap lets the Ramble and Rue work in all these styles.
Yarn
Choose a worsted weight yarn for a sturdy, structured bag. Cotton holds its shape best, while acrylic also works beautifully. Good options include Comfy (budget-friendly and durable), Lion Brand 24/7 Cotton (smooth and sturdy), and Dishie (vibrant colors, strong stitch definition).
Hook
Use the hook size that gives you the pattern gauge and a dense fabric. If your stitches look gappy, go down a hook size so the bag holds its shape.
Notions & Hardware
Gather these before you start: tapestry needle, scissors, stitch markers, a 7-9 inch zipper, swivel hooks or D-rings, and an adjustable strap (optional, or crochet your own).
Bag Lining & Zipper
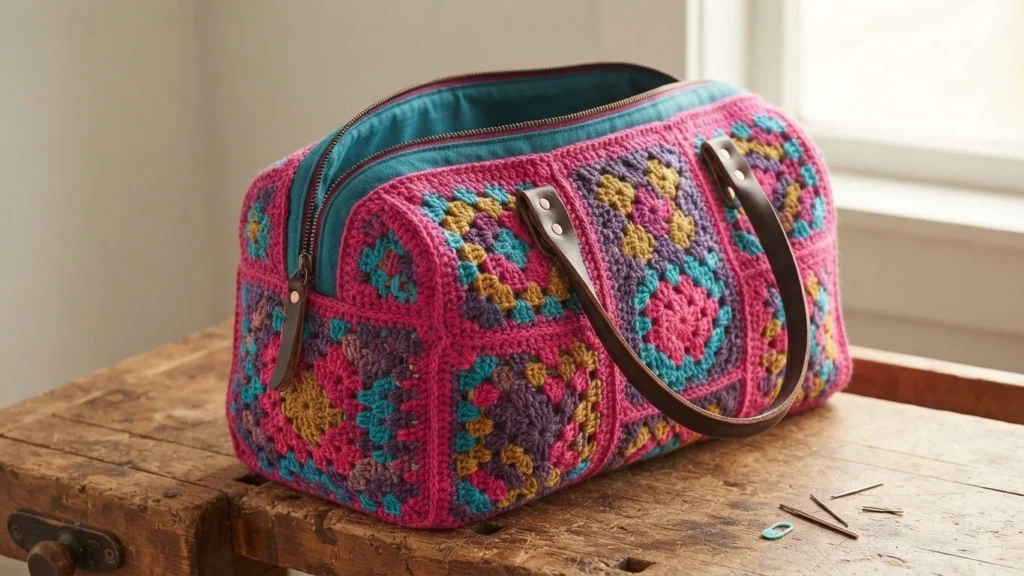
A fabric lining prevents stretching and gives a polished, professional look. Choose a lightweight cotton in a fun print or neutral shade, and match the zipper to your chosen length. Install the zipper by hand or machine, whichever you prefer.
Granny Squares with a Twist
At its heart this is a granny square bag, but the squares become a practical crossbody instead of a blanket or tote. The motifs join to a solid base, giving structure while the retro patterning shines.
Adding the Lining
Lining is optional, but it stops small items like lip balm or keys slipping through the stitches and helps the bag keep its shape. The designer includes step-by-step lining guidance that sewing beginners can follow.
Installing the Zipper
A zipper feels intimidating at first, but simple pinning and stitching give a secure, store-bought-looking closure. Pick a color that blends in or contrasts for flair.
Get More Crochet You’ll Love: The Fireside Fable Crochet Collection
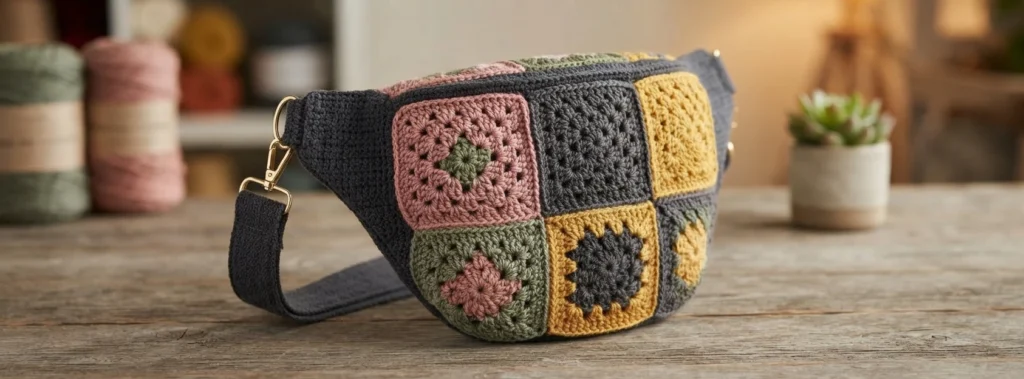
The Ramble and Rue also belongs to the Fireside Fable Crochet Collection: six motif-based projects by Marly Bird and Robyn Chachula, available as a bundle. Inside you will find the Rosewood Cowl, Marigold Morning Cardigan (XS-5X), Hazel and Honey Baby Blanket, Cover Story Cozy, Ramble and Rue Bum Bag, and Lilac and Leather Bag.
🎁 Upgrade to just the Ad-Free PDF Pattern Overview
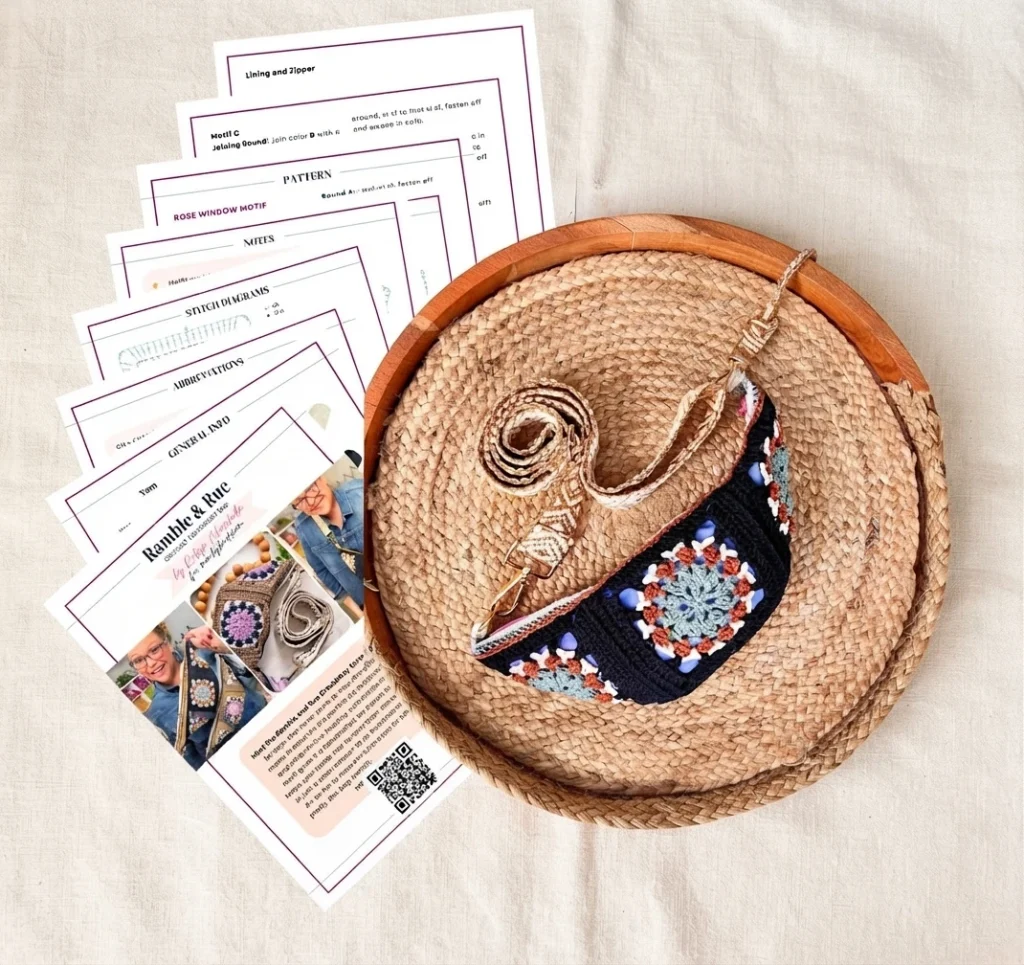
Prefer to skip the ads? A beautifully formatted, easy-to-print ad-free PDF is available for purchase from the designer’s online shops, with an easy-to-read layout and exclusive access to the joining-round stitch diagram.
Free Ramble and Rue Crochet Bag Pattern Overview
This section collects the pattern’s practical facts for easy planning. The design is credited to Robyn Chachula for MarlyBird.com as a motif sling, bum bag, or crossbody sized for a phone, keys, and wallet. It uses a small amount of cotton yarn in four cheerful colors and keeps your hands free for busy days.
Skill level
Intermediate.
Measurements
- Bag: 13″ [33 cm] wide by 5″ [12.5 cm] deep.
- Gauge: 1 motif = 4″ [10 cm] square; use any hook size to obtain gauge.
Materials
Everything the pattern calls for, in one checklist:
- Yarn: WeCrochet Animation, 100% mercerized cotton (139 yds / 127 m; 1.75 oz / 50 g; CYCA #3 DK), 1 ball of each color per colorway.
- Colorway 1: A #2688 Inlet, B #2699 Sunbaked, C #2700 Swan, D #2675 Black.
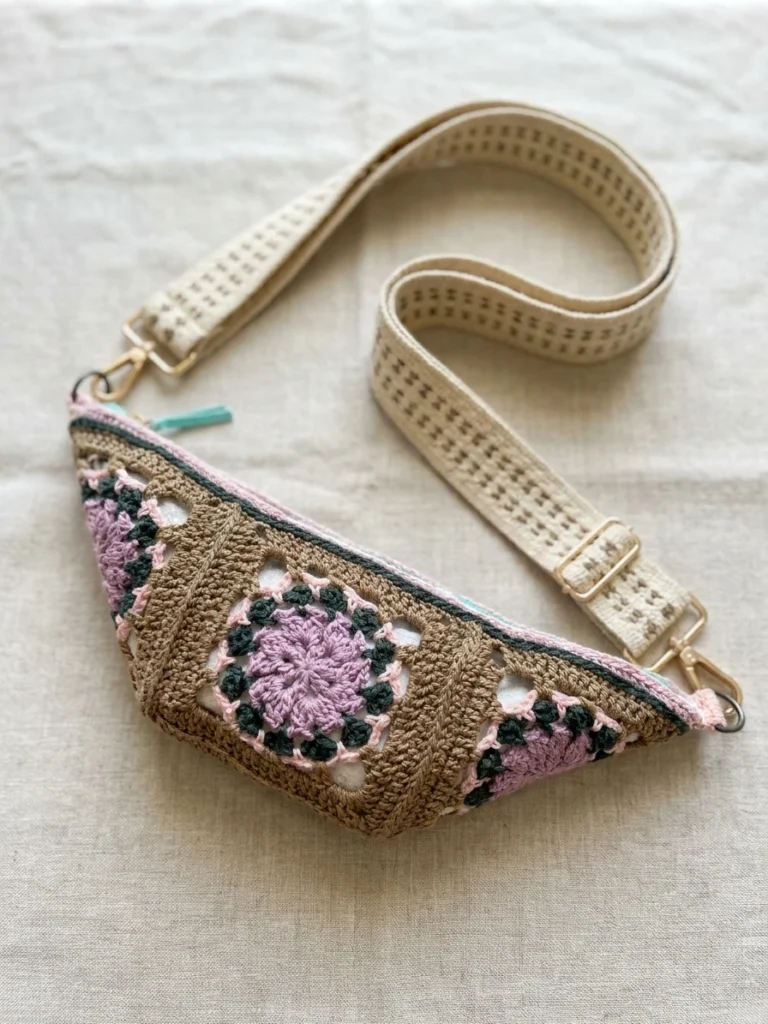
- Colorway 2: A #2692 Lilac Mist, B #2685 Douglas Fir, C #2677 Blush, D #2695 Mushroom.
- Hook: E/4 [3.5 mm].
- Notions: tapestry needle, scissors, tape measure, (2) 1″ [25.5 cm] wide D-rings, purse strap, sewing thread and needle.
- Lining and zipper: 16″ x 16″ [40.5 x 40.5 cm] coordinating fabric; 14″ [35.5 cm] invisible zipper.
Abbreviations
| Abbreviation | Meaning |
|---|---|
| Ch | Chain(s) |
| Dc | Double Crochet |
| Hdc | Half Double Crochet |
| RS | Right Side |
| Sc | Single Crochet |
| Sl st | Slip Stitch |
| Sp(s) | Space(s) |
| St(s) | Stitch(es) |
| Stacked Dc | Stacked Double Crochet |
| Tch | Turning Chain |
| WS | Wrong Side |
Special stitches
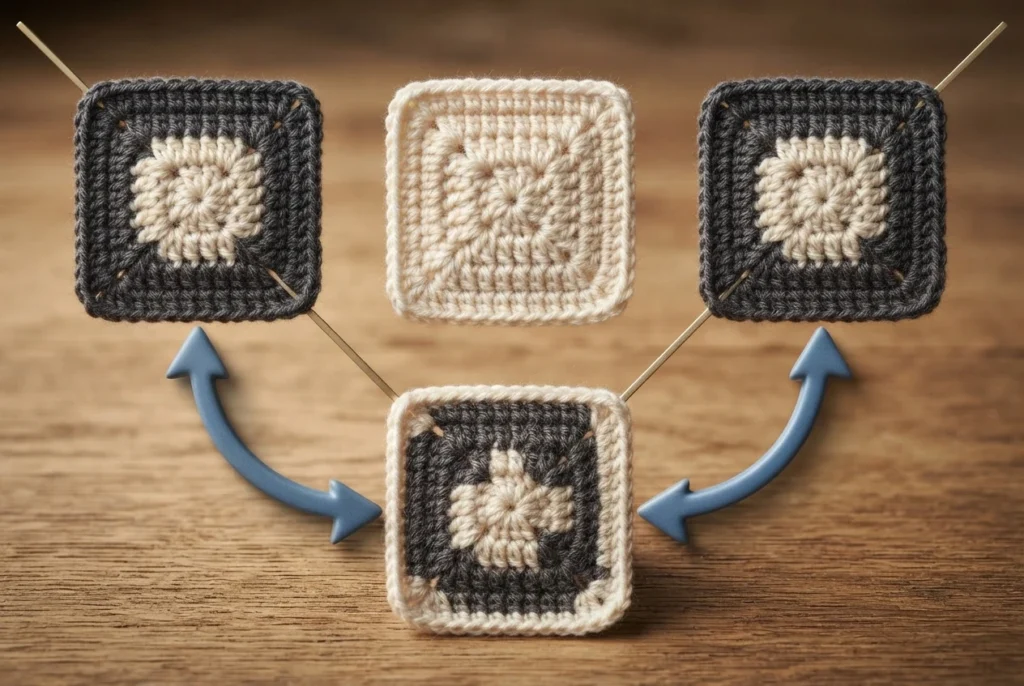
Three special stitches shape the motif:
- 2dc-cl: two unfinished double crochets in the same stitch, closed with one final pull-through into a single textured cluster.
- 3dc-cl: three unfinished double crochets gathered the same way, for a fuller cluster.
- Stacked dc: a chainless starting stitch. Work a single crochet, then work into its legs to reach double crochet height with no turning chain.
Stitch diagram
The stitch diagram for the joining round appears only in the ad-free PDF, not in the free web version.
Notes
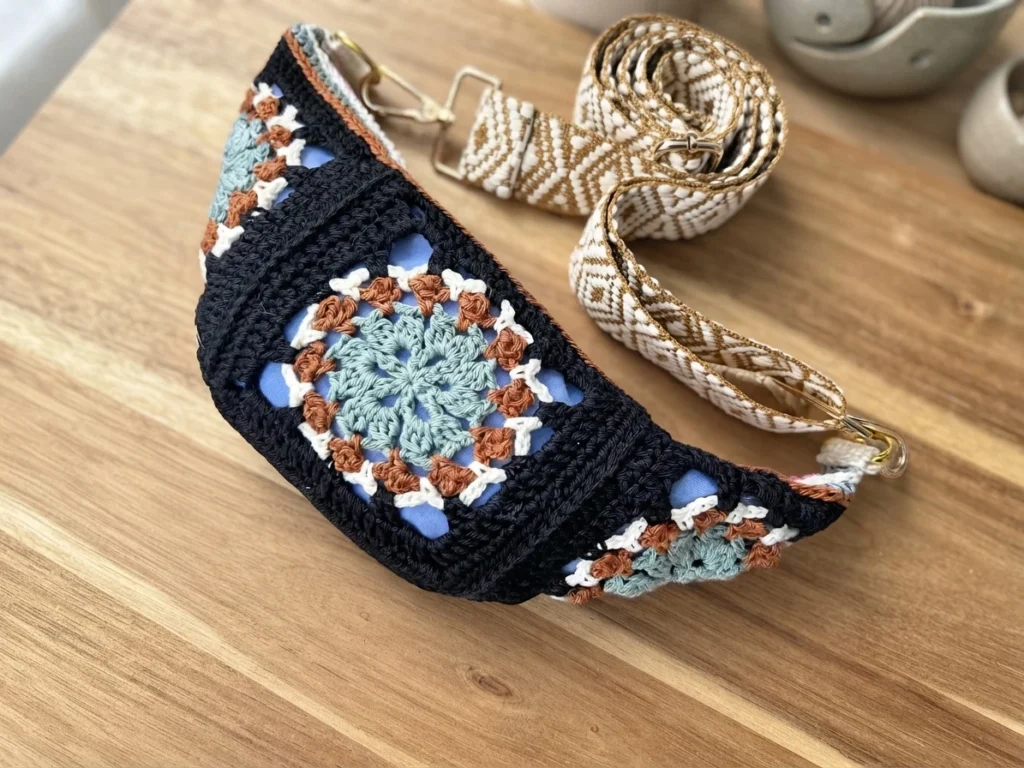
- Motifs join as you crochet the joining row; keep the layout handy for placement.
- Any joining method works, following the motif placement in the layout.
- For hidden seams inside and out, make two linings (needs extra fabric).
RAMBLE AND RUE CROCHET MOTIF SLING BAG Pattern Overview
The bag starts with four identical motifs, each begun with an adjustable ring in color A. Early rounds build outward with clusters, picots, and chain spaces; colors B, C, and D then continue until the chain spaces square the motif for joining. Small and portable, it is a satisfying way to play with color.
Grow
Later rounds in colors C and D complete the square shape and its joining chain spaces. The full round-by-round instructions and exclusive subscriber content unlock through the designer’s Grow portal on the original pattern page.
Joining
Joining happens during the final joining round in color D, so no separate seaming is needed. The first motif is edged alone to set the marked corners, the second joins to it stitch by stitch along one edge, and the third joins across the adjoining edges to finish the panel. Follow the layout diagram for placement and mark the indicated corner stitches so edges align. The designer’s original instructions and the PDF-only stitch diagram give the complete joining round.
Finishing
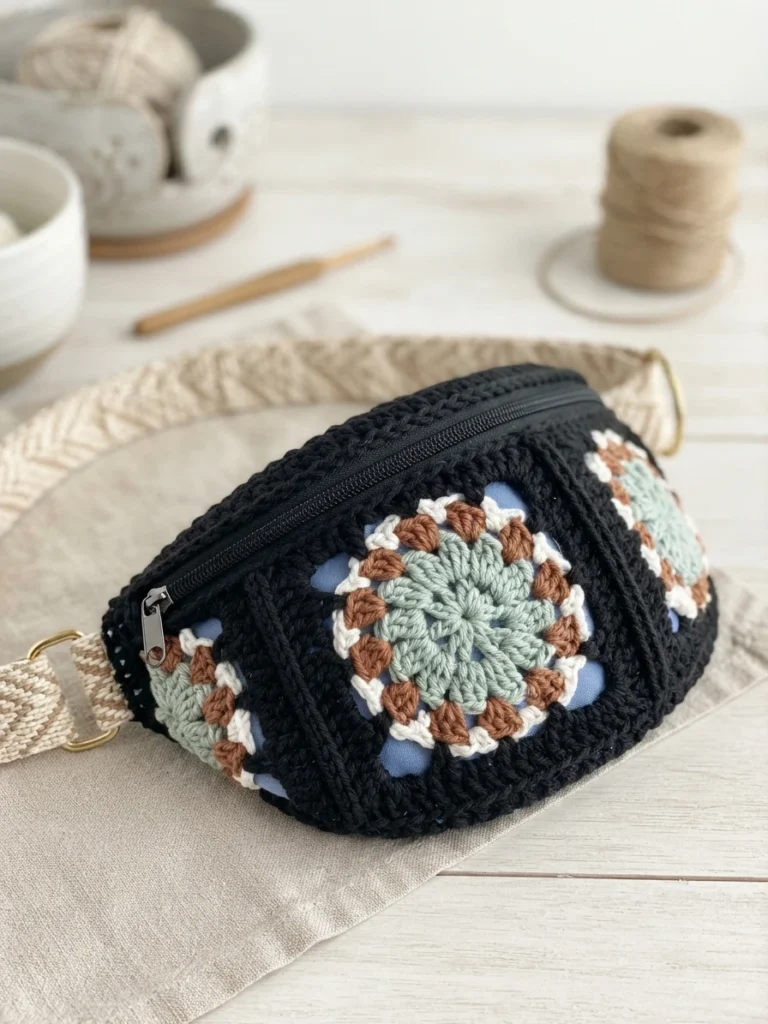
Finishing begins with a simple edging around the bag’s top edge in four short color rounds, tidying the opening with a striped accent. Then come the tabs: small folded pieces centered on each long edge, folded over a D-ring and seamed to themselves with a long tail, ready to hold the purse strap.
For the lining, fold the fabric right sides together, trace the bag with a washable marker, and cut using the pattern’s seam allowances. Backstitch the sides and bottom, press the seams, fold the top edge down twice, and whipstitch the lining inside the bag. Pin each side of the invisible zipper in place, backstitch through the top edging, and tack the zipper ends to the lining.
Tips for Customizing Your Bag
- Color combos: earth tones for everyday, bold brights for a statement.
- Strap length: wear it crossbody, at the waist, or over the shoulder.
- Zipper contrast: a bright zipper adds a fun design element.
- Personal touches: a tassel, patch, or embroidery makes it yours.
Can I make this bag bigger?
Yes. Add more granny square motifs, or use a larger hook and thicker yarn to scale up. A bigger bag may need a longer zipper and more lining fabric.
Do I have to add a lining?
Technically no, but an unlined bag can stretch and small items may poke through. For durability and a polished finish, lining is strongly recommended.
Can I use chunky yarn instead of worsted?
Yes, but the finished bag will be larger than listed, and you may need a longer zipper. Check your motif gauge first.
Can beginners make this?
If you know basic stitches and can join granny squares, you can make this bag. The zipper and lining steps are broken down for beginners.
Final Thoughts
The Ramble and Rue is that rare make that is equal parts stylish and genuinely useful. Pick four colors, gather your notions, and turn simple motifs into an everyday bag that keeps up with busy days.