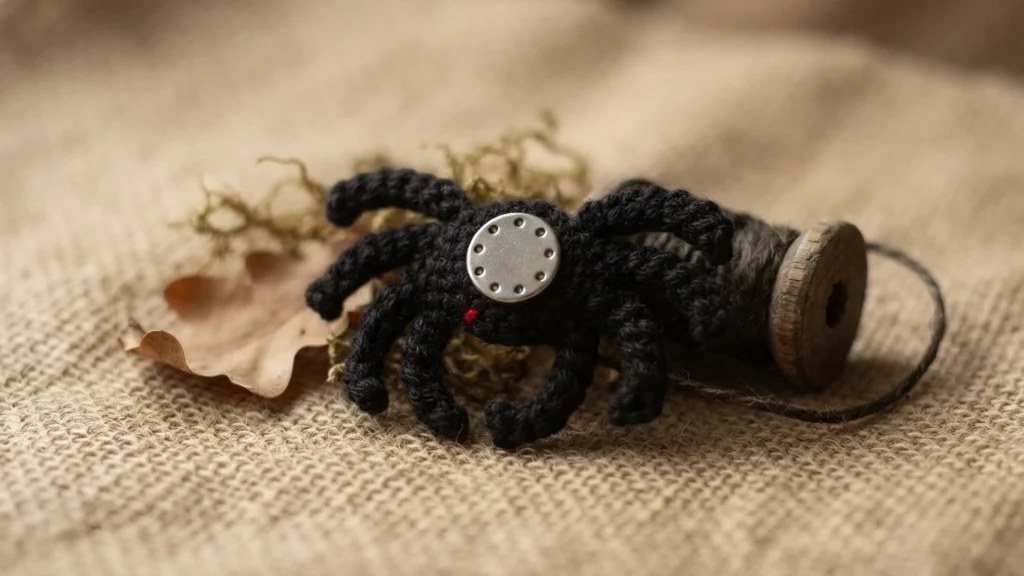
Project introduction
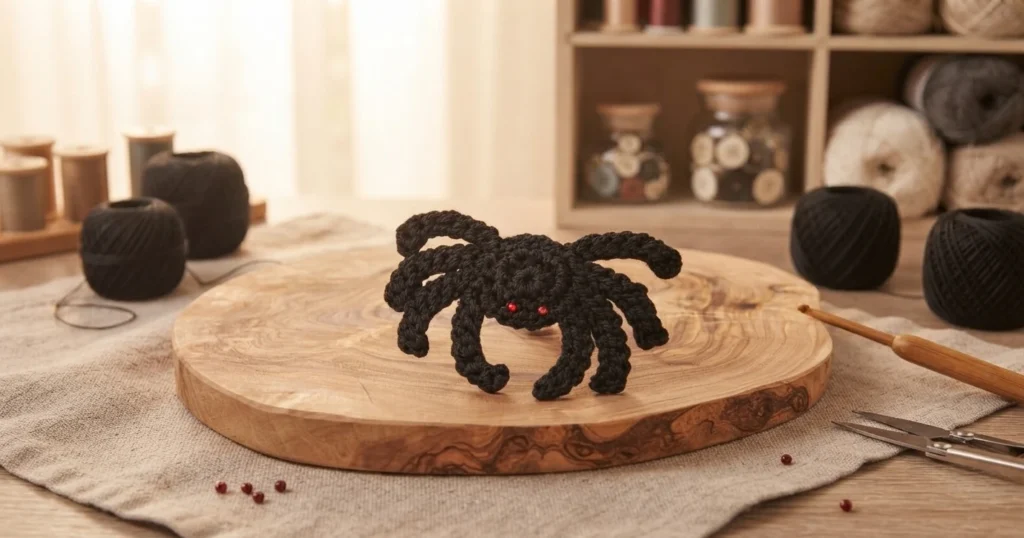
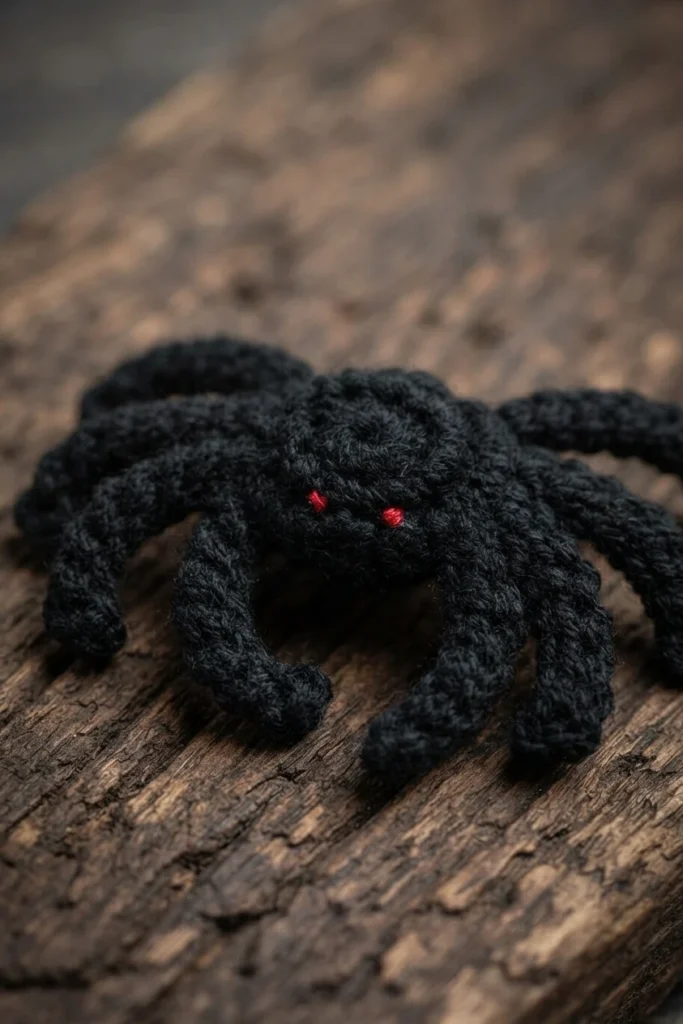
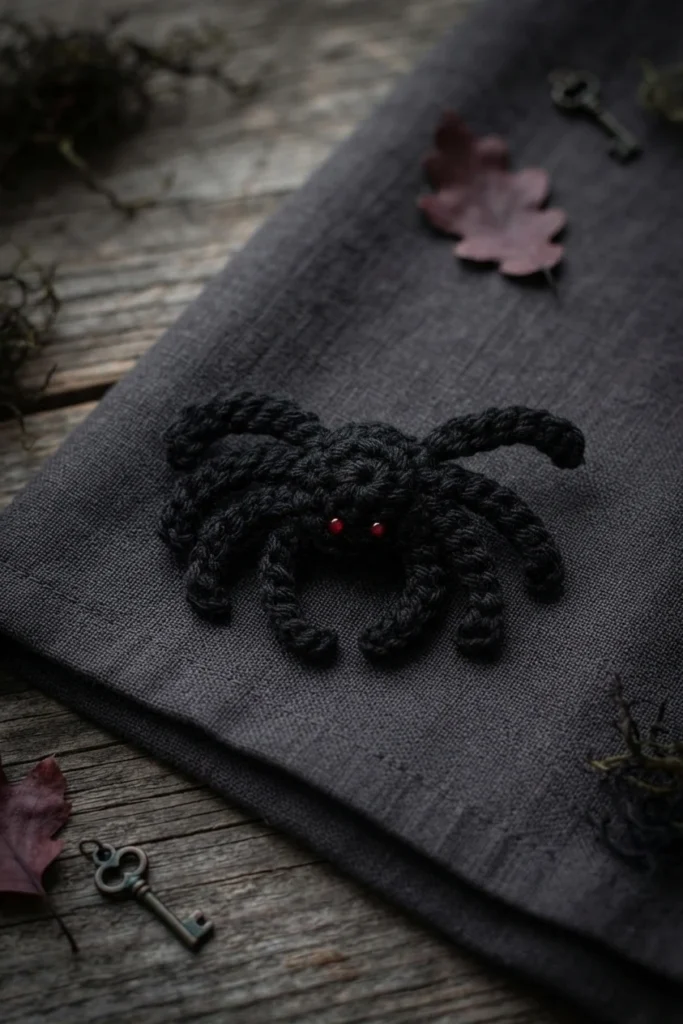
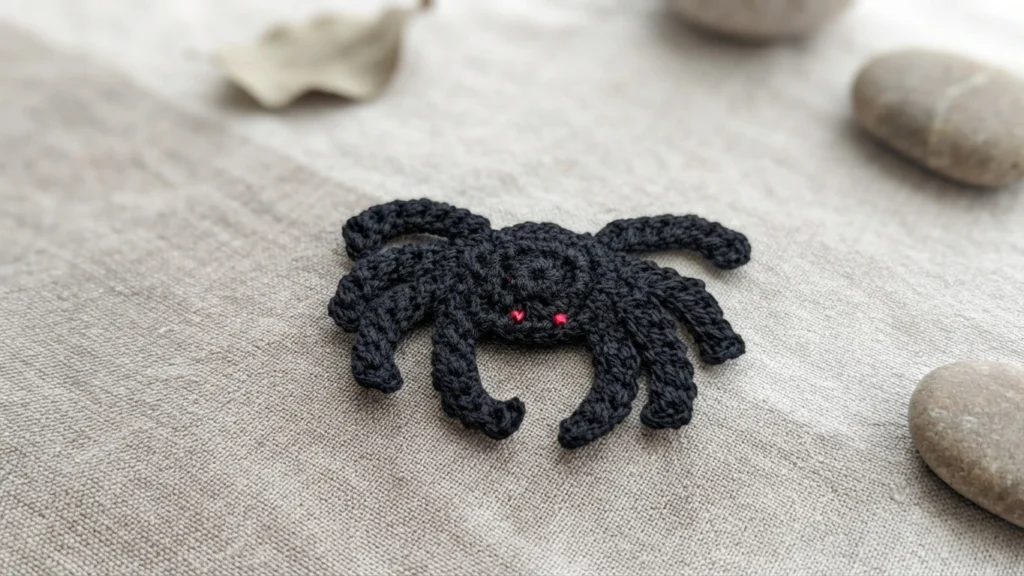
This page is a project overview, not a replacement for the full crochet pattern. Oombawka Design Crochet, by Rhondda Mol, describes this Halloween spider as an easy project that takes about 10 minutes and uses only a small amount of worsted-weight yarn. The original designer’s pattern and instructions provide the complete directions and finishing details.
The design has a compact crocheted body, eight narrow legs, and two embroidered red eyes. The creator added a magnet pin back to her spider so it could be displayed on items such as curtains, lampshades, a coat, or a purse. These are examples from the designer, rather than a promise that a magnet will attach securely to every material.
Use the details below to check the supplies, terminology, and construction approach before you begin. The instructions use US crochet terms. If you are unfamiliar with the starting method or continuous rounds, review the notes before choosing whether this project is a good fit.
Making this pattern?
The source states that the pattern itself is free to read on the designer’s page. A free GoSadi Maker account is an optional extra: it lets you become a fan of the pattern, add it to your Maker Queue, and track finished projects. New users can follow a getting-started guide, and existing users can visit the designer page. These website tools are not steps needed to crochet the spider.
10 Minute Crochet Spider for Halloween
The sections below summarize the designer’s materials and construction notes. They do not reproduce the complete pattern sequence. Use them as a planning reference, and consult the linked original for exact stitch directions and placement information.
Supplies
Set out the materials listed for the project. The skein size is the stated package quantity, while the much smaller yarn figure is the designer’s estimate for the finished spider.
- One black skein of Red Heart Super Saver, 100% acrylic, worsted weight [4], machine washable and dryable. The skein is listed as 7 oz (198 g) and 364 yd (333 m).
- A US E crochet hook, 3.50 mm.
- Scissors and a tapestry needle, also called a yarn needle.
- A small amount of red embroidery thread and a sewing needle for the eyes.
- Optional: a round magnet. The source lists 2 cm as the diameter for the magnet it used.
If you cannot find that exact size, choose a small round magnet that suits the display surface you have in mind and follow the original finishing notes.
The creator estimates that the small finished item uses about 0.04 oz (1 g) and 1.84 yd (1.68 m) of yarn. This is the source’s estimate for the project, not a separate yarn calculation.
Difficulty Level
The source rates the project easy. It is a small seasonal make, but you may want to check the notes first if a double magic ring or continuous rounds are unfamiliar. The full directions and the stitch reference listed by the designer can help you decide whether you are comfortable proceeding.
Finished Size
The stated finished measurements are approximately 3.5 inches (8.9 cm) across at the widest point and 2.5 inches (6.4 cm) tall at the tallest point. These are approximate dimensions for the source’s sample. The designer notes that changing yarn or hook can affect gauge, so a substitution may also change the finished size.
Gauge
The source gives a gauge reference for the first two rounds: approximately 3.2 cm in diameter. This is the measurement stated by the designer for the sample. The source permits substituting yarn and hook, while noting that a different gauge can change both the final measurements and the amount of yarn used. Keep this reference in mind if you are comparing your work with the stated sample size.
<h3 data-pcsp-section= <h3 data-pcsp-section=The pattern uses US crochet terminology. The table below lists the abbreviations named in the source. For the meaning of a direction within the pattern, follow the designer’s notation and context.
| Abbreviation | Meaning |
|---|---|
| ch(s) | chain(s) |
| DMR | double magic ring |
| g, m, oz, yds | grams, meters, ounces, yards |
| rem | remaining |
| Rnd | round |
| sc | single crochet |
| sl st | slip stitch |
| st/sts | stitch/stitches |
A repeat between asterisks is worked the stated number of times and can hold several instructions. A bracketed figure at the end of a row or round gives the total stitch count, while parentheses flag important notes.
Helpful Tutorials
A Crochet Stitch Guide is listed as a helpful reference. It may be useful for refreshing the stitch terms used in the pattern. This overview is not a stitch tutorial, so use the source’s instructions for project-specific questions.
Notes
The designer’s preferred start for work in the round is a DMR (double magic ring). The source also names a magic ring (magic circle), or a chain 3 joined with a slip stitch to form a ring, as substitutes. Choose a method you already know, and consult the original notes if you need more guidance on starting in the round.
The spider is worked in continuous rounds. That means no slip stitch join and no chain 1 at the start of a round. A stitch marker can help you keep track of the first stitch. The designer also notes that joined rounds may be used instead; for that option, keep the joining slip stitch tight and the starting chain small.
10 Minute Crochet Spider Pattern for Halloween
At a glance, the body is worked in rounds, followed by two groups of four legs worked from the body. The spider is turned between the groups, and the second group is attached a short distance from the first. Each slender leg is formed from a chain worked back toward the body. These details describe the overall construction without restating the pattern stitch by stitch.
The exact attachment points and working sequence matter to the finished shape. Follow the original instructions for those details rather than improvising from this summary. This overview is meant to help you understand the project’s general structure, not to serve as a substitute set of directions.
Finishing Construction Overview
The source’s finishing notes call for weaving in the yarn ends, embroidering two small red eyes, and attaching a small magnet to the back if desired. The creator describes using the magnet to display the spider on fabric as well as on a refrigerator, and says it can also be worn as a brooch. Choose a display surface appropriate for the magnet and follow the original directions for the finishing process.