Project introduction
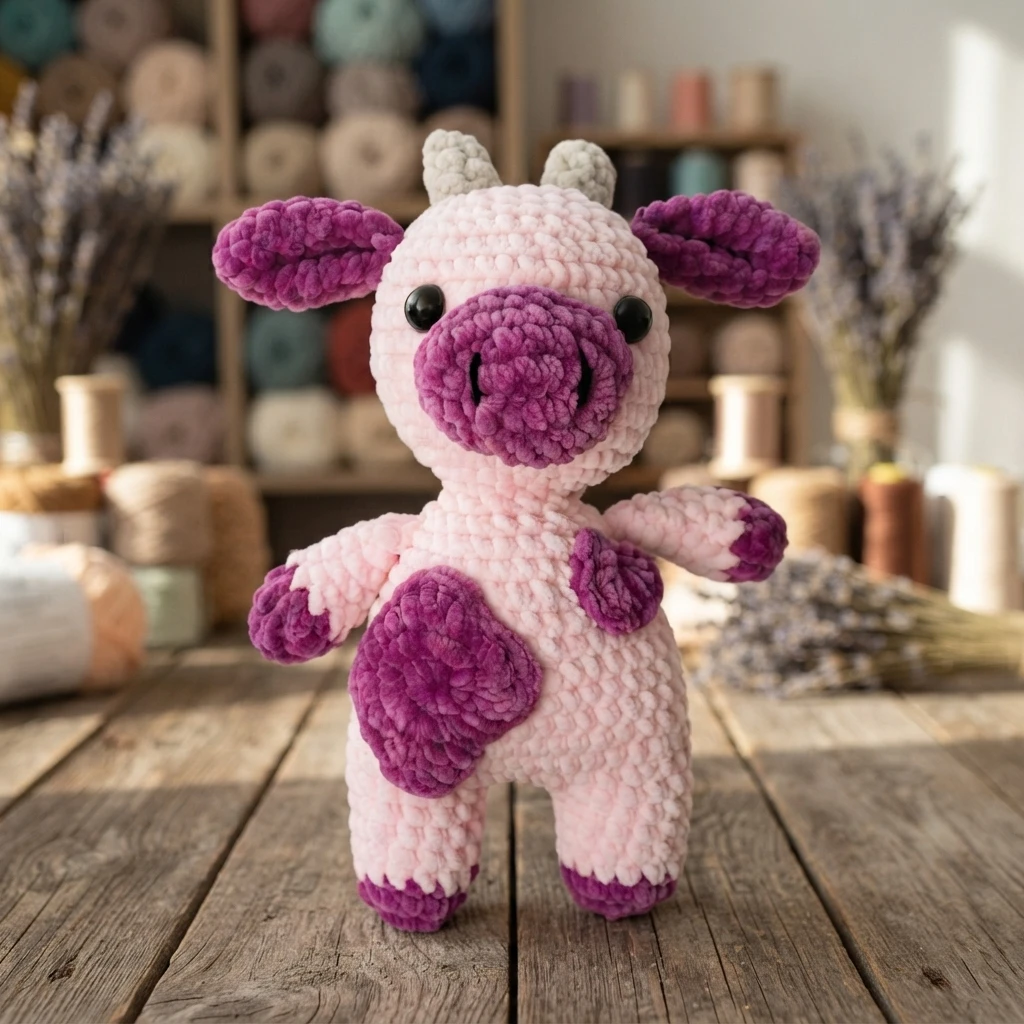
This overview introduces a plush strawberry cow for crocheters who enjoy soft amigurumi with a playful fruit theme. It is a pattern overview, not a full tutorial, so it explains what the project includes and how the pieces fit together. The toy has a rounded body, a sweet snout, and cow details with a strawberry inspired colour look. Makers can choose their own colours for a gift or a personal collection.
For the complete written directions, follow the Original designer’s pattern and instructions. That source page presents the project as a free crochet pattern, so check there for current access details and any format notes. A full video tutorial is also available here, and it can help you picture how the parts join.
Yarn used
The yarn list keeps the palette simple, with a main shade, a contrasting shade, and a warm neutral for the horns. The designer names a soft, chunky style yarn for the body and details, which helps give the toy its plump feel. A small amount of dark yarn is set aside for embroidered nostrils.
- Hobbii Baby Snuggle in primary colour
- Hobbii Baby Snuggle in secondary colour
- Hobbii Baby Snuggle in beige for horns
- Small amount of medium black yarn for embroidering nostrils
Other Items used
The remaining supplies cover tools, stuffing, and finishing touches. You will need a hook in the size named by the designer, plus a needle for sewing the pieces together. Safety eyes give the face a bright look, while filling gives the body its soft shape. Safety eyes are not recommended for children under the age of 3 years.
- US G/4.25mm crochet hook
- Yarn needle
- 12-15mm safety eyes
- Poly fill
- Stitch markers (optional)
Abbreviations and stitches
The pattern uses US crochet terms, so American stitch names apply throughout. The list below gives the short forms you will meet in the designer directions. Reading it first makes it easier to follow colour changes, shaping, and repeats. Keep it nearby while you check the original page.
- MR: Magic ring
- St(s): Stitch(es)
- SC: Single crochet
- Sl st: Slip stitch
- DC: Double Crochet
- BLO: Back Loops Only
- Inc: Increase, worked by placing 2 SC into a single stitch
- Dec: SC decrease, worked with the invisible method
- (…) x n: repeat the instructions inside the brackets n times
Pattern Overview
Legs - Make 2
The project starts with two legs, each begun in the secondary colour before changing to the main body colour. The first leg is finished and set aside, while the second leg is joined to it with a short chain, so the belly can begin as one continuous piece. From there, the body grows upward through shaping, and the head follows in the same piece.
Stuffing is added in stages, with the body and legs filled before the head is completed and filled. The eyes are placed on the head, 10 sts apart, before the final shaping closes the top. This order helps you position the eyes and check firmness while the opening is still wide.
Arms - Make 2
Each arm begins in the secondary colour and later changes to the main body colour, echoing the legs. The piece is worked as a small tapered tube, then folded in half and closed along the top with single crochet. A long tail is left for sewing, so the arm can be attached securely during assembly.
Snout
The snout is worked in the secondary colour and begins with a short starting chain. Stitches are worked around that chain, along one side and then along the underside, to form a rounded oval shape. After a few rounds of shaping, the piece is closed with a tail for sewing. It sits at the front of the head and gives the cow its gentle muzzle.
Ears
The ears use the secondary colour and start with a small ring, then grow through gentle shaping before a short stretch of even work. A final shaping round narrows each ear, which is then folded in half and closed across the top with single crochet. A long tail is left for sewing. Each ear can then be positioned evenly on the head.
Horns
The horns are small, neat pieces worked in beige. Each one starts with a tiny ring, grows slightly through a single shaping round, and then continues evenly for a short stretch. The piece is closed with a slip stitch, and a tail is left for sewing. Placed near the ears, the horns add clear cow character without adding bulk.
Patches - Make 2
Two patches are made in the secondary colour to suggest the cow markings. Each patch starts with a ring, expands in the next round, and then finishes with a textured edge that mixes taller stitches and slip stitches in a repeated pattern. The piece is closed with a slip stitch, and a tail is left for sewing.
Heart patch
The heart patch is a single small accent, also worked in the secondary colour. It begins with a very short starting chain, then a cluster of tall and medium stitches is worked into the first chain to form the heart shape. The tail is pulled to help define the shape, and the piece is closed with a tail left for sewing.
Assembly
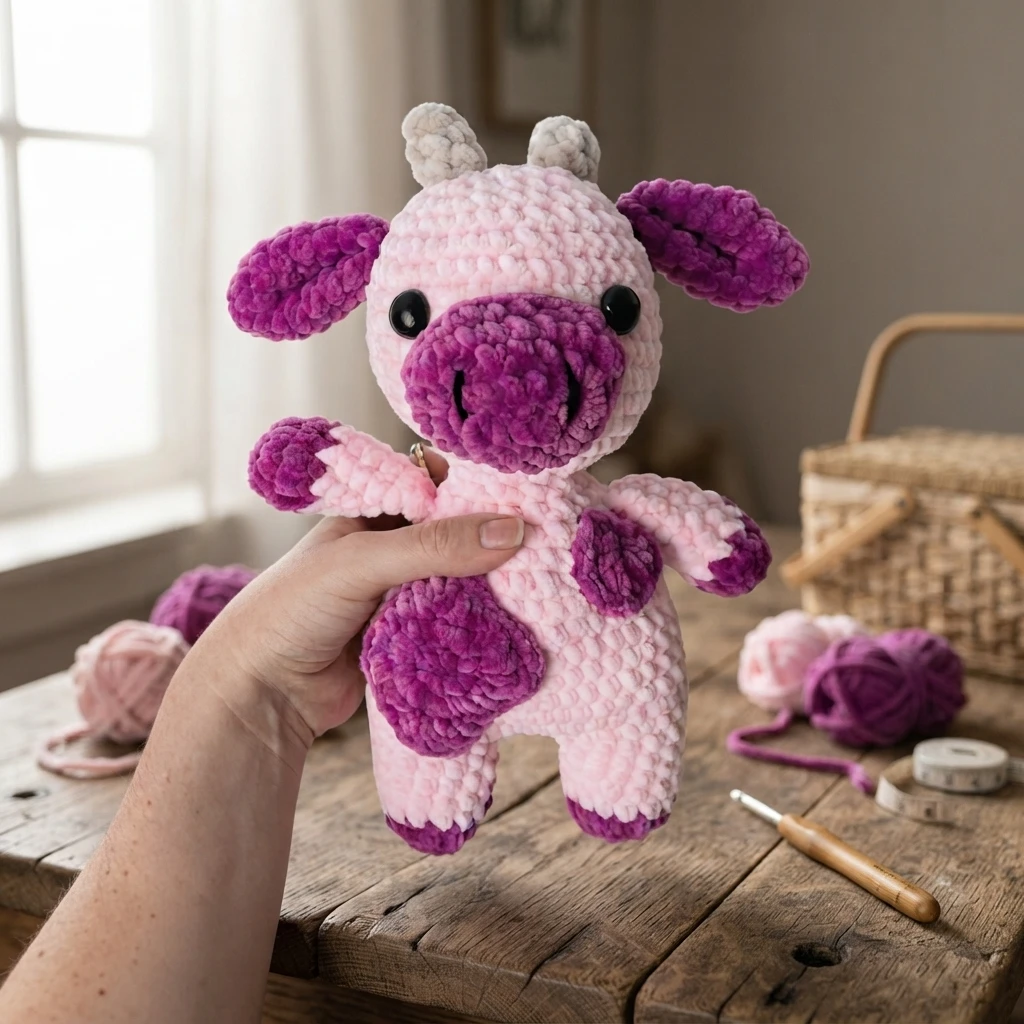
Assembly brings all the separate pieces together, following the video tutorial for placement. The arms, ears, horns, snout, patches, and heart are sewn on with the long tails left on each piece, which keeps the joins tidy. Finally, the nostrils are embroidered, giving the snout its finished face. Take time to hold pieces in place before sewing, so the features stay balanced.