Project introduction
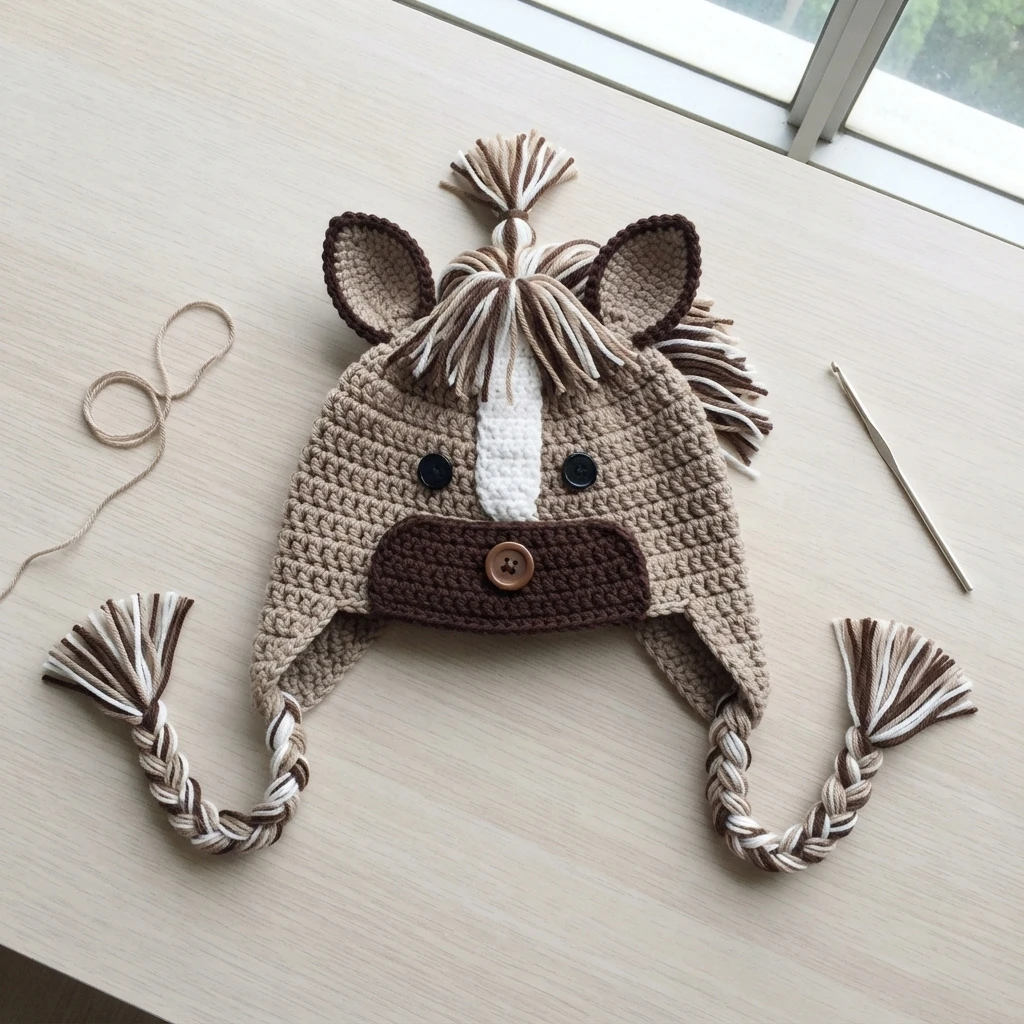
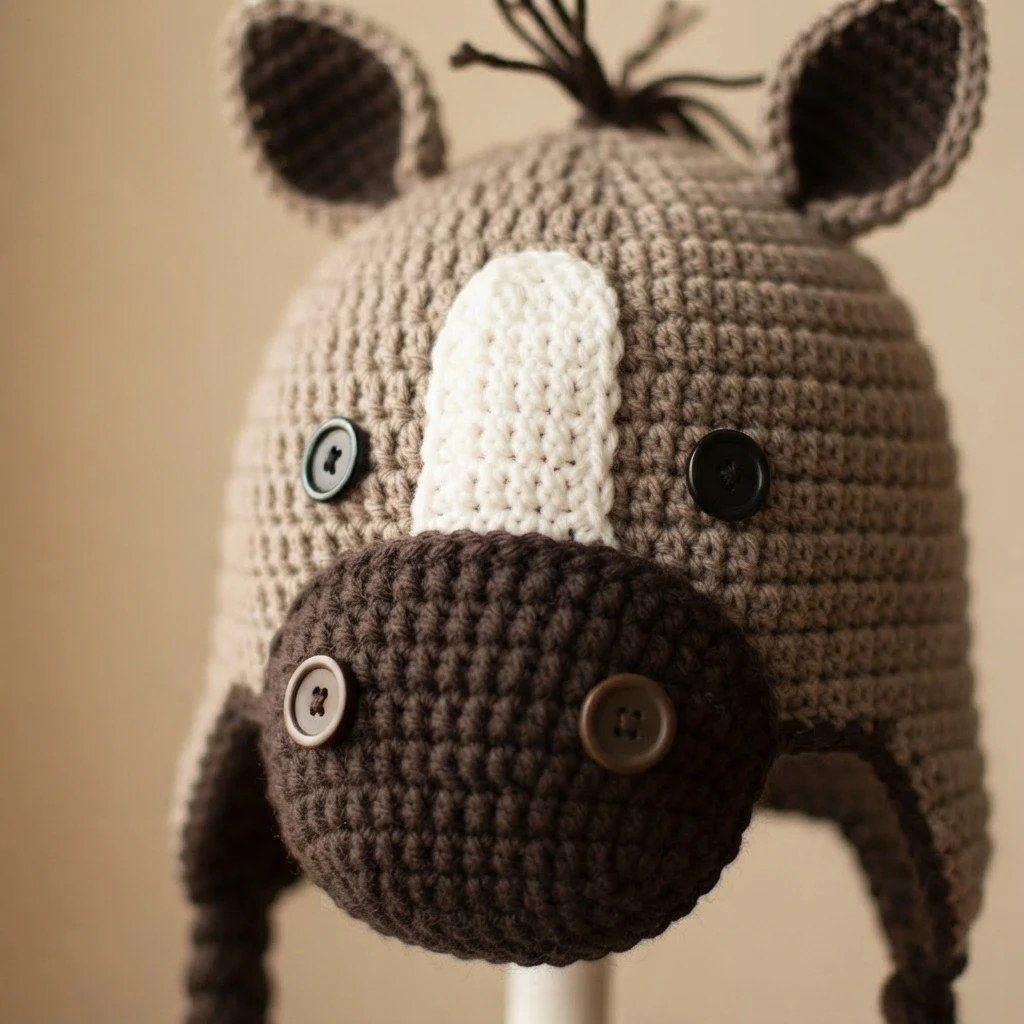
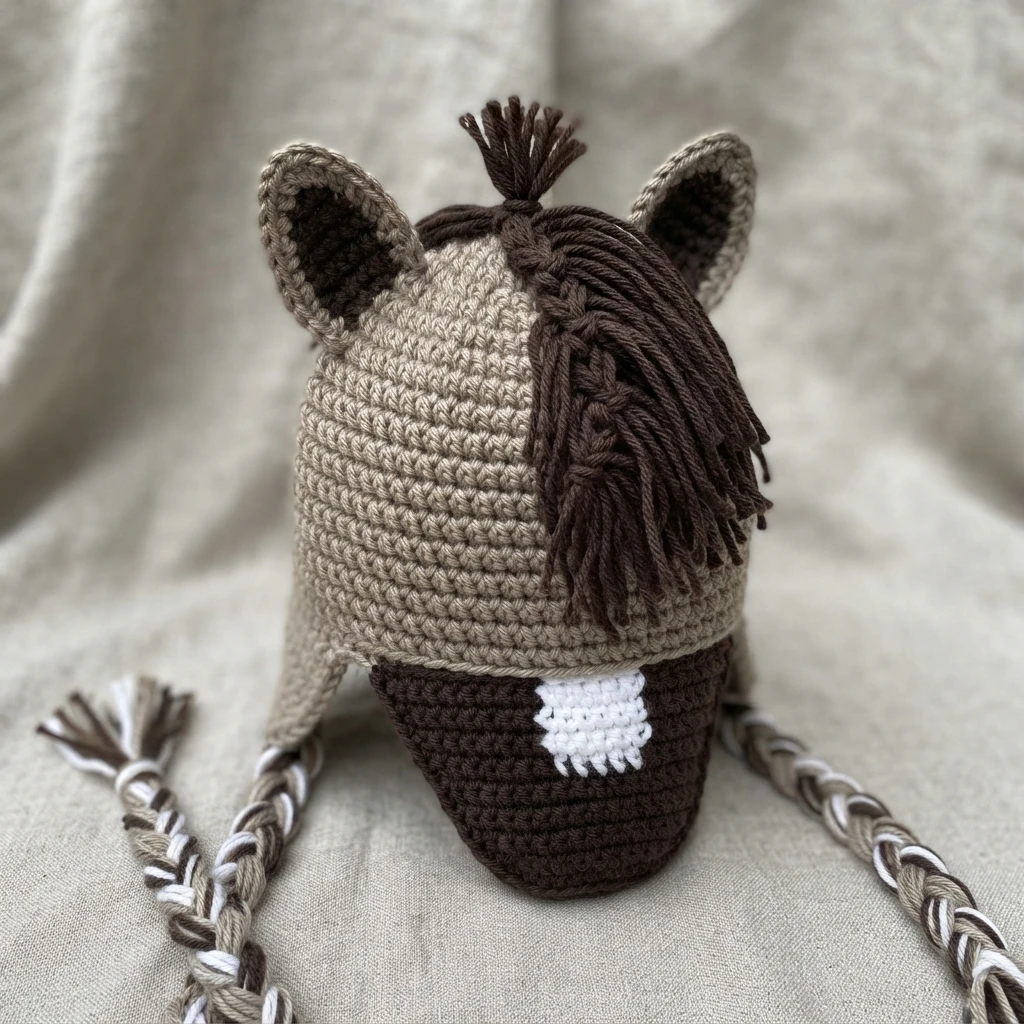
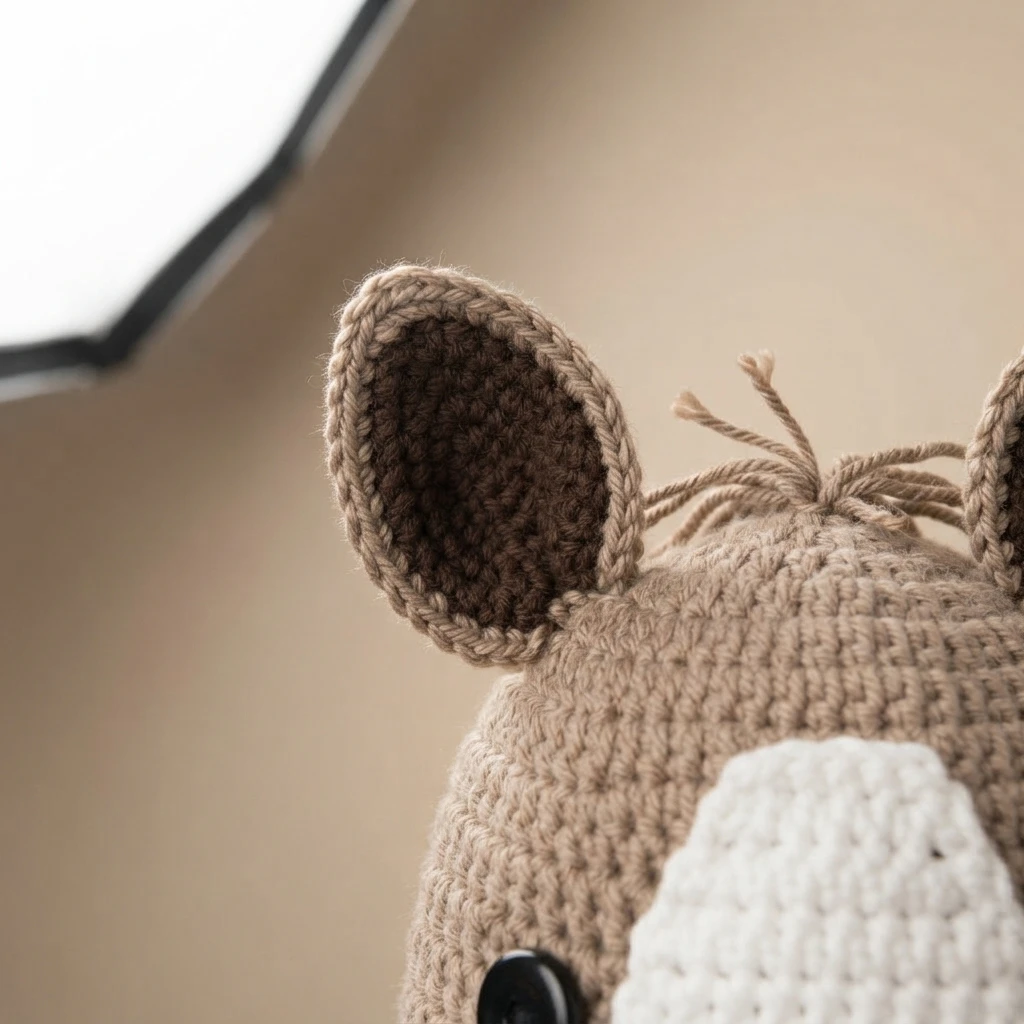
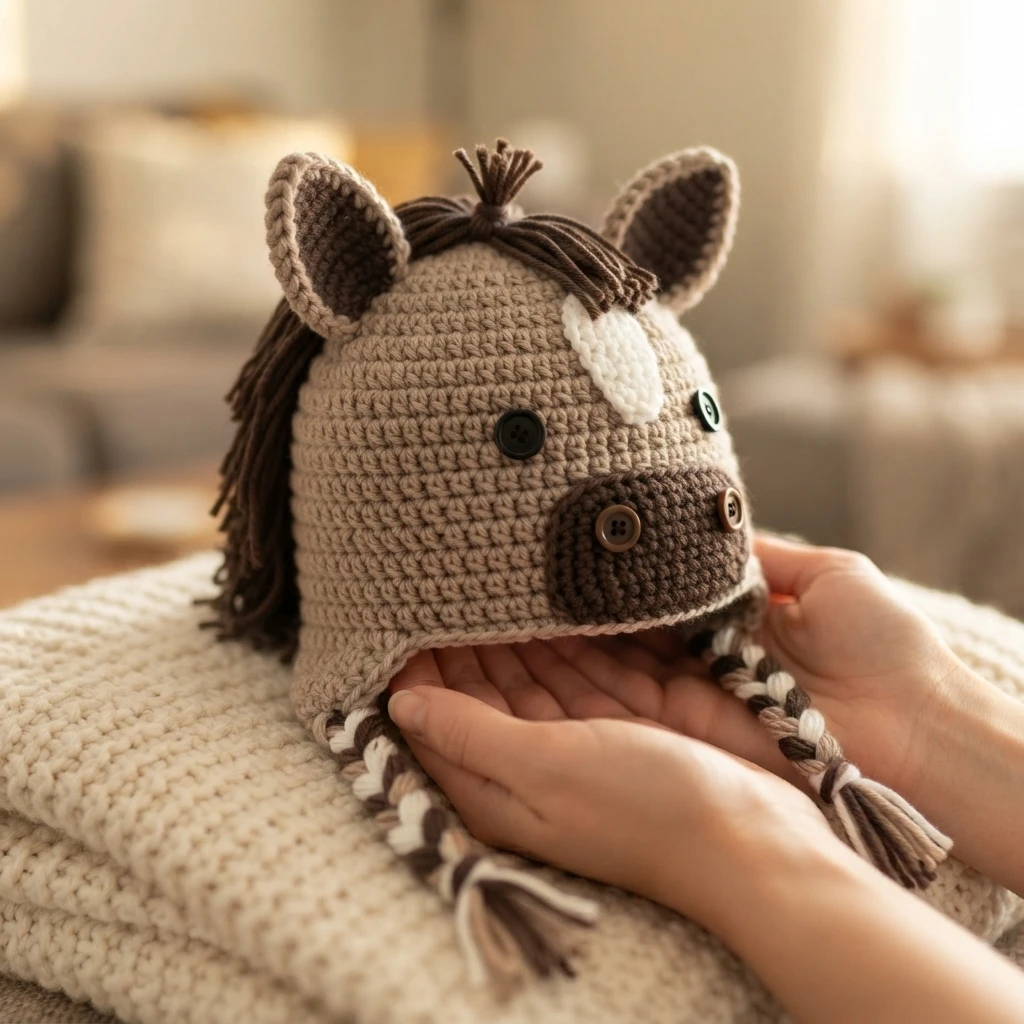
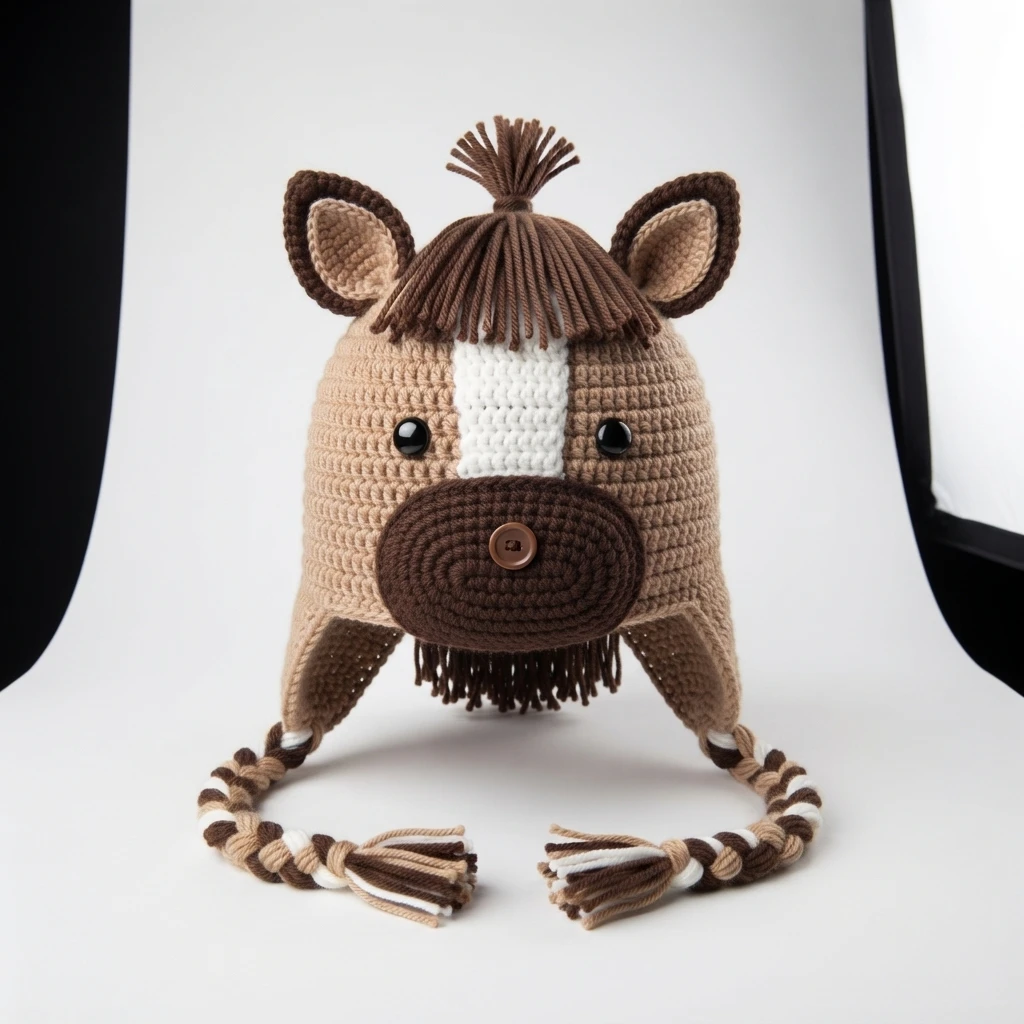
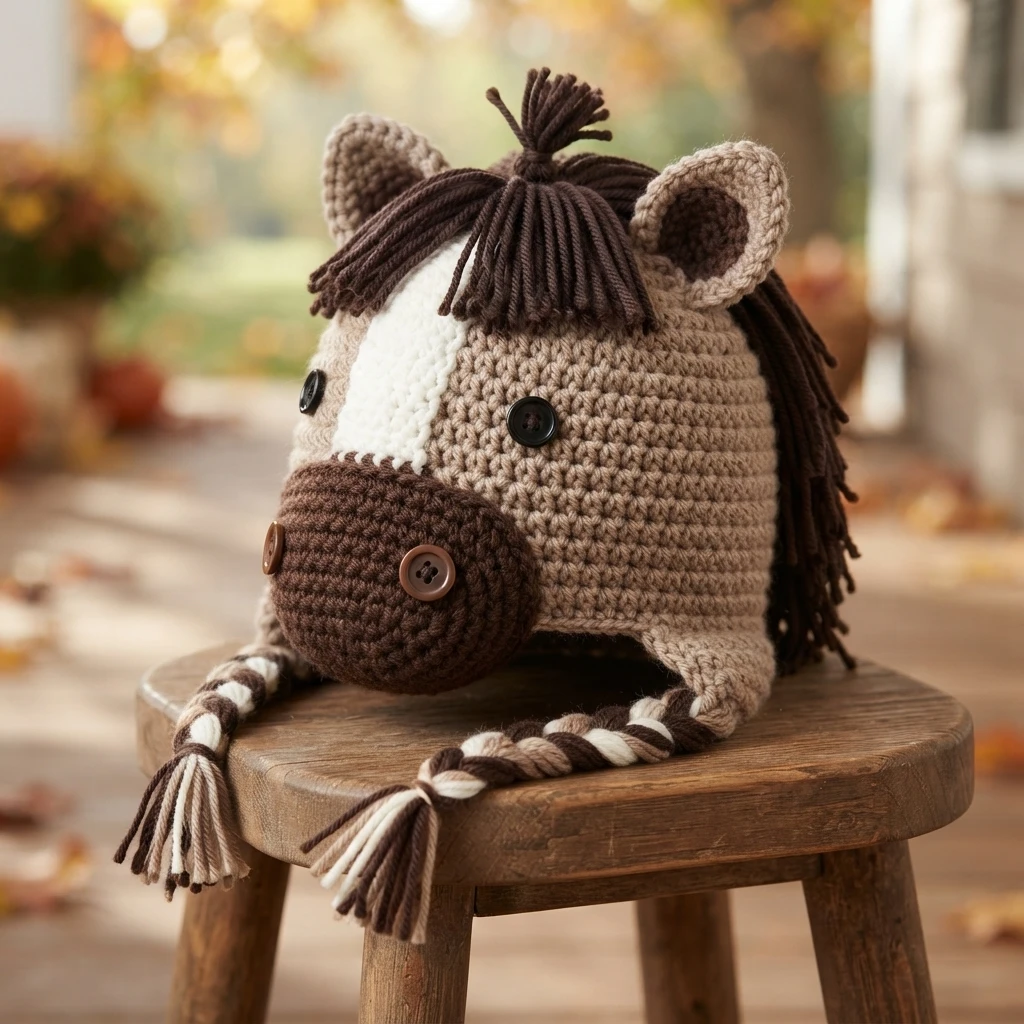
This is a pattern overview, not a complete tutorial, for a playful pony or horse beanie for a baby aged 3-6 months. The original design is presented as a free pattern on the source website, and the full row-by-row instructions live there. The complete directions, placement photos, and any updates are in the Original designer’s pattern and instructions. This guide summarizes the shape, parts, and finishing so you can decide if the project fits your plans.
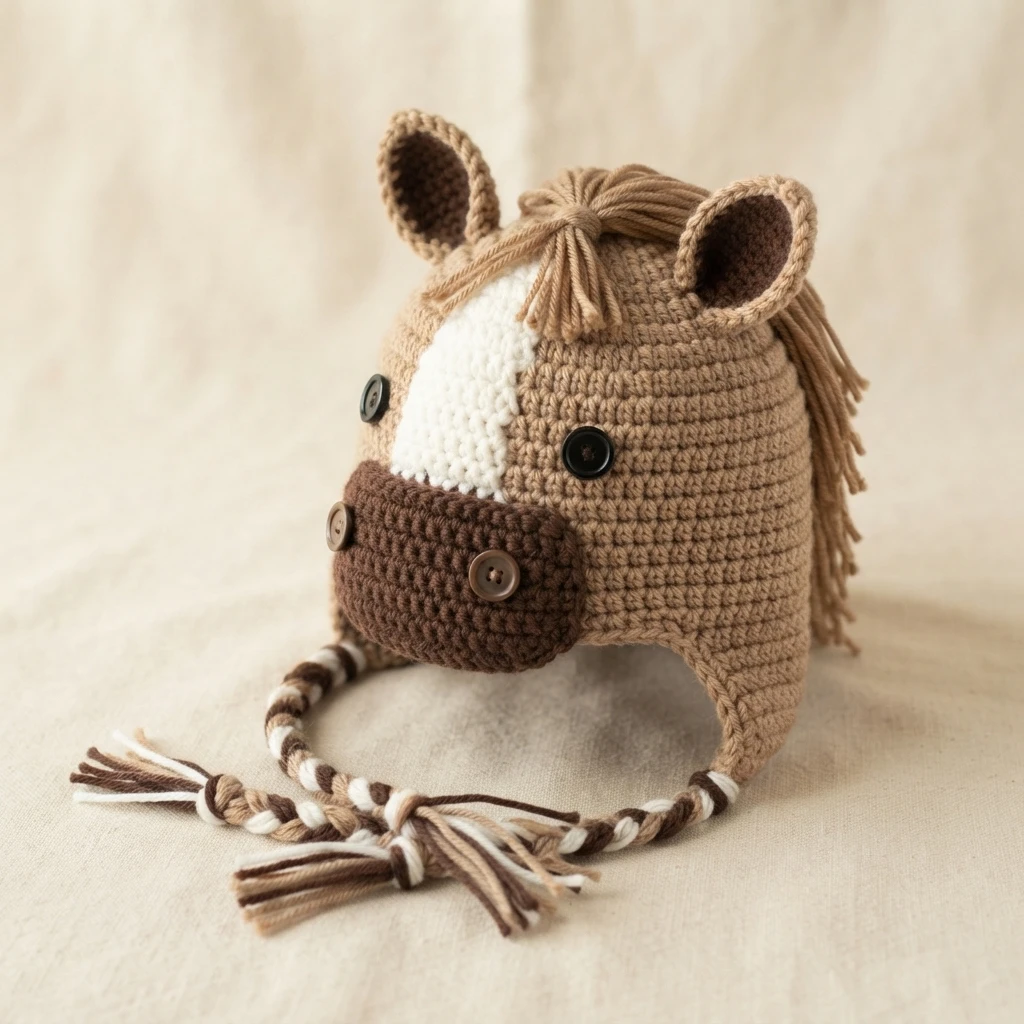
The beanie body starts at the crown and grows outward in rounds, using the seamless join double crochet method noted in the source. Two tapered ear laps extend below the sides. The forehead piece narrows toward its lower edge, while the ears are layered with a main colour piece placed over a second colour piece. For the muzzle, the source gives more than one description, so read that part of the original carefully before you start it.
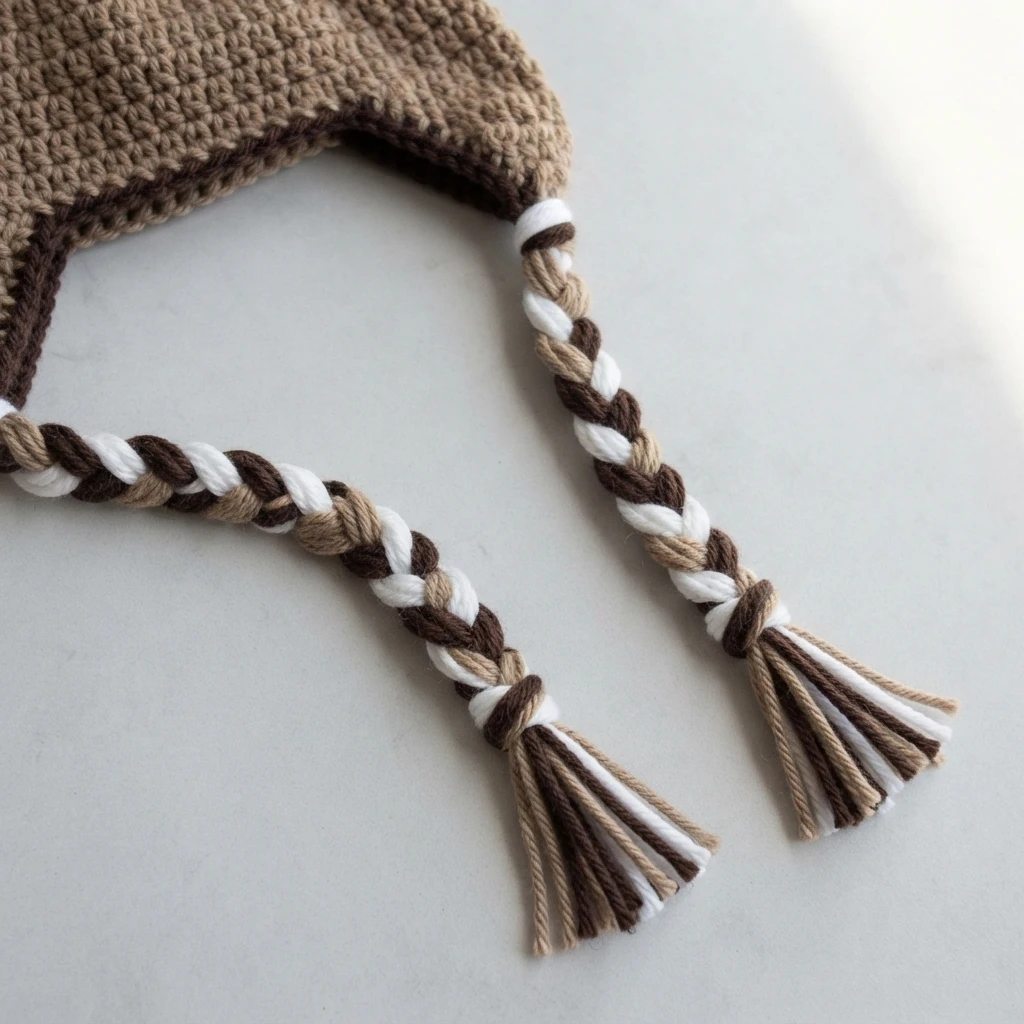
Finishing gives the hat its pony character. Cut strands form a mane along the back, front, and top, with a small tassel closing the forelock at the crown. The ear laps end in braided tails, and the source warns against adding so much mane that the hat becomes heavy for a baby. Check the original photos for placement, then secure each detail firmly and evenly.
Pattern format and preparation
This overview keeps the focus on preparation and order, while the linked original carries the exact rows. Work through the parts in the sequence the designer presents them, and pause at the muzzle notes because the source describes both a long tail and a start on the beanie itself. Keep the source open while you assemble the pieces, since photos there clarify placement better than words alone.
Before you begin, gather the full set of supplies from the source so you do not need to stop mid-project. The list below covers the hook, needle, yarn, buttons, and marker in one place. Having each item ready makes it easier to keep colours organised while the beanie takes shape.
- Crochet hook size I (5.5mm)
- Tapestry needle
- Sport weight (5ply) yarn in light brown, dark brown and white
- 2 black buttons for eyes
- 2 brown buttons for nose
- Marker for muzzle position
For the mane, the source calls for about 12 inch strands for the back and about 6 inch strands for the front and top. The tassel uses about 10 strands cut to 6 inch, knotted at the centre and inserted from the top to finish the forelock. For each braided side, cut 1 meter strands, using 3 strands of each colour to make 9 strands per side, then knot, braid, knot, and trim.
Assemble carefully, checking each join before moving to the next piece. The layered ears, forehead, and muzzle shape the face, so small shifts in placement change the look. If a step feels unclear, return to the original wording and photos rather than guessing. A neat finish, with tails secured and fastenings fixed firmly, helps the hat wear well.