Project introduction

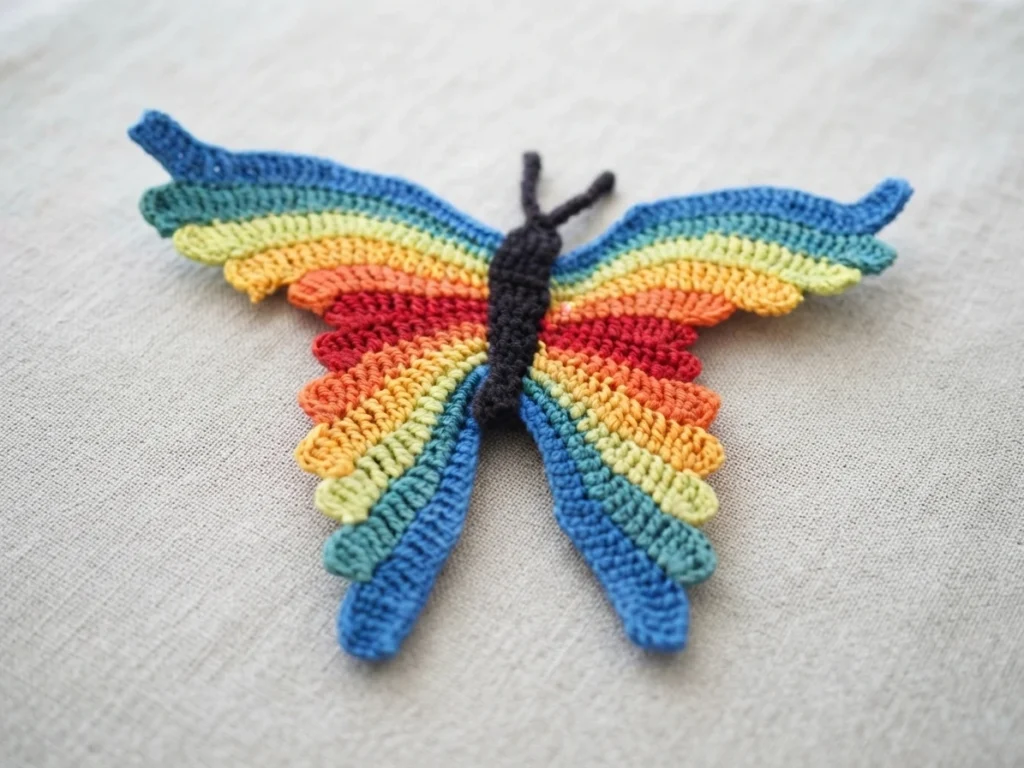
This is a pattern overview, not a full tutorial, introducing a delicate crochet butterfly from kerriscrochet.com. The design pairs a slim central body with layered multicolor wings and a separate upper body finished with antennae. It works well as an applique, garland motif, or decorative accent. For the complete row by row instructions, see the Original designer’s pattern and instructions.
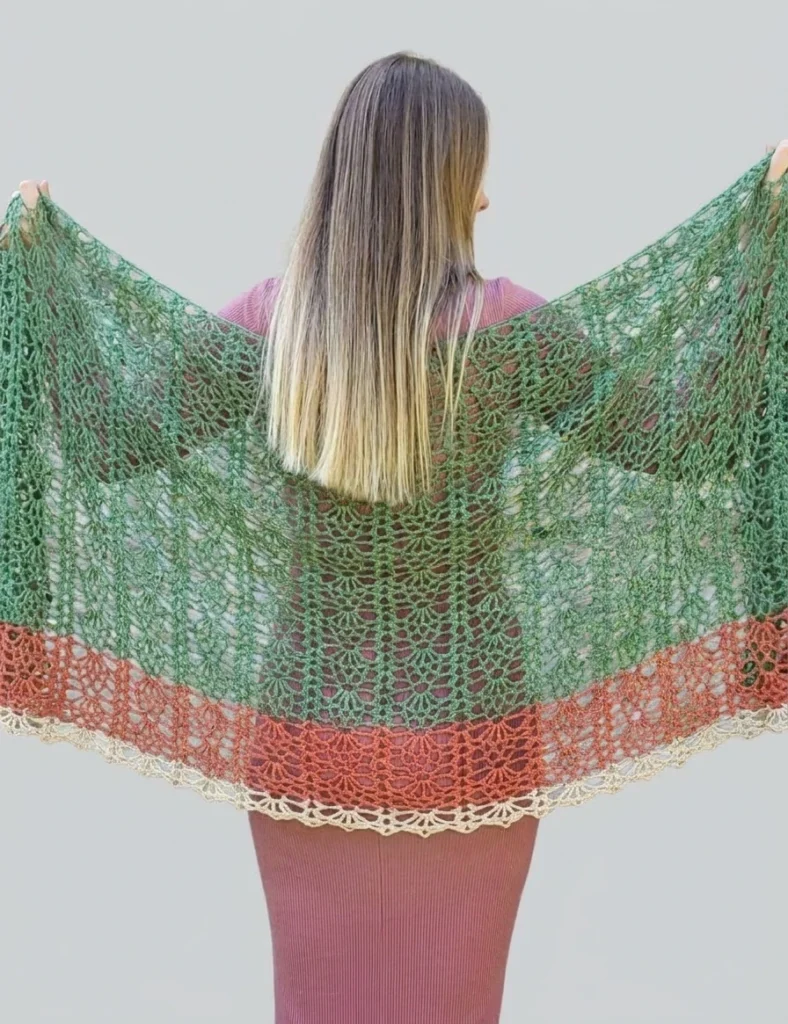
The written pattern is free to read on the designer’s page, while a paid PDF version is also offered through the designer’s Ravelry store. A companion video is available as the Crochet Butterfly Tutorial on YouTube. The design uses US crochet terminology, and the designer also provides a separate UK version. The same butterfly motif was adapted into a scarf, which has its own separate pattern.
Abbreviations
The pattern uses standard US crochet abbreviations. Keep this key handy while reviewing the original instructions, since the wings move between several stitch heights to shape the layered edge. The short forms below carry their usual technical meanings for this project.
- st - stitch
- sts - stitches
- ch - chain
- sl st - slip stitch
- sc - single crochet
- hdc - half double crochet
- dc - double crochet
- tr - treble crochet
- dtr - double treble crochet
Materials Used
Gather the supplies below before starting. The checklist reflects exactly what the source specifies, including the particular yarn and hook choices used for the sample butterfly shown by the designer. Having small sharp scissors and both needles ready keeps the color changes and finishing steps smooth.
- Crochet cotton or wool (the sample used 7 colors of 4 ply crochet cotton)
- Crochet hook (the sample used a 1.25mm hook)
- Scissors
- Darning needle, to weave in ends
- Sewing needle and black cotton, to sew the upper body onto the body
Body
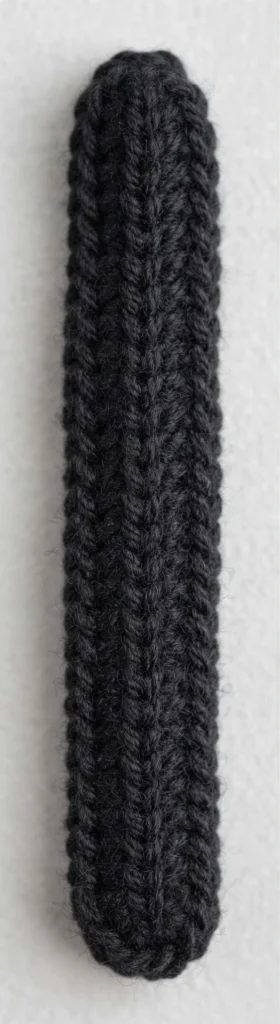
The butterfly begins with a compact central body worked from a foundation chain. Single crochet is worked along one side of the chain and then back along the opposite side, creating a neat oval core that is fastened off. This firm little spine becomes the anchor for the whole design, with the wing segments and the upper body all joined directly to it.
Wing
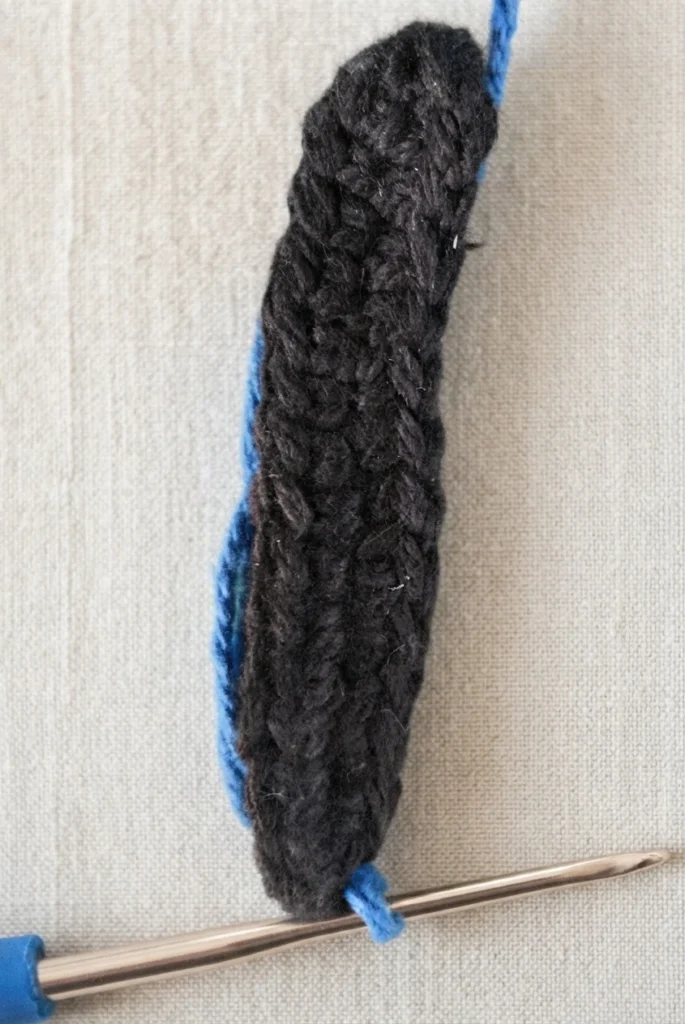
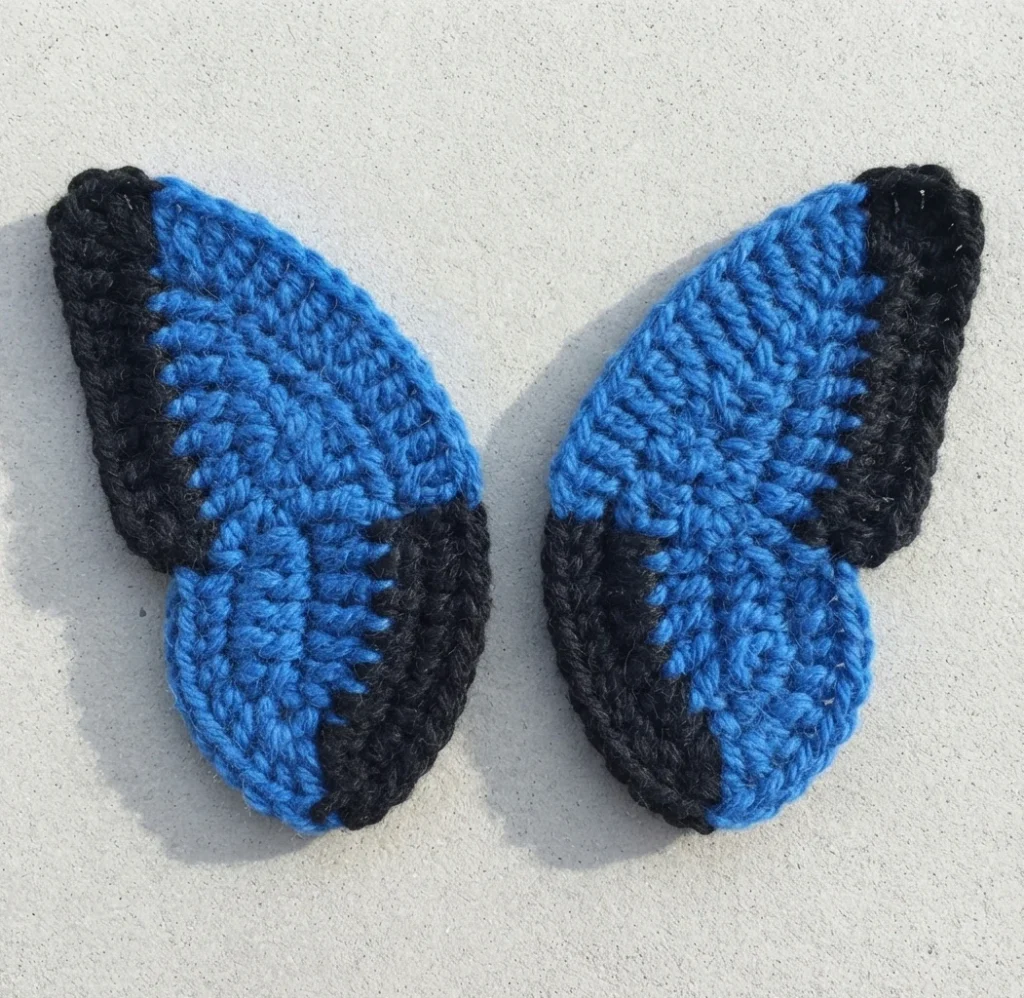
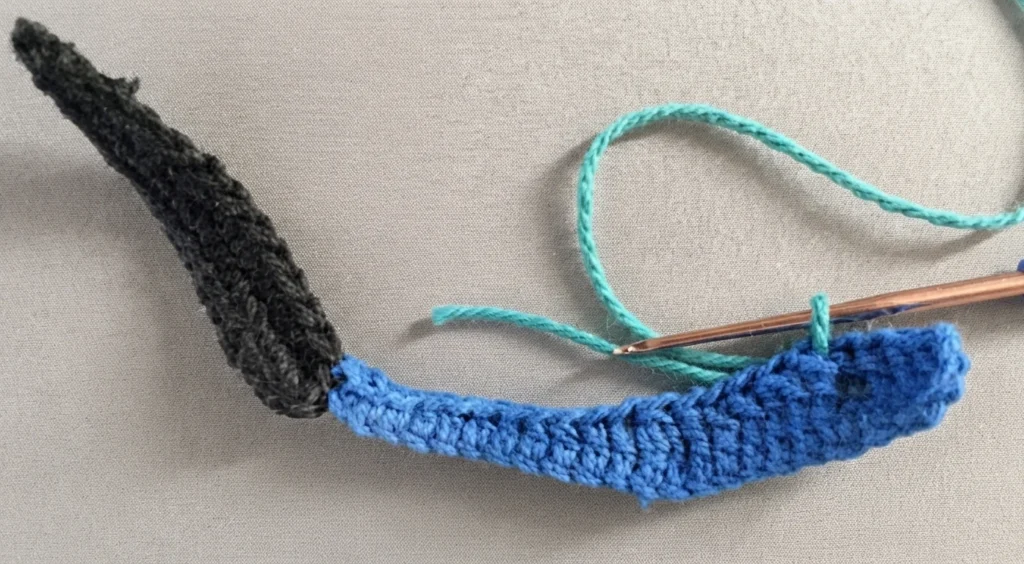

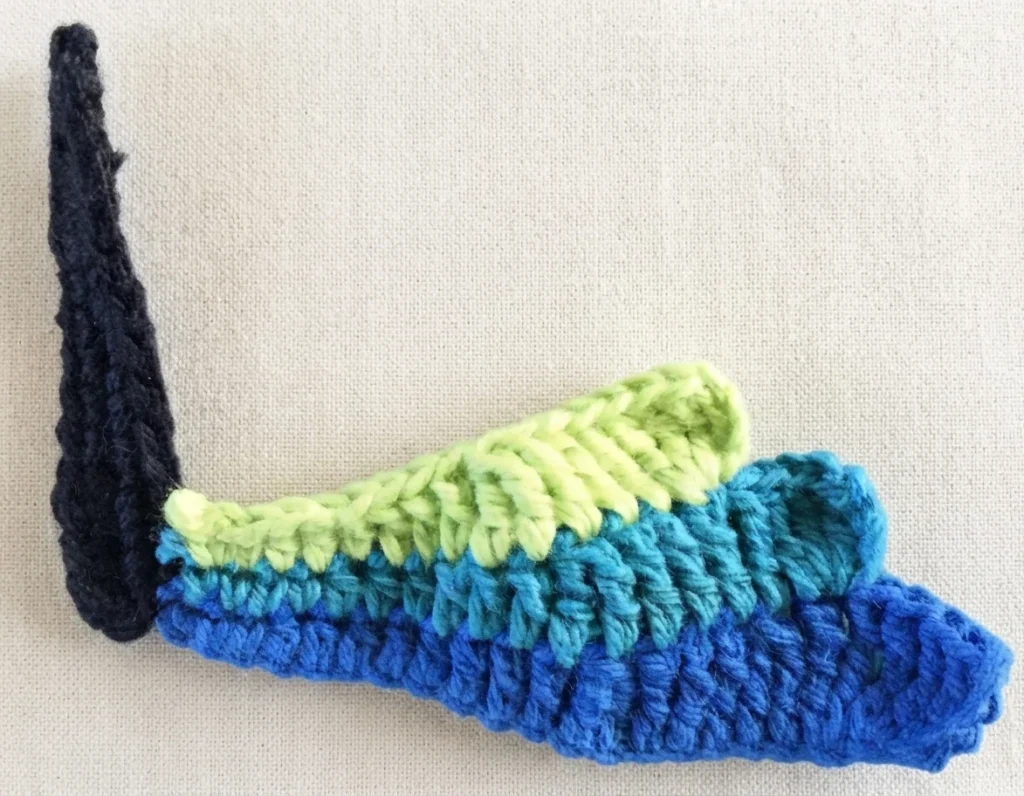


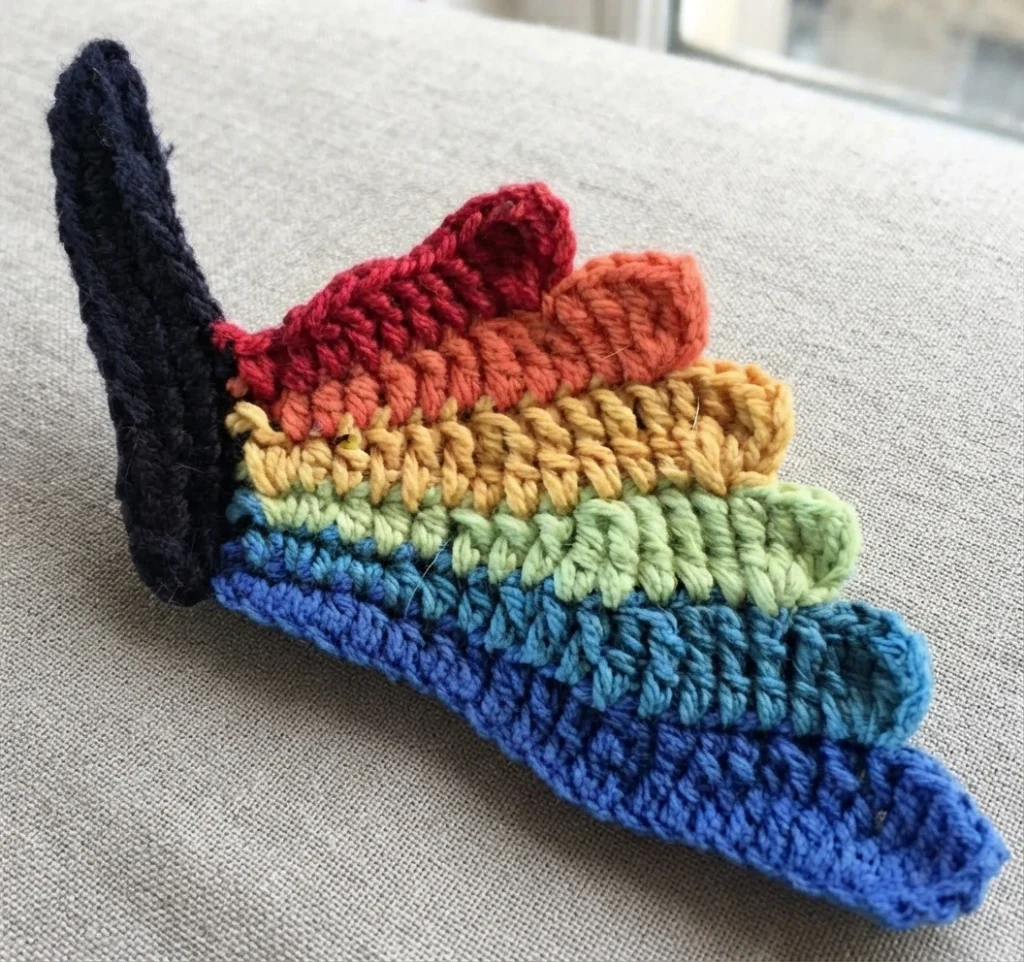


The first wing creates the butterfly’s colorful layered look and is built as a sequence of segments in changing colors. Each new segment is joined to the body near the end of the previous one, so the wing grows outward in overlapping bands. Stitch height shifts across each band, with taller stitches near the outer edge easing into shorter stitches toward the body, which gives the wing its gentle fan shape.
Every segment is slip stitched to the body and fastened off before the next color starts. Several later segments begin with short chains that extend the outer curve before the main stitches are worked. Follow the designer’s photographs and video for join placement, because the final outline depends on starting each color in the right spot.
2nd Side of Wing

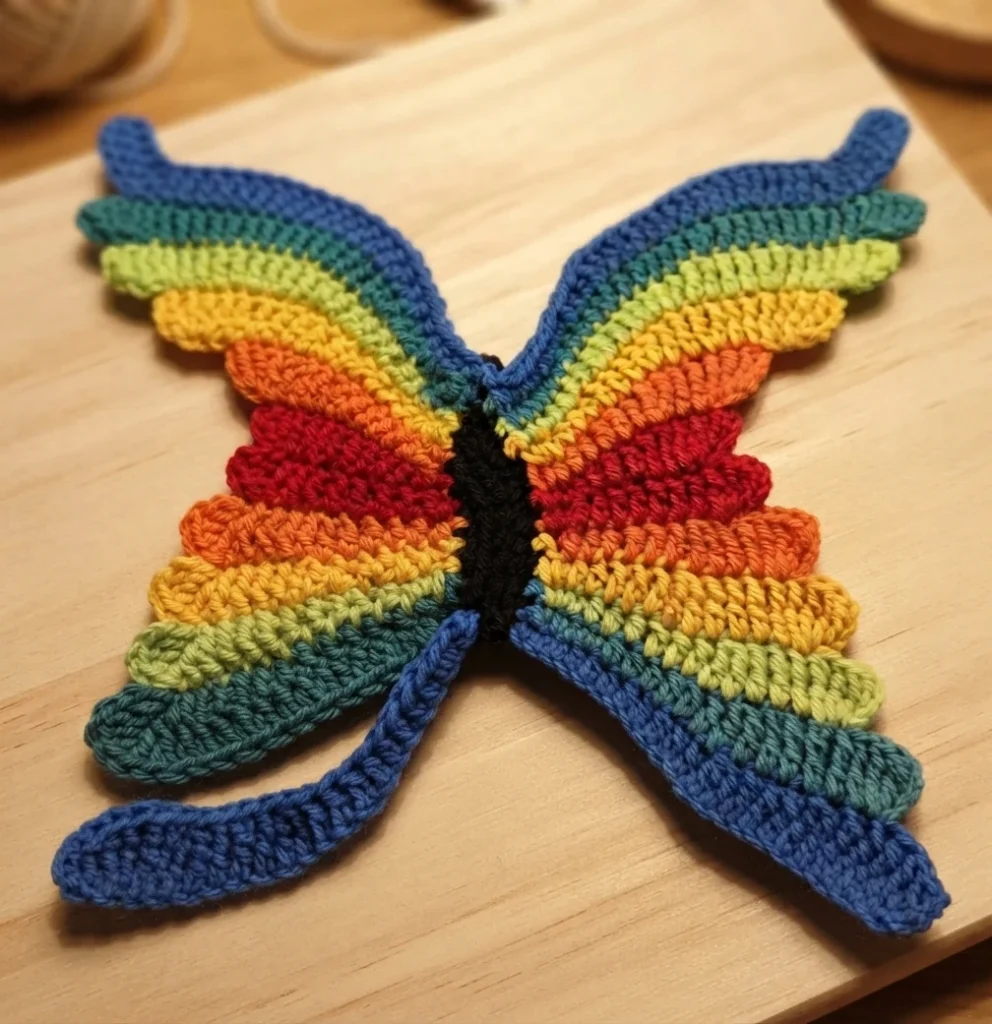


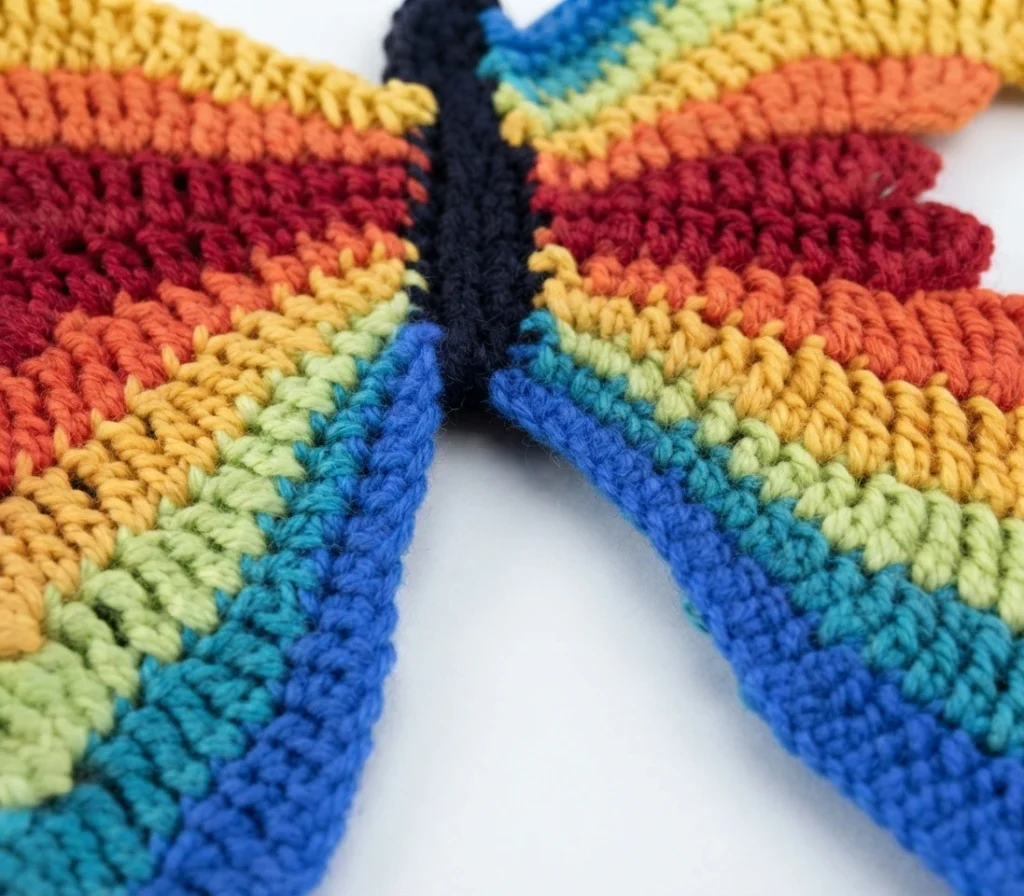
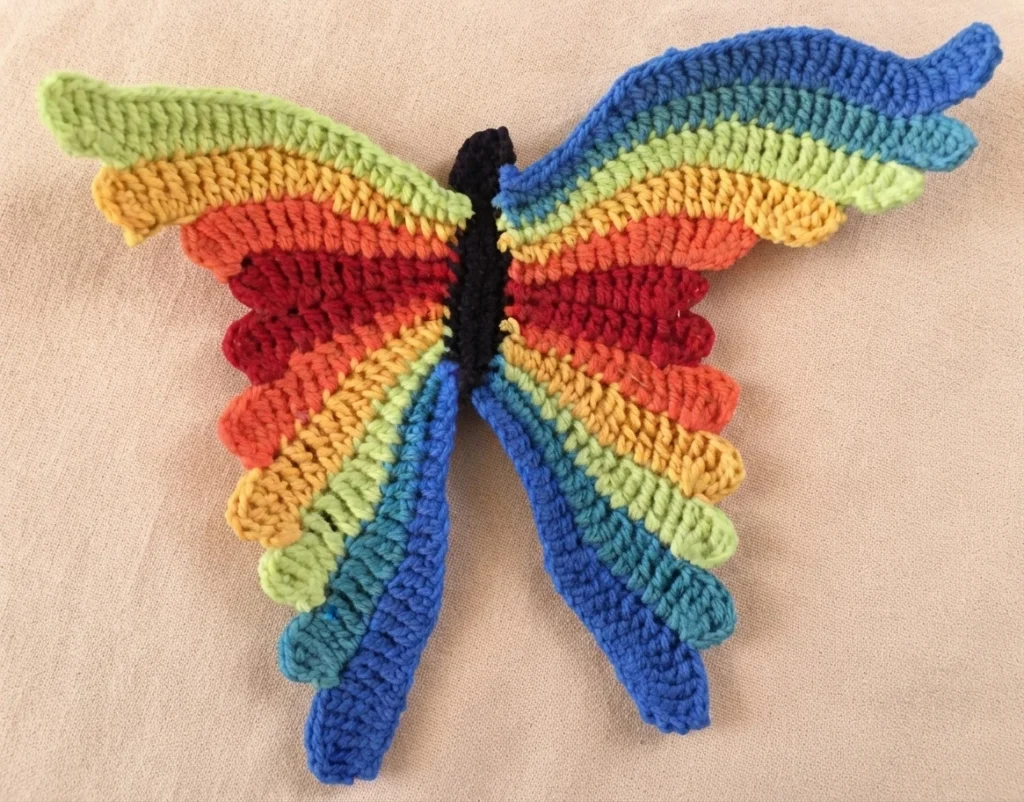


The second side mirrors the first and is worked across the body from the opening wing. It uses the same idea of successive colored segments, each anchored a little farther down the body than the one before it. A few of the later segments use short preparatory chains to set their position before the main stitches begin. Together the two sides form a balanced pair with matching color rhythm and softly scalloped edges.
Keeping the joins even on both sides helps the finished butterfly lie flat and look symmetrical. Compare each new segment with its partner on the first wing as you work, and check the original tutorial images if the placement feels uncertain.
Upper Body
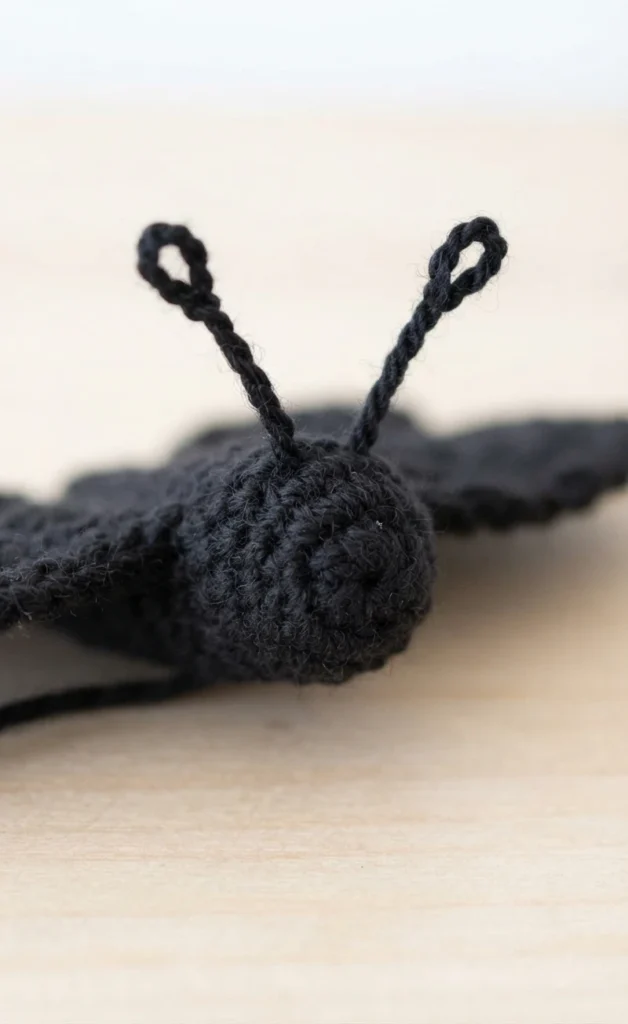

The upper body is a separate piece that sits on top of the main body to form the head. It starts with a magic loop and grows through short turned rows of double crochet with gentle increases that taper the shape. The last row adds a textured cluster, then two antennae are formed from chains worked back with short stitches. The piece is fastened off and reserved for final assembly.
To Make Up


Finishing is straightforward. Weave in all ends neatly, then stitch the upper body over the top of the main body so the head and antennae sit centered above the wings. A light blocking can help the wing edges relax. If you enjoy butterfly motifs, you may also like this related overview: Feather Butterfly Dreamcatcher pattern by Susan’s family: Pattern Overview.