Project introduction
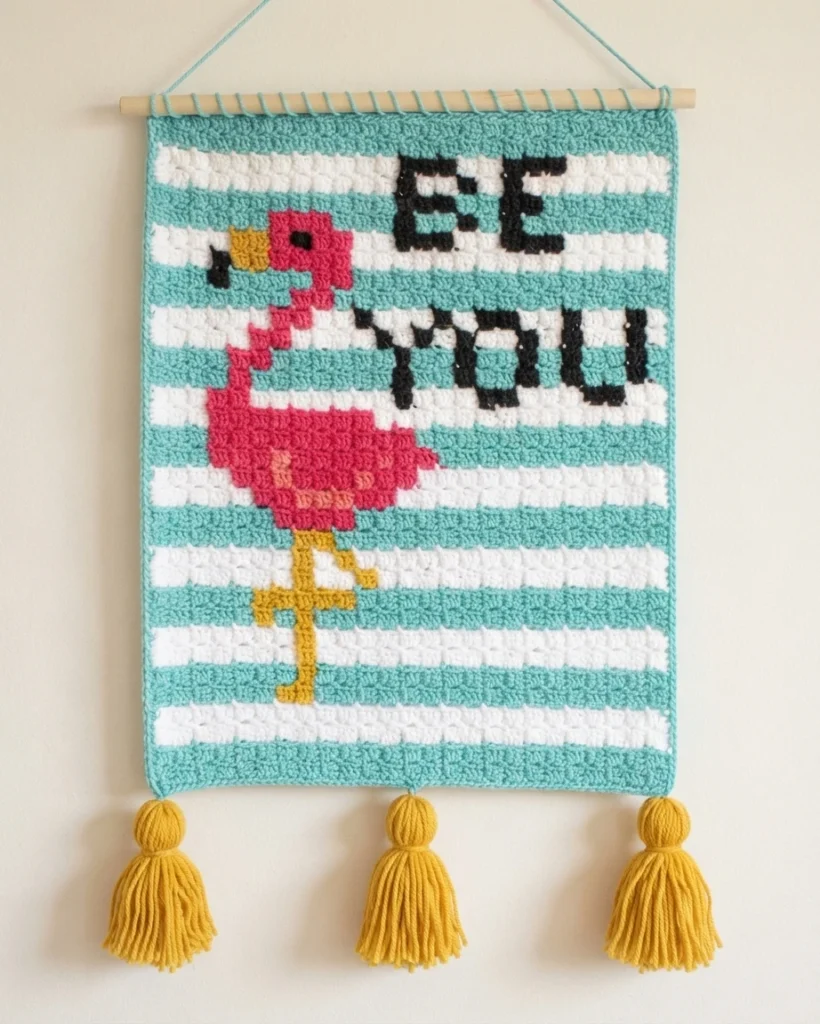
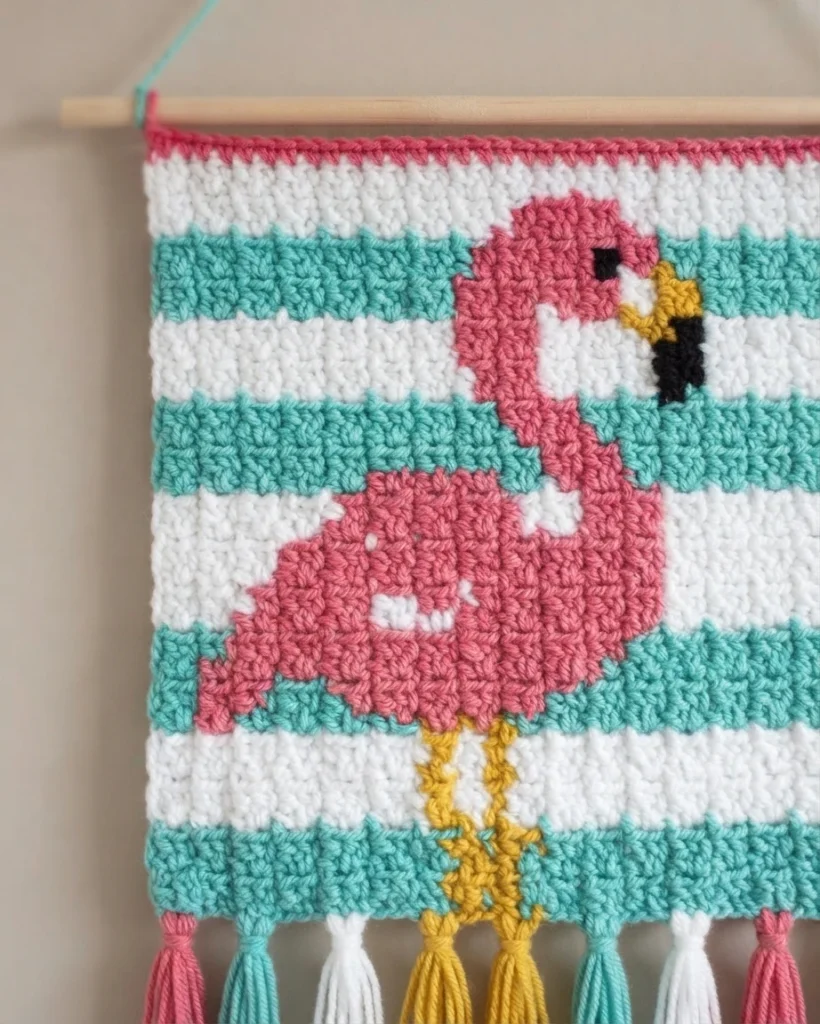
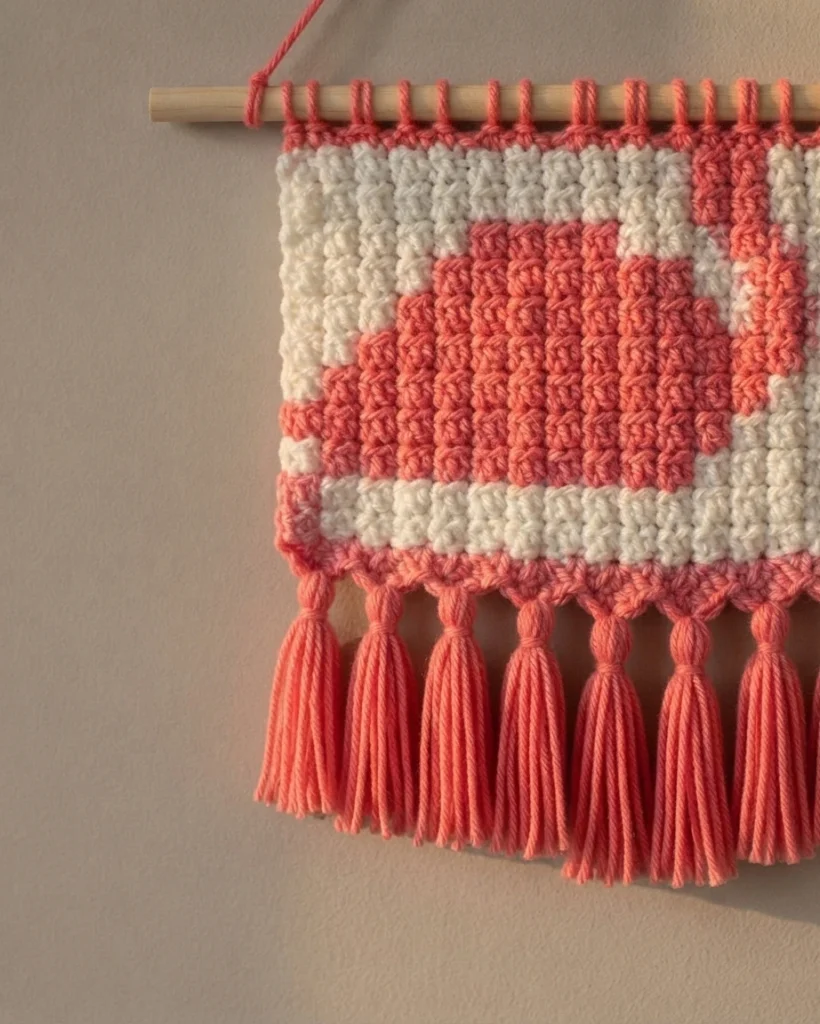
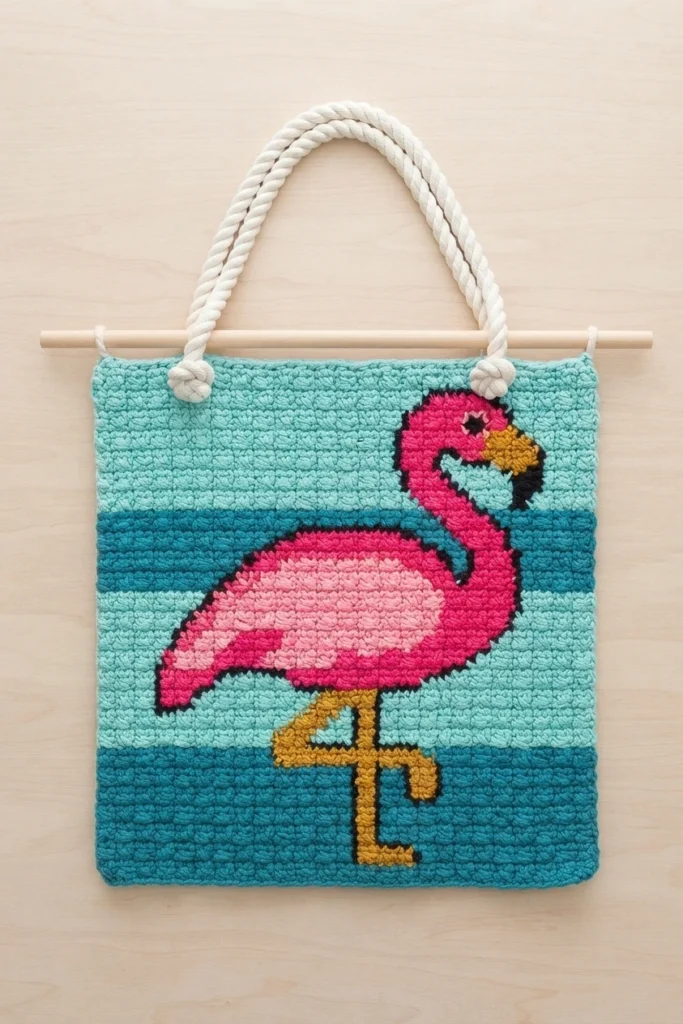
The Find Your Flock Flamingo Wallhanging is a corner to corner crochet design made as a reminder to stop hiding your true self. The designer explains that whatever your interests or hobbies, there is a group of people who will appreciate you for who you are, and you will never find them if you do not simply be yourself.
The designer’s own crochet story starts in high school, when bringing a project to class drew comments from classmates. Those remarks did not discourage the designer, who kept crocheting. A grandmother who was the best cook, baker and seamstress in town was an early inspiration. Later, years in customer service led to diluting a personality into something acceptable to a large corporation, hiding behind professionalism. Becoming a stay at home mom brought a rediscovery of self, and the flamingo wallhanging was created to encourage that same authenticity in others.
Corner to corner projects are described as not difficult but requiring concentration to follow the pattern. The simple pixel design is appealing, and multicolor versions can be extremely rewarding. The corner to corner stitches have great texture, and adding tassels to the bottom makes this wall hanging very unique. Working on corner to corner graphs is enjoyable because each new color added brings excitement. Once the technique is learned, the graph still provides a nice challenge.
For those new to the technique, the designer points to Jess at Make and Do Crew for a C2C blog post and video tutorial. The stripes require frequent color changes, but the final look is considered worth the weaving in of ends. A shortcut for skipping most of that work is offered further down the page, and it only applies to projects meant to be one-sided. A larger corner to corner project, Woodland Winter Wonderland, is also mentioned for the coming fall.
A graph is provided for this flamingo wallhanging, covering a total of 58 rows. Row numbers sit on the edge of each row, and a faint grey line crosses every other row to help keep track. A written pattern is also included for those who prefer text over a chart. Lion Brand Vanna’s Choice yarn was chosen for its beautiful range of colors and soft feel, and approximate yardage for each color is listed in the Original designer’s pattern and instructions.
Materials
To make this vibrant wall hanging, gather the supplies the designer lists. The yarn selection matters for the soft feel and the color range the design calls for.
- Lion Brand Vanna’s Choice Yarn in Aquamarine
- Lion Brand Vanna’s Choice Yarn in White
- Lion Brand Vanna’s Choice Yarn in Rose Shocking
- Lion Brand Vanna’s Choice Yarn in Pink Grapefruit
- Lion Brand Vanna’s Choice Yarn in Mustard
- Lion Brand Vanna’s Choice Yarn in Black
- Clover Amour Crochet Hook, Size G (4.0mm)
- Dowel rod cut to the width of the wall hanging
- Fiskars Scissors, 5 Inch, Orange
- Yarn Needle
Approximate yardage for each color is given in the Original designer’s pattern and instructions.
Gauge
Gauge is measured while working the corner to corner rows. For both width and height, 3 squares equal 2 inches. Keeping this tension helps the finished piece match the intended size.
Dimensions
The finished wall hanging measures 16 inches wide by 24 inches tall when made without tassels. That gives the piece a substantial presence on a wall while keeping the project manageable to work through.
Find Your Flock Flamingo Wallhanging Graph
A printable graph is provided for the Find Your Flock Flamingo Wallhanging. It serves as a visual guide for tracking color changes and row progression, and it can be printed for use alongside the written pattern.
Find Your Flock Flamingo Wallhanging Written Pattern Overview
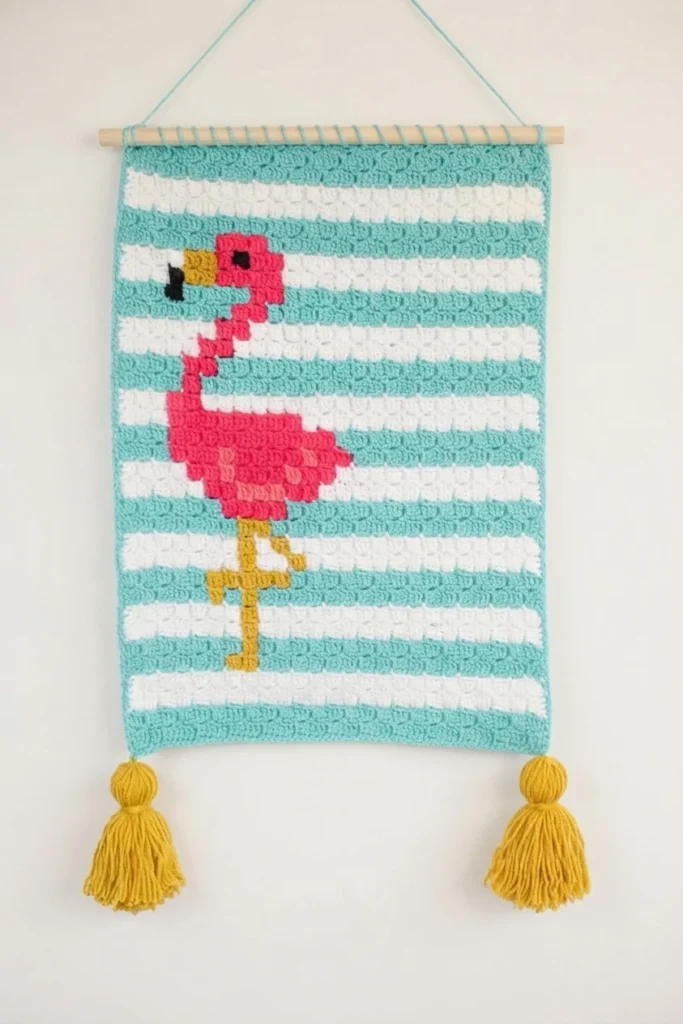
Both a graph and a written pattern are provided for this project. The designer used the written pattern for most of the work and referred to the graph only to confirm that everything looked correct. This dual approach suits different learning styles and preferences.
The color guide assigns abbreviations to the six yarn colors: T for Teal (Aquamarine), W for White, HP for Hot Pink (Rose Shock), LP for Light Pink (Pink Grapefruit), G for Gold (Mustard), and B for Black. If no number appears next to a color code, make only one square of that color.
Odd rows are worked from left to right, while even rows go from right to left. Shaping changes occur at specific points: increasing stops on the bottom of the wallhanging after row 25, and increasing stops on the top of the wallhanging after row 34.
Flamingo Wallhanging Written Pattern Overview
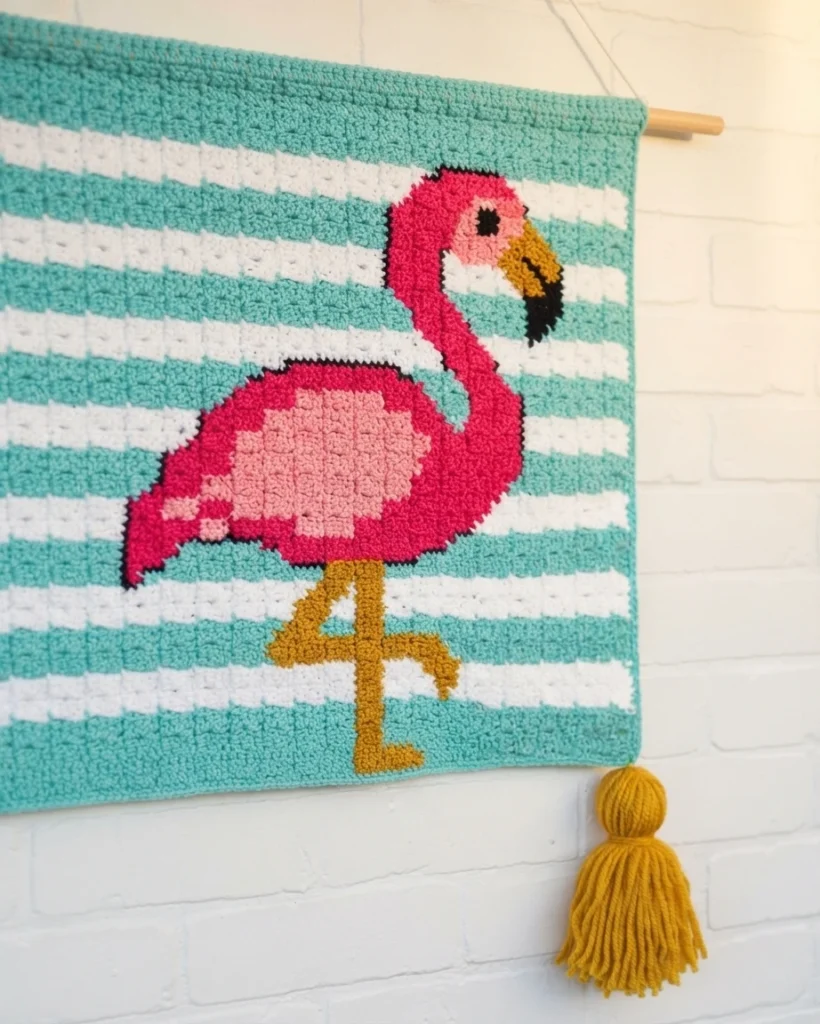
The written pattern covers rows 1 through 58. It begins with a single T in row 1 and builds up through rows mixing T, W, G, HP, LP, and B. Row 11 introduces G, while row 20 brings in HP. Row 22 adds LP, and row 29 introduces B.
Two critical notes mark shaping changes. After row 25, a stitch marker should be placed to indicate which side stops increasing. After row 34, neither side increases further. Rows 52 through 58 taper down using only T and W, ending with a single T in row 58.
For precise row-by-row instructions, refer to the complete pattern on the designer’s website rather than relying solely on this overview.
Finishing your Wallhanging
To finish the wall hanging, work a row of single crochet around all edges. The designer suggests placing single crochet into the top of each double crochet and two single crochet into every turning chain. This method creates cleaner edges, though working evenly along the sides is also acceptable.
Chunky tassels were attached to the corners, but a fringe at the end is another option. The top was whip stitched to a dowel rod cut to the same width as the wall hanging, with a string added for hanging.
Weaving in Ends
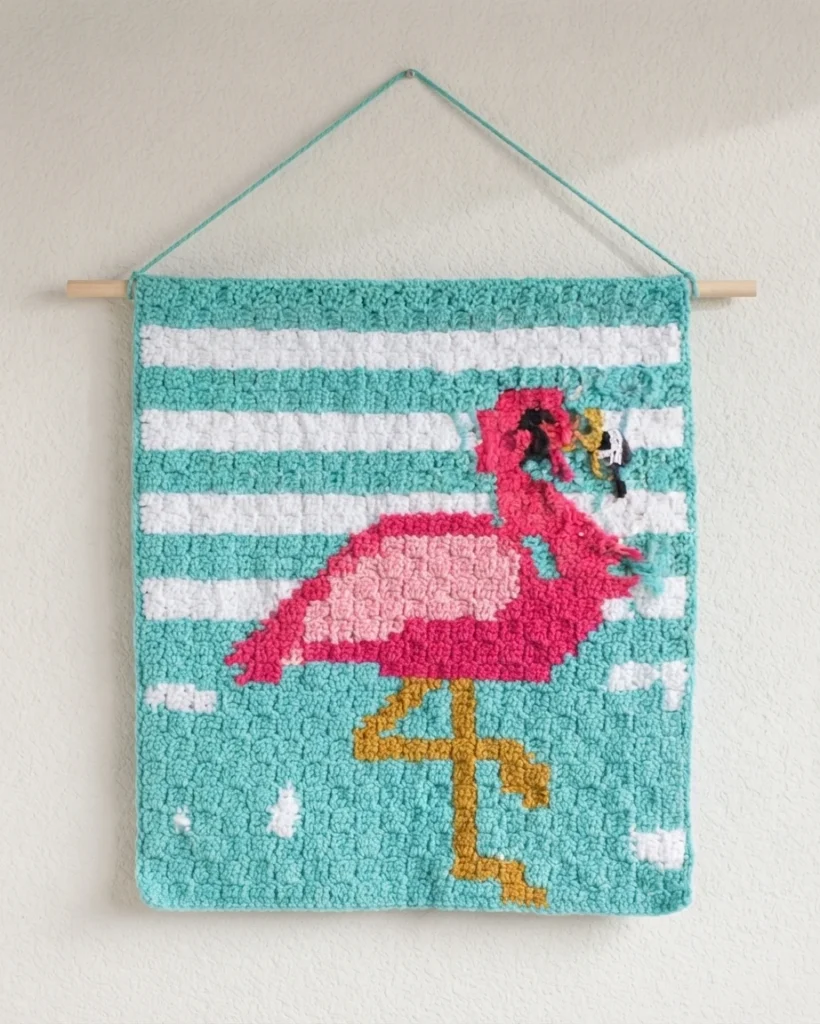
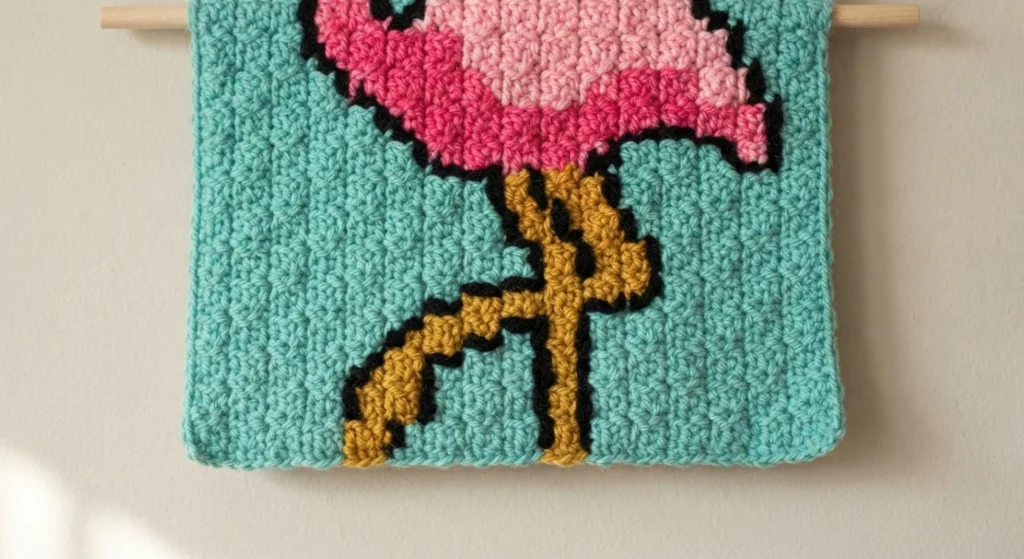
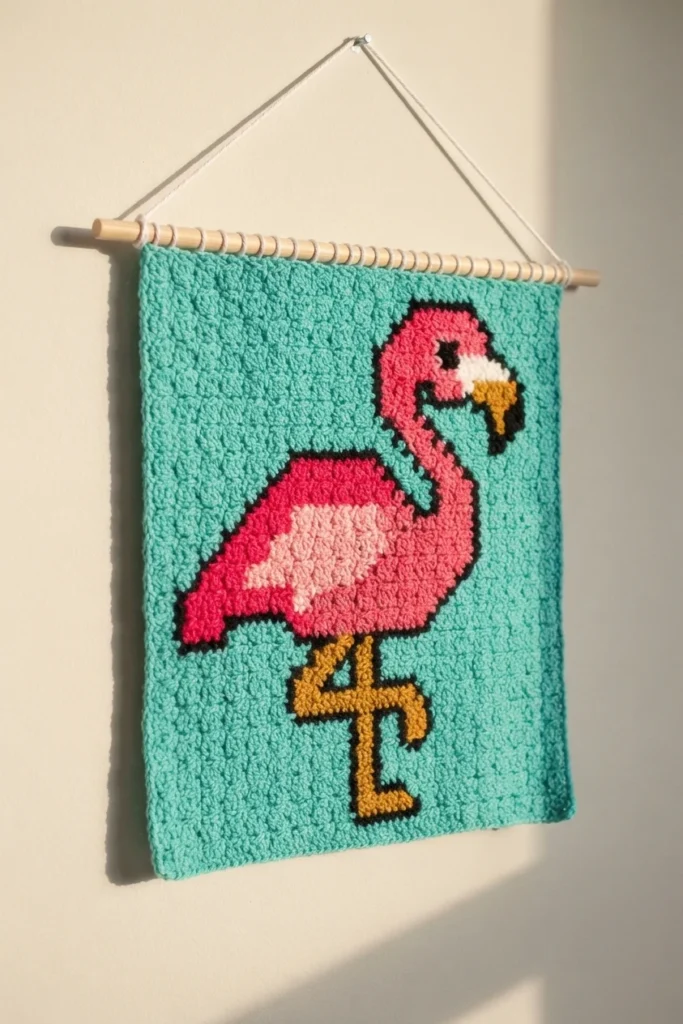
Weaving ends in as you go is highly recommended to avoid an overwhelming pile of loose threads at the end. The designer wove ends every few rows to keep the process manageable.
A shortcut uses contact paper to secure remaining ends. Weave in ends that are 1 to 2 inches from each side and 2 to 2.5 inches from the top and bottom. Pull remaining ends to the back, gently tighten stitches, and cut ends to 1.5 inches long.
Cut a piece of contact paper to fit over the remaining ends. Peel the backing and apply it to the back of the wall hanging, pressing firmly. This trick works only for one-sided projects like wall hangings, securing the rest of your ends efficiently.