Project introduction
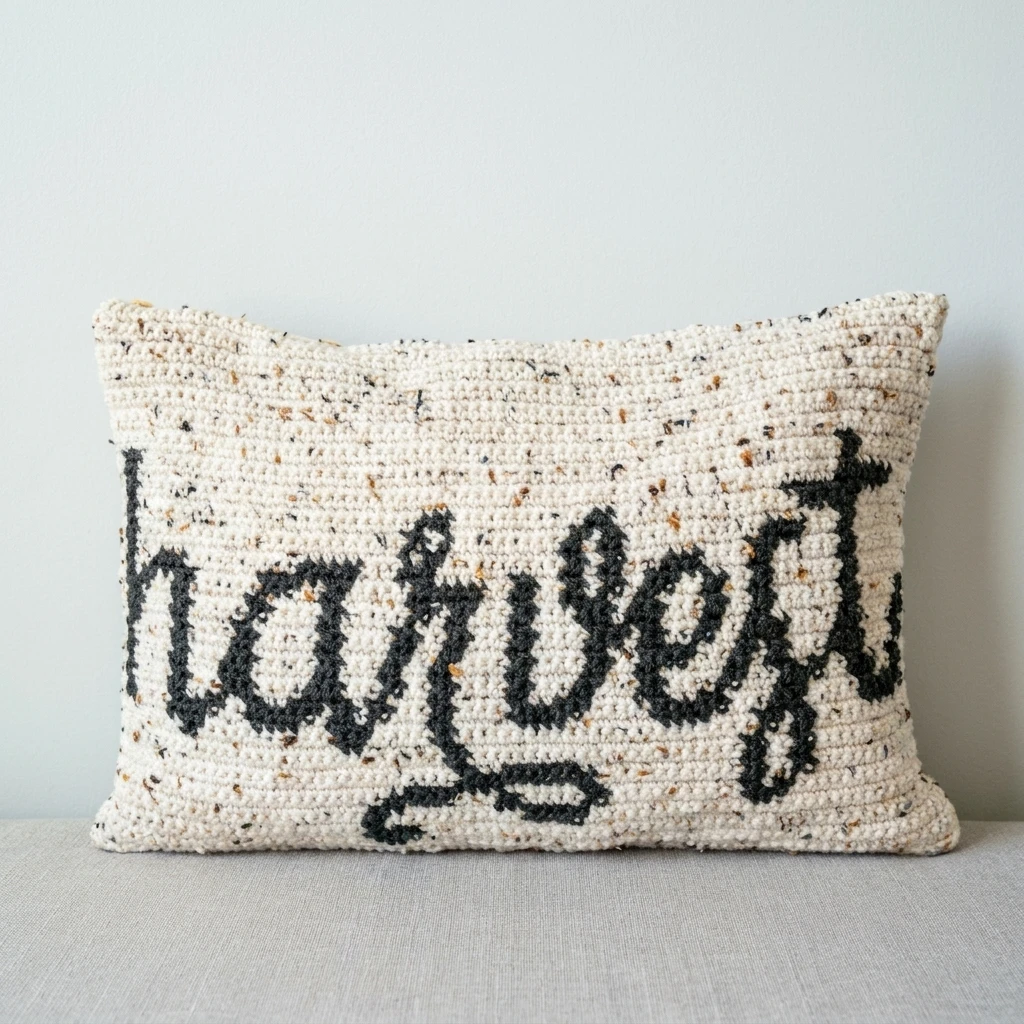
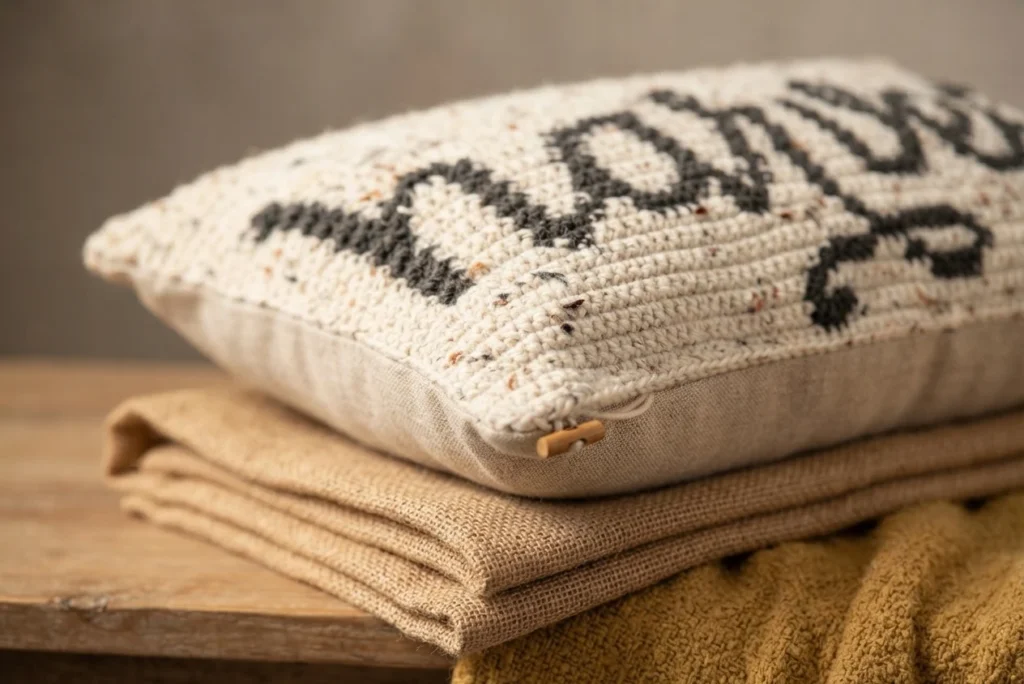
This is a pattern overview, not a full tutorial. The Harvest Crochet Pillow Cover is a seasonal colorwork project from Briana K Designs, and the complete row-by-row instructions live with the original designer. If you have been wanting a modern fall accent for a sofa or reading chair, this removable pillowcase is a friendly place to start, and the source notes it might get you hooked on colorwork.
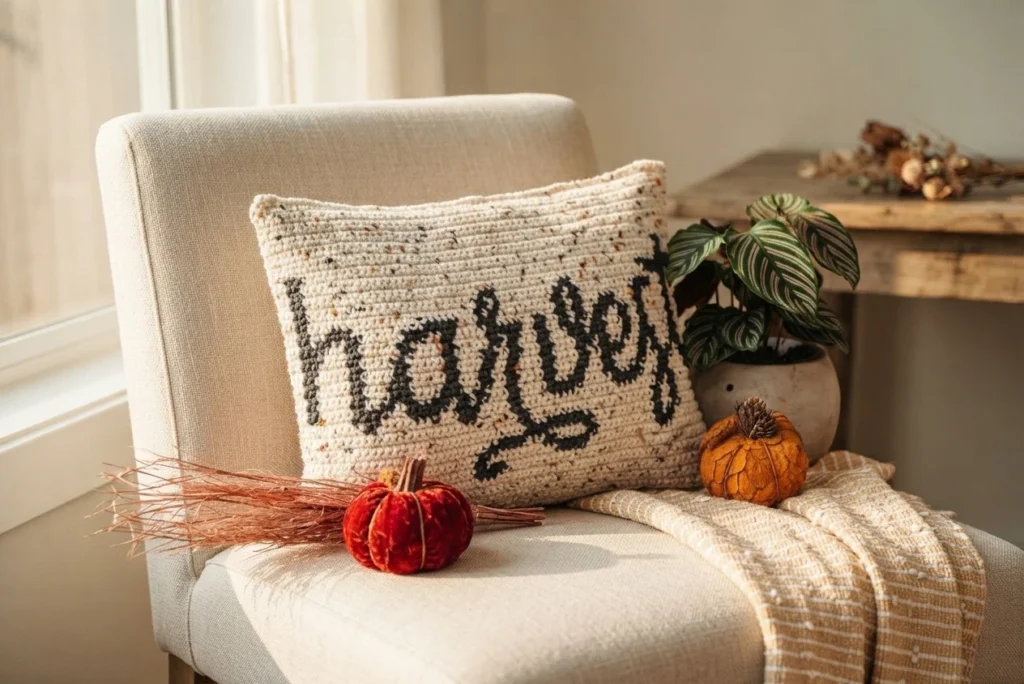
The design leans into the chic farmhouse look the designer describes, with a single word as the focal point. The source mentions a matching crochet table runner that says “thankful,” so there is a coordinating option if you like a themed set. Because the cover slips off, storing it between seasons stays simple.
Just the right yarn.
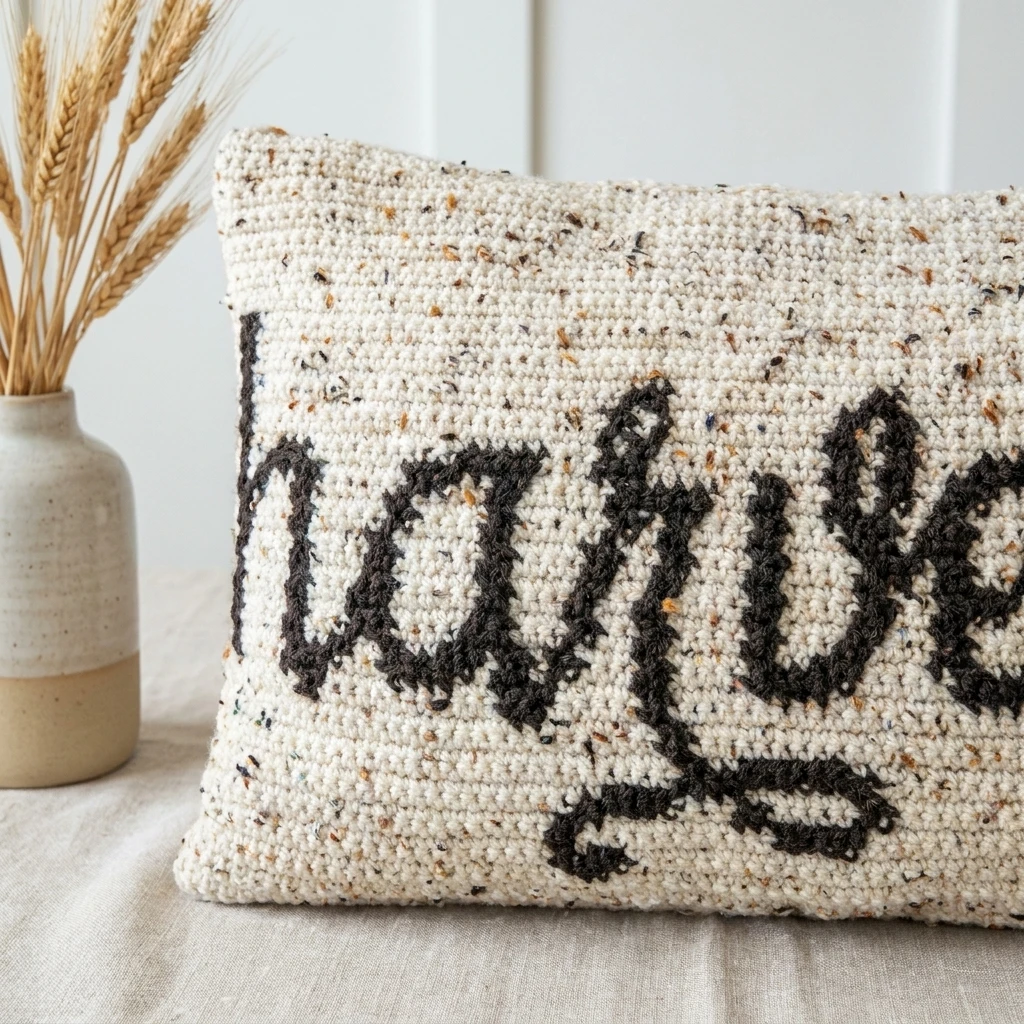
The source highlights a tweed yarn for this project, noting that it adds texture along with little flecks of fall tones. Vanna’s Choice Yarn is the listed choice, and the designer mentions that Crochet.com began carrying it. The range of colors and tones is described as inspiring, which matters when you are choosing an oatmeal neutral and a dark contrast for lettering.
Colorwork tangles are a real annoyance, and the source points to a free printable sheep yarn bobbin as a helper. If you own a Cricut or Silhouette style cutting machine, the source says the bobbin takes only a couple of minutes to make. That little tool keeps strands separated while you work across a row.
Harvest Crochet Pillow Cover Supplies
Everything below comes from the designer’s own supply list. Treat it as a shopping and prep checklist before you open the pattern, and confirm current details on the original page.
Crochet Hook
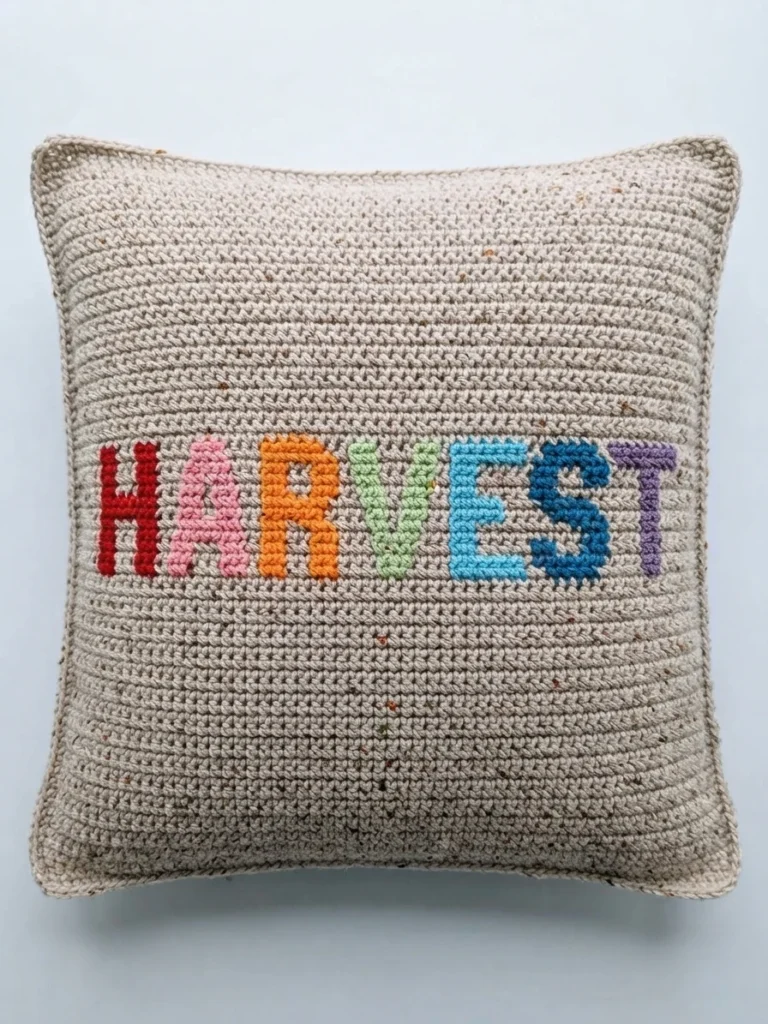
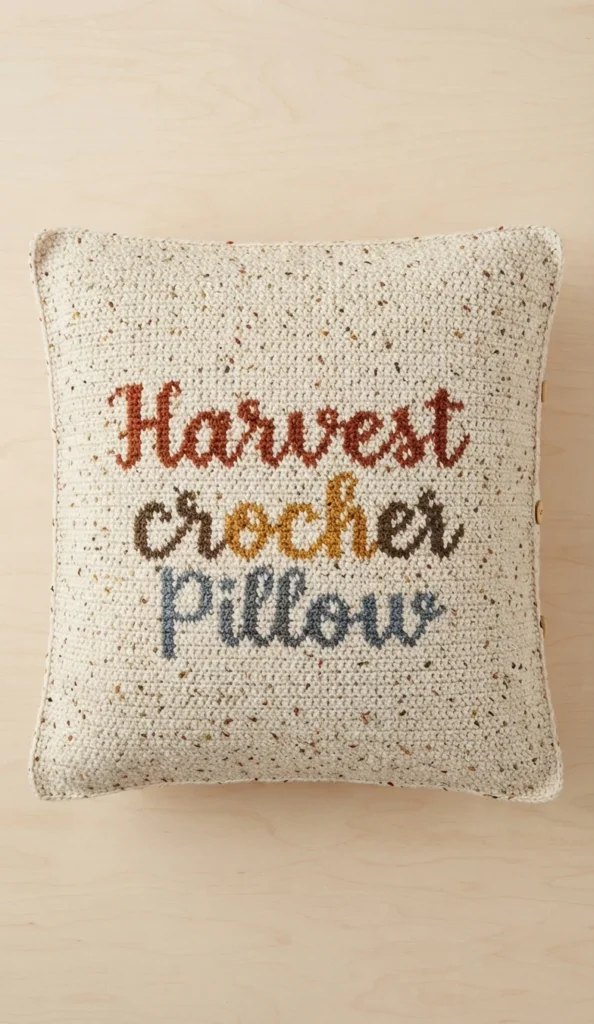
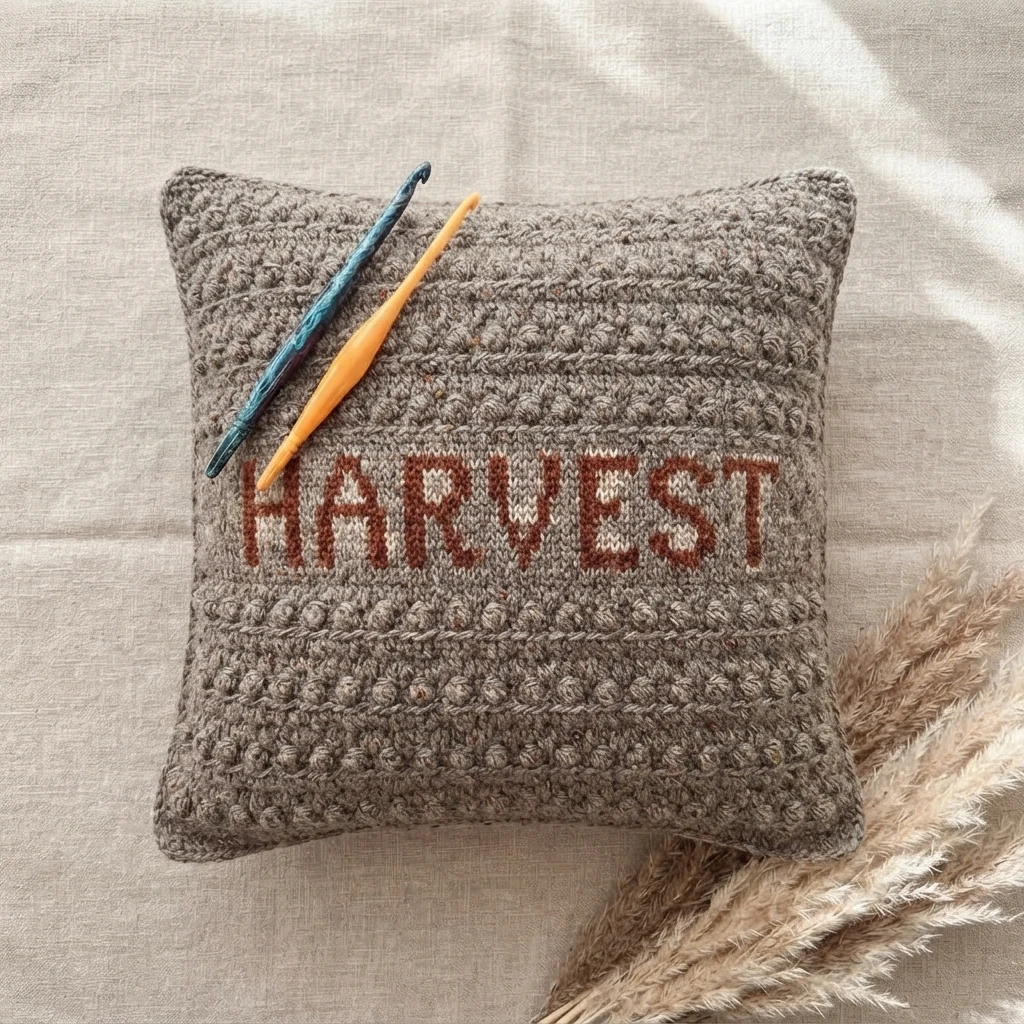
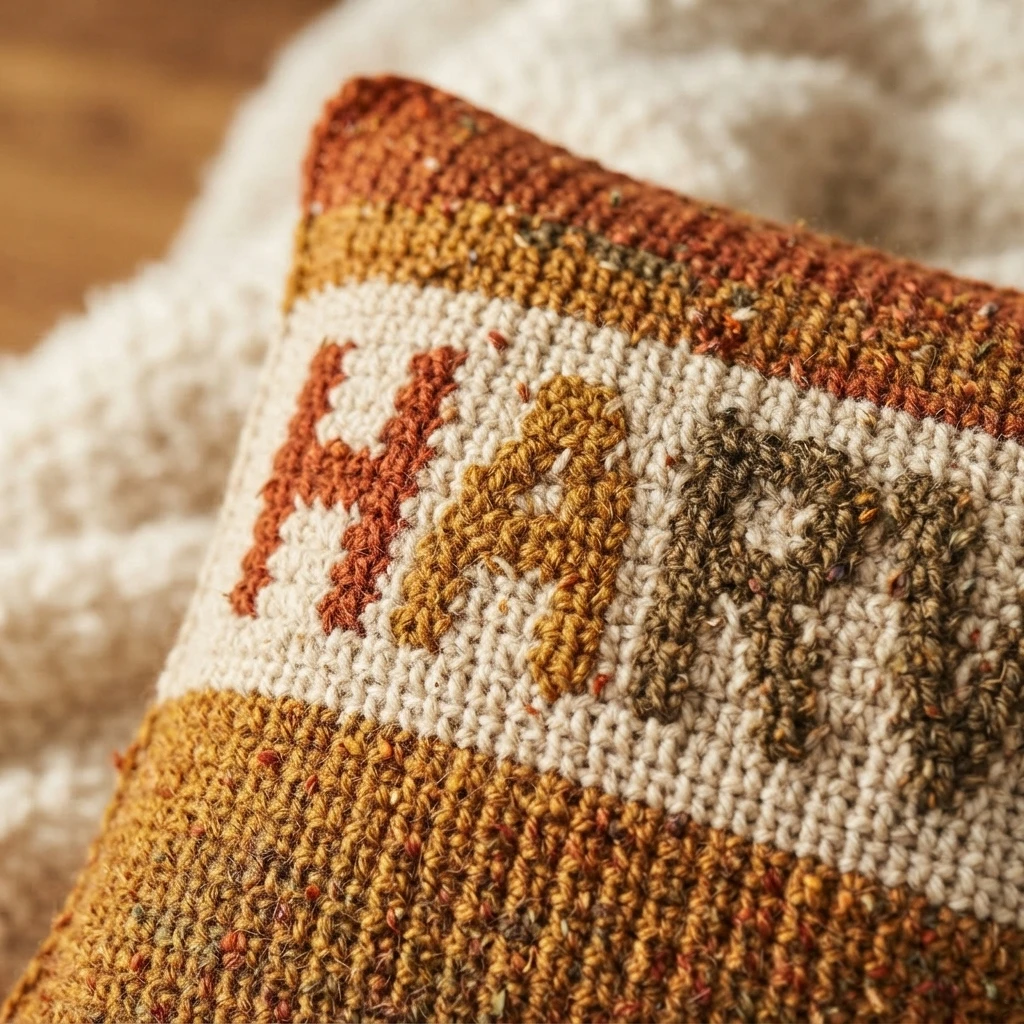
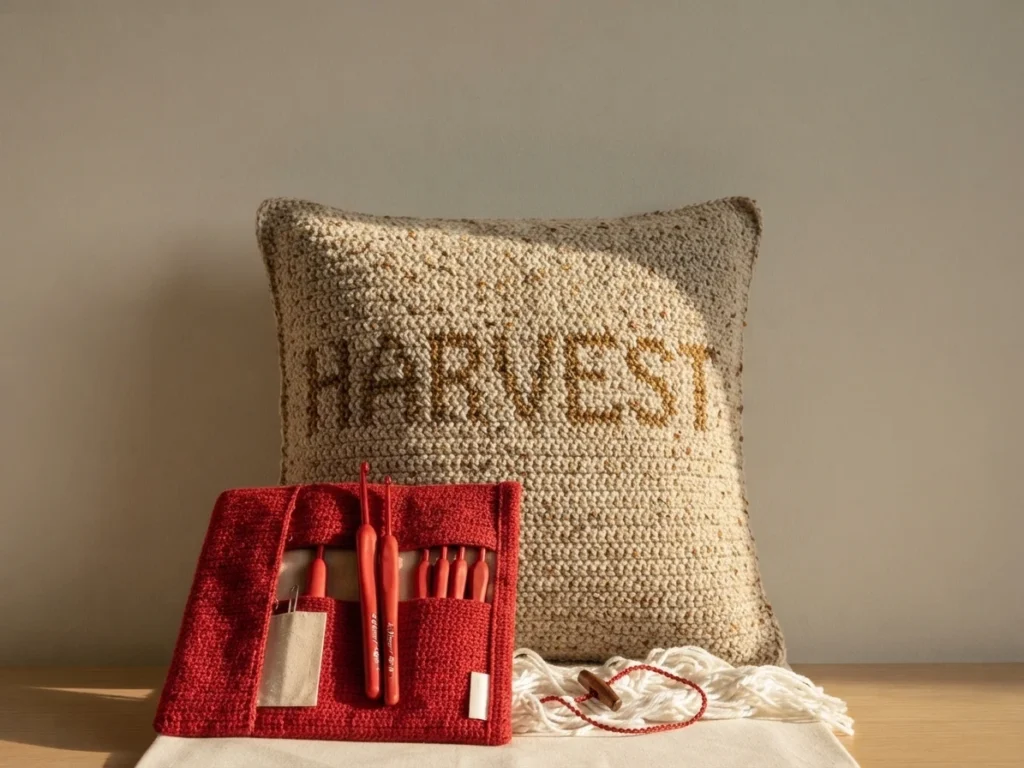
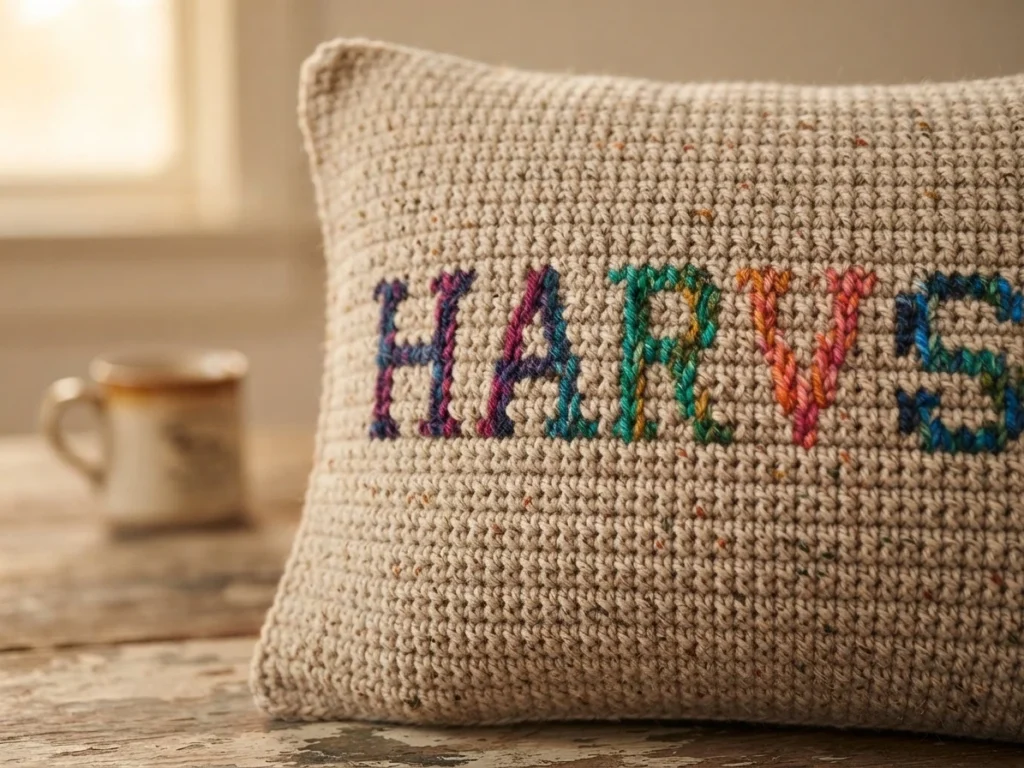
A 5.0 mm (H) crochet hook is listed for the project. The source also names several hook brands it features: Dots Crochet Hooks, Clover Crochet Hooks, Ommi Crochet Hooks, Divit Shilp Crochet Hooks, Tulip Crochet Hook, and Mosaic Crochet Hooks. Hook brand is a personal preference, so use whatever H hook gives you the listed gauge.
Notions
The notions list is short and practical. Gather these before you begin so the finishing steps do not stall:
- Yarn needle
- Scissors
- 1 inch (2.5 cm) buttons, 5 needed
- 20×20 inch pillow
- 3/4 yard burlap if desired
The burlap is optional and can stand in for a crocheted back panel, which the source confirms. Five buttons close the flap at the top of the cover.
Yarn
The listed yarn is Vanna’s Choice Yarn in two colorways. Oatmeal takes 3 skeins, and Black takes 1 skeins. Those quantities are the designer’s own estimate for this sample, so buy with a little cushion if your gauge tends to run differently.
Yardage
Approx. 625 Yards [572 meters] if crocheting back as well. If you plan to use burlap for the back instead, that figure will not apply to your version.
Abbreviations/Stitches
The pattern key uses standard US terms: ch for Chain, RS for Right Side, sc for Single Crochet, sl st for Slip Stitch, sts for Stitches, and WS for Wrong Side. Skimming this list first makes the colorwork rows easier to follow.
Gauge
Gauge is listed as 15 sc sts and 15 rows = 4″ [10 cm] with H-hook. The source advises that matching both directions can be difficult and that stitch gauge matters more than row gauge here, since extra rows can be added at the top.
Measurements/Sizes
Finished measurements are 20 inches (51 cm) wide and 12 inches (30 cm) tall. The pattern includes some ease so the cover fits over a pillow.
Skill Level
The designer rates this Easy/Advanced Beginner. If you have never carried two colors across a row, the source’s linked colorwork tutorial is worth reading before you start.
Notes
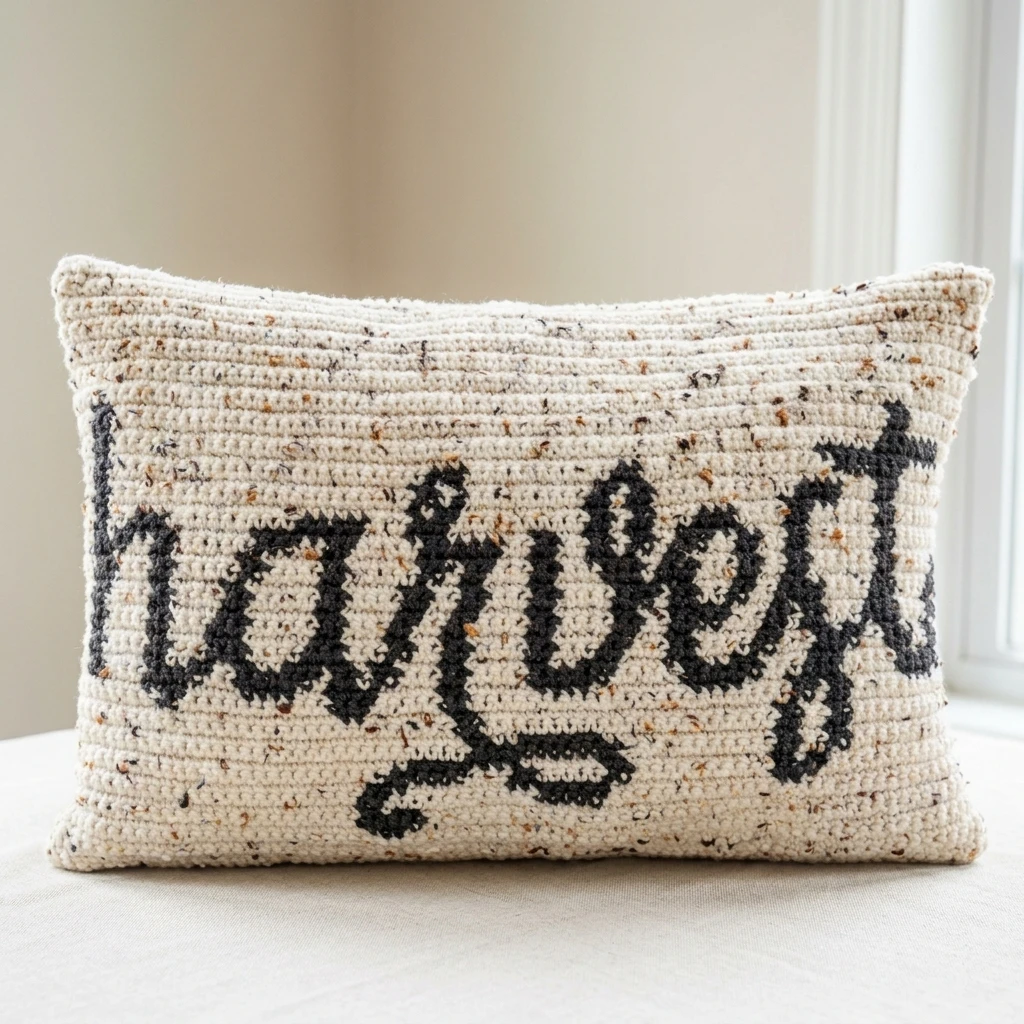
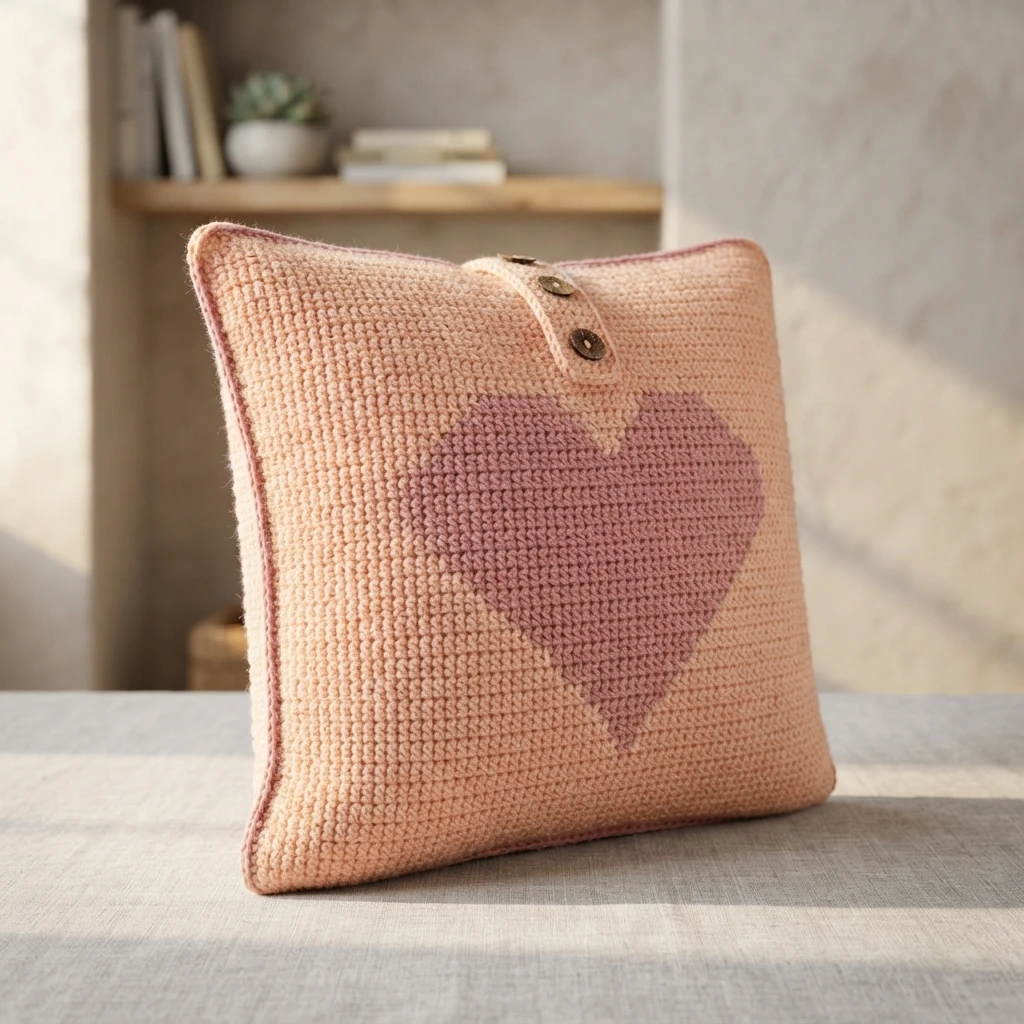
The construction is worked from the bottom up in rows and in two pieces. The front panel includes a button hole flap that secures the top, and the front and back panels are slip stitched together once both are complete. Each row ends with a turn and ch 1, and that ch 1 does not count as a stitch.
Because the panels have a right side and a wrong side, the source used a mix of intarsia and carrying yarn across the back, and suggests experimenting to see what works best for you. A burlap back can replace a crocheted back panel. The designer also links a full colorwork tutorial and a free Sheep Yarn Bobbin Printable.
Harvest Crochet Pillow Cover Construction Overview
This section describes how the project is built, not the row-by-row pattern. In the instructions, Oatmeal is abbreviated as A and Black as B. The front begins with Color A, working a starting chain of 77 and placing the first row in the second chain from hook, with the source noting 67 sts. Rows 1 through 7 are listed as A76, and the lettering begins at Row 8.
From there the chart alternates wrong-side and right-side rows, with each row listing runs of A and B stitches. The source’s row notes continue through the mid thirties before the lettering resolves into solid oatmeal rows. The front panel then moves into single crochet rows, a button row worked on the wrong side with chain spaces, more single crochet rows, and fastening off.
Small seeds of gratitude will produce a harvest of hope.
Rows 16 through 23 continue the colorwork sequence, alternating right-side and wrong-side rows. Each row lists the order of Oatmeal (A) and Black (B) stitch runs across the panel. This is the middle of the lettering, where the word takes shape and the color changes come fastest.
“Striving for success without hard work is like trying to harvest where you haven’t planted.” -David Bly
Rows 24 through 31 carry the lettering further, again alternating right-side and wrong-side rows with runs of A and B. The sequences are dense here, so the source’s chart is the reliable reference. Read each row from the correct side and let the listed runs guide your color changes.
Guess what? Half Way There!
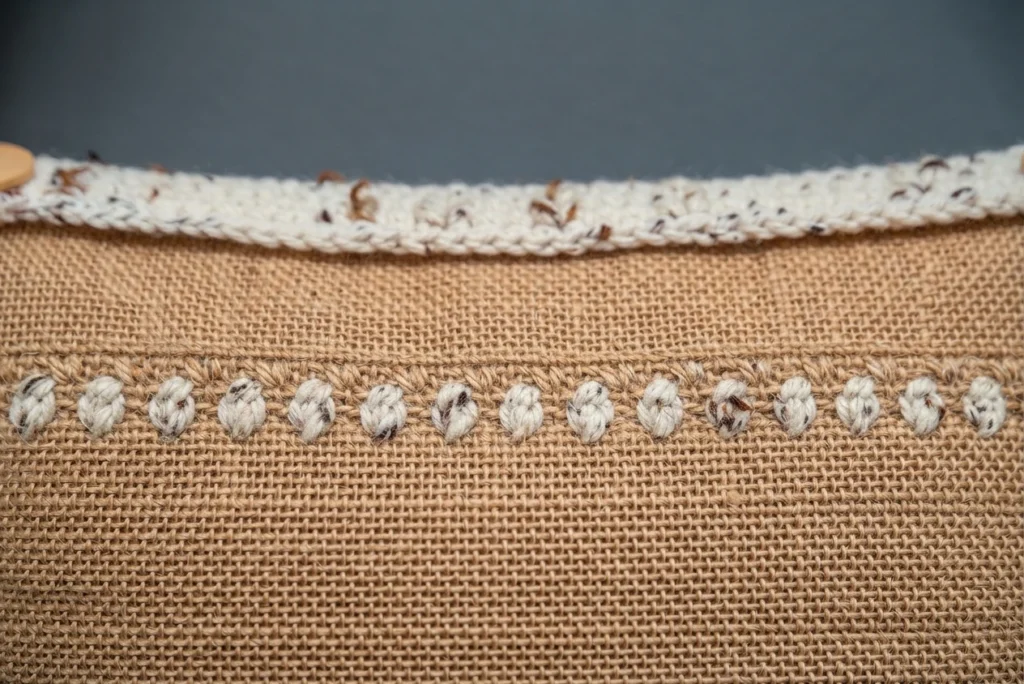
Rows 32 through 44 finish the colorwork, with Rows 43 and 44 worked entirely in A. After that, single crochet Rows 46 through 53 are worked in B (Oatmeal). Button Row 54 is worked on the wrong side with ch 1, sc 2, then repeats of ch 3, skip 3, sc 14 until the last 6 stitches, then ch 3, skip 3, sc in last 3, turn. Single crochet Rows 55 through 57 follow in B, then fasten off and weave in ends.
The source adds encouragement here: colorwork is rewarding as each line reveals new details, and it can feel slow on a first attempt. That is normal, and the finished panel is worth the patience.
Back Panel
For the back, the source begins with Oatmeal, chaining 77 and starting the first row in the second chain from hook, with the same turn and ch 1 at each row end and the same 67 sts noted. Single crochet a total of 45 rows to create the back panel, then fasten off and weave in ends. Alternatively, substitute burlap for the back panel.
Attaching Panels Together
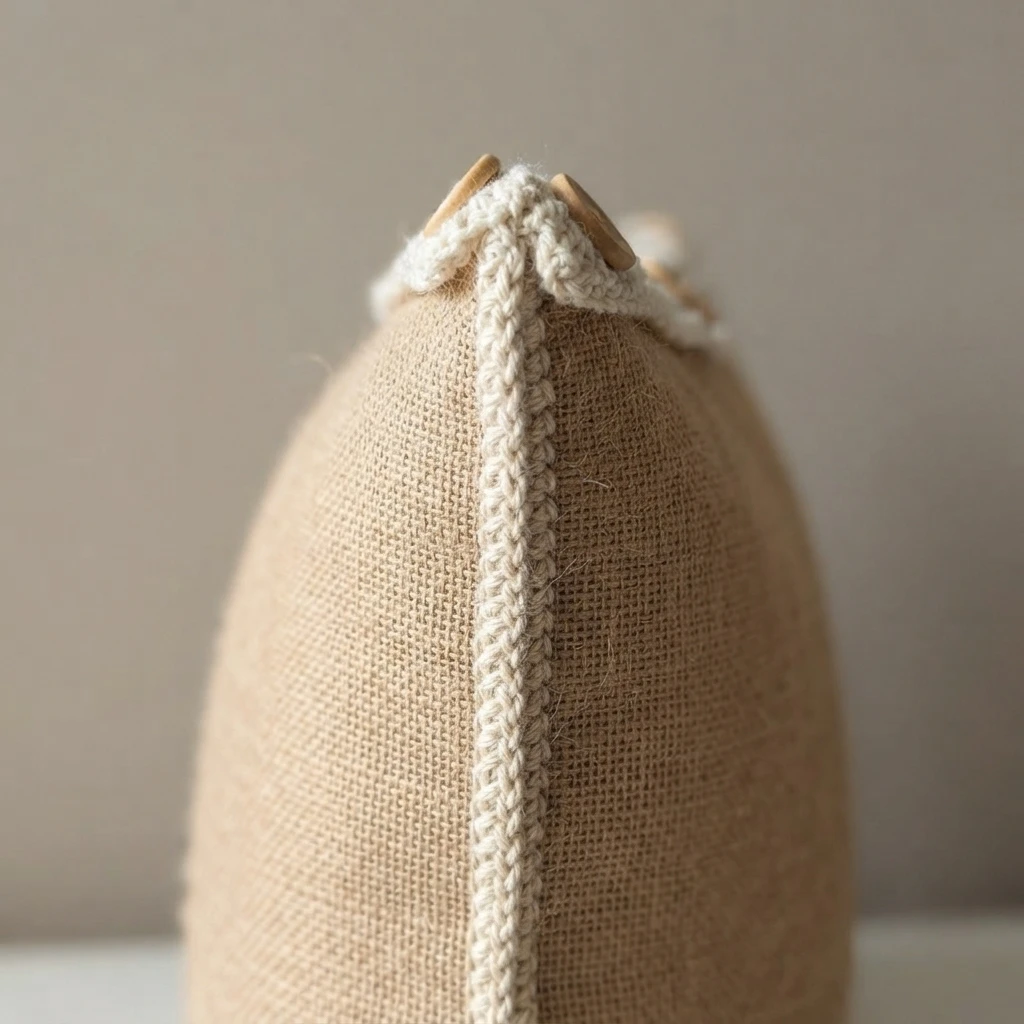
Place the front and back panels together with the wrong sides facing. If you are using burlap, cut two pieces approximately one inch longer on each side of the pillow so your hook can work through the holes. Using white yarn, slip stitch from the top of one side where the panels meet, around the bottom, and up the other side, skipping the flap.
The source notes that slip stitching with tight tension creates crisp edges, but you do not want puckering. Fasten off, weave in ends, then flip the pillow so the right side faces out and the seams sit inside.
I’d Love to See Yours!
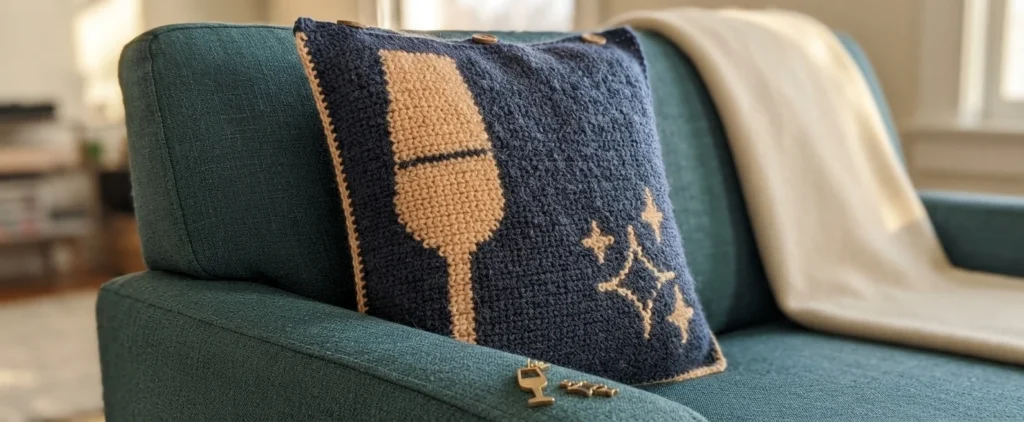
The designer closes by inviting makers to share finished pillows and keep the project organized for next time. If you want to see how other crocheters approached the colorwork, the original page is the best place to start.
What should you make next?
If this pillow has you in a fall mood, the designer’s other seasonal projects are worth a look. The source frames the next step as a simple question about what you feel like making, which is a low-pressure way to pick a follow-up project.
Keep the hook movingReaders Are Loving
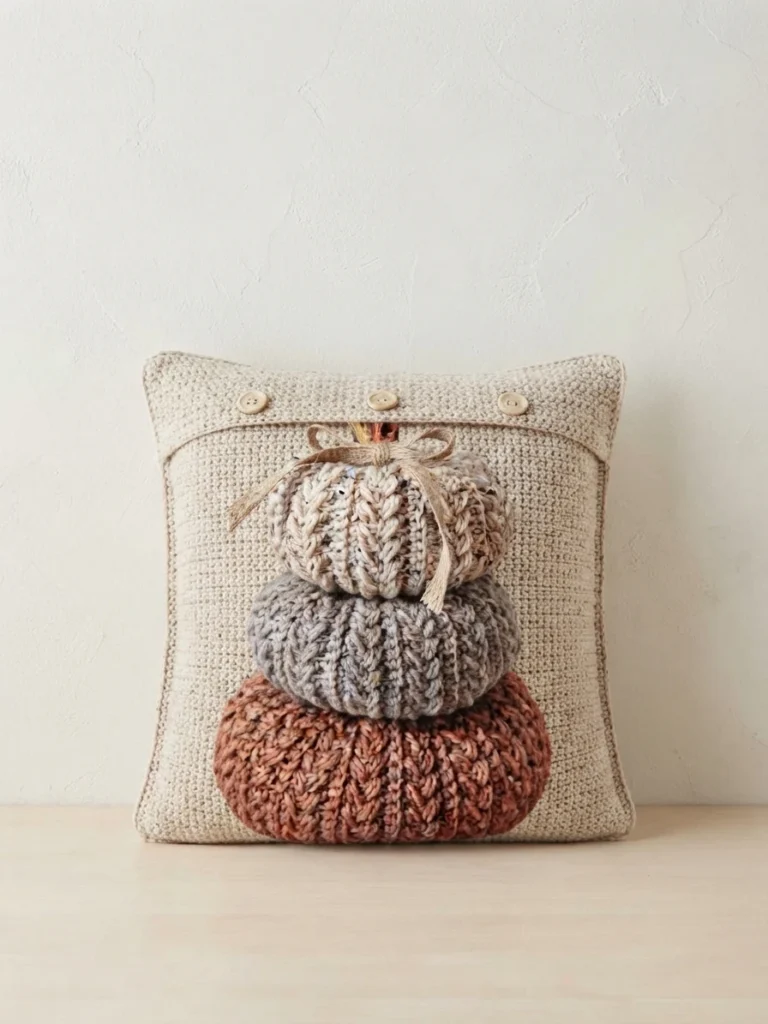

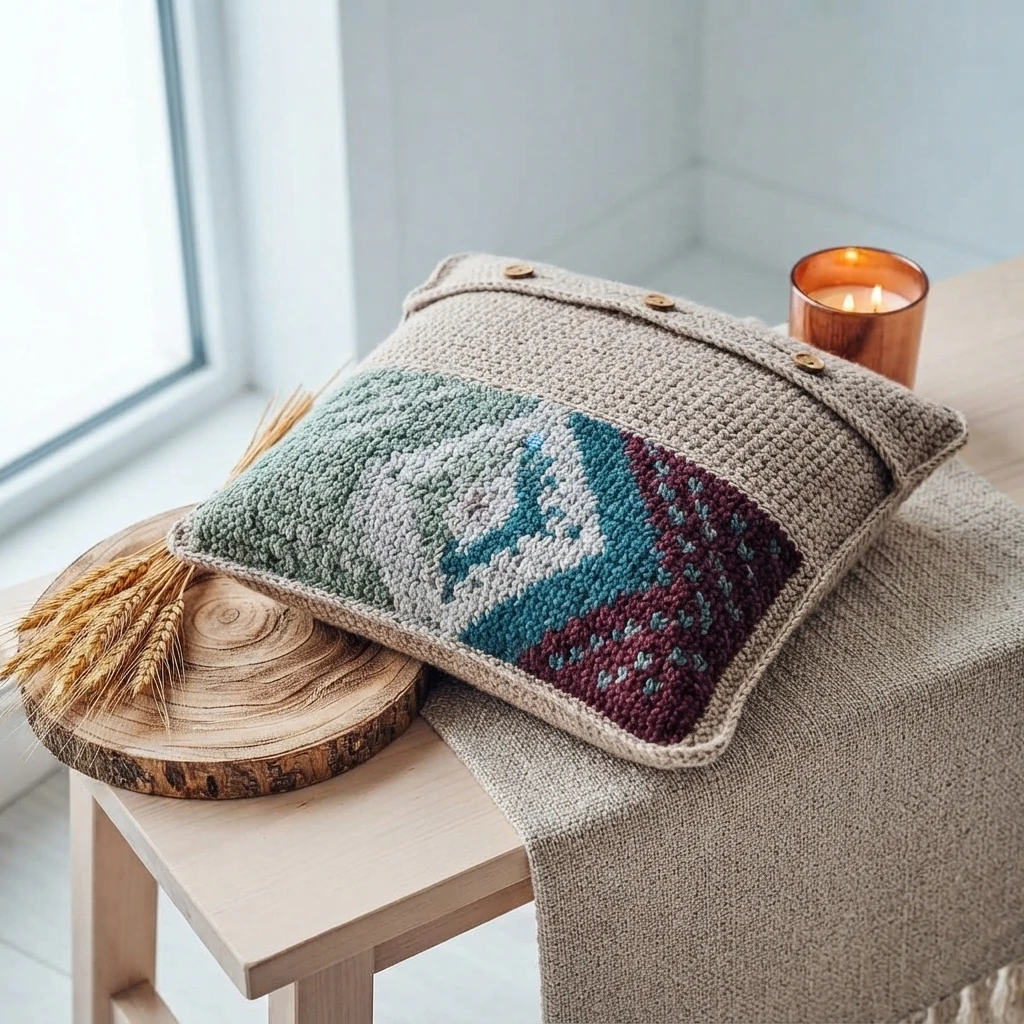

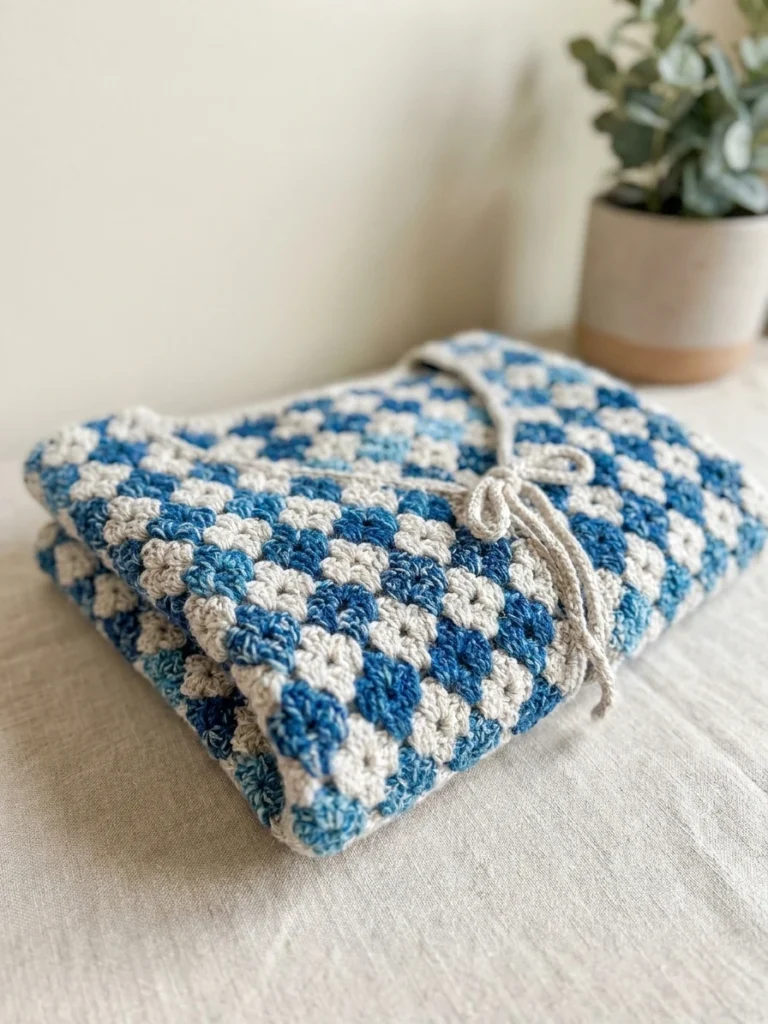
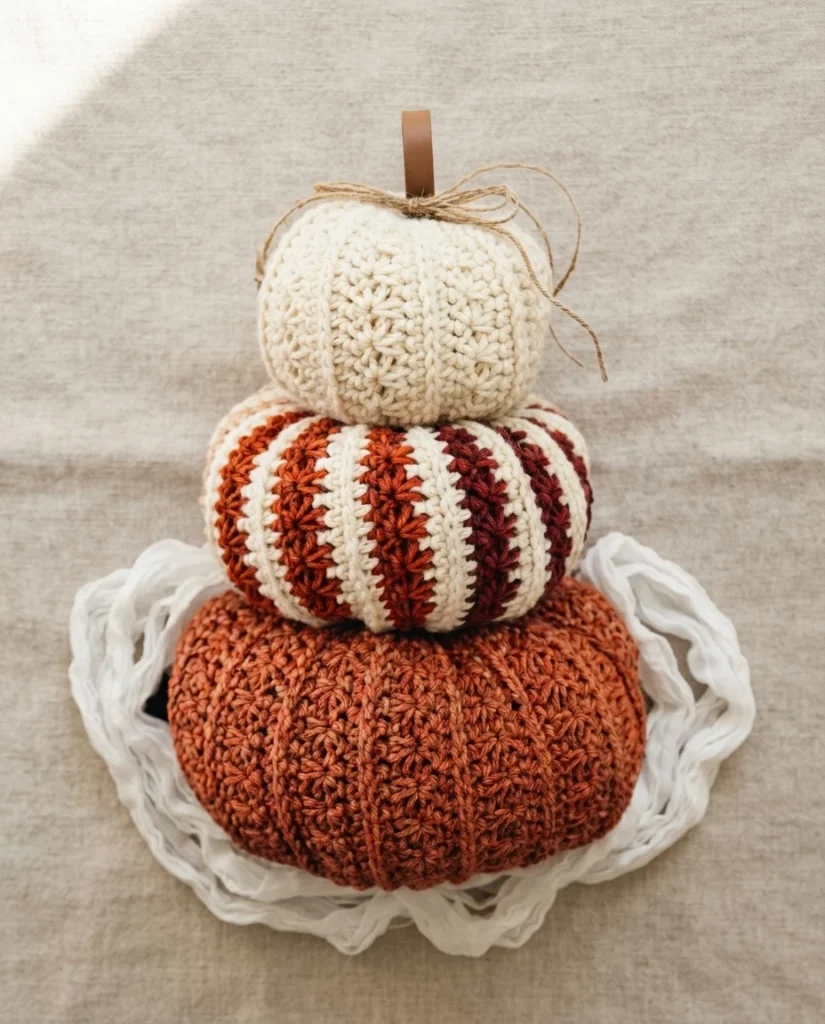
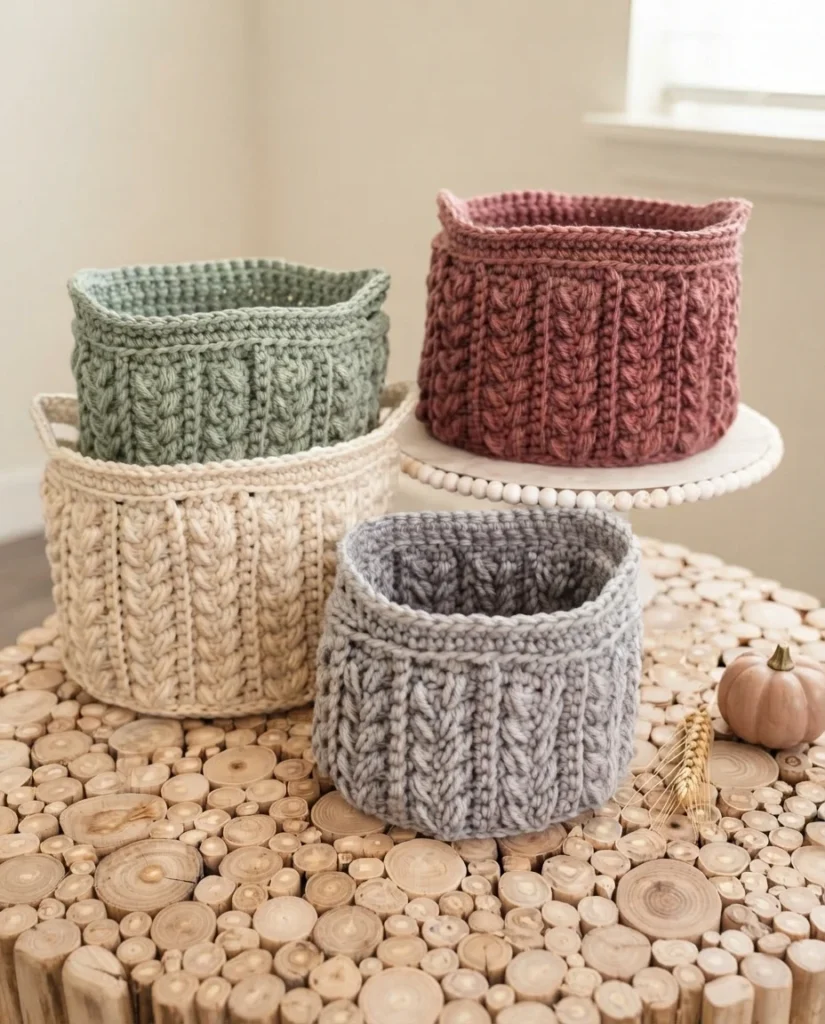
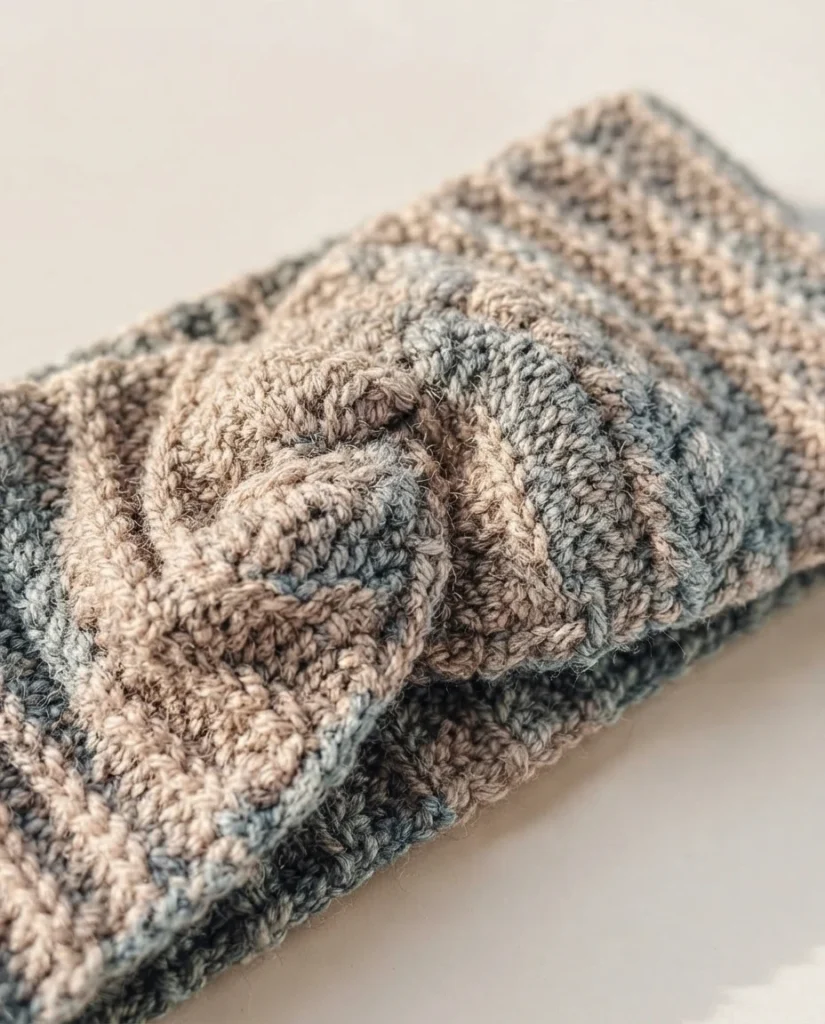
The source lists several reader-loved projects from the same designer, including Wheat Pumpkins, Wheat Stitch Trees, Easy Beginner Mittens, Wheat Stitch Ghost, Rainbow Hues Cardigan, Petal Loop Pumpkins, Wheat Nesting Baskets, and Twisted Ear Warmer. Each one is a separate pattern with its own page and details.
For the full Harvest Crochet Pillow Cover pattern, including the complete chart and row instructions, visit the Original designer’s pattern and instructions. The web version is free, and the source also offers an ad-free printable PDF for a small fee. If you enjoy pumpkin-themed pillows, see our overview of the Fall Crochet Pattern, Hello Pumpkin Pillow: Pattern Overview, or browse the Hello Fall Crochet Pillow - Decor: Pattern Overview for another seasonal option.