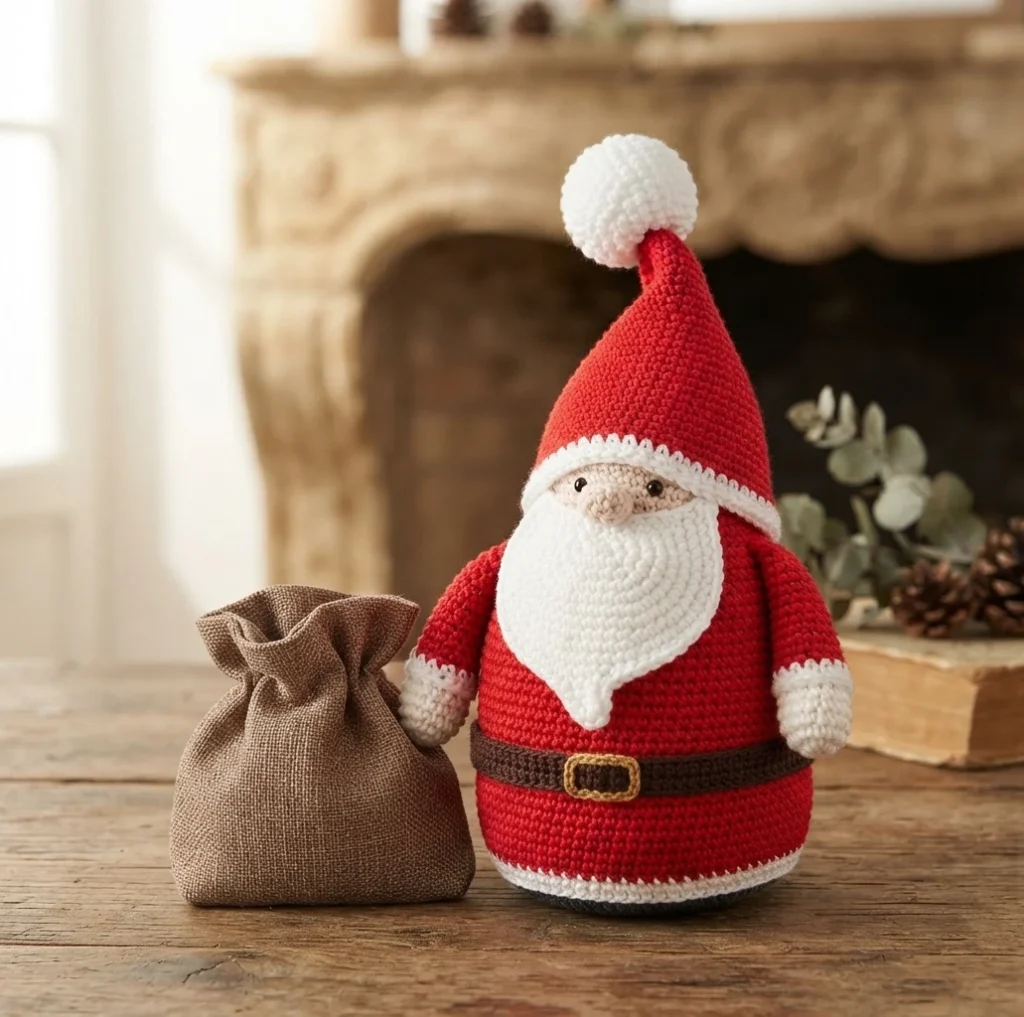
Project introduction
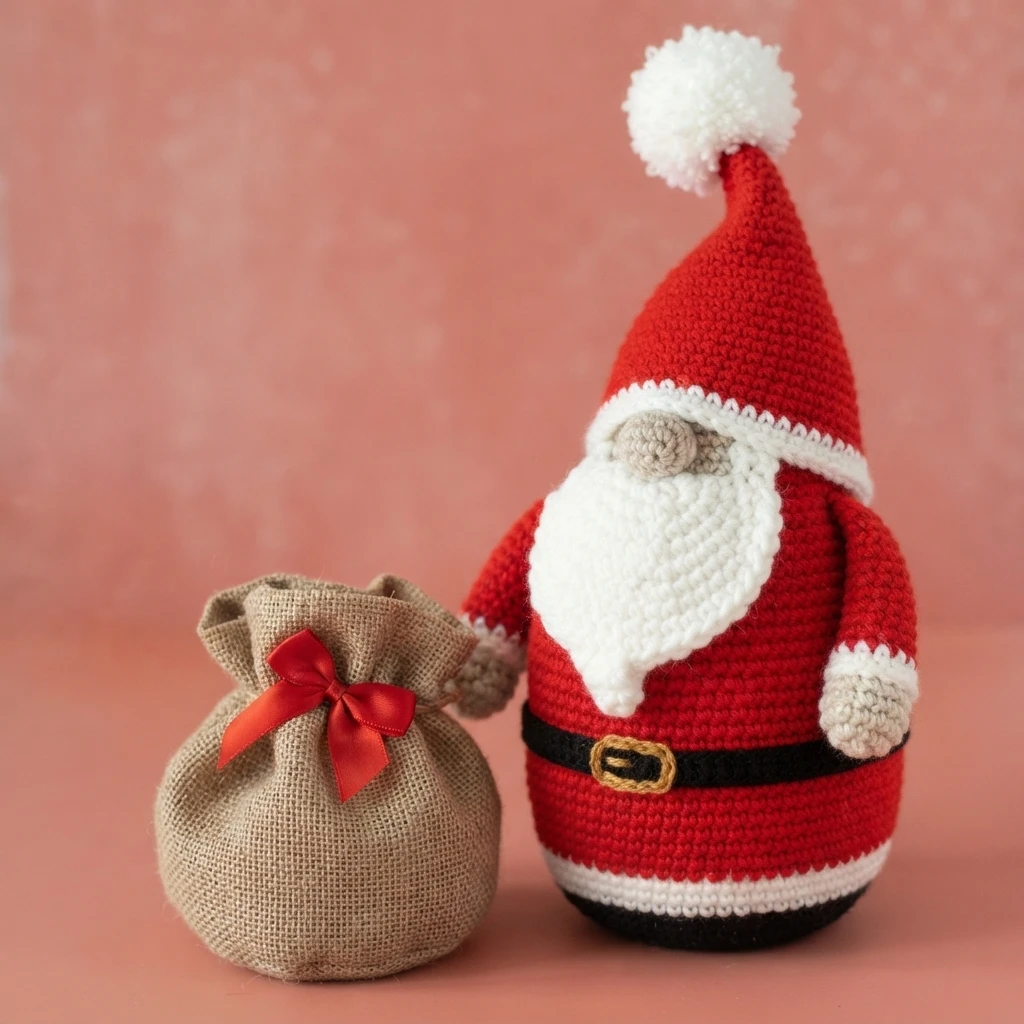
This is a pattern overview, not a full tutorial. If you want the complete round-by-round instructions, you will find them at the Original designer’s pattern and instructions, published by Elisa Sartori of Elisa’s Crochet. What follows is a practical look at what that free pattern contains, how the pieces fit together, and what to gather before you begin.
Elisa describes this as her first attempt at designing a little Santa Claus, and the result is a gnome-style figure holding a sack. She rates the project as beginner friendly and notes that it works up easily. The design is built from several small pieces rather than one continuous shape, so a little assembly is part of the process.
The source lists the finished Santa Claus at approximately 7 inches high by 3.5 inches wide, and the sack at roughly 3 inches high by 2.5 inches wide. Those are the designer’s sample measurements, so your own result will depend on your tension and yarn. Keep them as a rough guide rather than a guarantee.
Pattern format and preparation
Everything below comes directly from the designer’s materials list. Treat it as a shopping and setup checklist, then confirm details on the original page before you start.
- Light (3) weight yarn in black, white, red, linen, brown and yellow
- A C2 hook, which is a 2.75 mm metric equivalent
- Poly filling for stuffing
- Stitch markers for tracking rounds and loop placement
- A yarn needle for sewing pieces together and weaving in ends
- Scissors for trimming yarn tails
The source lists the abbreviations it uses, including mr, st, sl st, sc, hdc, BLO, FLO, F/O and rnds. It also notes that the instructions are worked in joined rounds, closing each round with a slip stitch and a chain 1, unless a section says otherwise.
How the pieces come together
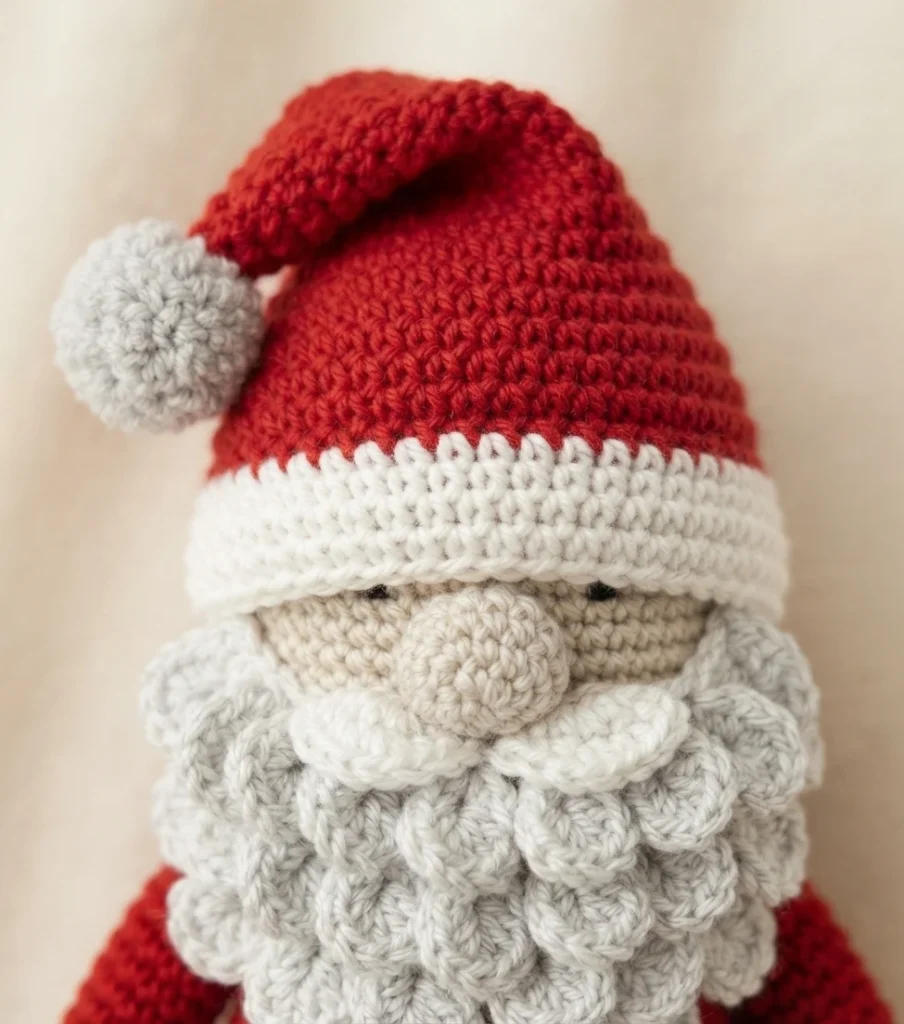
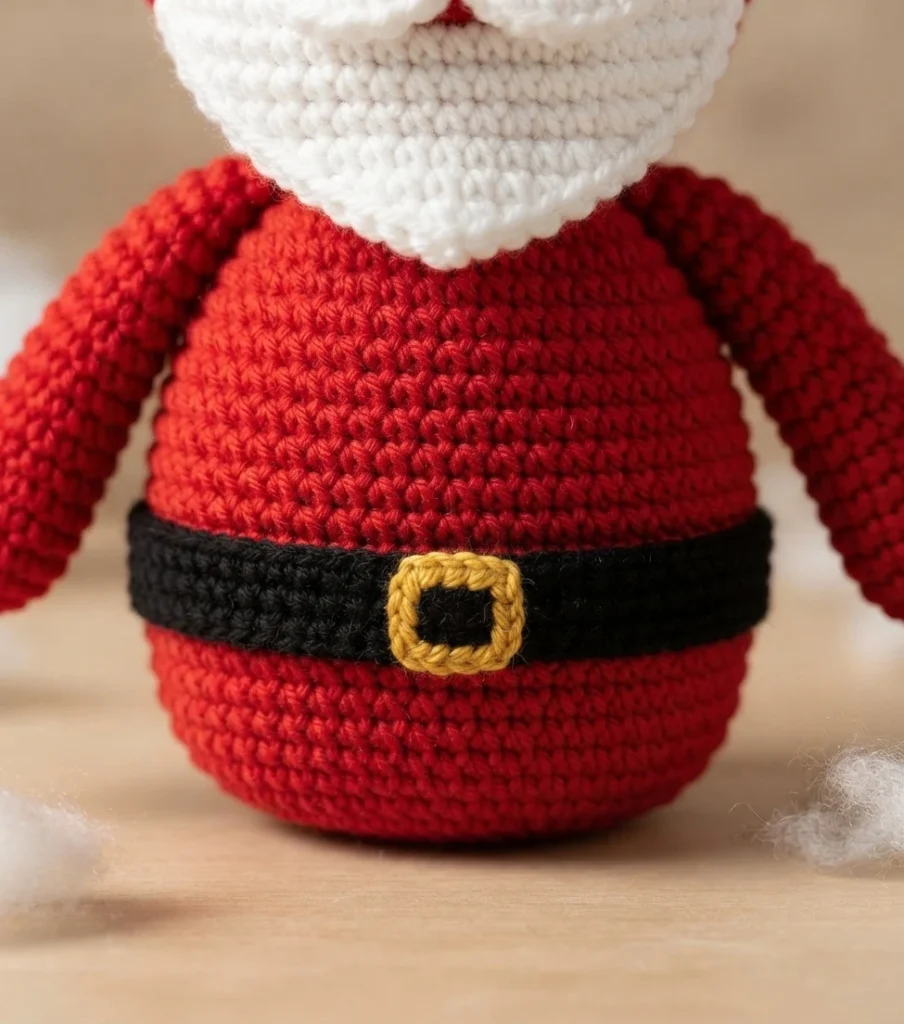
The body carries most of the color changes, shifting between black, white, red and linen to build the coat, trim and face area. The nose and the beard are separate small pieces attached to the front, and the beard is finished by working through both layers to create a shaped edge. A yellow yarn detail is embroidered afterward as the belt buckle.
Two arms are made in matching pairs using linen, white and red, then sewn to the sides of the body. The hat is worked in red with a white band and finished with a white pompon made by wrapping yarn around two fingers, tying the center and trimming to shape. The sack is crocheted separately in brown, stuffed lightly, and gathered near the top with a short length of red yarn tied into a simple bow.
Stuffing is not uniform across the project. The source says to stuff the body firmly, while the nose and the sack are stuffed lightly. That difference matters for the final silhouette, so it is worth noting before you close anything up.
Skill level and what to expect
Because the pattern is labeled beginner, the individual stitches stay simple. The real work is in the assembly: positioning the nose, beard, arms and hat so the face reads clearly. The source gives placement guidance for each attachment, which is where a beginner will lean on the original instructions most.
The pattern also includes an option to purchase an ad-free PDF with step-by-step photos. That is a convenience offered by the designer, not a requirement, since the free version is available on the same page. If you prefer visual support for the assembly steps, the PDF is worth knowing about.
Using the original pattern
This overview deliberately does not reproduce the row-by-row instructions. The full pattern, including every round and every placement note, lives on Elisa’s site. Open the Original designer’s pattern and instructions and work from that page so nothing gets lost in translation.
On permissions, the source states that you may sell finished items made from this pattern as long as you credit the design to Elisa Sartori of Elisa’s Crochet. Mass production and factory manufacturing are not permitted. The pattern itself should not be reprinted or redistributed, so share the link rather than the text.
If any instruction in the source seems ambiguous as you work, go back to the original page rather than guessing at a fix. The designer’s own wording is the authority here, and the free pattern is the place to resolve any question.



1 thought on “Santa Claus Crochet Pattern By Elisa’s Crochet: Pattern Overview”