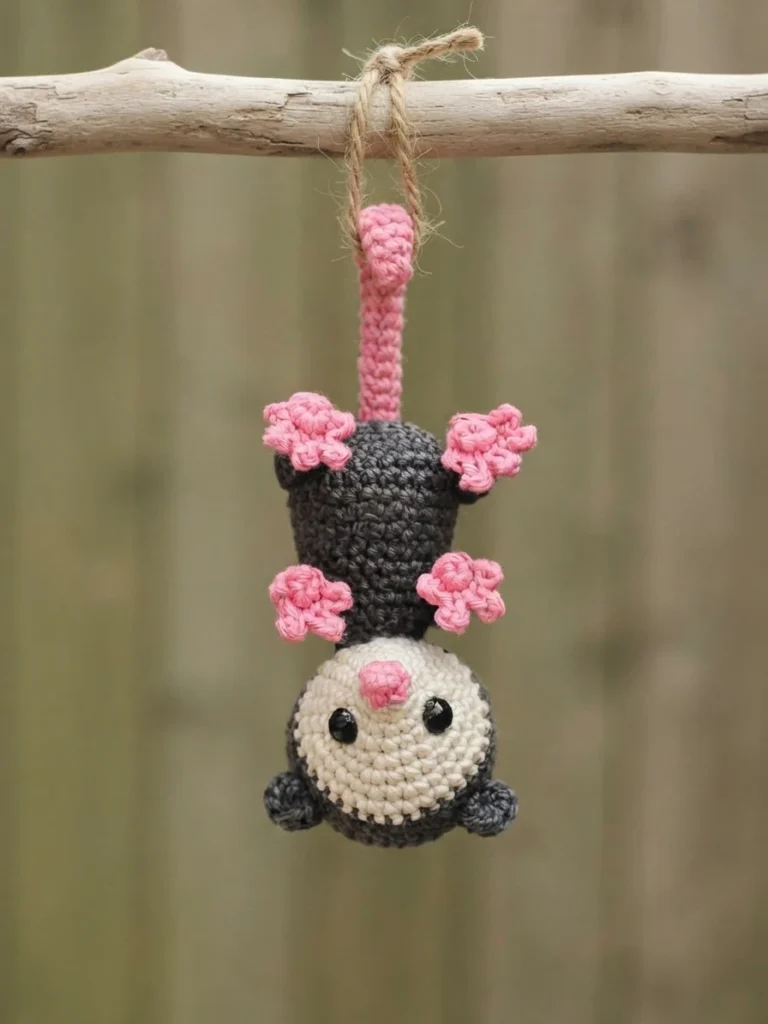
This is a pattern overview, not a complete crochet tutorial. Besamhe Art’s design, published on YarnGems, forms an amigurumi opossum with a head, a tail that continues directly into the body, and separately worked legs and ears, with the toes crocheted into the back-loop-only stitches of the legs. The source describes it as beginner-friendly and free to read on the web, and gives a finished size of about 16 cm (roughly 6 inches). Use this guide to review the listed supplies and the project’s construction. For the full instructions, see the original pattern by Besamhe Art on YarnGems.
The source lists a set of crochet abbreviations but does not specify whether it follows US or UK terminology. It describes the project in rounds and includes short forms for a magic ring, front and back loops only, single crochet, chain, increase, decrease, and slip stitch. The notes below summarize the construction without replacing the designer’s full instructions.
Materials
The materials section lists 6-ply cotton in three colors, while the introduction describes 4-ply cotton. This discrepancy is not resolved in the source, so check the yarn specification before choosing supplies. The stated finished size is 16 cm (roughly 6 inches), and the hook is specified in metric units.
- 2.5 mm crochet hook
- 6-ply cotton yarn in pink, beige, and gray, with the 4-ply discrepancy noted above
- Polyester fiberfill
- Sewing needle
- Stitch marker
- 8 mm safety eyes
- Approximately 12 cm of wire
The 16 cm measurement is the size stated by the source, not a guaranteed finished measurement. The source notes that a thicker or finer yarn with a suitable hook can change the size. Its conflicting yarn information is another reason to verify the materials before starting.
Abbreviations
The short forms given are Mr for magic ring, FLO for front loops only, BLO for back loops only, sc for single crochet, ch for chain, inc for increase, dec for decrease, and sl st for slip stitch. The source does not name a regional terminology system. If a term or placement is unclear when working from the full instructions, check the designer’s wording rather than assuming a technique.
Some leg instructions add stitches “to center” with specific totals indicated in the source text. The source also uses “pin” to describe the starting yarn for the head and tail, although pink appears in the materials list. These are wording ambiguities regarding color names, not missing stitch counts.
Head
The head begins with yarn labeled “pin,” changes to beige, and then changes to gray. The shaping widens to 36 stitches, holds that count for several rounds, and then tapers. The source places the safety eyes between rounds 6 and 7, with seven stitches between them, and calls for firm stuffing before the piece is fastened off.
Check the intended color for the initial yarn before beginning, as the source does not clarify “pin.” The eye position and stuffing are details provided in the full pattern, not a substitute for its round-by-round directions.
Tail
The tail starts with yarn labeled “pin.” It begins with four stitches in a magic ring, increases to six stitches, and stays at six stitches through round 18. It is not described as a separate piece: the tail’s rounds continue into the body, which begins at round 19.
The starting color label remains unclear. Pink, beige, and gray are listed among the materials, but the source does not explain what “pin” means in this section.
Body
After the tail’s round 18, the pattern changes to gray for round 19 of the connected tail-and-body construction. The early body rounds increase to 30 stitches, followed by several rounds at that count. The instructions then say to fold the ends of the wire and insert them into the tail section before continuing the body decreases.
The body is stuffed firmly, with a long yarn end left for sewing it to the base of the head. The materials list specifies approximately 12 cm of wire, but the source does not give further handling guidance. Follow its construction sequence when making the connected section.
Front Legs x2
Make two front legs, starting with pink yarn and changing to gray. The source uses back-loop-only stitches in round 2, then works rounds of six stitches before adding two more stitches “to center” in round 7. The source writes that round as 6 sc plus 2 sc. Each leg is fastened off with a slip stitch, leaving a long tail to sew it to the side of the body.
Back Legs x2
The back legs also begin in pink and change to gray. Their shaping differs from the front legs: the source describes decreases in round 2, increases in round 3, and rounds of eight stitches before adding three stitches “to center” in round 8. The source writes that round as 8 sc plus 3 sc. Fasten off with a slip stitch and leave a long sewing tail for attaching each leg to the body’s side.
Toes
The toes are worked in pink yarn into the back-loop-only stitches from round 2 of the legs, so they are not separate pieces. The source distinguishes small and large toes using different chain lengths, then specifies an arrangement for each pair of legs:
- Each back leg: one small toe, three large toes, and one small toe.
- Each front leg: one small toe, two large toes, and one small toe.
- Fasten off and hide the remaining yarn tails.
Review the toe arrangement alongside the leg instructions so the different counts for the front and back feet are clear. The source provides the actual toe directions and stitch placement.
Ears x2
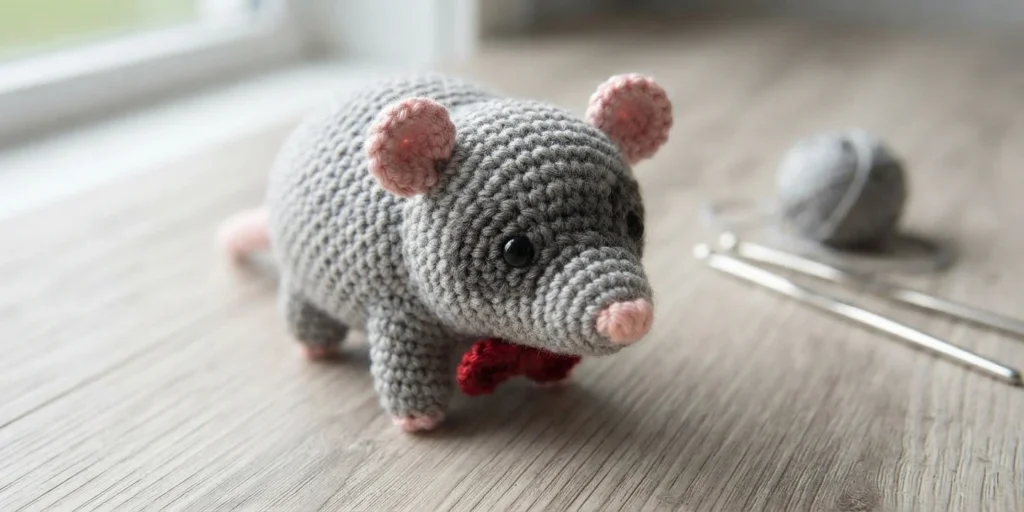
Make two ears in gray yarn. Each begins with a magic ring containing six single crochets. Fasten off with a long sewing tail, then sew the ears to the head between rounds 12 and 13, with eight stitches between them. These are the source’s stated placement details for the finished ears. You can find related designs under the Opossum tag on YarnGems.
Before crocheting, the practical points to verify are the 4-ply versus 6-ply yarn discrepancy and the meaning of “pin.” The original instructions, which are free to read on the web, contain the full construction details for this project.


1 thought on “Cute Baby Opossum: Pattern Overview”