Project introduction
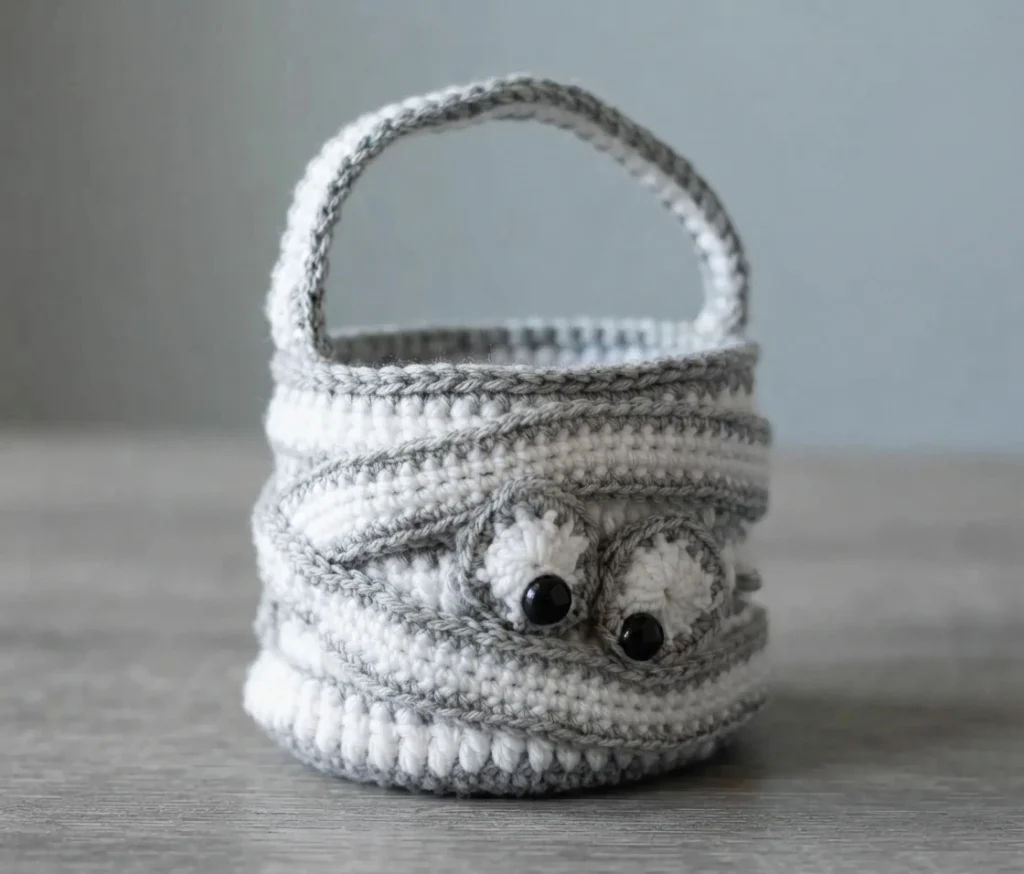
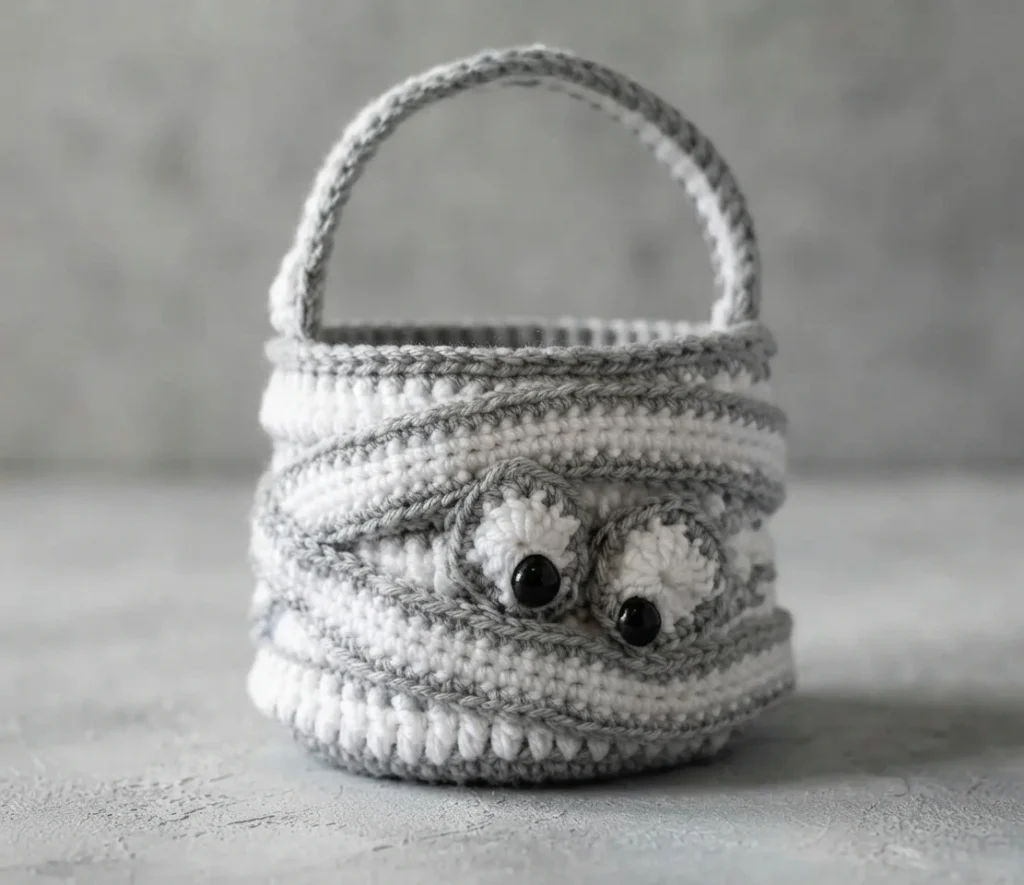
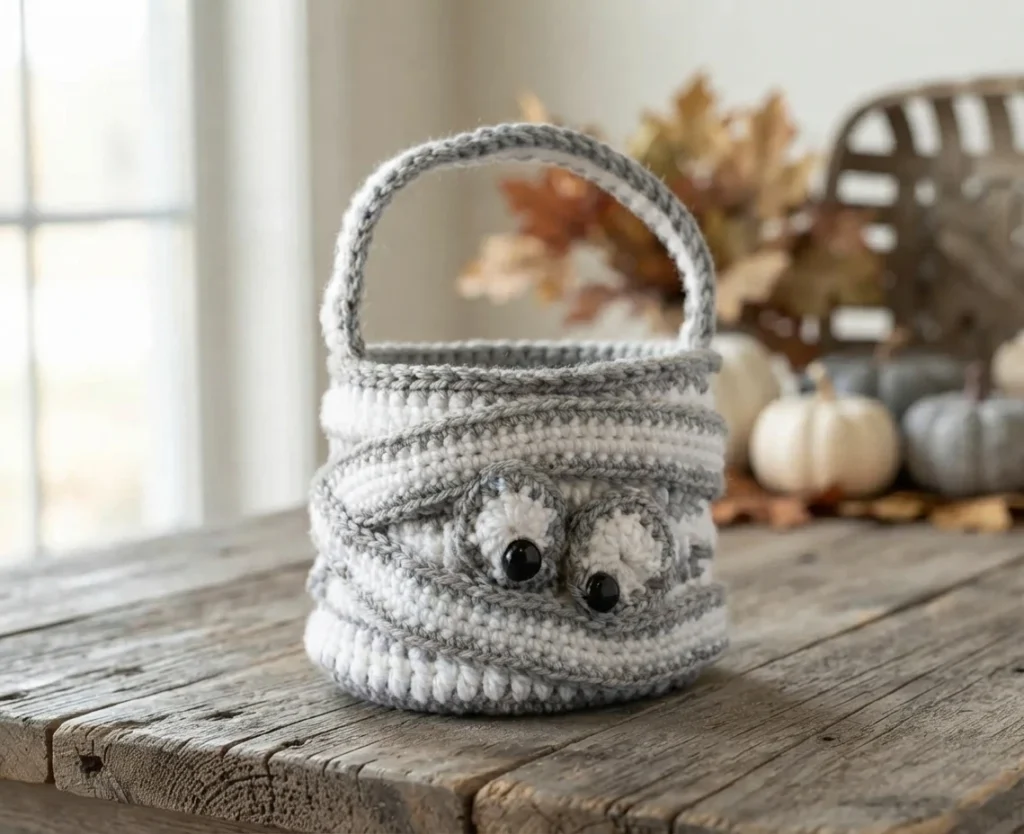
This article is a descriptive overview of a striped Halloween mummy bag created by Crochet 365 Knit Too, not a complete crochet tutorial. The small bag has a rounded body, a contrasting handle, crocheted eyes, and a long bandage that wraps around it. It can be used for carrying treats, as seasonal decor, or for a child to take trick-or-treating.
The project combines a two-strand striped body and handle with single-strand facial details. For the complete directions and the designer’s photos, use the original designer’s pattern and instructions.
- The body begins with an expanding gray base, then continues upward in joined rounds.
- The gray and white body stripes use different crochet stitches.
- The handle, eye surrounds, and bandage are separate pieces attached during finishing.
Crochet Mummy Bag
The design is worked from the bottom up. Its gray circular base increases to 54 stitches before the sides are worked in joined rounds. Two strands are held together for the bag and handle, while the eye surrounds and bandage use one strand. The hook size remains the same throughout, even though the number of yarn strands changes.
Materials
The source lists the following materials. Its yarn amounts describe the sample, rather than a guaranteed amount for every crocheter. The designer also notes that a free version is available on the website, while an ad-free printable PDF can be purchased separately.
- US J 10/6 mm crochet hook.
- Worsted-weight yarn. The sample used Lion Brand Vanna’s Choice, with 150 yards of white and 200 yards of Silver Heather, a light gray.
- 15 mm black safety eyes.
- Stitch markers to keep track of rows.
- Straight pins, optional, for positioning the eyes and bandage before sewing.
- Tapestry needle and scissors.
Gauge
With two strands of yarn held together and the specified hook, the stated gauge is 6 double crochet stitches across 2 inches. The designer notes that gauge is not important for this pattern, although a difference may mean adjusting the yarn quantity. The sample yardage is therefore a reference, not a promise that the same amount will suit every crocheter.
Crochet Abbreviations
The pattern uses these standard US crochet terms:
| Abbreviation | Meaning |
|---|---|
| ch(s) | chain(s) |
| sc | single crochet |
| dc | double crochet |
| sp | space(s) |
| sl st | slip stitch |
| st | stitch(es) |
Special Note
The body and handle use two strands of yarn held together and worked as though they were one. To prepare, wind half the yarn into a separate ball, or work from two skeins. The bandage and eye circles are made with one strand instead.
Crochet Bag Size
The sample bag measures approximately 10 inches tall including the handle, or 5.5 inches tall without it. Its diameter is approximately 6.5 inches.
Mummy Bag Extras
This heading marks an extras area on the source page, rather than another crochet component. The listed items are promotional resources, including a yarn offer, a hook, an ad-free PDF, and a kit. The ad-free PDF is a paid printable option, separate from the free web version of the pattern. These extras do not add construction details to this project overview.
Halloween Bag
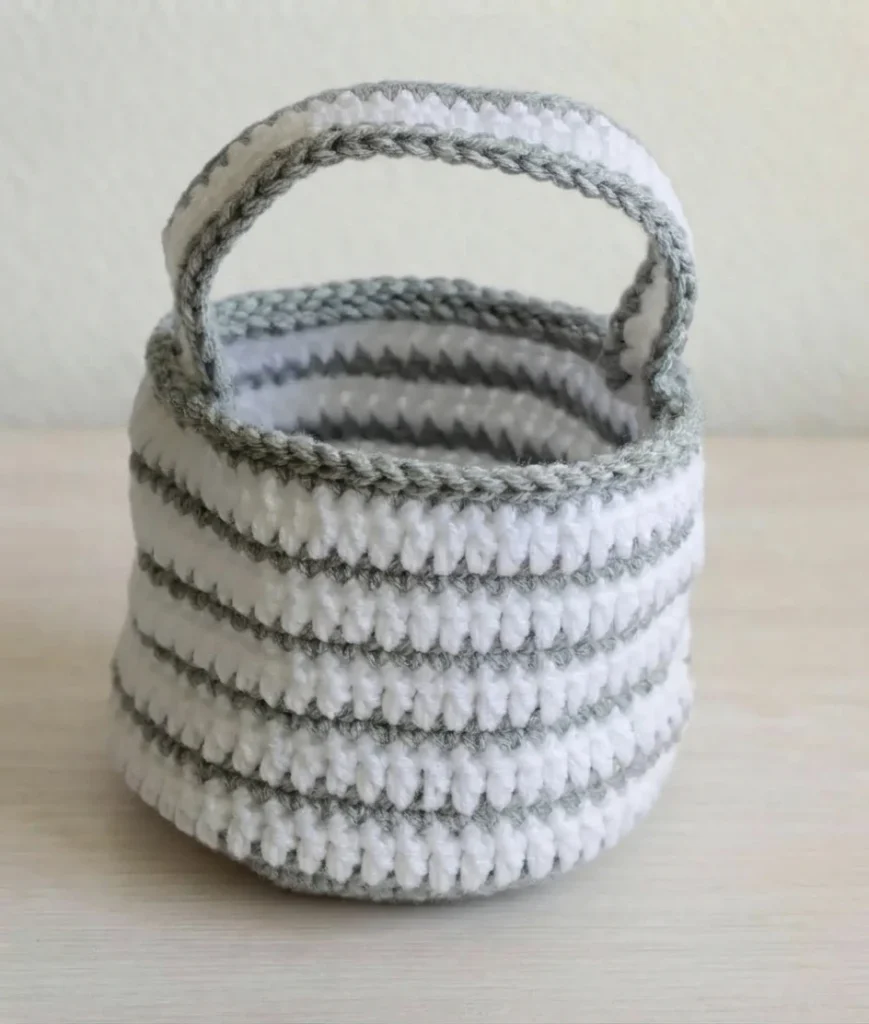
The body starts with a gray magic ring and two strands of yarn held together. The base expands through single-crochet increase rounds, beginning with 6 stitches and reaching 54 stitches. After the base, the work changes to joined rounds for the sides. Alternating gray single-crochet and white double-crochet rounds form the stripes. The source describes five stripe sequences, followed by a gray round and a gray slip-stitch edging worked through the front loop. This summarizes the construction and does not replace the full round instructions. For the complete directions, use the original designer’s pattern and instructions linked above.
The change from the expanding base to joined rounds is an important feature of the construction. Stitch markers are among the listed supplies and can help keep track of progress. The stitch placement, joining, and color changes are detailed in the designer’s directions.
Handle
The handle is a two-sided strip made with two strands held together. White yarn forms the central portion, worked along both sides of the starting chain, and gray rows edge the two sides. Each row is started and finished separately, and the source advises leaving long yarn ends for sewing.
The handle can be attached before or after the eyes and bandage are positioned. Its ends are sewn opposite each other just below the gray border at the bag opening. The exact chain and row counts are part of the full instructions, rather than this construction overview.
Eyes (Make 2)
Make two eye surrounds with one strand of yarn. Each circle has a white center worked in double crochet and a gray outer round. A black safety eye is fastened to the lower portion of each crocheted circle, leaving space for the bandage to overlap the face and give the appearance of peeking eyes.
The source gives the stitch sequence and counts for both rounds. Keeping the safety eyes low on the crocheted circles is a useful finishing detail, as the bandage is arranged around and across the face.
Bandage
The bandage is a long, separate piece worked in the round around both sides of its foundation chain, using one strand of yarn. Its ends are rounded, and the source specifies a starting chain of 135. Gray is introduced for the edging round. The shaping around the curved ends is described in the full directions, so this summary does not attempt to replace those steps.
Finishing
Fasten a safety eye to the lower part of each crocheted eye surround. Before sewing the face and bandage onto the bag, pin them temporarily in place and adjust the arrangement. The suggested placement puts the eyes on the front, toward the right half and about halfway down. The bandage begins toward the lower left at the back, wraps up and over the eyes, then comes around the front below them. Its other end finishes at the back.
When the eyes look as though they are peeking out, sew them on first. Use gray yarn and a tapestry needle to attach the eyes and bandage. Tack the bandage down at intervals of about an inch, keeping it loose rather than pulling it flat. The handle may be sewn on before or after these pieces. Centering the eyes instead of placing them to one side gives the finished bag a different appearance. Weave in any remaining ends.