Project introduction
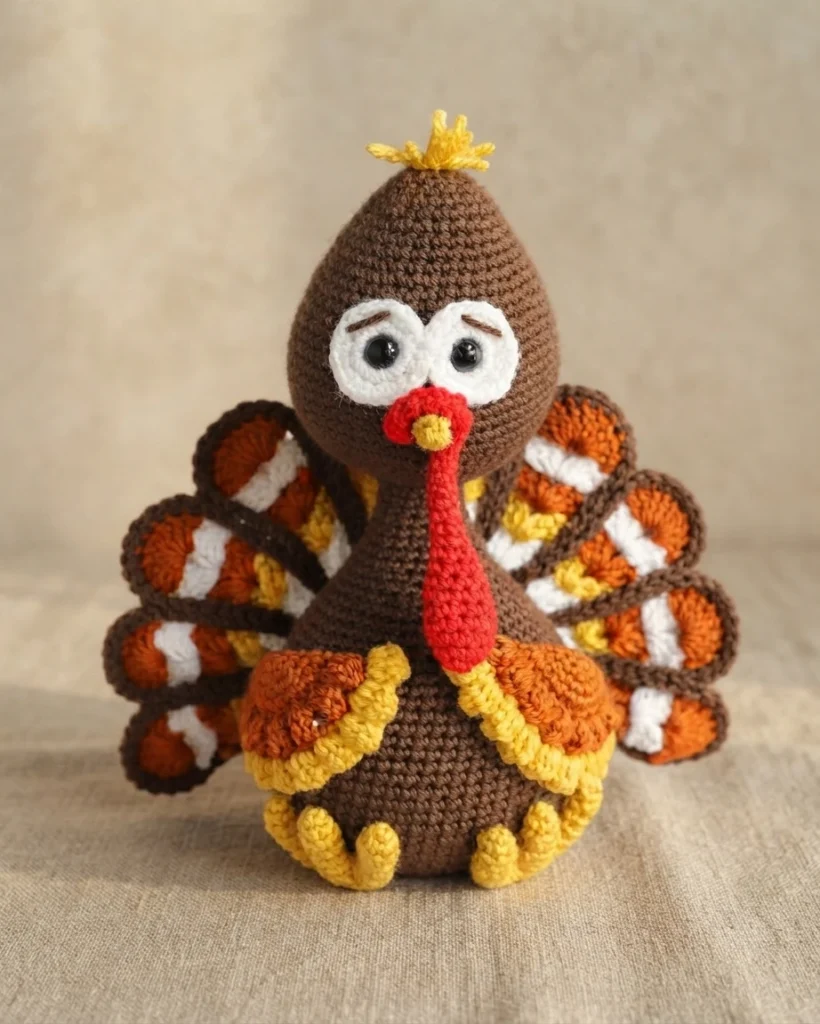
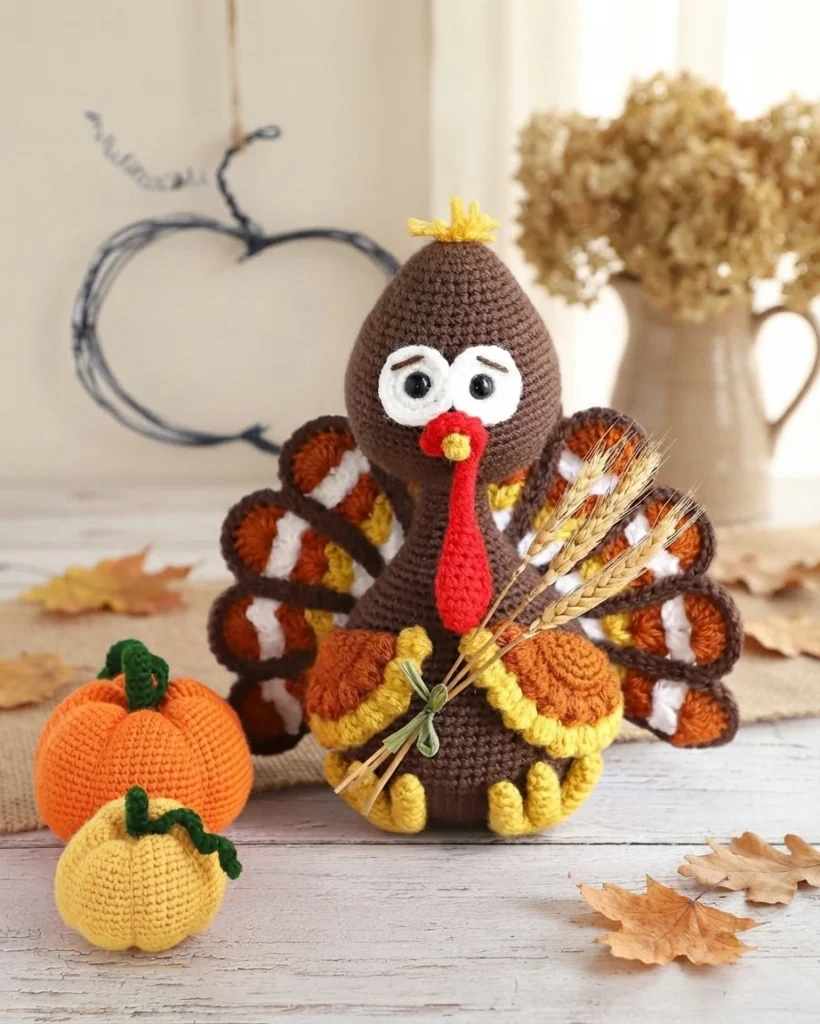
Tutt is a crochet turkey amigurumi from Craft Passion, introduced as a Thanksgiving companion to Mr Gobble, the sock turkey. This page is a pattern overview, not a full tutorial, so treat it as a map of what the project involves before you open the original instructions. The finished turkey is stated to stand 11.5 inches tall and is worked in DK acrylic yarn, described as equivalent to 12-ply.
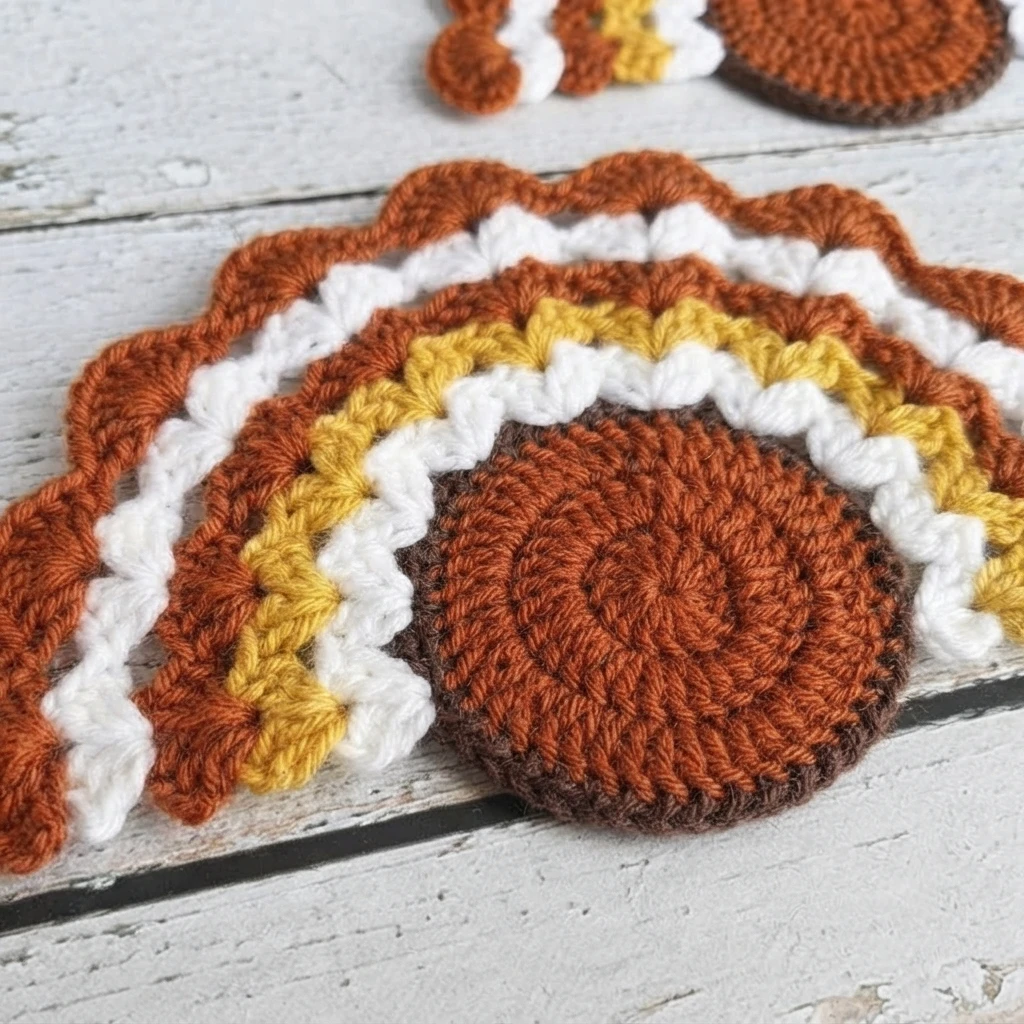
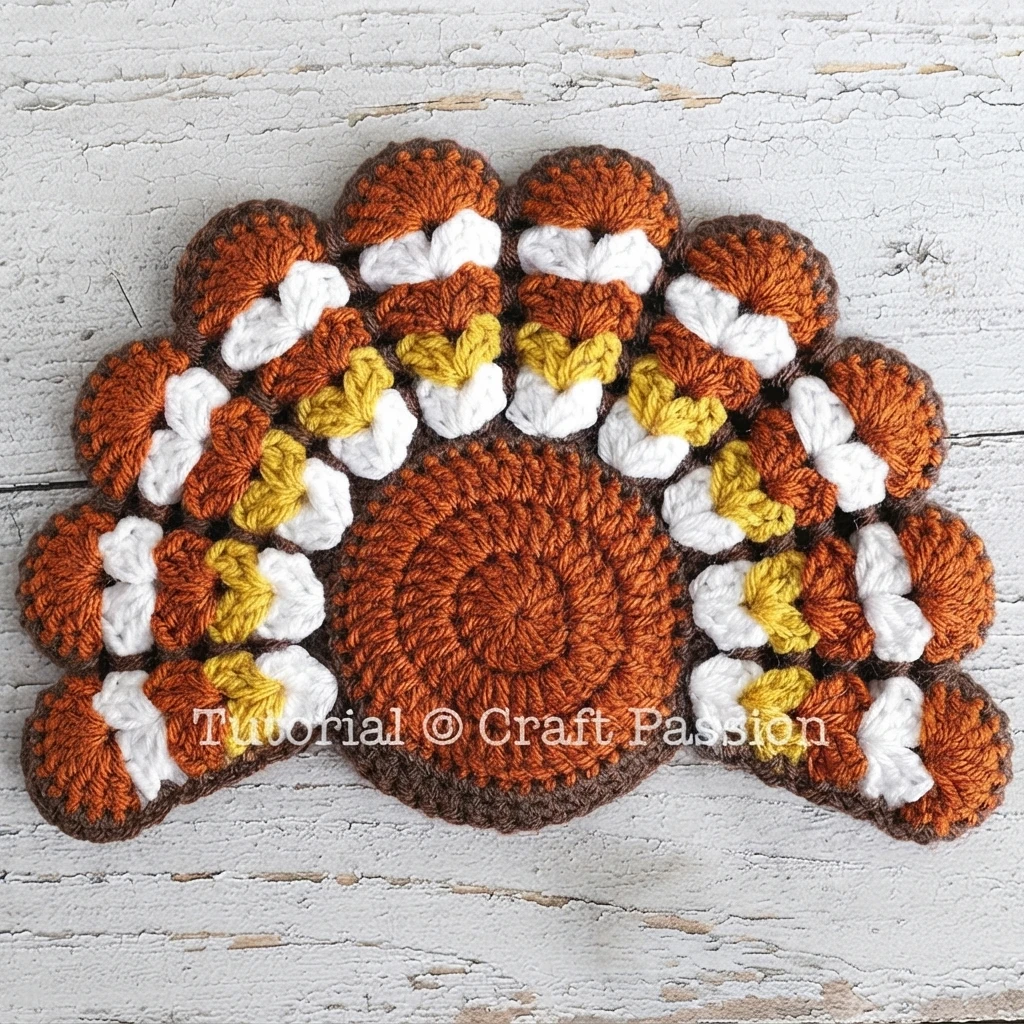
The main body and head use a 3.0 mm hook, while the tail switches to a 4.5 mm hook. Craft Passion grades the pattern as Intermediate/Advanced level, and also notes that beginners have successfully made Tutt. The tail was adapted from an earlier turkey coaster design, with a larger size and some changes.
Tutt, Crochet Turkey Amigurumi Pattern Overview
Craft Passion shares a short story alongside the pattern: Tutt is a shy turkey who sells crochet pumpkin amigurumi at a market, then gives the last baby pumpkin to a crying boy. It is a warm framing device for a Thanksgiving project, and it explains why the sample photos often show the turkey with a pumpkin companion.
Size is not fixed. The source explains that yarn weight and crochet tension both change the result: bulkier yarn with a bigger hook makes a larger turkey, and lighter yarn with a smaller hook makes a smaller one. The designer also notes that their own tension is snug, so their Tutt may be a little smaller than yours. Different yarns, hooks, colors and tensions are all welcome.
Happy Thanksgiving and Happy Crochet!!!
That closing line from Craft Passion sums up the spirit of the project. If you enjoy seasonal amigurumi, Tutt fits neatly into a Thanksgiving display, and the same construction habits carry over to other holiday figures.
Materials
The source lists a short, specific supply set. Everything below is exactly as listed, including the metric hook sizes and the safety eye size.
- Crochet hooks: 3.0 mm and 4.5 mm
- DK acrylic yarn in dark brown, yellow, brown, white and red
- Polyester fiberfill
- 12 mm black safety eyes, 1 pair
Tools
Beyond hooks and yarn, the pattern calls for a handful of finishing tools. These matter most during assembly, when small pieces need to be held, marked and stuffed precisely.
- Darning needle (long)
- Fabric marker (water erasable)
- Scissors
- Pins
- A pair of blunt point tweezers for stuffing small parts
Construction Overview
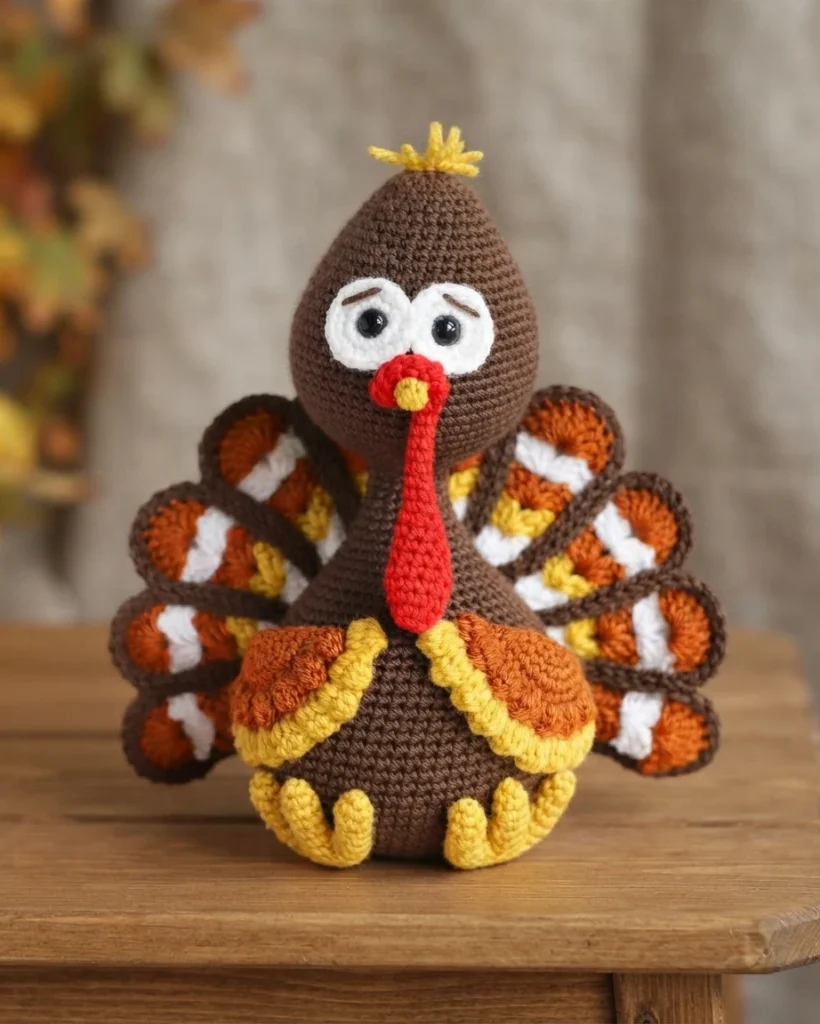
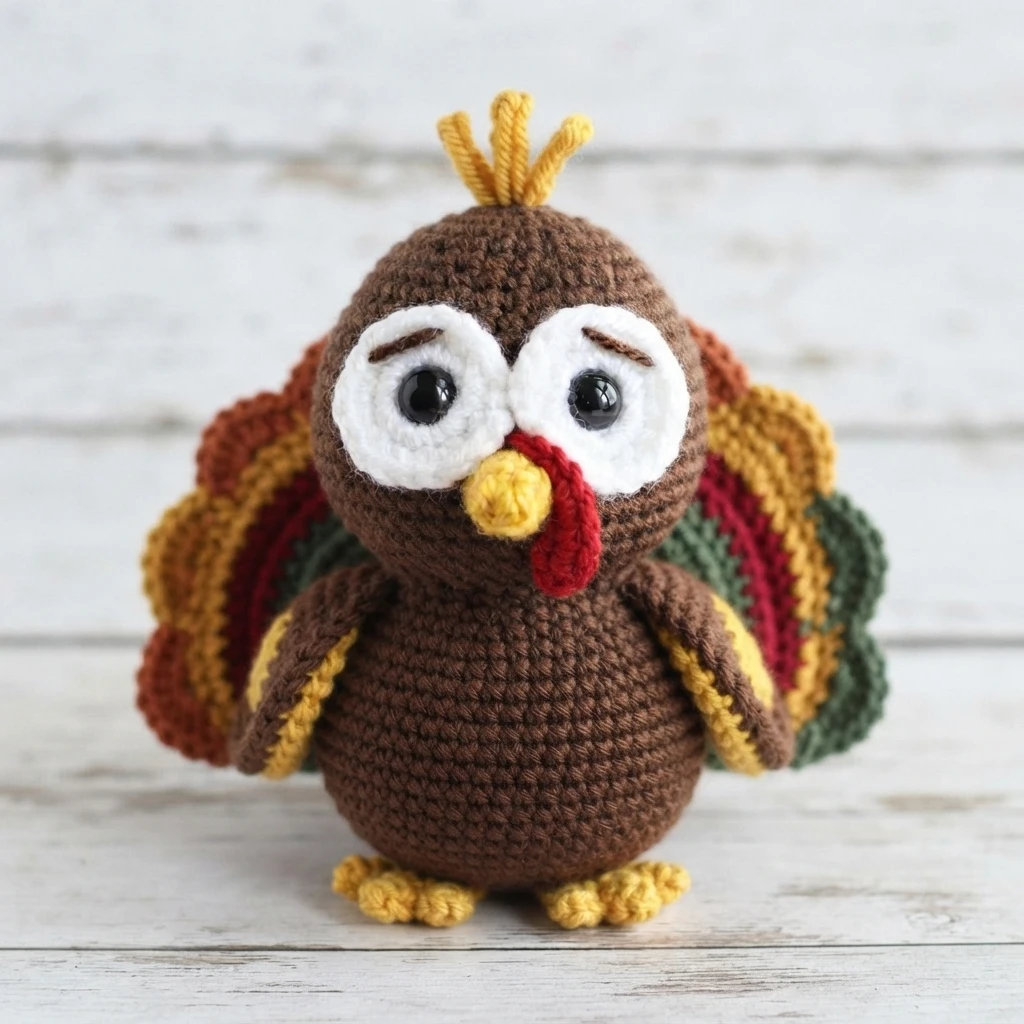
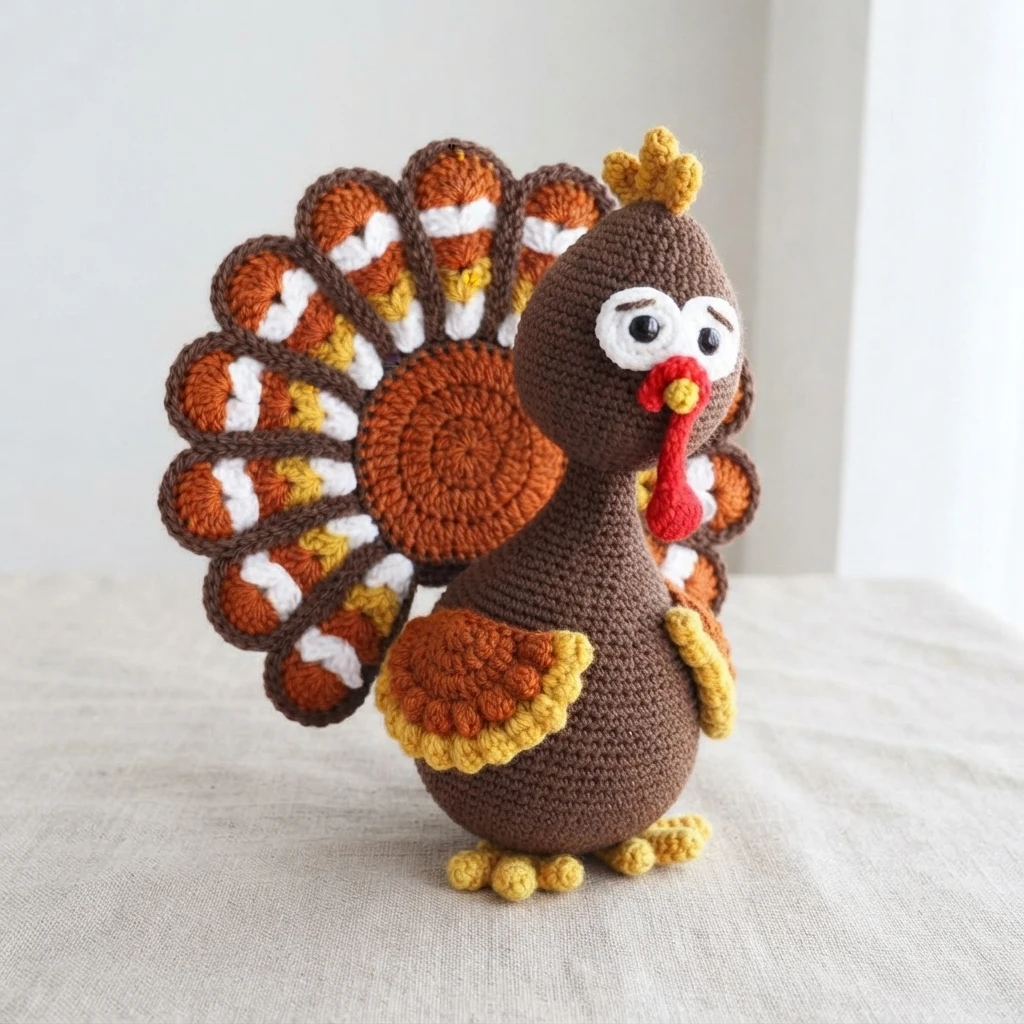
Tutt is built from separate pieces that are crocheted first and joined later. The body and head are dark brown and worked in rounds with shaping and stuffing. Two white eye pieces are sewn together to form the eye-white, a yellow beak and two yellow feet are made separately, and a red snood adds the classic turkey detail. Two wings combine brown and yellow, and two brown tail pieces are joined and outlined to create the full, fluffy tail.
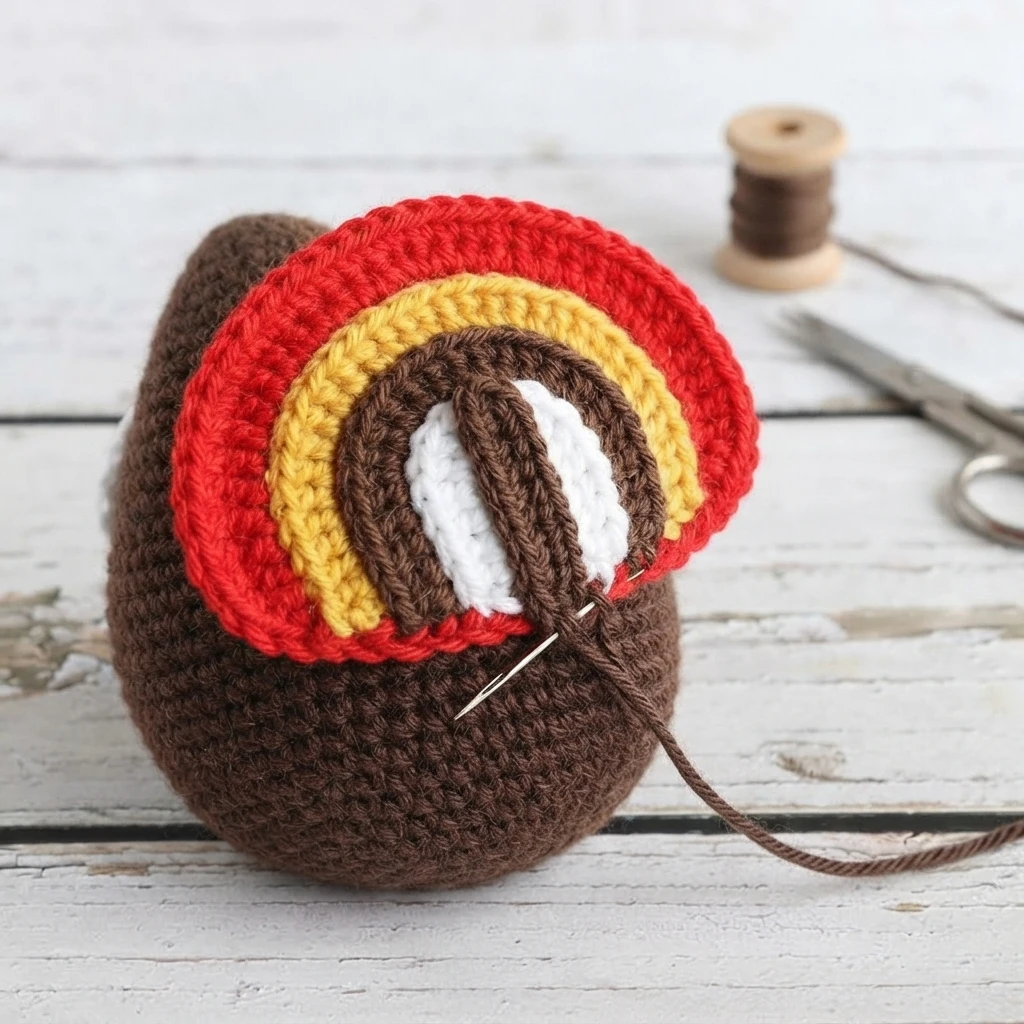
Most parts use the 3.0 mm hook. The tail is the exception, worked with the 4.5 mm hook so it opens up larger. The wings are folded and worked in rows rather than rounds, and each foot is formed by joining three separate toes. The tail is the most involved section: the two layers are held wrong sides together and joined with single crochet worked through both pieces, with the reserved yarn from round 4 starting the bottom arc. The source shows this process in step photos, so follow those images closely rather than guessing at the joins.
This overview describes construction only. It does not reproduce the round-by-round instructions. For the full stitch counts and every round, use the Original designer’s pattern and instructions at Craft Passion, where the free crochet pattern and tutorial are published.
Abbreviations
The pattern uses US crochet terms. These are the abbreviations as listed by the source.
- ch: chain stitch
- BO: Bobble Stitch (4dc bobble variation)
- dc: double crochet
- hdc: half double crochet
- sc: single crochet
- inc: 2sc increase
- inv dec: invisible decrease
- MR: magic ring or magic circle
The source also explains the 4 dc bobble: yarn over, insert the hook into the stitch, pull up a loop, yarn over and pull through 2 loops on the hook. Repeat that sequence four times in the same stitch until 5 loops remain on the hook, then yarn over and pull through all 5 loops.
Crochet Turkey Amigurumi Pattern Overview
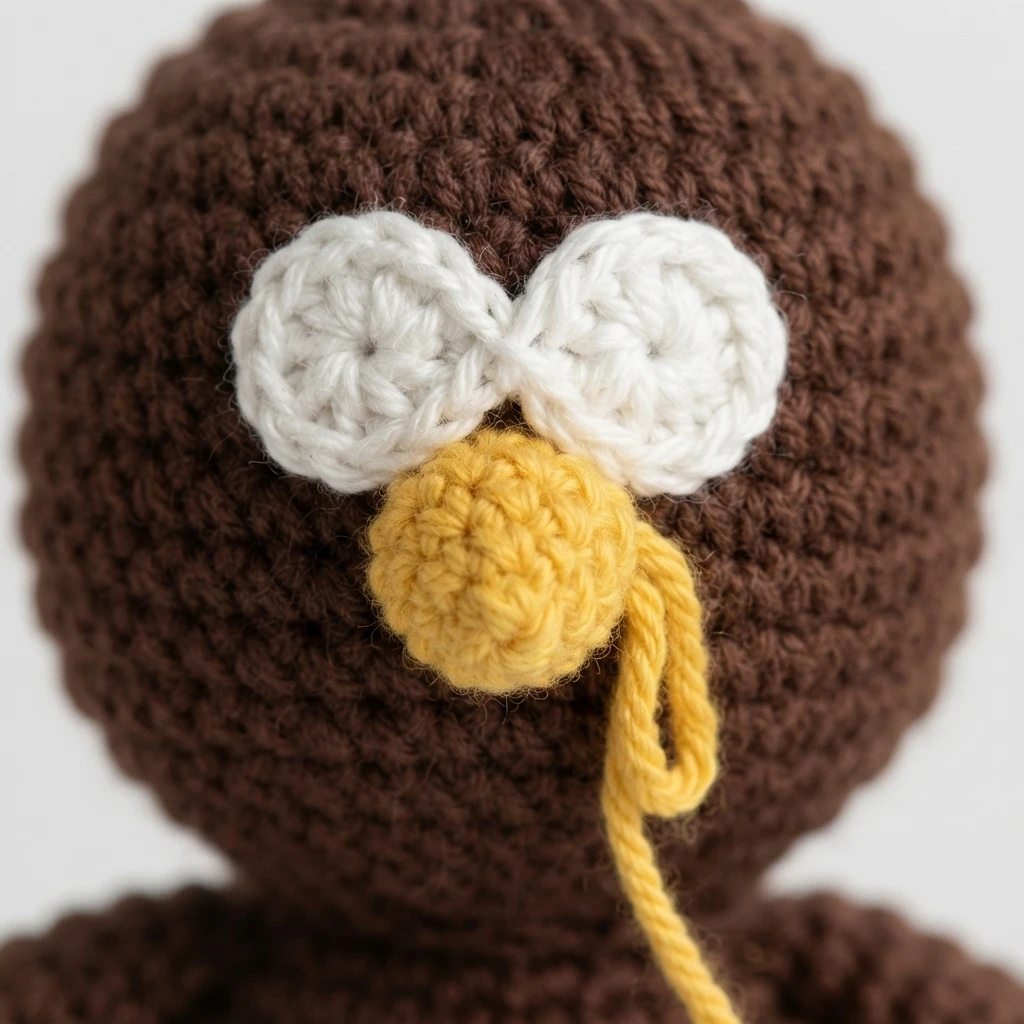
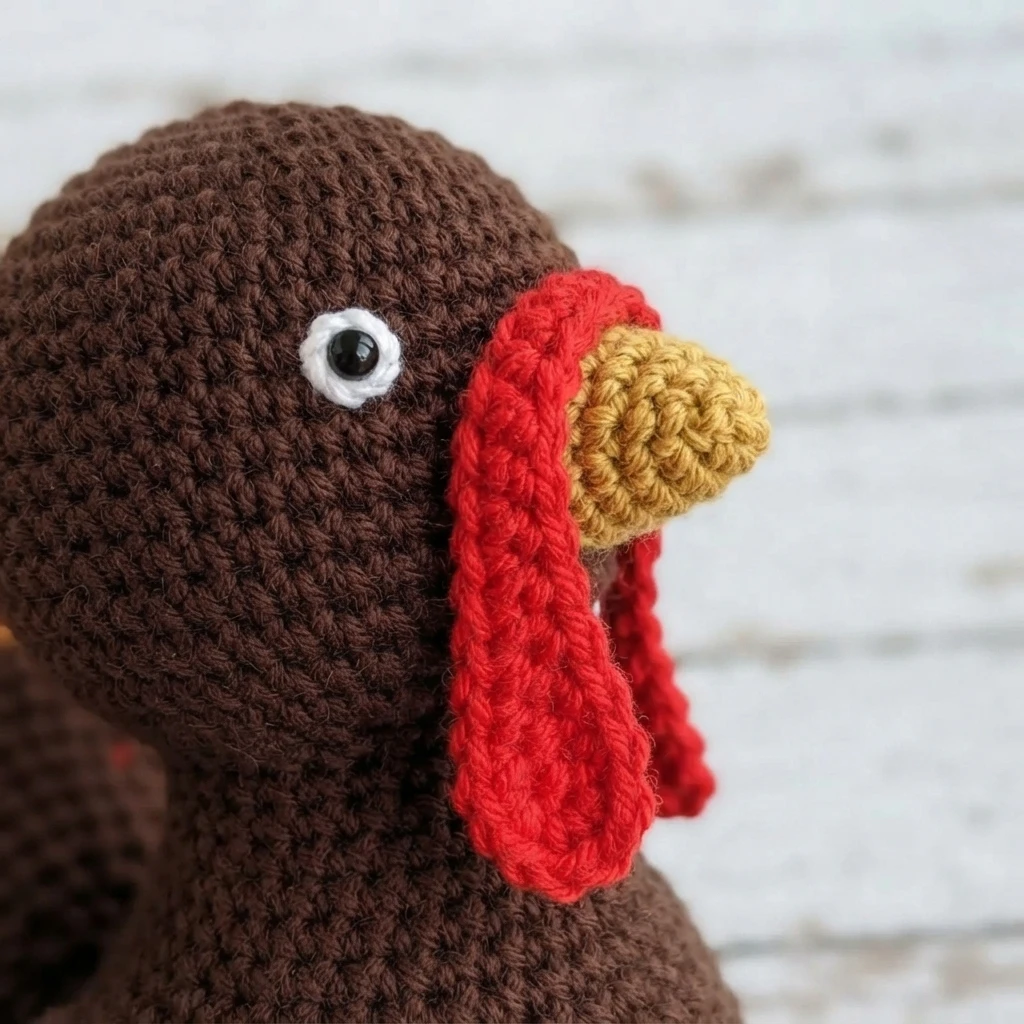
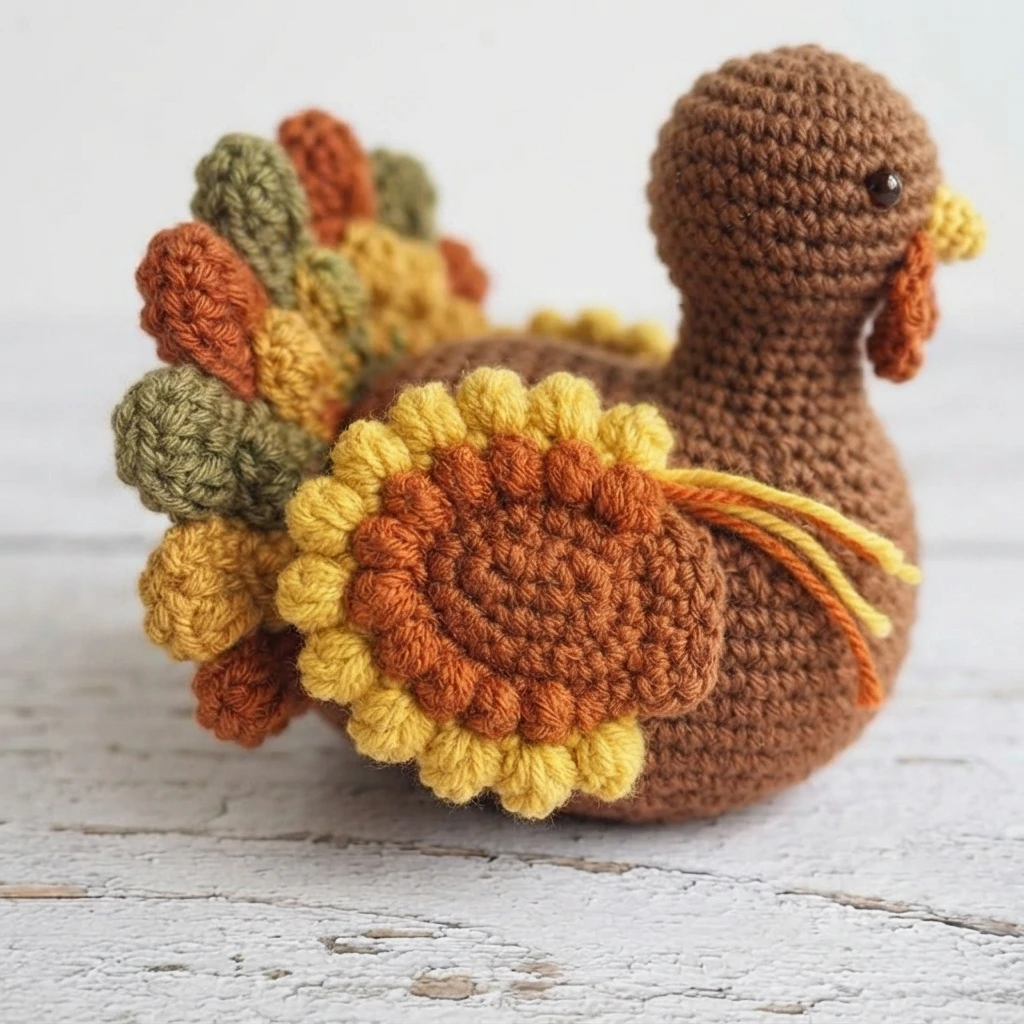
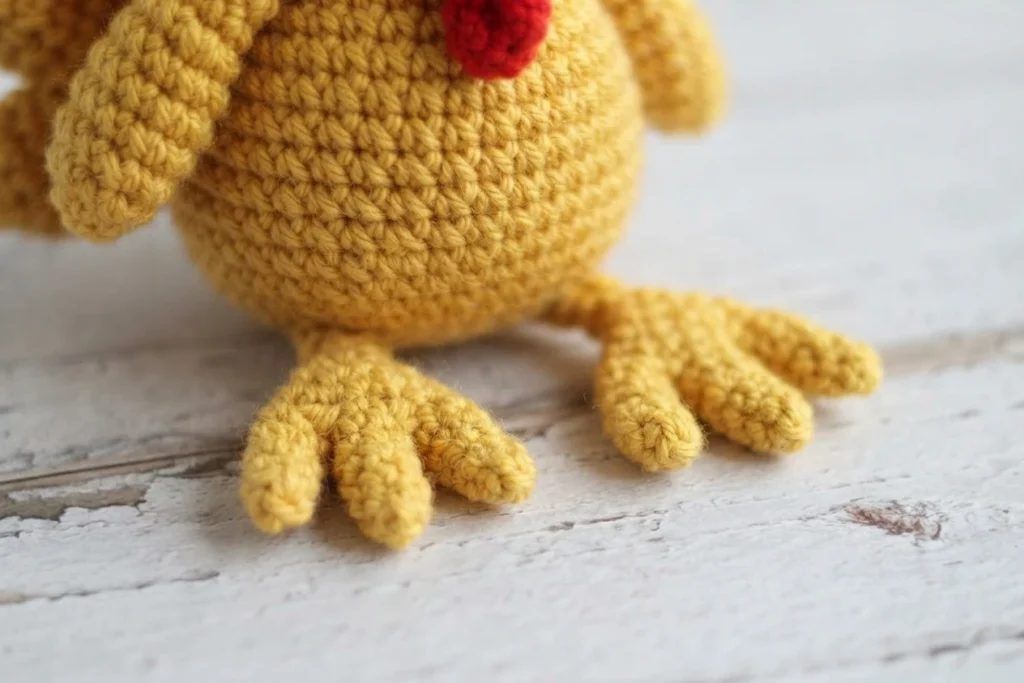
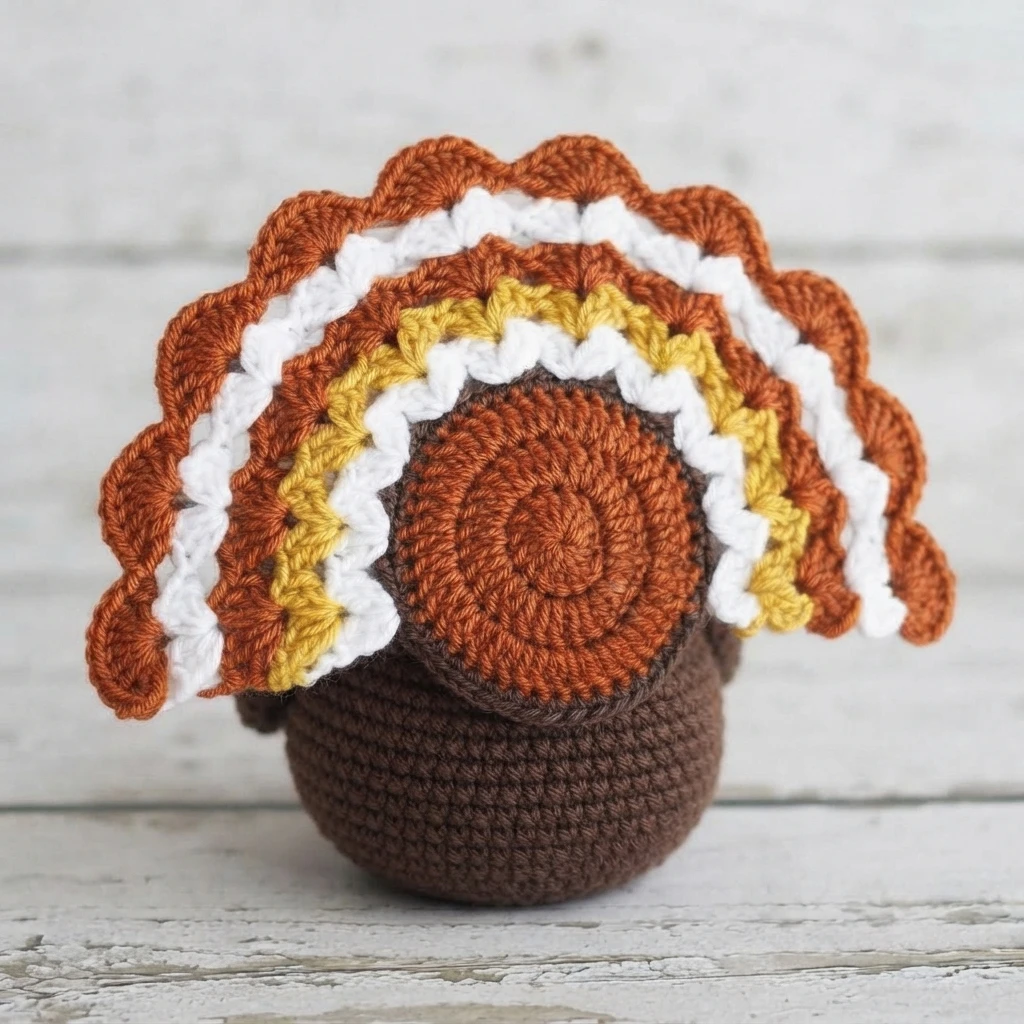
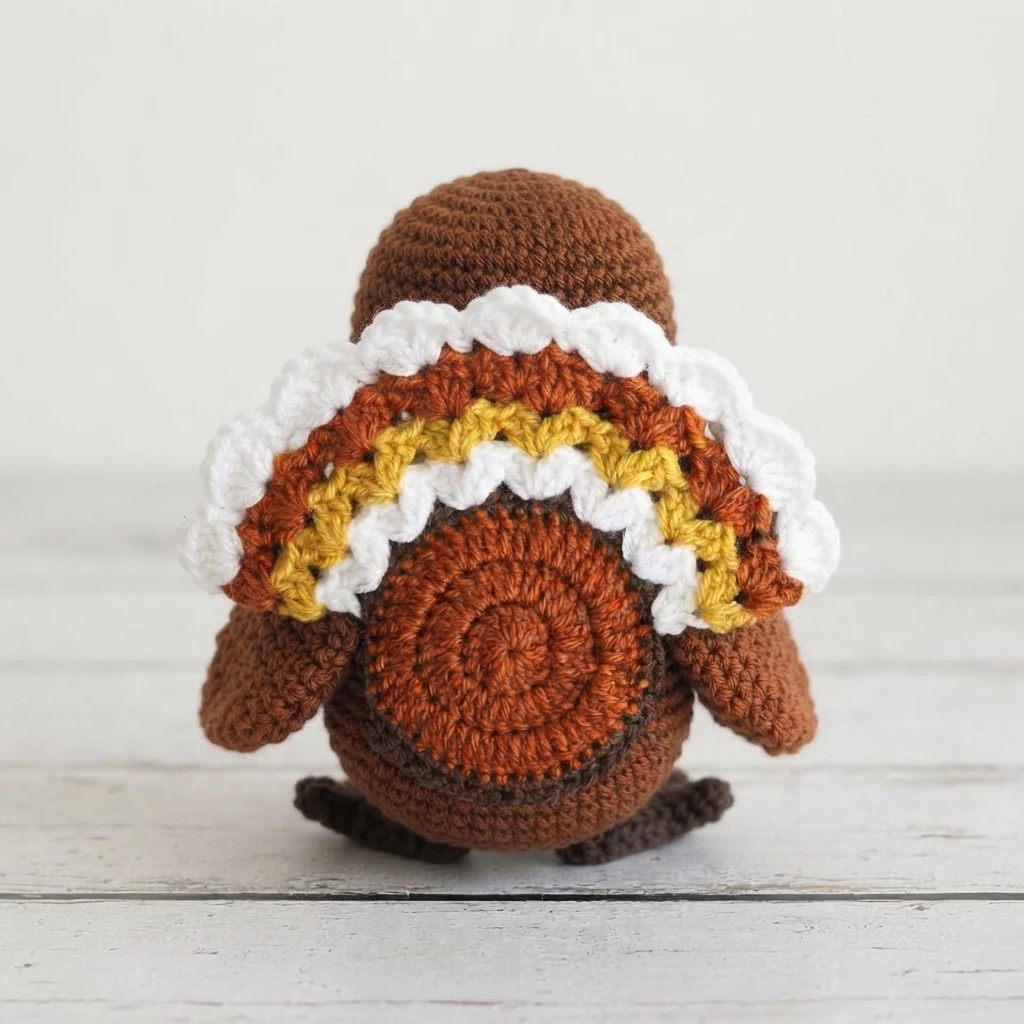
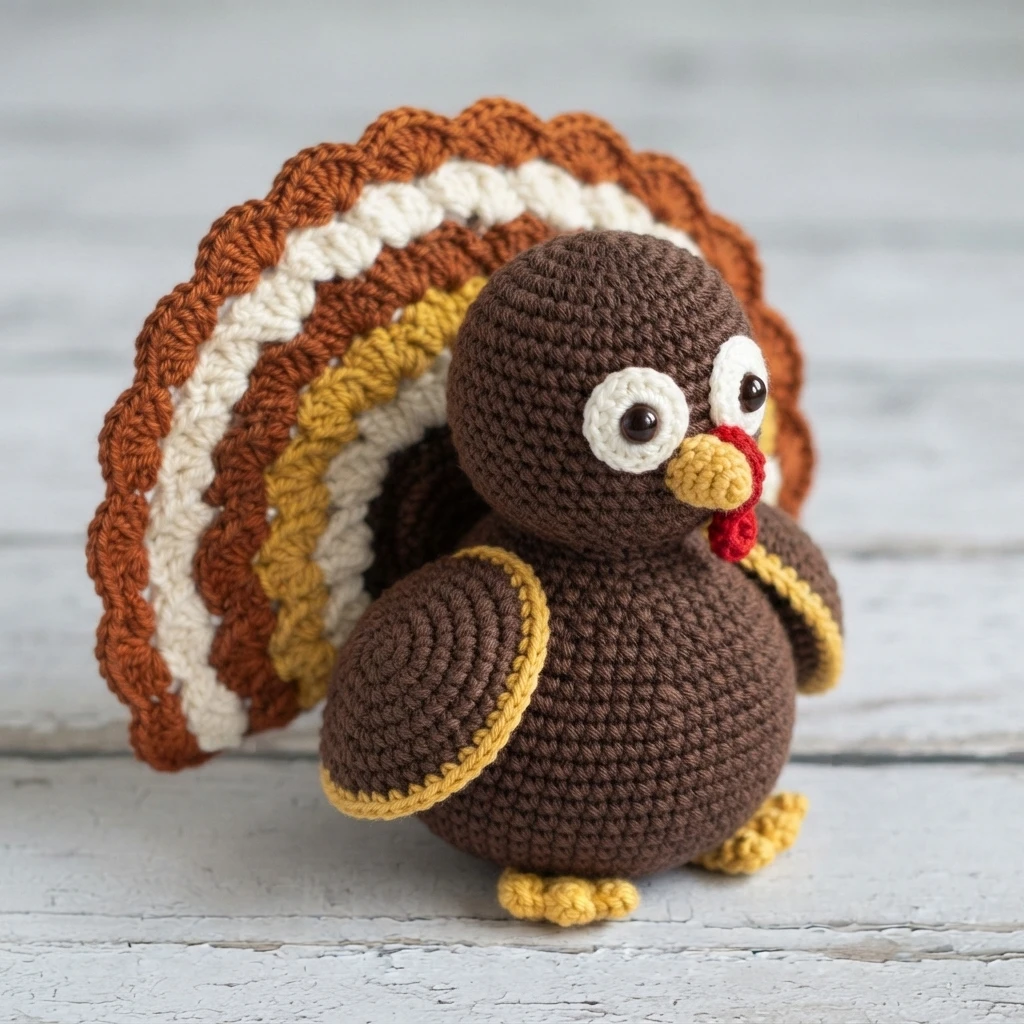
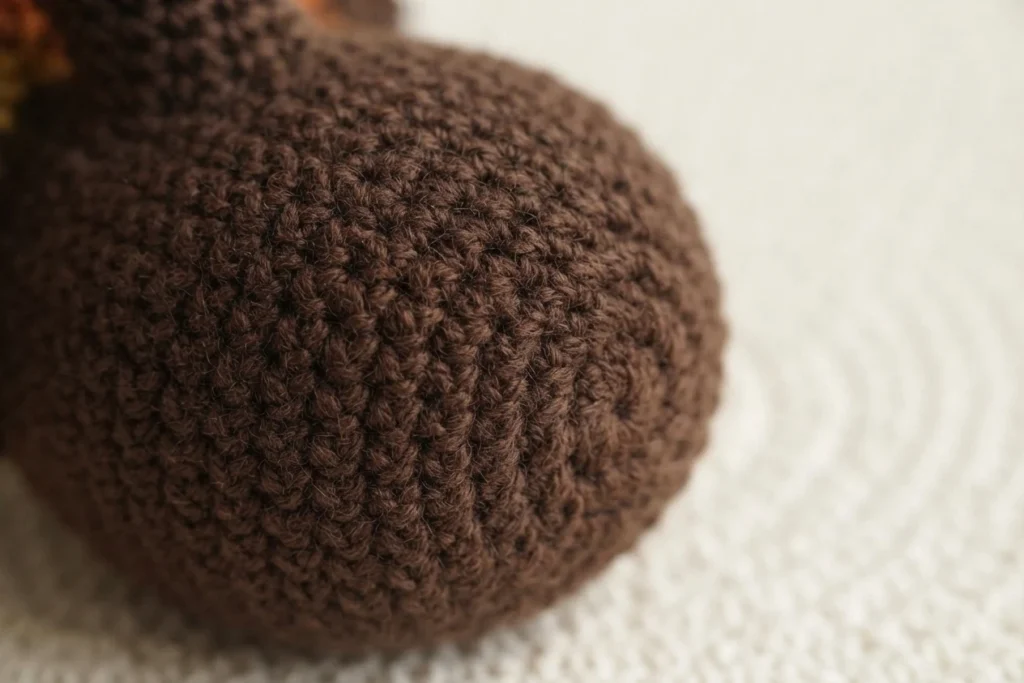
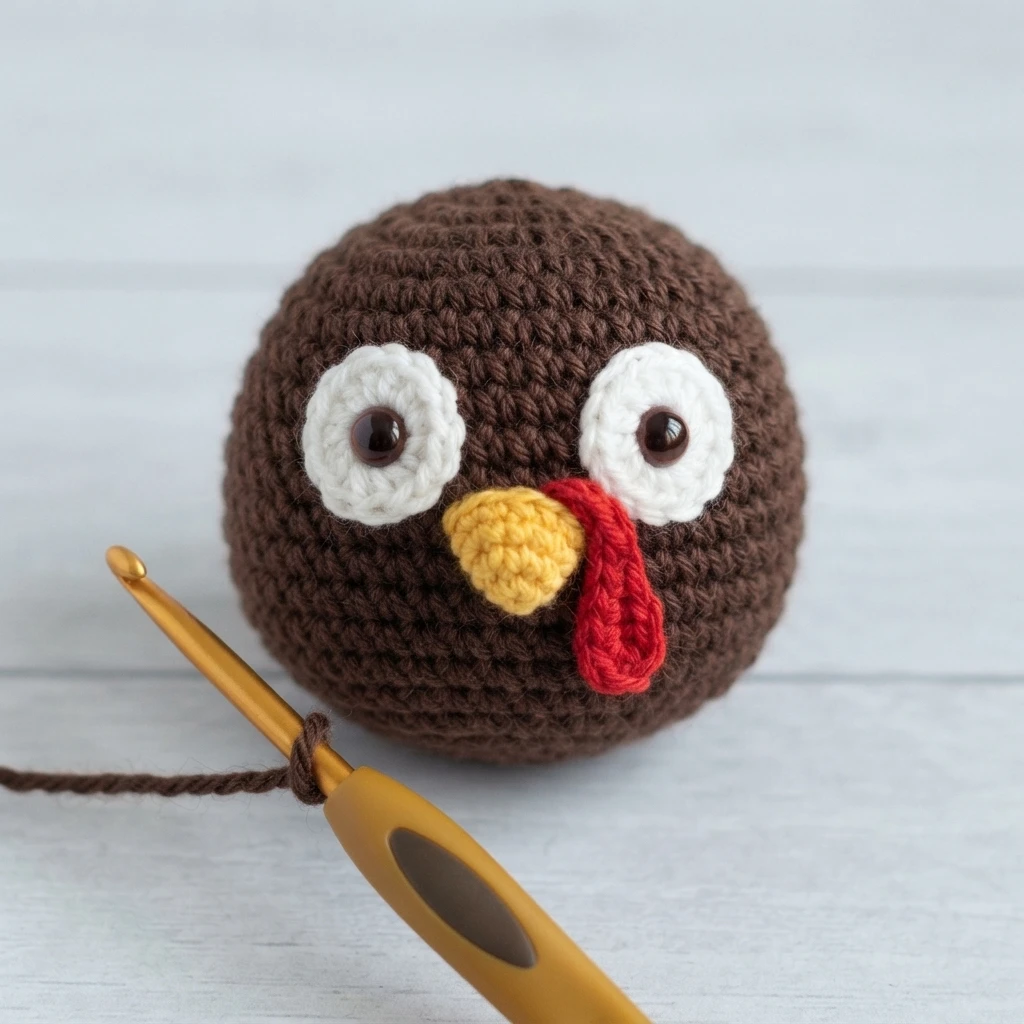
The body begins with a chain foundation and grows outward in rounds, holding a steady stitch count through the middle before decreasing toward the base. The head starts from a magic ring and expands to its widest point, with the safety eyes installed partway up the head before the piece is closed and stuffed. Both pieces are stuffed firmly, and the head is finished with a long tail left for sewing.
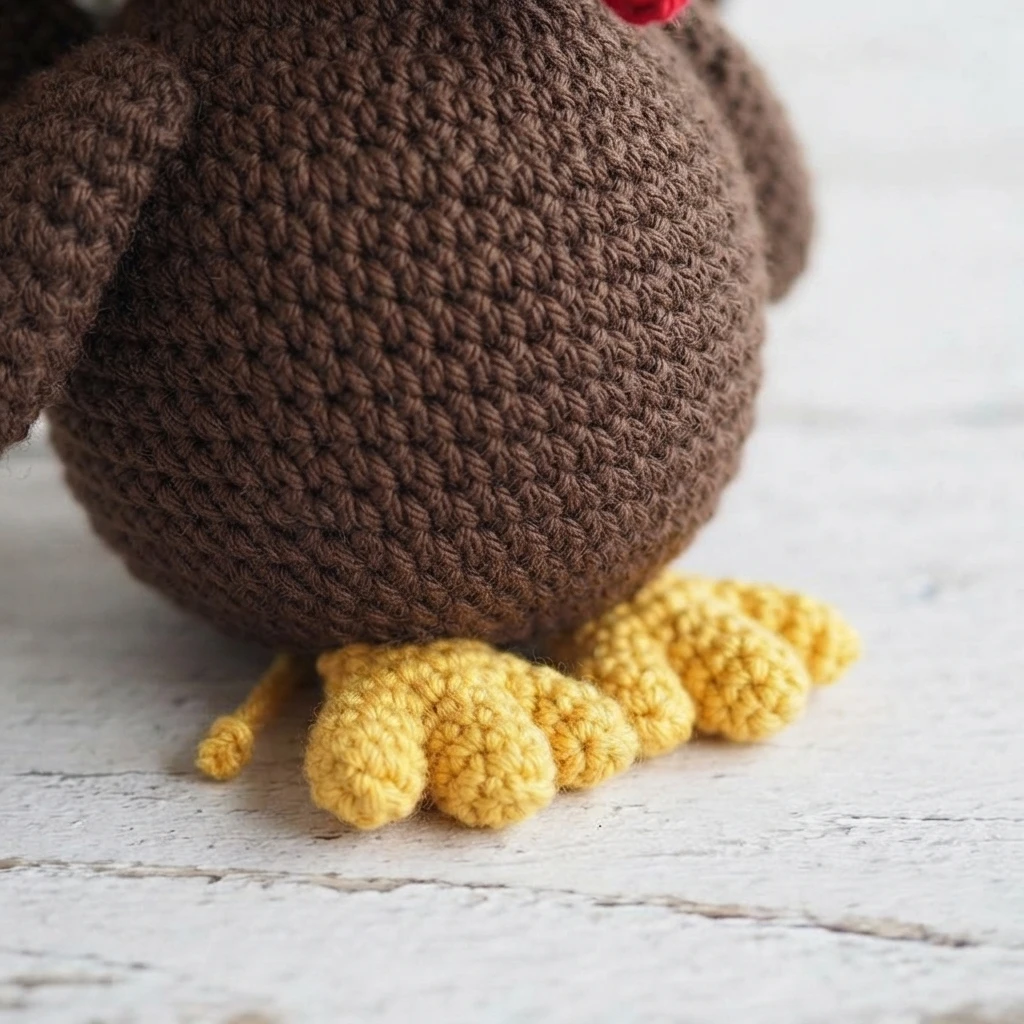
Smaller pieces follow the same round-based logic. The eye-whites are two white circles sewn alongside each other to build up the eye area. The beak is a short yellow shape, and the snood is a narrow red piece that is stuffed with polyester filling or red yarn scraps and then worked long and thin. The feet are the fiddliest part: three toes are made first, two are fastened off, and the third becomes the starting point for joining all three into a single foot.
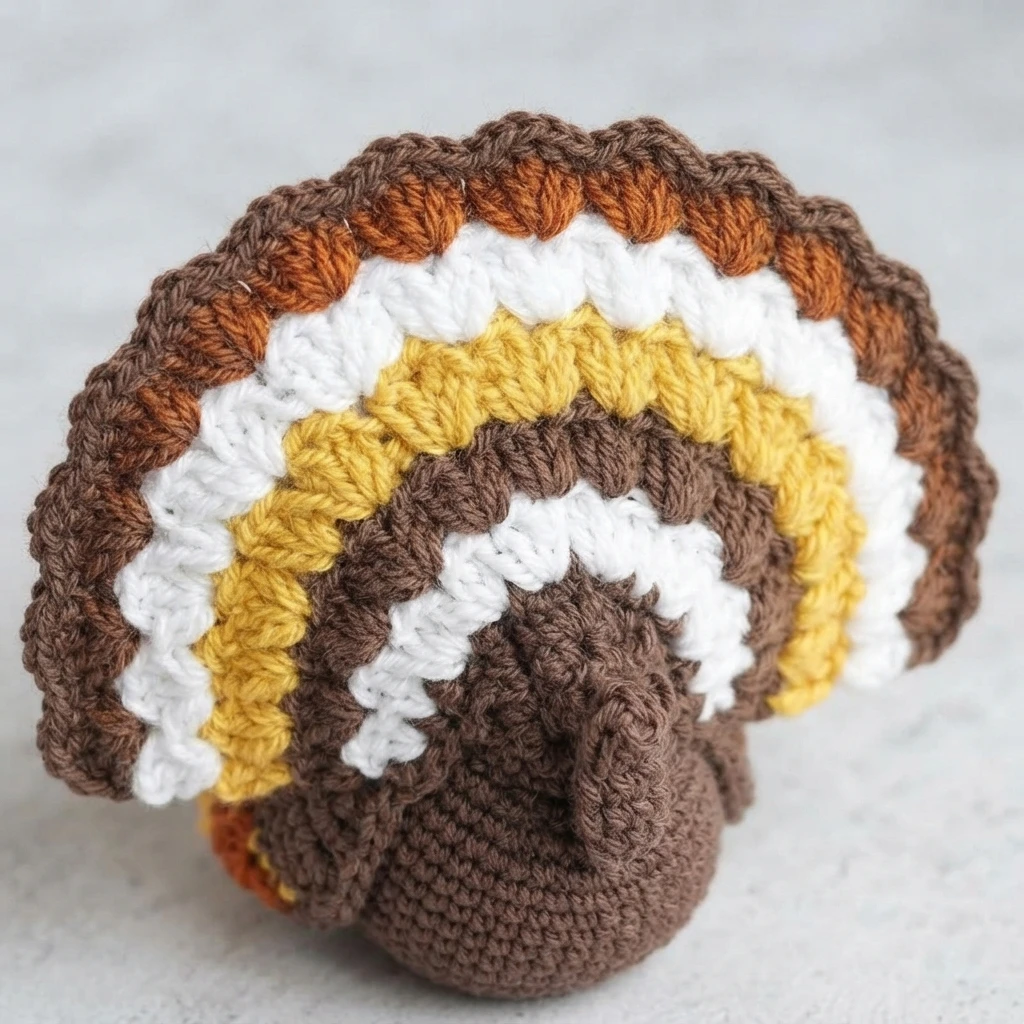
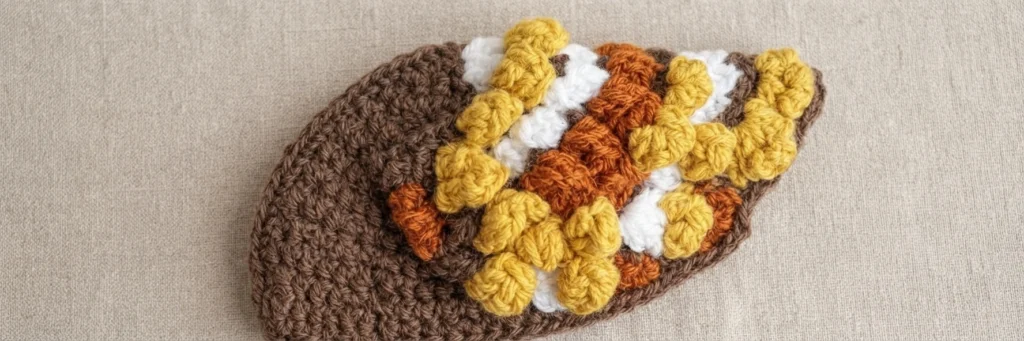
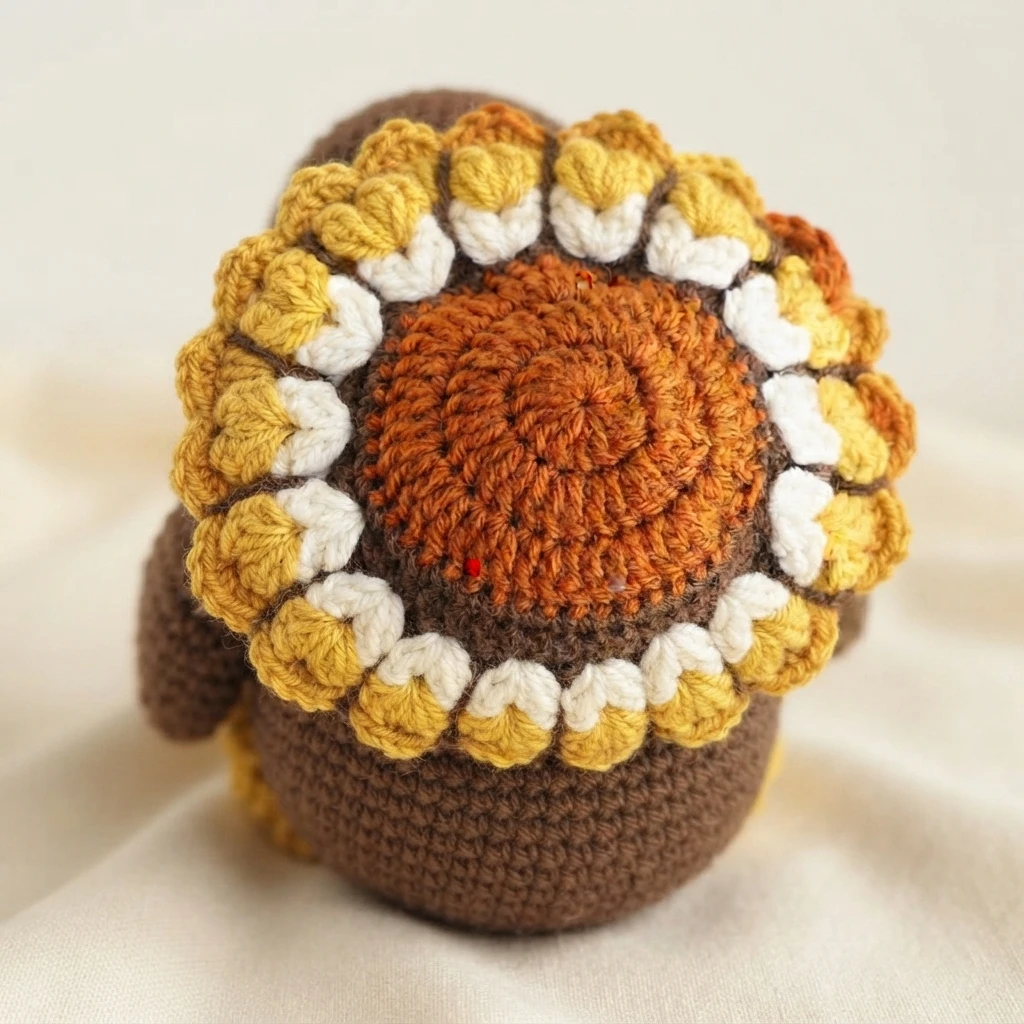
The tail is where the pattern really shows off. Two brown pieces are made with the larger hook, then the feather section is worked in five rows that alternate white, yellow and brown, using chain spaces and grouped double crochets to build the shell-like texture. Rows 2 through 5 begin in the chain space of the previous row, while row 1 starts in a single stitch. Each row is fastened off and the yarn hidden.
The two layers are then joined wrong sides together, working through both pieces, with the reserved yarn from round 4 starting the bottom arc and chain-and-single-crochet stitches running along the side edges.
How To Assembly Crochet Turkey Amigurumi
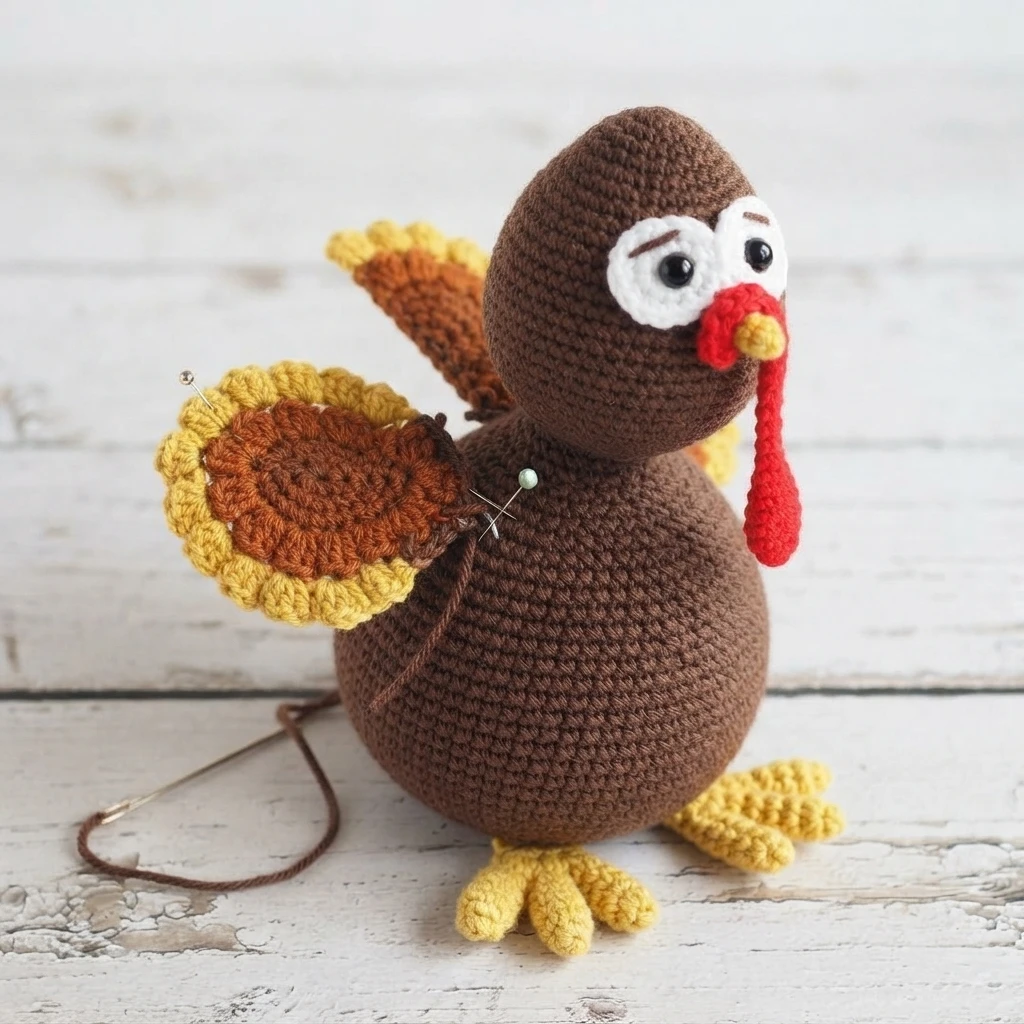
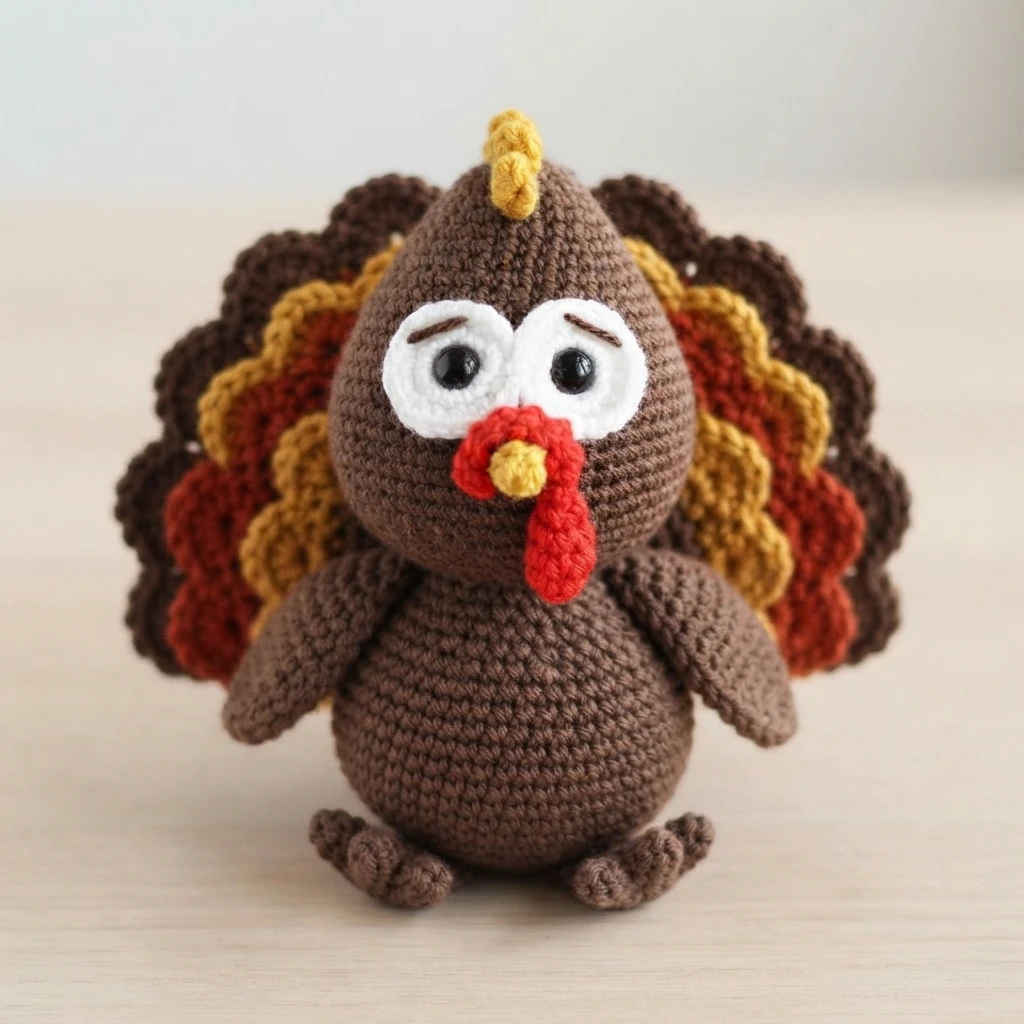
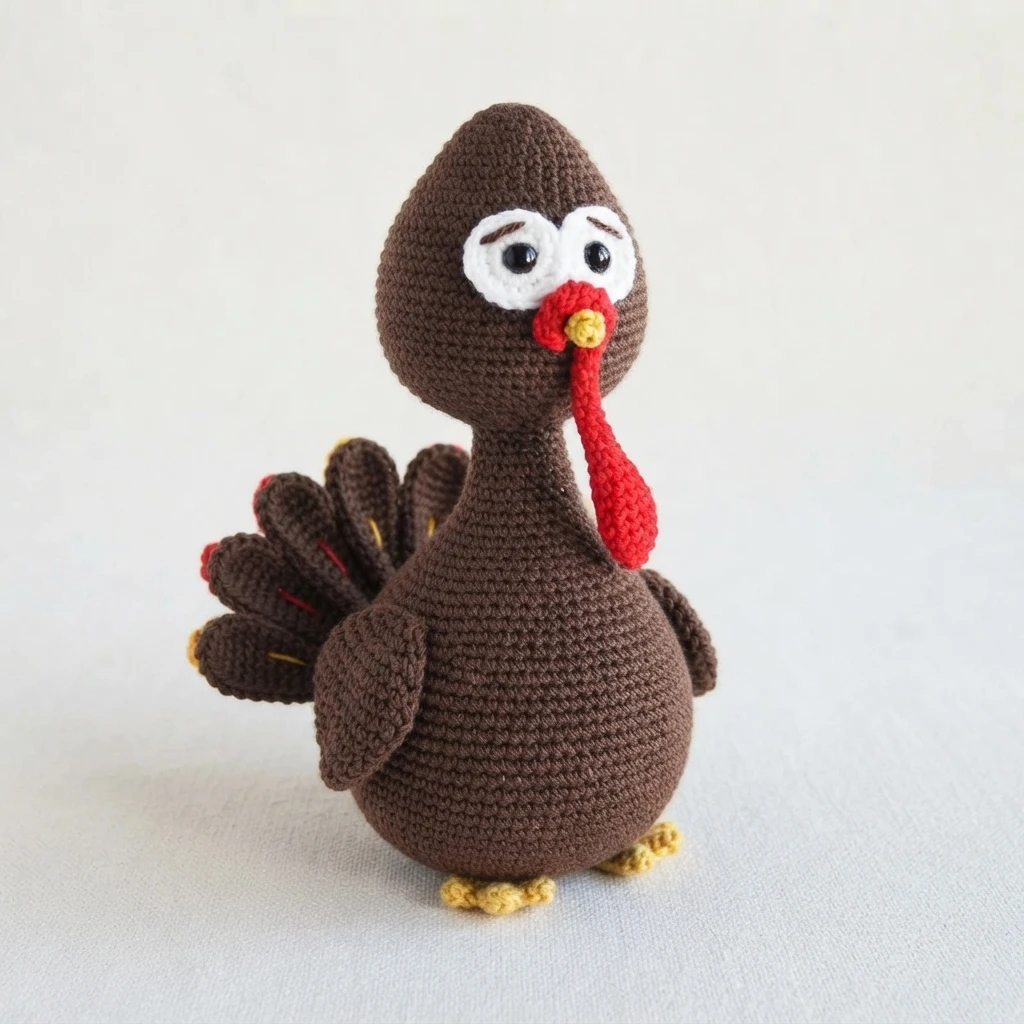
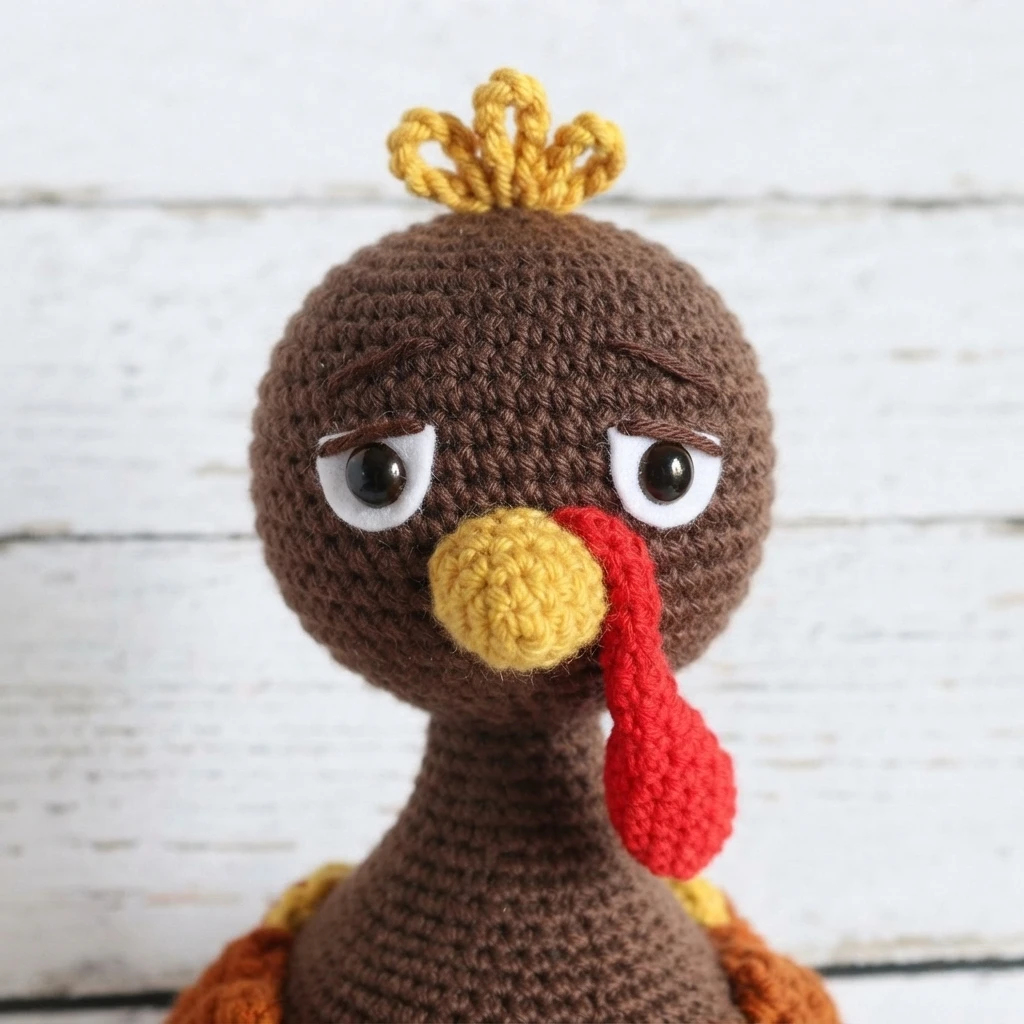
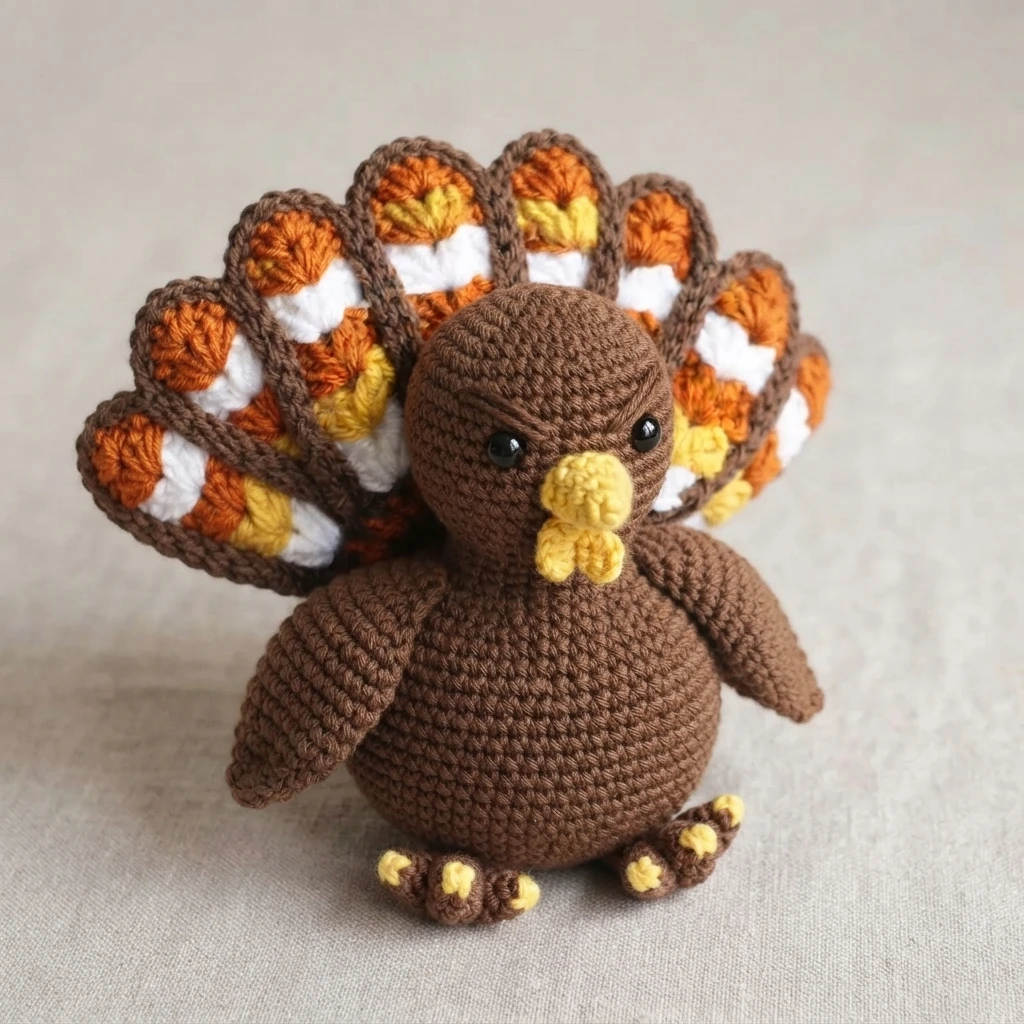
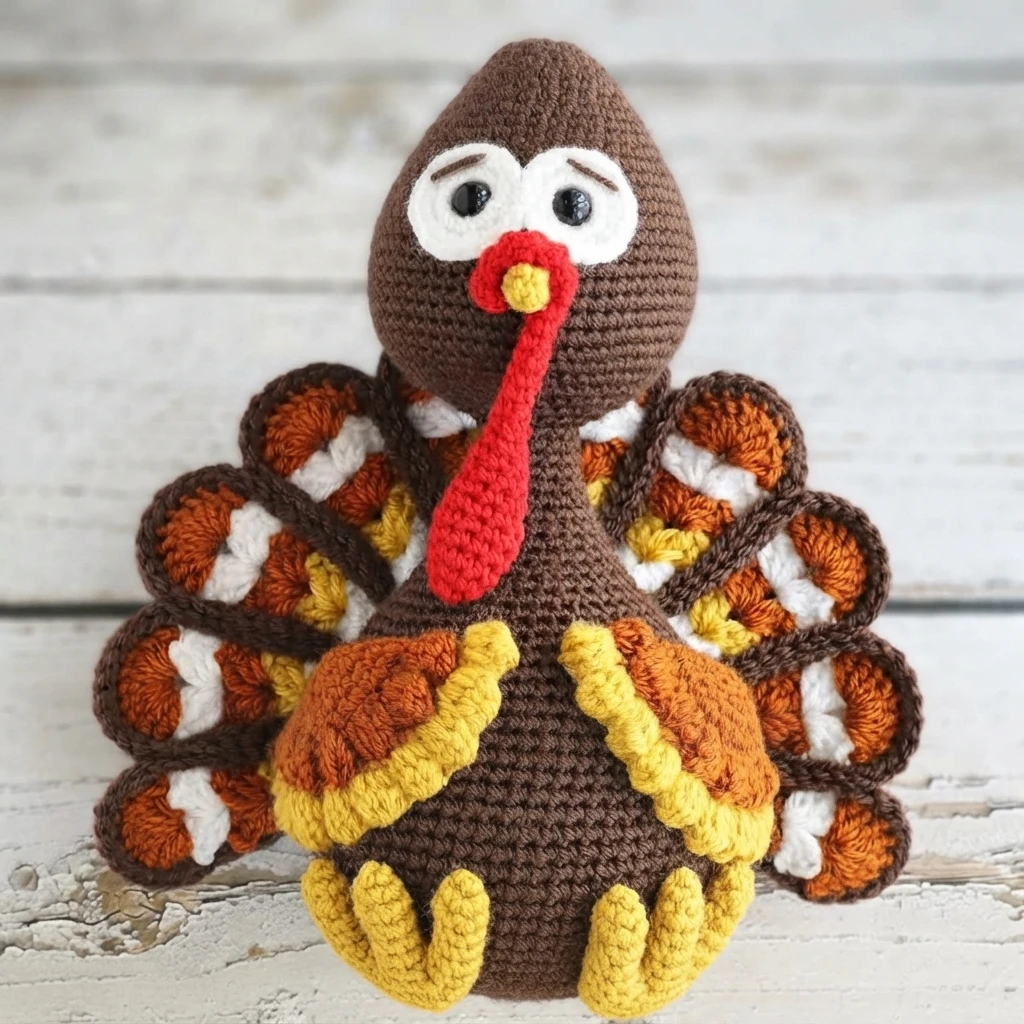
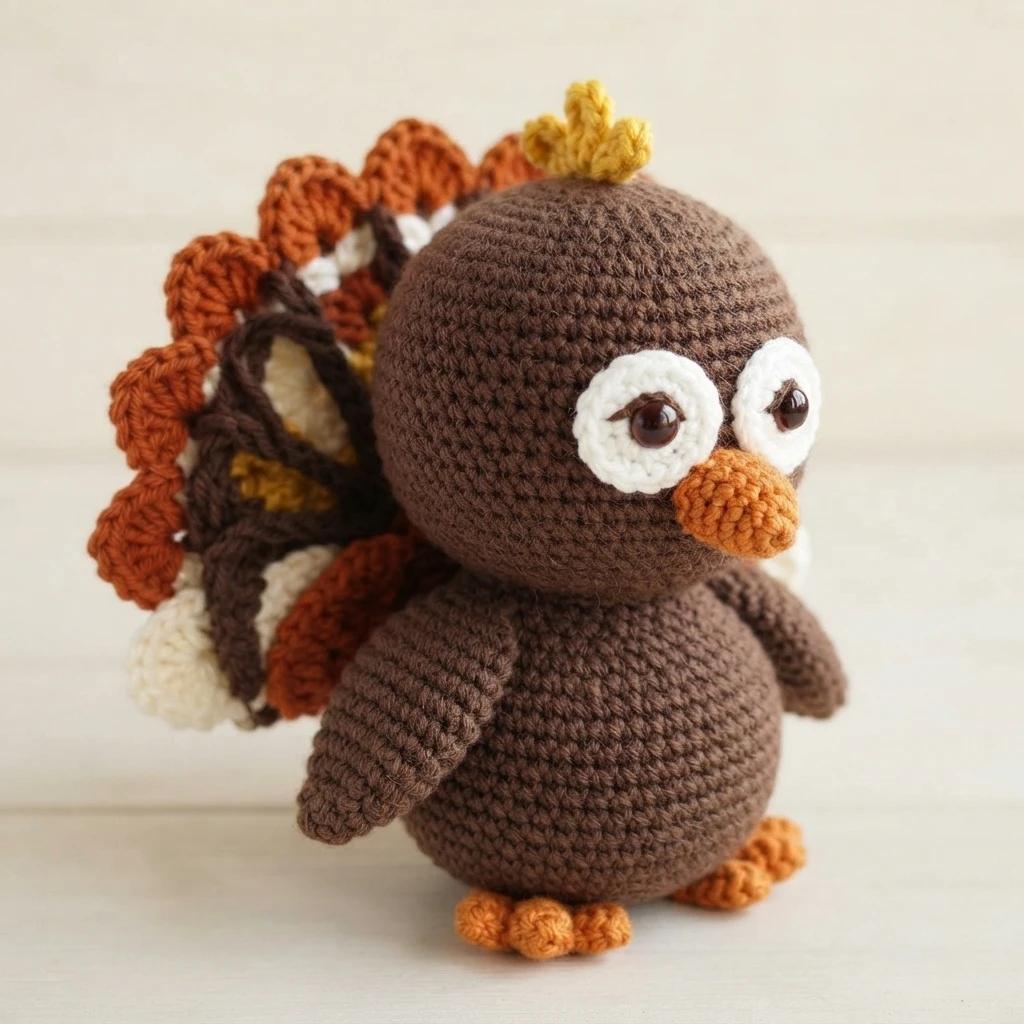
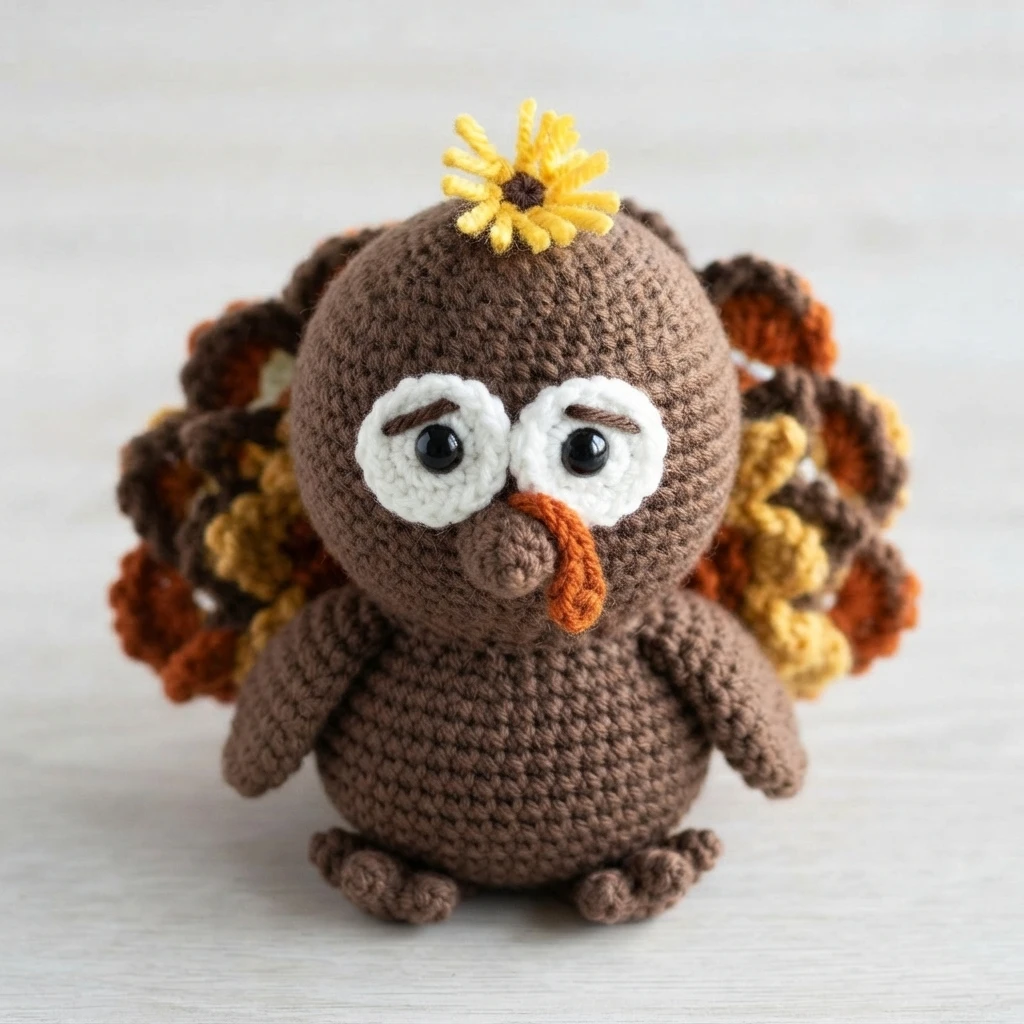
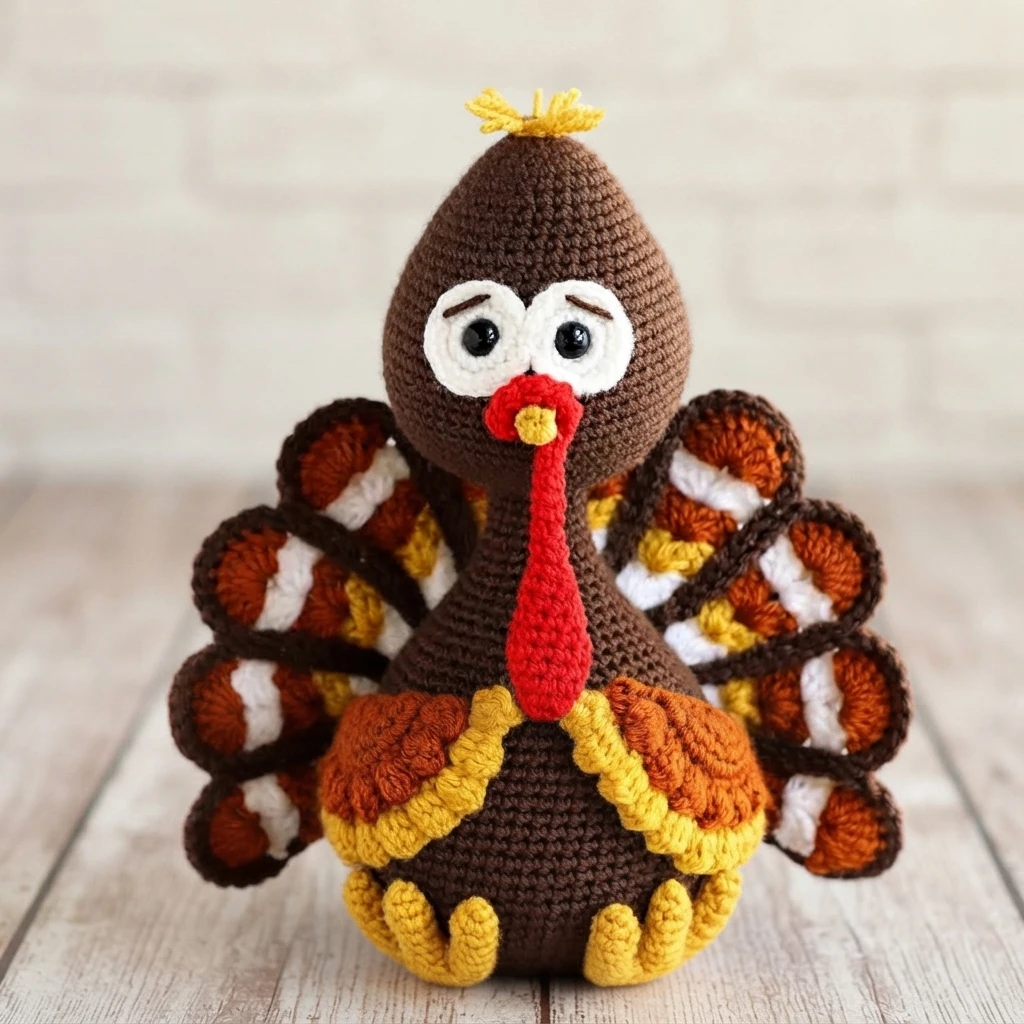
Assembly starts with the head. Add the eyes, beak and snood, then sew slanted eyebrows in short dark brown yarn above the safety eyes. The source notes that changing the angle of the slant changes the expression. Sew the beak below the center of the eye-whites, then sew the snood folded over the top of the beak.
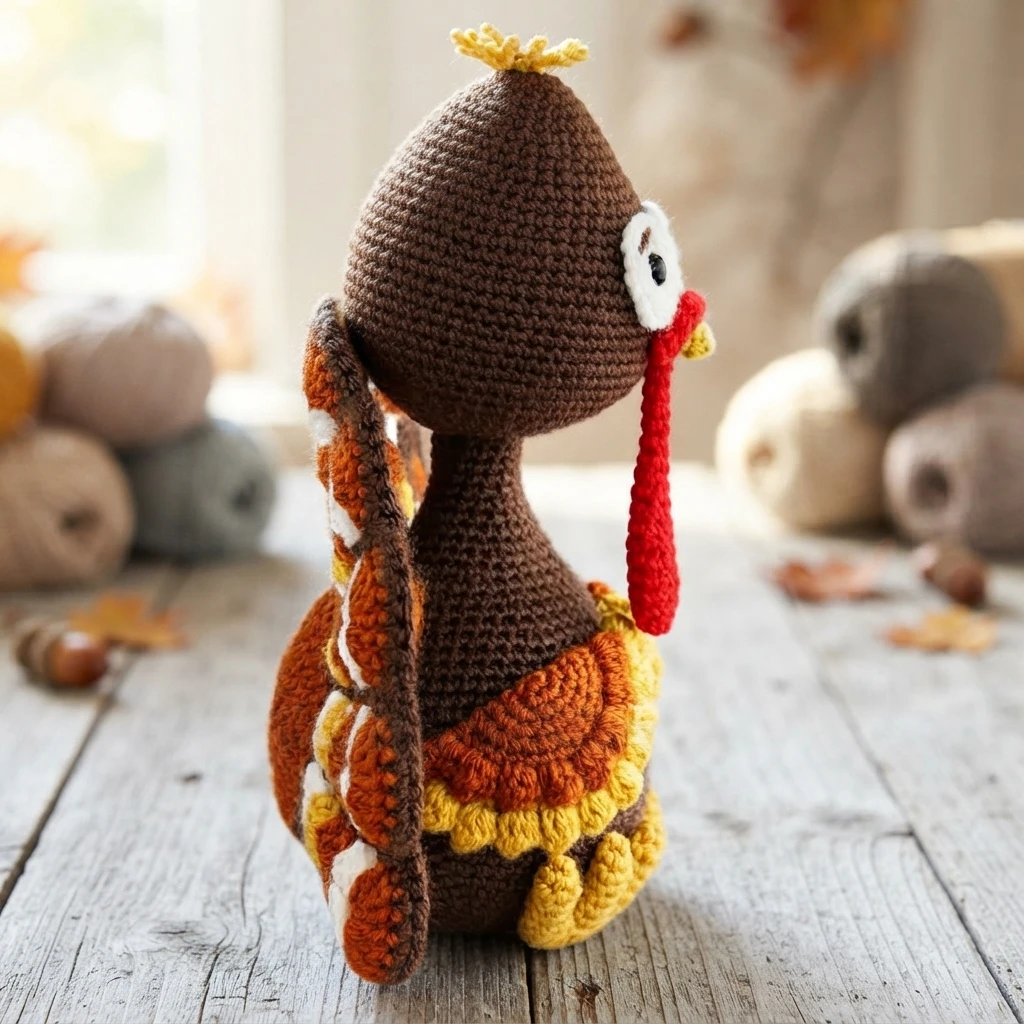
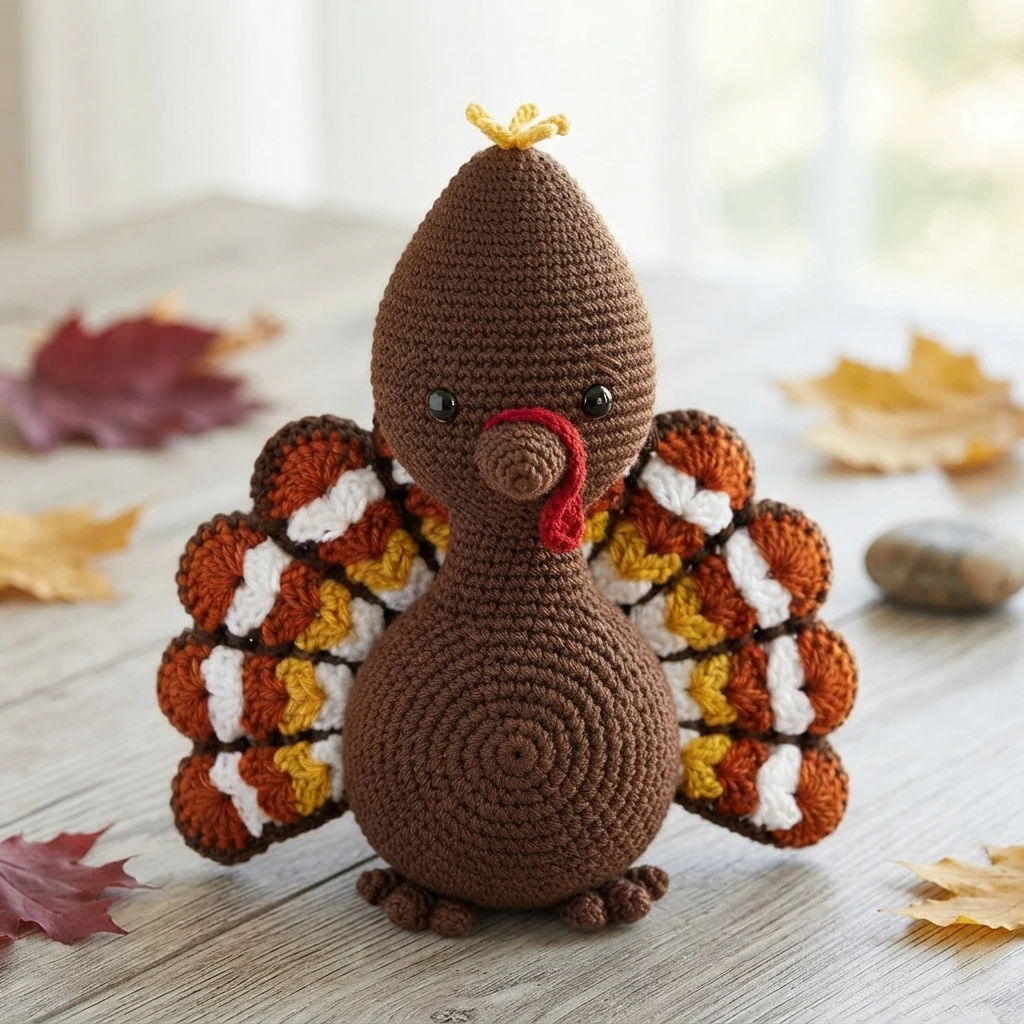
Next, sew the head to the body, followed by the wings and then the feet. Position the tail on the back of the body and pin it before sewing, starting with the bottom arc and then working around the rest of the arc. To finish, cut short strands of yellow yarn and tie them around the tip of the head for a crest. Firm, dense stuffing throughout gives the turkey a clean shape.
Notes
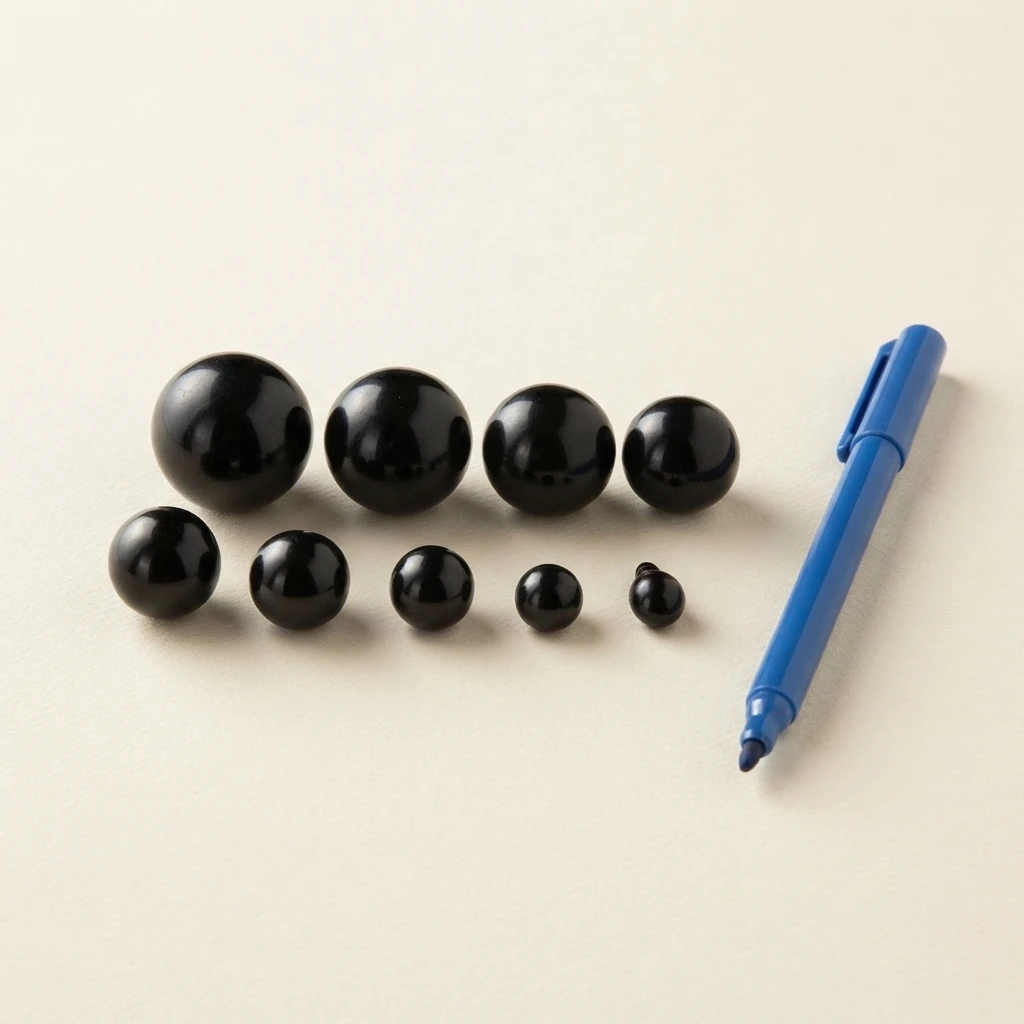
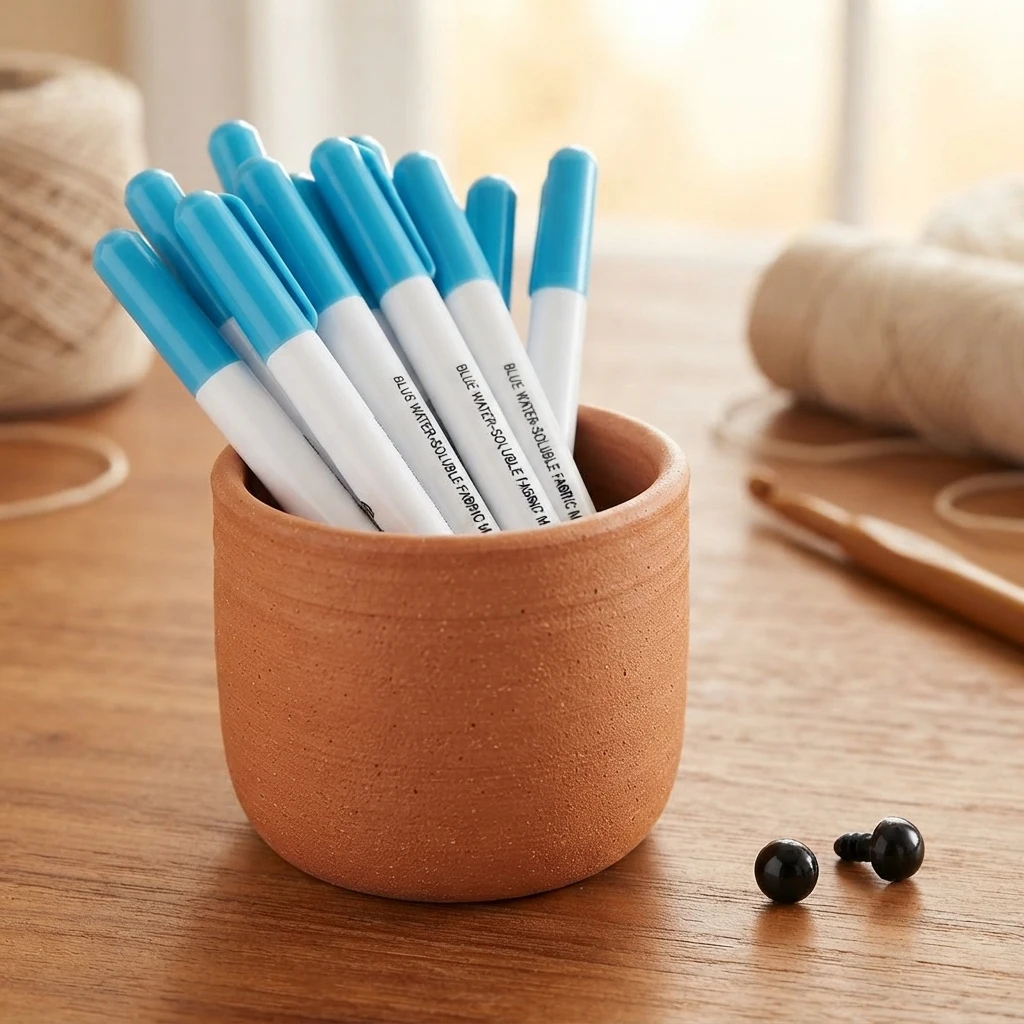
The source states that total project time is only an estimate and depends on how much time you spend on the project. It also stresses stuffing the parts firmly and densely so the turkey holds a nice shape. If you would like to compare seasonal turkey projects, see the Turkey Crochet Kitchen Towel: Pattern Overview or the Crochet Turkey Wallhanging: Pattern Overview.
Did you make this project?
Craft Passion invites makers to leave a comment on the original post or share a photo on Instagram and tag @craftpassion so the finished turkeys can be seen.



3 thoughts on “Crochet Turkey Amigurumi: Pattern Overview”