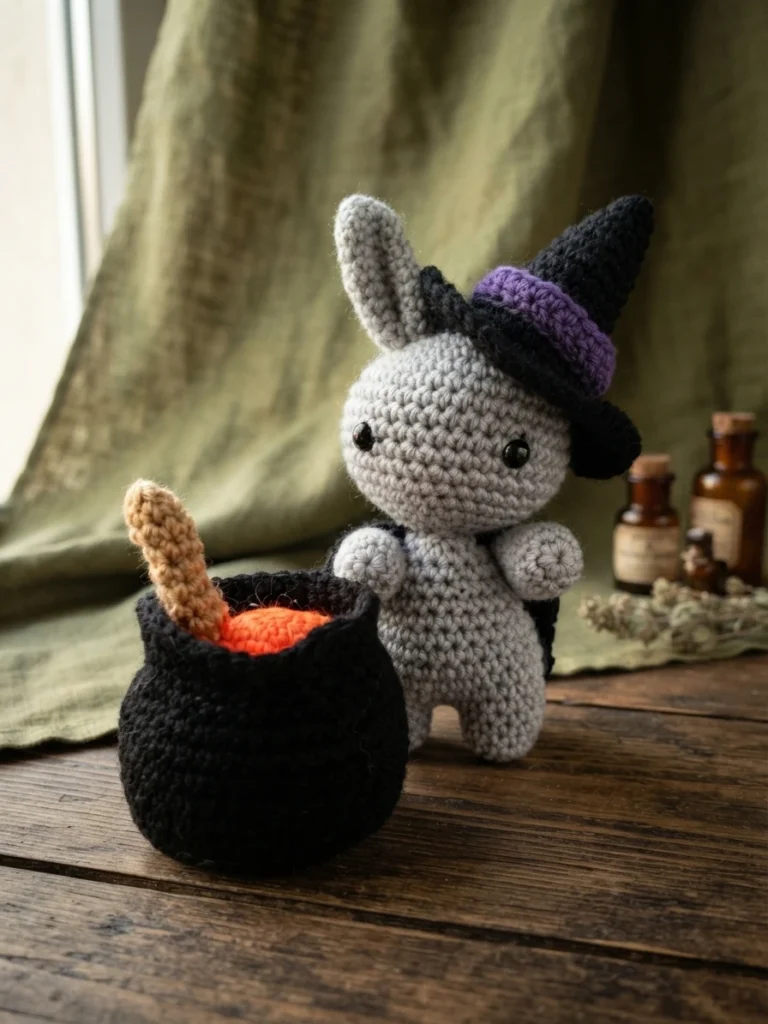
Project introduction
This is a pattern overview, not a full tutorial. The Halloween Witch Bunny is the tenth installment in the 12 months of bun series from Rina Mogryna Art, and only two months remain in the project. The designer notes that pregnancy, a final exam and vacation made the last few months busy, but expects the final two bunnies to arrive on time.
October called for a Halloween theme. Because a felted pumpkin bunny and a crochet ghost bunny already lived in the collection, a witch was chosen instead. The designer mentions that the cauldron came out slightly too big, so the final positioning needed adjusting. The original designer’s pattern and instructions are where you will find the complete written pattern.
Pattern Overview
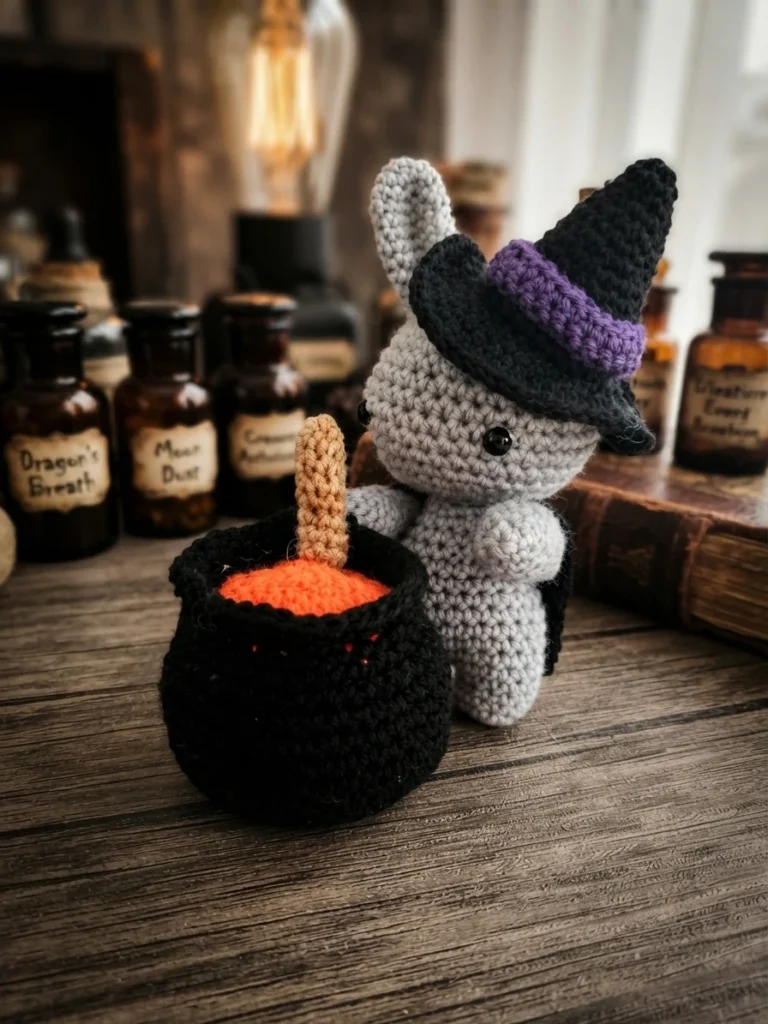
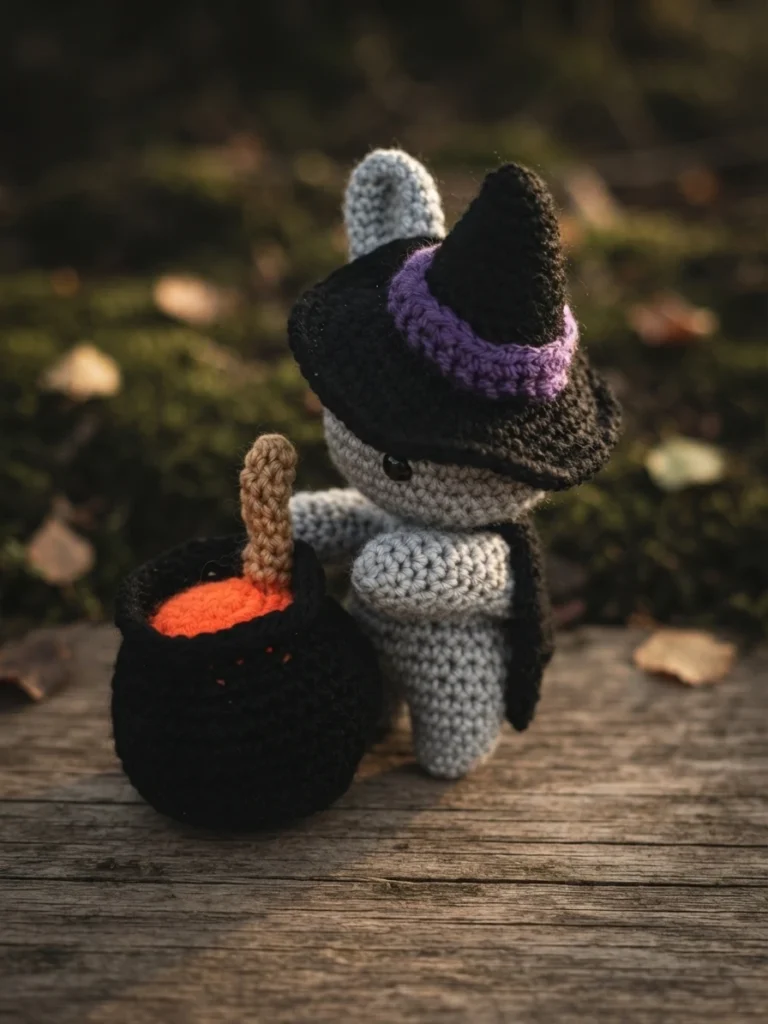
Rina Mogryna Art wrote this pattern in US crochet terms, worked in continuous spirals, with the cape made in rows. The finished bunny uses grey as the main color, with black, purple, orange and brown accents for the hat, cape, cauldron, potion and stirring stick. The designer notes the pattern can be adapted with any hook size and yarn weight for a smaller or bigger result, and prefers DK because it is commonly available.
Here is the complete supply checklist as listed by the designer:
- Crochet hook sized for your chosen yarn weight (the designer used a 2.5mm hook with DK yarn)
- Yarn in grey, black, purple, orange and light brown
- Tapestry needle and scissors
- Fiber stuffing
- Safety eyes
- Pipe cleaner (optional, for the stirring stick)
- Stitch marker
For amigurumi, the designer recommends going down a bit from the yarn’s recommended hook size to get a no-hole look so the stuffing does not show between stitches. Using DK yarn and a 2.5mm crochet hook, the bunny should be about 15-20cm tall.
The pattern uses these stitches and abbreviations: Magic Ring (MR), chaining, single crochet (sc), double crochet (dc), decrease (dec), preferably using the invisible decrease method, increase (inc), and working in front loops only (FLO).
Construction is modular. The head is worked in grey from a magic ring, shaped with increases and decreases, with the eyes placed between rounds 11 and 12, approximately 7 stitches apart on the wider side of the face. Two grey feet are joined together to form the body. A single ear, two arms and a tail complete the bunny in grey.
The cape is worked in black in rows, starting with ch 13 and increasing to 20 stitches before the ragged edge of 4 triangles is added. The hat is worked in black from a magic ring, increasing gradually over multiple rounds, with round 14 worked in back loops only. The designer made the purple hat trim separately but notes you could simply switch to purple for rounds 12-13 instead. The trim begins with ch 26 and works 15 sc across.
The cauldron is worked in black, growing to 42 stitches before decreasing to 24, with round 18 in front loops only. The potion is worked in orange up to 36 stitches, and the stirring stick is worked in light brown with 8 rounds of 6 sc.
Assembly involves sewing the head to the body, folding the ear bottom and sewing it to the head, attaching the arms and tail, sewing the cape around the neck, stuffing and attaching the hat, and finally stuffing the cauldron, placing the potion and sewing it on. The pipe cleaner can be inserted into the stick if desired. The designer notes the cauldron assembly can be a bit tricky and suggests taking your time.
The designer permits posting pictures of the witch bunny online and selling amigurumi made from this pattern, provided credit is given as the creator of the pattern. Redistributing the pattern is not allowed. If you would like to see the full row-by-row instructions, visit the Original designer’s pattern and instructions.
If you enjoy Halloween amigurumi, you might also like the Little Witch Amigurumi Halloween: Pattern Overview or the Crochet Jack-o-Lantern, Spider or Lady Bug Halloween Costume: Pattern Overview.



1 thought on “Meet the Halloween Witch Bunny! (October bun; pattern): Pattern Overview”