Project introduction
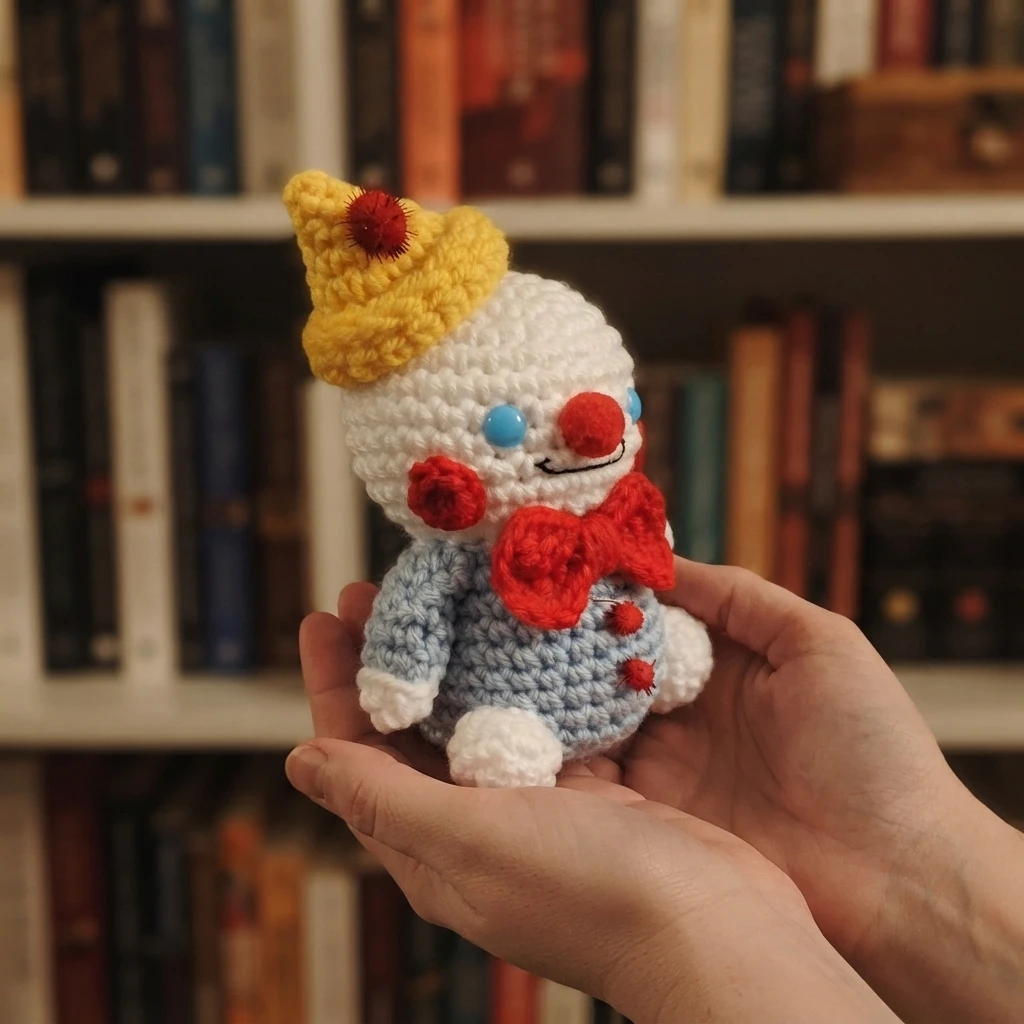
This is a pattern overview, not a full tutorial. The Pietro the Clown crochet tutorial comes from Missy of Pixeled Peach, and the complete row-by-row instructions live on her blog. Here you get the story behind the design, the supplies the source lists, and a clear picture of how the plush goes together, so you can decide whether to open the original and crochet along.
The design began with a trip. The designer flew to New Orleans to visit her mother, who had recently moved there. It was her first visit to her mother’s new house, and only her second trip to the city; the first was nearly ten years earlier, and she does not remember much of it because that visit was short.
While eating oysters in a local seafood restaurant, she noticed the Christmas decorations were still up. Among large globe ornaments on the ceiling and garland and bows on the walls, she spotted an extremely adorable snowman wood cut sign she had never seen before. She asked about it and learned the snowman is a New Orleans tradition called Mr. Bingle.
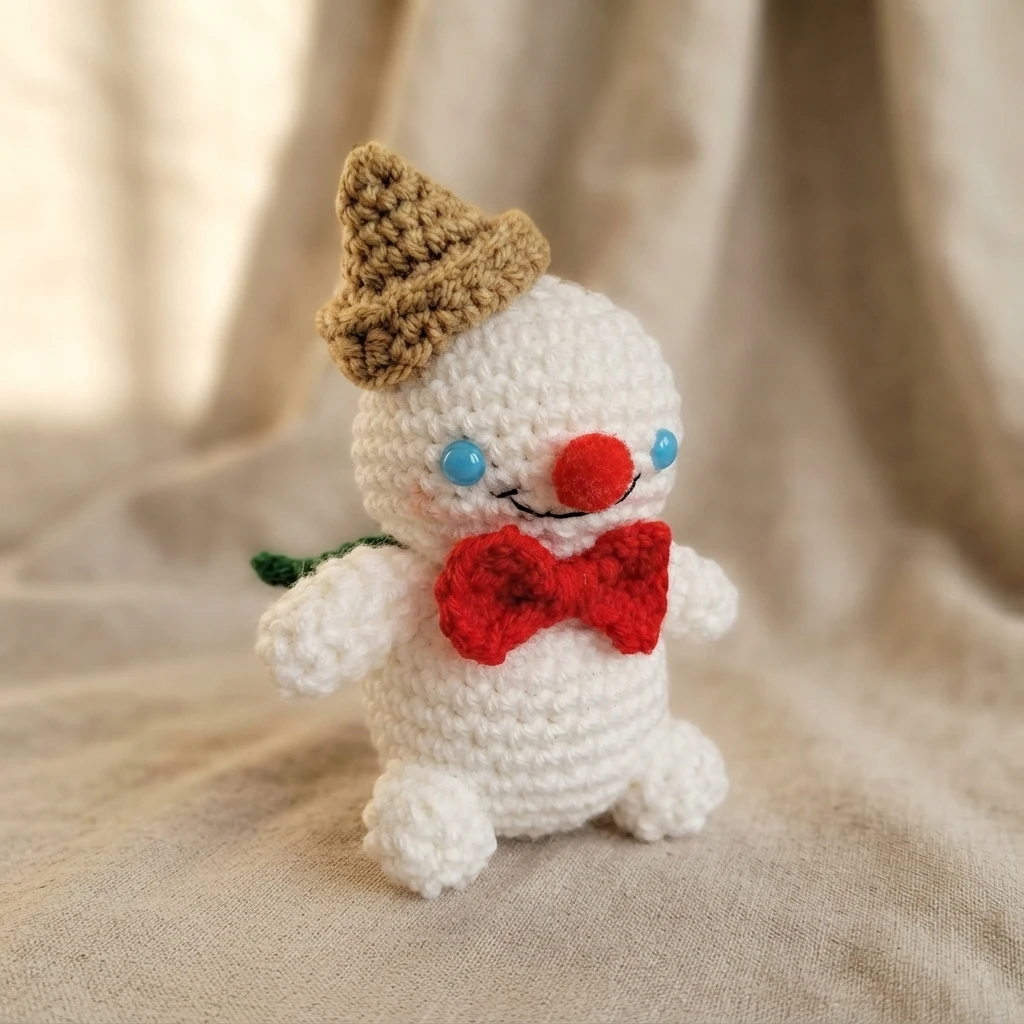
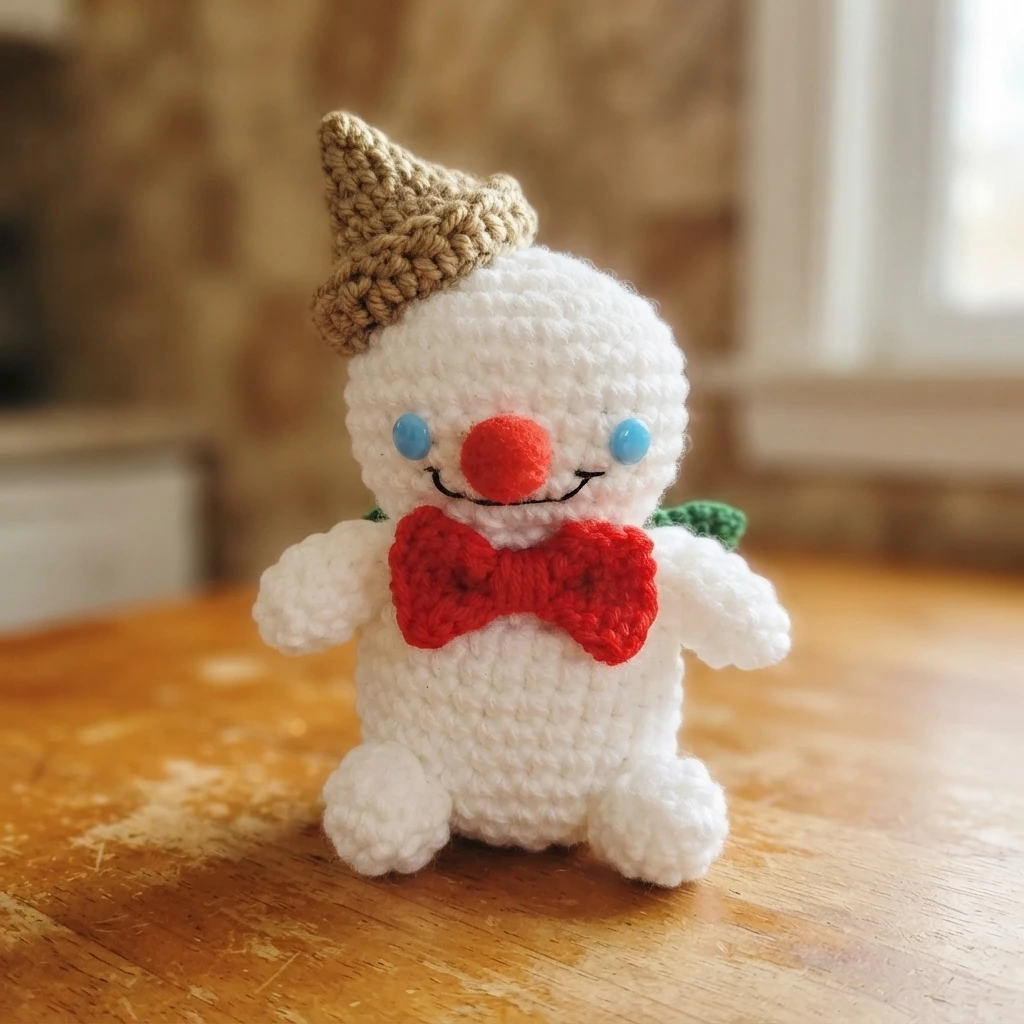
Back home, she decided to try crocheting her own Mr. Bingle. Pietro’s design is based on those results. She loves the little cone hat set at a jaunty angle, the puffball nose, and the charming little bow tie, and knew she had to turn him into a plush. You can find the Original designer’s pattern and instructions on Pixeled Peach.
Pattern Overview
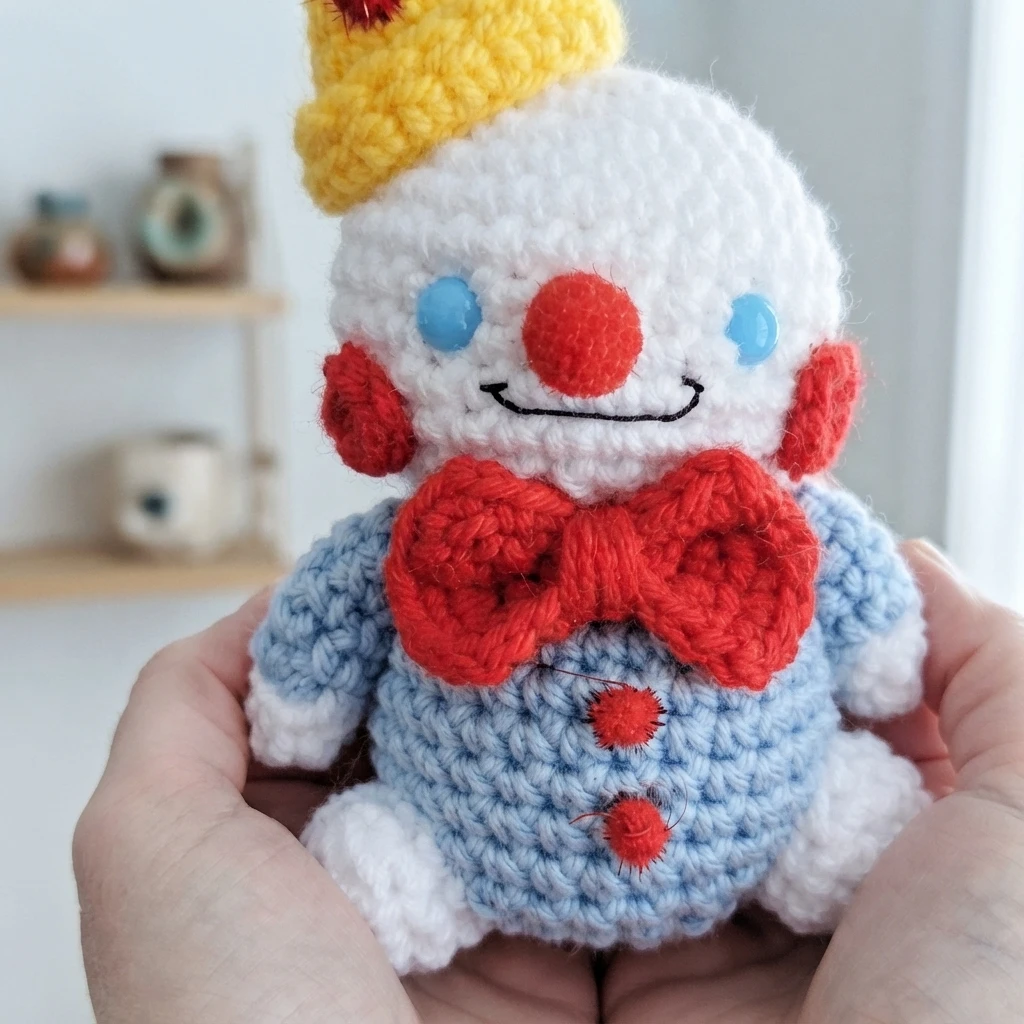
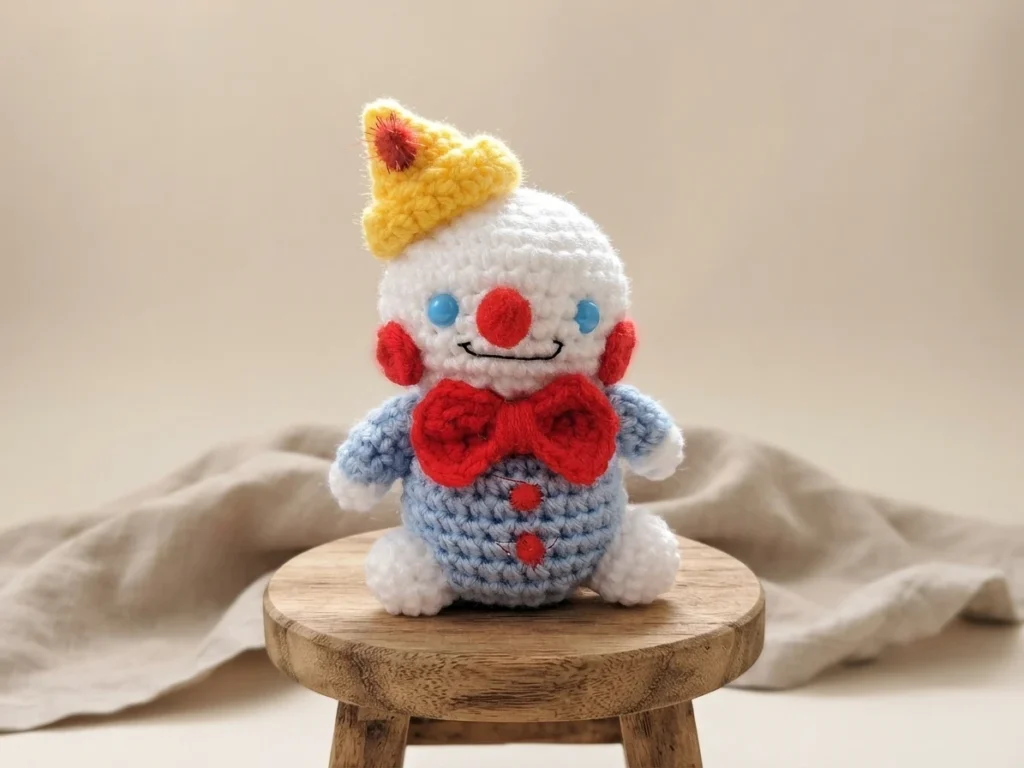
Pietro comes together from several separate pieces that are joined at the end. The source works a head and a body, two cheeks, a cone hat, a bow tie with puffball buttons, two arms, and two feet. Colors shift by section: white for the head and feet, red for the cheeks and bow tie, yellow for the hat, and blue for the body, with the arms starting in white and changing to blue.
Construction follows a familiar amigurumi rhythm. Rounds begin with a magic loop, increase outward, hold steady for several plain rounds, then decrease back down. Pieces are stuffed as noted, fastened off, and joined with whip stitches or hot glue.
The source provides a video tutorial alongside the written pattern, recommending their use together for clarity. To help you prepare, here is a summary of the pieces and colors listed in the source:
- Head: White
- Body: Blue
- Cheeks and Bow Tie: Red
- Hat: Yellow
- Arms: White transitioning to Blue
- Feet: White
Abbreviations
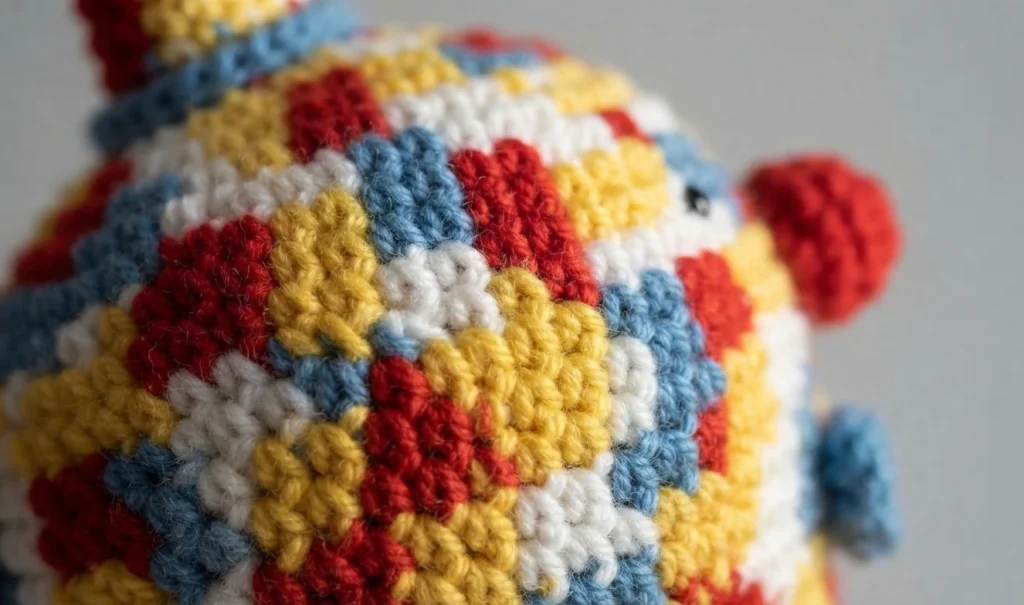
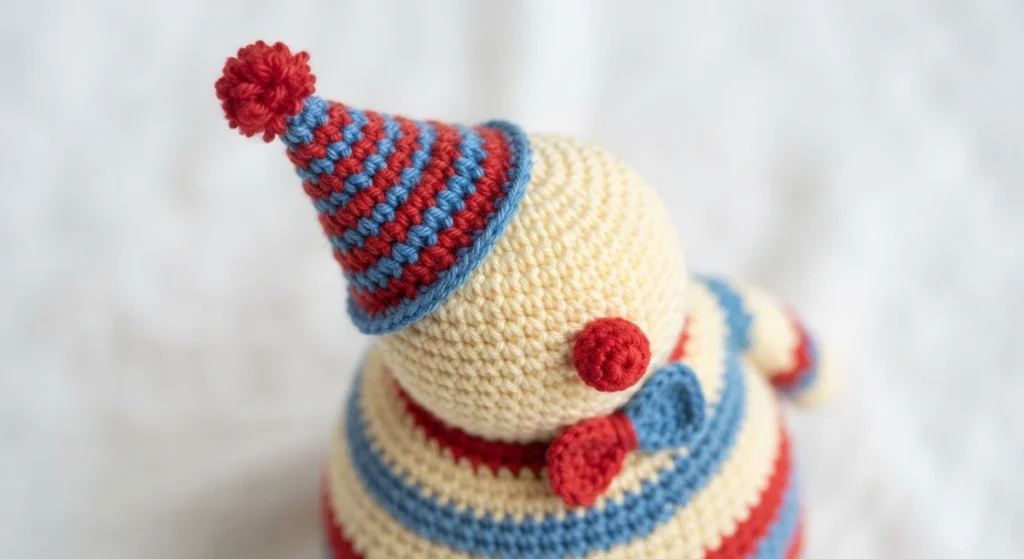
The source includes an abbreviations chart of the stitches the designer uses most frequently. It notes that some of the listed abbreviations may not appear in this pattern, so treat the chart as a general reference rather than a checklist for Pietro. If you meet an abbreviation you do not recognize, go back to that chart in the original post.
Head
The head starts in white yarn with a magic loop of 6 single crochet. The source increases outward across the early rounds, holds a steady width for several plain rounds, then decreases back down. Eyes are placed between rows 9 and 10, about 5 stitches apart, and the head is stuffed before the final decrease round closes it.
Face Details
Face details are simple and mostly assembled rather than crocheted. The puffball nose is glued on with a hot glue gun, and the mouth is embroidered with black embroidery thread. Work these after the head is closed so you can position the features on a finished shape.
Cheeks
Make two cheeks in red yarn. Each one is a single round: a magic loop of 6 single crochet. Fasten off and weave in the tail, then hot glue the cheeks to the face. Because they are glued rather than sewn, place them before the glue sets so you can adjust the expression.
Hat
The hat uses yellow yarn and begins with a magic loop of 3 single crochet. The source increases over several rounds, works one plain round, then forms the brim using slip stitch, chain, and back loop only half double crochet techniques. Fasten off, weave in tails, stuff lightly, and hot glue to the top of the head at an angle.
Body
The body is worked in blue yarn and mirrors the head’s shaping. It starts with a magic loop of 6 single crochet, increases outward, holds a steady width for several rounds, then decreases back down. Stuff the body, complete the final decrease, fasten off, cinch remaining stitches, and attach the head using whip stitches.
Bow Tie + Puffball Buttons
The bow tie uses red yarn and is worked in rows. The source begins with a chain of 8, turns and single crochets down the chain, then works several rows of single crochet in each stitch. A final round single crochets around the border, chaining 1 stitch to turn the corners; on the last side, slip stitch and stop halfway through. Cut a long tail and wrap it around and around the center to cinch the middle of the tie, then knot it at the back to secure the wraps.
Use the remaining tail to sew the bow tie around the neck, securing both sides with a straight stitch directly into the body fabric. Tie a knot and weave in the tail. Once the bow tie is attached, hot glue the puffball buttons directly underneath it.
Arms
Make two arms using white then blue yarn. Each starts with a magic loop of 6 single crochet, works single crochet around for two rounds, and changes to blue in the last single crochet of the third round. In blue, increase once then work single crochet around for the remaining rounds, lightly stuffing as you go. Fasten off and leave a tail for sewing.
Attach each arm to the sides of the body with whip stitches, tack the lower part of the arm to the body, then tie a knot and weave in the remaining tail.
Feet
Make two feet using white yarn. Each begins with a magic loop of 6 single crochet, then a round alternating single crochet and increase, followed by two rounds of single crochet around. Fasten off leaving a long tail for sewing. Lightly stuff each foot, then use the tail to whip stitch it to the body.
Complete!
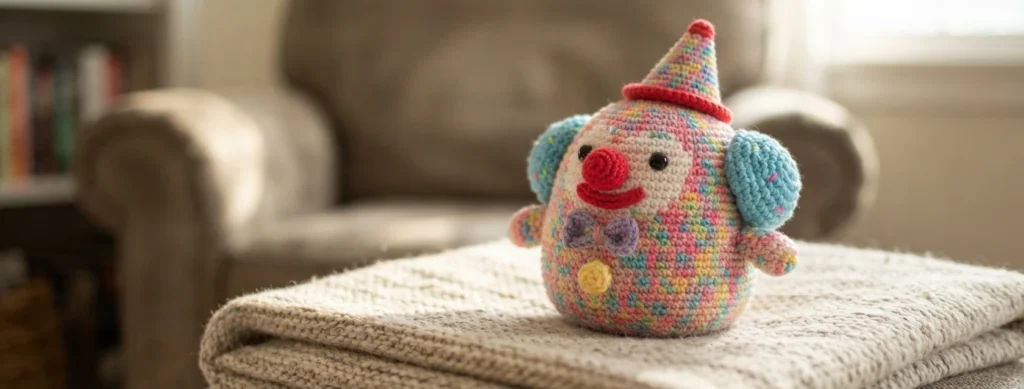
The source closes with a note of thanks and a few terms. The designer asks that the pattern not be sold, redistributed, or passed off as your own, and suggests sharing it by sharing the blog. Items made from the pattern may be sold, but the designer must be credited on the listing. The section is signed Missy, and readers are invited to tag @pixeledpeach on Instagram to share makes.
If you enjoy clown-themed amigurumi, these related overviews are worth a look: Lil’ Penn the Kitty Clown pattern by StringsandThingsByJoyce: Pattern Overview and Ravelry: Silly clown heart 🙂 Pattern by Expired Clown: Pattern Overview.