Project introduction
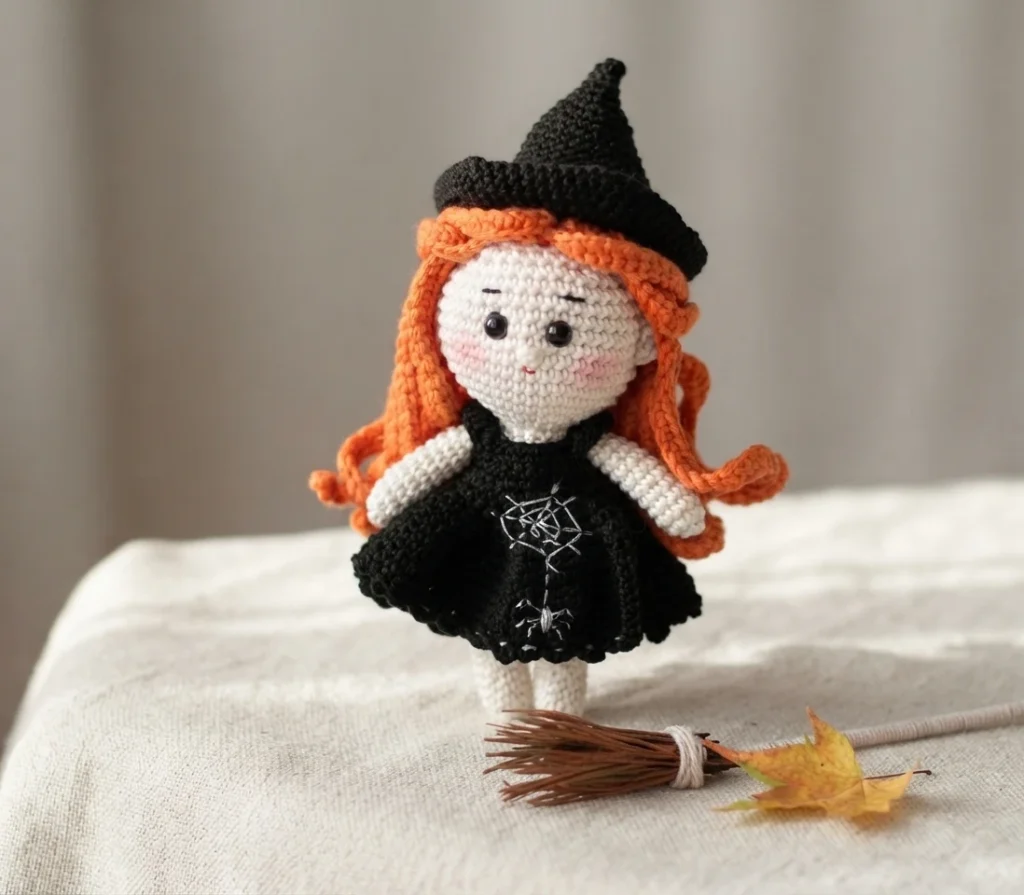
This page is a pattern overview, not a full tutorial, and it exists to point you toward the original instructions rather than to replace them. The amigurumi witch doll is a free crochet pattern, and the photos and design belong to Tatiana Arpag, who shares her work on Instagram as tatiana_arpag. The source page presents the design as a free amigurumi pattern and states that information about the pattern follows. If you run into trouble while working it, the source page invites you to write in and ask for help.
Because this overview only describes what the original covers, treat it as a map rather than a substitute. The complete written pattern, the abbreviations key and the finished photos are all published on the source page, so keep that page open while you work. You can find the Original designer’s pattern and instructions at the source. The free web version is the format the source publishes; if you prefer a printable or PDF copy, that is a separate paid format and not the same thing as the free pattern page.
The source page also lists many other amigurumi categories it covers, including cats, dolls, dogs, unicorns, lambs, dinosaurs, foxes, bears, giraffes, pigs, birds, penguins, panda, llama, bunny, clowns, elephants, hippos and monkeys. That listing is site navigation rather than part of this doll’s instructions, so it is mentioned here only to describe what the source page contains. It does not affect how the witch doll is made.
What you need
The source lists a short, specific supply set, and no finished size is given, so the sample’s scale depends on the listed hook and yarn. Gather everything before you begin so you are not hunting for a needle mid-project. The checklist below reflects exactly what the source supplies, nothing more.
- 3-4 ply cotton or cotton blend yarn in ivory or light beige, plus orange
- 2 ply cotton yarn in black
- 2 mm crochet hook
- Sew on eyes sized 4-6 mm
- White and pink hand embroidery thread for the doll face
- Fiber fill
- Upholstery needle
Note that the eyes are listed as sew on eyes in the 4-6 mm range, and the face details use white and pink embroidery thread rather than yarn. The upholstery needle matters for the long sewing steps later, so a blunt tapestry needle alone may not be enough. The 2 mm hook is the only hook size the source gives. No stitch markers appear in the source list, so if you like to mark rounds you will need to supply your own; the same goes for any finishing needle beyond the upholstery needle named above.
Abbreviations
The source includes its own abbreviations key, and it is worth reading before you start because a few entries are specific to this designer’s style. The key defines AR and MR as amigurumi magic ring, and 3in1 as crocheting 3 columns in one loop. It also defines the ..in notation, which means making an increase into the same stitch as many times as the number given in front of inc, with 3inc and 4inc as examples.
sc: Single Crochet, inc: Increase, dec: Decrease, tr: Triple Crochet or Treble Crochet, st: Stitch, dc: Double Crochet, hdc: Half Double Crochet, sl-st or Slst: Slip Stitch, ch: Chain, tch: Turning chain, FLO: Crochet into front loops only, BLO: Crochet into back loops only.
Those definitions are the source’s own technical glossary, so they are reproduced here as reference rather than as instruction. Everything else on this page is a description of the original pattern’s shape and order of work. When a round in the original looks ambiguous to you, go back to the source page rather than guessing, since this overview does not restate the rows and cannot resolve a wording question on the designer’s behalf.
CROCHET WITCH DOLL WITH BROOM AMIGURUMI Pattern Overview
The doll is built in separate pieces that are joined as you go, then dressed and finished with hand-sewn details. The source recommends starting with the arms, then working the legs and joining them before the body carries you upward into the head. Hair, dress, hat and broom are made afterward and attached at the end. The sections below describe that order and the role each part plays, without reproducing the row-by-row pattern.
Arms
The source recommends beginning with the arms, which are short tubes worked from a magic loop and increased once near the start before several straight rounds. The lower part is filled, then a chain and a few stitches join the two sides of the shoulder. Because the arms are attached later, working them first keeps them ready when the body reaches that round, and the source notes that the arms should sit symmetrically relative to the legs.
Legs
Each leg begins at a magic loop and widens across the first three rounds, then continues in straight rounds to build length. The first leg is finished off, while the second is left with the yarn uncut so the two can be joined. The join uses chains between the legs with single crochet worked along each leg and into those chains, and the source adds a few extra stitches so the following rounds begin at the doll’s side rather than at a seam.
Body
From the joined legs, straight rounds form the torso before decrease rounds begin to shape it. The legs are filled during this section, and a later round is where the arms are attached to the body, with the source reminding you to keep them symmetrical with respect to the legs. The section closes with a round that increases the stitch count, transitioning into the head.
Head
The head opens with a run of increase rounds that widen it, then several straight rounds at the widest count. Eye holes are created in one of those rounds by substituting a chain for a single crochet, repeated twice with a set distance between the holes, and the next round works single crochet under each of those chains. Filling begins partway through the straight rounds, and decrease rounds close the head, with more filling before the final round and the thread hidden inside at the end.
Face
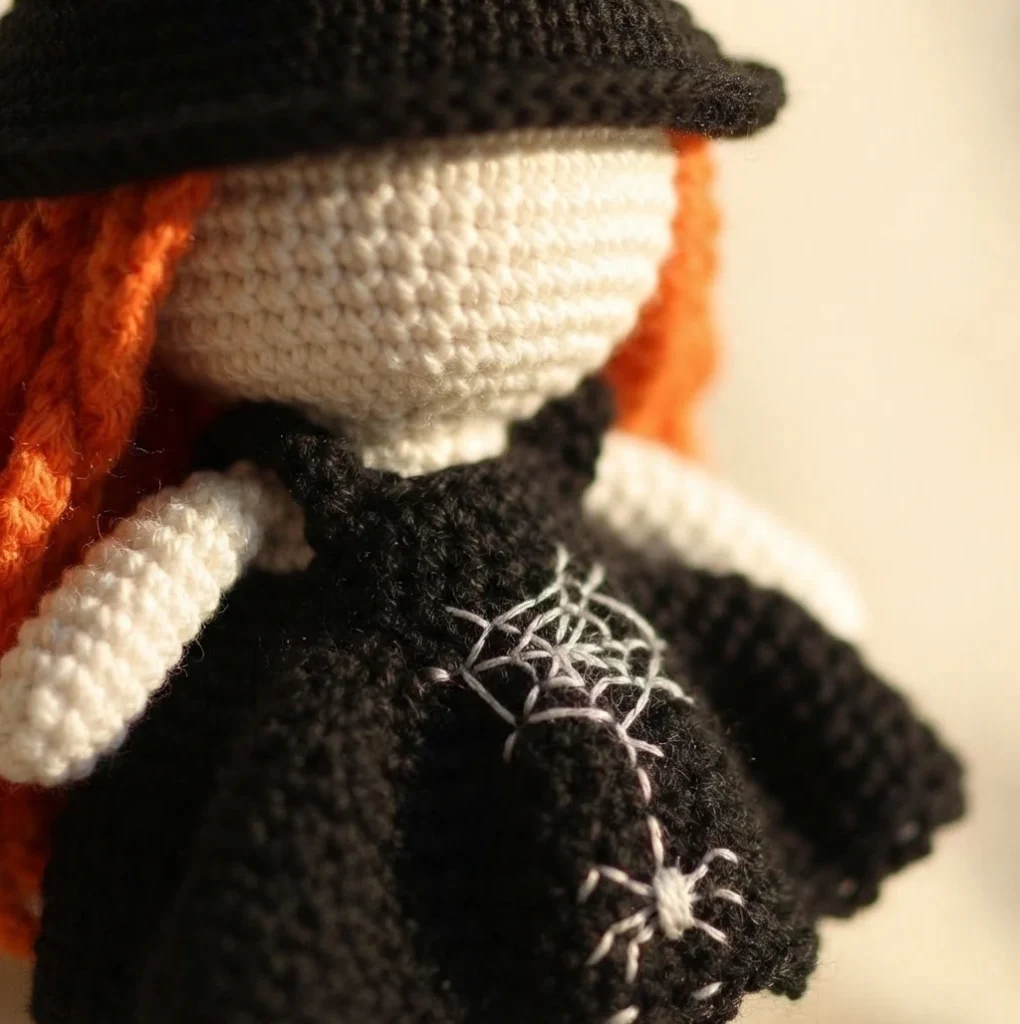
The face is hand work rather than crochet. The source describes sewing the eyes as buttons by passing the needle through the top of the head and the eye holes, attaching each button, and returning to the original point at the top of the head without hiding the thread yet. The nose is a few horizontal stitches, the mouth is one horizontal pink stitch below the nose, and white half circles around the eyes plus black eyebrows finish the expression. The eye thread is then pulled slightly, fixed and hidden inside the toy.
Ears
The ears are small: a magic loop with a few single crochet is all the source gives. They are pinned to the head before sewing, and the source specifies sewing them only from the back side of the ears so the front stays clean. Because they are so small, they are a good place to check your tension against the head before you commit to placement.
Hair
The hair is worked as a centerline chain with individual locks crocheted along it. Each lock is a long chain with single crochet worked back along it, then slip stitched into the next chain of the centerline, repeated until the centerline is full on one side, then mirrored on the other. The source finishes off with a long tail, pins the hair to the head, and stitches it along the centerline and at about half an inch from it.
Fixing two front strands at the back of the head is offered as an optional way to give the hair a more finished look.
Dress
The dress begins at the neckline with a chain plus extra chains for a button loop, and the source recommends leaving a longer beginning thread to sew the button on later. Two raglan rows are worked, then the piece is joined and continued in closed rounds with the direction changed accordingly. The body widens across the rounds, and a final row creates a decorative edge using chains and skipped loops. The button is sewn on with that long beginning thread.
Hat
The hat is worked in rounds from a magic loop, increasing outward through a long sequence that includes a round worked into the back loop only. It ends at the widest count given in the source. The shape builds gradually rather than in one steep increase, which is what gives the hat its cone-like profile. The source does not state a finished hat measurement, so match your rounds to the head as you go.
Broom
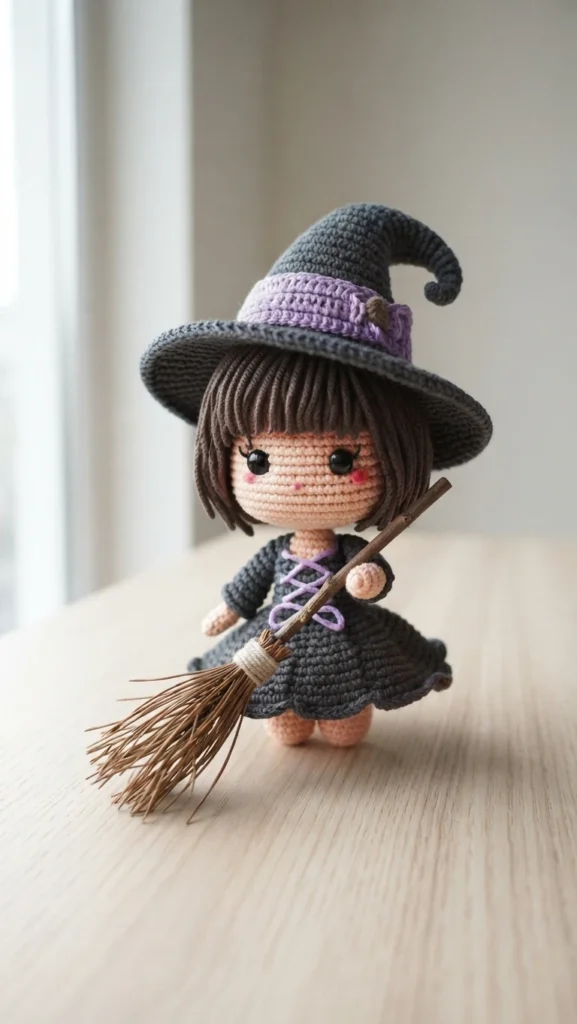
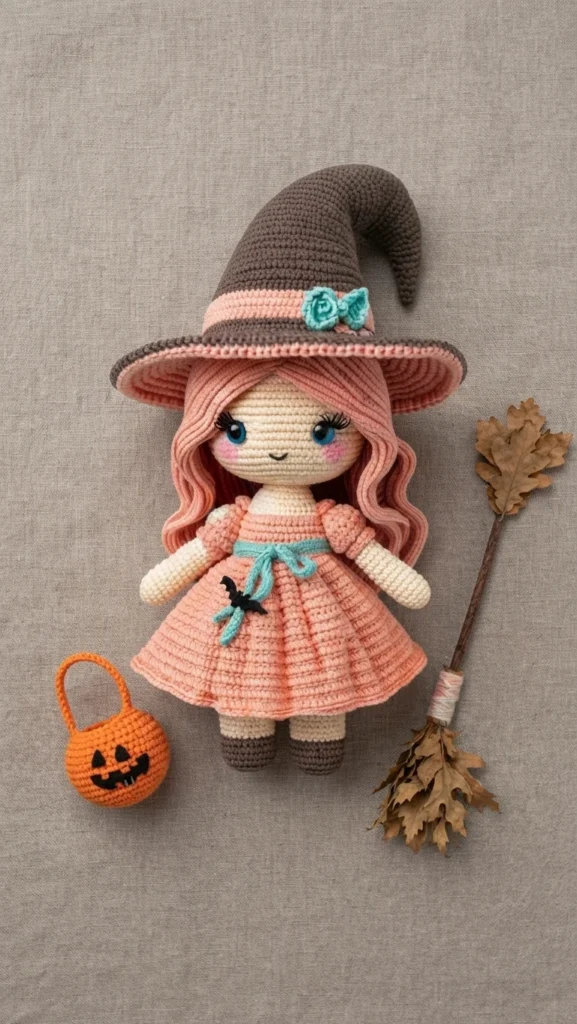
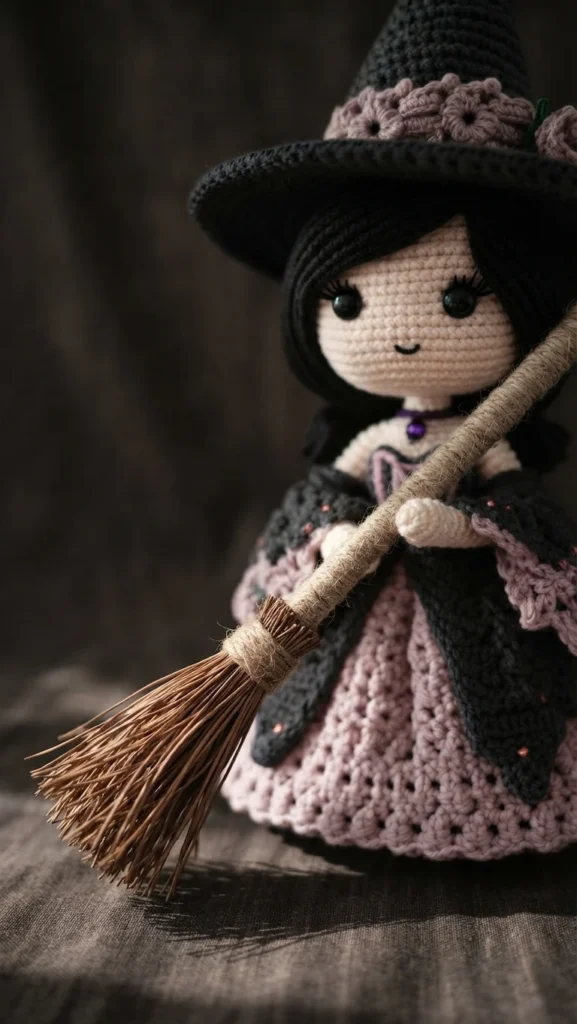
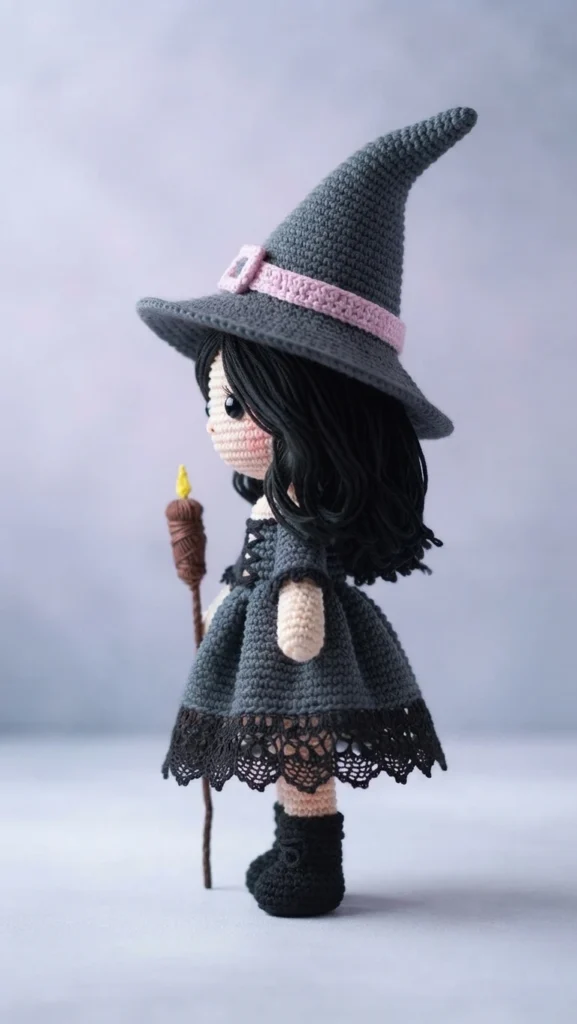
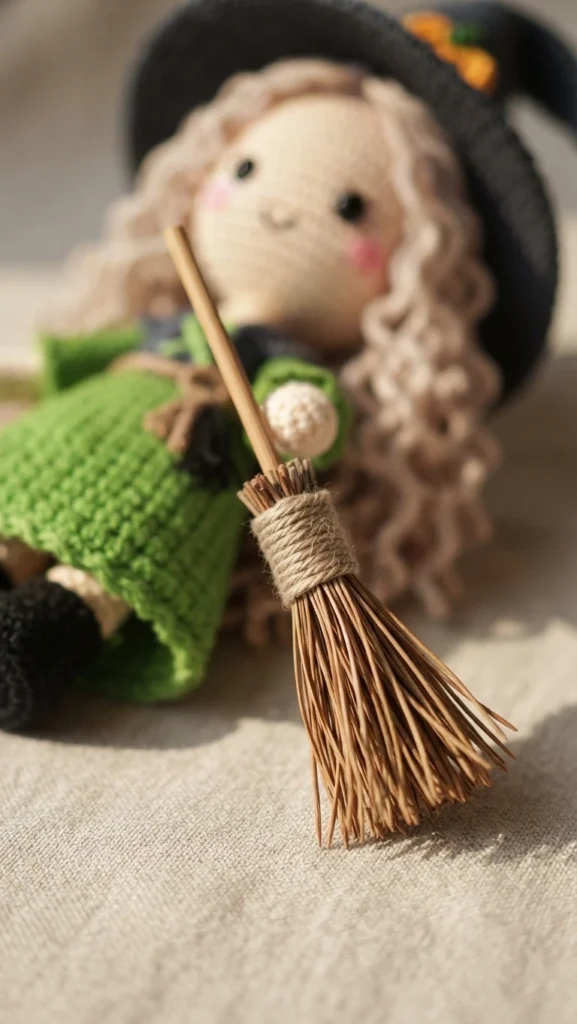
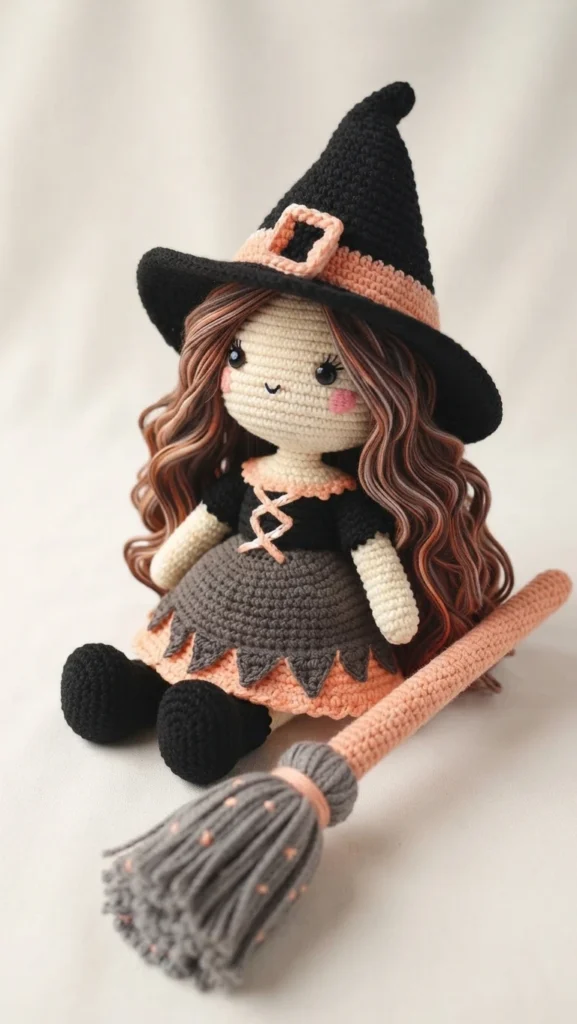
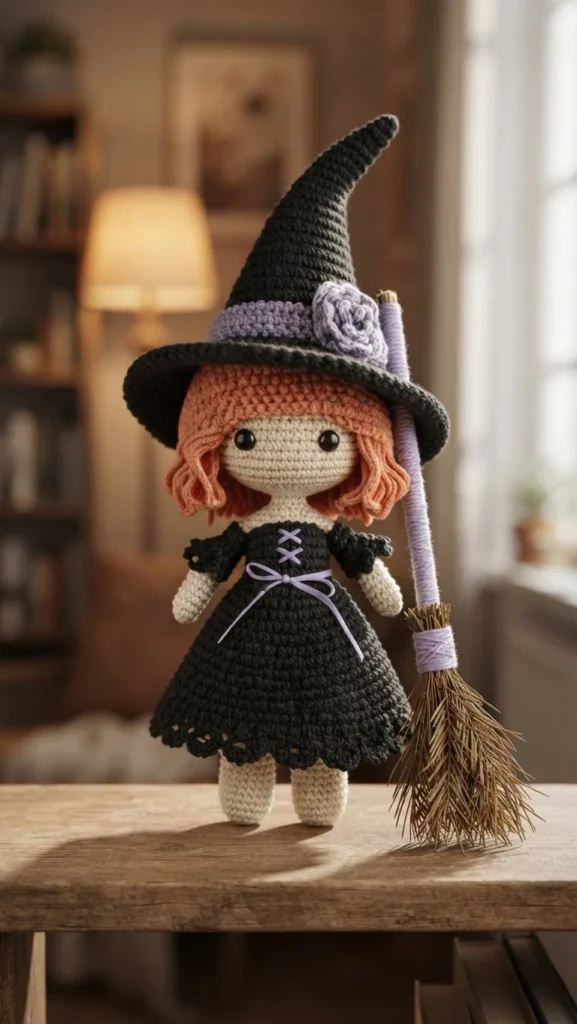
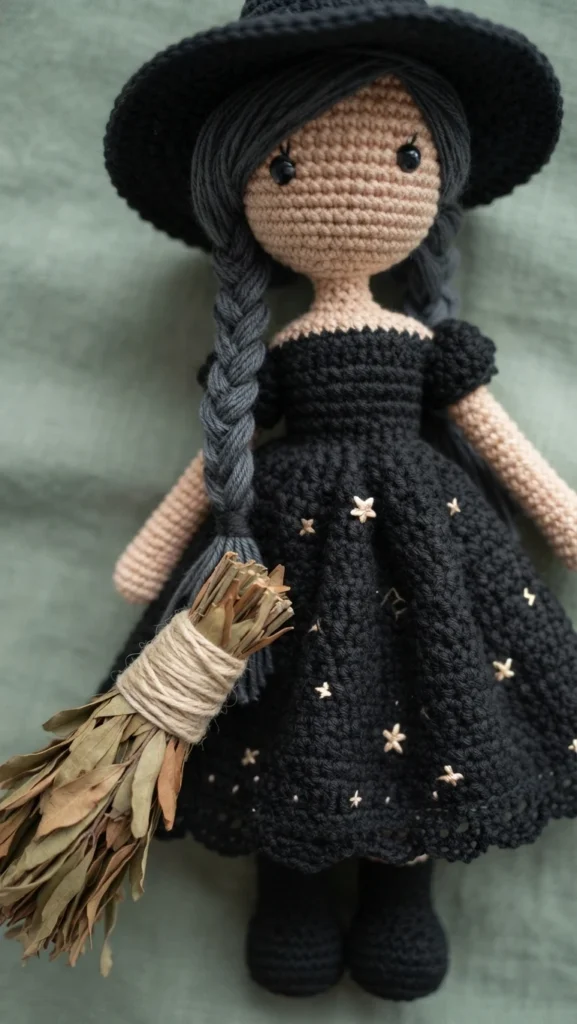
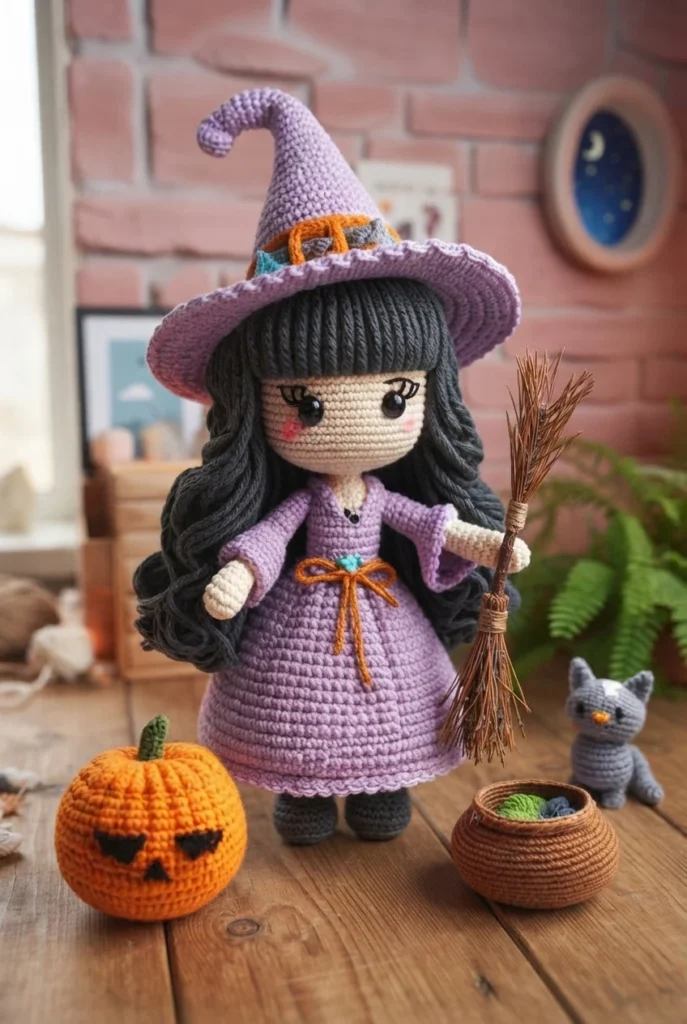
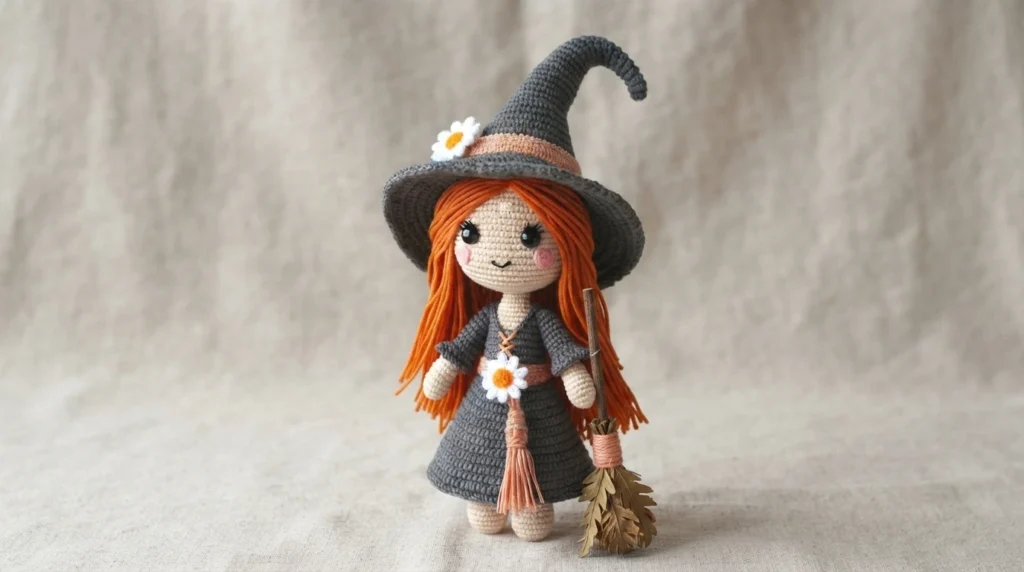
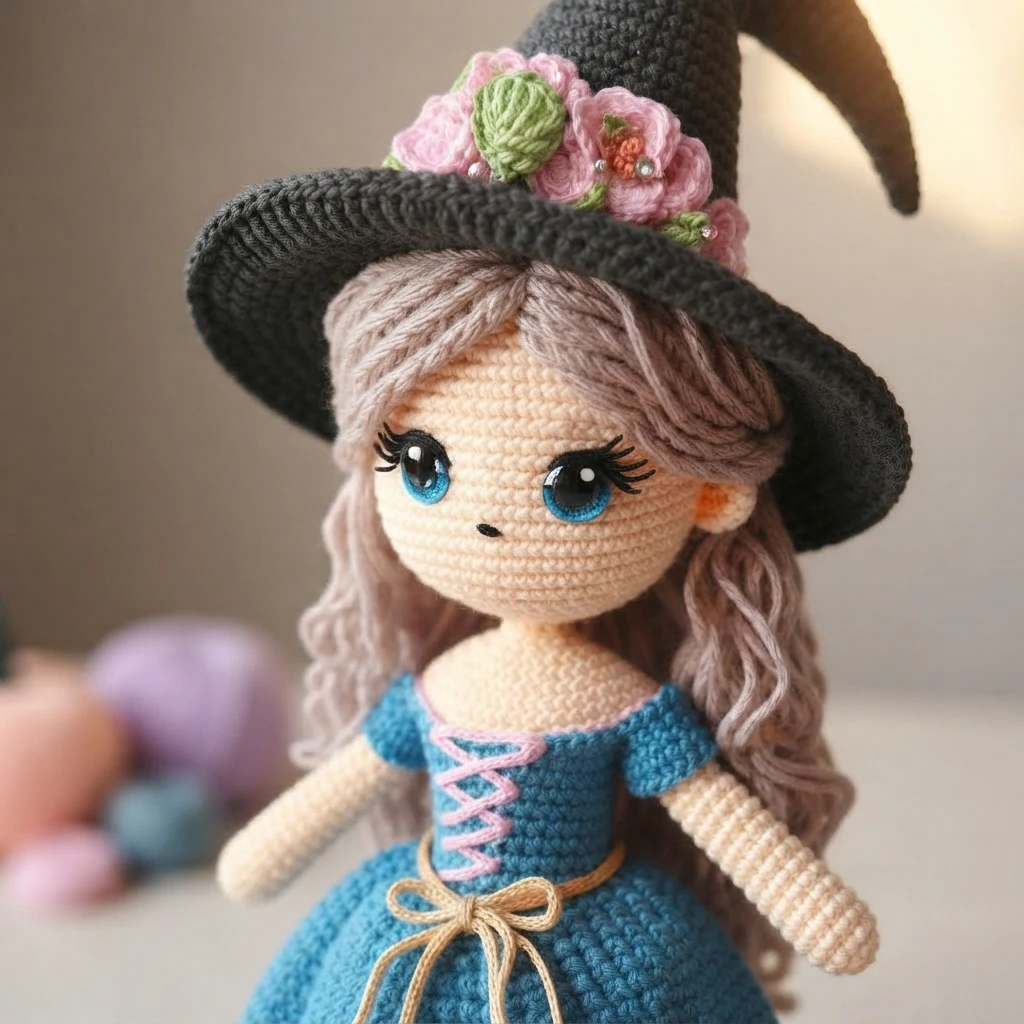
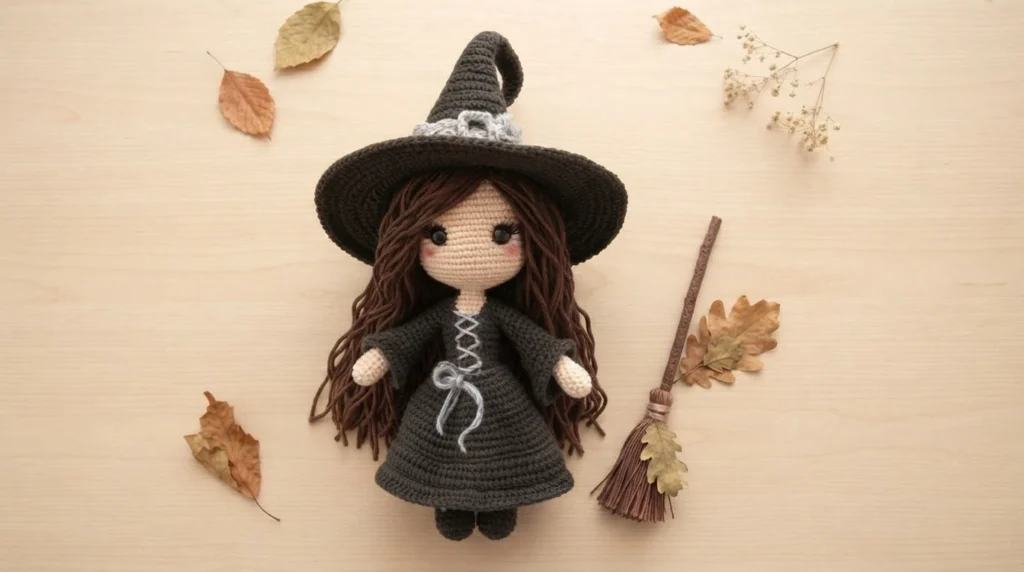
The broom is not crocheted in the round like the doll. The source describes finding a slim short stick, wrapping it with cotton yarn, attaching dried pine leaves with hot glue, and wrapping them with the same cotton yarn. At that point the doll is described as ready. Adding blush to the cheeks is optional, and the hat and broom can be attached to the doll with a couple of invisible stitches if you want them fixed in place.
If you enjoy this style of seasonal amigurumi, two related overviews on this site are the Amigurumi Santa Claus Crochet Doll: Pattern Overview and the Little Witch Amigurumi Halloween: Pattern Overview. Both follow the same overview format, describing supplies and construction while sending you to the original designer for the full instructions.