Project introduction
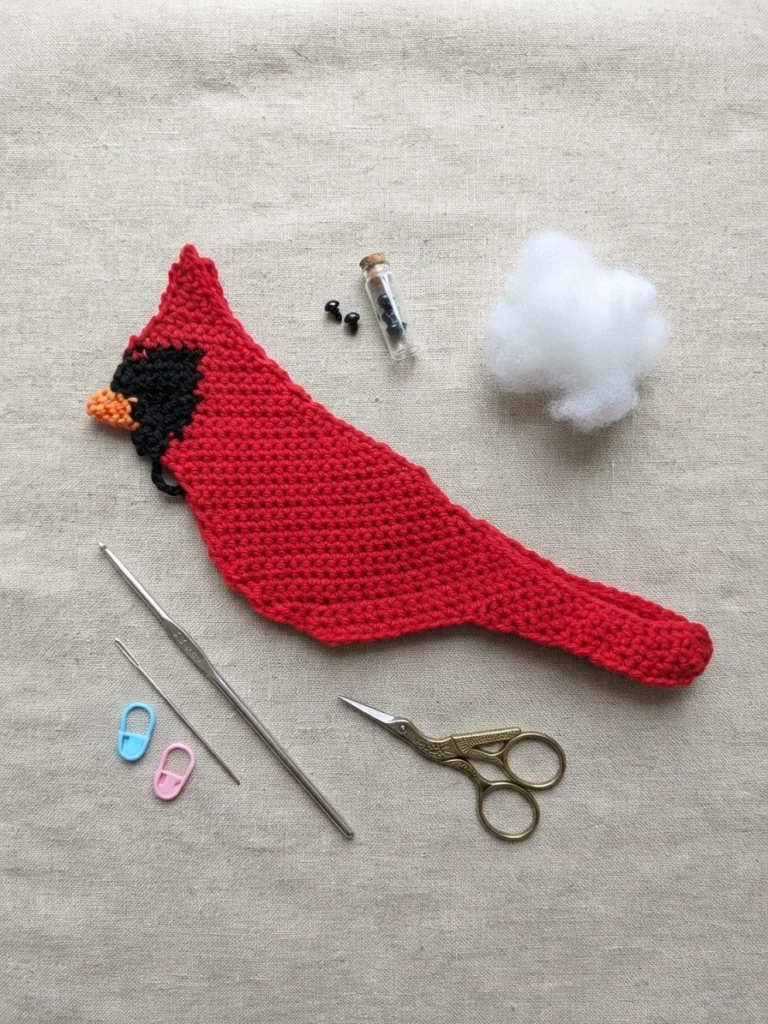
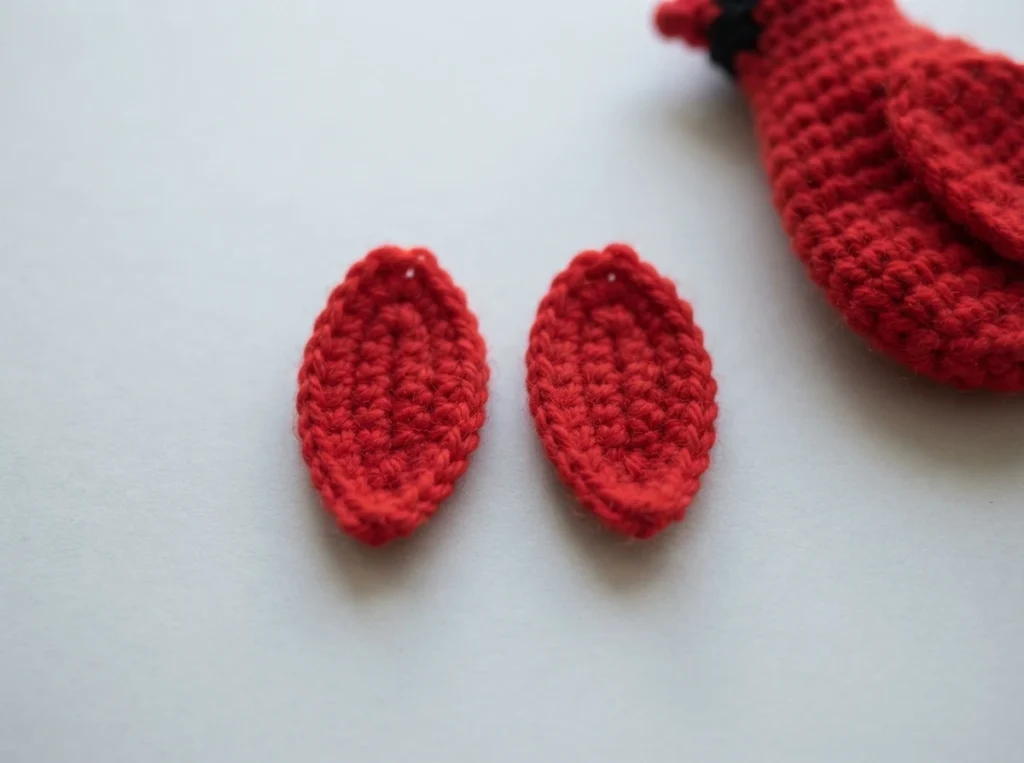
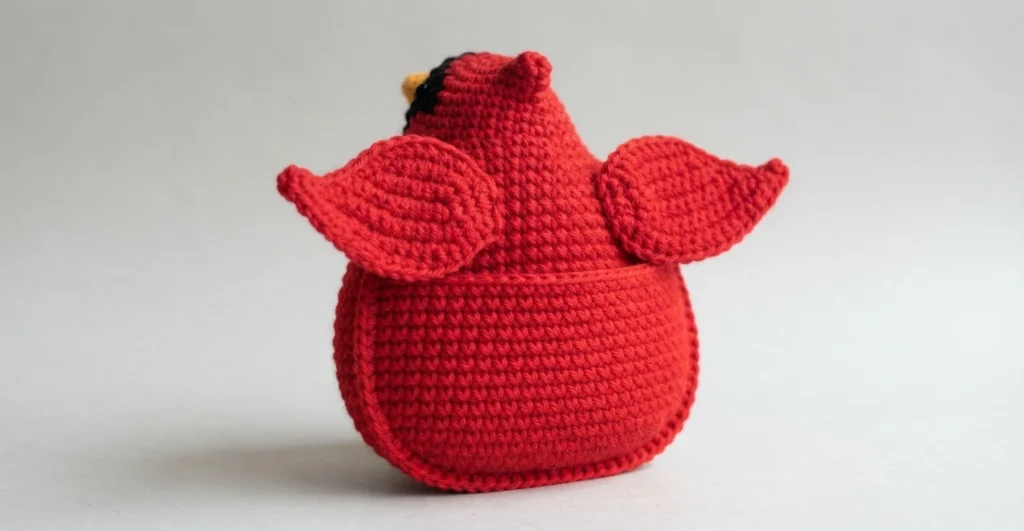
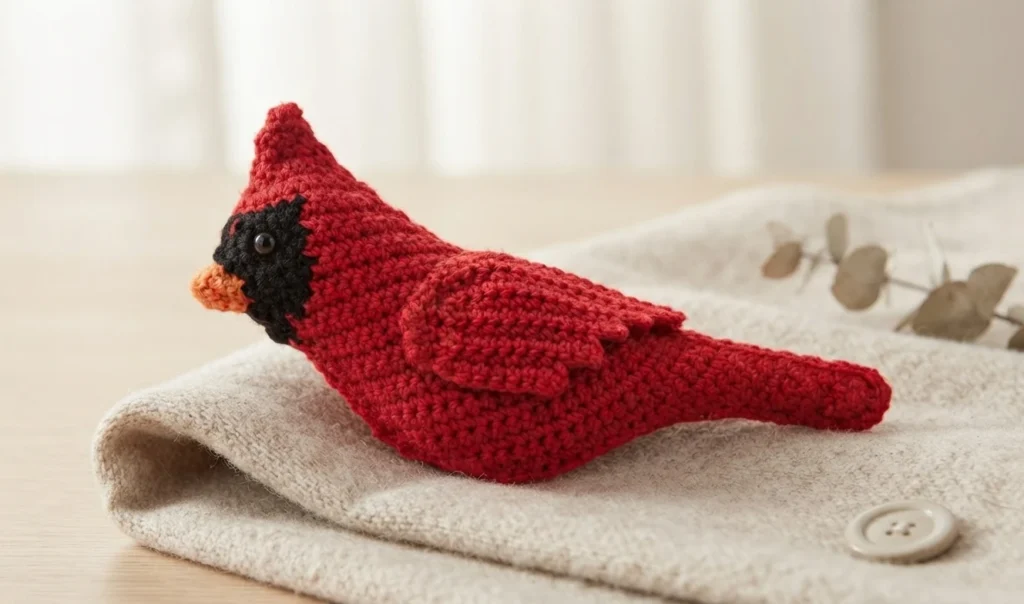
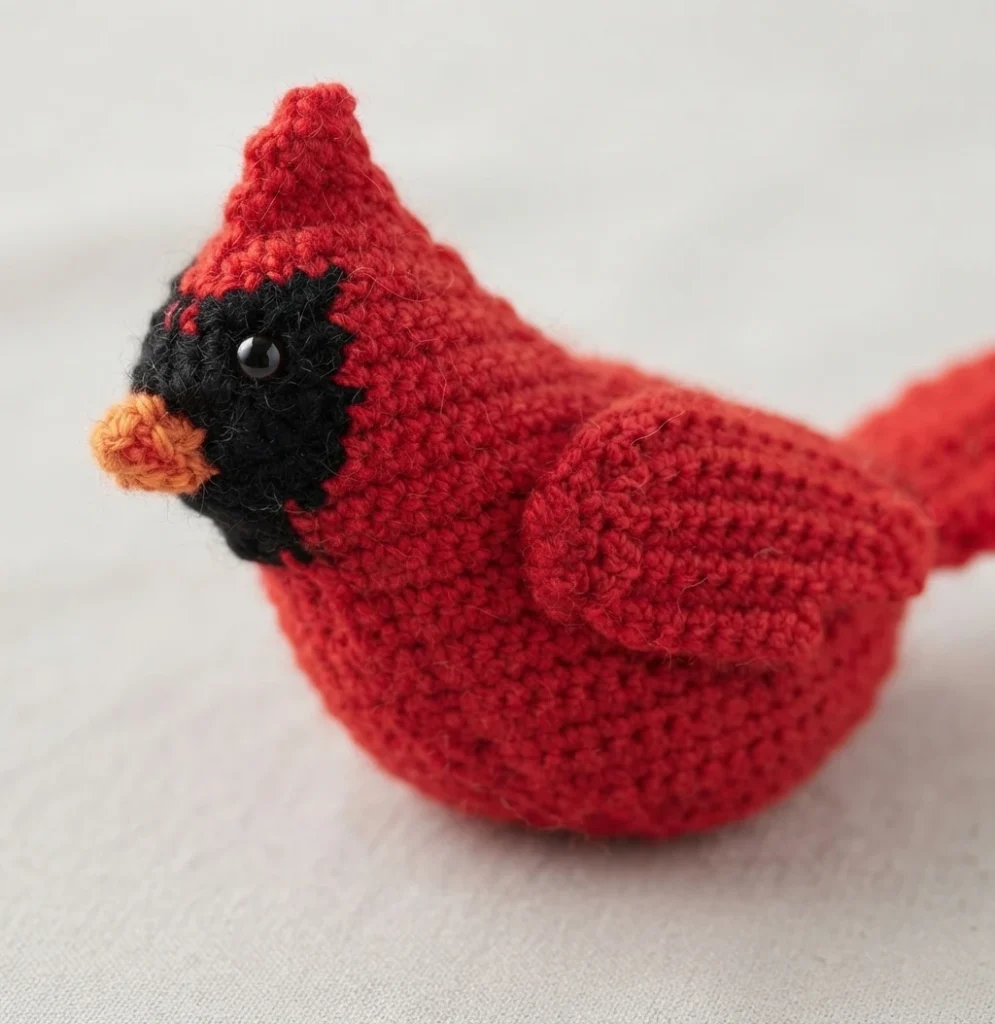
This is a pattern overview, not a full tutorial. The Cardinal Pocket Pal is a free crochet pattern from Kendra OHern of Green Acres Creations, and the front panel doubles as an applique for an afghan or another project. Worked in sport weight yarn, or two strands of worsted weight, the cardinal’s size depends on gauge. The Original designer’s pattern and instructions hold the complete row-by-row directions, so keep that page open while you work.
The source lists supplies for both the front and back panels, and notes that you need only half the yarn amount if you make a single panel as an applique. Gather the following before you begin:
- Yarn: sport weight, or worsted weight split into 2 ply
- Main color (M): red, 50 yards
- Contrast color (B): black, 5 yards
- Beak color (Y): yellow or orange, 1 yard
- 2.0 to 2.5 mm hook
- 4mm or 6mm safety eyes (optional); eyes can be embroidered instead
- Embroidery needle with an eye big enough for yarn
- Stuffing
- 2 stitch markers
- Scissors
The pattern uses US terms. Its glossary lists ch for chain, st for stitch, sc for single crochet, fsc for foundation single crochet, ss for slip stitch, sk for skip, inc for 2sc in the same stitch (an increase), dec for sc two together (a decrease), YO for yarn over, WS for wrong side and RS for right side, while (##) gives the number of sc in a row. Should foundation single crochet be new to you, the source notes that a plain chain works as a substitute and the finished look barely differs.
Reading the notation is the main skill to learn here. Unless the pattern says otherwise, every stitch is sc, and each row ends with ch1 and a turn. Color is shown by a letter and stitch count by a number, so M4 tells you to work one sc in each of the next 4 stitches in the main color, and Minc tells you to place two sc in the next stitch in the main color.
On the front panel, odd rows are right side facing and even rows are wrong side facing, with all yarn tails kept on the wrong side of the work. The front panel begins at the tip of the tail and works up to the head.
Construction is straightforward once the panels are done. The wings are made as a pair, the back panel mirrors the front with the row sides reversed, and an optional pocket can be added to the back. Assembly closes the two panels together around the stuffing, and the wings are sewn on afterward. If you enjoy this style of applique, our Red Cardinal: Pattern Overview and Turkey Applique pattern by Allyson Morse: Pattern Overview are useful companion reads.
On access: the source marks the web pattern as a free pattern, and it also notes that a PDF pattern with written instructions and a colored graph can be purchased on Ravelry. Those are two separate formats, so the free web version does not make the PDF free, and the paid PDF does not make the web pattern paid.
Pattern format and preparation
The front panel is worked in rows from the tail tip upward, with increases and decreases shaping the body and color changes bringing in the black mask and the yellow or orange beak. The source rewrites the first few rows in full so you can get used to its shorthand before the notation becomes denser. Expect the shaping to move between the main color, contrast color and beak color as the bird grows, and place a stitch marker on the wrong side of the work where the source tells you to so your row sides stay clear.
The wings are made twice. They start from a short chain and build outward, then the pattern works back across the starting chain and finishes with a long tail left for sewing. The source notes the wings can be sewn to the bird after it is assembled, which keeps them out of the way while you close the body.
The back panel follows the front panel with one change: the odd rows are the wrong side and the even rows are the right side. To add the pocket, the source replaces a single row of the back panel with a pocket opening row, then the pocket itself is worked afterward. The pocket uses the main color and leaves a 20-inch tail at the beginning for sewing, and it is worked with the wrong side of the back panel facing so the pocket sits on the inside of the animal.
If the pocket extends past the edges of the bird, rows 11 and/or 12 can be skipped.
For assembly, weave in ends or tie knots on the wrong side of the work first, then add safety eyes or embroider the eyes. With the wrong sides of the panels together and the back of the cardinal facing you, slip stitch around starting just under the beak, stuffing as you sew around the tail and up the other side, changing colors as needed. Sew around the edges of the pocket, making sure it does not overlap the edges of the animal, and weave in the end to secure.
The source asks that you do not copy, paste, re-post or reproduce any part of the information, including translations, while finished items made from the pattern may be sold with a request to reference Green Acres Creations. Questions or errors can go to greenacrescreation@gmail.com or a Facebook message to @greenacrescreation. The designer is Kendra OHern of Green Acres Creations, and the full row-by-row directions, including the colored graph option, live at the original source linked above.