Project introduction
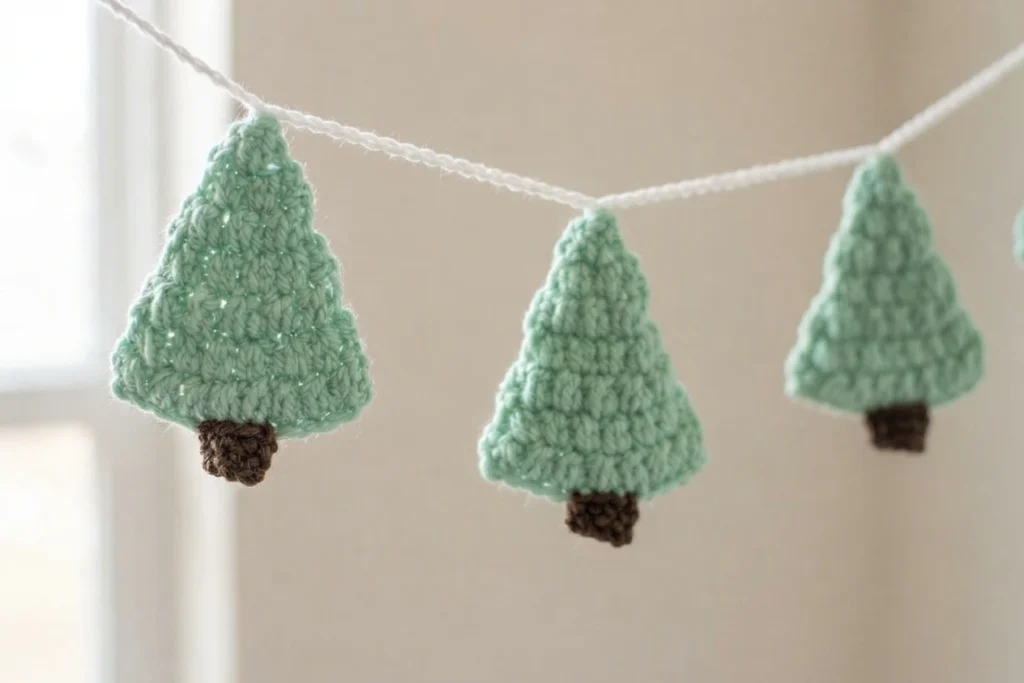
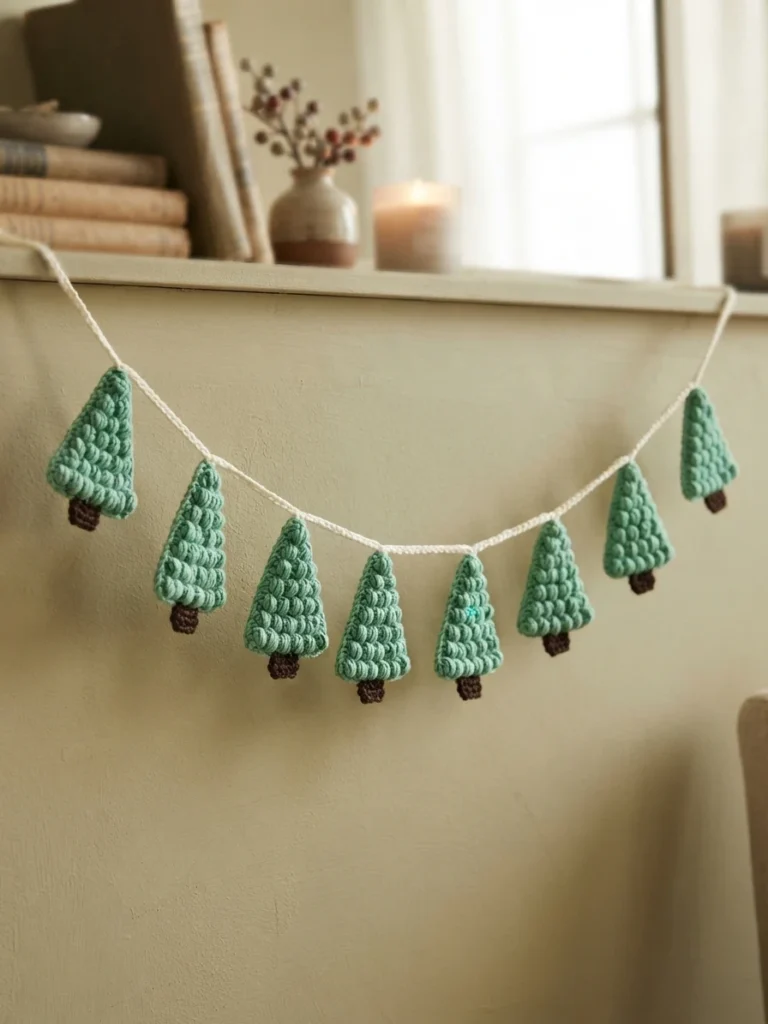
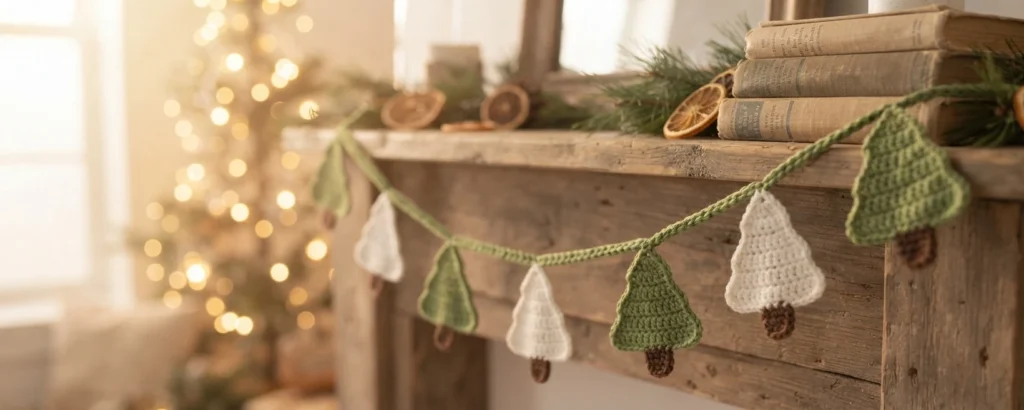
This pattern overview introduces a festive crochet Christmas tree garland designed by Desert Blossom Crafts. The project features flat trees that are quick to make and then joined with a simple chain. Each tree reportedly takes about 15 to 20 minutes, allowing a nine-tree garland to be completed in just a few hours.
A handmade garland adds warmth to holiday decor. Because the construction is straightforward, it serves as an excellent weekend project for crocheters who want seasonal home accents without complex shaping or heavy yarn usage.
Materials to Make a Crochet Christmas Tree Garland
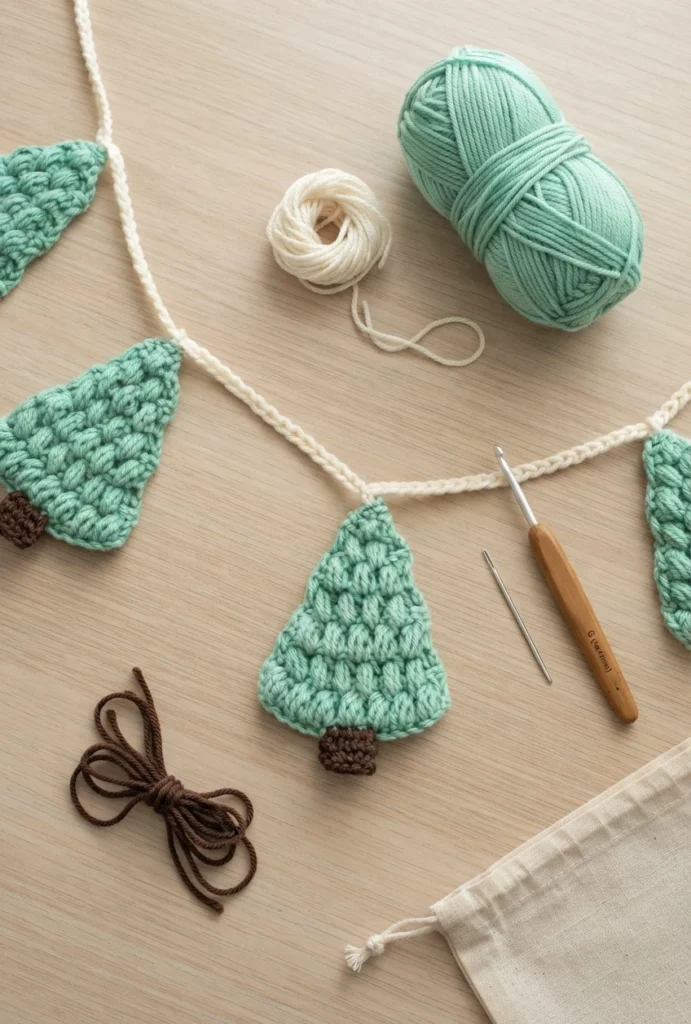
You need worsted weight yarn, a G/4mm hook, and a yarn needle. The designer used Caron Simply Soft for green and white sections, and Lion Brand Heartland for trunks. While any worsted weight yarn will work, the designer prefers these two choices.
Additionally, you need the Flat Christmas Tree Pattern. Written instructions are included in the source post, but a photo tutorial is available via the Original designer’s pattern and instructions.
- Worsted weight yarn (green, white, brown)
- G/4mm crochet hook
- Yarn needle
- Flat Christmas Tree Pattern access
Customizing Your Christmas Garland
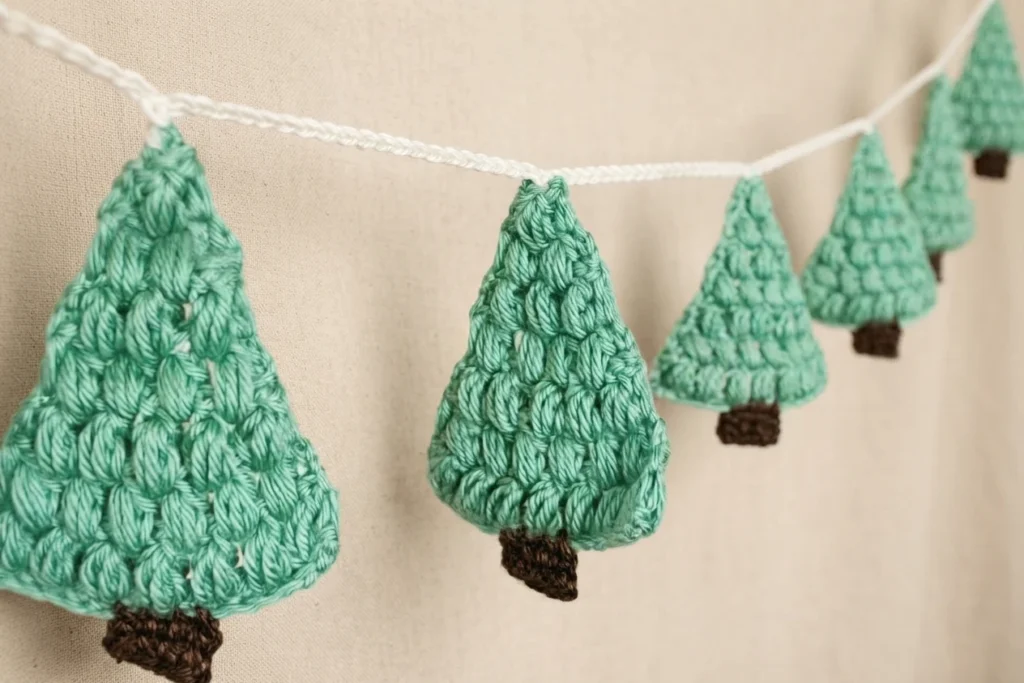
One advantage of this design is its adaptability. You can easily customize the garland to match your personal style or existing decor. The source suggests adding other flat appliques alongside the trees to create variety.
For example, you might alternate trees with stars, snowflakes, or snowmen. This approach keeps the assembly method identical while changing the visual rhythm of the garland. You can also adjust the overall length by modifying the number of motifs or the spacing chains between them.
How to Make a Crochet christmas Tree Garland
The following sections describe the general construction process based on the source material. This is not a row-by-row tutorial, but rather a guide to understanding how the pieces fit together before you consult the original pattern for precise stitch counts.
written Construction Overview
The tree motif begins with a foundation chain of 16. Row 1 involves chaining 1, working a single crochet in the second chain from the hook and each chain across, then turning to establish a base of 15 single crochets. Row 2 introduces half double crochet and puff stitches, working into chain spaces, and ends with 7 puff stitches and 2 half double crochets. Row 3 narrows the shape to 6 puff stitches and 2 half double crochets. Rows 4 through 7 continue this narrowing process, ending with 2 puff stitches and 2 half double crochets.
Row 8 requires chaining 2, skipping the first half double crochet and first puff stitch, working a puff stitch in the chain space, and a half double crochet in the last puff stitch, resulting in 1 puff stitch and 2 half double crochets. Row 9 consists of chaining 1 and working a single crochet in the puff stitch before fastening off.
The trunk is created by joining brown yarn along the bottom edge, working four single crochet stitches over the initial base row in the middle. Rows 2 and 3 use single crochet with a stitch worked between the legs of the current single crochet and the next single crochet, as shown in the source photo, keeping four stitches per row. Steam blocking the tree helps it lay flat and hang well.
The garland assembly involves laying out all nine trees in a row. A starting chain of 45 provides hanging length. Single crochet stitches attach each tree at its top point, separated by chains of 20. The sequence repeats until all trees are joined, finishing with another chain of 45 to mirror the beginning, then fasten off and weave in ends.
Blocking is an essential step for a crocheted garland. Without it, the trees may hang funny and not stay flat.
Tutorial
The source directs readers to a separate post for detailed flat tree tutorials. Here, the focus shifts to the garland row, which attaches the individual components. Understanding this connection step is crucial for achieving a professional finish.
Step 1
Begin by creating your Christmas trees. Although any flat tree pattern can technically work, the designer specifically used the Puff Stitch Tree pattern. You should make nine trees for the standard version, though you may create more or fewer depending on your desired garland length.
Step 2
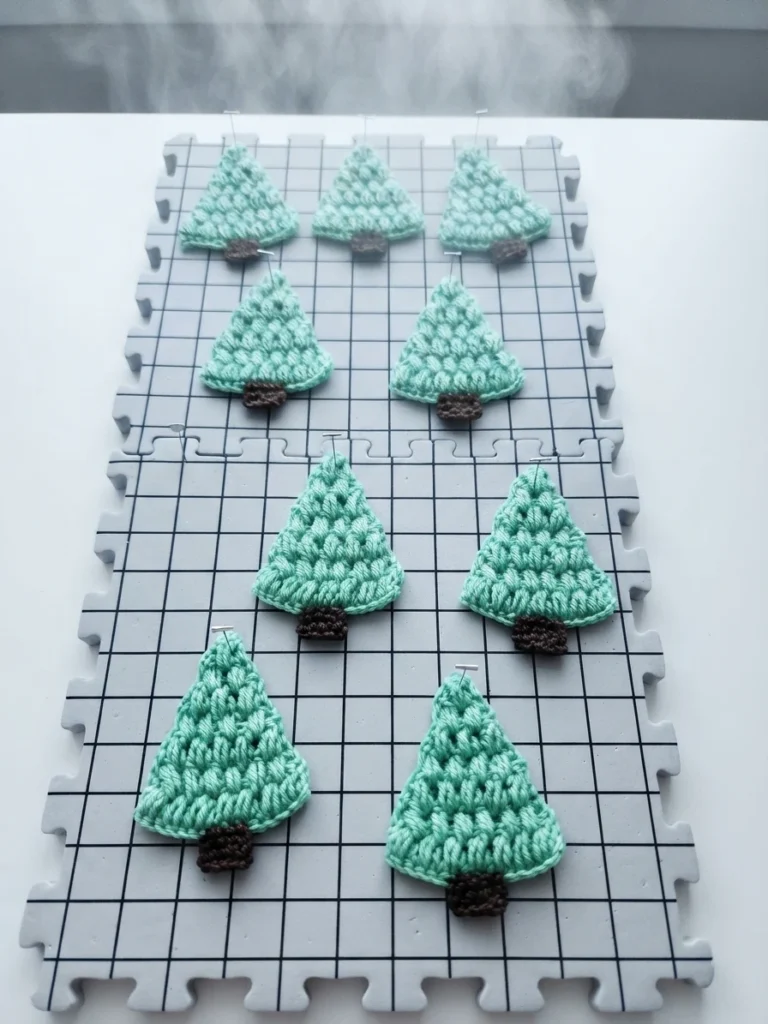
Blocking is a critical next step. Without proper blocking, the trees may hang unevenly or fail to lay flat. Since acrylic yarn was used, the designer recommends steam blocking. Lay the trees on blocking mats and apply steam carefully, keeping the steamer or iron from touching the trees directly.
Step 3
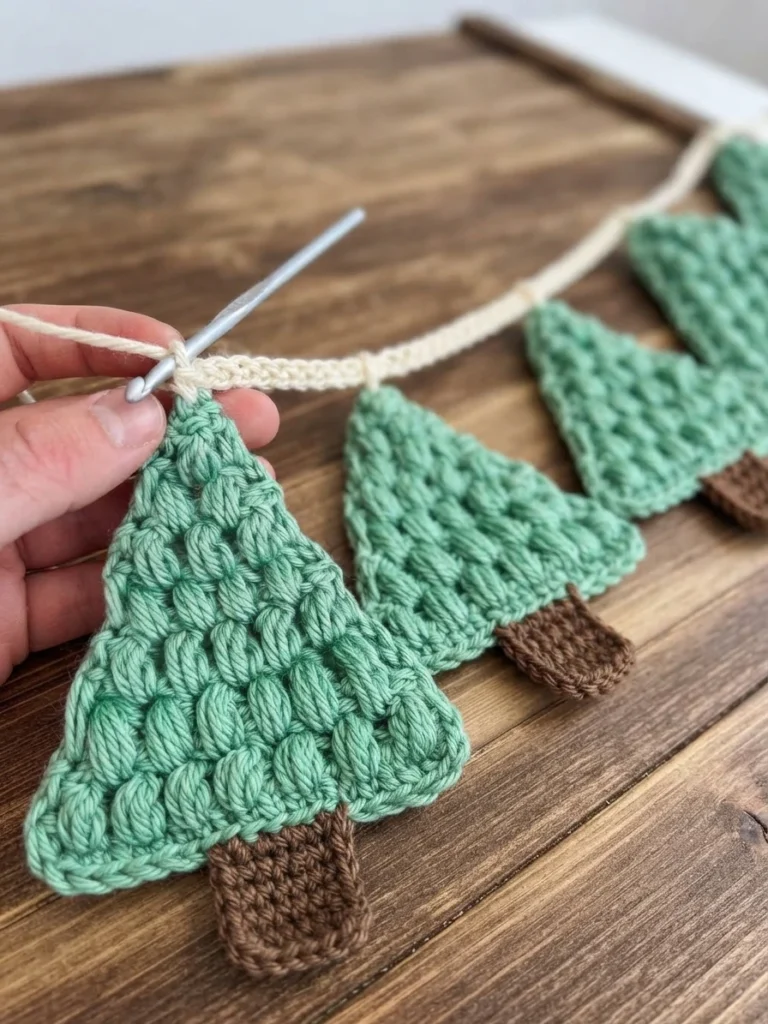
Once blocked, arrange the trees in a straight line on a table. Start the garland string by chaining 45 with your chosen accent yarn. This initial long chain provides extra length for tying or hanging the finished piece securely. Insert your hook into the top of the first tree and complete a single crochet to anchor it.
Step 4
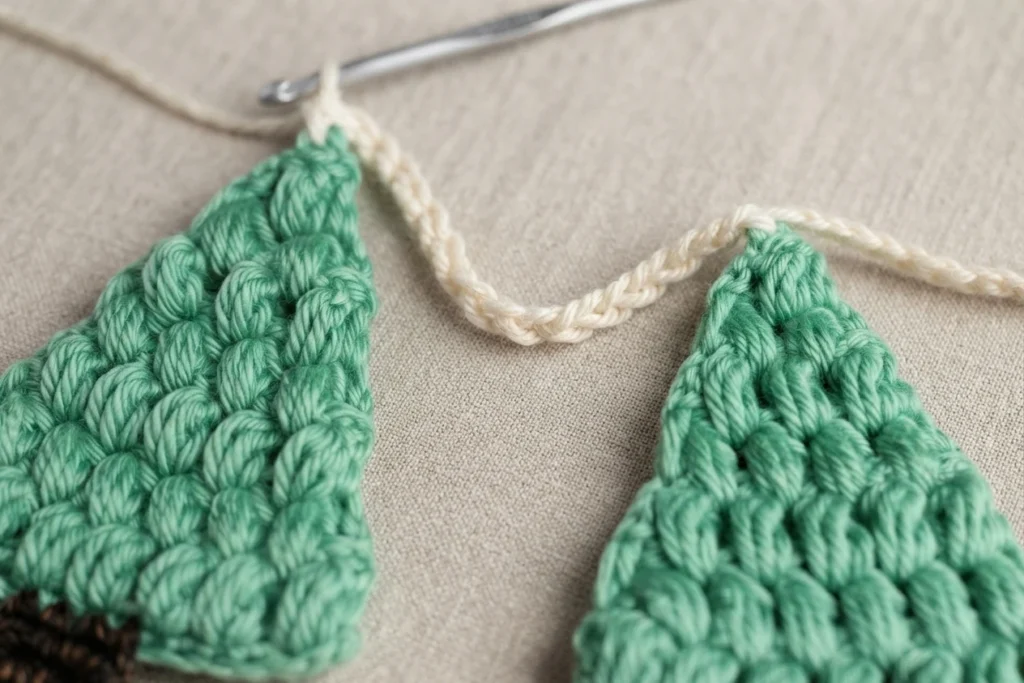
To space the trees evenly, chain 20 after attaching the first one. This chain determines the distance between each motif. After completing the chain, insert your hook into the top of the next tree and work a single crochet to secure it. This creates a consistent gap that allows the trees to hang freely.
Step 5
Repeat the previous step for all remaining trees. Continue alternating chain 20 and single crochet attachments until every tree is connected. Once the last tree is secured, chain 45 again to match the starting tail. Fasten off the yarn and weave in all loose ends to complete the garland structure.
A Note on Sizing
Adjusting the size of your garland is simple and flexible. You can increase the total length by making more trees; for instance, a longer display might feature 12 or 15 motifs. Alternatively, you can modify the spacing by changing the number of chains between each tree.
Experiment with different chain counts to find the look you prefer. More chains create wider gaps, while fewer chains result in a denser arrangement. This customization ensures the garland fits perfectly on mantels, staircases, or windowsills.
Make More Crochet Garlands
The technique used here applies to many other projects. Any flat crochet shape can be turned into a garland using this same attachment method. For inspiration, consider trying the EASY Crochet Pumpkin Applique Pattern! Make a Pumpkin Garland: Pattern Overview for autumn decor.
Similarly, the Crochet Christmas Star Ornament Pattern-& Easy: Pattern Overview offers another festive option that pairs well with trees. Mixing shapes allows for unique, personalized holiday displays.
Conclusion
Crochet Christmas tree garlands are fun and easy to make, and they become striking home decor. With minimal supplies and straightforward steps, you can create a piece to hang year after year. Grab your hook and start making some trees today!
Sharing is caring!
If this Christmas tree garland post was helpful to you, sharing it is a lovely way to say thank you. Pin any photo in the post to Pinterest by hovering over it and clicking save, tag the designer in your Instagram posts, or add your photos to the Facebook group. Every share helps more crocheters see the free pattern. Happy crocheting!