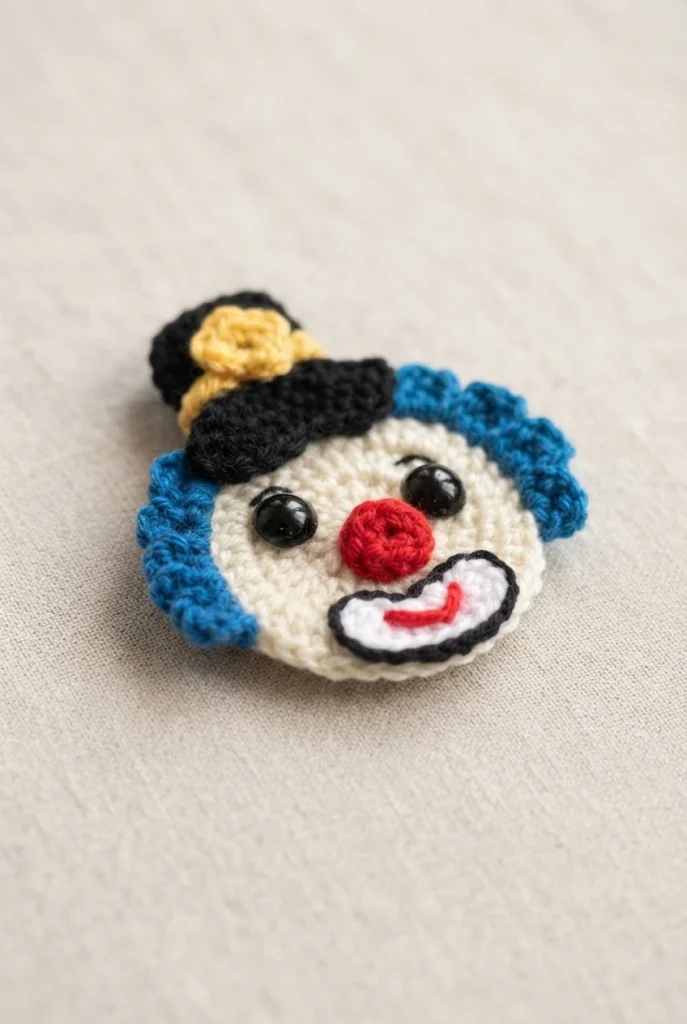
Project introduction
This overview covers the crochet clown with a top hat pattern first published by Kerriscrochet. The finished character has a rounded head, textured hair, a stitched face, and a small top hat trimmed with a flower. The designer also recorded a video walkthrough on her YouTube channel, crochet clown with a top hat tutorial, for anyone who prefers to watch the stitches worked.
The complete written pattern can be read free of charge by scrolling down the original page. A downloadable PDF version is sold on the designer’s own Ravelry store for $1. The instructions are written in US terminology, and the designer links a separate UK version for crafters who use those terms.
Abbreviations
The pattern uses a short set of standard US crochet abbreviations. Knowing them before you start makes the row instructions easier to follow.
- st means stitch
- sts means stitches
- ch means chain
- sl st means slip stitch
- sc means single crochet
- hdc means half double crochet
- dc means double crochet
Materials Used
The designer worked her clown in 5 colours of 8 ply wool, which she notes is light worsted in the US and double knit in the UK. Her hook was a 2.5mm size. The rest of the supply list is short and mostly things already in a crocheter’s basket.
- Scissors for cutting yarn
- A sewing needle and thread for stitching the clown together
- A darning needle for weaving in ends
- 3 black beads, 2 for the centre of the eyes and 1 for the flower
- A small amount of 4 ply crochet cotton for the slip stitches around the mouth piece
- A small amount of embroidery or sewing cotton for the mouth and eyebrows
Head
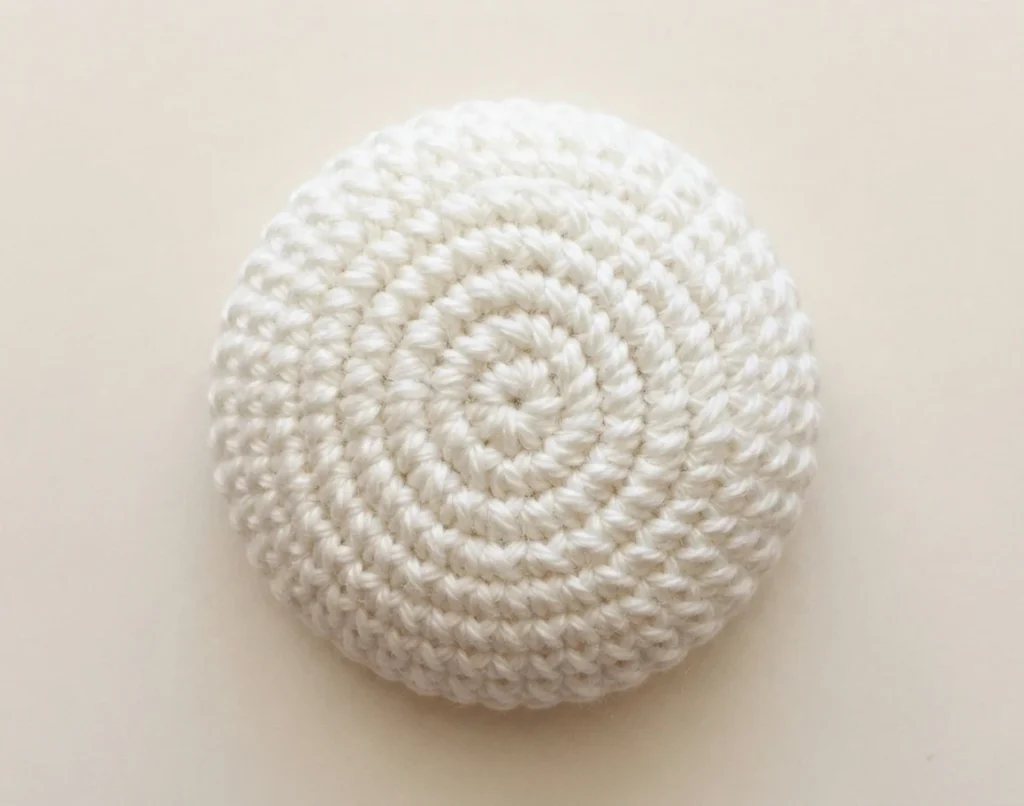
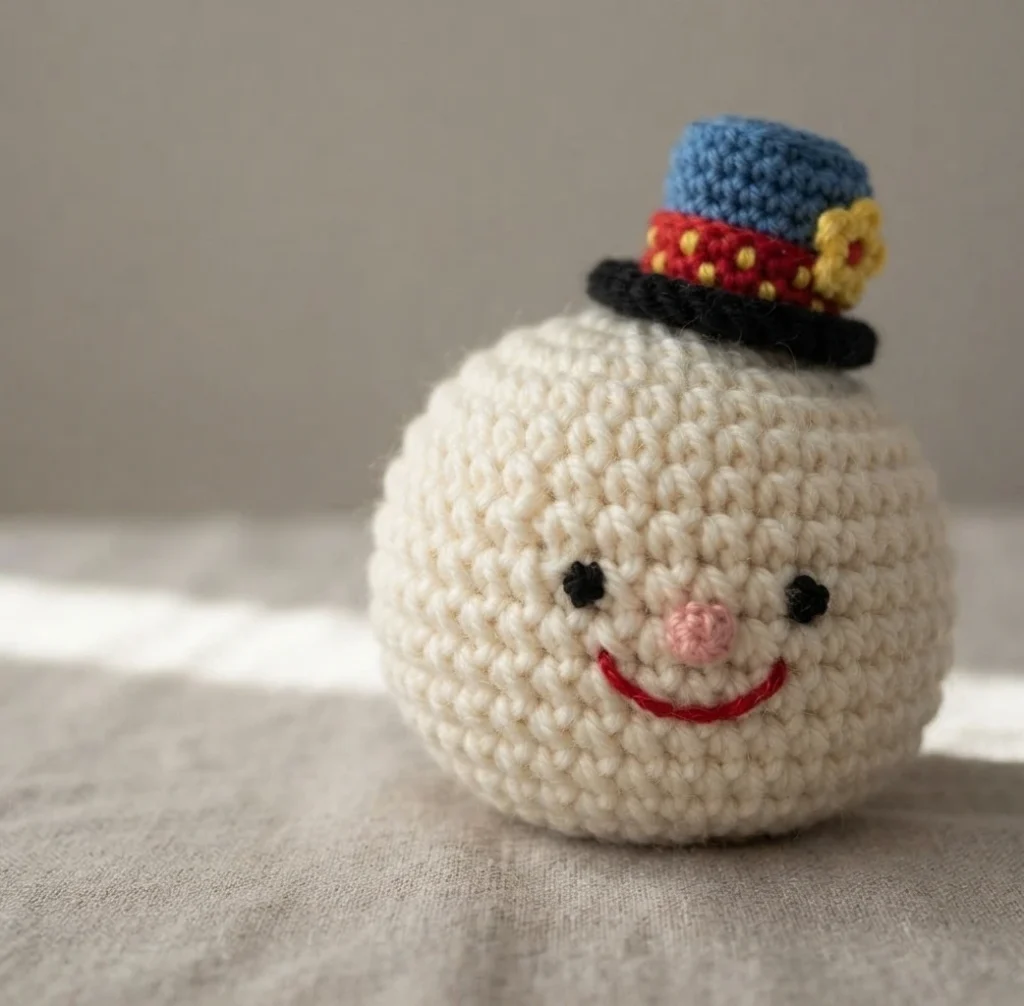
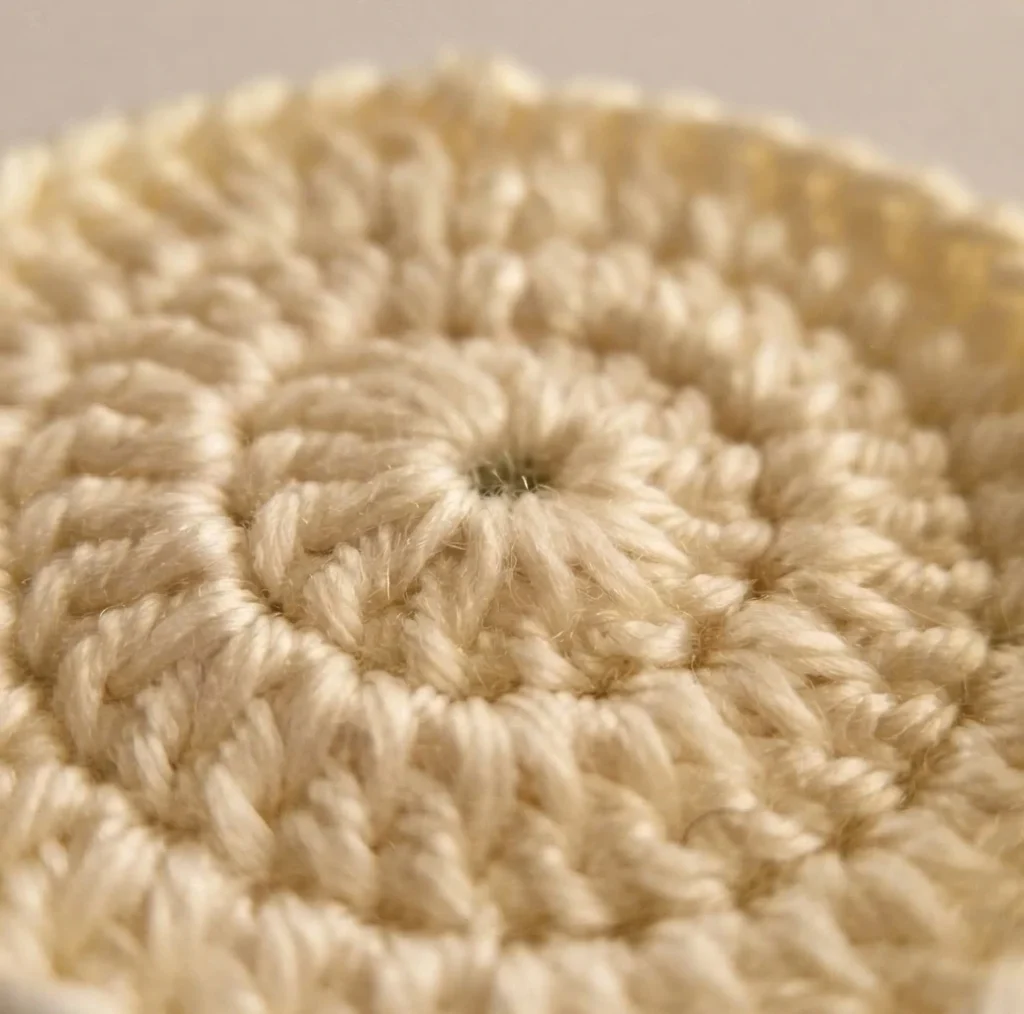
The head is the base piece and is worked in double crochet rounds that begin with a magic loop. Row 1 places 15 double crochet stitches into the circle, which is then pulled tight and joined with a slip stitch in the top of the first stitch. Row 2 opens with 2 chains and 1 double crochet in the same place as the chain, then works 2 double crochet into every stitch around before joining again.
Row 3 repeats a sequence of 1 double crochet in each of the next 2 stitches followed by 2 double crochet in the following stitch, all the way to the end, then joins and fastens off. The growing rounds shape the sphere that becomes the clown’s face.
Hair
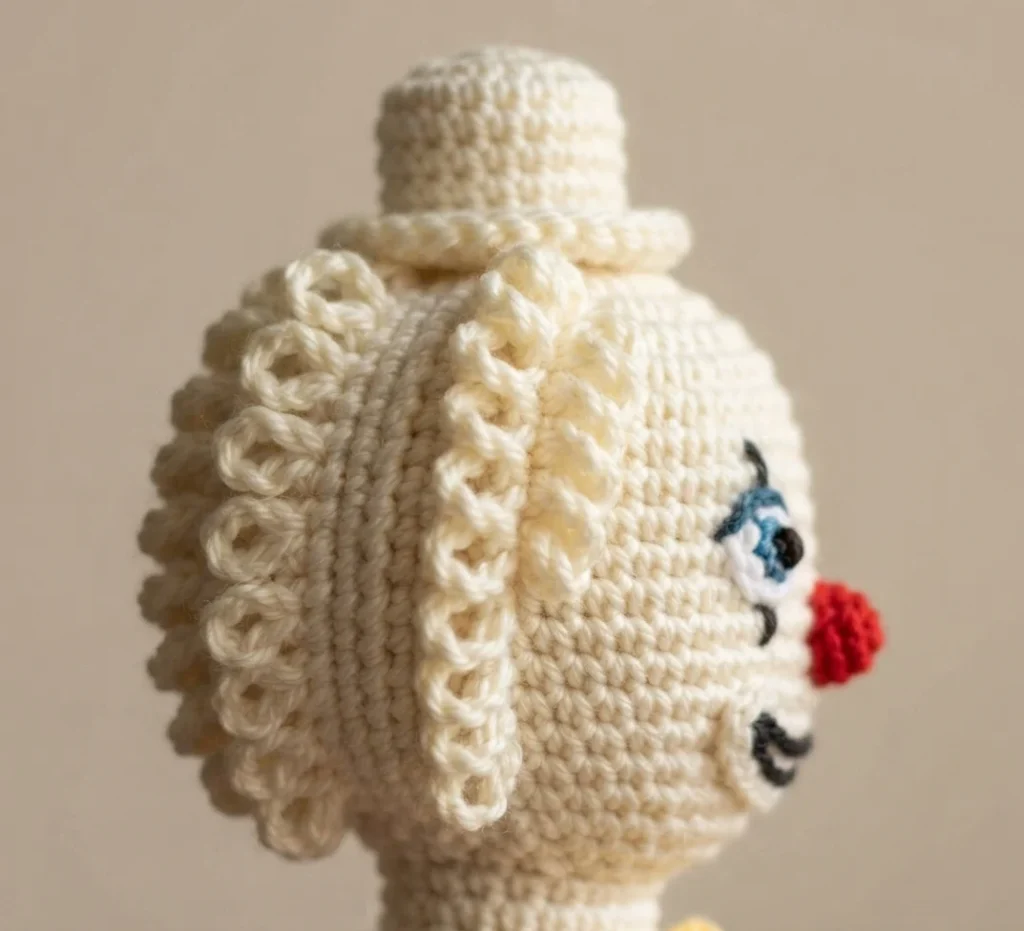
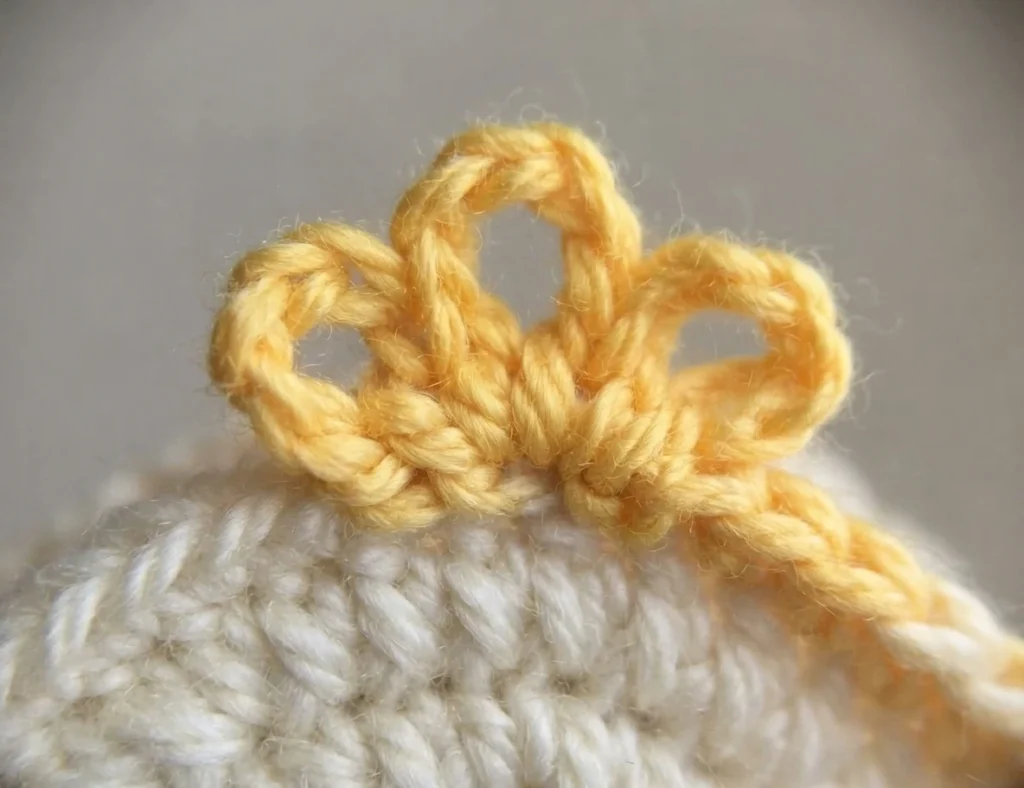
Hair is added straight onto the finished head rather than made as a separate piece. Yarn is joined to any stitch on the head. The first cluster is 3 chains, a joined double crochet in the same place as the chain, 3 more chains, and a slip stitch back into the same stitch as the joined double crochet. A repeat of miss 1 stitch, slip stitch into the following stitch, then the same chain and joined double crochet cluster is worked 3 times.
After that, 1 single crochet goes into each of the next 9 stitches, which anchors the hairline across the forehead, and the cluster repeat is worked 4 more times before fastening off. The loops of chain and joined double crochet give the ruffled, curly look that suits a clown.
Eyes (Make 2)
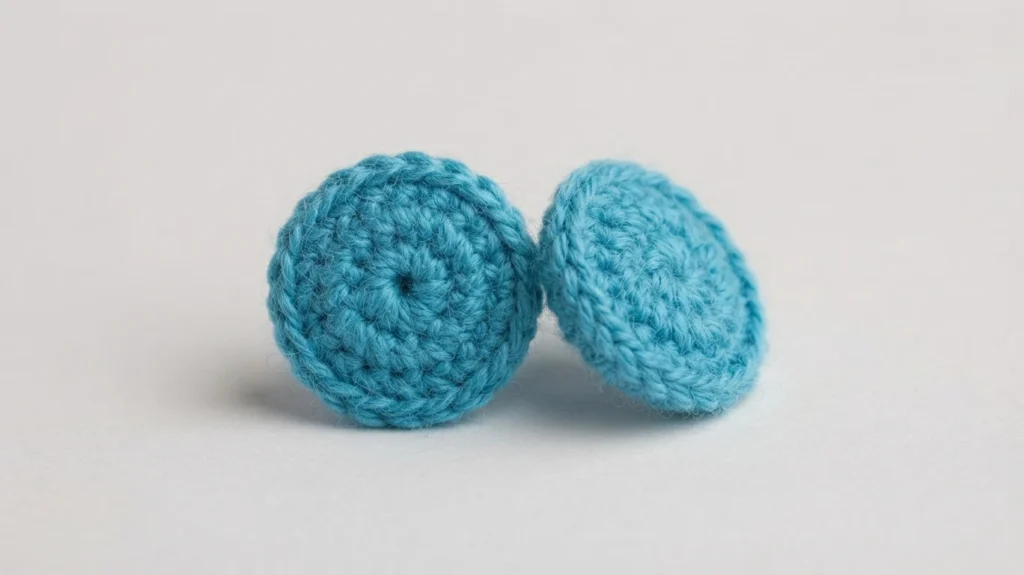
Two eye pieces are made in the same way. Each starts with a magic loop, then 1 chain and 4 single crochet stitches worked into the circle. The circle is pulled tight and the round is joined with a slip stitch in the first stitch, then fastened off. These small discs become the whites of the eyes and are decorated later during assembly.
Nose
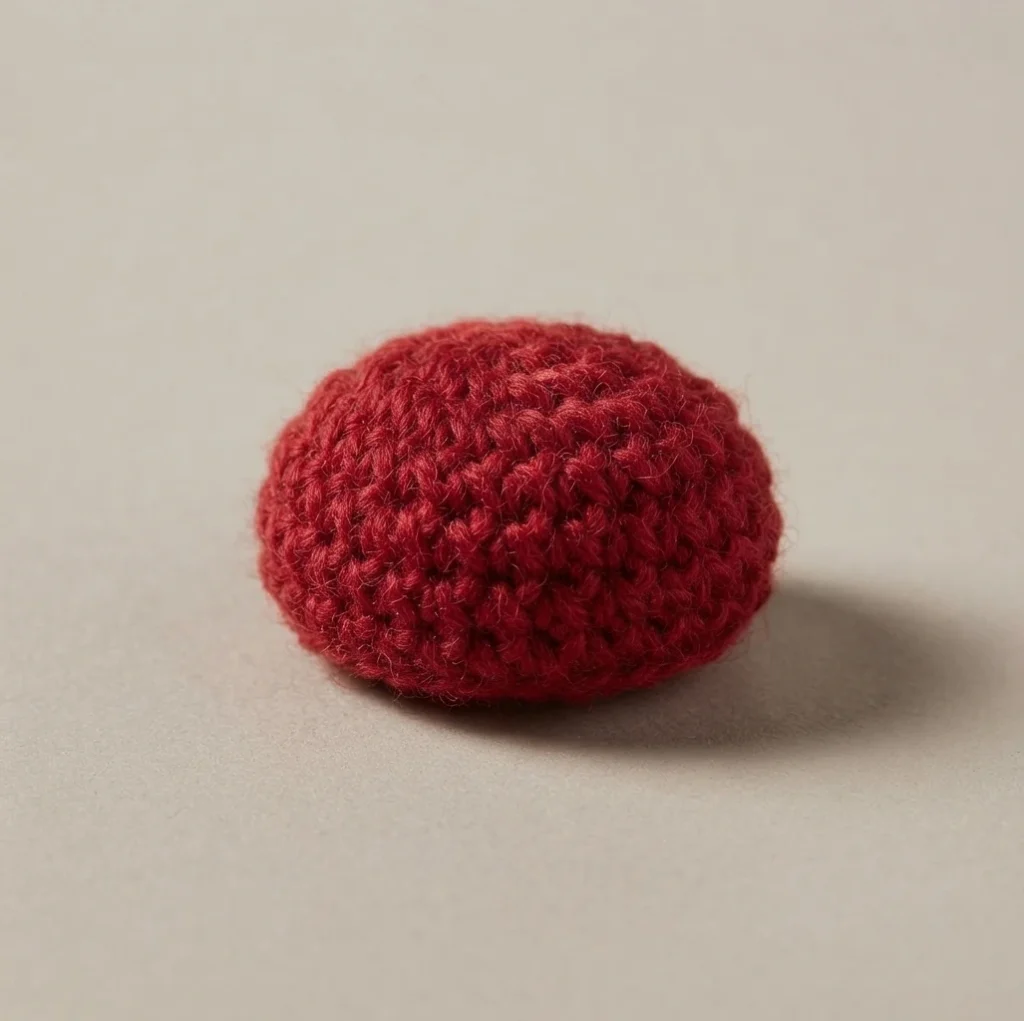
The nose follows the same method as the eyes but with more stitches to give it volume. A magic loop is made, then 1 chain and 8 single crochet stitches are worked into the circle. The loop is pulled tight, the round is joined with a slip stitch in the first stitch, and the yarn is fastened off. The result is a rounded disc that reads clearly as a clown nose once attached.
Mouth Piece
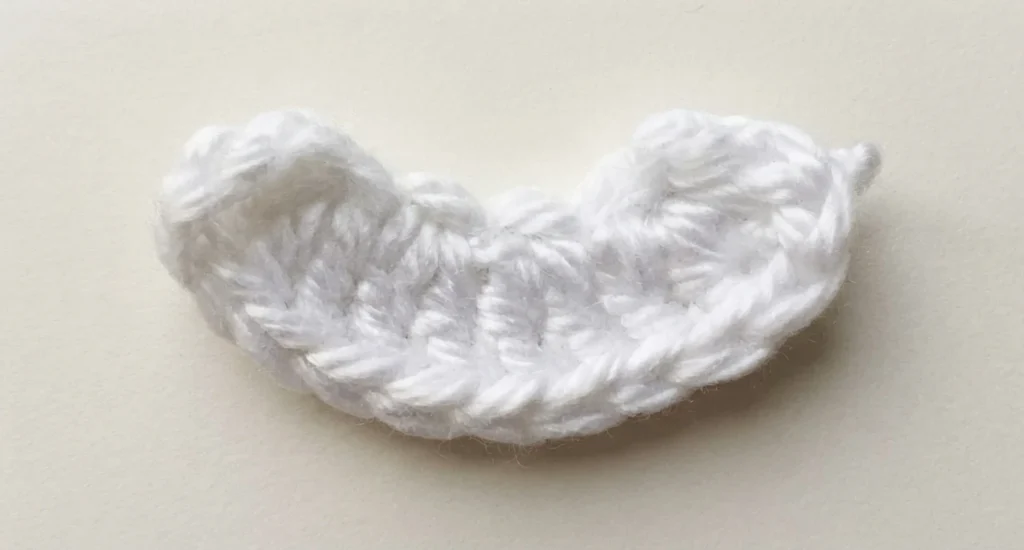
Unlike the head and face pieces, the mouth piece is worked flat. It begins with 6 chains. Working back along the chain, 3 double crochet go into the third chain from the hook, 2 double crochet into each of the next 2 stitches, and 3 double crochet into the last stitch. Two chains follow, then a slip stitch into the last stitch, and the piece is fastened off. The shaping at both ends gives the mouth its curved outline.
Top Hat
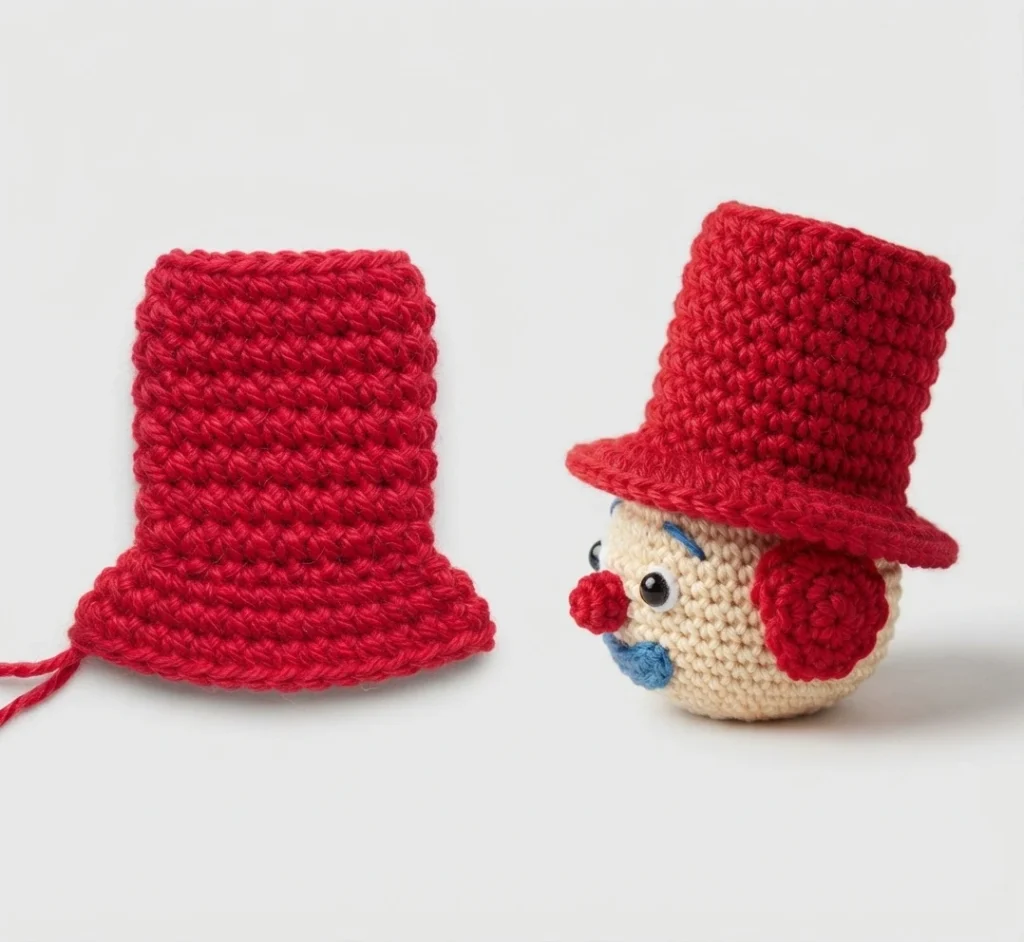
The hat is built in rows from a 7 chain foundation. Row 1 skips 3 chains and works 1 double crochet into each remaining chain, then turns. Rows 2 and 3 are plain double crochet rows across the width, each starting with 3 chains and turning at the end.
Row 4 shapes both ends of the hat: it begins with 3 chains, then 2 double crochet and 1 half double crochet in the first stitch, works 1 half double crochet in every stitch to the last stitch, and finishes with 1 half double crochet and 3 double crochet in that last stitch. The yarn is left attached because the next step continues from here.
Neatening Row
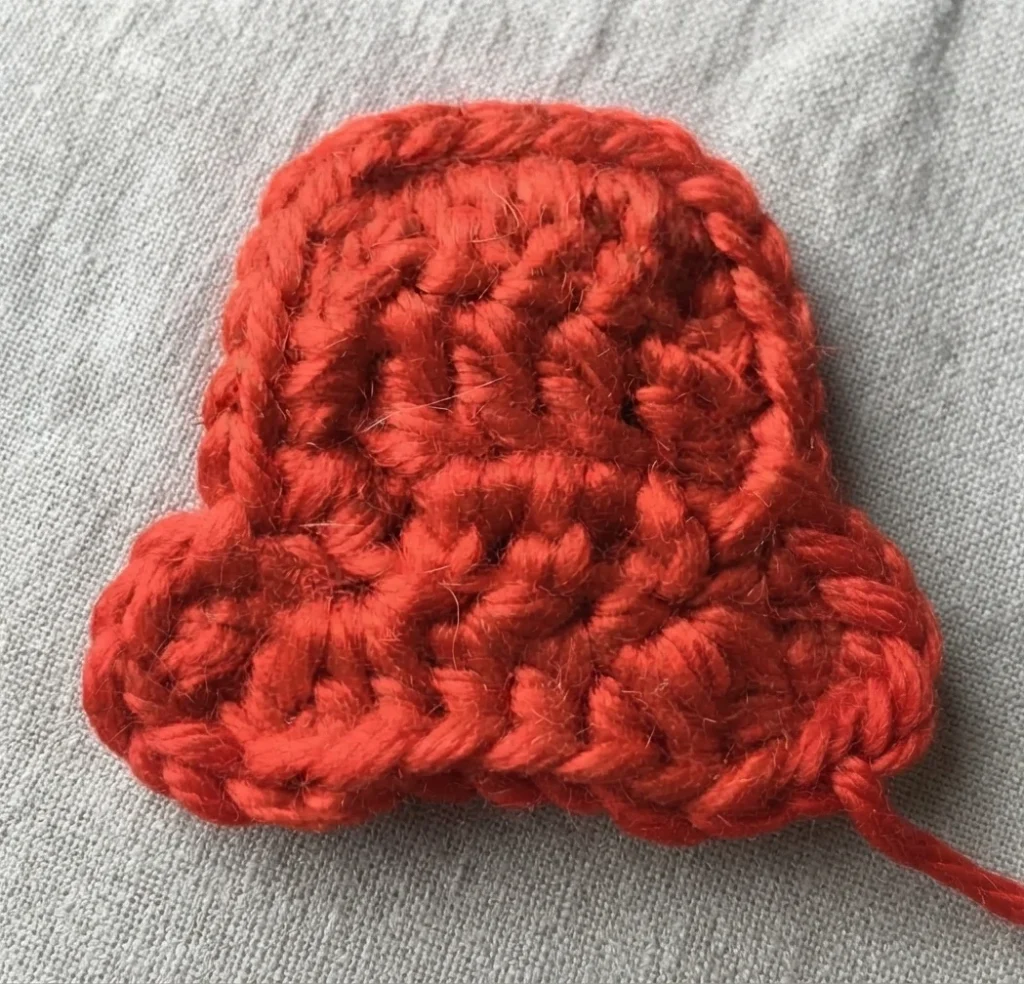
A neatening row tidies the edge of the hat. It is simply 1 chain followed by 1 single crochet in each stitch around the perimeter. The round is joined with a slip stitch in the first stitch and the yarn is fastened off. This step gives the brim a cleaner, more structured finish.
Flower for Hat
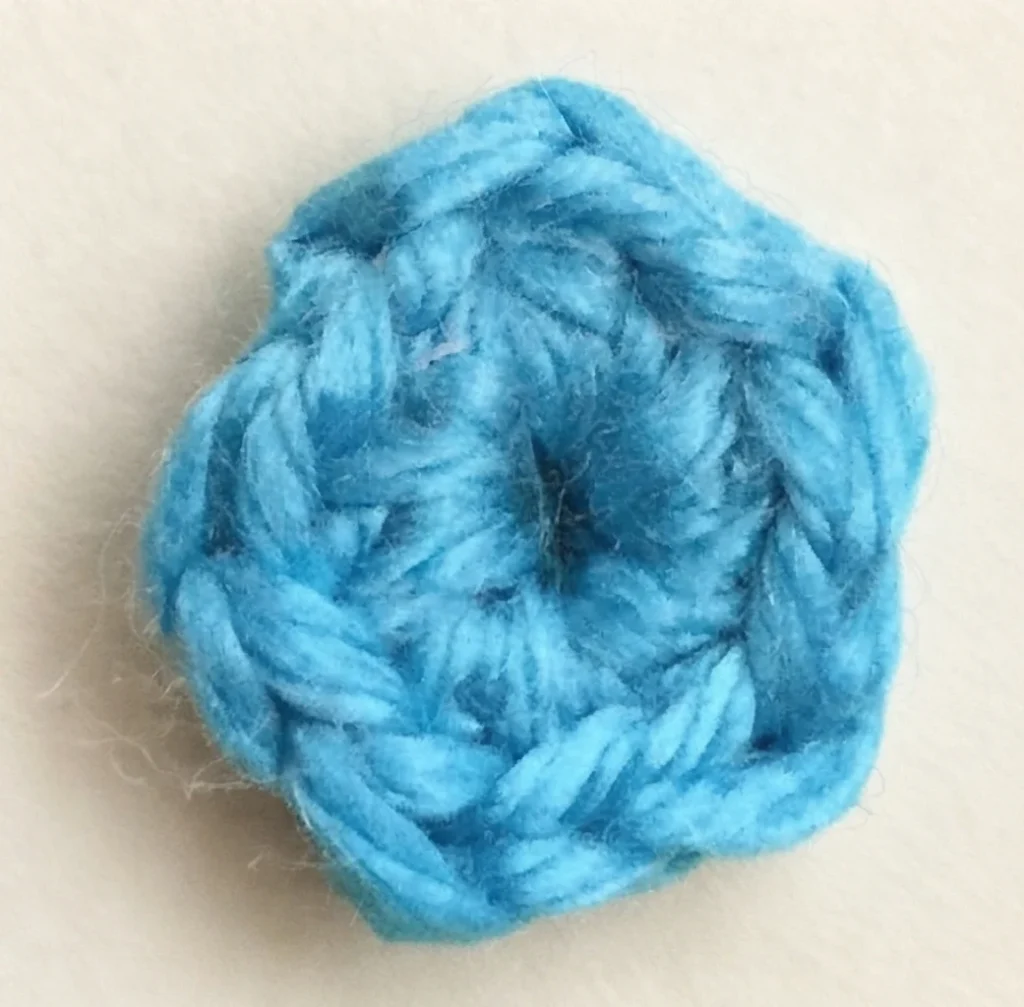
The flower is a small decorative piece for the hat band. It starts with a magic loop, then 1 chain, and the combination of 1 single crochet and 1 double crochet is worked into the circle 5 times. The circle is pulled tight, the round is joined with a slip stitch in the first stitch, and the yarn is fastened off. The repeats create a small bloom with several petals.
Trim for Hat
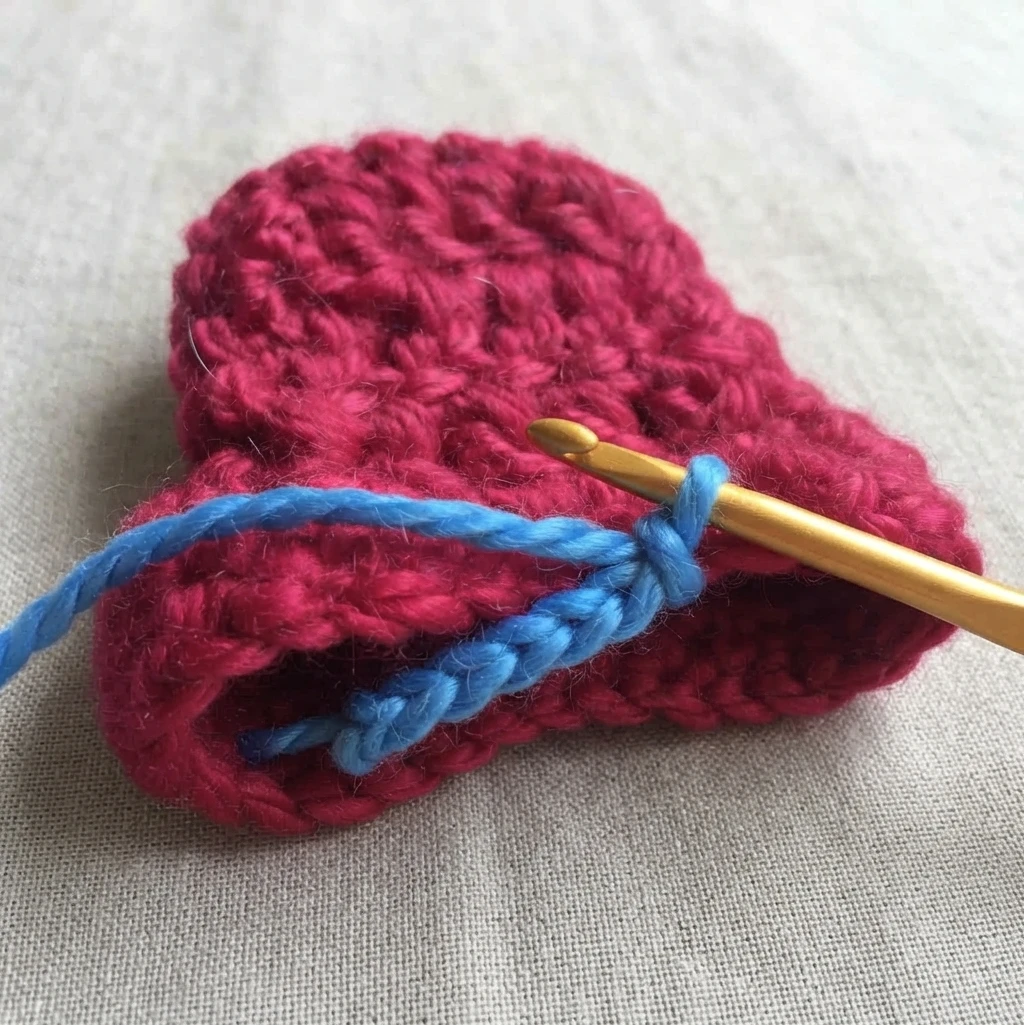
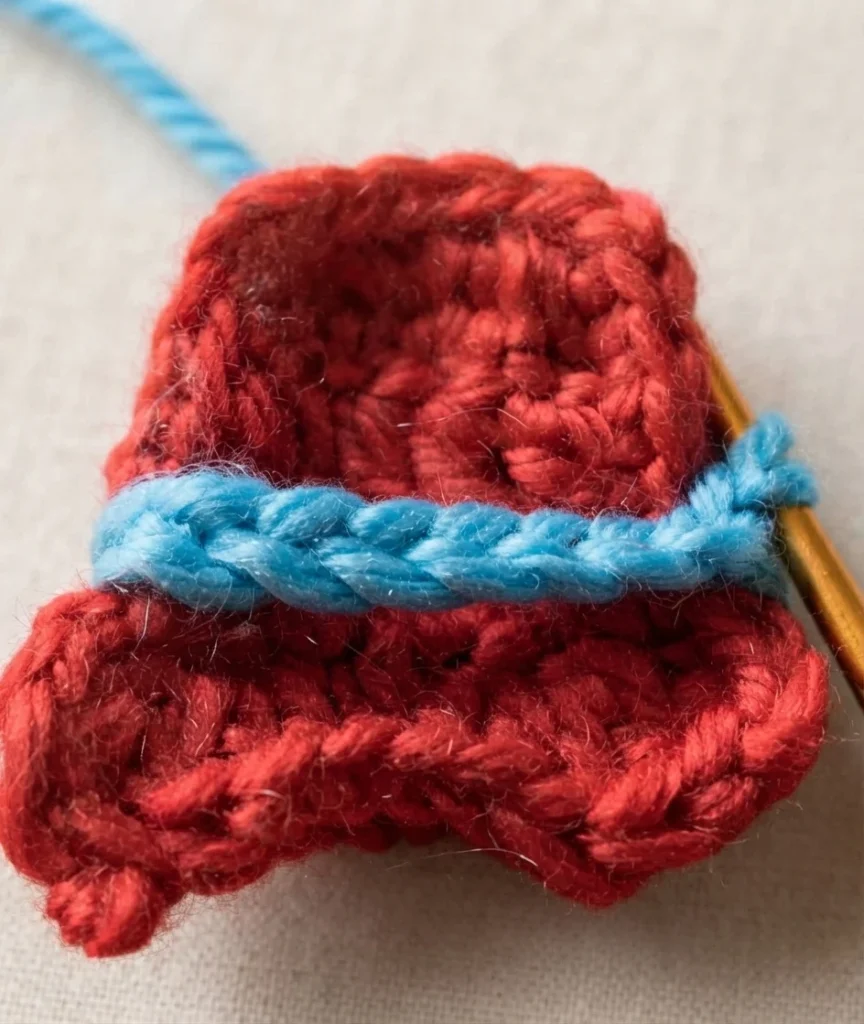

The trim is what holds the flower in place and marks the hat band. Yarn is joined to the wrong side of the hat, then enough chains are worked to reach across the width of the hat. The end is secured with a slip stitch into the side of the hat and fastened off. This chain bridge adds a band of contrast colour as well as a place to anchor the flower.
To Make Up
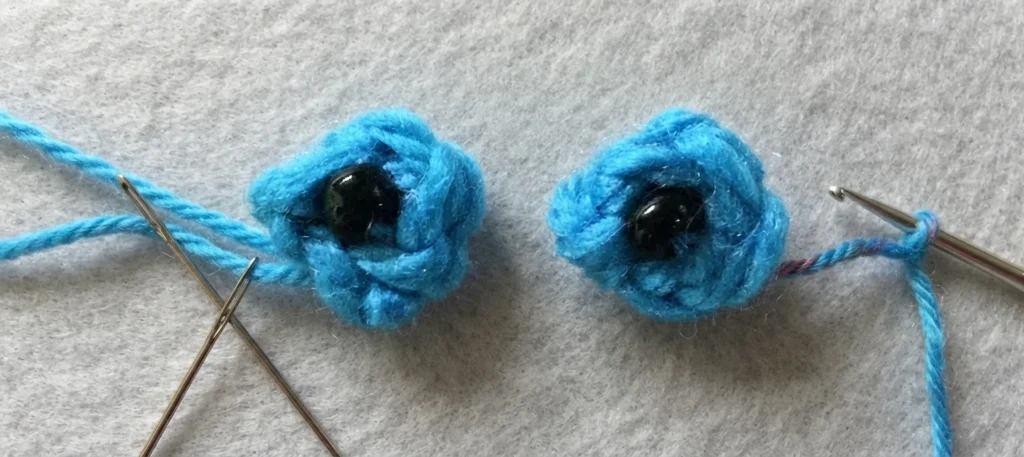
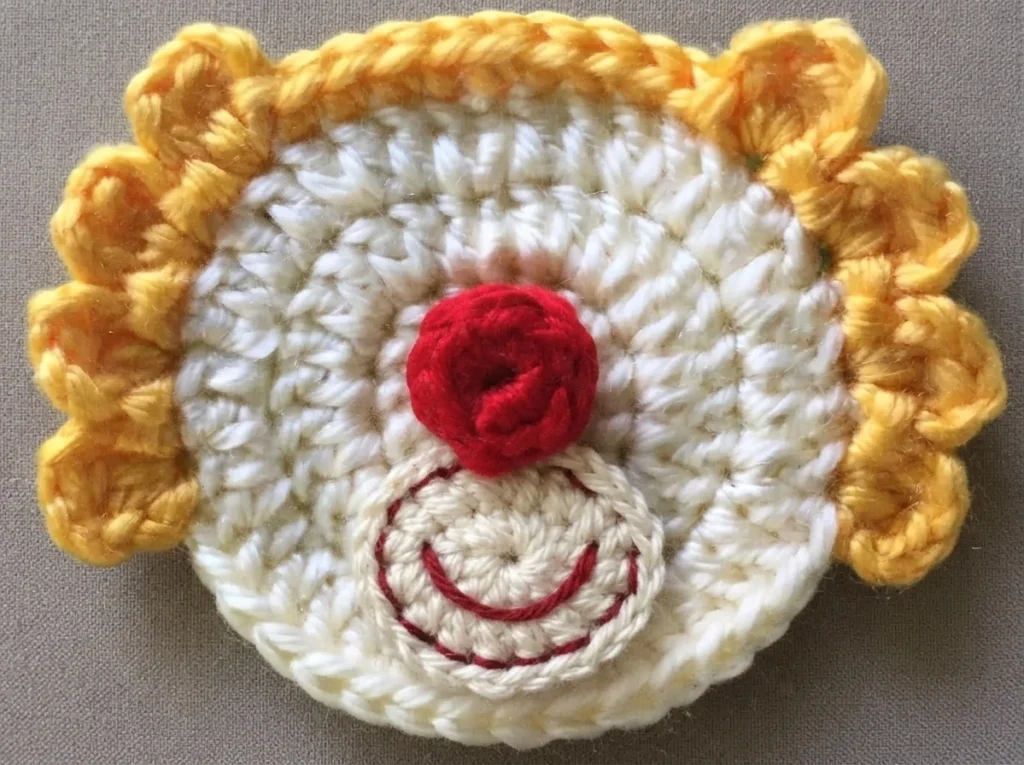
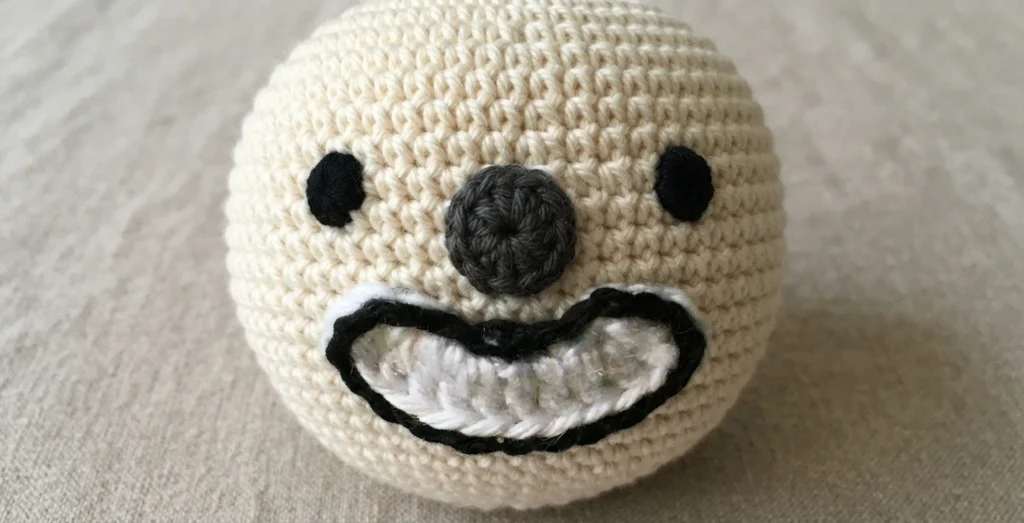

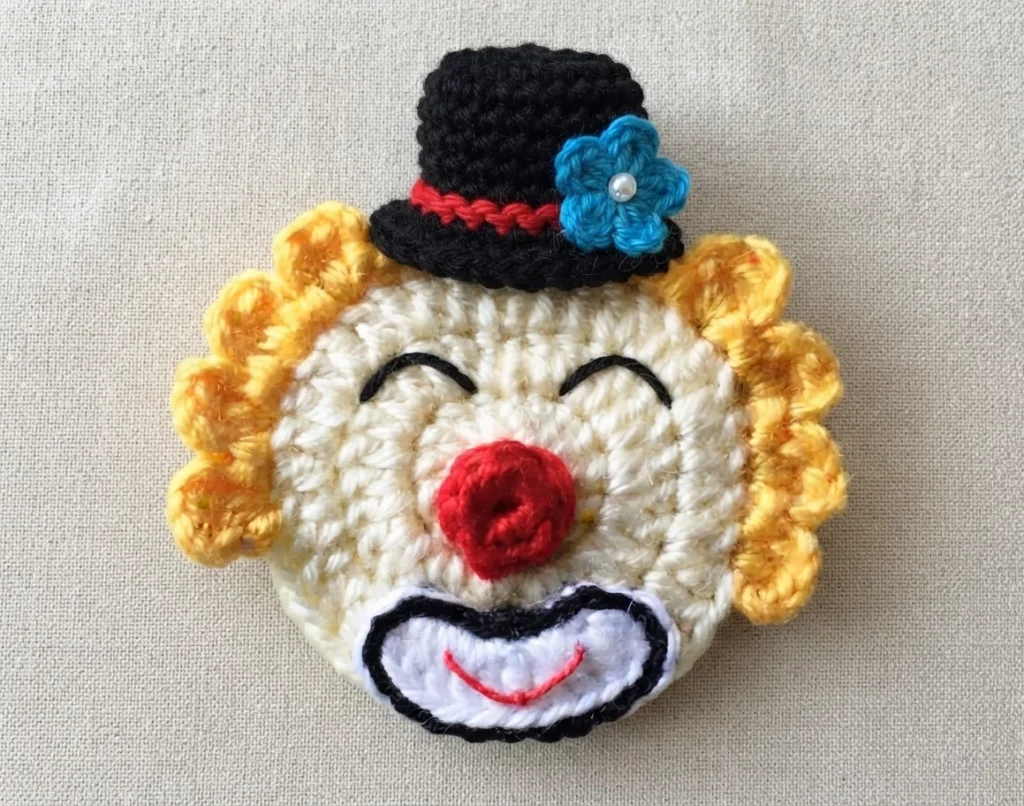
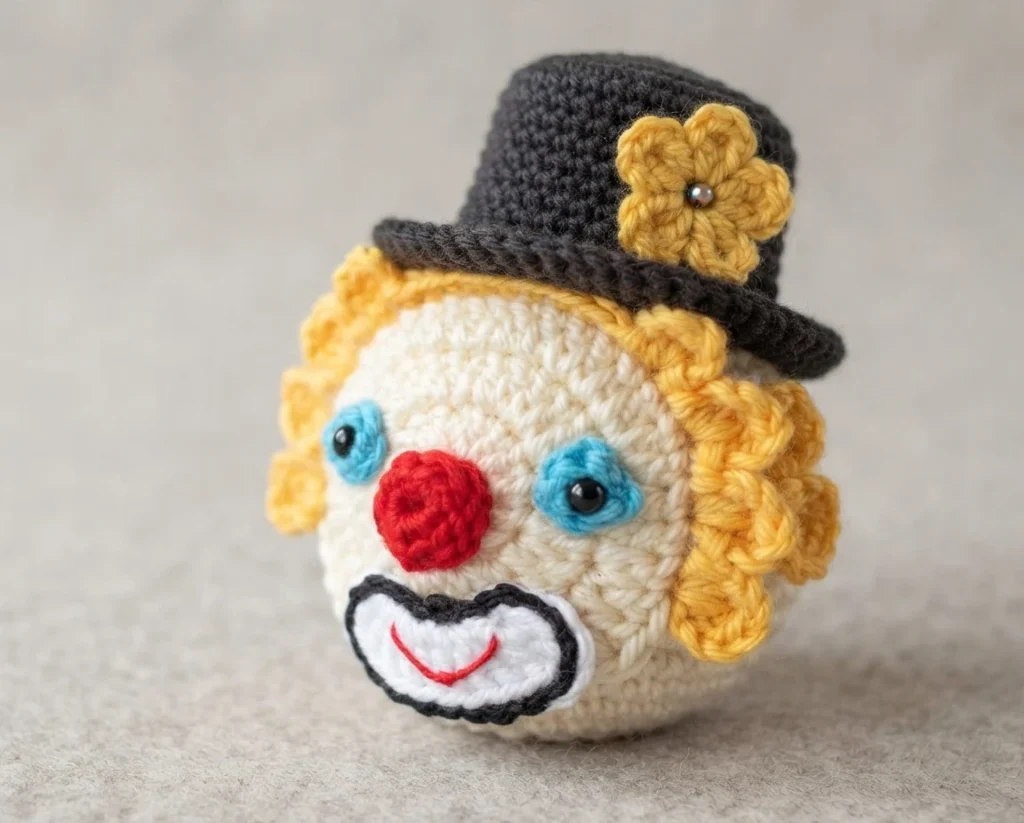
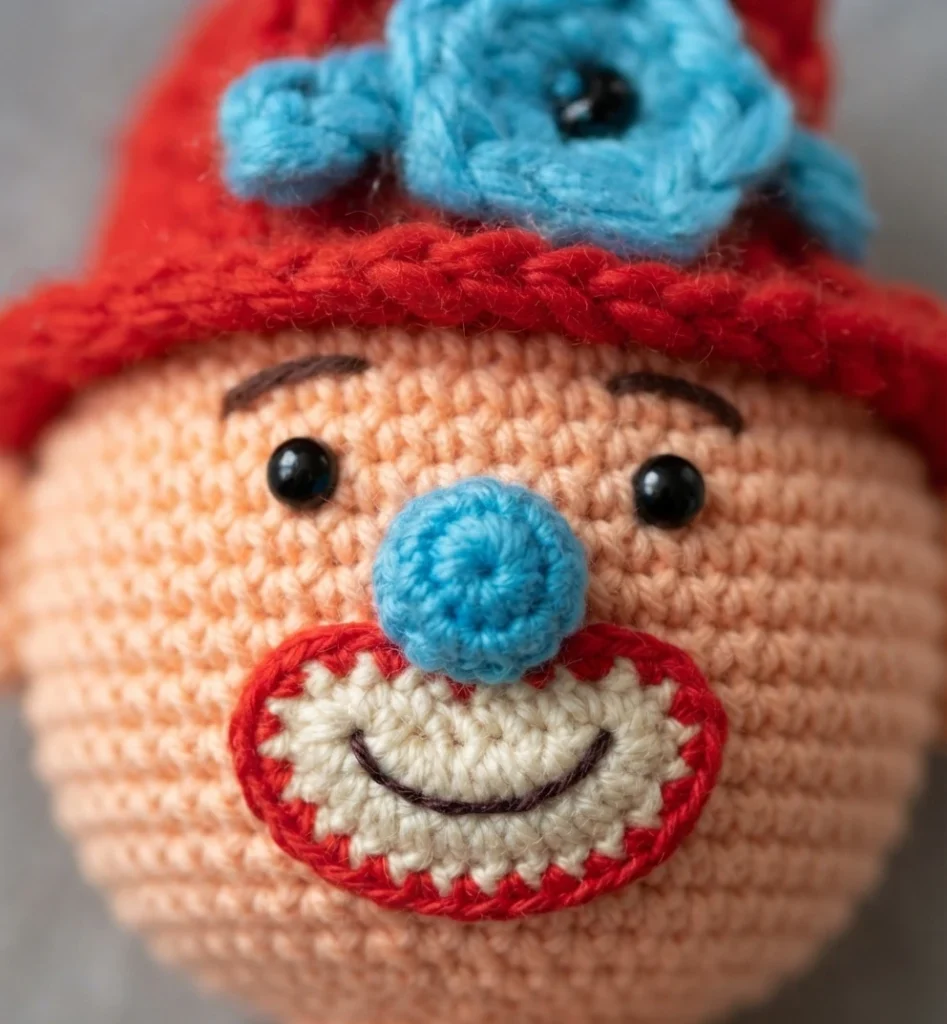
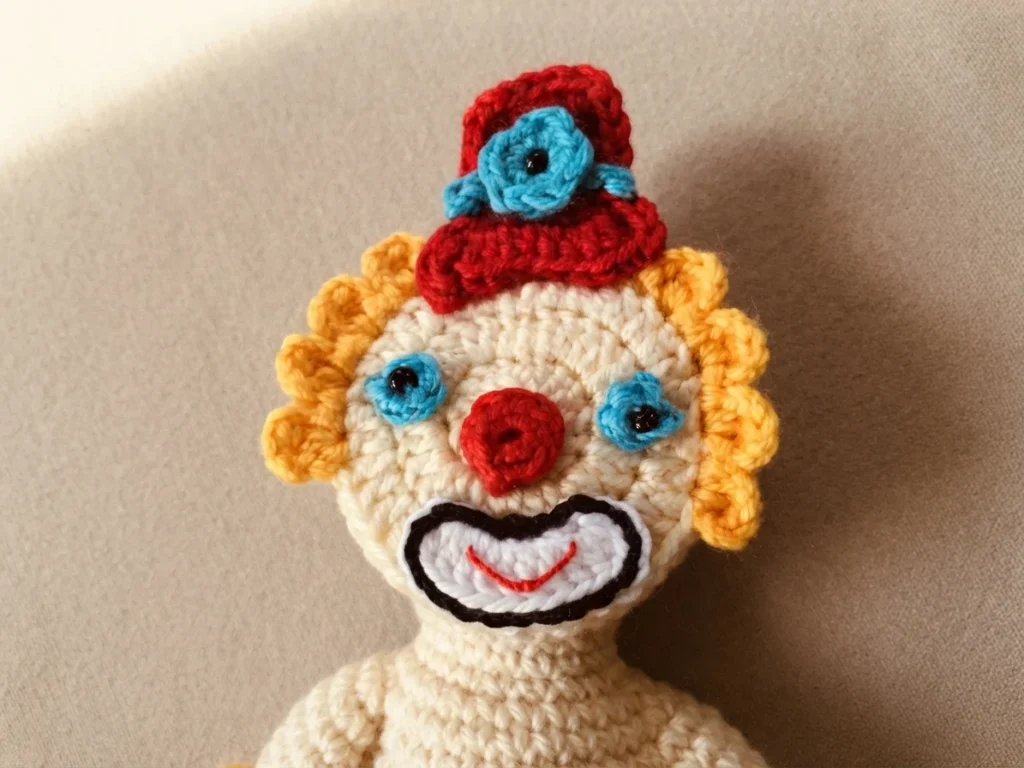
Assembly is where the separate pieces become a clown. Start by weaving in all loose ends. The face details come next, and the order matters less than getting the placement right.
- Add a dot or bead to each eye
- Secure the nose to the head
- Embroider the mouth on the mouth piece
- Sew the mouth below the nose
- Place the eyes on the face
- Attach the flower using a bead
- Fix the hat to the head
- Optional eyebrow stitching
The designer added a row of slip stitches around the mouth piece because the skin colour and mouth colour did not contrast enough on their own. That extra edge is optional but makes the mouth stand out more. Once the hat is stitched down and the flower secured, the clown is finished.
Original designer’s pattern and instructions
Lil’ Penn the Kitty Clown pattern by StringsandThingsByJoyce: Pattern Overview
Ravelry: Silly clown heart 🙂 Pattern by Expired Clown: Pattern Overview