Project introduction
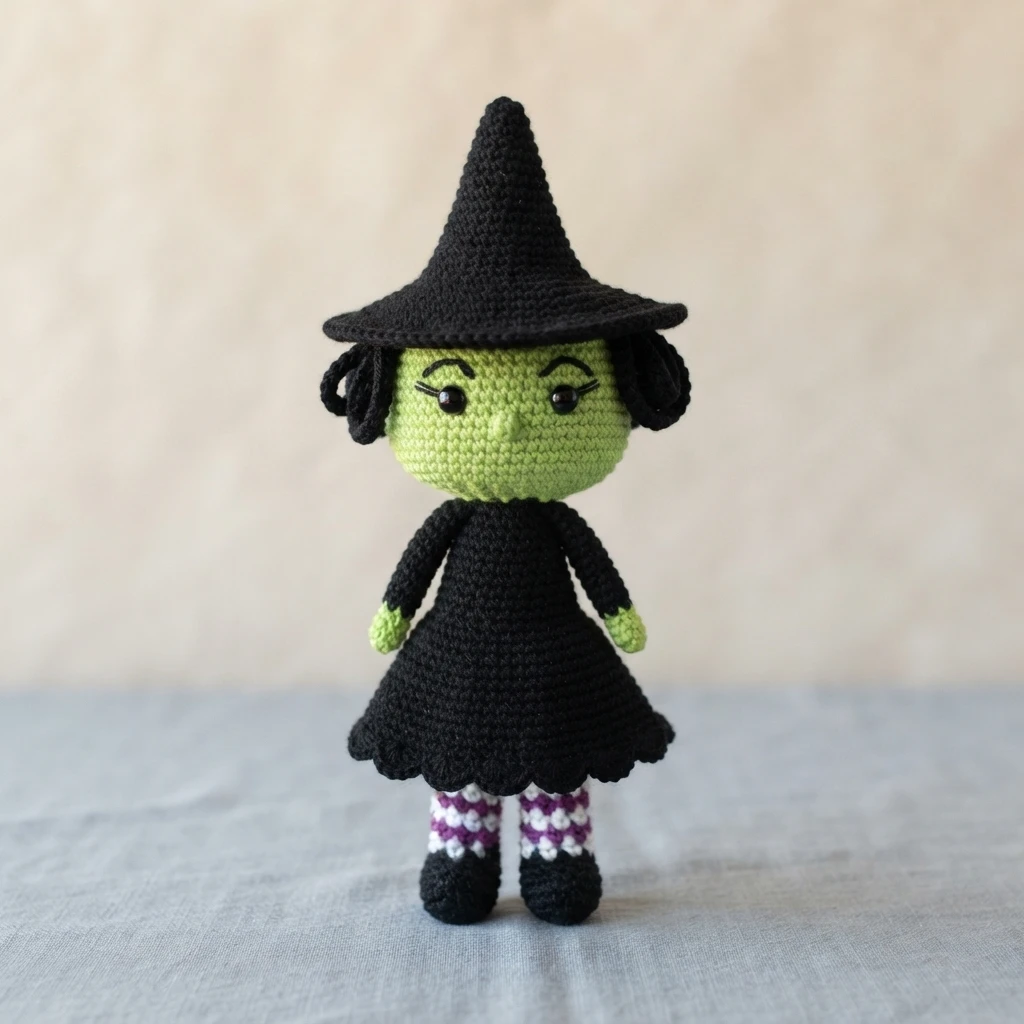
This is a pattern overview, not a full tutorial. The Wicked Witch of the West is a free crochet doll pattern published by Drunken Aunt Wendy, and the complete round-by-round instructions live on the designer’s own site. What follows is a practical orientation: what the project involves, which supplies the designer lists, how the pieces come together, and where to find the original text.
According to the designer’s post, the doll was made for her daughter when she landed the role of the Wicked Witch in a junior high musical. The pattern is shared freely and the designer notes plainly that it is not tested, inviting makers to report any issues they run into. That honesty matters here: treat the original page as the authority and read it end to end before you begin.
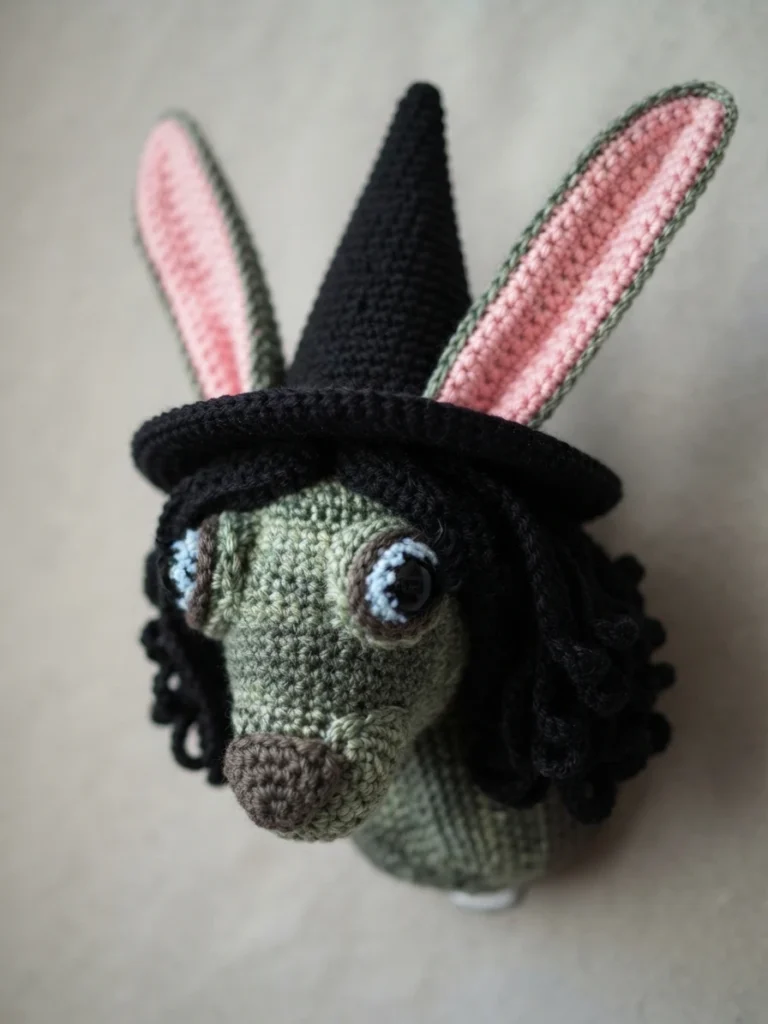
The same post opens with a short detour into a book called Animal Heads: Trophy Heads to Crochet. The designer made the little mouse head first and found it quick and easy, then tackled the hare, which proved a challenge because the charts were confusing, particularly around the neck and shoulders. She also notes the book is written in British crochet terms, which she says are easy enough to convert.
That context is worth knowing if you are deciding how to spend an afternoon. The witch is a separate, free project with its own materials list and its own construction notes, and it is the one this overview covers. If you want the actual stitches, you will need the designer’s page, because this article deliberately does not reproduce the row-by-row pattern.
You can find the Original designer’s pattern and instructions on Drunken Aunt Wendy’s site. Open it in a second tab, keep it beside you, and use this page as a planning companion rather than a substitute.
Before you commit yarn, read the designer’s own notes on increases. She spreads her increases out so the finished piece has no visible seam, and she says that if you do not like that method you can work regular increases instead. That is a genuine choice, not a rule, and it is the kind of detail that changes how a doll looks in the round.
She also explains her notation conventions up front: parentheses mark a repeat, and the bracketed number at the end of a row is the stitch count for that row. Knowing this before you start saves a lot of squinting later, especially in the long hat section where the counts climb steadily.
One more thing worth flagging early. The designer asks that makers who post their finished witch use the hashtag #drunkenauntwendy so she can find the work. She also offers her email for questions. Both are courtesies from the original post, and both are best honored by going to the source.
Pattern format and preparation
The designer’s materials list is short and specific. Gather everything before the first stitch, because several steps, like the eyes, need drying time before the head is even started. Here is the complete list exactly as the source presents it:
- Worsted weight yarn in four colors: I Love This Yarn in Limelight, Black, Mixed Berry and White
- 12 mm safety eyes
- Doll eyelashes
- E6000 epoxy
- Size E crochet hook
- Polyfiberfill for stuffing
- Large eye needle for sewing pieces together
- A stitch marker or a scrap piece of yarn to mark the start of each round
The stitch marker is not optional in spirit. The designer’s note states that the entire project is worked in the round, that you should mark the beginning of each row so you do not have to count every row, and that you should not join unless instructed to. That single habit keeps a long spiral project manageable.
She also lists the abbreviations used throughout, including single crochet, double crochet, chain, fasten off, slip stitch, increase, decrease, puff stitch, back loops only and front loops only. Her puff stitch definition is written out in full on the original page, so check it there rather than guessing at the loop count. The source also notes that the entire project is worked in the round, and that a stitch marker or a scrap piece of yarn should mark the beginning of each row so you do not have to count every row.
How the doll is constructed
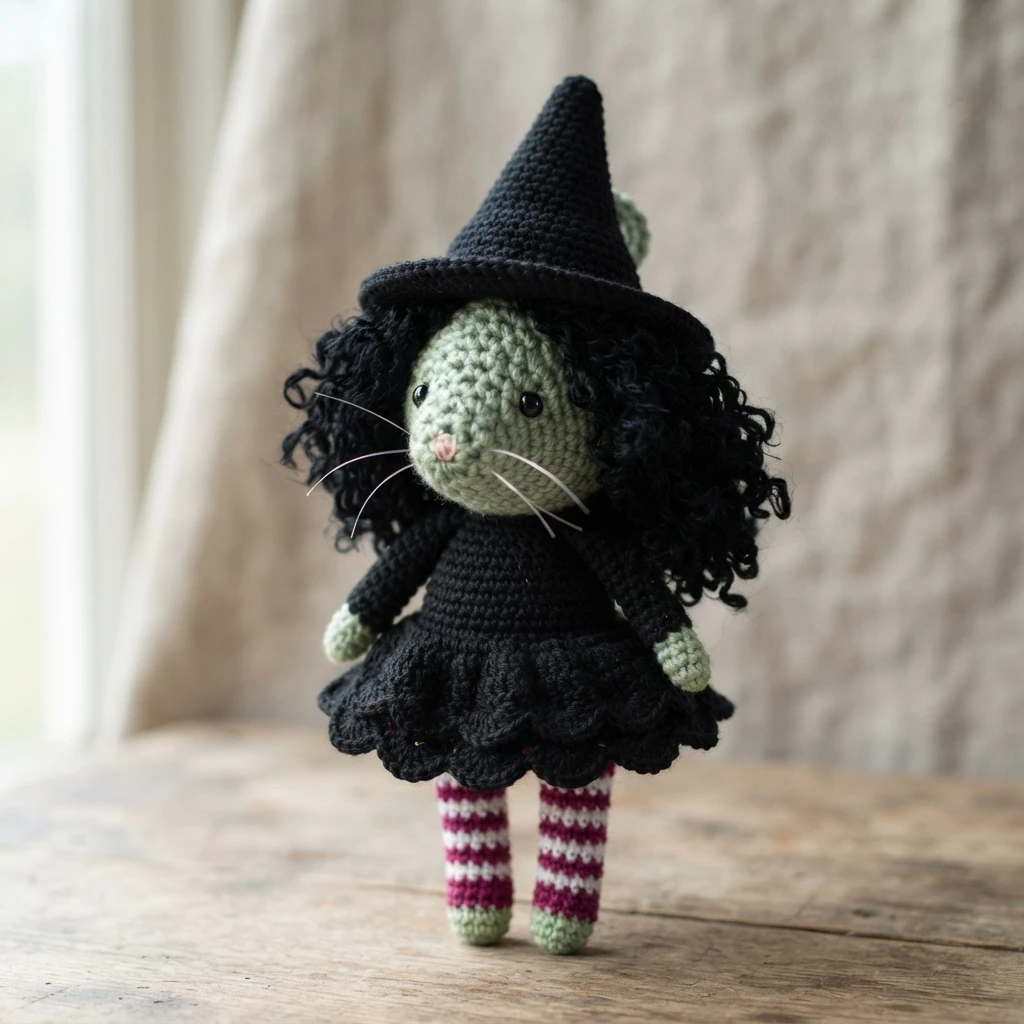
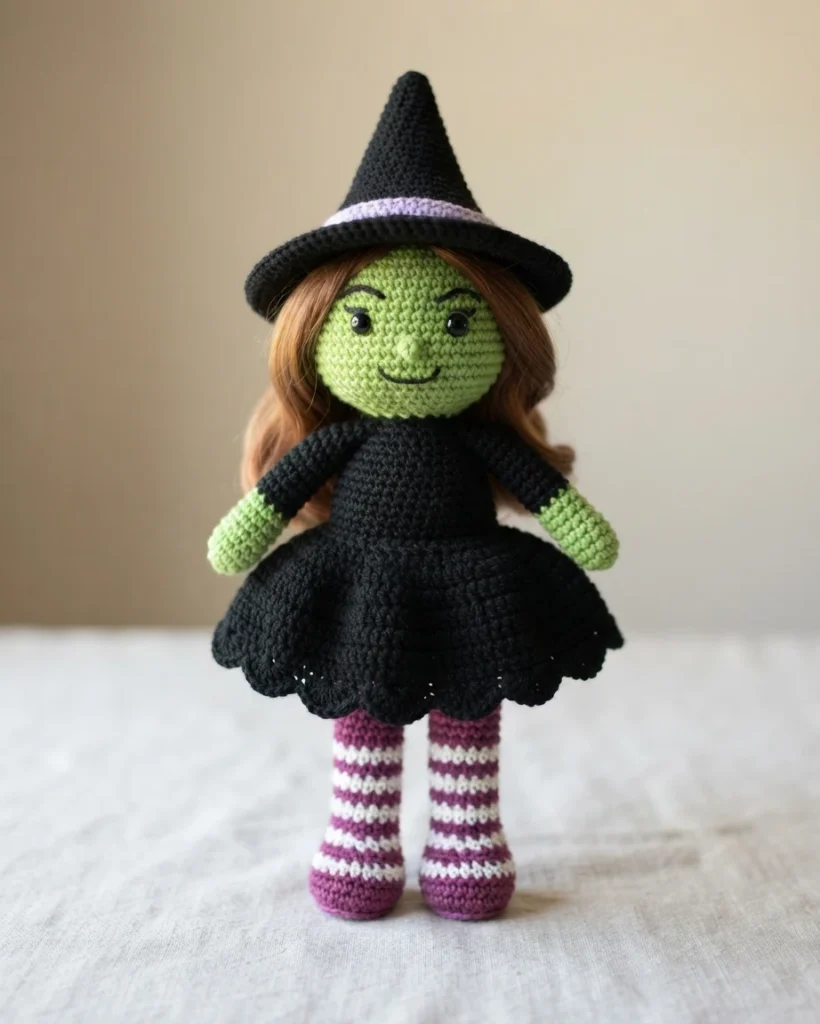
The witch is built as a set of separate pieces that are assembled at the end. That structure is common for amigurumi, and it means you can work in short sessions without losing your place. The designer builds the head, ears, hair, hat, torso, skirt, arms and feet as distinct elements, then joins them.
The head is worked as an oval in Limelight, with the increases placed on the sides of the oval rather than evenly around. The designer pauses after the head to place the eyes between rows 13 and 14, roughly 8 stitches apart, and to add a nose with a couple of straight stitches. She mentions that a bit of red makeup can give the doll rosy cheeks, which is an optional finishing touch.
The eyes themselves are prepared before the head begins. The designer clips three lashes per eye, glues them to the flat portion of the safety eyes with E6000 epoxy, and sets them aside to dry. Doing this first means the adhesive has time to cure while you crochet, which is a sensible bit of sequencing.
The ears are small Limelight pieces worked flat rather than in the round, then sewn to the sides of the head. The hair is worked in black directly onto the head with loop stitches, and the hat is a separate black piece that grows through many increase rounds before it is fastened off. The hat’s front-loop round is one of the details that shapes how it sits.
The torso is another oval, worked in black with the increases on the sides, and it includes a back-loops-only round that leaves a set of unused loops behind. Those loops are not wasted. The skirt joins to them with a slip stitch, which is an elegant way to attach a garment without sewing a seam.
The skirt widens as it goes and finishes with a scalloped edging built from groups of double crochet separated by skipped stitches and slip stitches. The arms start in Limelight, switch to black partway up, and are deliberately left unstuffed. The feet begin in black, are stuffed as they are shaped, and then alternate White and Mixed Berry for a striped stocking effect.
Assembly comes last. The designer instructs you to lift the skirt and sew the feet to the torso, making sure they face forward. Since the pattern is untested, expect to read a few instructions twice and to check the original page whenever a count or a placement feels unclear.
Working from the original pattern
The value of this overview is orientation, not substitution. The designer’s page contains every round, every stitch count and every color change, and it is the version you should actually crochet from. Nothing here replaces that text, and no summary can capture the small decisions that make a doll come out right.
If you are new to amigurumi, plan to work slowly through the head and torso, since both use oval construction with side increases. If you are experienced, the project is a longer build with a satisfying amount of assembly at the end. Either way, the designer’s own notes on seam-free increases are worth trying as written before you adapt them, and her note that the pattern is untested means you should read each section twice before moving on.
Because the pattern is untested, a small notebook helps. Jot the round you finished, note any spot where you had to improvise, and if something genuinely does not work, the designer has invited feedback by email. That is a generous arrangement and it is worth respecting by reporting clearly rather than quietly abandoning the project.
Finally, if you share photos of your finished witch, use the hashtag the designer requested. It is a small thing that keeps a free pattern’s community visible and helps other makers find the source. The designer also offers her email for questions, and she asks that makers report any issues they run into, since the pattern is not tested. Then go back to the original page for your next one.