Project introduction
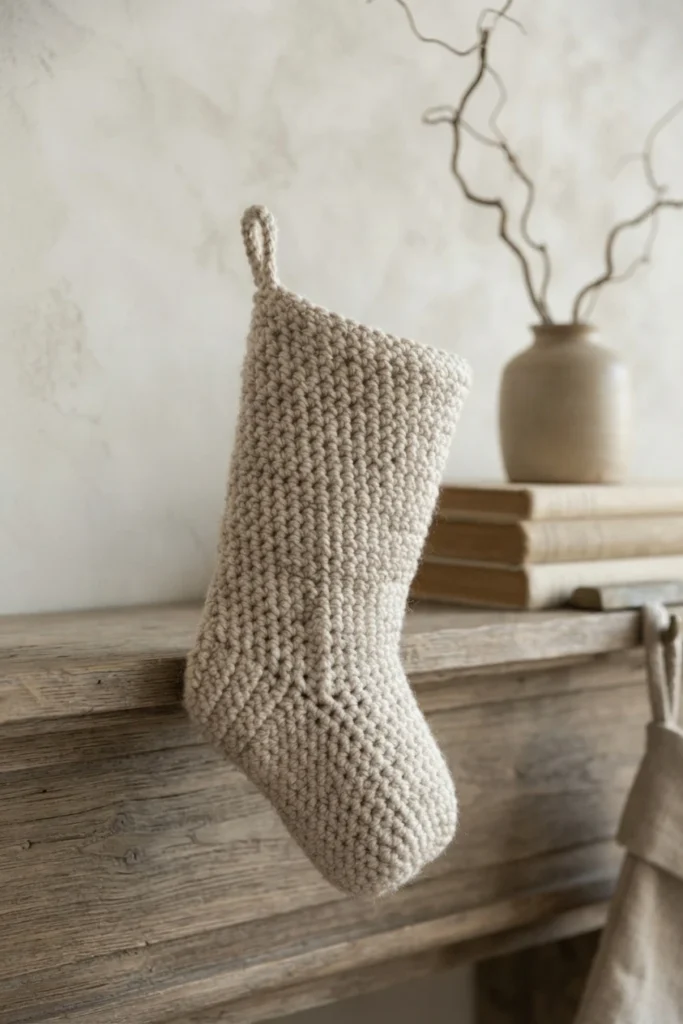
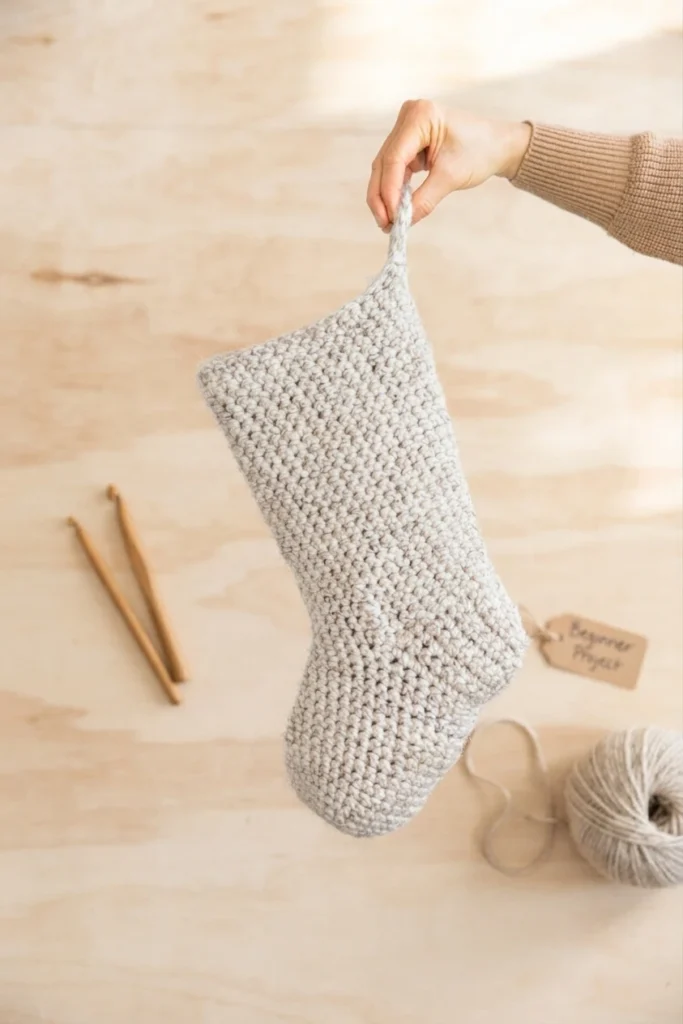
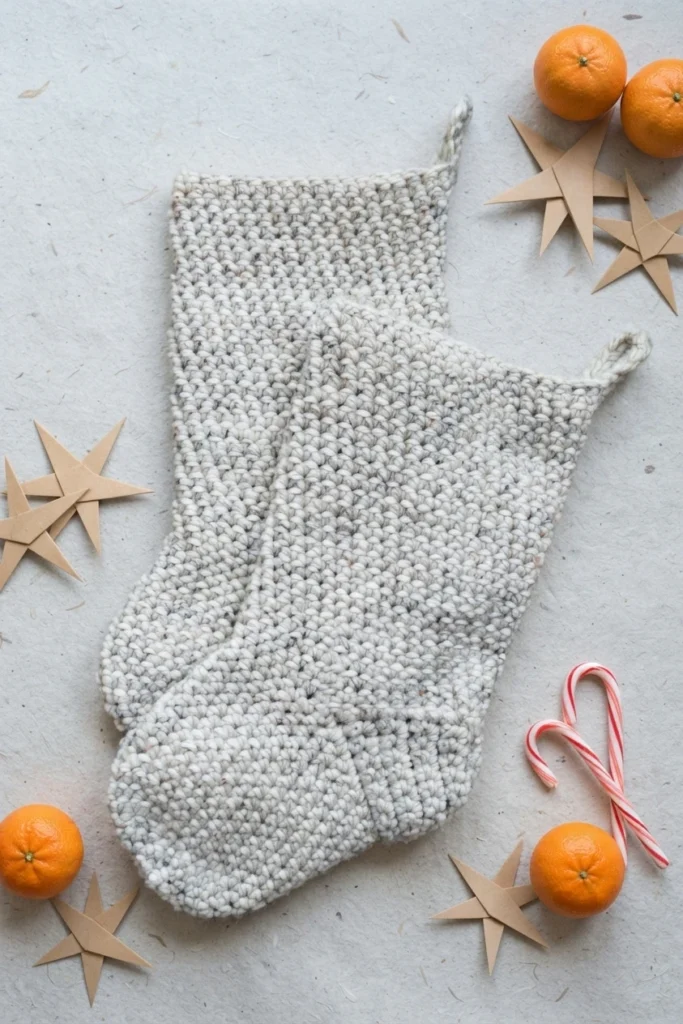
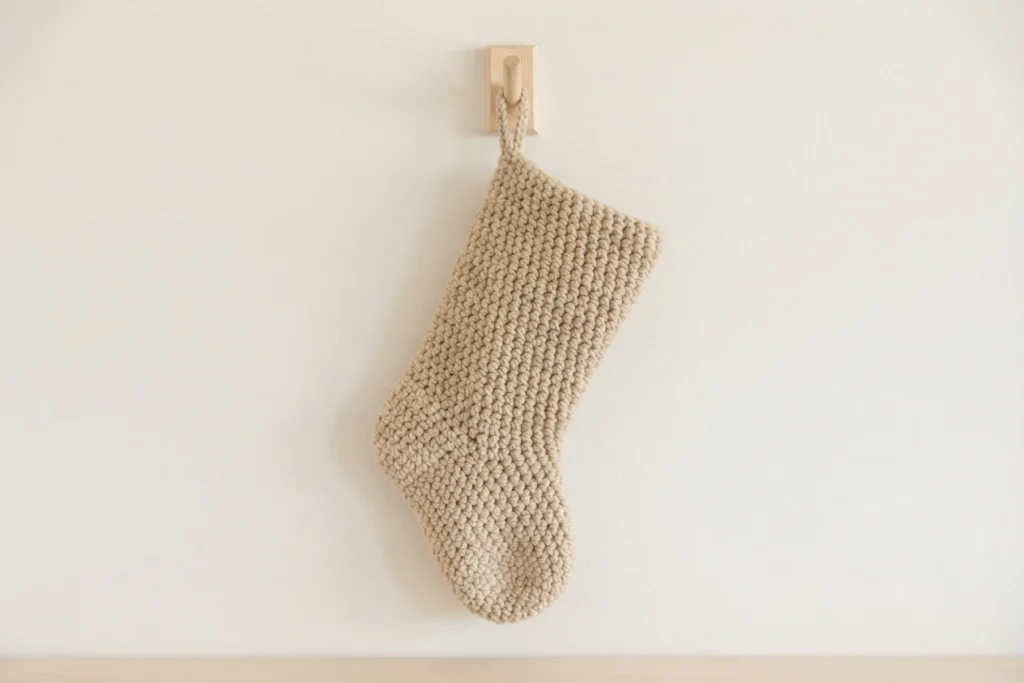
This is a pattern overview, not a full tutorial. Delia Creates designed this beginner friendly Christmas stocking after readers spent a couple of years asking for one, and the result is a no frills basic stocking you can leave plain, embroider, or work with color changes. It leans mostly on single crochet, with some double crochet and slip stitches mixed in, so it stays approachable while still feeling sturdy.
Stretch is the usual problem with crocheted bags and stockings. Working tight single crochet in seamless rounds is the designer’s answer: it removes much of that give and adds strength. The designer reports filling a sample with soup cans and finding it handled at least 5 pounds. Expect roughly 2 to 3 hours per stocking depending on your pace, and one skein of Wool Ease Thick and Quick plus a little extra.
The complete written pattern and video walkthrough live at the Original designer’s pattern and instructions, which is the free web version. Follow that link for the row by row directions and the video.
Materials
Gather everything before you begin so the repetitive rounds stay relaxing. The source lists the following supplies.
- Super bulky or Category 6 yarn
- K/10.5 or 6.50 mm hook
- Scissors and yarn needle
- Stitch marker, or a piece of ribbon or a paper clip as a substitute
Materials Notes
The sample uses Wool-Ease Thick and Quick in wheat, but any super bulky or Category 6 yarn works. The designer recommends choosing a yarn with some wool in it, since it tends to look more matte and gives a prettier finish. Each stocking takes about 190 g or 118 yards, described as one skein plus an extra dozen yards. For several stockings, plan one skein per stocking plus one extra skein for the lot, which covers up to 8 stockings.
A note in the source explains that the video lists a more generous yarn amount, recorded before a more precise estimate was written. Extra yarn is worth having because tension varies, listed yardage does not always match what is in a skein, and a skein can occasionally hide damaged yarn that needs cutting out.
Gauge
The stated gauge is 4 inches by 4 inches equals 10.5 sc by 10.5 rows. Because the stocking relies on tight single crochet for firmness, matching this gauge matters more than it would for a loose decorative piece. If your square comes out noticeably different, the finished fabric will behave differently too.
Abbreviations
The pattern uses U.S. crochet terms, so the standard glossary applies throughout.
- sc = single crochet
- dc = double crochet
- sl st = slip stitch
Written pattern & tutorial
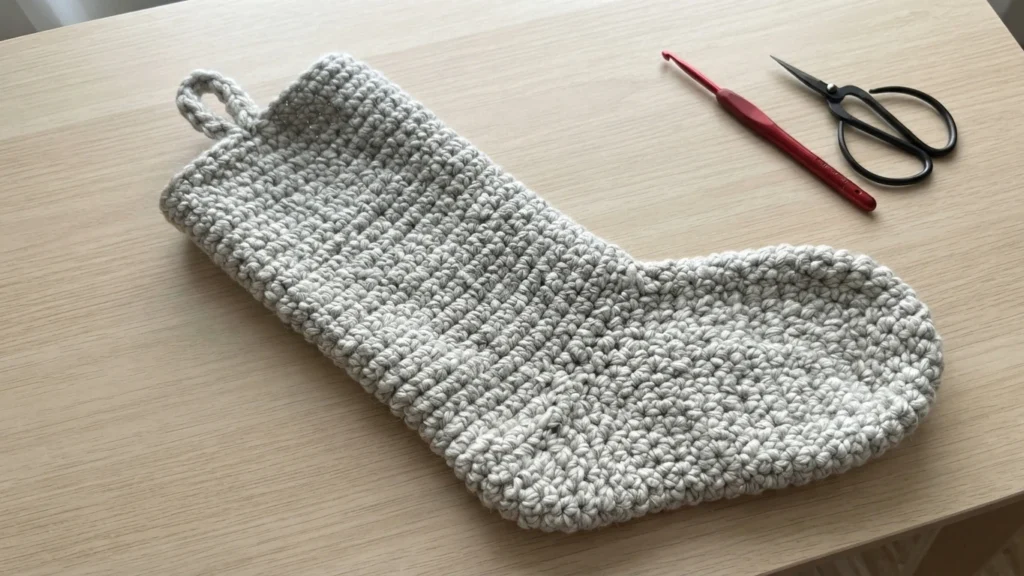
The pattern begins with a magic ring, and the video tutorial demonstrates how to make one. The written directions are in U.S. crochet terms. Rather than reproducing the rounds here, this overview describes how the stocking is put together so you know what to expect before you open the pattern.
Stocking toe
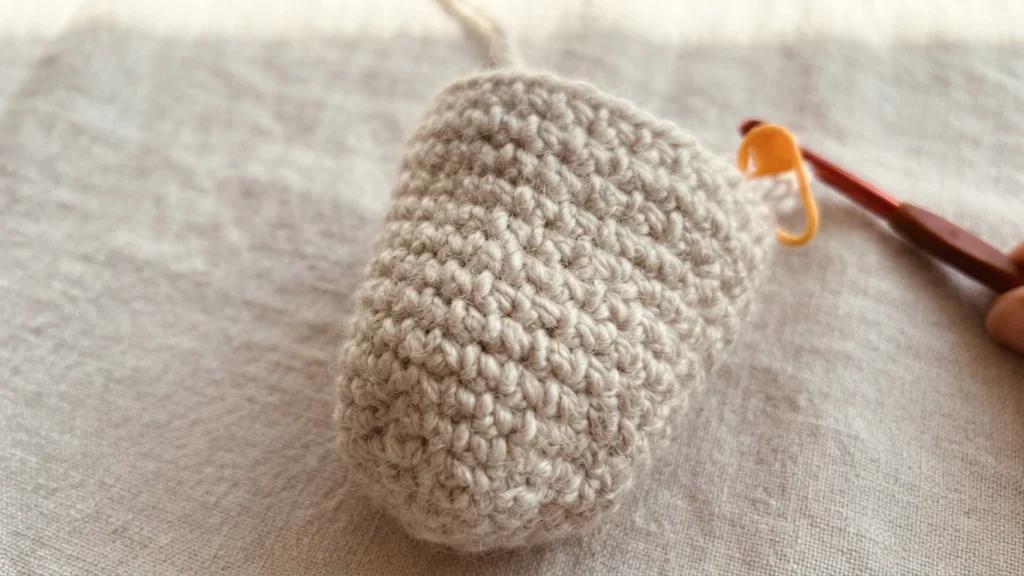
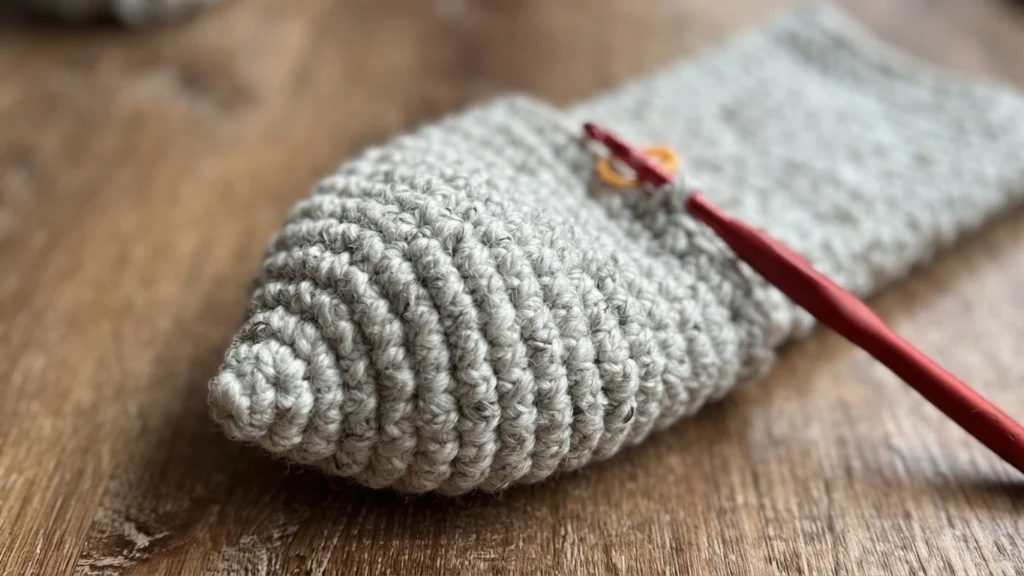
The toe starts as a magic ring of 6 single crochets and grows through a series of increase rounds, moving a stitch marker each time to track the start of the round. It is worked in continuous, seamless rounds with no joining slip stitch, so the fabric stays smooth. Once the increases finish, plain single crochet rounds build the foot. The source suggests a stitch counter or a written tally, since these repetitive rounds are easy to lose track of by eye.
Stocking heel
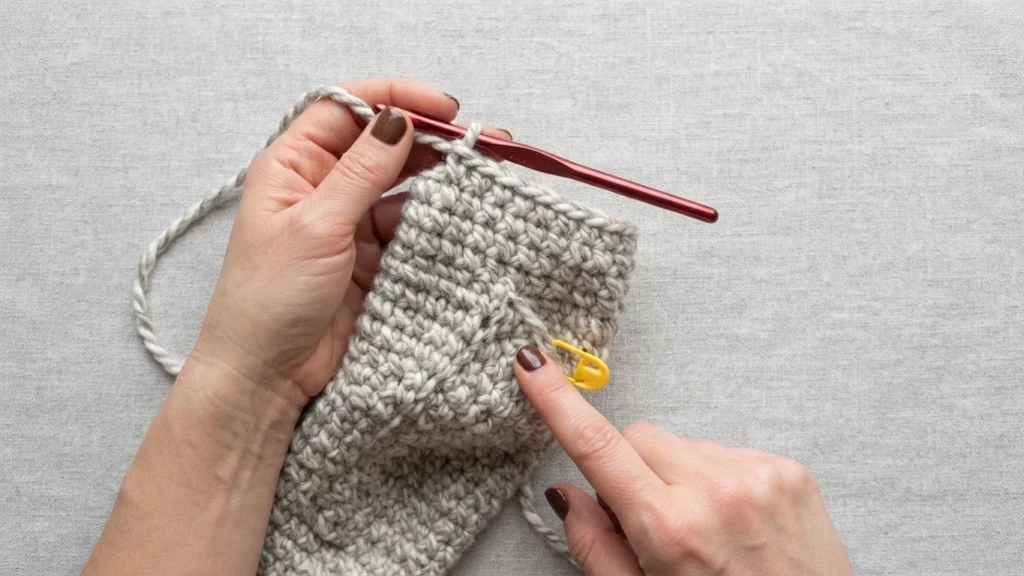
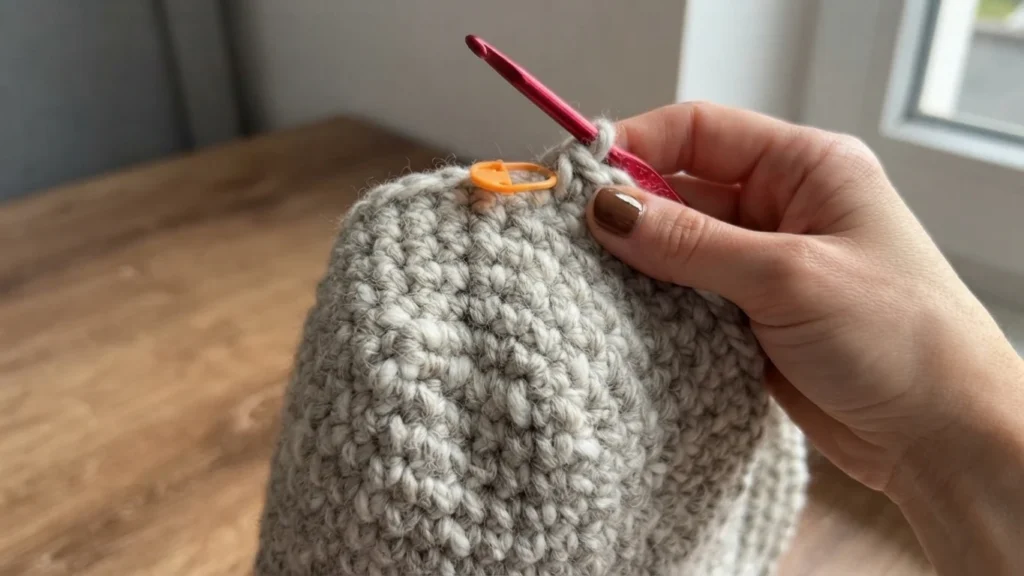
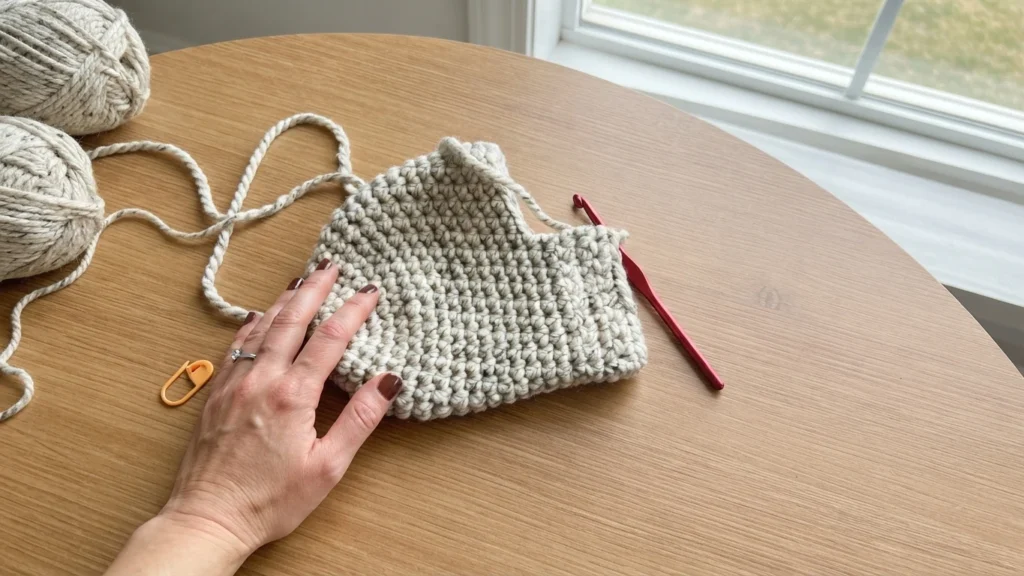
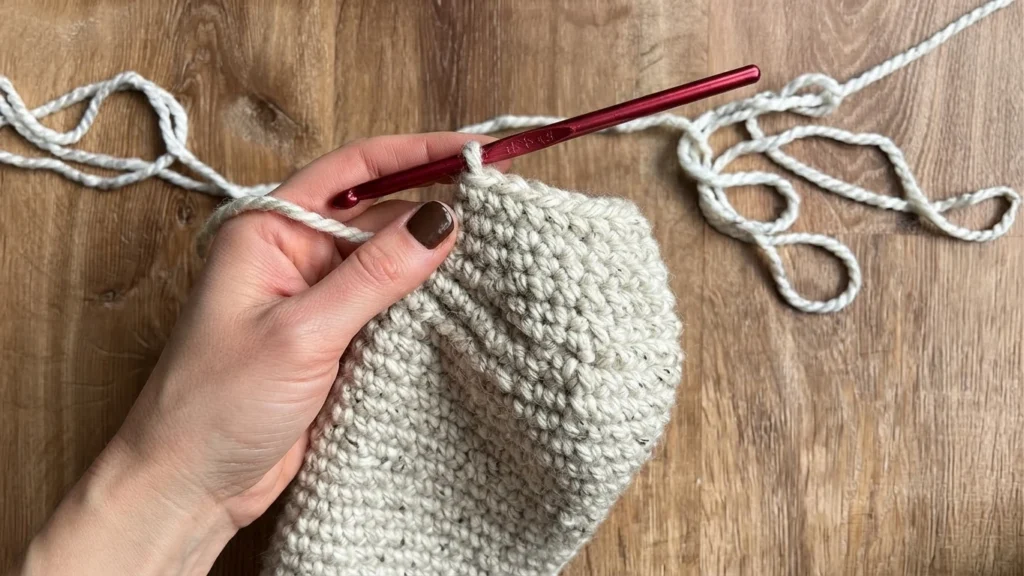
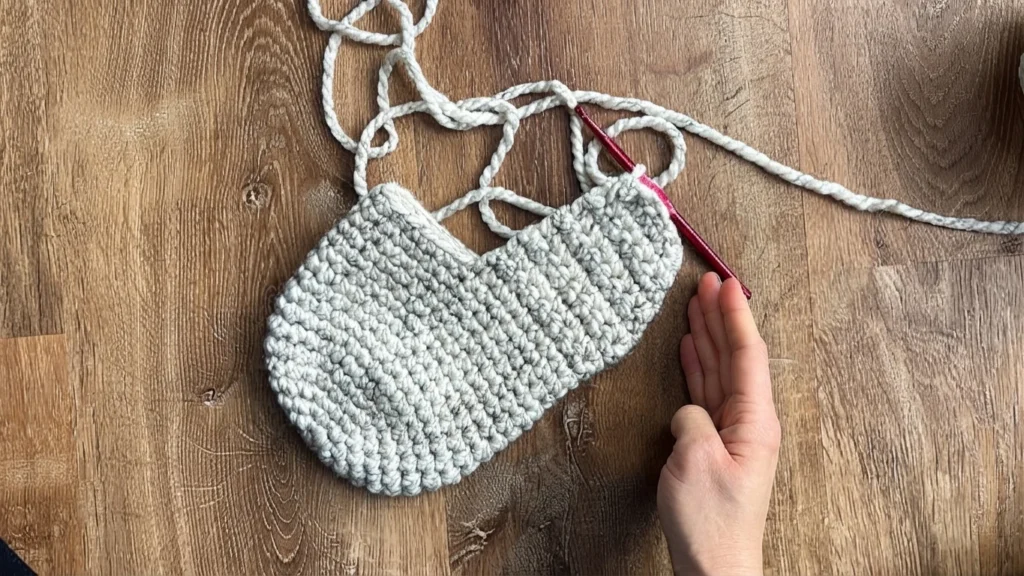
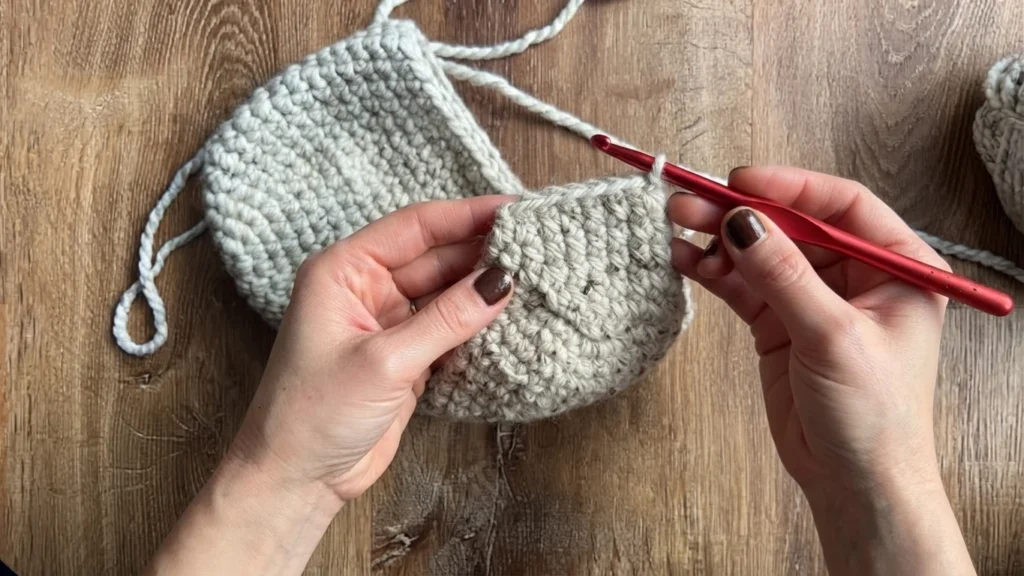
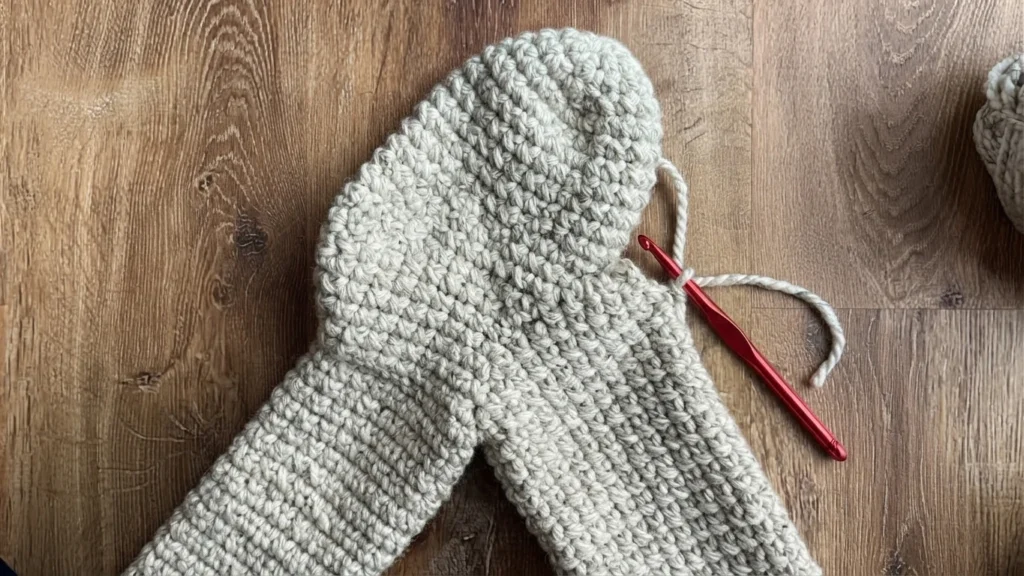
The heel continues straight from the toe with no fastening off, switching from rounds to turned rows. Short rows with single crochet decreases narrow the heel, and the source notes that the video shows the decrease if the written version feels unclear. When the shaping is done, the toe and heel are folded together so the top corners of the heel line up, then slip stitched closed with the hook still in one corner.
Stocking body
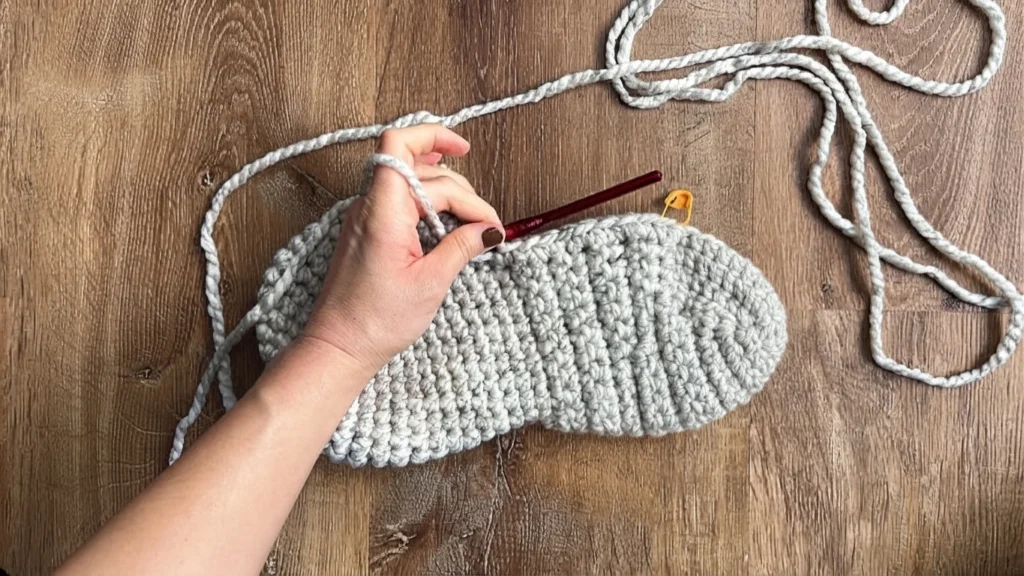
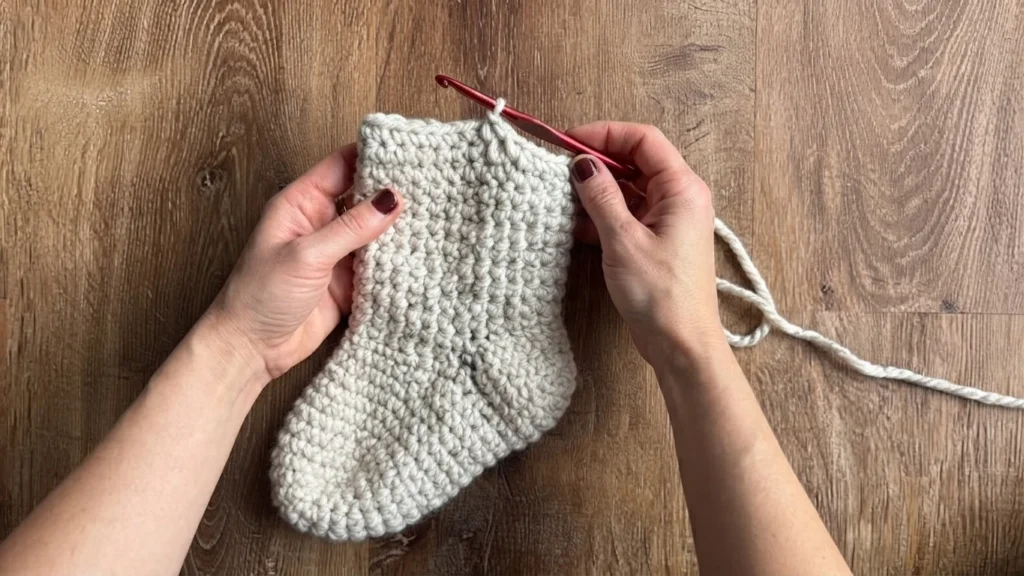
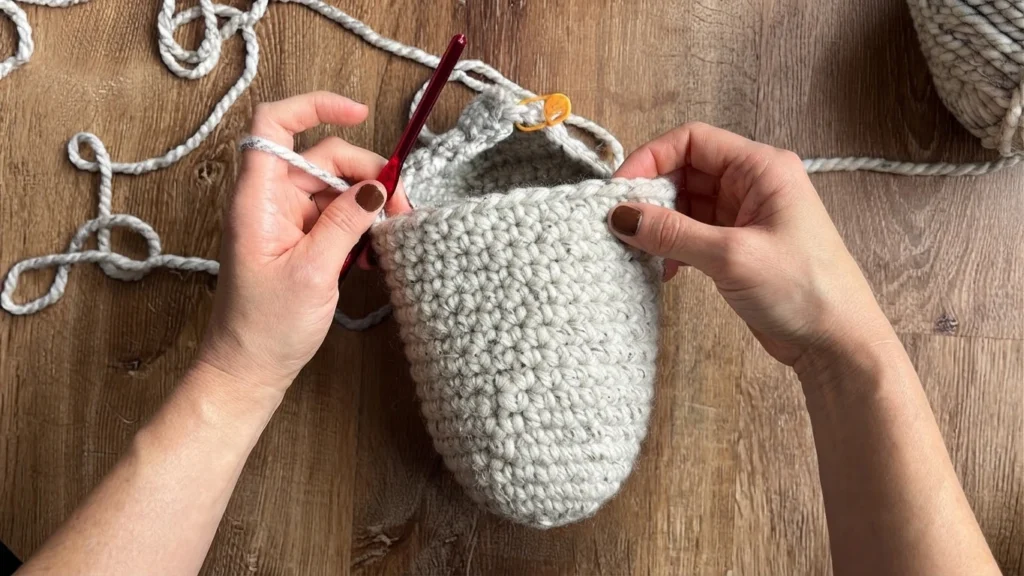
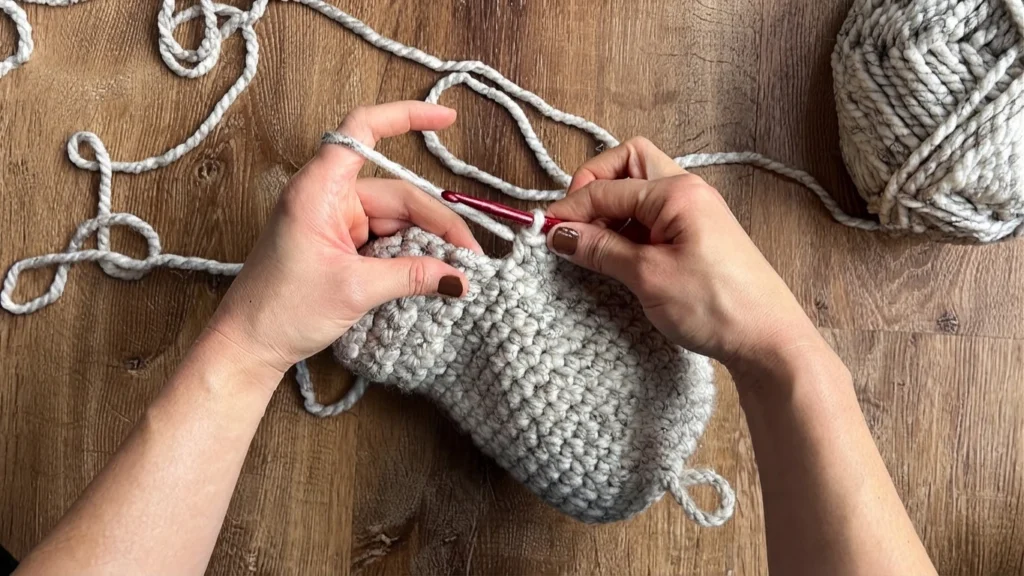
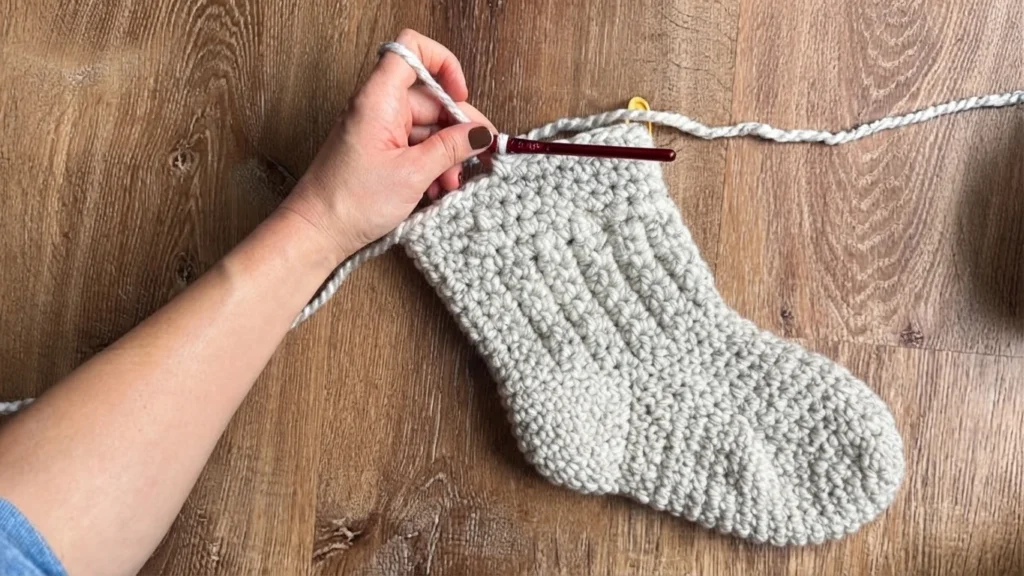
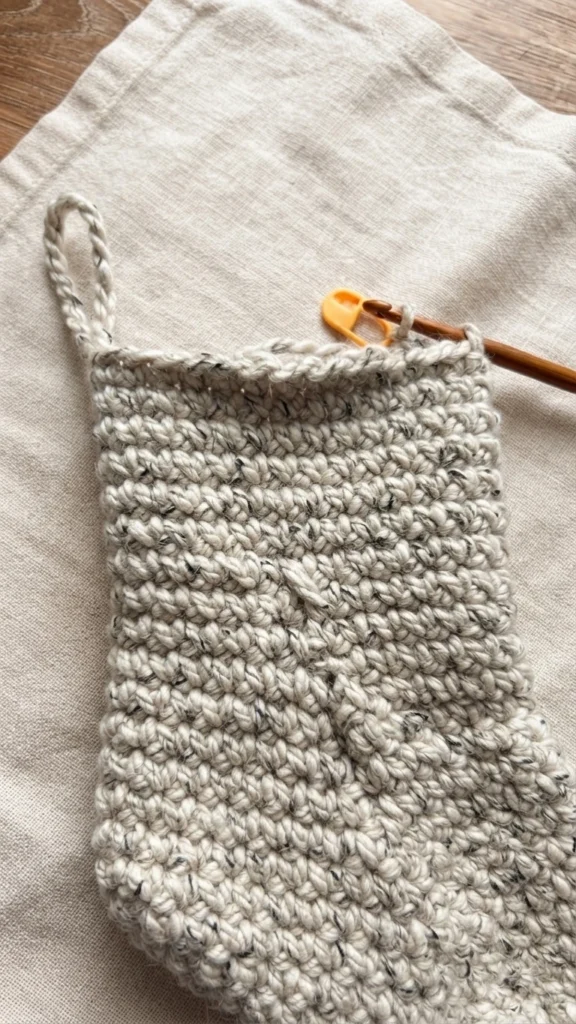
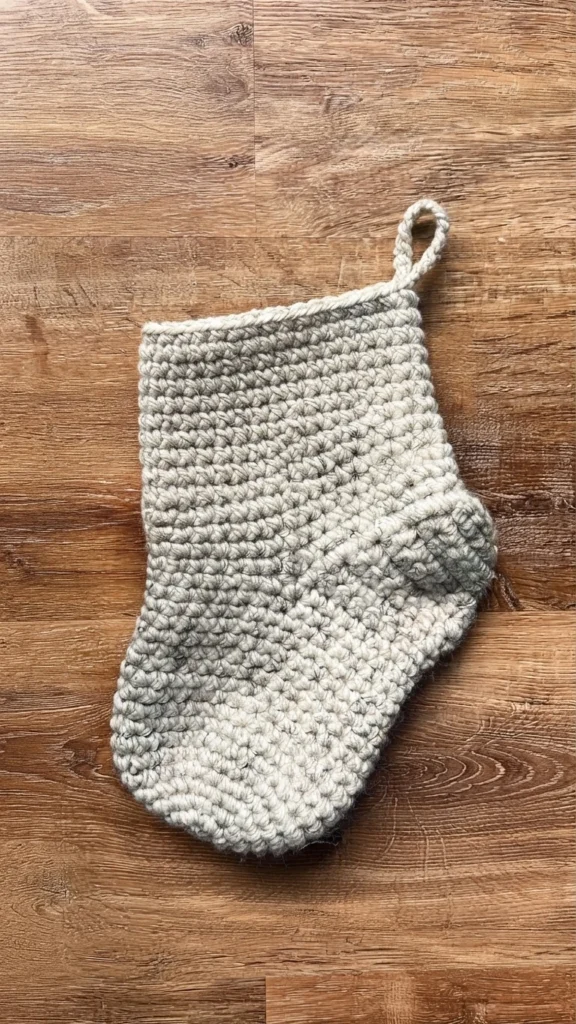
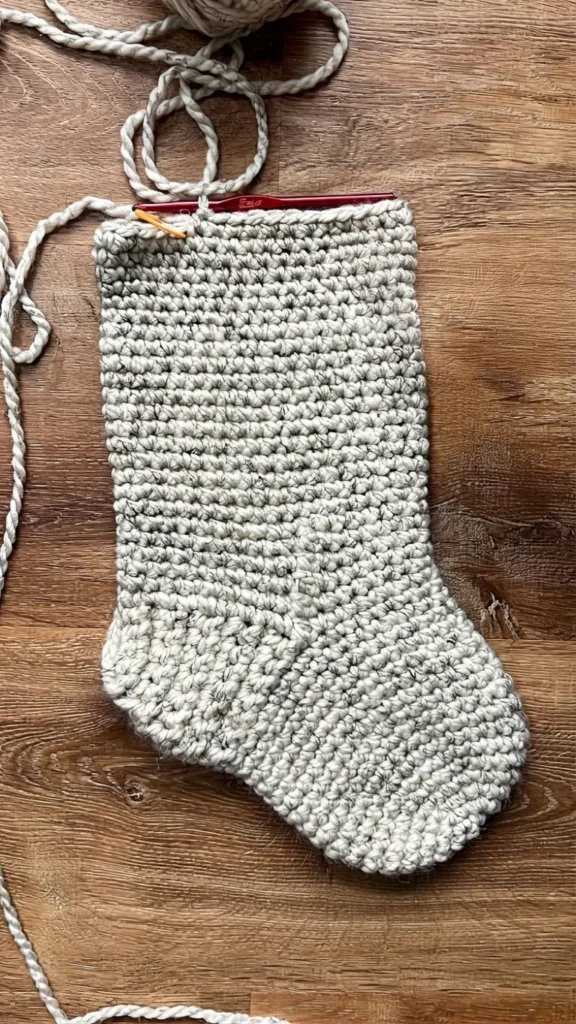
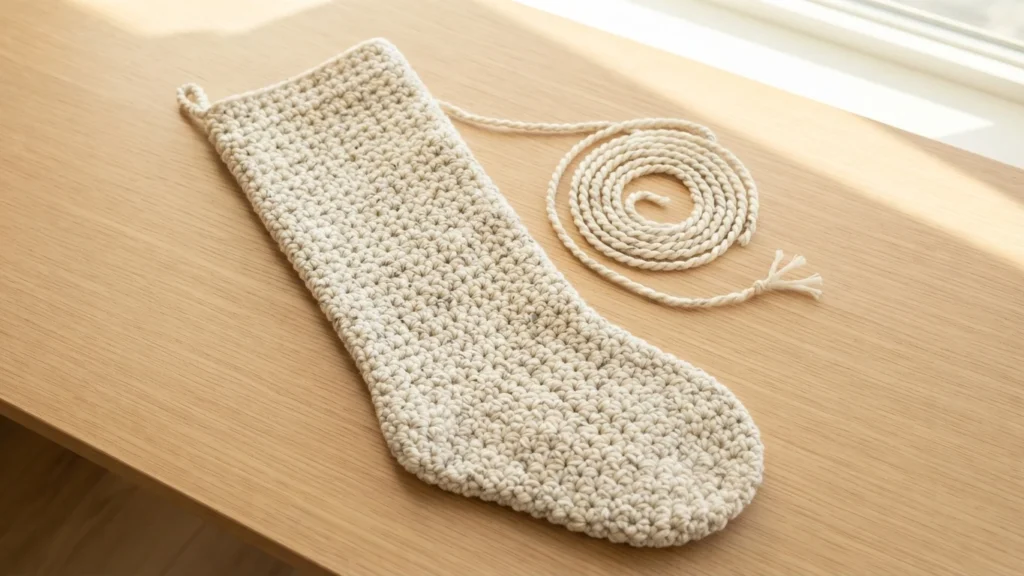
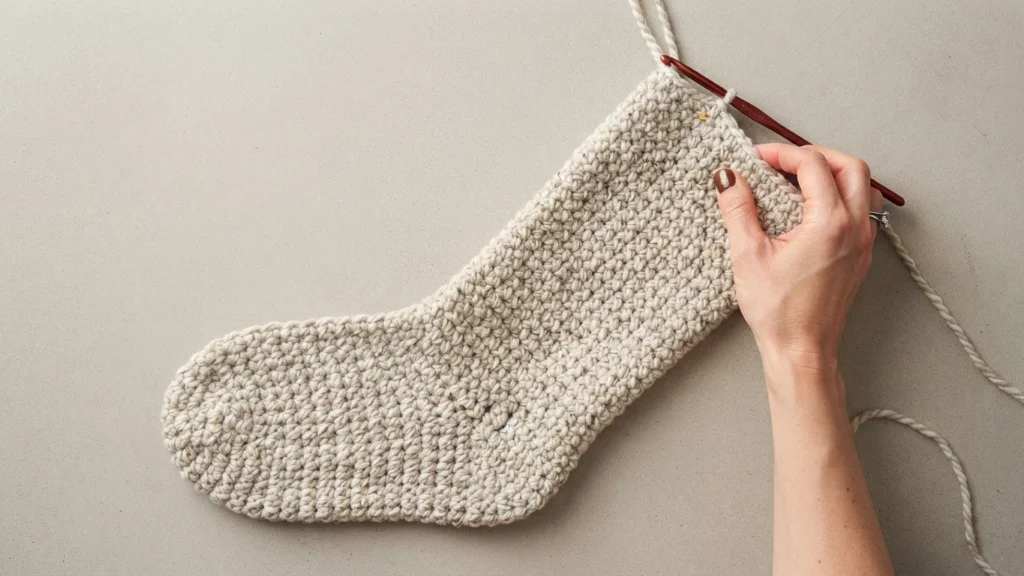
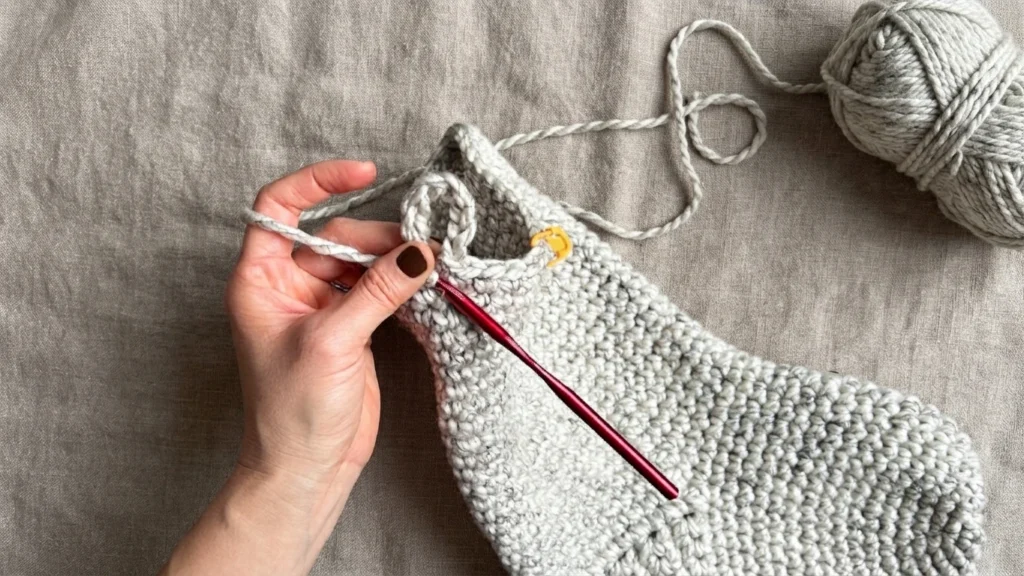
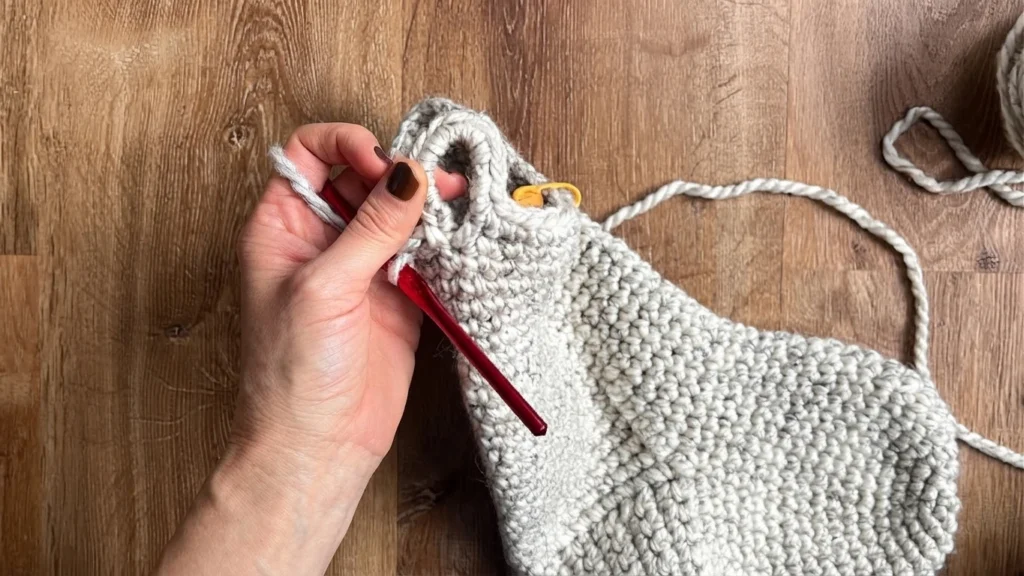
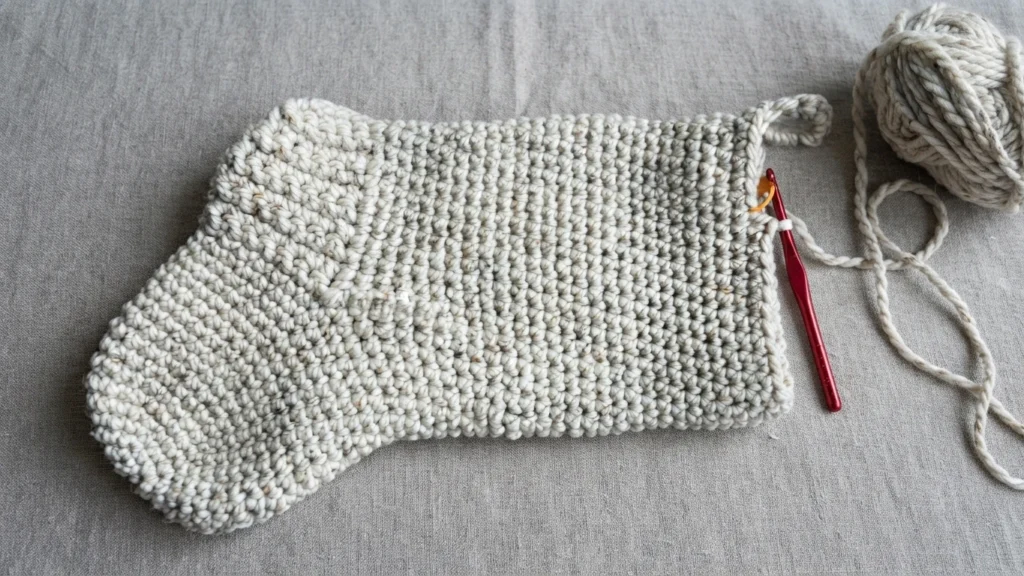
The body is worked around the joined heel and toe, with double crochet stitches placed at the dips where heel meets toe in the first rounds, then plain single crochet rounds for the leg. Near the top, a chain loop is created and worked around to form the hanging loop, and a few slip stitches even out the natural slant that continuous rounds create. The source allows a traditional yarn join or a magic knot, also called a fisherman’s knot, if you run short.
Finishing touches
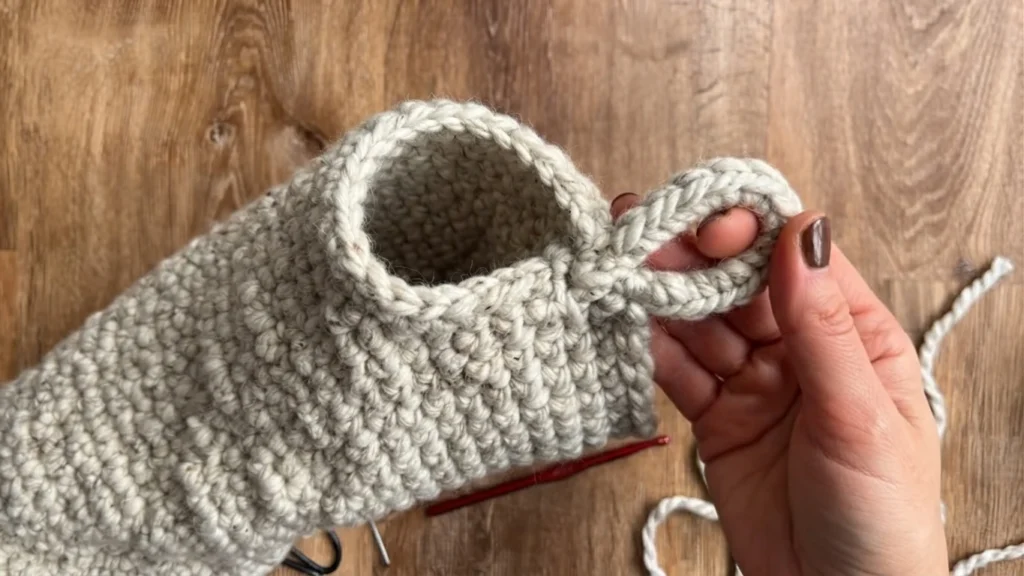
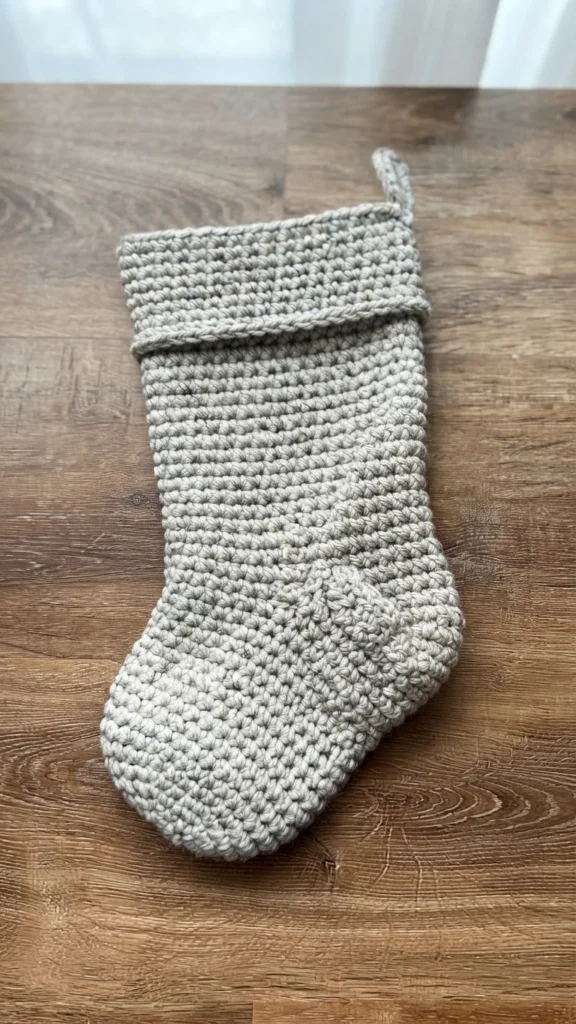
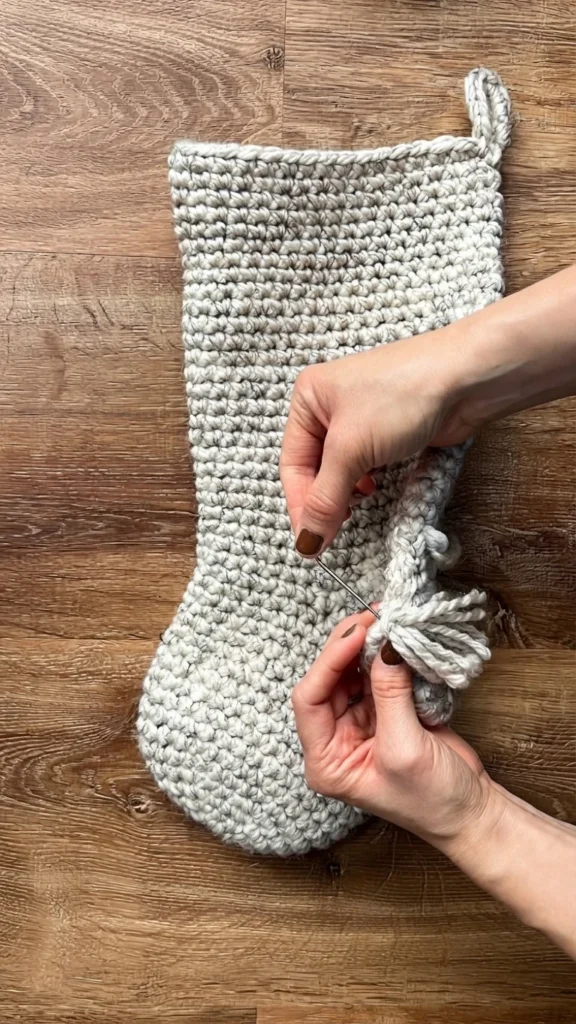
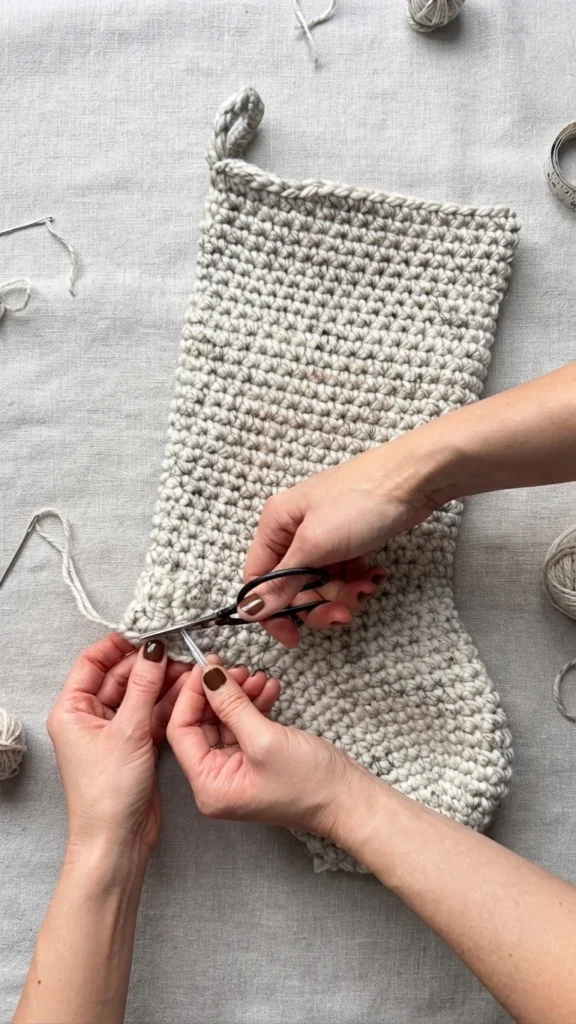
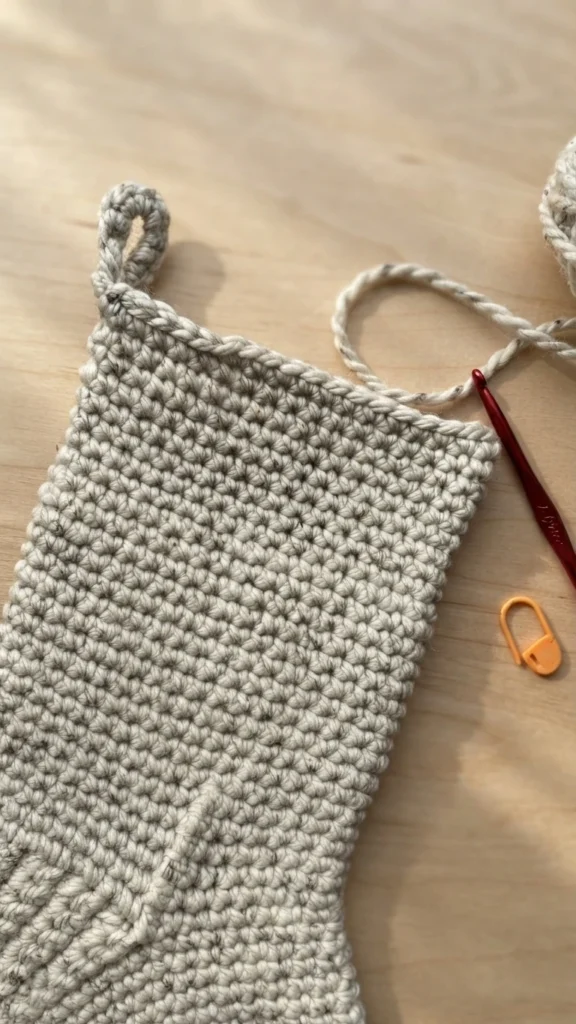
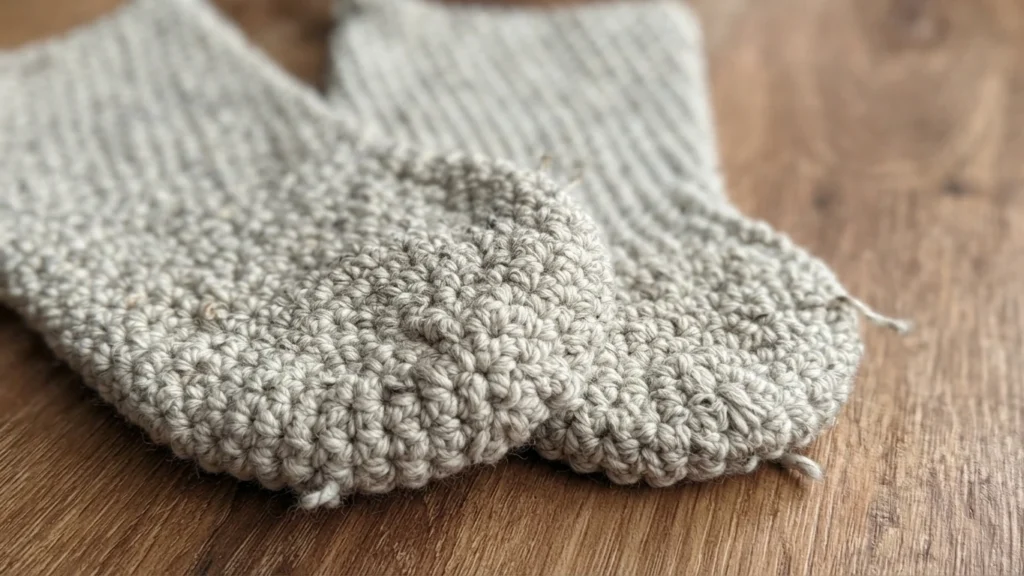
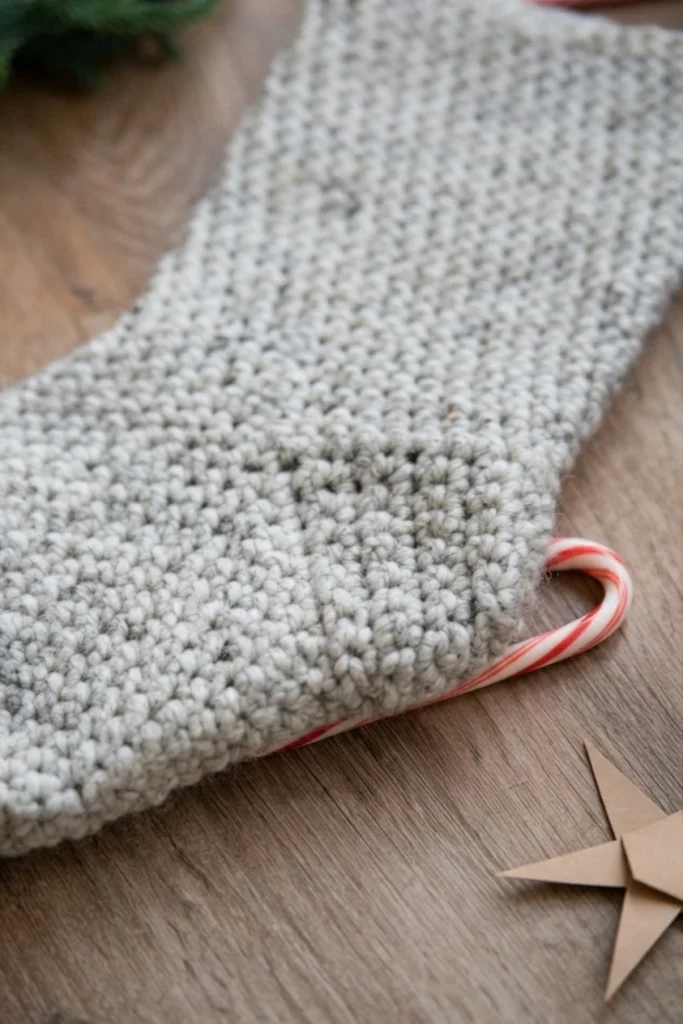
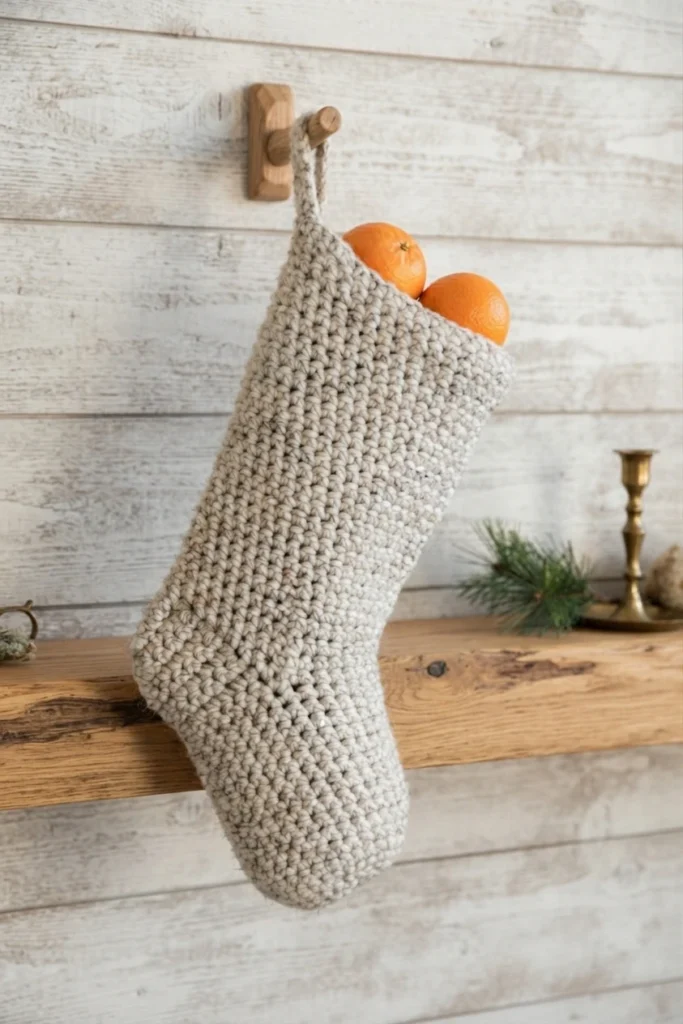
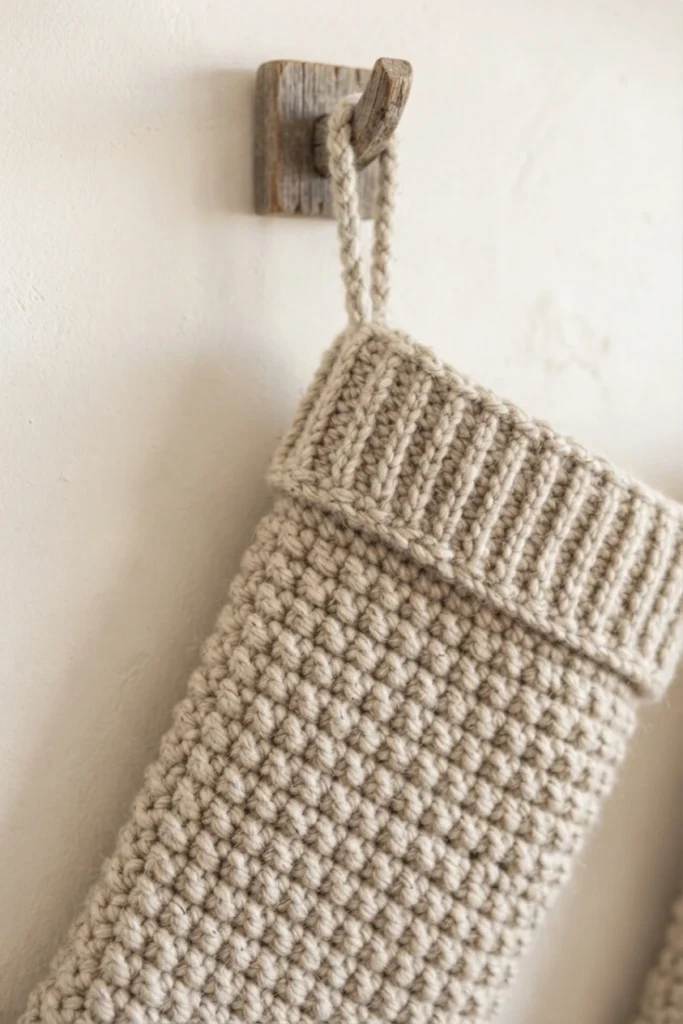
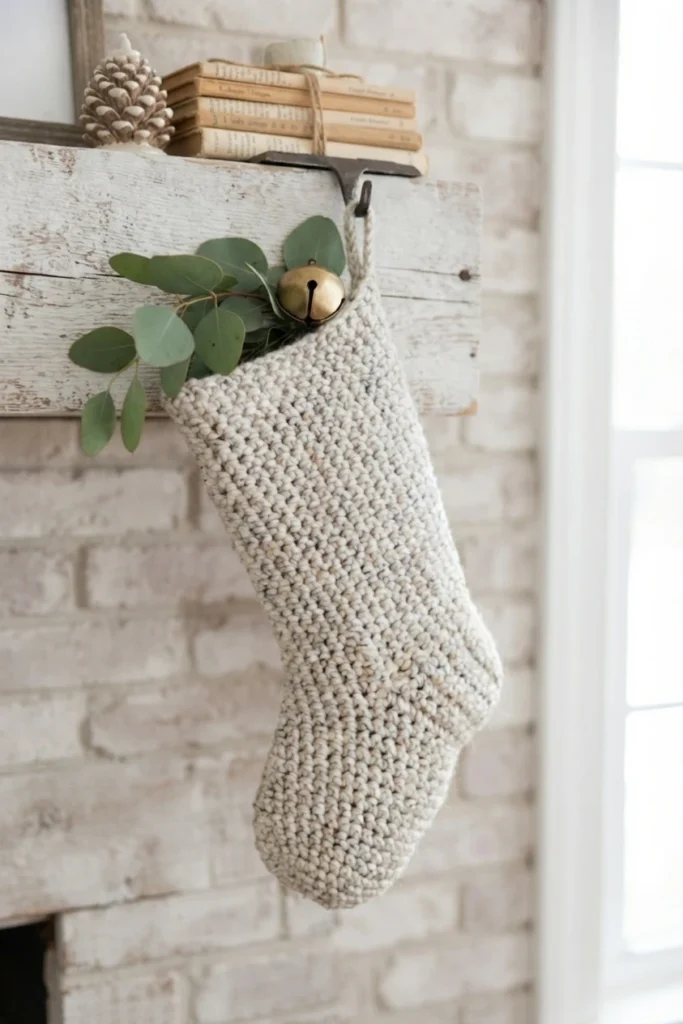
Finishing means reinforcing the loop base, the toe, and the heel opening with the yarn tails and weaving them in. For the heel, the source cuts about 15 inches of yarn, leaves a 4 to 5 inch starting tail, sews the opening closed, then reinforces the rest of the heel. The stocking can be left as is or turned inside out for a different texture, and since it is worked in continuous rounds, each side has its own uniform look.