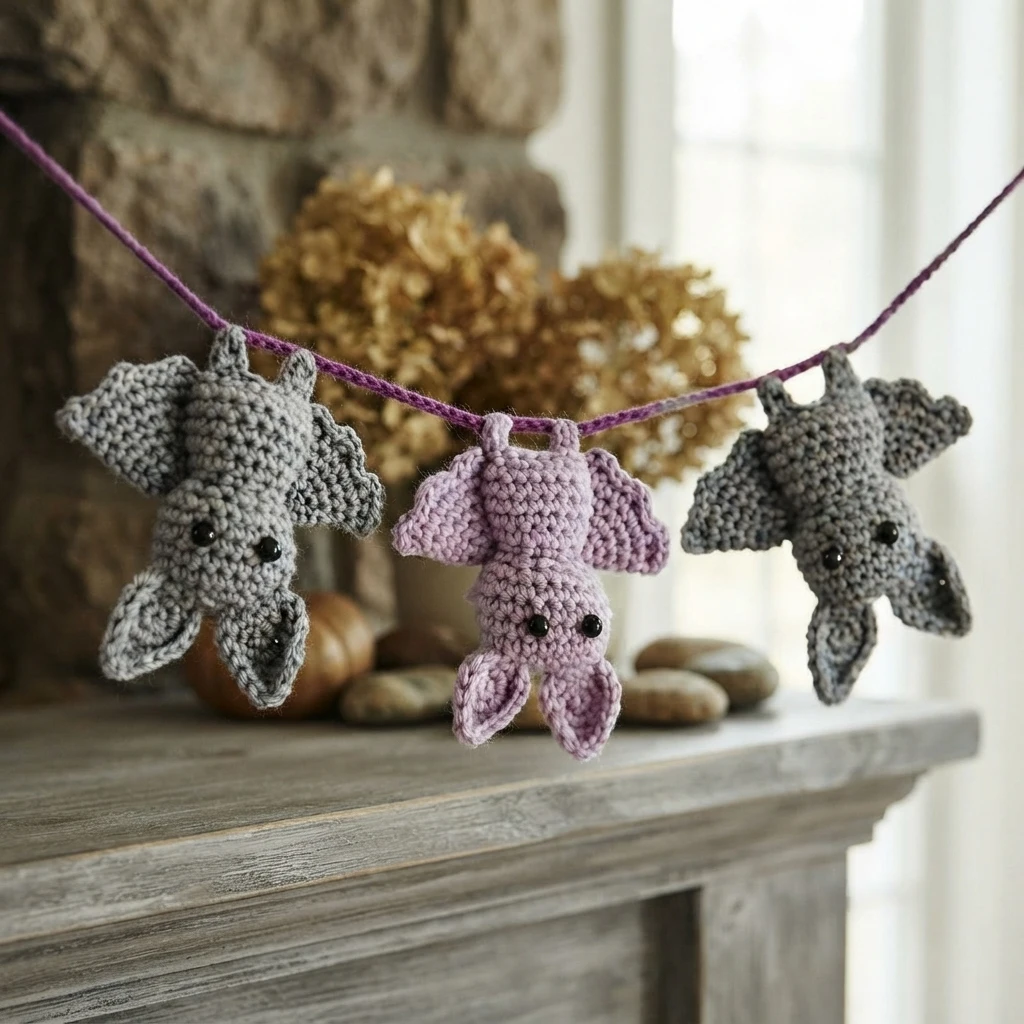
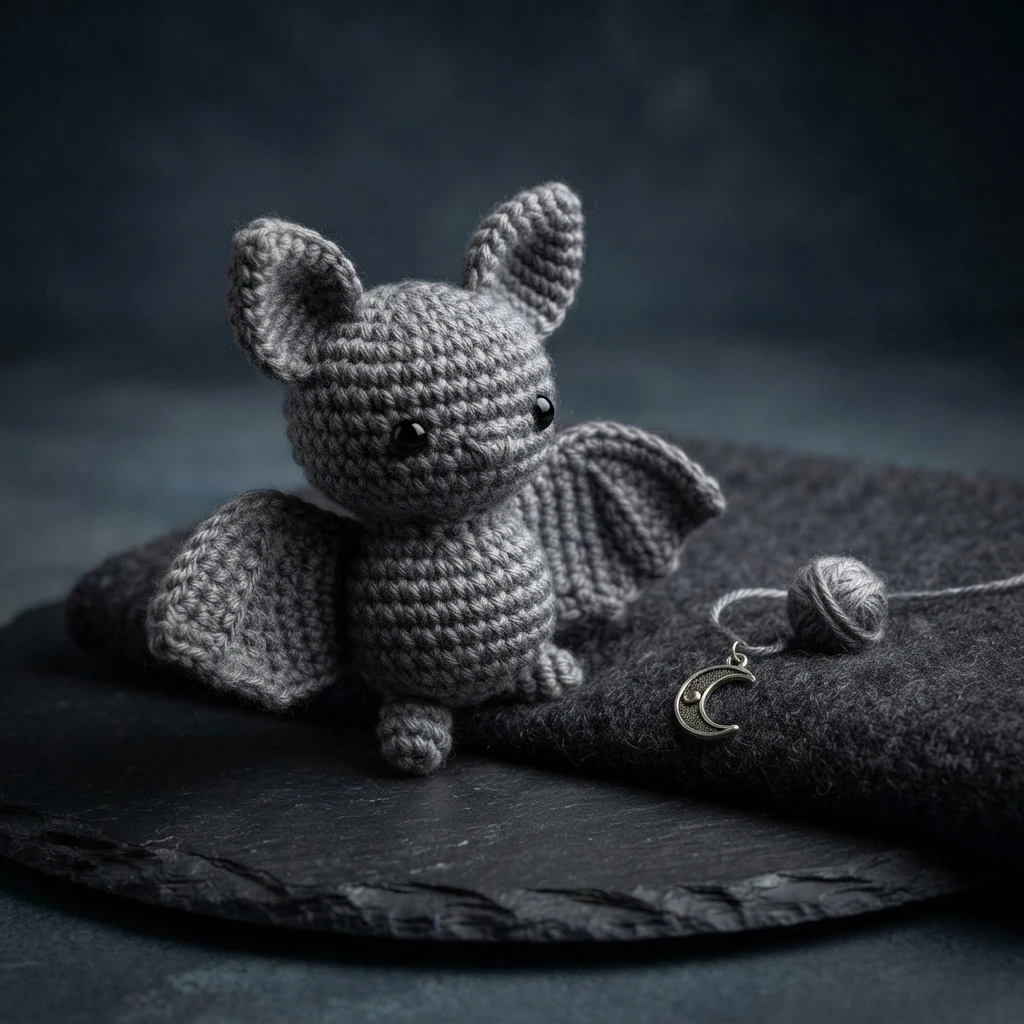
This article provides a practical overview of Stringy Ding Ding’s bat amigurumi project, which is available as a free crochet pattern. It is not a complete tutorial or step-by-step guide. The bats can be displayed individually or attached to a crocheted chain to create a garland. For the full instructions, photographs, and purchase options for a printable PDF, visit Stringy Ding Ding’s original bat pattern.
Print this pattern out - purchase the PDF version here!
The source describes this project as easy, with a finished bat height of approximately 4 inches. While medium-weight yarn in the main color is specified, chunky yarn is suggested as an alternative for a different look. The bat components are worked separately where indicated and then assembled. The optional garland cord can be made in any color.
Gather the following supplies before beginning:
- Medium-weight yarn (Category 4) in the main color
- Chunky yarn (optional alternative)
- 4 mm crochet hook (US G/6)
- 8 mm safety eyes
- Stitch markers (contrasting colors help identify eye positions)
- Tapestry needle for weaving in ends and sewing pieces
- Scissors
- Fiber stuffing
- Hot glue gun and glue sticks
The sections below summarize how the components relate to one another. Refer to the linked original pattern for complete directions and visual guidance, particularly when positioning and attaching the pieces.
Head/Body
In Main Color
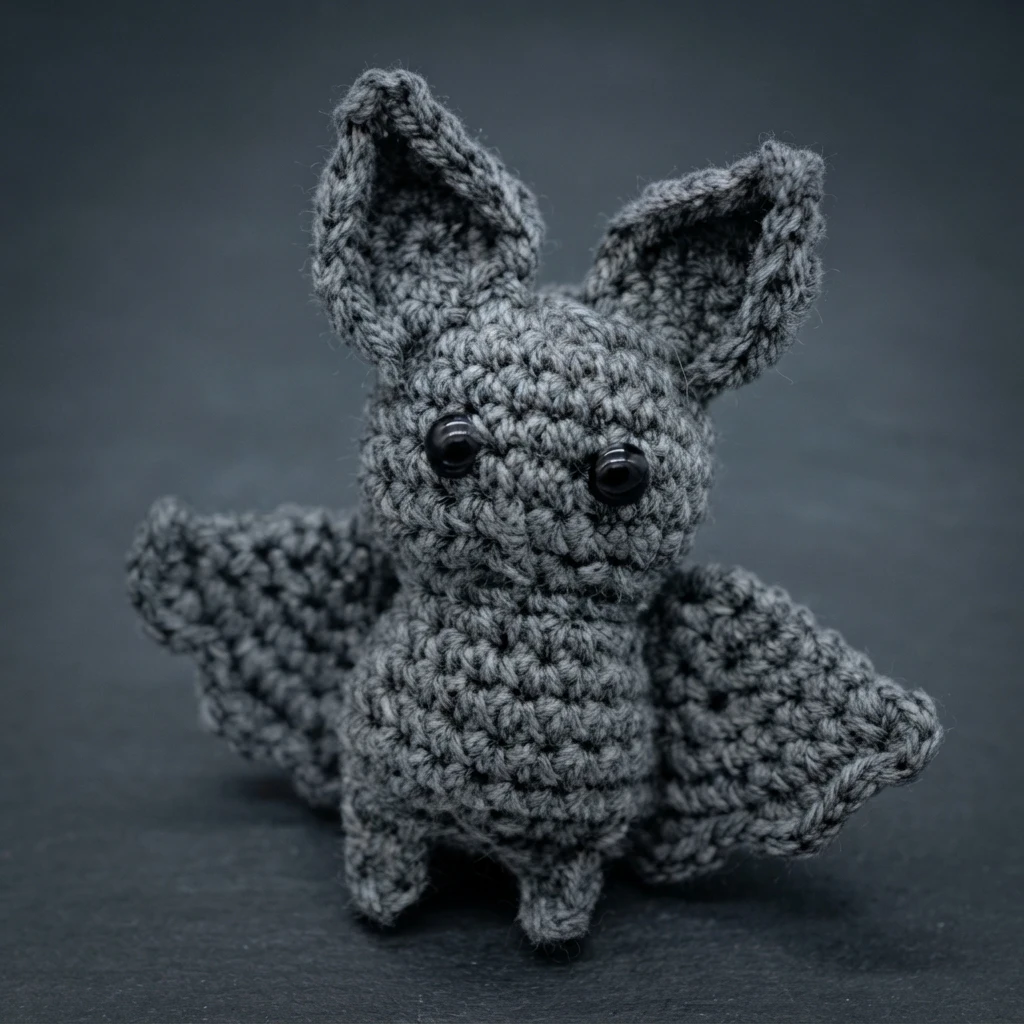
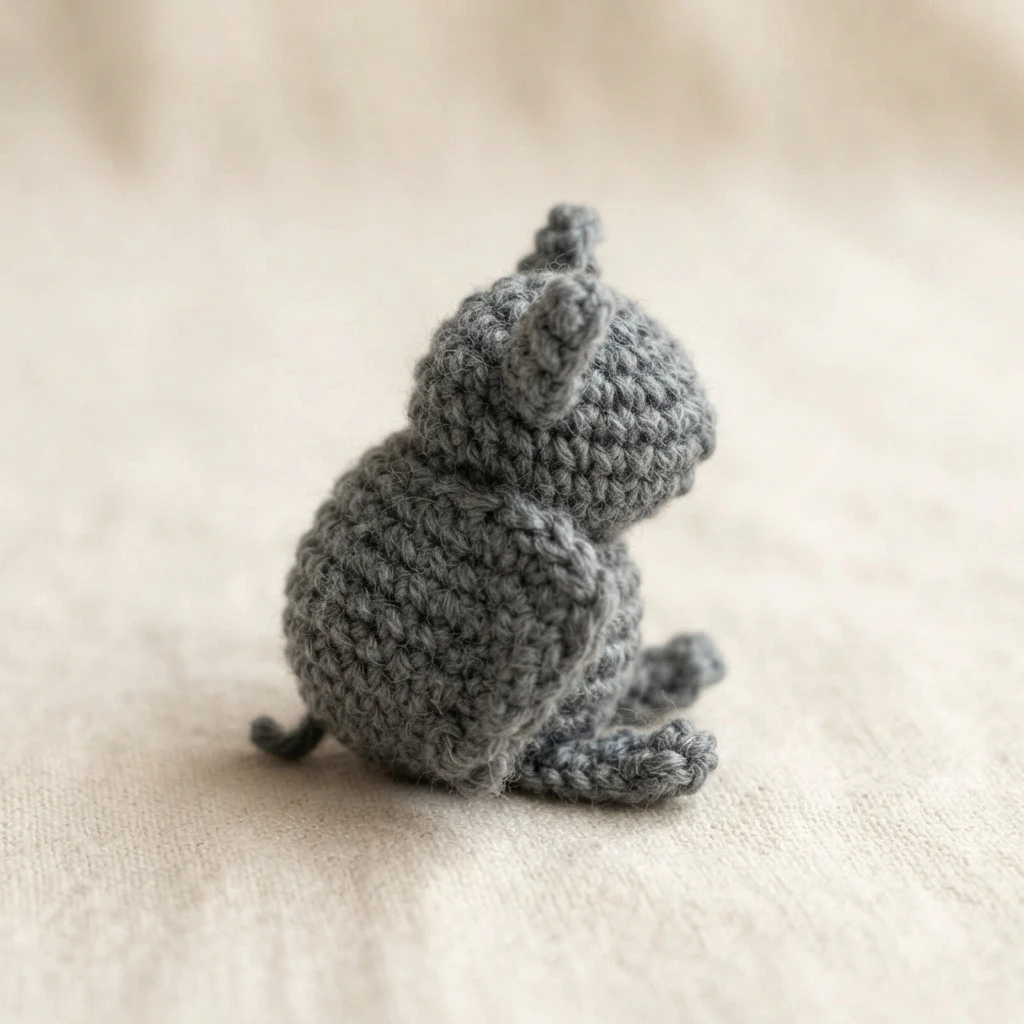
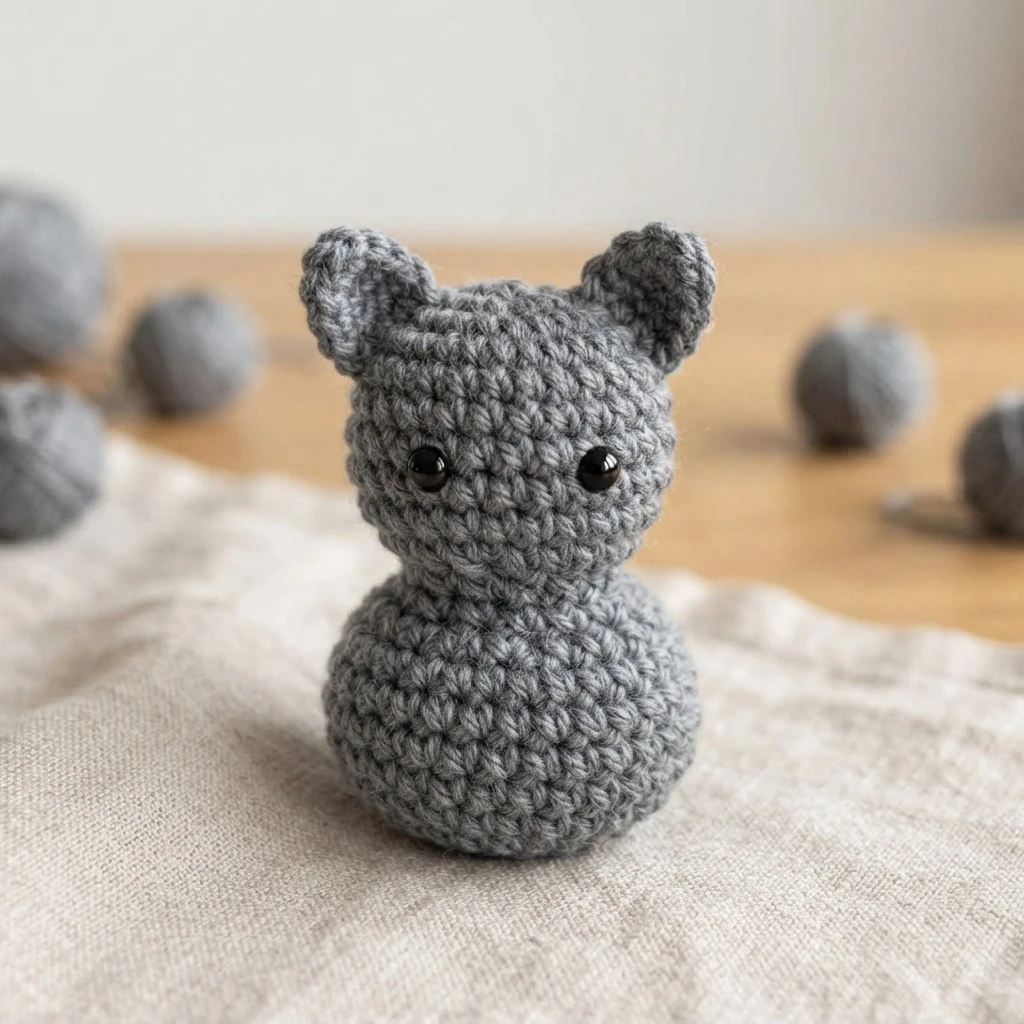
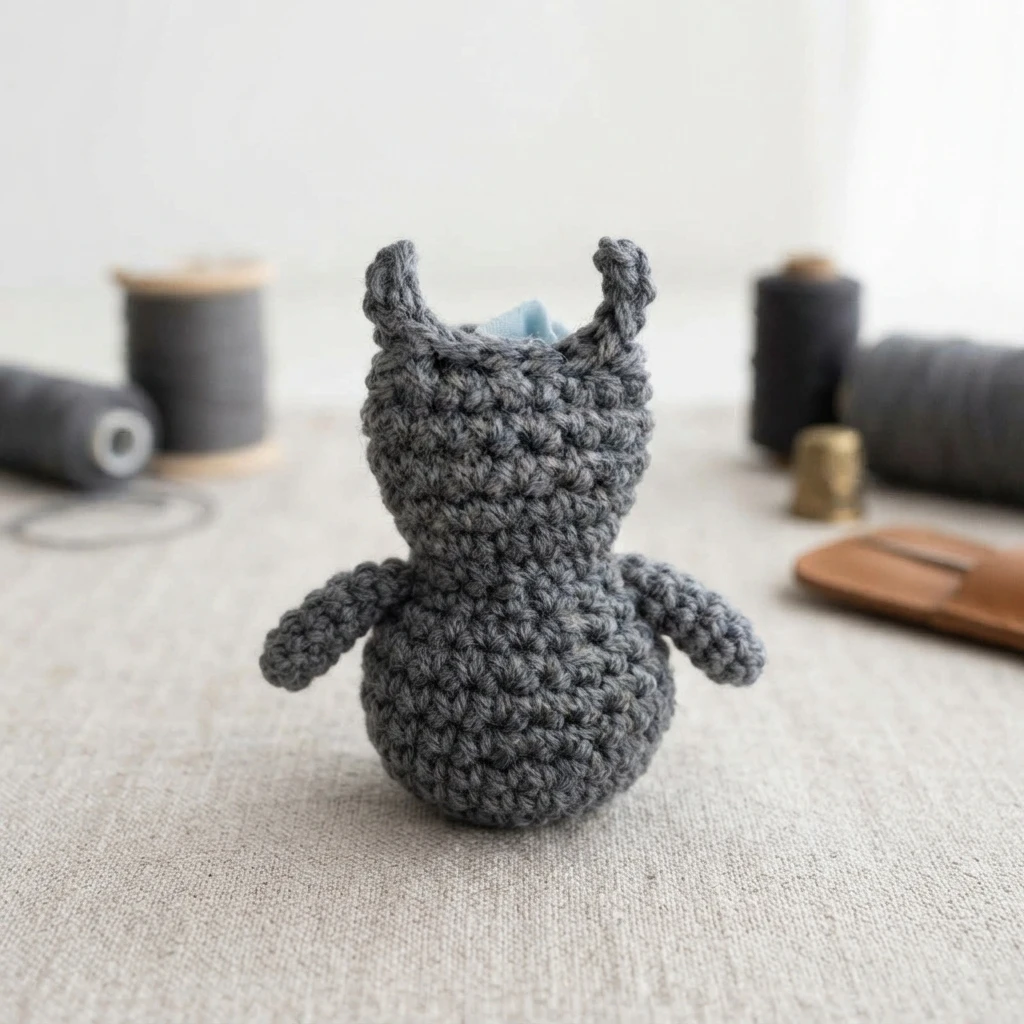
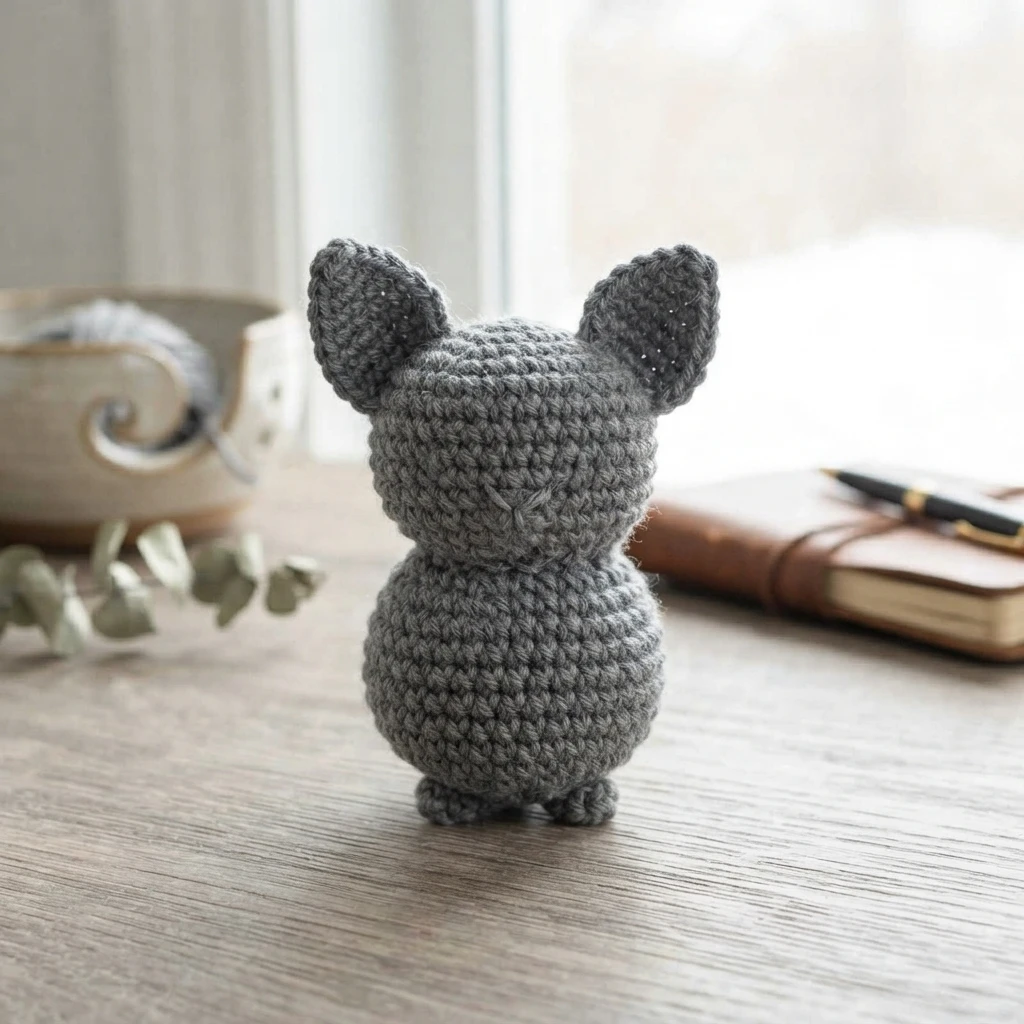
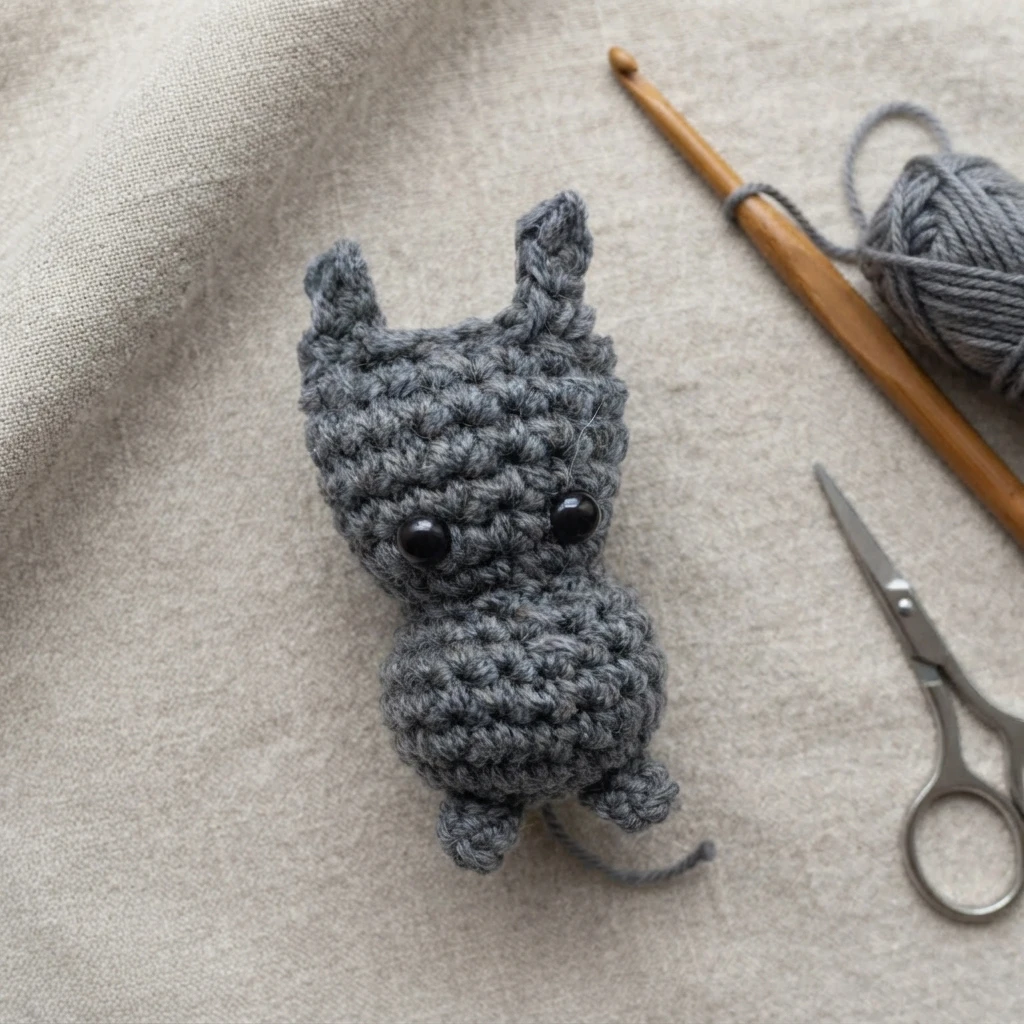
The head and body are worked as one continuous piece in the main color. Shaping begins at the head, narrows below it, and continues into the body. Contrasting stitch markers are placed during specific rounds to identify where the safety eyes will go. The eyes are inserted after the marking phase and before further decreasing.
The instructions call for stuffing the head firmly before continuing into the body section. Once the body shape is established, it is also stuffed firmly. Two short legs are formed at the base of the piece using aligned stitches and slip stitching through both layers to close the leg shapes. Finish off with a long yarn tail for sewing later. The original photographs show the alignment and finishing details, so consult them along with the directions rather than relying on this summary for the exact process.
Ears: (Make 2)
In Main Color
Two ears are made separately in the main color. Each starts with a rounded base created by a magic ring and increases. They are shaped into a point using a mix of stitch heights, including single, half-double, double, and treble crochet. Leave a long tail on each ear piece for sewing.
Pin the ears in position on the head before attaching them to ensure symmetry. Use the original photographs as a reference for their placement. Sew them securely onto the head once positioned correctly.
Wings: (Make 2)
In Main Color
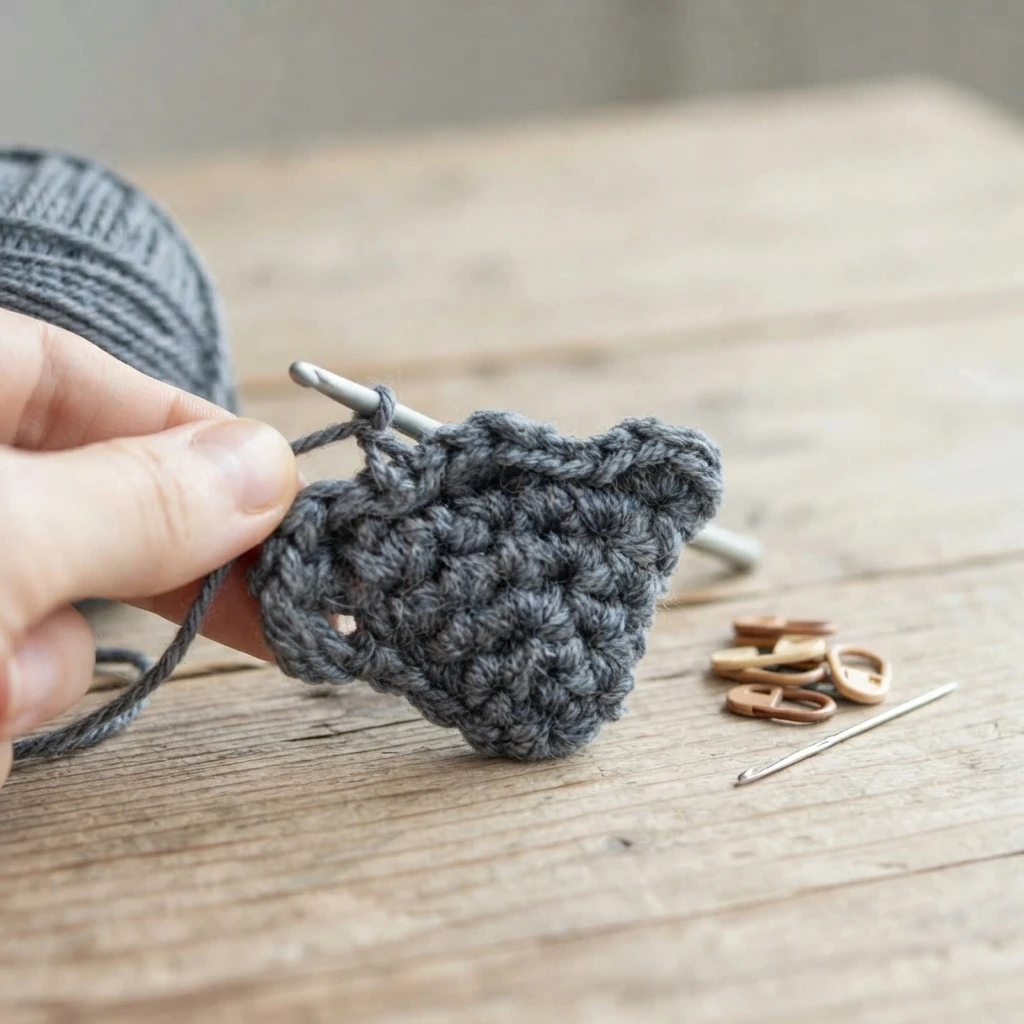
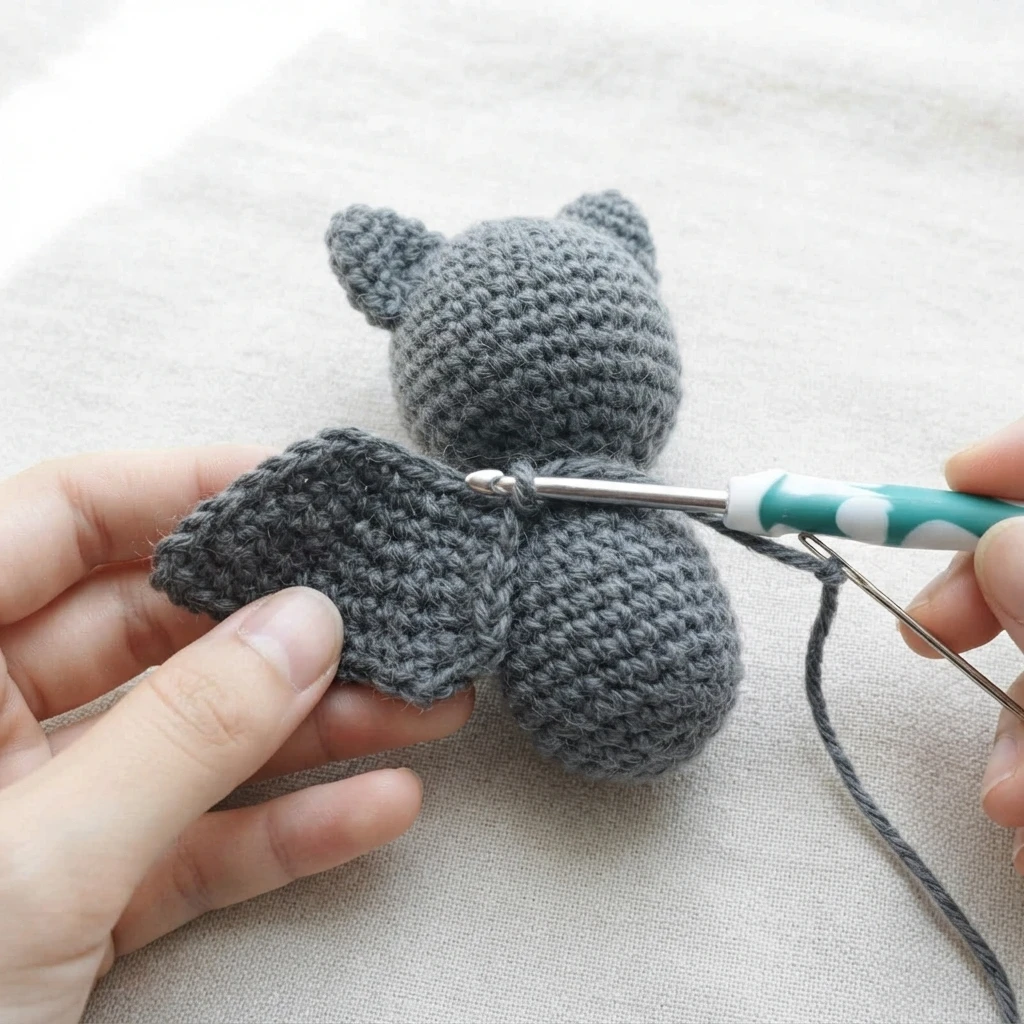
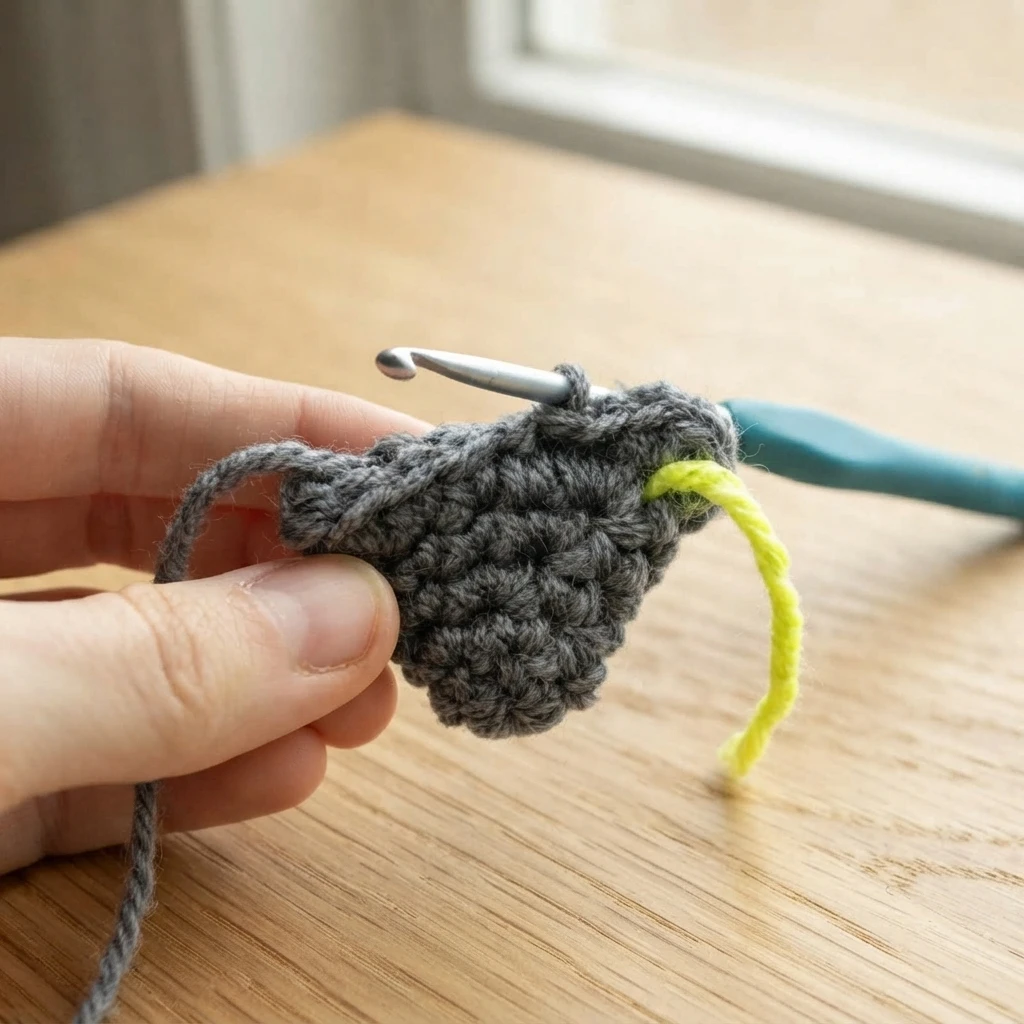
The two wings are also made separately in the main color. Their shape widens over several rounds through consistent increasing. In the final round, aligned stitches are joined together through both layers to form the edge of the wing.
The pattern offers sewing or hot glue as attachment options. Pinning the wings before fastening them provides an opportunity to check their position against the designer’s photos. Finish by weaving in the ends and trimming excess yarn.
Garland
In Any Color
For the garland, the source calls for a chain of 95 stitches in any color. Leave a yarn tail when fastening off, then weave in the end and trim the excess.
Arrange the completed bats along the chain, spacing them about 12 stitches apart. Adjust their placement to suit your display preferences. The bats attach by their feet using small dots of hot glue. Handle the glue carefully to avoid burning your fingers. If making individual decorations instead of a garland, the chain and this final attachment stage are not needed.