Project introduction
This is a pattern overview, not a complete tutorial. For the full instructions and accompanying photos, use the free crochet apple pattern by Stephanie of Grace and Yarn. This page describes the design, materials, and general construction so you can prepare before following the original pattern. The free web instructions and the separate ad-free printable PDF are different formats; the PDF is offered through the designer’s Etsy or Ravelry shops.
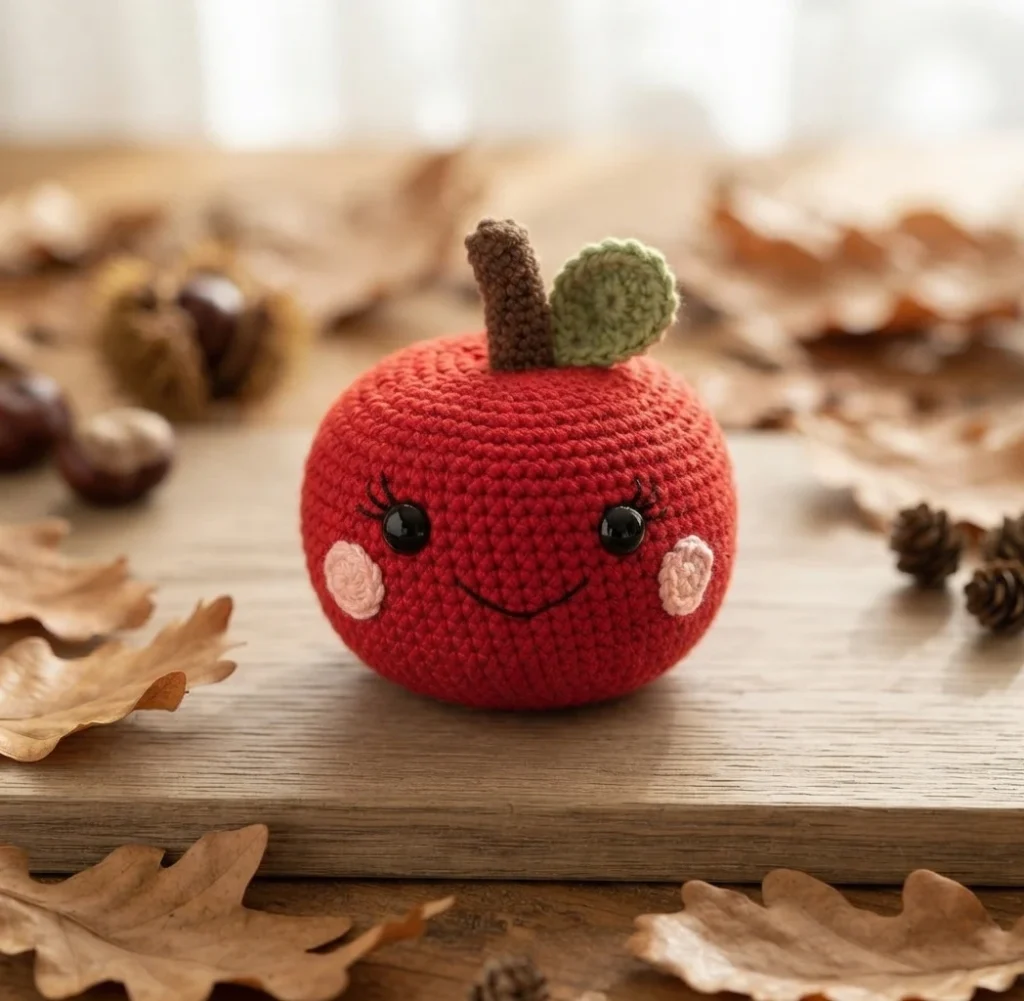
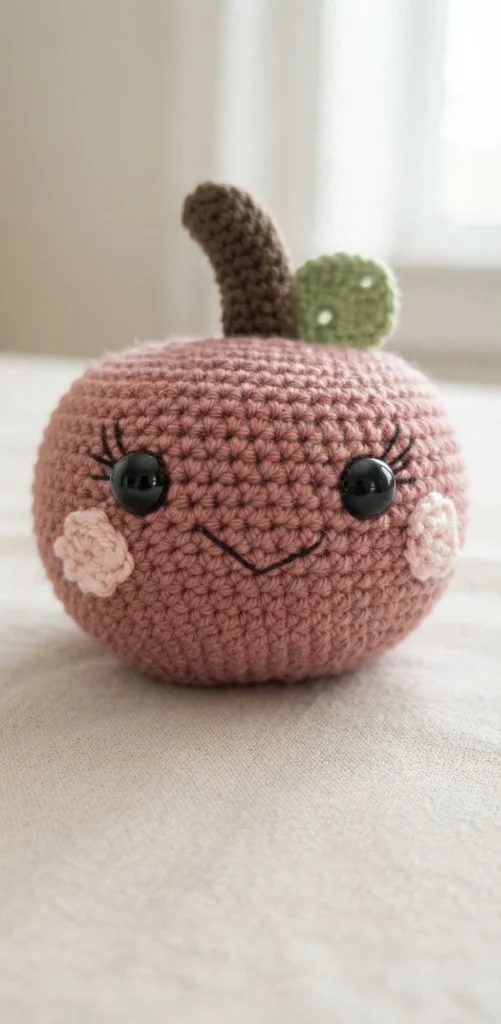
The project is a small amigurumi apple with a brown stem, green leaf, and two cheeks. Safety eyes and an embroidered expression complete the face, with room to choose a different expression for your own apple. The designer gives the finished size as approximately 5.5 inches tall by 4.5 inches wide. That measurement is a useful expectation for planning, though the result can depend on your yarn and crochet tension.
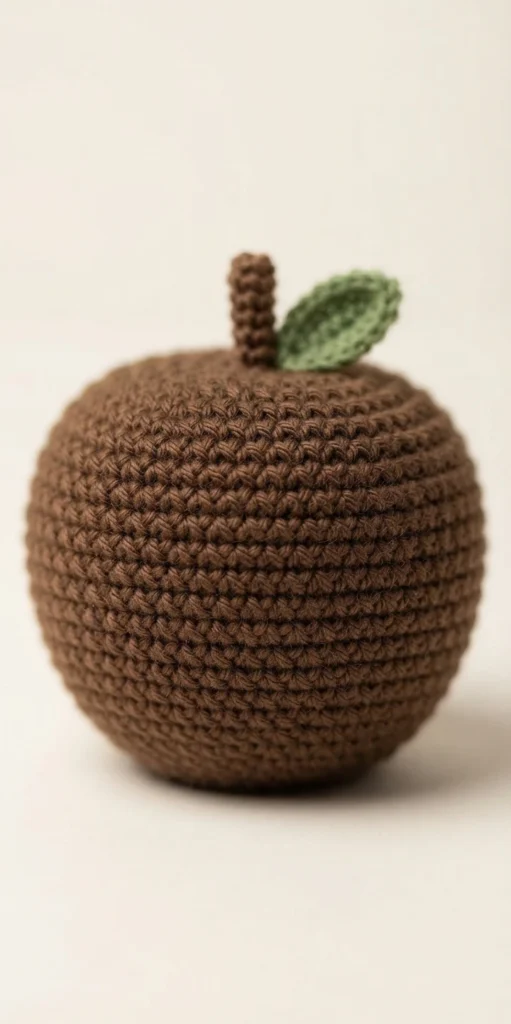
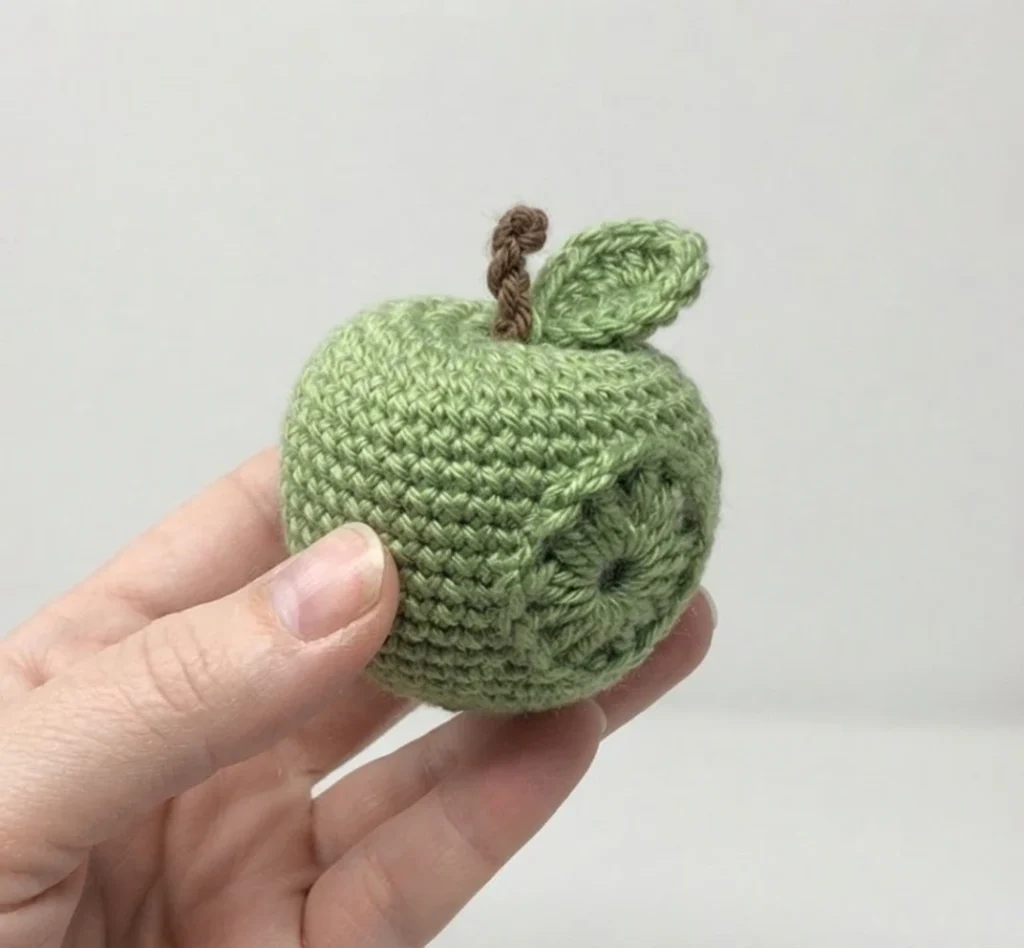
The main apple shape is worked in the round. Increases widen the body, a section of even stitching forms its middle, and decreases shape the lower portion toward closure. The stem, leaf, and cheeks are made separately and sewn on. The design’s defining contour comes from drawing the body in at the top and bottom with the remaining yarn tail after closing it. That shaping gives the finished piece an apple-like outline rather than a plain ball.
Stuff the body gradually as you work, following the designer’s note to aim for a firm shape without stretching the stitches. Poly-pellets are mentioned as an optional filling if you want to add weight for a decorative apple. They are not part of the listed standard materials. The stem may be kept straight or bent slightly, and the leaf is sewn partly to the stem and partly to the apple body.
Pattern format and preparation
The original pattern uses US crochet terminology and provides the round-by-round directions, facial-feature placement notes, and photos for the shaping and assembly. This overview intentionally does not repeat the stitch sequence or counts. Keep the linked pattern available as you work, especially for the precise placement of the face and the visual reference for making the indentations. If wording in the original instructions seems unclear, consult its text and photos rather than relying on this summary to supply a correction.
Gather the complete listed materials before beginning:
- Size 4 worsted weight yarn: approximately 25 g in the chosen apple-body color, plus small amounts of brown, green, and a cheek color
- 3.5 mm crochet hook
- 15 mm safety eyes
- Black crochet or embroidery thread for the facial expression
- Stuffing
- Scissors
- Tapestry needle for sewing and finishing
- Stitch markers
The stitch markers are useful to have at hand because the pattern is worked in the round, and the designer notes using one to mark the beginning of each round. The tapestry needle is needed for sewing the separate pieces and finishing the body. The listed yarn amount for the body is approximate, while the other colors are described as small amounts; no separate quantity is specified for those accents.
For orientation, the abbreviations are given in US terms: MC means magic circle, SC means single crochet, HDC means half double crochet, DC means double crochet, TR means triple crochet, SC INC means single crochet increase, INV DEC means invisible decrease, St(s) means stitch(es), and BLO means back loop only. This glossary identifies the shorthand used in the original instructions, but it does not replace them. If these abbreviations are unfamiliar, review them before starting so you can follow the linked pattern comfortably.
Facial details are added during the body construction, before the opening is closed. The source describes safety eyes, an embroidered wide V-shaped smile, and cheeks sewn below and to the outside of the eyes. Eyelashes or eyebrows are optional variations noted by the designer. Use the original placement guidance for the eyes and other features, since their position affects the expression and is not fully specified in this overview.
Once the body is closed and shaped, the stem is sewn into the top indentation. The leaf is attached across the stem and body, and its tail is secured and woven into the back of the leaf. The cheeks and facial details make the finished apple distinctive, while the small number of separate pieces keeps the assembly focused on those accents. For the full sequence, photographs, and any detail needed while crocheting, follow Stephanie’s free online pattern. The separate ad-free PDF is available from the designer’s Etsy or Ravelry shop.



1 thought on “Crochet Apple: Pattern Overview”