Project introduction
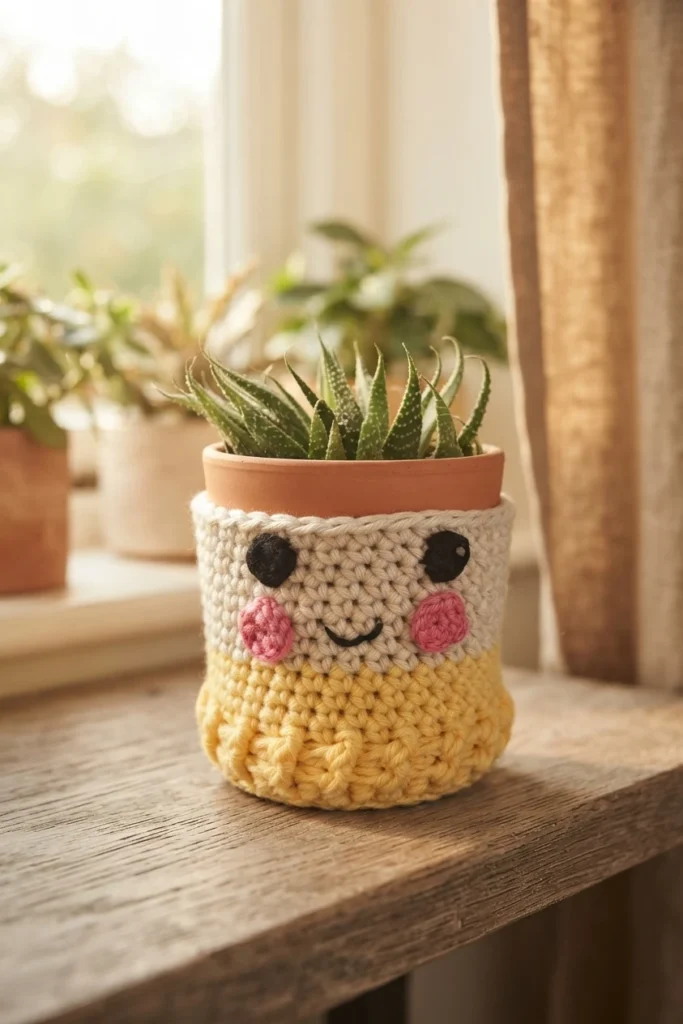
This is a pattern overview for an easy crochet plant pot cover, not a full tutorial. The design can dress up a plain pot, with optional emoji-style faces or a simple undecorated finish. Its practical appeal is that the cover is a crocheted layer for a container you already have, rather than a complete pot. The free pattern and full directions are available from Off The Hook For You, the original designer.
The project is presented as a way to refresh an ordinary plant pot without covering parts that are out of sight. The source estimates that yarn for around ten covers might cost about as much as one purchased pot, though actual costs depend on materials and availability. Treat that comparison as a rough idea, not a guarantee. Choose a plain finish for a minimal look, or add facial details for a more playful result.
How do you make a plant pot cover?
Start by thinking about the container’s circumference and how snugly the crocheted fabric should fit around it. The designer describes measuring around the pot as one way to judge the starting length, or checking a chain around the base and aiming for a slightly snug fit. The latter is a practical fitting concept, not a substitute for specific instructions or a promise that every yarn will stretch alike.
A foundation row is suggested for a straight beginning, since an ordinary chain can twist. From there, the cover is worked around the pot as a tube-like sleeve. The same general fitting idea can be applied to pots of different sizes, but this overview does not provide a sizing formula. Judge the starting length and fit against your chosen container as you work.
Top Tips for crocheting a Plant Pot Cover
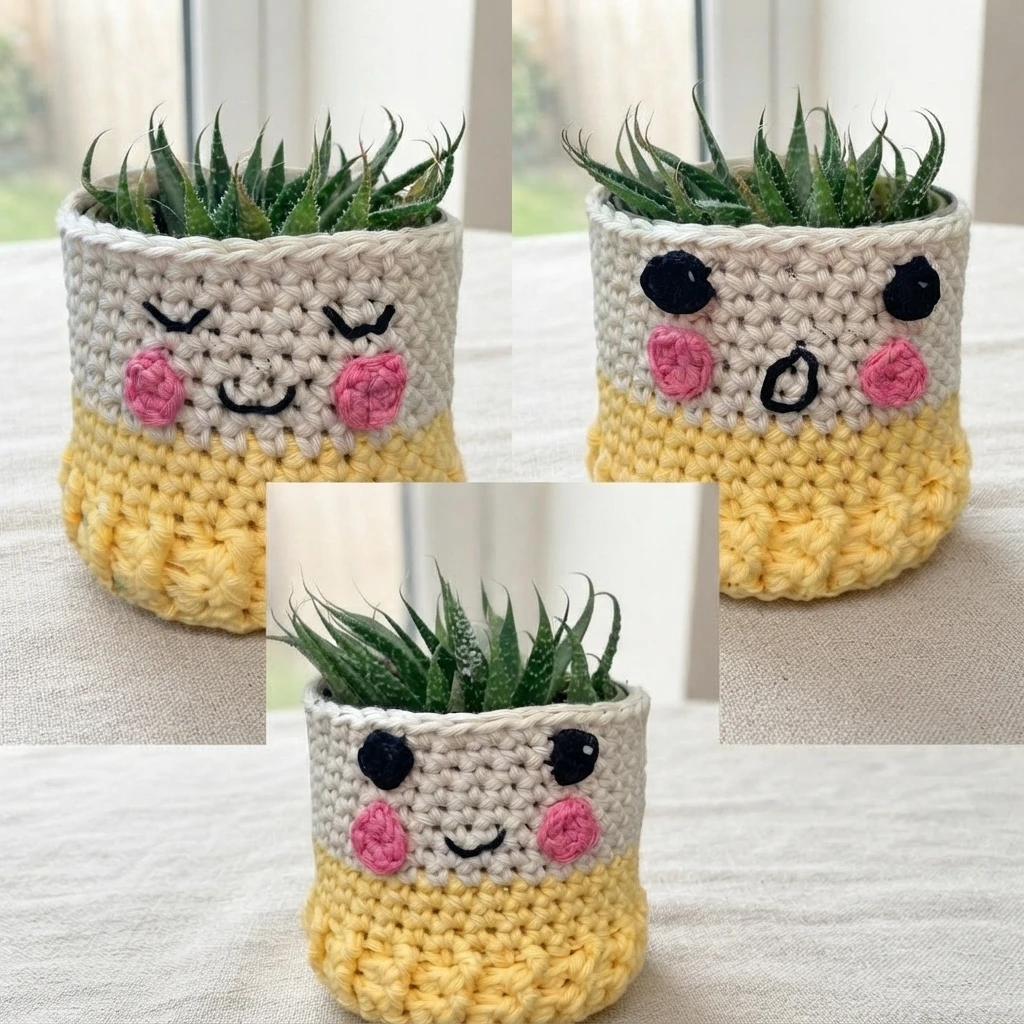
For an indoor plant, the source recommends using a container without drainage holes. A thoroughly washed grocery tin is suggested as a possible base, with a tuna can and a clean 340 g sweetcorn can given as examples. A fully washed emulsion paint tin is another idea for a larger container. Check that any reused container is clean and appropriate for your plant before putting it to use.
Think through how the plant and its inner pot will sit inside the cover before you begin. The examples distinguish between a can holding liquid alongside a regular plant pot and a can holding the actual pot. They are not interchangeable instructions for every plant. The crochet cover itself is decorative, so consider the container arrangement and take care to avoid unnecessary spills on the yarn.
How do you cover a plant pot in crochet?
The design is described as an advanced-beginner project. Its stitch vocabulary includes Foundation Double Crochet, Front Post Double Crochet, Back Post Double Crochet, and Single Crochet. A magic ring is used for the small emoji details. If those techniques are new to you, review their names and methods before starting.
The source also describes simpler options: use a chain-based start with a row of Double Crochet instead of the foundation stitch, and leave out the front-post and back-post texture. These are alternatives noted by the designer, not a separate set of complete instructions here. The emoji faces are optional, so the cover can remain plain if you prefer not to make or attach the small decorative pieces.
Bottomless crochet pot cover Pattern Overview
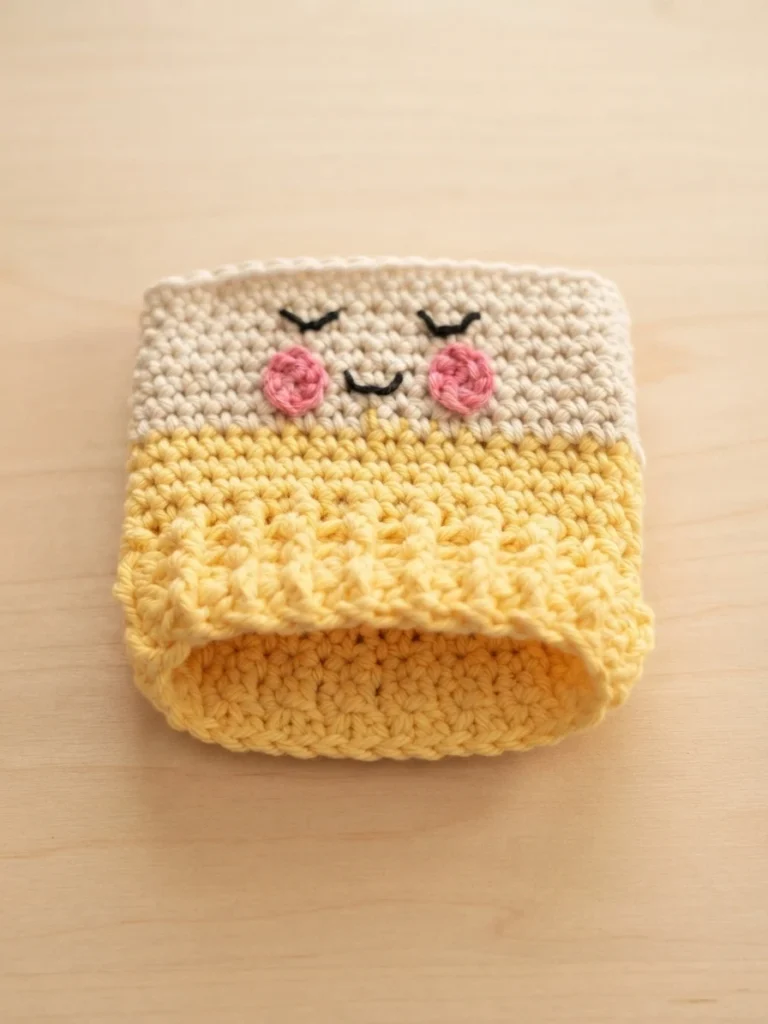
This version is made without a crocheted base. The source gives practical reasons: the underside is hidden, and skipping it saves yarn and time. A bottomless sleeve may suit a pot that can be placed inside it and supported by its own container. It also keeps the project focused on the visible sides instead of adding crochet beneath the pot.
For a cover with a base, the source says to begin with a crocheted circle and then change the stitch direction to create a straight edge. That is a different construction choice. The overview’s featured version begins with Foundation Double Crochet, and no full sequence of rounds is reproduced here.
Yarn Choice
The designer says the project can use any yarn, with Aran-weight cotton for the main cover and DK yarn for the finer facial details in the sample. Stash yarn is suggested for the small features. As a sample-specific estimate, one ball of each of the two Drops Paris cover colors will probably make about five to six covers. Your result can vary with yarn, tension, and how much decoration you add.
The sample uses contrasting shades for the pot and its face details. That contrast helps small features stand out, while leaving off the face avoids needing those accent colors. The checklist below identifies the materials used for this sample; the estimate above should not be treated as a universal yarn quantity.
How to make an Easy Crochet Plant Pot Cover
This overview does not give a round-by-round pattern. The sample details and working notes can help you gather materials and understand the project. Its abbreviations use US crochet terminology. The finished sample is listed as 9 cm high by 8.5 cm in diameter, and the designer advises making the stitches tight enough that the pot does not show through.
- Drops Paris, Aran-weight, 100% cotton, 75 m per 50 g ball: Vanilla 35 (A) and Off White 17 (B).
- Drops Muskat, DK-weight, 100% mercerized cotton, 100 m per 50 g ball: Old Pink 29 (C) and Black 17 (D).
- A tiny amount of white yarn, plus white thread for the facial details.
- 5 mm and 3.5 mm crochet hooks.
- A stitch marker or waste yarn to track a round.
The source does not treat gauge as critical, but notes that dense stitches help conceal the pot. Hook size and yarn can affect the fabric, so check the fit against your own container as you work. This materials overview is not a replacement for the complete stitch sequence.
Pattern Notes
The source describes beginning with joined rounds, joining each to the first stitch with a slip stitch. The beginning chain counts as a stitch during the first three rounds. After that, the cover switches to spiral working, without joining or turning chains, and a marker or waste yarn helps identify the first stitch of each round. Long yarn tails are left on pieces that will be sewn together.
Crochet Plant Pot cover - make 3
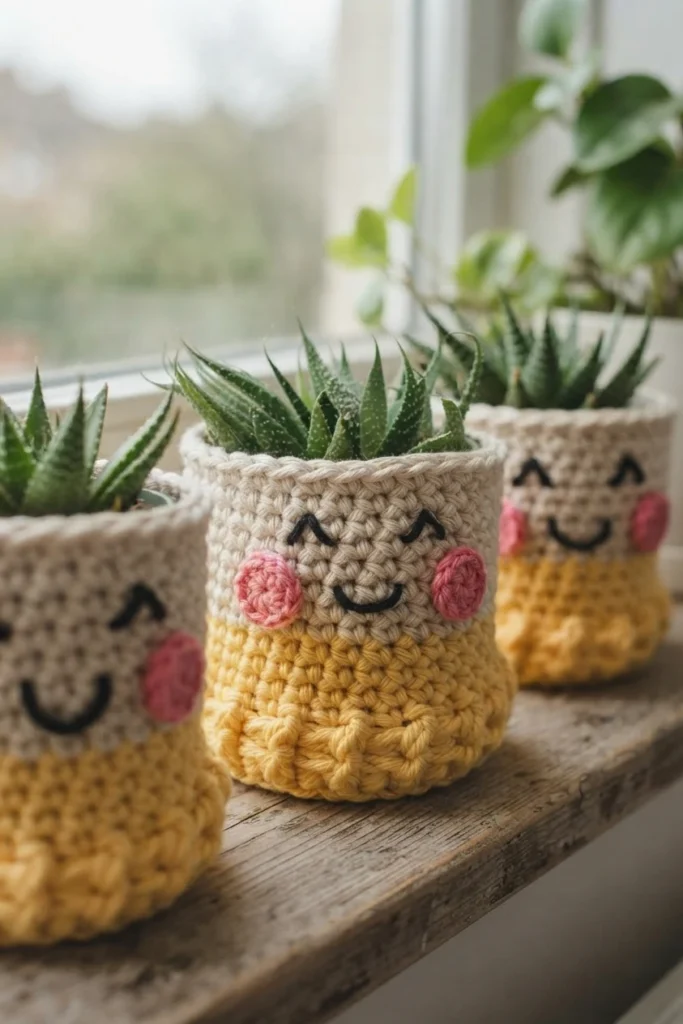
This section of the source presents a three-cover project and then separate small pieces for the emoji faces. At a high level, the cover starts with a foundation edge, adds a textured band, and continues with single crochet in rounds. The face components are made separately and sewn on, allowing the basic cover to be customized or left plain. This overview intentionally does not provide the exact sequence or assembly directions.
One detail to notice before beginning: the round labels in the source overlap between the color-change section and the following single-crochet section. Rather than guess how to interpret that wording, check the source’s intended sequence. The source also uses a stitch marker or waste yarn once the work changes to a spiral. This overview avoids restating stitch counts or turning the project into a partial tutorial.
Join me at Off The Hook For You to share your crochet!
Use this overview to decide whether the project suits your pot and skill level, and keep the designer’s directions available for the exact round sequence and the placement and sewing of the facial pieces. The original design is by Off The Hook For You. The source invites makers to share finished projects through its community and social channels.