Project introduction
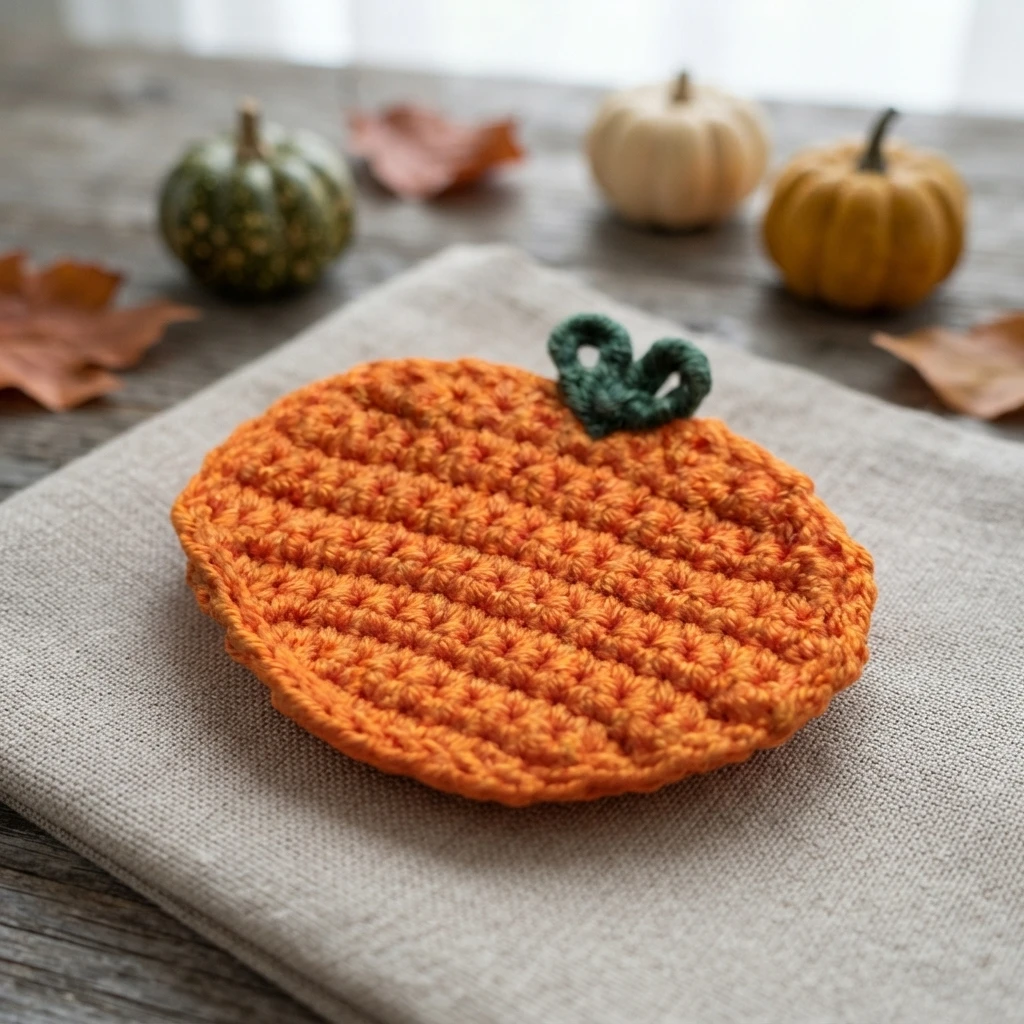
This is a pattern overview, not a complete crochet tutorial. It introduces Lisa Auch’s small pumpkin applique, a motif worked in rows and shaped to puff outward like a pumpkin. The project is described as easy and beginner-friendly, and the original designer provides written instructions and a video tutorial. For the complete pattern and any details needed while crocheting, visit the Original designer’s pattern and instructions.
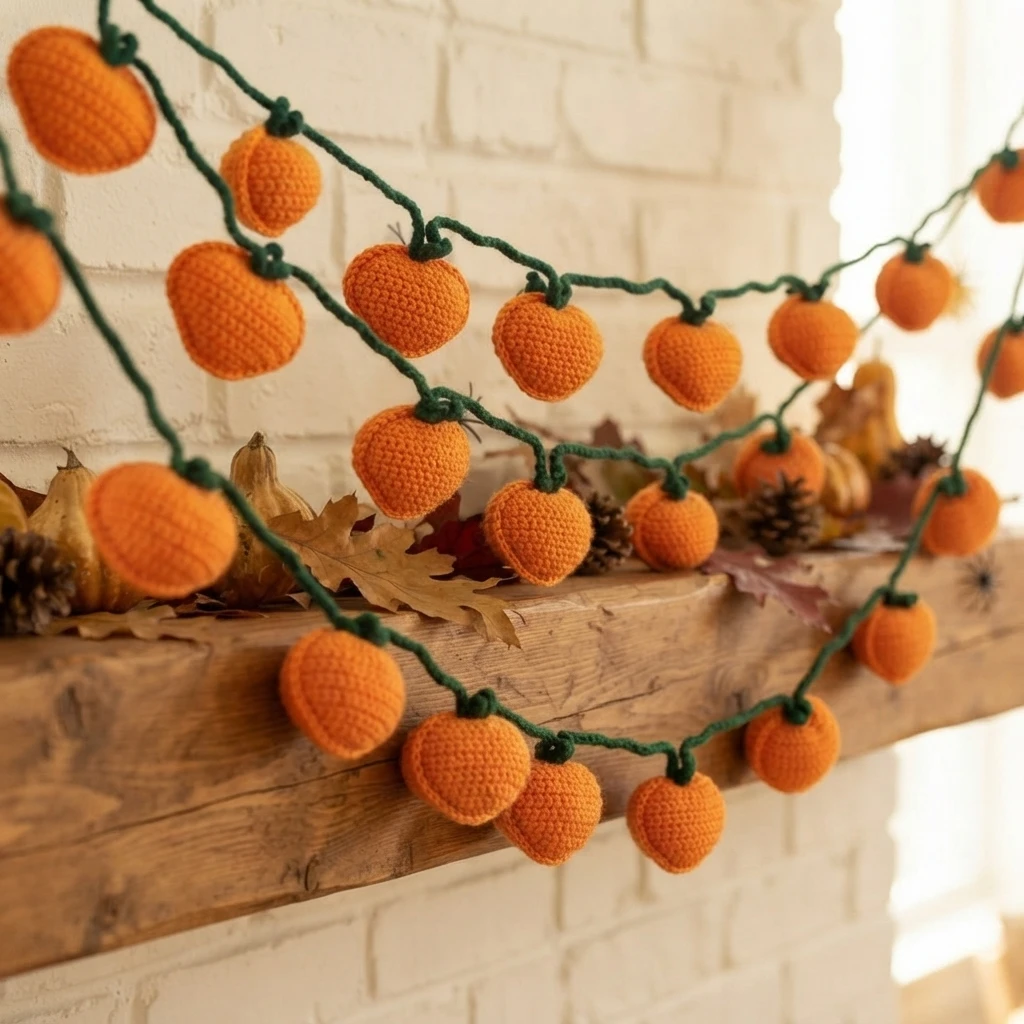
The motif can remain flat as a single applique, or you can make a second side and join the pieces for a softly dimensional decoration. Individual pumpkins can also be attached to a garland. The source suggests uses ranging from clothing and accessories to seasonal displays, so this is a flexible small project when you want a pumpkin accent without making a larger piece.
Can I make This crochet pumpkin applique in different sizes?
Yes. The source suggests choosing thicker yarn and a larger hook for a larger applique. The finished size will depend on those material choices; consult the original instructions if you need guidance for a particular project.
Materials
The source lists the following supplies. It gives a general yarn recommendation and also notes a different combination used for the garland pumpkins, so keep those two details distinct when choosing your materials.
- Yarn: #4 worsted weight yarn, orange for the pumpkin and green or brown for the stem. Red Heart Super Saver is recommended.
- Garland sample yarn: DK yarn was used for the garland pumpkins.
- Crochet hook: 3.50 mm or 4.00 mm. The garland sample used a 3.50 mm hook.
- Finishing tools: Stitch markers and a tapestry needle.
- Facial features: Glue, or black yarn if you prefer to sew the features on.
The materials list calls the skill level easy. The source page provides free pattern instructions online; that does not establish whether a separate printable or PDF format is free.
How to crochet a Pumpkin applique ( Pattern Overview)
Rather than repeat the row-by-row directions here, this overview explains the shape. The pumpkin is worked in orange, with increases expanding the rows, several straight rows forming the center, and decreases narrowing the lower portion. The final shaping creates the top of the pumpkin, and a single crochet edging is worked around the full motif. The designer’s page is the place to follow the exact stitch sequence and video demonstration.
As you look through the original instructions, notice that the piece changes direction gradually: it grows wider, holds its width for the middle, then tapers. The top shaping gives the silhouette its pumpkin character. Since the source includes specific stitch placement and turning details, use its full written pattern rather than treating this summary as instructions for crocheting the motif.
The finished applique can be left as a single layer for flat decoration. The source also describes making a second side for a slightly three-dimensional version. It mentions joining the edges by sewing or by crocheting around them, with a slip stitch at the top center to shape the stem area. Check the designer’s instructions for the precise finishing approach.
3d crochet pumpkin
For a puffier pumpkin, the source’s concept is to make two matching applique sides and join them around their edges. It describes sewing the sides together or joining them with single crochet, and notes a slip stitch at the top middle for shaping the stem area. This is a construction overview only; use the original pattern for the full directions and any joining details.
How to Make a Simple Crochet Pumpkin Garland
A garland can use flat motifs or the joined, slightly dimensional pumpkins. The source maker made 5 pumpkins and suggests varying the orange shades for visual interest. For a crocheted string, the page describes a green chain of 40 and gives chain 8 for each stem detail. It also offers sturdy ribbon or thin rope as an alternative base. Because its joining description is brief, follow the linked original if you need clarification on attachment or placement.
Faces are optional. The source suggests black card, black yarn sewn onto the pumpkins, or leaving the motifs plain. Once assembled, the garland can be displayed on a mantle, across a window, or on a wall. These choices let you keep the finished decoration simple or give it a more playful Halloween look without changing the basic pumpkin motif.
How long does it take to crochet a pumpkin appliqué
The source estimates about 10 minutes or less for an applique, depending on the crocheter’s pace. Treat this as an approximate project estimate, not a guaranteed completion time.
Be creative & Ideas! What You Can make with a crochet pumpkin appliqué?
A small applique is easy to adapt for autumn decorating. The ideas below reflect the uses listed by the source, grouped by where you might display or attach a motif. Choose a secure attachment method suited to the item, and keep glued embellishments away from uses that require washing.
Thanksgiving Table & Cutlery Decor
For a fall meal, pumpkins can decorate ribbon-loop napkin rings, twine-tied cutlery bundles, or cardstock place cards. Stitch or glue them to the napkin-ring loops, attach one to a cutlery wrap, or add one to a name tag. These small details can coordinate a table without requiring every place setting to have the same decoration.
Seasonal Home Accents
Smaller pumpkins can be strung across a tiered tray or shelf as a mini garland. The source also suggests adding them to grapevine wreaths alongside leaves and burlap bows, or attaching them to Mason jar lids for seasonal kitchen or gift displays. Consider the scale of the object before choosing where to place each motif.
Gift & Packaging Ideas
Use an applique on a kraft paper gift tag, or sew one onto a fabric gift bag or crochet wrap for reusable packaging. The source also suggests adding a safety-pin backing to make a pumpkin pin or brooch. Choose the attachment to suit the material and intended use, especially when making a wearable item.
Adorn your Wearables & Accessories with these little pumpkins
For a seasonal accessory, attach a pumpkin to a hair clip or elastic band, sew one onto a beanie or scarf end, or add one to a canvas tote bag. These options use the same small motif in different ways. For garments and bags that will be handled or washed, sewing the applique on is one of the attachment methods noted by the source.
Even more Fun Spooky Halloween Crochet Patterns (FREE)
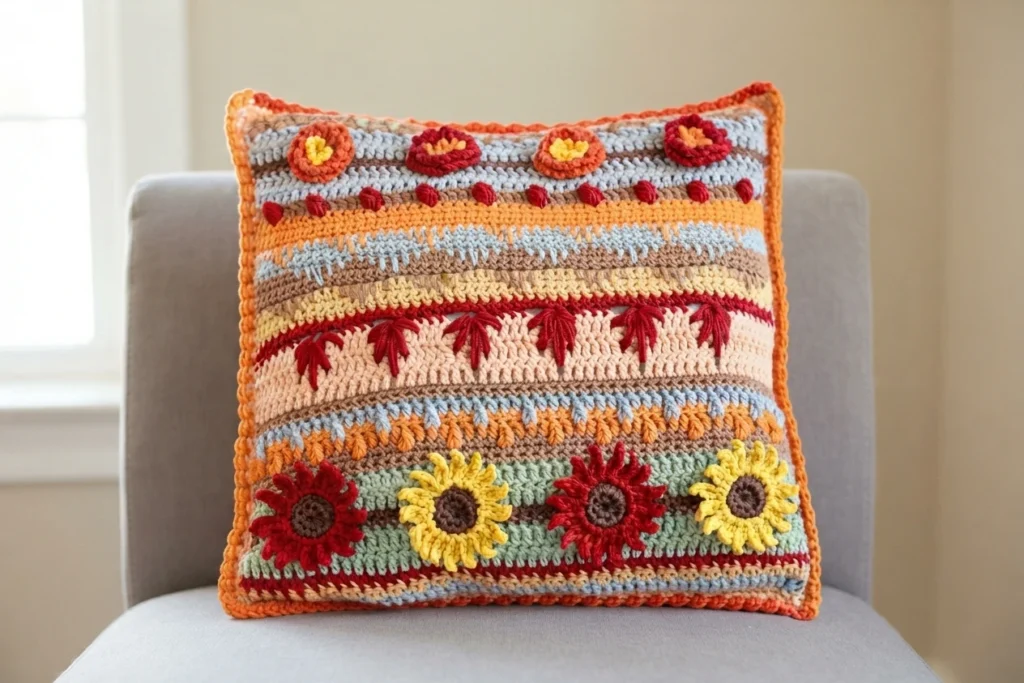
The source also points to a Halloween hanging car decoration that combines a crochet ghost and tiny pumpkin. If you are interested in other seasonal crochet, the Fall Pumpkin Coaster Crochet Pattern - Get Festive: Pattern Overview and Bobble Crochet Pumpkin Pillow: Pattern Overview offer two more pumpkin-themed project overviews.
Crochet Windspinner Pumpkin Decoration ( Pattern Overview)
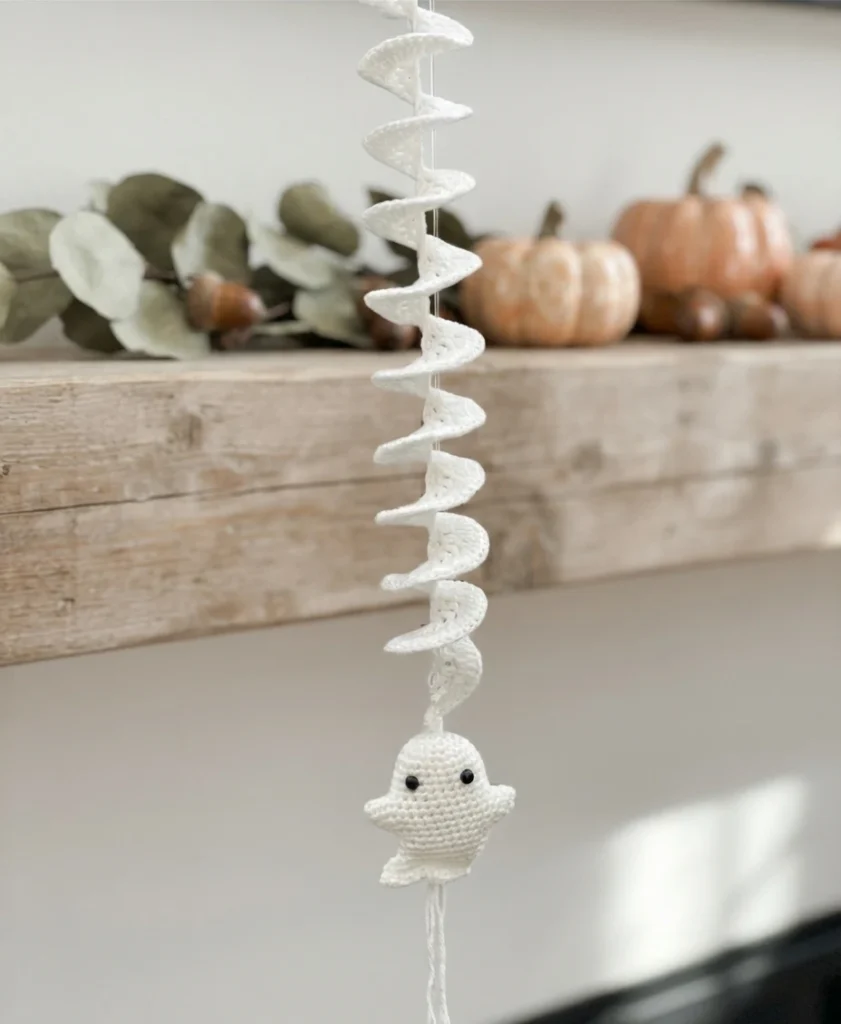
The source identifies a pumpkin windspinner decoration as another free crochet pattern. This is a separate project from the applique overview above; visit its original pattern page through the source article for project details.
Ghost Wind spinner Crochet Pattern FREE
A ghost wind spinner is another Halloween project identified on the source site as a free pattern, and LisaAuch.com is named there as the original designer. Use the source article to locate the designer’s instructions and review the pattern details before beginning.

3 thoughts on “EASY Crochet Pumpkin Applique Pattern! Make a Pumpkin Garland: Pattern Overview”