Project introduction
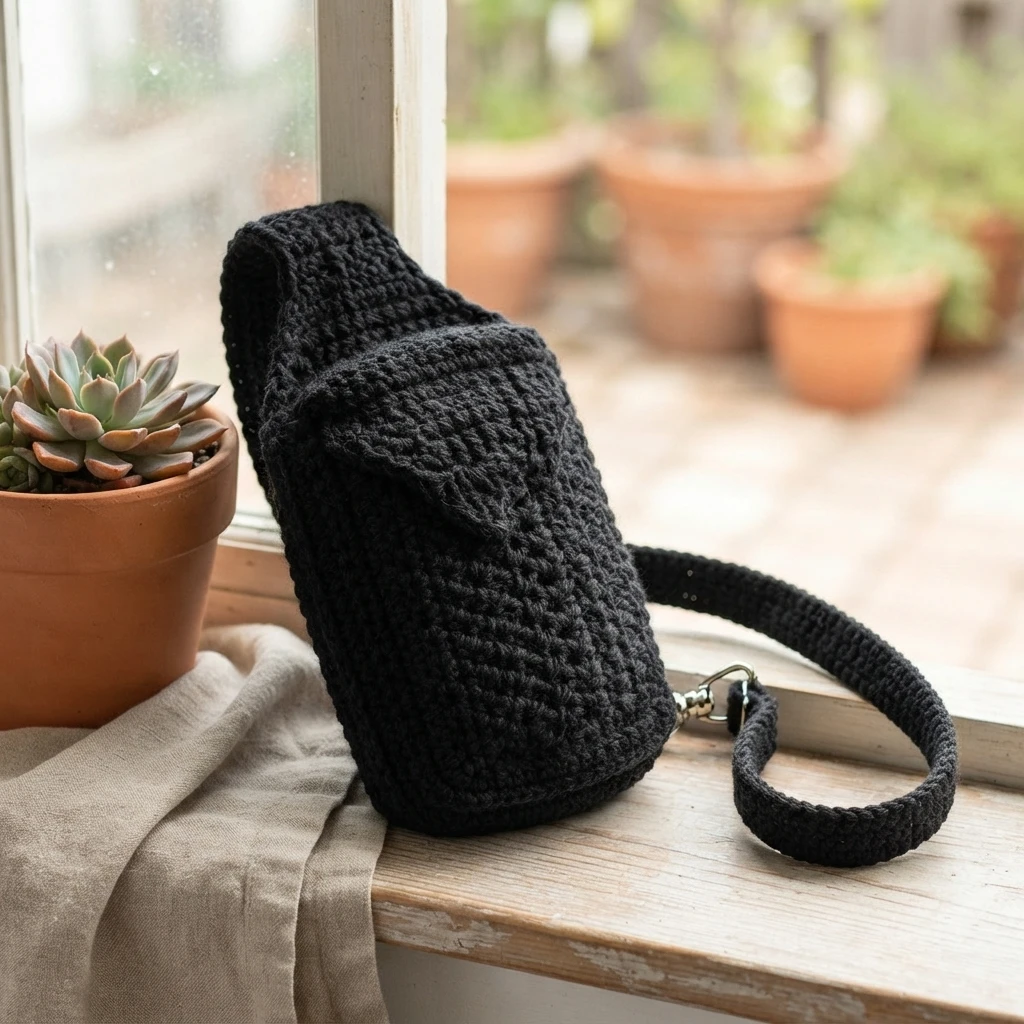
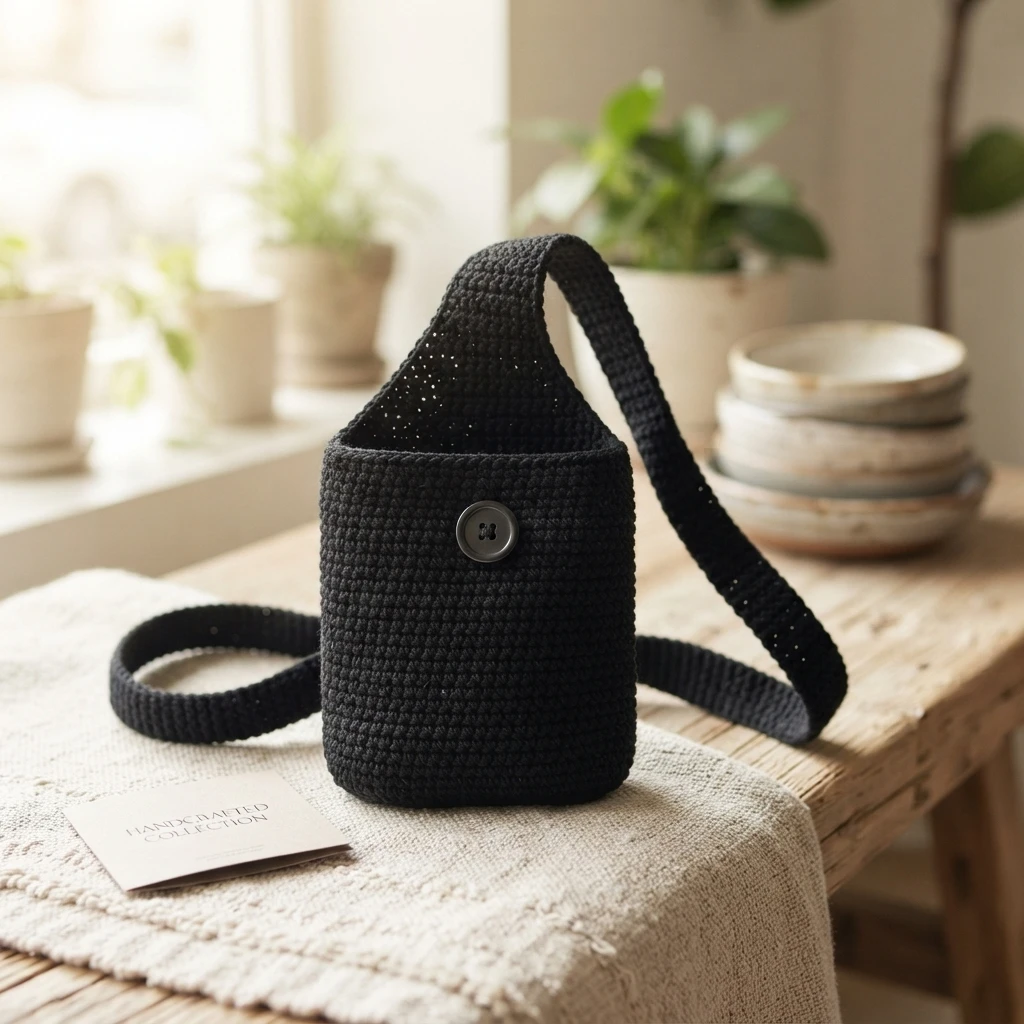
This pattern overview introduces a compact crocheted cross-body bag, also called a sideways fanny pack or bum bag. It is a project description, not a complete tutorial: use it to decide whether the bag suits your plans, gather the listed materials, and understand the broad construction before following the original designer’s instructions.
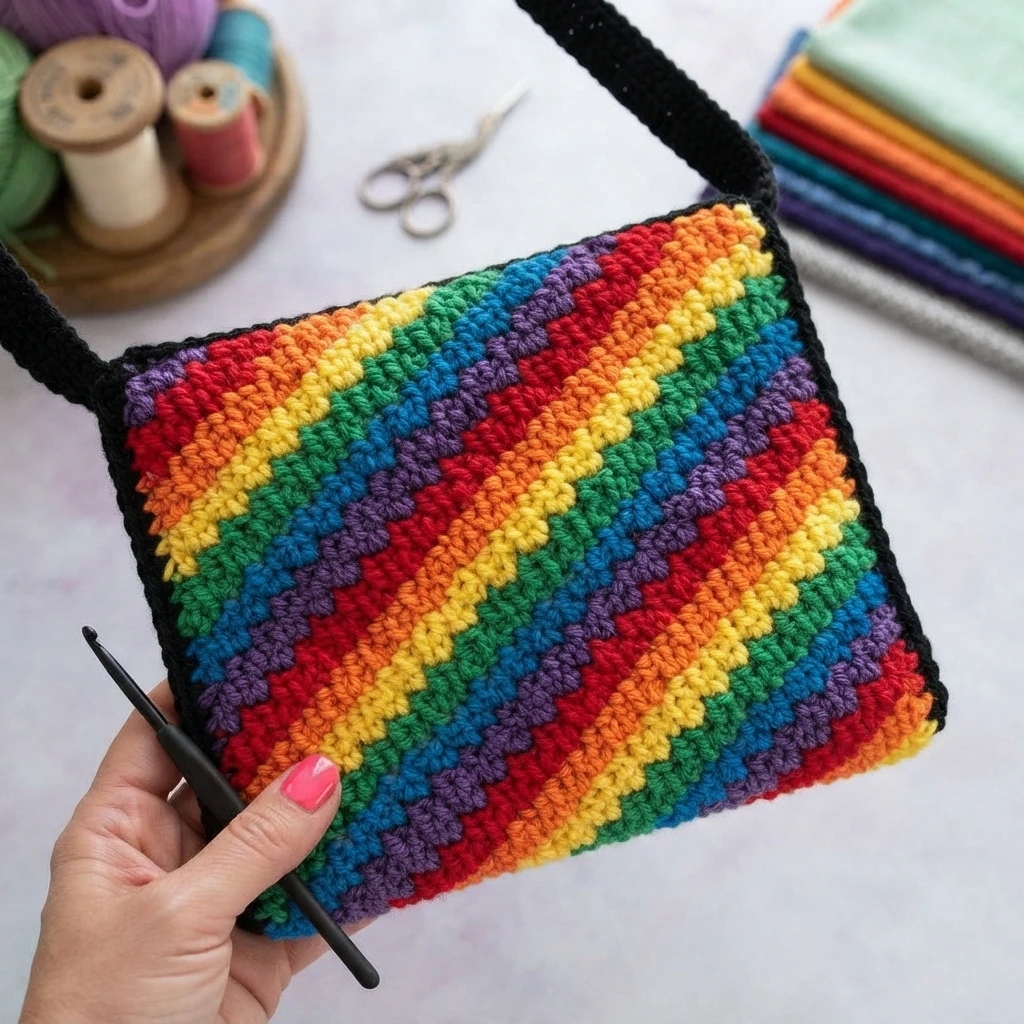
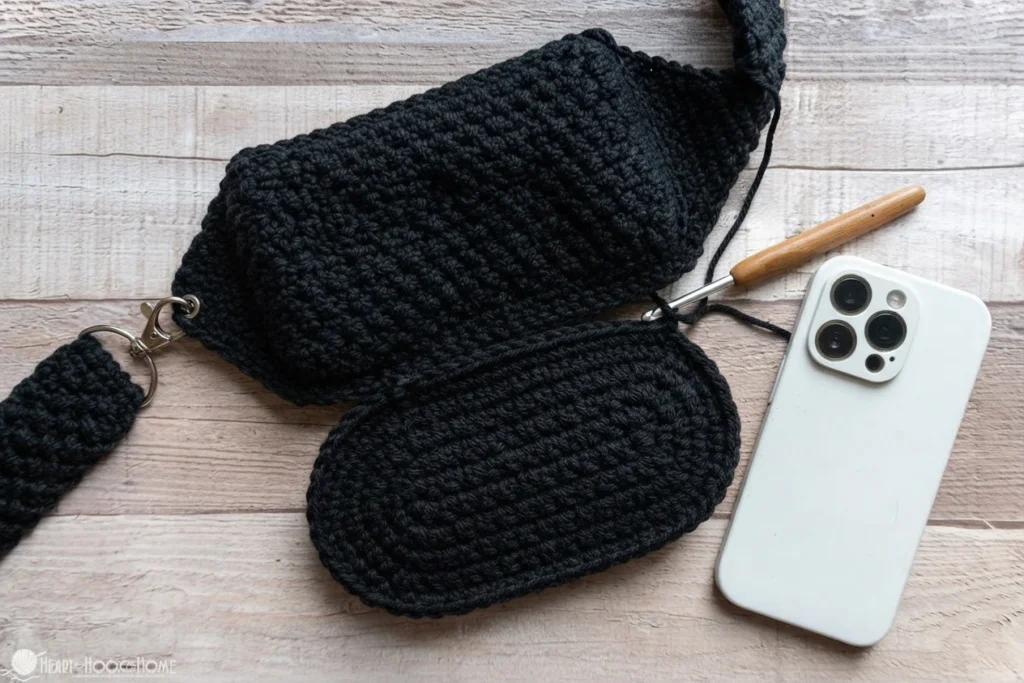
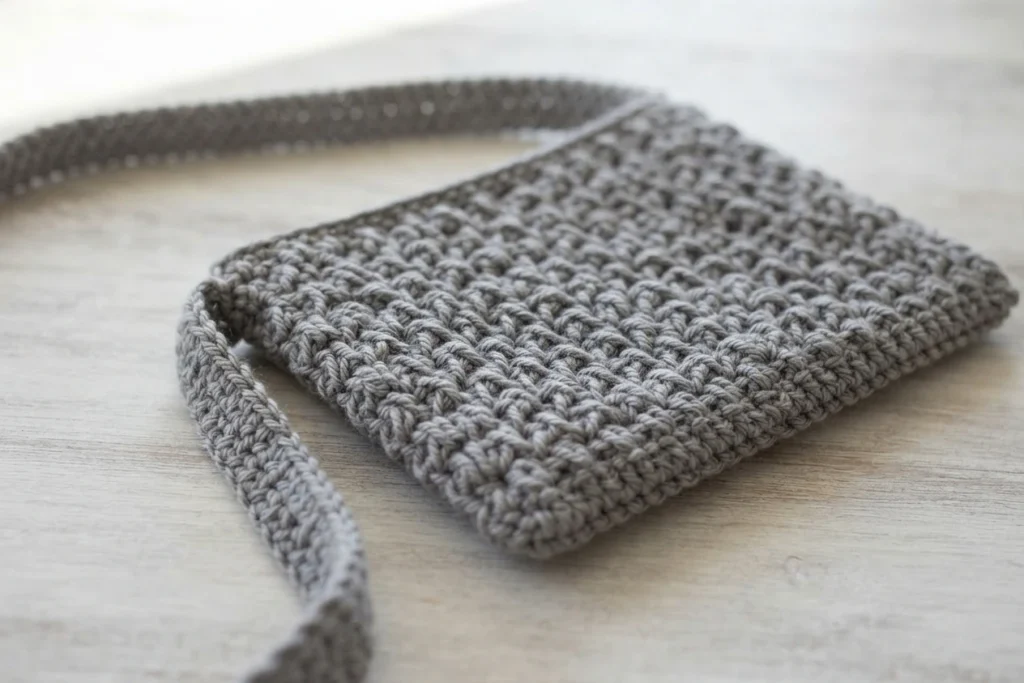
The design pairs a crocheted bag front with a choice of crocheted or plastic-canvas backing. A tapered section extends into the strap, and the pattern describes button or zipper closure options. Colorful yarn worked through the canvas offers one way to add a contrasting back, while a crocheted back keeps the project entirely yarn-based.
Free Cross-Body Bag Crochet Pattern Using Plastic Canvas
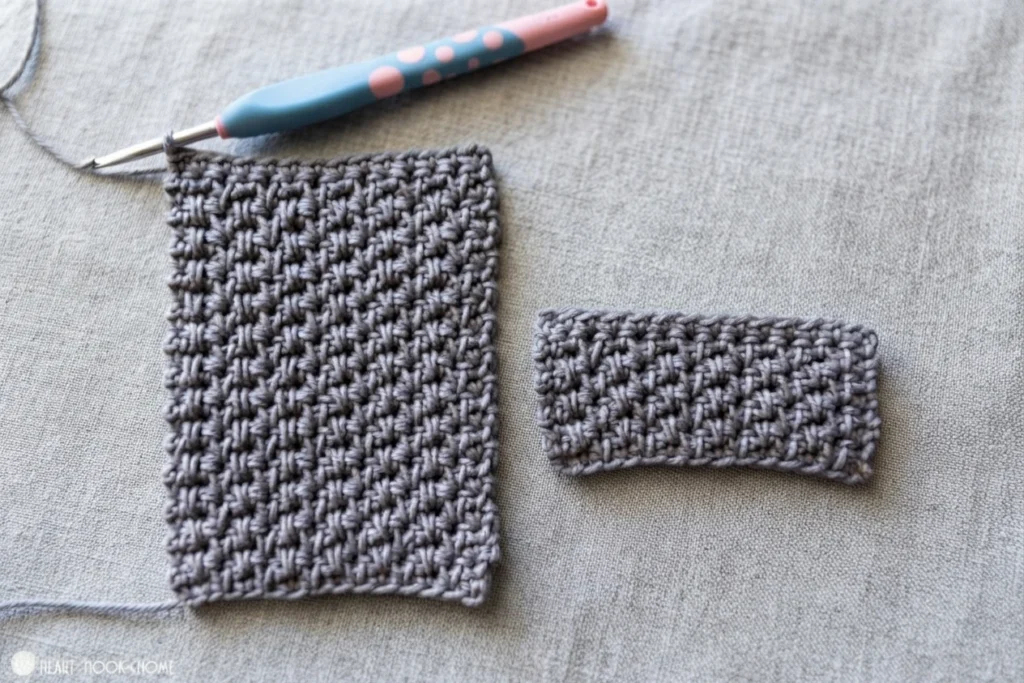
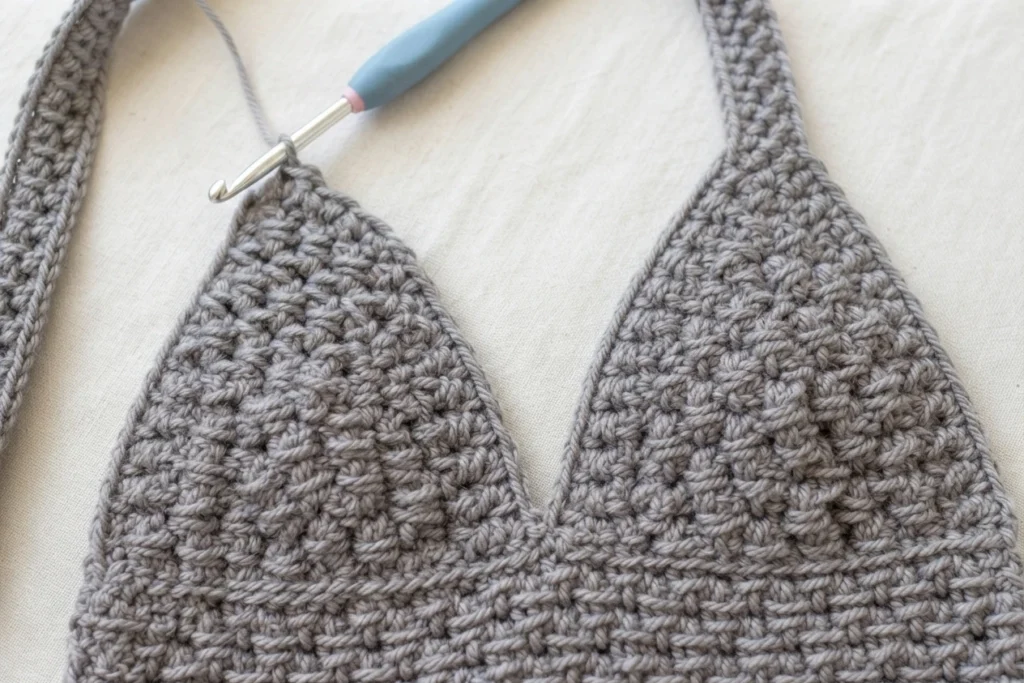
Heart Hook Home presents this design in its 2023 One Skein crochet series. The listed yarn is Dishie 100% cotton, with an approximate requirement of 180 yards, noted as less than one skein. The designer also says other worsted-weight cotton yarn can be used. The pattern is written in US crochet terms and features alternating single crochet spike stitch as a recurring texture.
Original designer’s pattern and instructions are available as a free web pattern. Heart Hook Home also mentions an ad-free printable PDF through its listed outlets; the source does not state a price, so check the designer’s page for current format and access details.
Gather the complete set of materials listed by the designer before starting. The optional hardware allows for choices in how the bag is finished, while the canvas can be left out if you select the crocheted-back version.
- Dishie 100% cotton yarn, approximately 180 yards, or another worsted-weight cotton.
- Crochet hooks in sizes 4.5 mm and 2 mm.
- One sheet of plastic canvas.
- Tapestry needle.
- Button and sewing thread.
- Optional: grommet and tool.
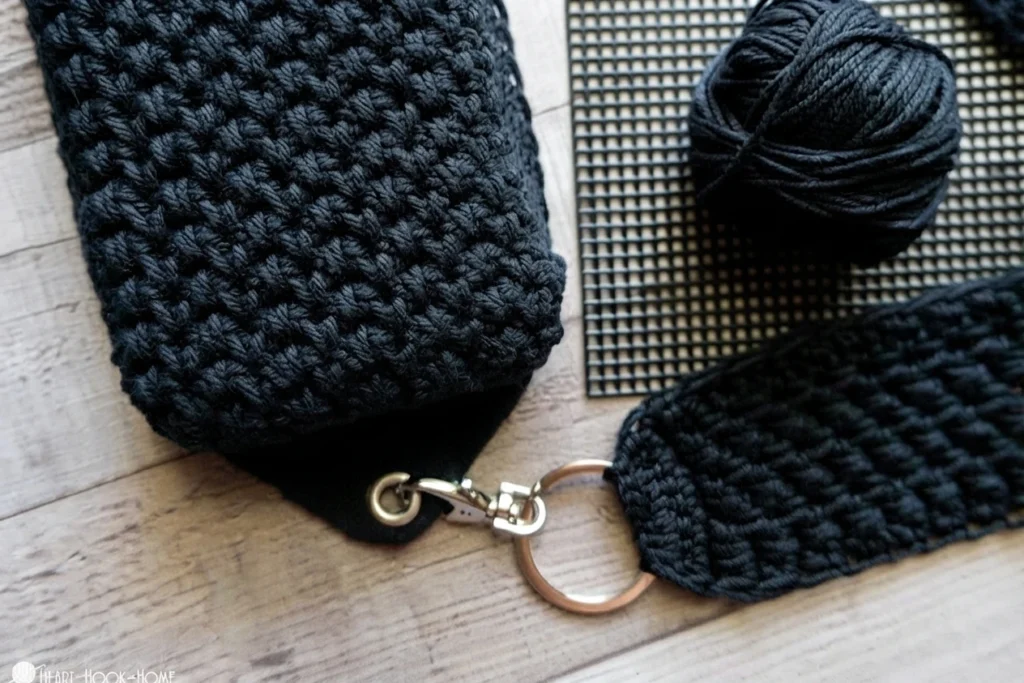
- Optional: swivel lobster clasp.
The designer gives a gauge of 17 stitches by 20 rows in a 4-inch single crochet square. Gauge can help you compare your fabric with the pattern’s reference before continuing, particularly because the bag’s front and back need to align during assembly. Beginning chains are not counted as stitches in the instructions, and odd-numbered rows are designated as the right side.
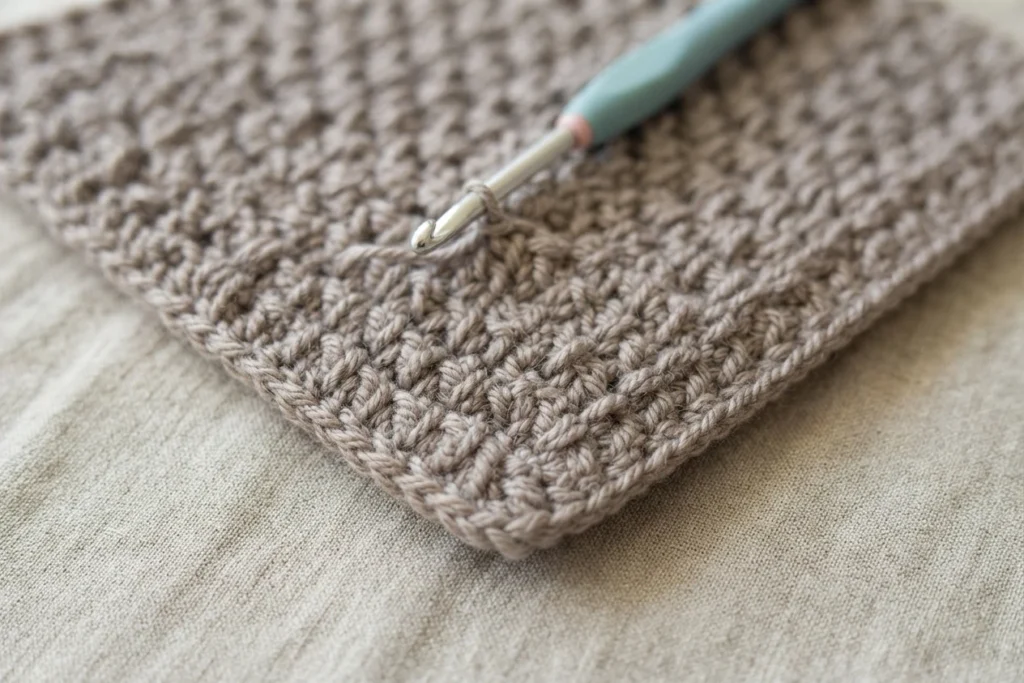
Pattern texture to know: alternating single crochet spike stitch is used for the bag sections and strap. Refer to the designer’s stitch guidance if you need help with that stitch or with reading the pattern.
Rather than being formed as one continuous pouch, the design is assembled from separate crocheted sections. The top and longer lower portion are worked first, then arranged together and joined around their edges to establish the bag body. The pattern continues shaping at the lower point and creates an upper section that narrows into the strap. This is a construction overview only; follow the linked pattern for the actual stitch placement and joining details.
For closure, the designer describes either a button or zipper, noting that the button is easier to sew on. The pattern’s canvas-backed finish also describes a button-and-loop closure. Optional hardware is part of the materials list, but the web instructions should guide which components are relevant to the version you choose.
Wanna save this for later?
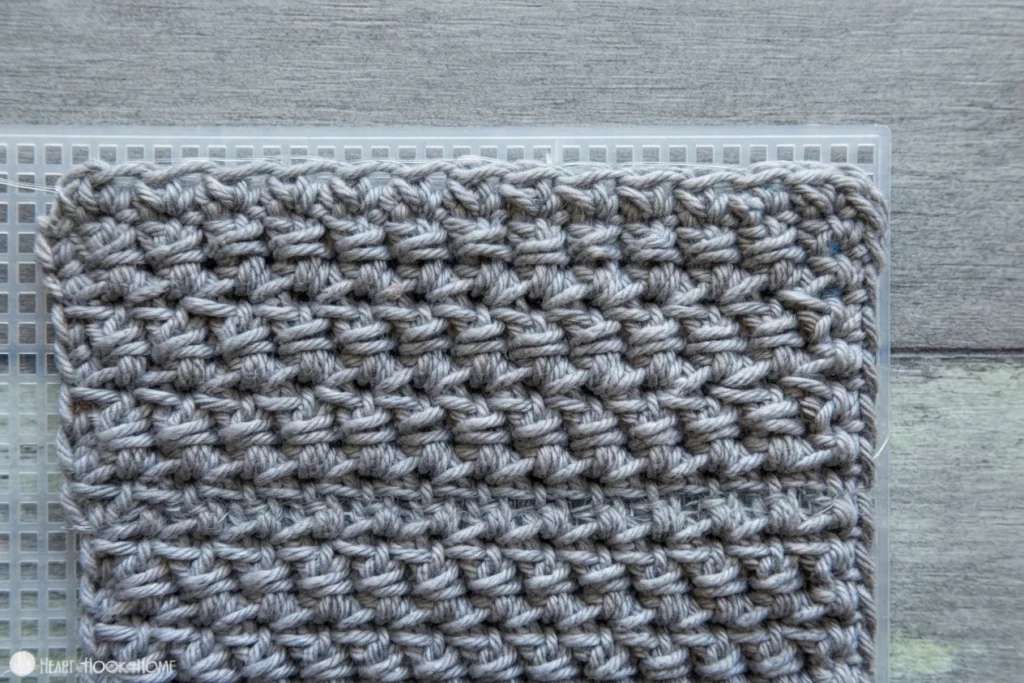
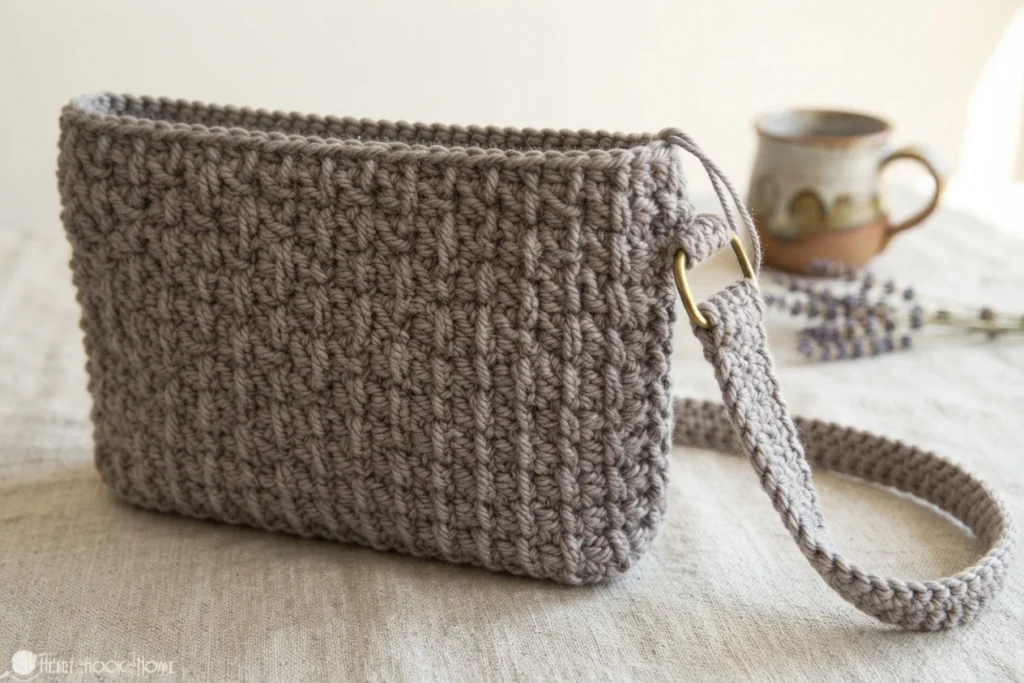
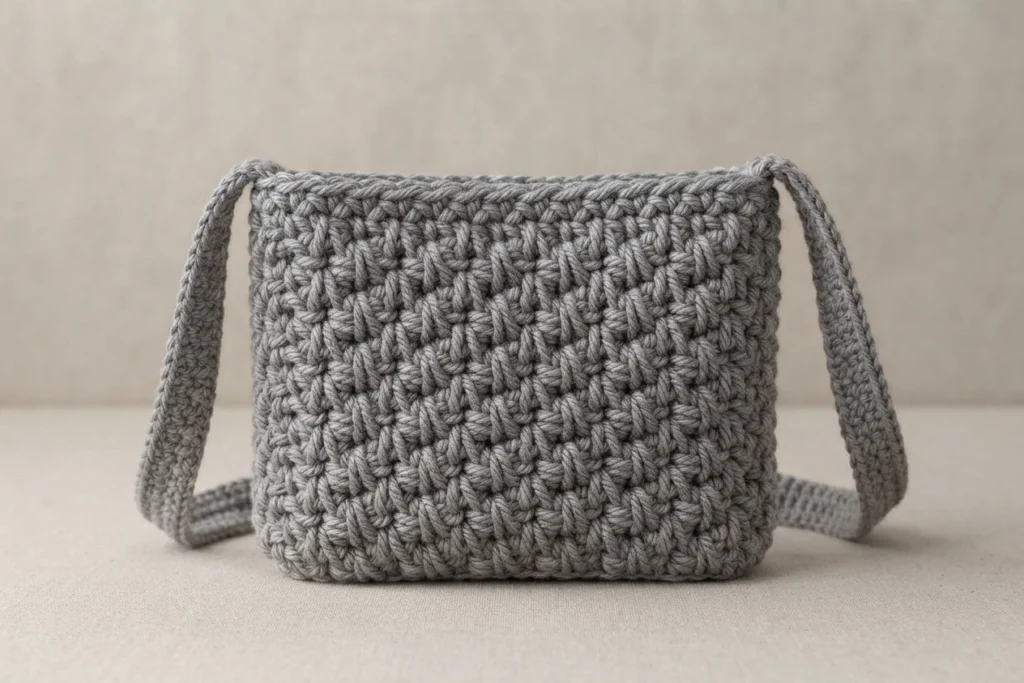
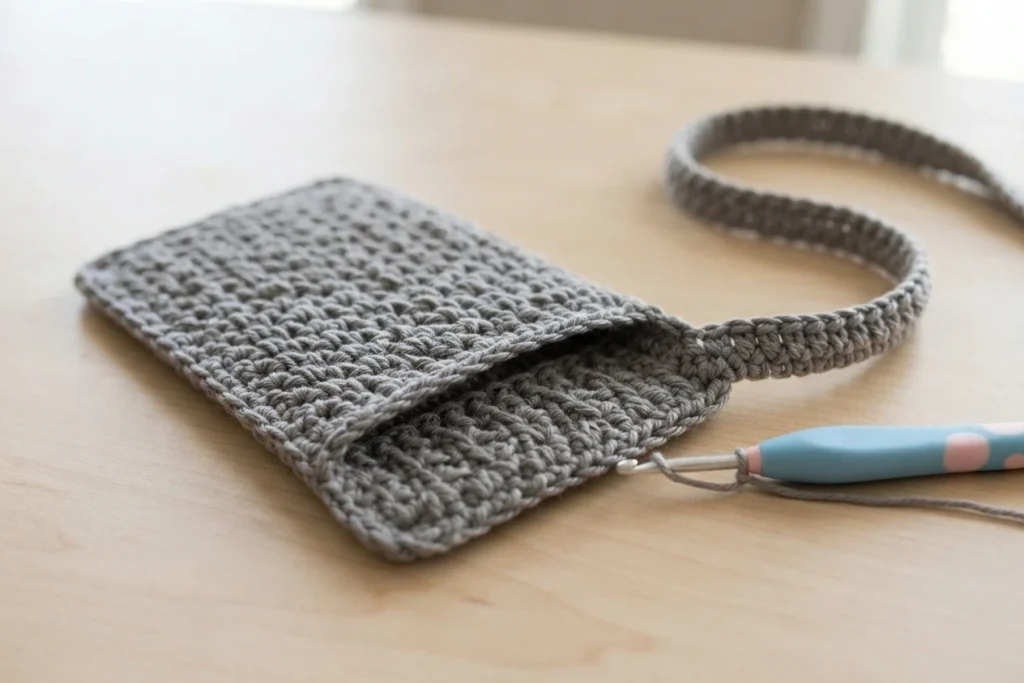
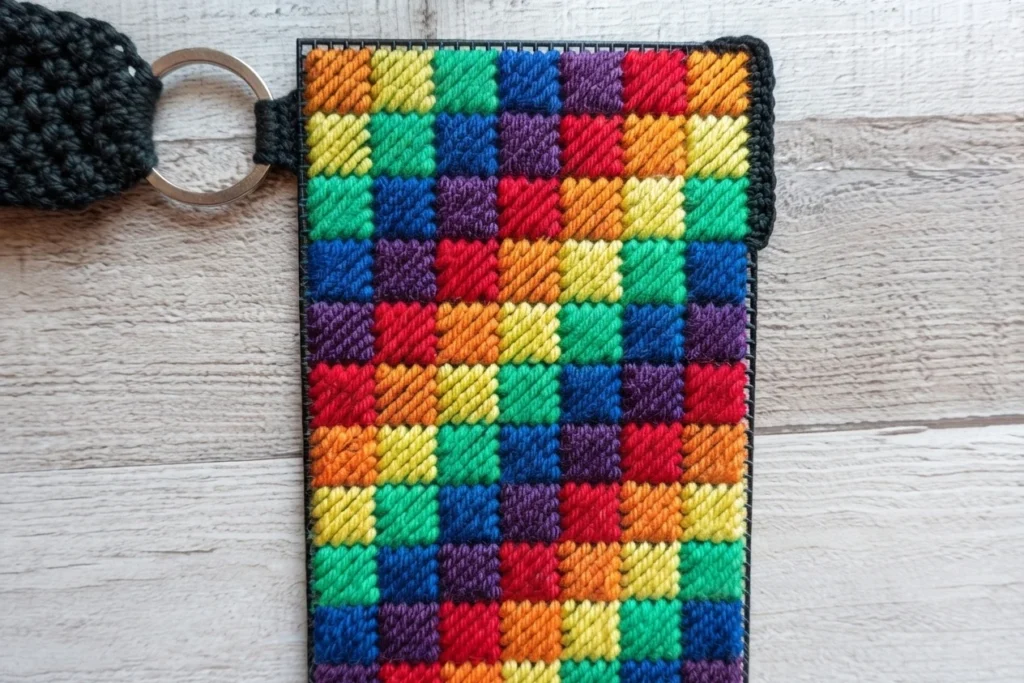
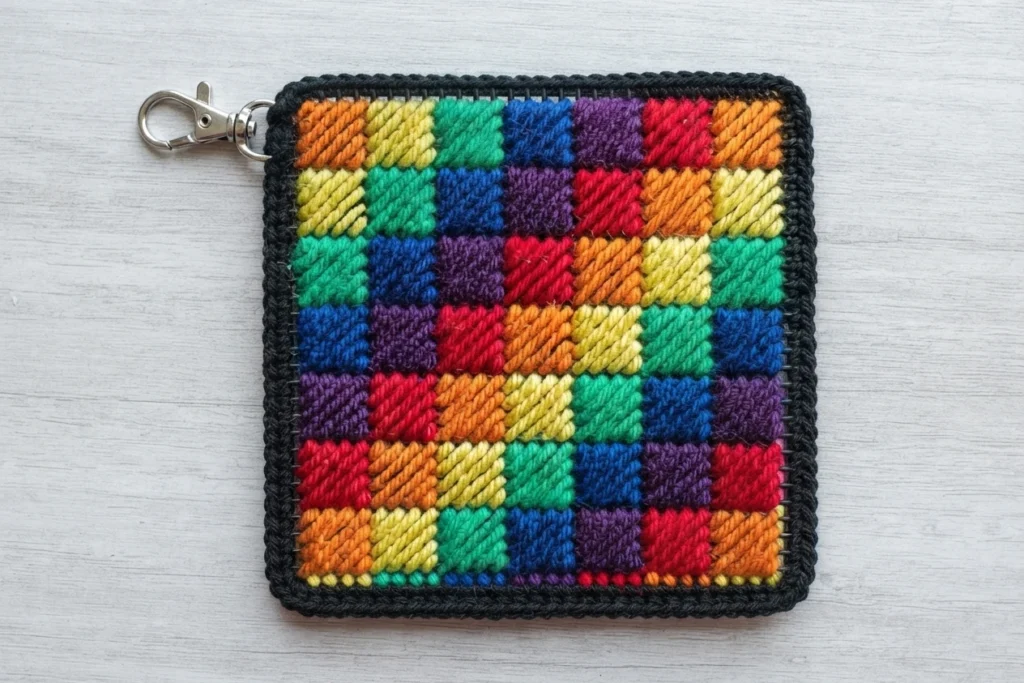
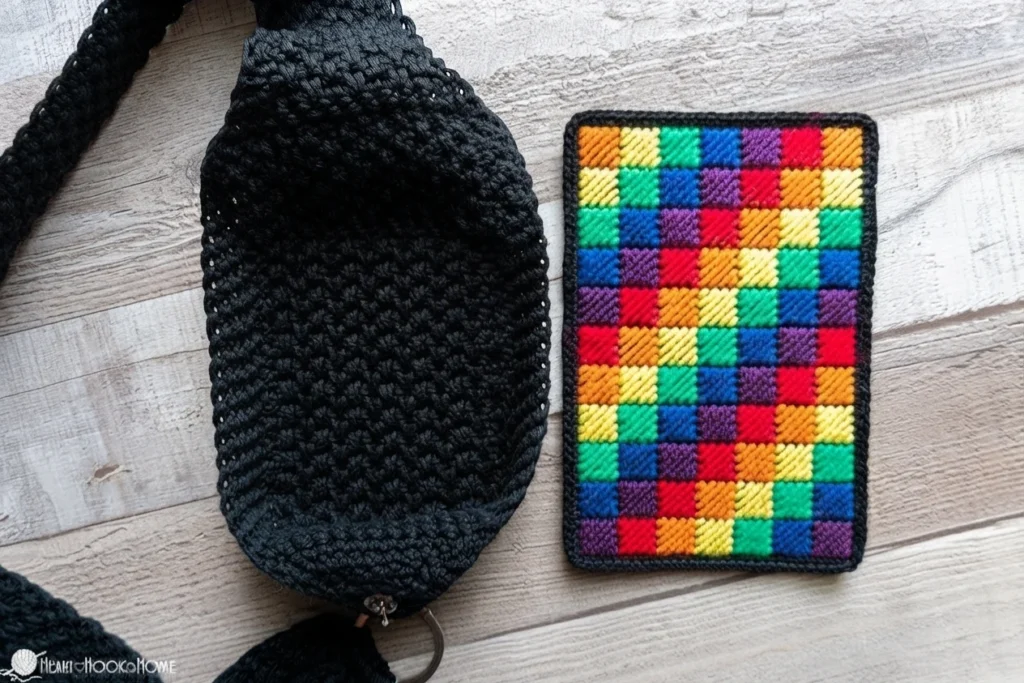
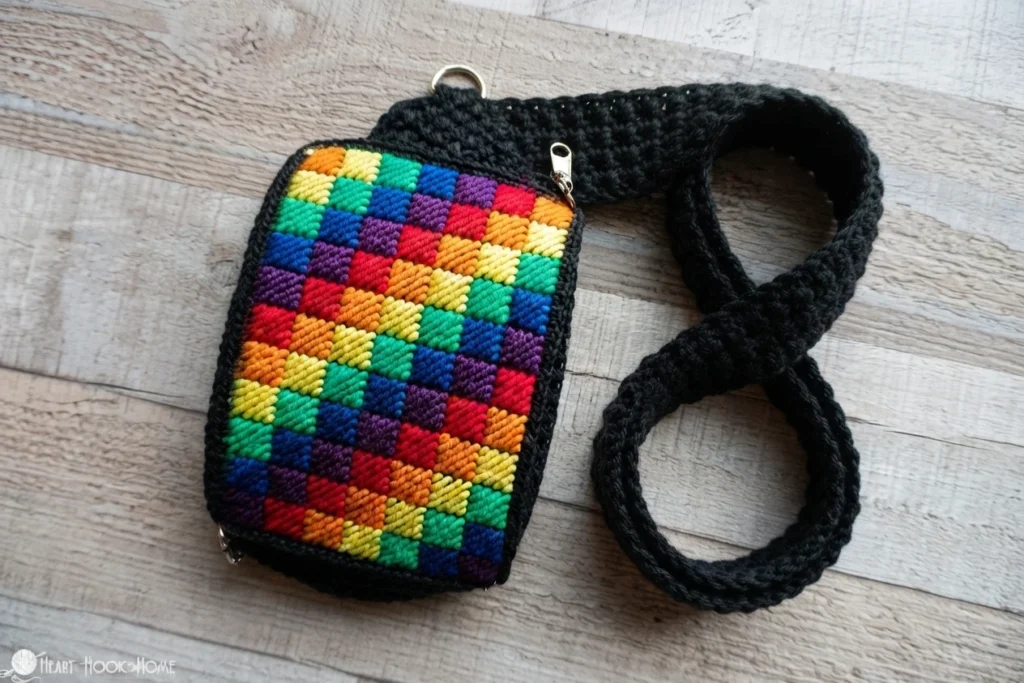
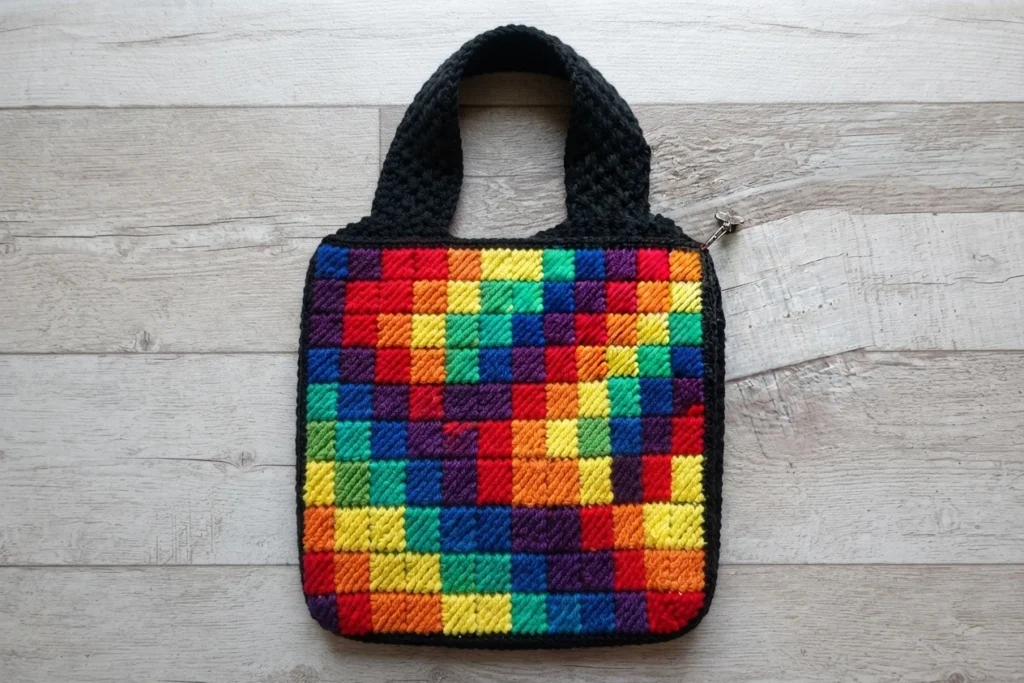
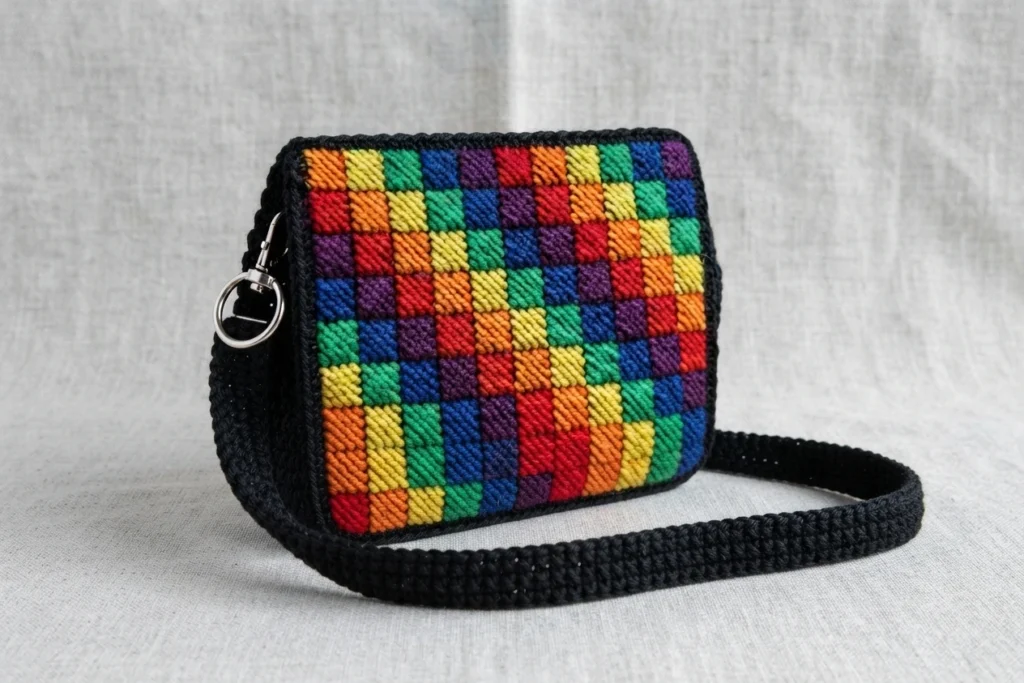
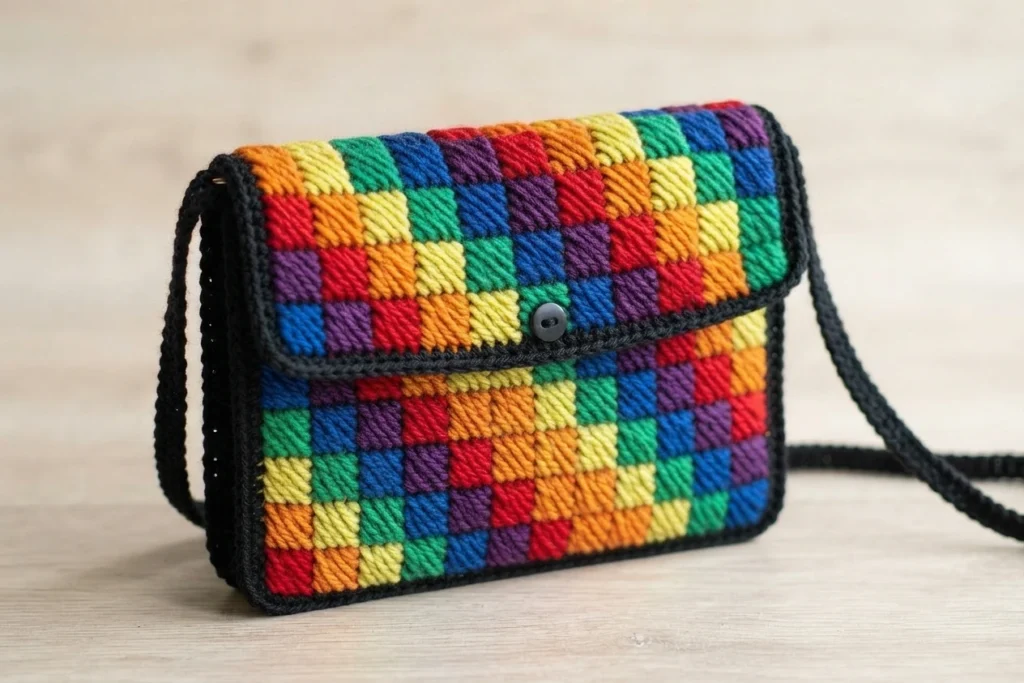
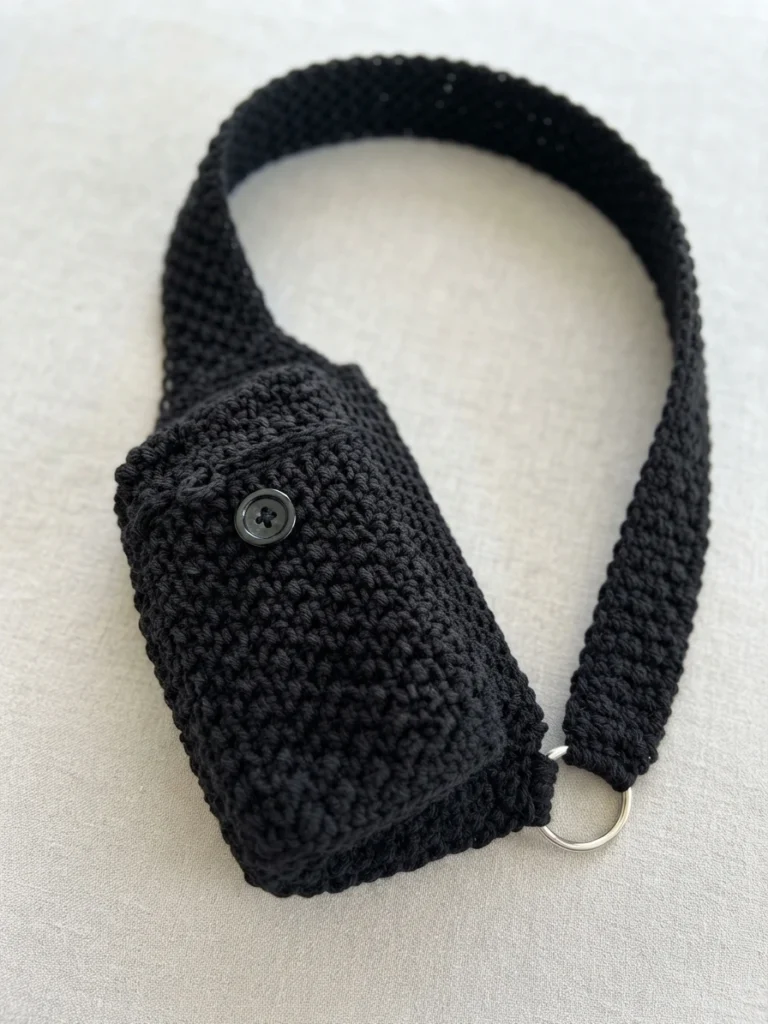
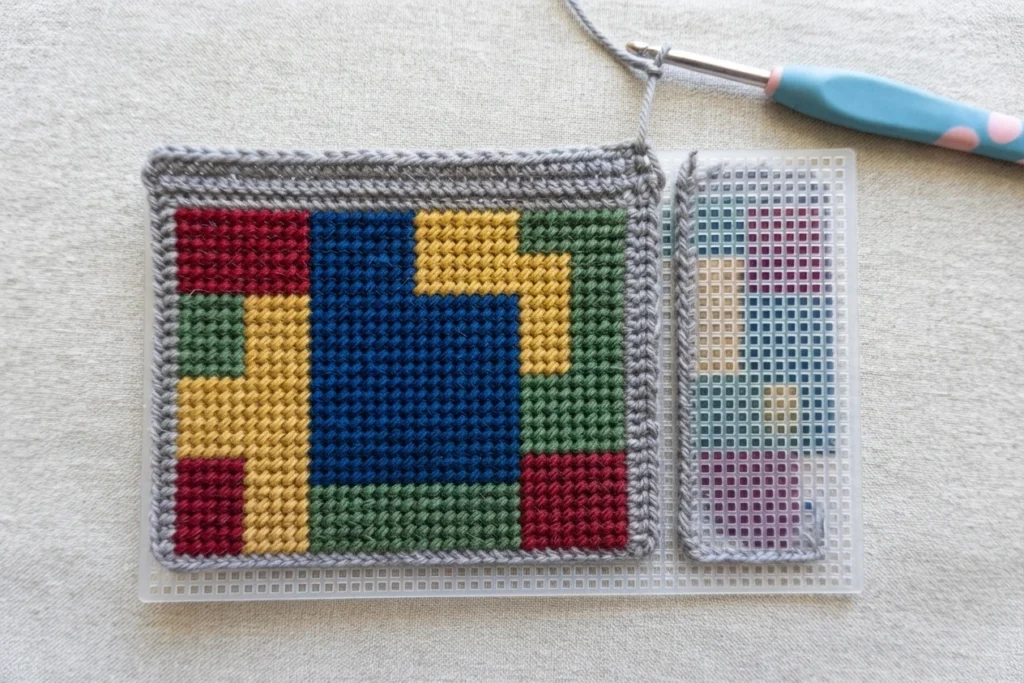
This section focuses on the two back choices and how the strap and bag come together. With the crocheted option, the back is made as a separate piece and sewn to the bag with a tapestry needle. With the plastic-canvas option, the designer decorates the canvas with yarn, edges it in crochet, and attaches it to the bag. The reference sample uses a diagonal arrangement of colored blocks, but the instructions allow for a chosen design.
The source shows the canvas measuring 29 squares wide and 45 blocks tall. For edging, it specifies a 2 mm hook, or the smallest hook that fits through the canvas openings. Stitch markers are used to hold the aligned backing and bag in place while they are joined. These are details to consult in the original instructions rather than steps to improvise from this overview.
The strap begins as a tapered extension and continues as a narrow strip; its length can be adjusted instead of treating the cited row count as mandatory. The pattern also describes connecting the end around the keyring of the optional swivel lobster clasp. For the canvas-backed version, the source specifies a 1/2-inch button and a chain loop. Check the original directions for exact placement and assembly, especially when adapting the strap or choosing different hardware.
As you plan, decide first whether you want the firm canvas backing or a crocheted one, then choose the closure and any optional strap hardware. Keep the designer’s pattern open for the full instructions, gauge context, and finishing details. This overview is intended to help you understand the project’s materials and structure, not to substitute for the original pattern.