Project introduction
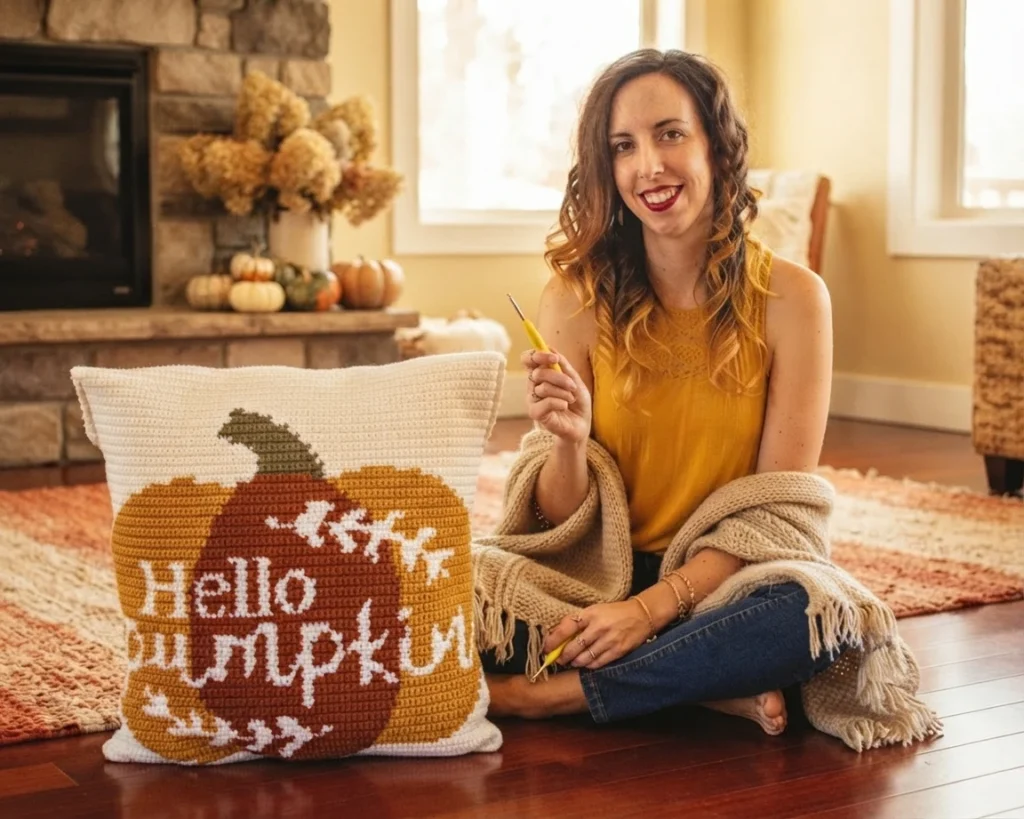
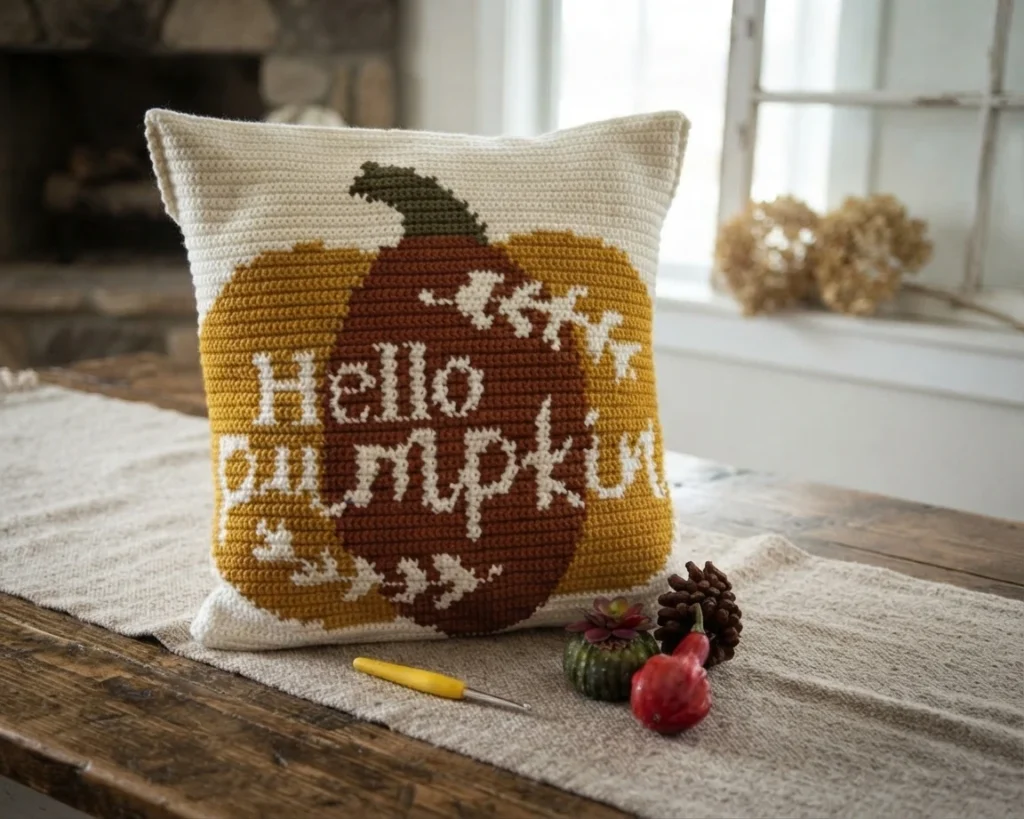
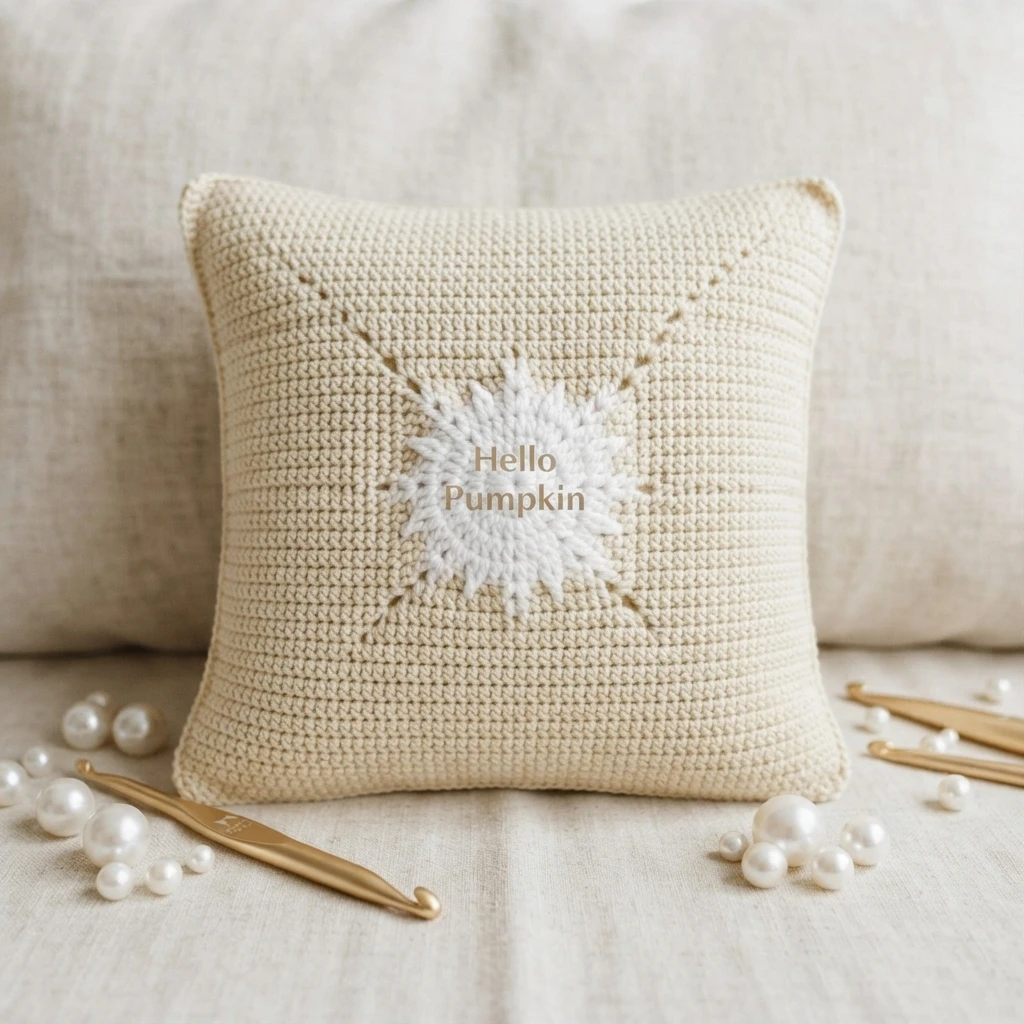
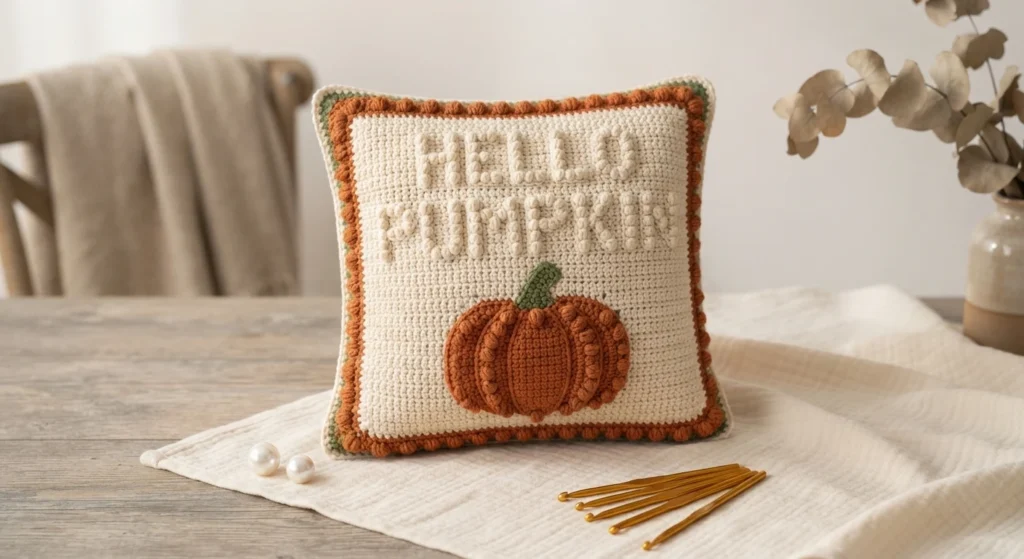
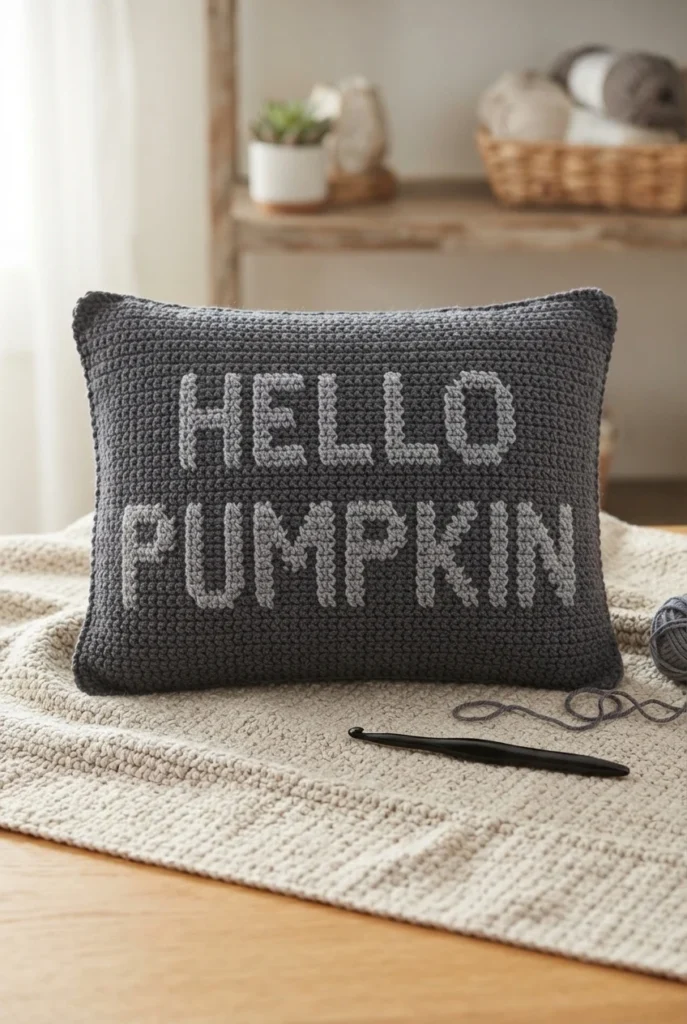
This is a pattern overview, not a full tutorial. The Hello Pumpkin Pillow is a crochet colorwork project with rewarding results, published as a free pattern by Briana K Designs on the Furls Crochet blog. Because the design is built from charted single crochet color changes, the original page is where you will find every row instruction. Bobbins are recommended to keep the yarn from tangling, and the designer points readers to a separate colorwork guide for a free bobbin and more on managing multiple strands.
You can read the Original designer’s pattern and instructions for the complete chart and finishing steps. What follows here is a practical orientation: who made it, what it calls for, how it is put together, and what to expect before you begin.
About our designer
The designer is Briana from Briana K Designs. She has previously designed an Infinity Cable Shawl, which uses a technique for working crochet cables without gaps and holes. Over the past year she has grown steadily more interested in colorwork and home decor projects, and this pillow sits squarely in that direction.
Away from yarn she spends time outdoors with family and friends, and she describes life in Florida as feeling like a tropical vacation. Evenings are for winding down with favorite TV shows and yarn. Her hope is simply that you enjoy this project and the fall season it celebrates.
Supplies
The main yarn is Lion Brand Color Made Easy, listed in four colorways that map to the design: Alabaster/Ivory, Kombucha/Orange, Avocado/Green, and Mineral Yellow/Yellow. Two skeins of Alabaster/Ivory are specified if you crochet the back of the pillow. Furls Wander Yarn in Alabaster, Camel, Cabin, and Cottage is offered as an alternate yarn choice.
Here is the complete checklist exactly as the source lists it:
- Lion Brand Color Made Easy in Alabaster/Ivory (2 skeins if crocheting the back of the pillow), Kombucha/Orange, Avocado/Green, and Mineral Yellow/Yellow
- Alternate yarn choice: Furls Wander Yarn in Alabaster, Camel, Cabin, and Cottage
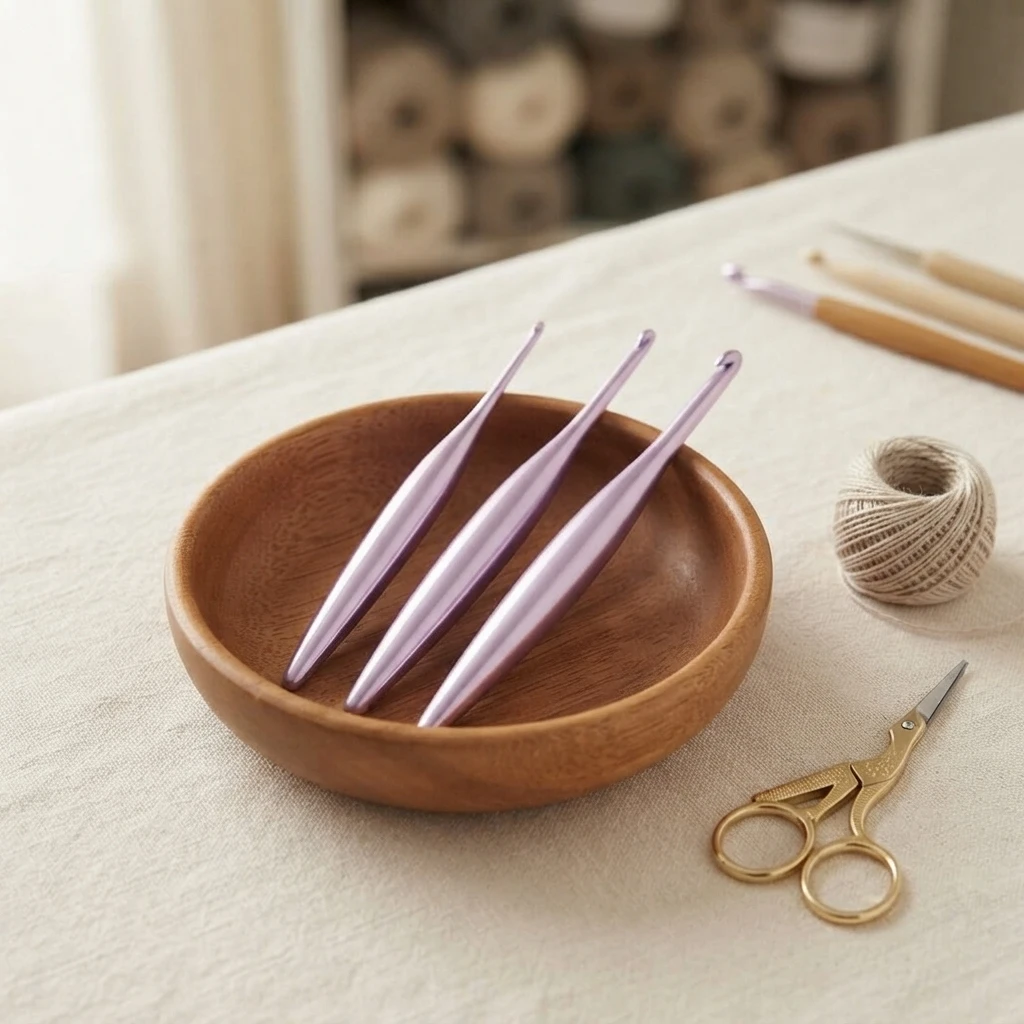
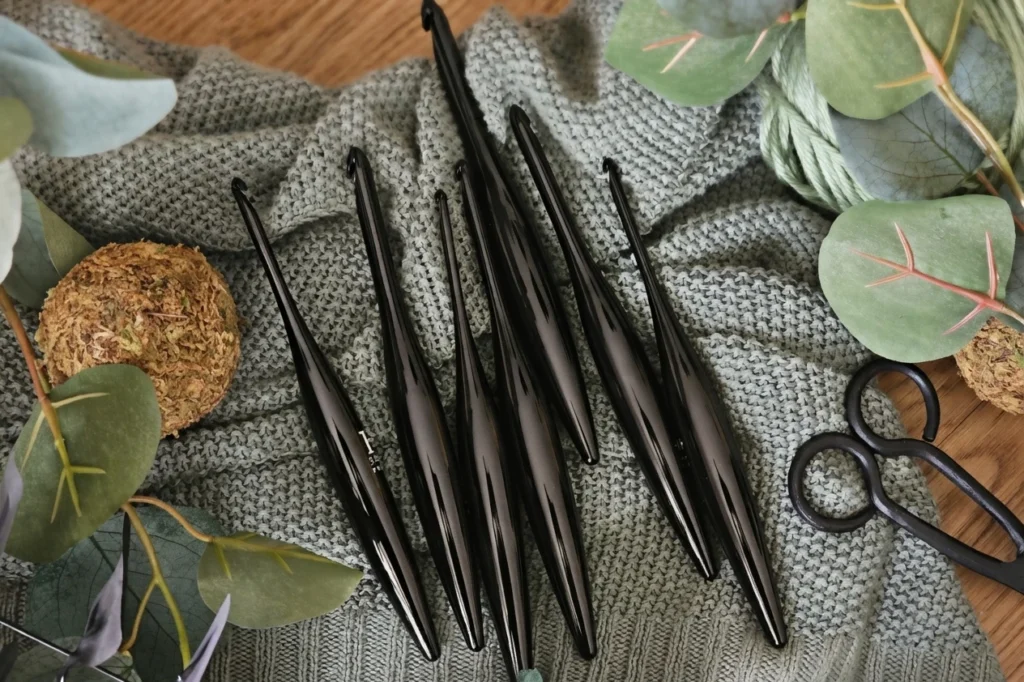
- 5.0 mm (H) hook
- Yarn needle
- Scissors
- Five buttons, 1 to 1.5 inches (2.5 to 3.8 cm)
- 20×20 inch pillow
- 3/4 yard burlap if desired
- Stitch markers, used when positioning buttons
Pattern details
The skill level is rated Easy/Advanced Beginner. Finished measurements are 21 inches (53 cm) wide by 20 inches (51 cm) tall. Gauge is 15 single crochet stitches and 16 rows per 4 inches (10 cm) with an H hook. The source notes that matching gauge both horizontally and vertically can be difficult, so stitch gauge matters more than row gauge; extra rows can be added at the top if needed, and the cover has some ease to fit over a pillow.
The standard abbreviations used are ch for chain, RS for right side, sc for single crochet, sl st for slip stitch, sts for stitches, and WS for wrong side. The cover is worked from the bottom up in rows as two pieces. The front panel includes a buttonhole flap that secures the top, and the front and back are slip stitched together once both are complete. After each row you turn and chain 1, and that chain does not count as a stitch.
Because the panels have a right side and a wrong side, the designer used a combination of intarsia and carrying yarn across the back for the colorwork, and suggests experimenting to see what works best for you. A burlap back can be substituted for a crocheted back.
Part one
Part one covers the opening stretch of the front panel. It begins with white, chaining 81 and working the first row into the second chain from the hook. Rows 1 through 4 are solid ivory, 80 single crochets each. From row 5 onward the charted color changes begin, introducing orange and then yellow alongside the ivory background.
Rows alternate between the right side and the wrong side, and the charted sequences grow more detailed as the pumpkin shape takes form. The source presents these rows as written single crochet color blocks alongside a chart image, so the exact counts for each row belong to the original page rather than to this overview. If a row reads ambiguously to you, the original chart is the authority.
Part two
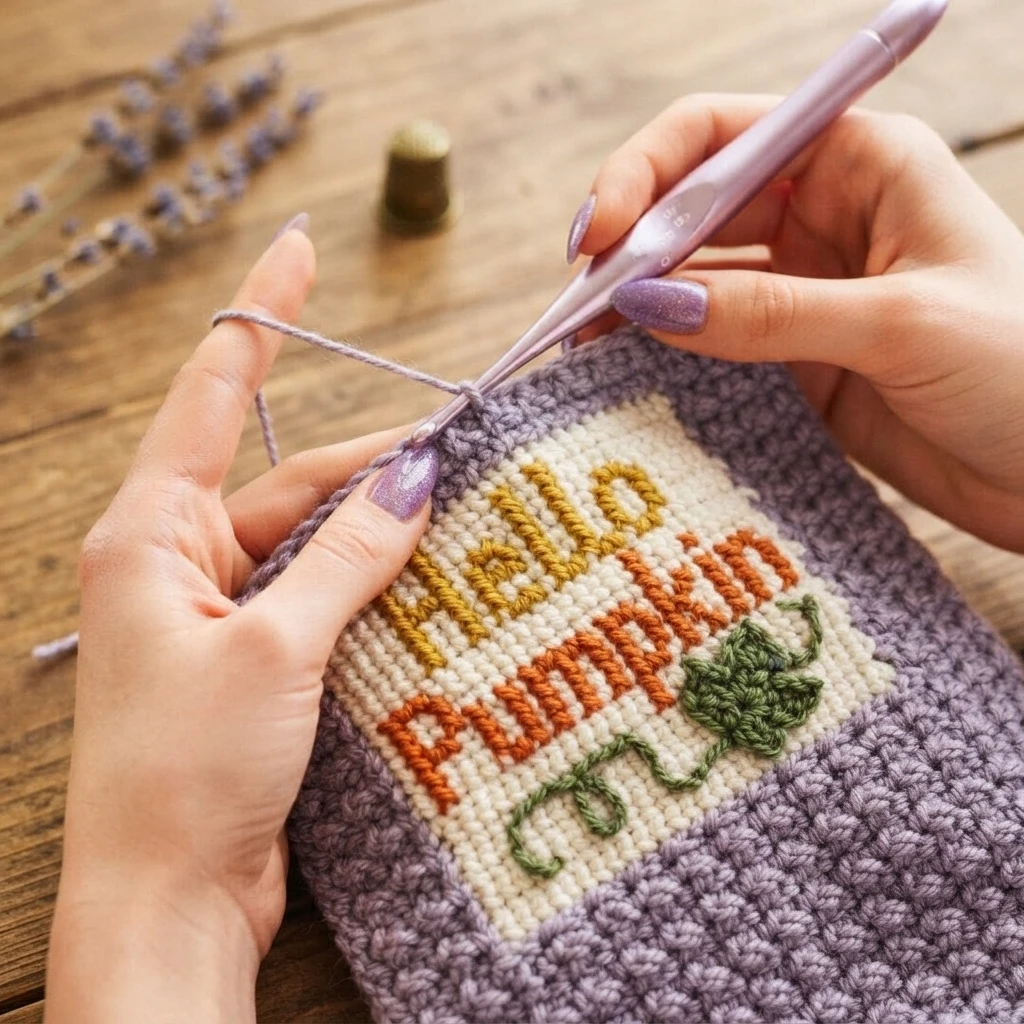
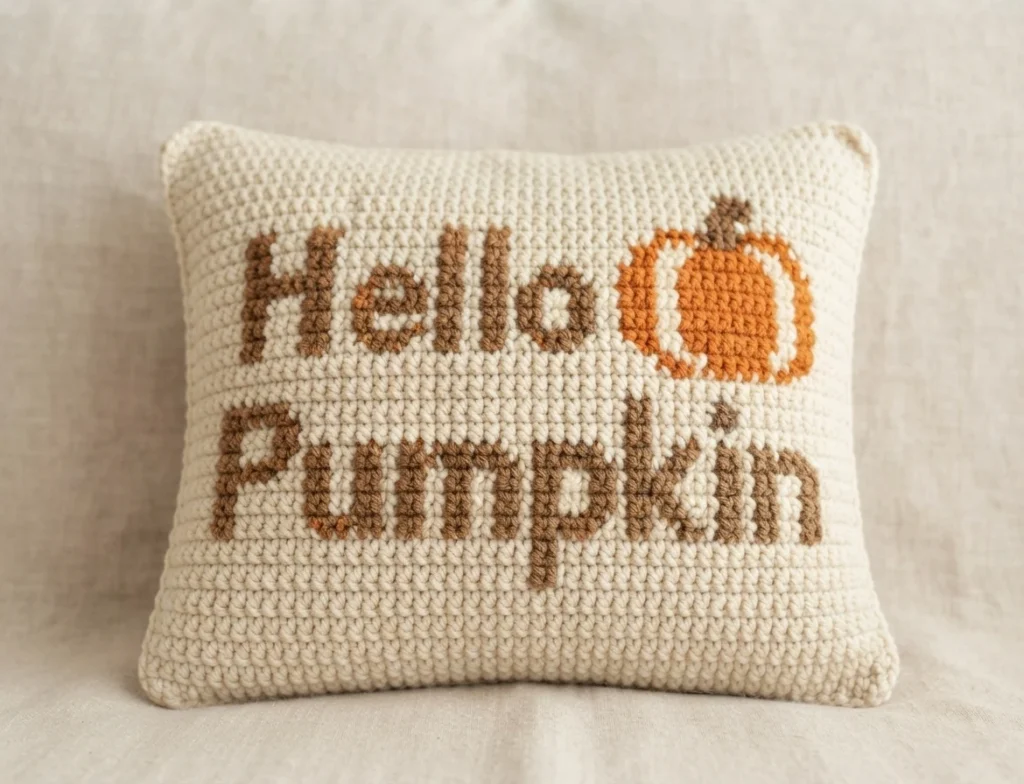
Part two carries the chart through rows 44 to 84. The colorwork continues in ivory, yellow, and orange, then shifts into green for the stem section before settling into plain ivory rows at the end. The final stretch of the front panel is worked in ivory, and a button row creates the openings for the five buttons.
For the back, there are two choices. One is a crocheted back panel: with white or a color of your choice, chain 81, work 86 rows of single crochet, then fasten off and weave in ends. The other is burlap, which the designer describes as inexpensive, time saving, and texturally interesting. If you use burlap, cut two pieces roughly one inch longer on each side of the pillow, since the hook can work through the holes in the fabric.
To join, place the front and back with wrong sides facing. Using white yarn, slip stitch from the top of one side where the panels meet, around the bottom, and up the other side, leaving the flap unseamed. Tight tension gives crisp edges, but not so tight that the fabric puckers. Fasten off, weave in ends, and turn the cover right side out so the seams sit inside.
For the buttons, face the back panel, fold the front down over the top, and use stitch markers to mark the row where each button will sit. Sew them on with a yarn needle and green yarn, then insert the 20×20 pillow.
If you enjoy seasonal home decor in this style, the Bobble Crochet Pumpkin Pillow: Pattern Overview takes a different textural route, and the Fall Pumpkin Coaster Crochet Pattern - Get Festive: Pattern Overview is a smaller project for the same season.

3 thoughts on “Fall Crochet Pattern, Hello Pumpkin Pillow: Pattern Overview”