Project introduction
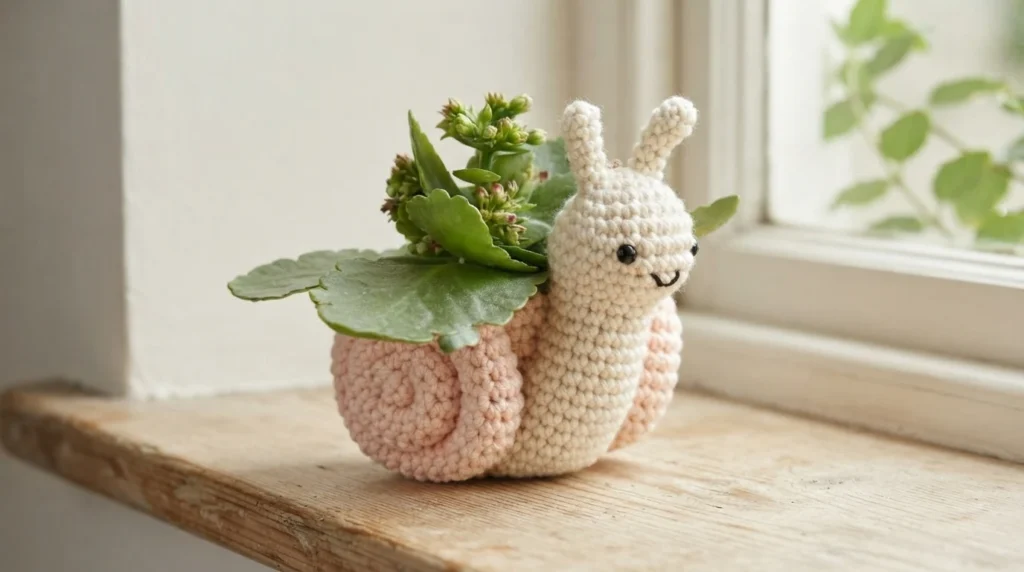
This crochet plant holder pattern is built around a charming amigurumi snail. The finished piece works as a decorative pot cover, and it suits the tiny 2 inch pots that often turn up in grocery store floral sections. The same structure can be adapted for larger pots with a few adjustments to the base.
Snails are not usually welcome in outdoor vegetable gardens, but a crocheted one brings a bit of personality indoors. Plant pot covers are an easy way to add character to a home without buying new containers. The original pattern walks you through making both the pot cover and the snail companion step by step, so it works as a project for crocheters who already know the basic stitches and want to try amigurumi shaping.
Materials Used
Gather these supplies before starting, following the original designer’s list:
- Paintbox Cotton Aran yarn in Light Caramel and Peach Orange
- Size G/4.0mm crochet hook
- Size E/3.5mm crochet hook
- Stitch marker
- Stuffing
- Safety eyes, size 6mm
- Scissors for trimming ends
- Yarn needle for weaving in ends
- Black embroidery thread
Two hook sizes are used because the antennae are worked on the smaller E/3.5mm hook while the pot cover, snail body and shells use the G/4.0mm hook. Having everything within reach keeps the project moving without interruptions.
Stitches/Abbreviations Used
The pattern uses standard US crochet terms. The abbreviations to know are:
- magic ring
- R for round or row
- st/sts for stitch or stitches
- sc for single crochet
- inc for increase, worked as two single crochet stitches into the next stitch
- invdec for invisible decrease, described as an alternative to the sc2tog stitch
- BLO for back loops only
The invisible decrease gives a cleaner finish than a standard decrease, which matters on a small amigurumi piece. Back loops only is used to create a defined edge where the base of the pot cover turns upward into the sides.
Finished size
Gauge is not essential for this pattern, though tight, even stitches are helpful. For reference, using the designer’s own tension with cotton aran weight yarn and a size G/4.0mm hook, the first six rounds of the pot cover measure about 2 1/4 inches in diameter.
Final size depends on personal tension, yarn and hook. Acrylic yarn works up slightly larger than cotton at the same yarn weight, so the same pattern can produce a slightly bigger cover. Once the snail and shells are attached, the finished snail planter is about 5 inches tall and 4.5 inches wide.
Pattern Notes
The pattern is worked in continuous rounds, so a stitch marker is needed to keep track of position. For amigurumi style pieces such as the snail, the designer uses the yarn under technique rather than yarn over. Yarn under produces tighter stitches with a distinct x shaped look, which reduces gaps where stuffing might show. A separate post on the source site explains yarn over versus yarn under in more detail.
If the base does not fit a particular pot, the size can be adjusted. Continue increasing after Round 5 for a larger base, or stop at an earlier round if the base in the pattern is too big. Work the adjustments in multiples of six, then continue up the sides in back loops only followed by single crochet rounds. A linked post about increasing circles may help with base sizing.
An ad-free, printer-friendly version of this pattern is available on Ravelry or Etsy, and the premium version includes photo illustrations for each step. The web pattern remains free.
Pot Cover
The pot cover begins with Peach Orange yarn and a size G/4.00mm hook. Round 1 works six single crochet into a magic ring. Rounds 2 through 5 increase each round, reaching thirty stitches by Round 5. This base forms the foundation of the container.
For a larger pot, continue increasing after Round 5 until the base reaches the needed size. Round 6 is worked in back loops only, which defines the turn from base to side. Rounds 7 through 12 are single crochet in each stitch around. Round 13 increases to thirty six stitches, and Rounds 14 and 15 are single crochet in each stitch around. Fasten off, weave in the ends, and set the piece aside.
Antennae (make 2)
Make two antennae using Light Caramel yarn and the smaller size E/3.5mm hook. Round 1 works five single crochet into a magic ring. Round 2 is single crochet in each stitch around. Round 3 works an invisible decrease and three single crochet, ending with four stitches. Rounds 4 and 5 are single crochet in each stitch around.
Fasten off leaving a long tail, then set the pieces aside. The long tail is used later to sew the antennae onto the head, and the ends are woven in inside the head. On a real snail these are technically called tentacles, which is a nice detail to know even though the pattern calls them antennae.
Snail
The snail body uses Light Caramel yarn and a size G/4.00mm hook. Round 1 works six single crochet into a magic ring, and the early rounds increase to twenty four stitches by Round 5. Rounds 6 through 8 are single crochet in each stitch around. Round 9 combines single crochet and invisible decreases to end with eighteen stitches, and Round 10 does the same to end with fifteen stitches.
Attach safety eyes between Rounds 6 and 7, spaced about six stitches apart. Using black embroidery thread, embroider two lines that meet to form a mouth shape, pictured at Rounds 7 and 8. Tie the beginning and ending tails of the thread together and stuff them inside the head.
Attach the antennae on top of the head at Rounds 2 to 3, using the long tail left after the last antennae round and a yarn needle, then weave the ends in inside the head. Stuff the head and neck as you go, but only stuff the neck through about Round 20, then stop.
Rounds 11 through 13 are single crochet in each stitch around. Round 14 increases to eighteen stitches, and Rounds 15 through 30 are single crochet in each stitch around, with stuffing stopping at Round 20. Round 31 decreases to fifteen stitches, Round 32 to twelve, and Round 33 to nine. Fasten off, then use the yarn tail and a yarn needle to weave through the front loops of the final round. Pull the opening together and weave in the end.
Snail Shell (make 2)
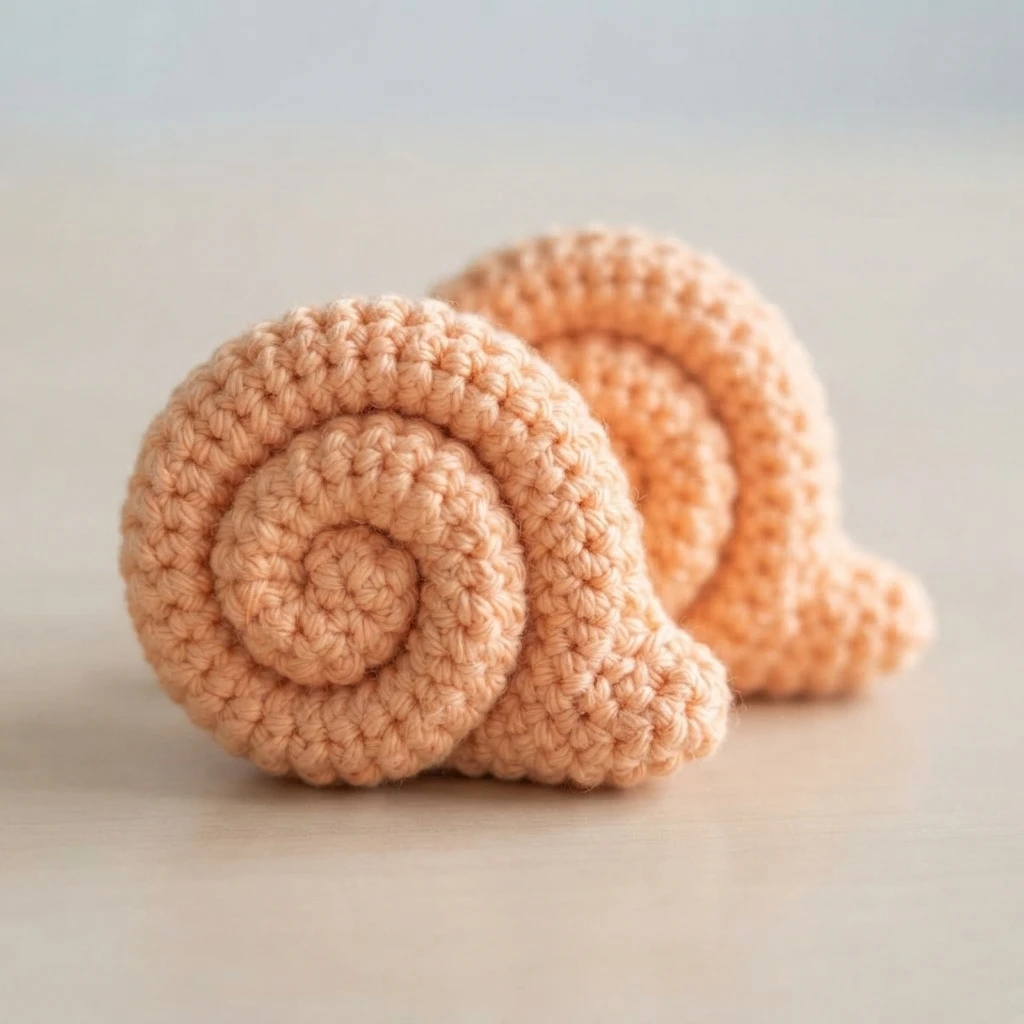
Make two shells using Peach Orange yarn and a size G/4.00mm hook. Round 1 works six single crochet into a magic ring. Round 2 repeats single crochet and increase three times around for nine stitches. Rounds 3 through 57 are single crochet in each stitch around, with stuffing added very lightly as you go.
Fasten off leaving a very long tail. These long tubes become the spiral structure of the shell. Keeping the stuffing minimal matters here, because the tube needs to stay flexible enough to coil without bulging.
Putting It All Together
Once the pot cover, the snail and the two shell tubes are complete, the pieces are sewn together before the plant goes in. Assembly uses a yarn needle and matching yarn tails, and the goal is to attach the snail to the pot and secure both shells into a balanced finished planter.
Work through the steps below in order. Proper attachment keeps the snail from tipping forward when the pot is empty, though the weight of the plant helps it stay upright. Take time to weave in ends securely for a durable finish.
Step One: Sewing the Snail to the Pot Cover
Cut a long length of Light Caramel yarn. The snail is sewn to the pot cover with its head sticking out above the cover and the flat end of its body underneath.
Place the snail along the pot, then bring the yarn needle from inside the pot outward. Sew the snail to the pot along the top of the pot and along where the back of the snail and the pot meet. Continue sewing the flat bottom of the snail’s body to the bottom of the pot. Once the whole snail is attached, weave in the ends. Without any weight in the pot cover the snail tips forward, but once a plant is inside it stays upright.
Step Two: Winding the Shells
Thread the long tail from the end of one shell tube onto the yarn needle and sew the end of the tube closed. Wind the tube up counterclockwise into a tight shell shape. Secure the shape by weaving the yarn needle from one side of the shell to the other, working well into the middle of the stitches so the yarn does not show.
Repeat the securing at multiple points so the shell keeps its shape. Do not cut the yarn tail or weave it in yet. Repeat the winding process with the second shell. Both spirals should end up compact and even, ready to attach to the pot cover.
Step Three: Sewing the Shells to the Pot Cover
Place one shell on one side of the pot, matching the top of the shell with the top of the pot cover. Using the yarn needle and the remaining yarn tail, or a newly cut length of yarn as needed, sew the top of the shell to the top edge of the pot cover first so they line up. Then sew around the perimeter of the shell, attaching it securely to the pot cover.
Repeat on the other side so both shells are symmetrical and firmly anchored. Weave in all remaining ends to prevent unraveling. This step completes the visual structure of the snail planter.
Step Four: Add a Plant!
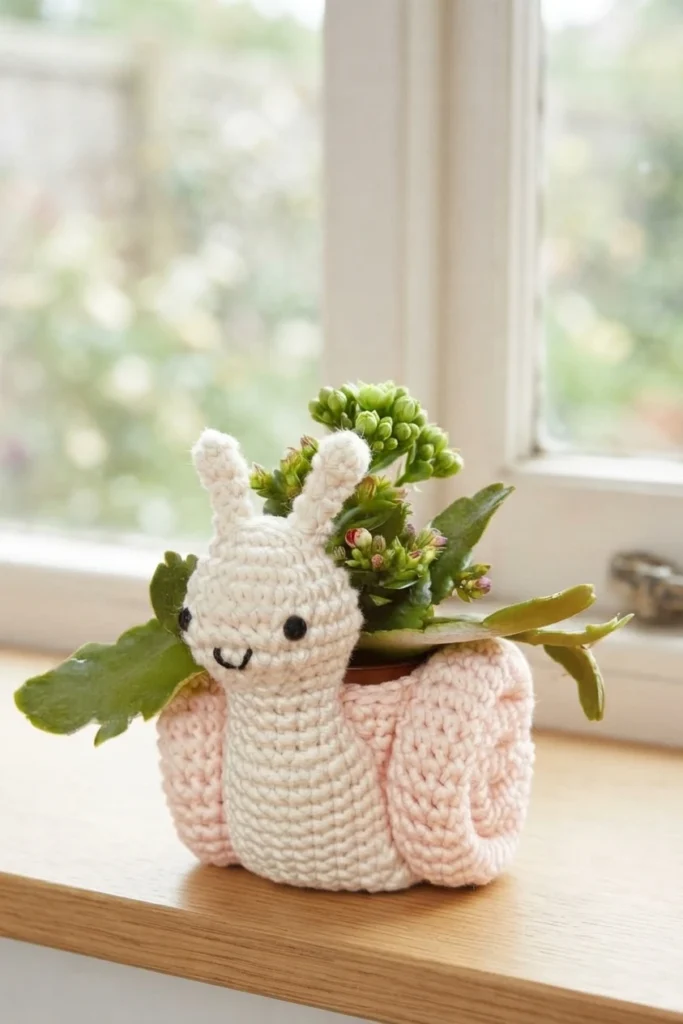
With the snail and shells attached, insert a plant into the pot cover. The finished piece suits a kitchen windowsill or an office desk, and it makes a thoughtful springtime gift for someone who enjoys plants or cute decor. The snail planter pictured in the original post was quickly adopted by the designer’s tween daughter.
For more inspiration, browse the source site’s free pattern collection. The Original designer’s pattern and instructions hold the full details, including the copyright notice: the written pattern and images are for personal use only and should not be redistributed, transferred or sold in part or in whole.
World Turtle Succulent Holder: Pattern Overview
Easy Crochet Plant Pot Cover -Emoji design: Pattern Overview