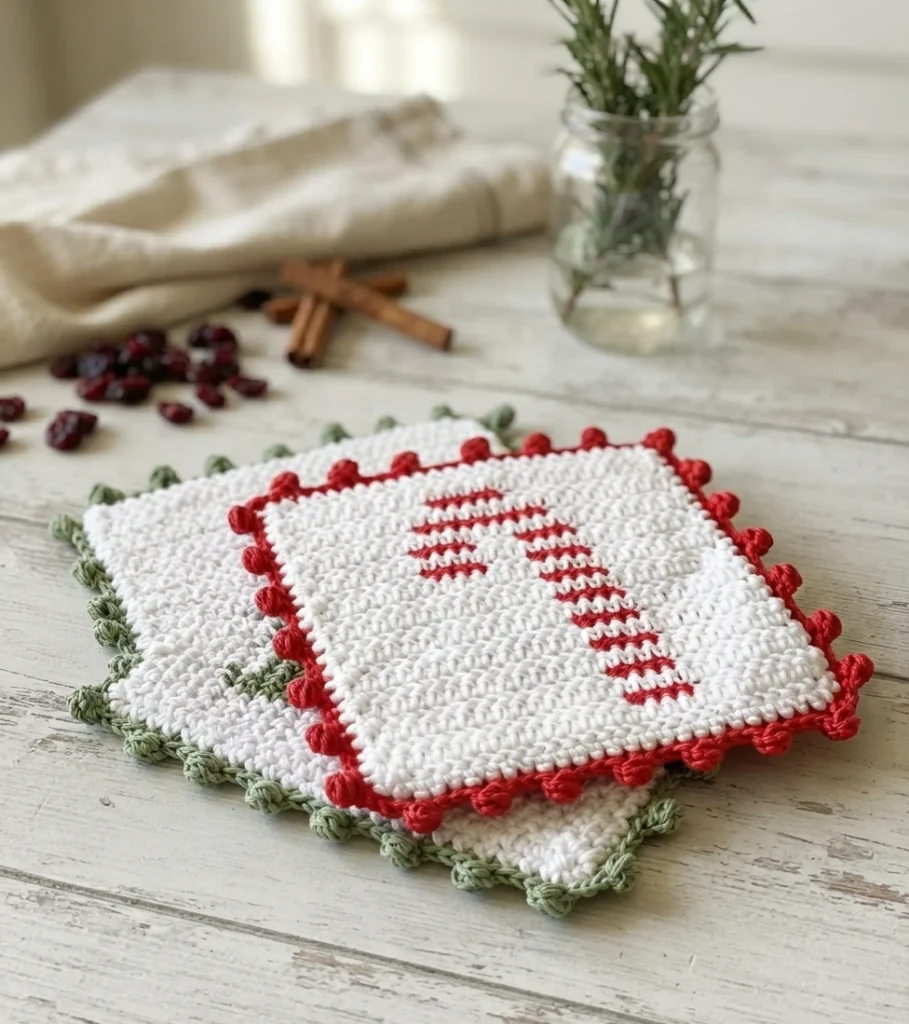
Project introduction
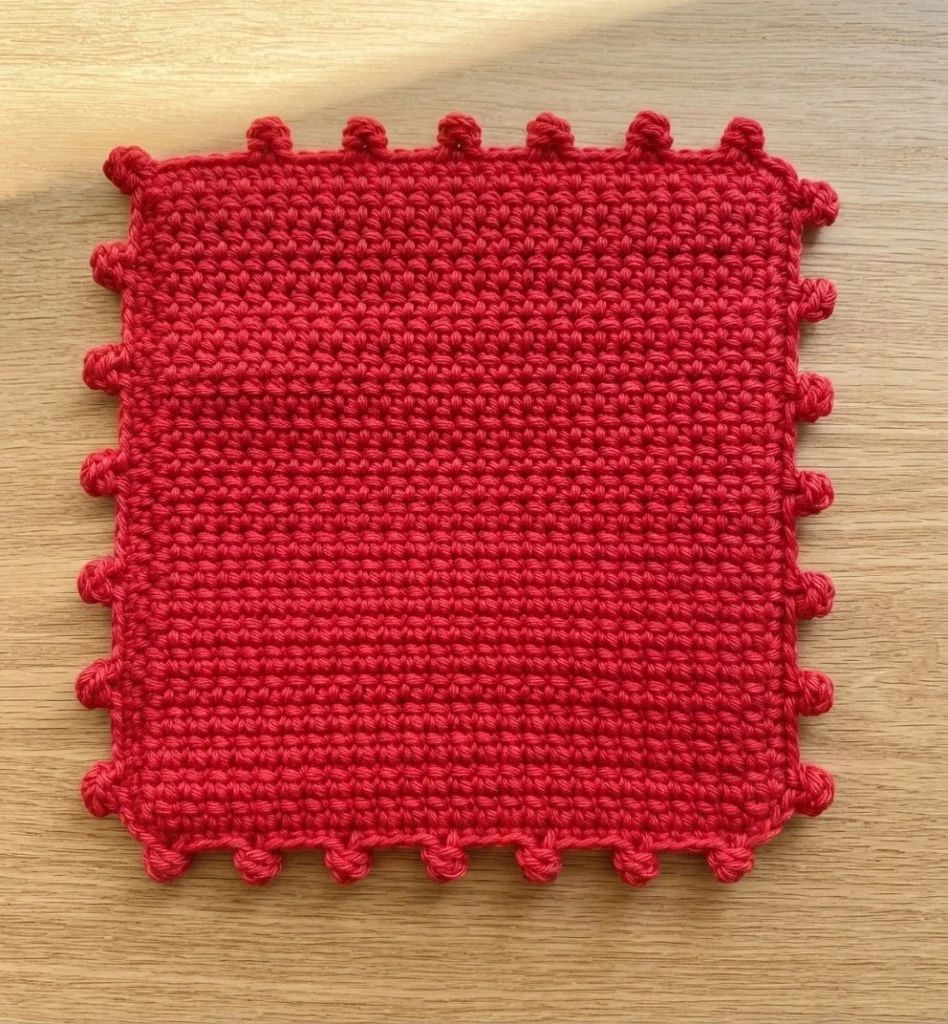
This is a pattern overview, not a complete, step-by-step tutorial. Daisy Farm Crafts designed this candy cane hot pad as a two-sided potholder with a thick feel, candy cane colorwork, and a decorative dot edge. The original design includes a red reverse side to enclose the carried yarn. For the complete chart and instructions, visit the Original designer’s pattern and instructions.
The finished piece is described as a little larger than the designer’s earlier hot pad, with the two layers forming a substantial fabric. Its graphic comes from red and white sections worked into the front, while the reverse stays solid red. The raised dot border gives the perimeter a playful finish without changing the simple square-based construction.
Materials
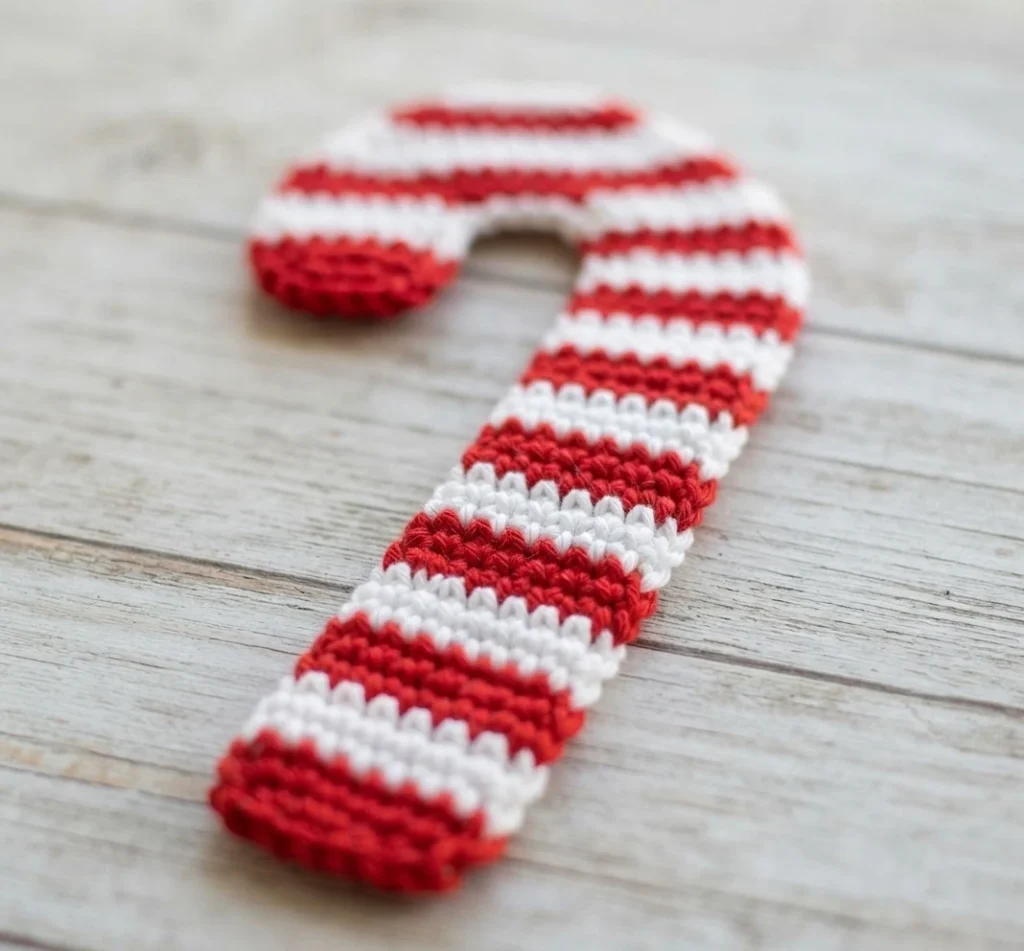
Gather the items listed for the original project. The yarn estimate is specific to the sample: one skein in each color, in the listed brand and size. The hook size is given in both letter and metric notation, and the supply list also names the finishing tools. No stitch marker is listed by the designer.
- Lily Sugar ’n Cream The Original yarn, 100% cotton, 71 g (2.5 oz), 109 m (120 yd) per skein.
- One skein of red and one skein of white.
- Size H hook, 5.00 mm.
- Tapestry needle and scissors.
The original page also refers to a printable graph. Use the linked designer page to view the chart and complete directions rather than treating this overview as a substitute for the pattern.
Size
The stated finished size is 8 by 8.5 inches. The designer also provides a gauge for herringbone half double crochet. Check the exact gauge in the original instructions before beginning, especially if matching the stated finished size matters to your project. This overview does not replace the designer’s gauge information or provide a separate sizing method.
Stitches
The main fabric uses herringbone half double crochet, abbreviated HHDC in the source pattern. Single crochet, or SC, appears in the edging and joins the two panels. The third stitch name is Dot, a small puff-like accent made from loops gathered together. These terms identify the techniques you will encounter, rather than providing a substitute set of stitch instructions.
If any stitch abbreviation or technique is unfamiliar, refer to Daisy Farm Crafts’ original directions before working the project. Keeping the chart and written instructions nearby is particularly useful for following the color placement, while a consistent stitch height helps the front and back sit together neatly. The chart reading direction changes between odd and even rows, as described in the overview below.
Pattern Overview
The front is worked as a flat panel in white, with the candy cane motif formed by changing to red in selected areas. The designer’s chart is an important companion to the written pattern: odd-numbered rows are read from right to left, and even-numbered rows from left to right. Color changes occur on odd rows. Follow the original chart and instructions for exact placement instead of guessing the motif from a written summary.
- The front begins in white and is built in HHDC rows, with turning chains between rows.
- Red is introduced for the charted design; the white yarn is carried beneath red stitches where directed.
- The red strand is kept at the back between color changes so it can be enclosed between the two panels.
- After the front is complete, its border is worked in white before the reverse panel is prepared.
The reverse is a plain red panel worked in HHDC. It follows the same general panel construction, then receives an edge that remains attached so the red yarn can be used to join the front and back. Together, the patterned face and solid reverse conceal the carried strand inside. For exact row wording and chart interpretation, rely on the linked source rather than extrapolating from this construction summary.
Border
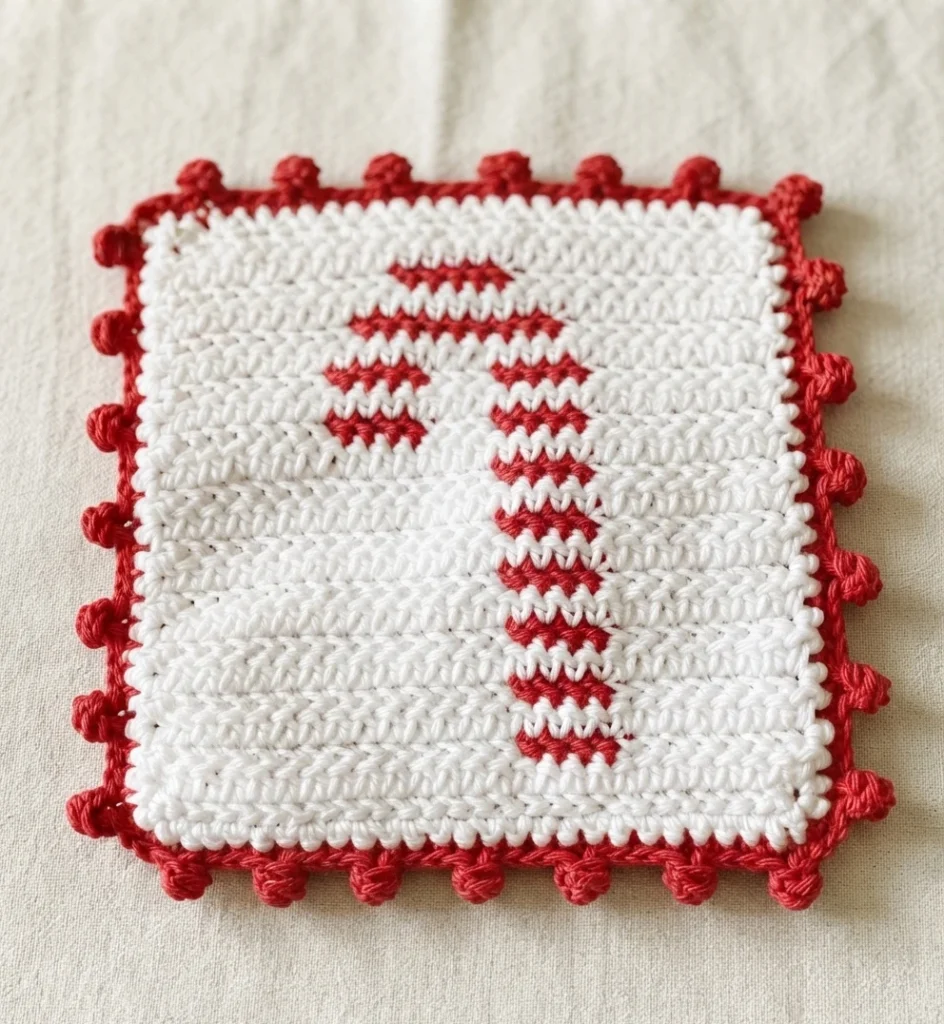
The design has two edging stages. First, the patterned panel receives a single crochet border around its perimeter, with shaping at the corners. The back panel is edged in the same general way, but its yarn is left available for joining. The panels are placed together with the candy cane side facing out, then joined through their edges in single crochet.
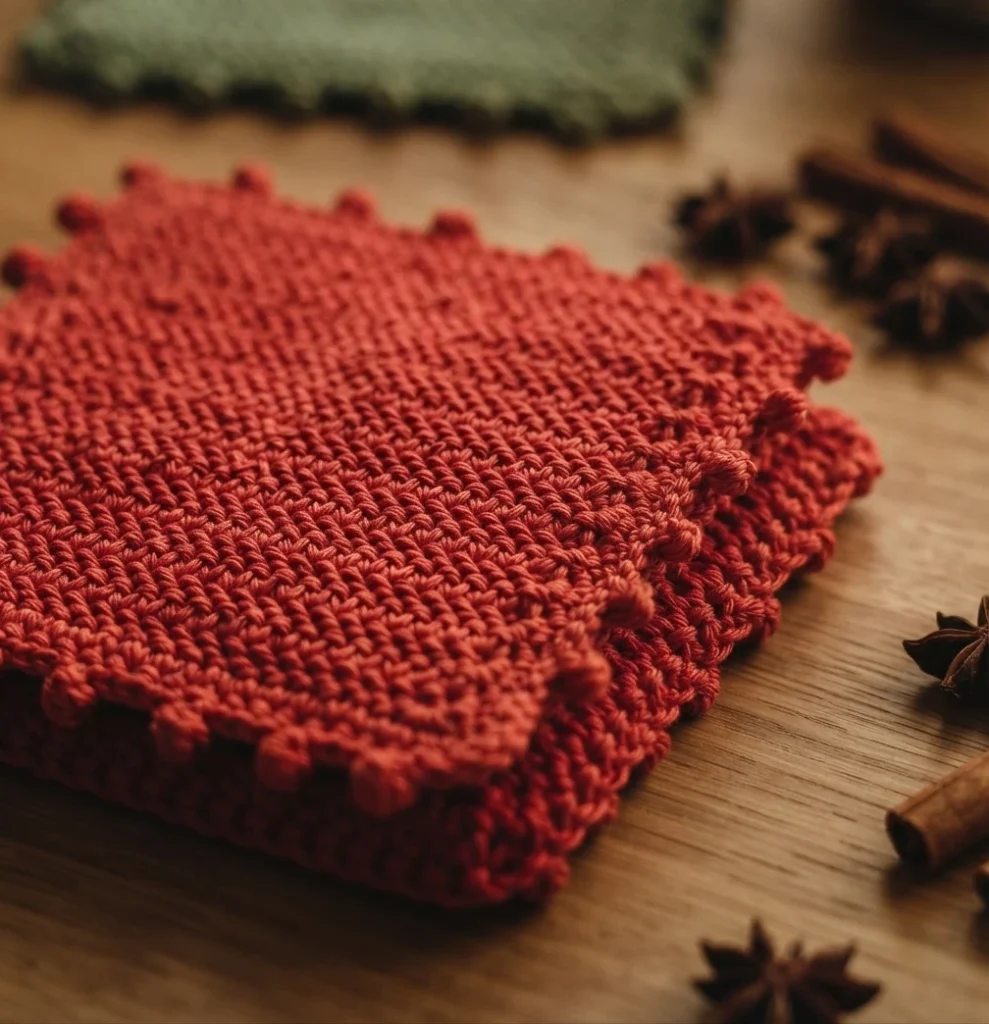
Once the panels are attached, the finishing detail is a repeated dot or puff accent around the outside. Each accent is secured to the edge, with small slip stitches separating the raised dots. This creates the textured holiday trim that distinguishes the finished potholder. The exact placement, corner treatment, and joining sequence are part of the designer’s full directions, so consult that source while working the border and finishing the ends.

2 thoughts on “Crochet Candy Cane Hot Pad: Pattern Overview”